This past November my husband and I were asked if we could help with a feature wall in my brother and sister-in-laws home. They are expecting their first baby in April. Being a mom of 3 boys, I was elated when they are shared they are expecting a BOY. Queue the biased happy tears for the blessing of raising a son.
Back to the opportunity: Would you be able to help add an accent wall to the future nursury?
Yes. 1000 times yes. I couldn’t be more excited about the opportunity and spoiler alert, it turned out SO good.
A quick look at our calendars and throwing dates around, one thing after another fell into place and we were able to get over there within the week.
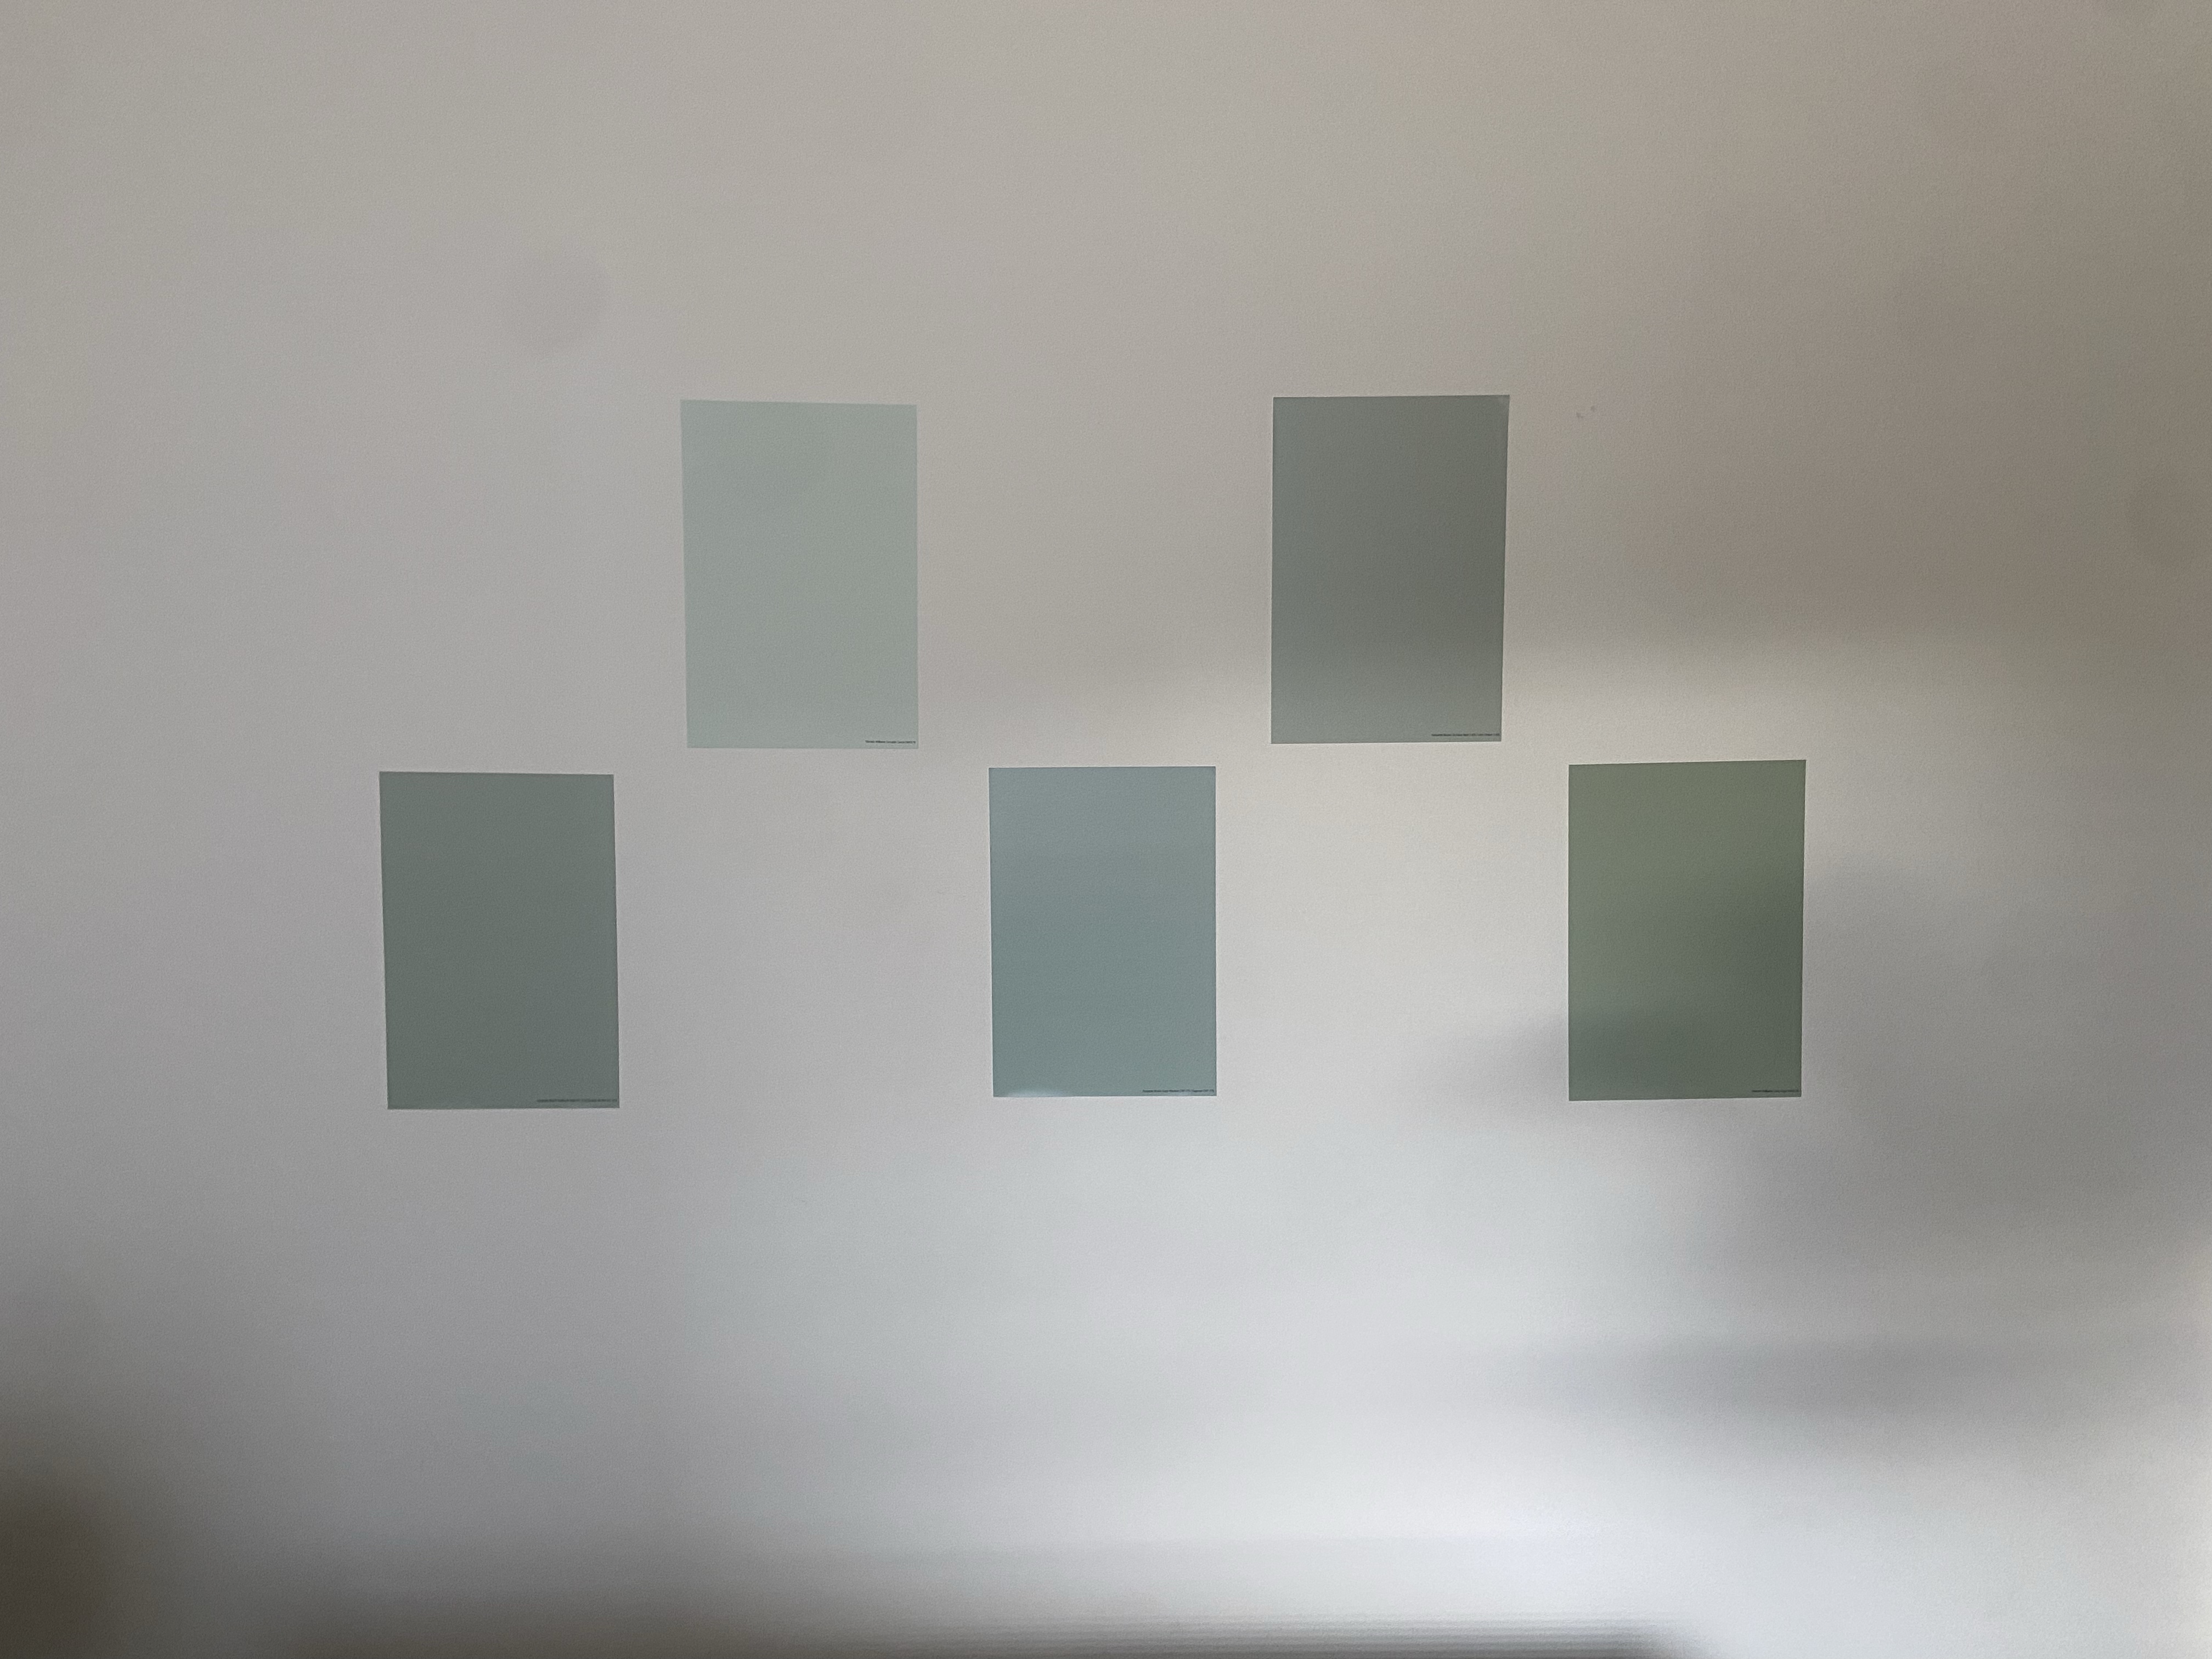
A dear friend who is an amazing designer, Amy Huber, told me about a company that will send you paint samples on sticker sheets that you can move around. Wait, you mean you don’t have to paint samples on different walls in the room to determine which paint looks best anymore? The company is Samplize. For less than $6/sample, you can select as many paint colors as needed and they ship them to you within 24 hours. No waiting at the paint store for colors to be mixed and no painting the walls with each and washing paint brushes. You simply stick and move the samples from wall to wall during different times of the day.
My sister-in-law and I were both sold on this. They ordered paint samples and sent me pictures of the walls as they started from all the colors they ordered to a smaller selection which they had narrowed down to as their favorites.


In preparation to go to their home with the tools needed for the wainscoting and framing out the window, we did have them send measurements of the room. Having the measurements helped us all plan out which wall would likely be best for the accent wall and to plan accordingly for supplies.
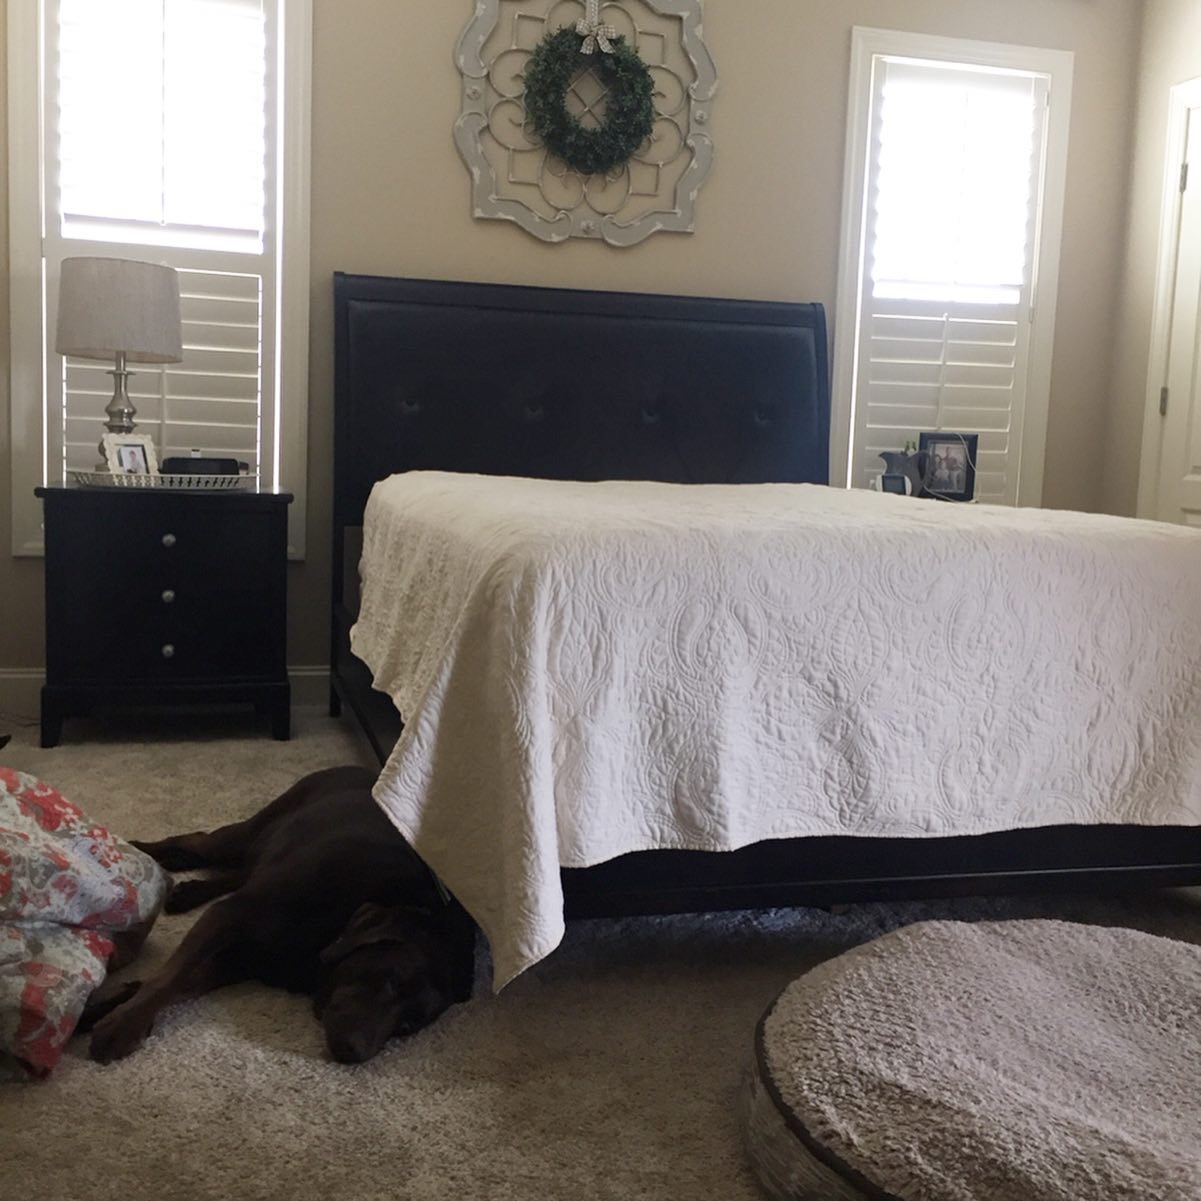
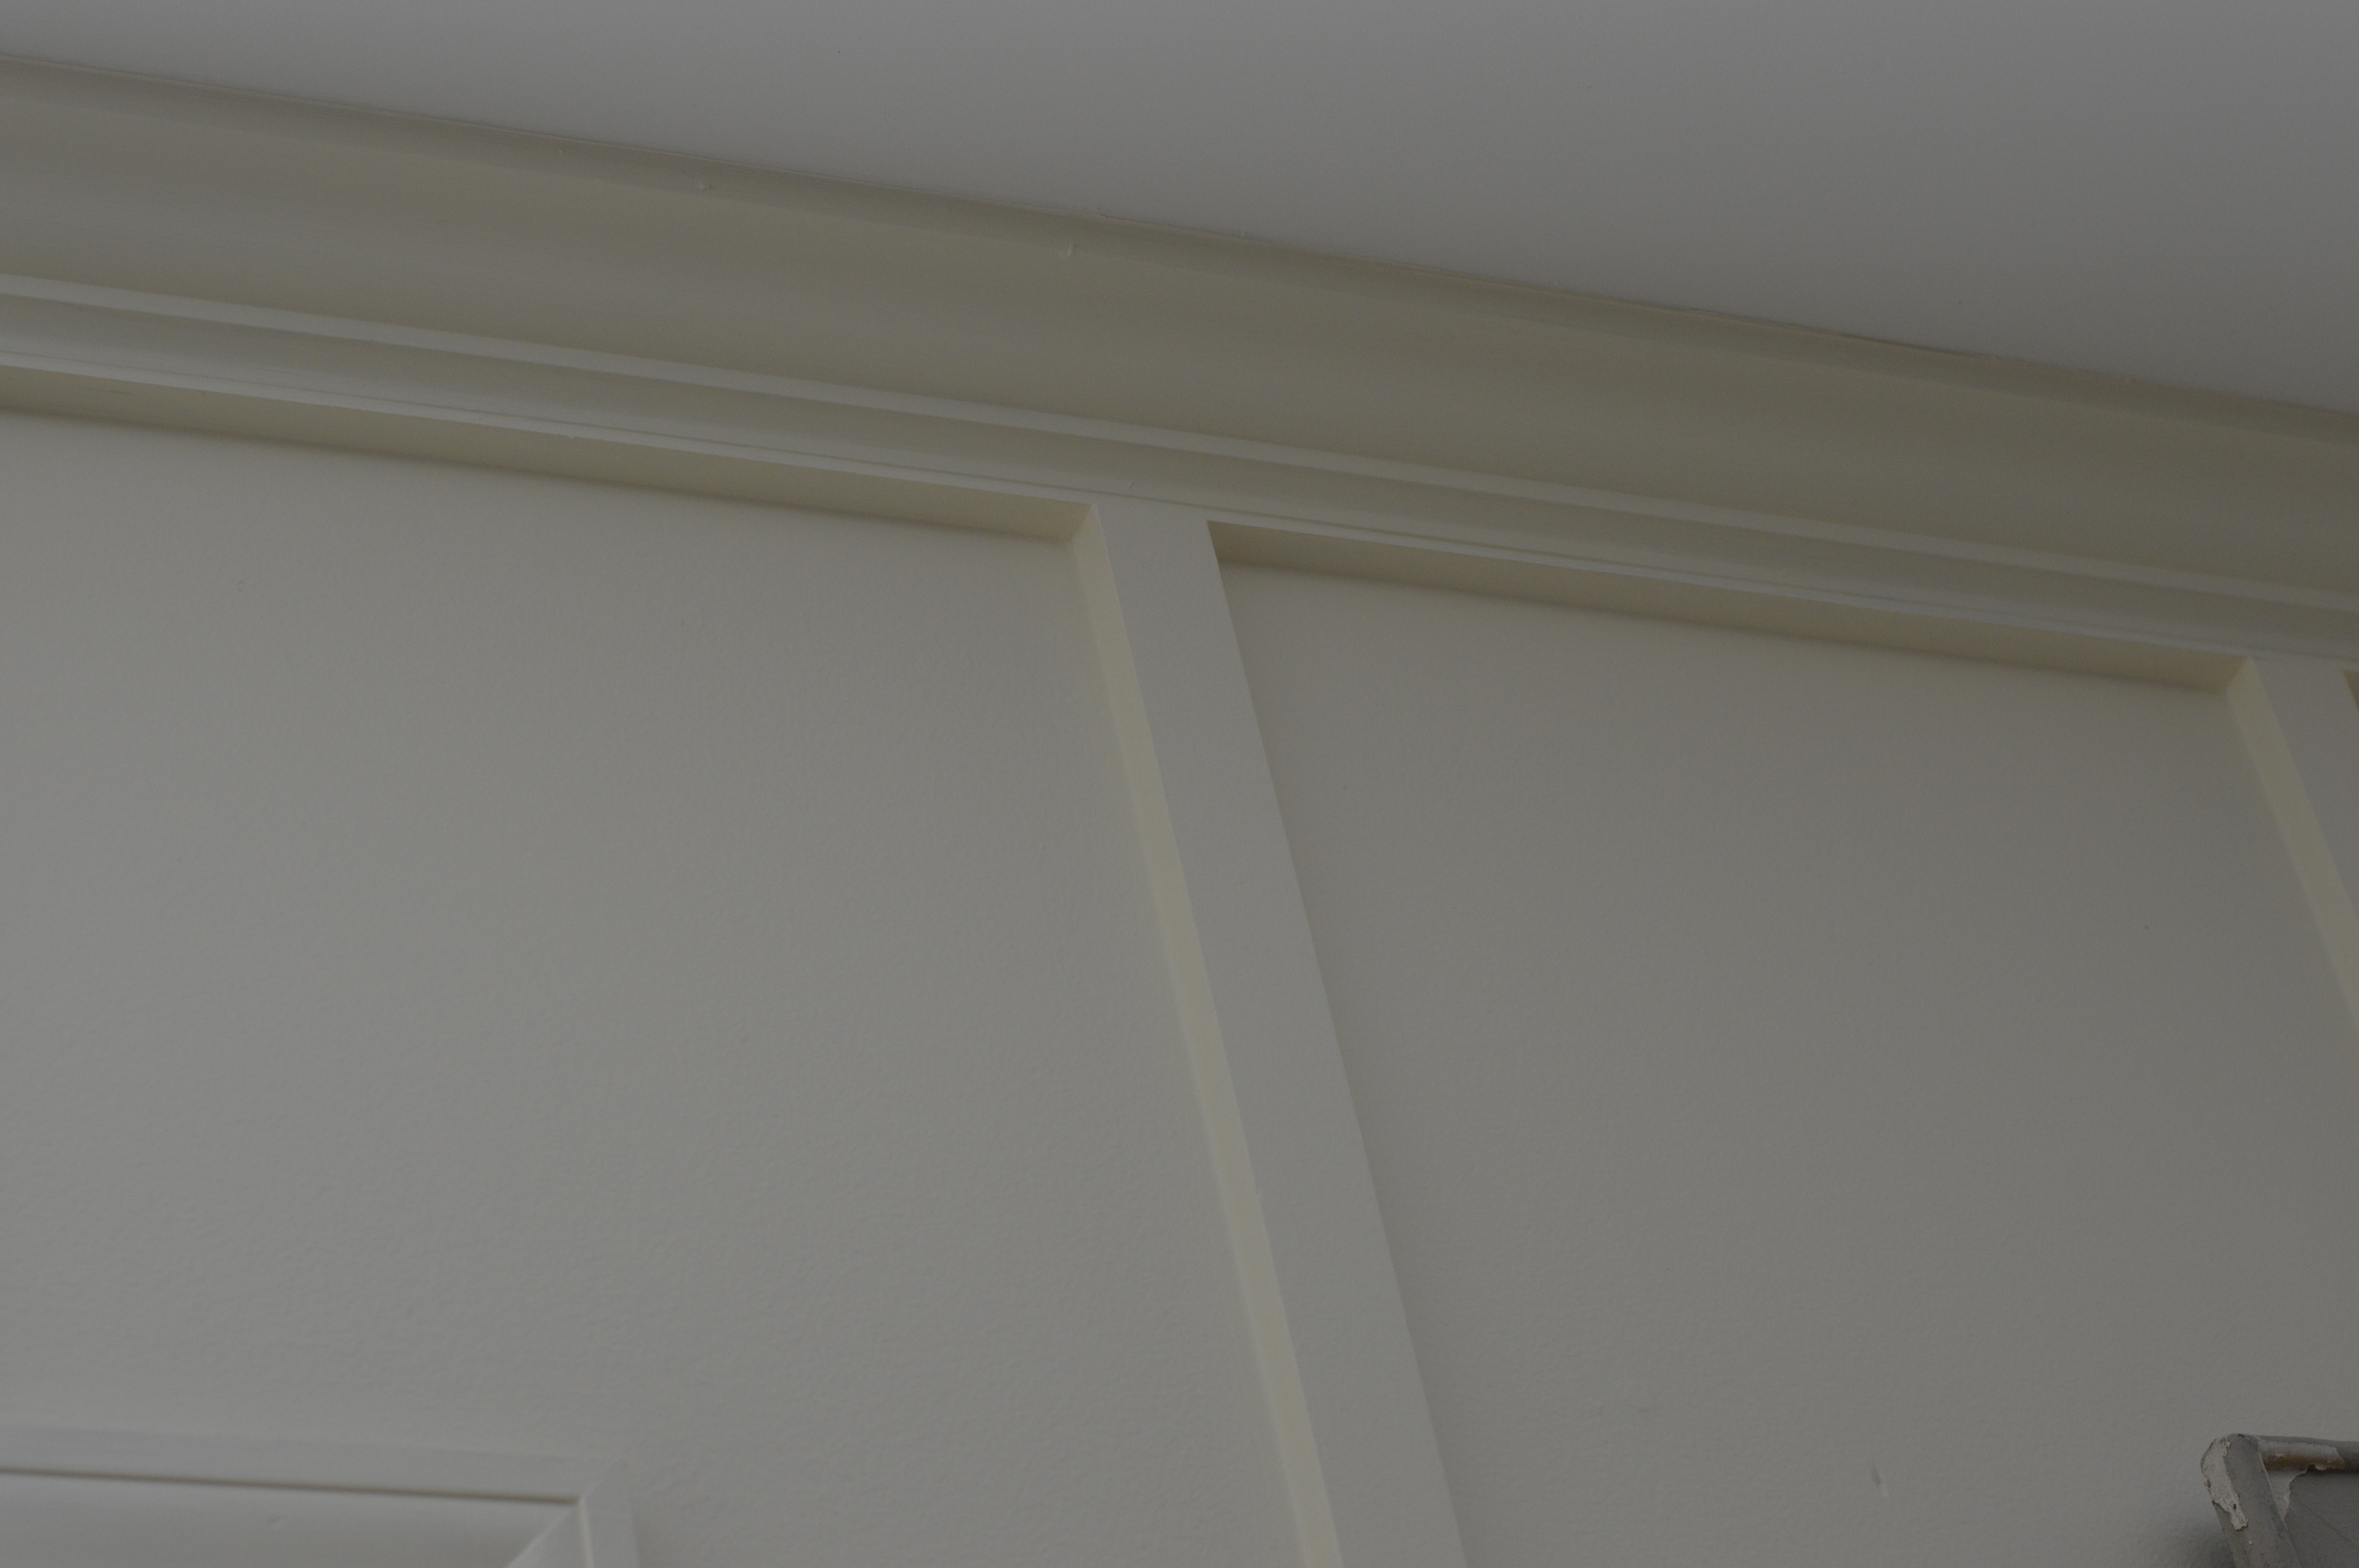
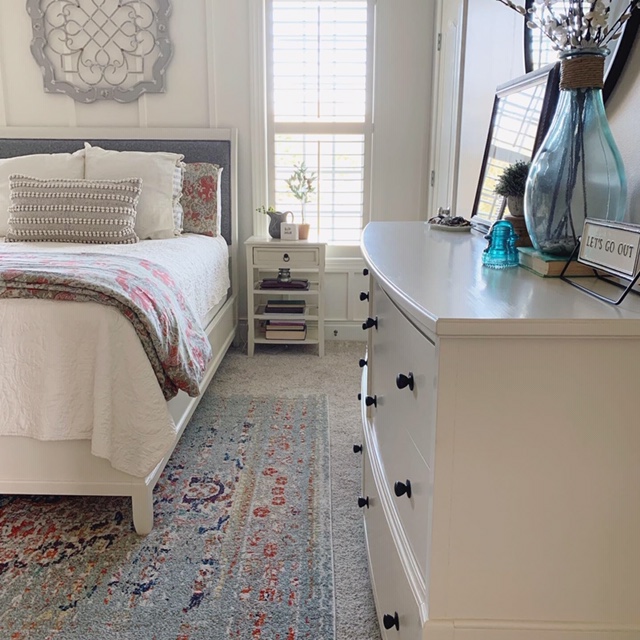
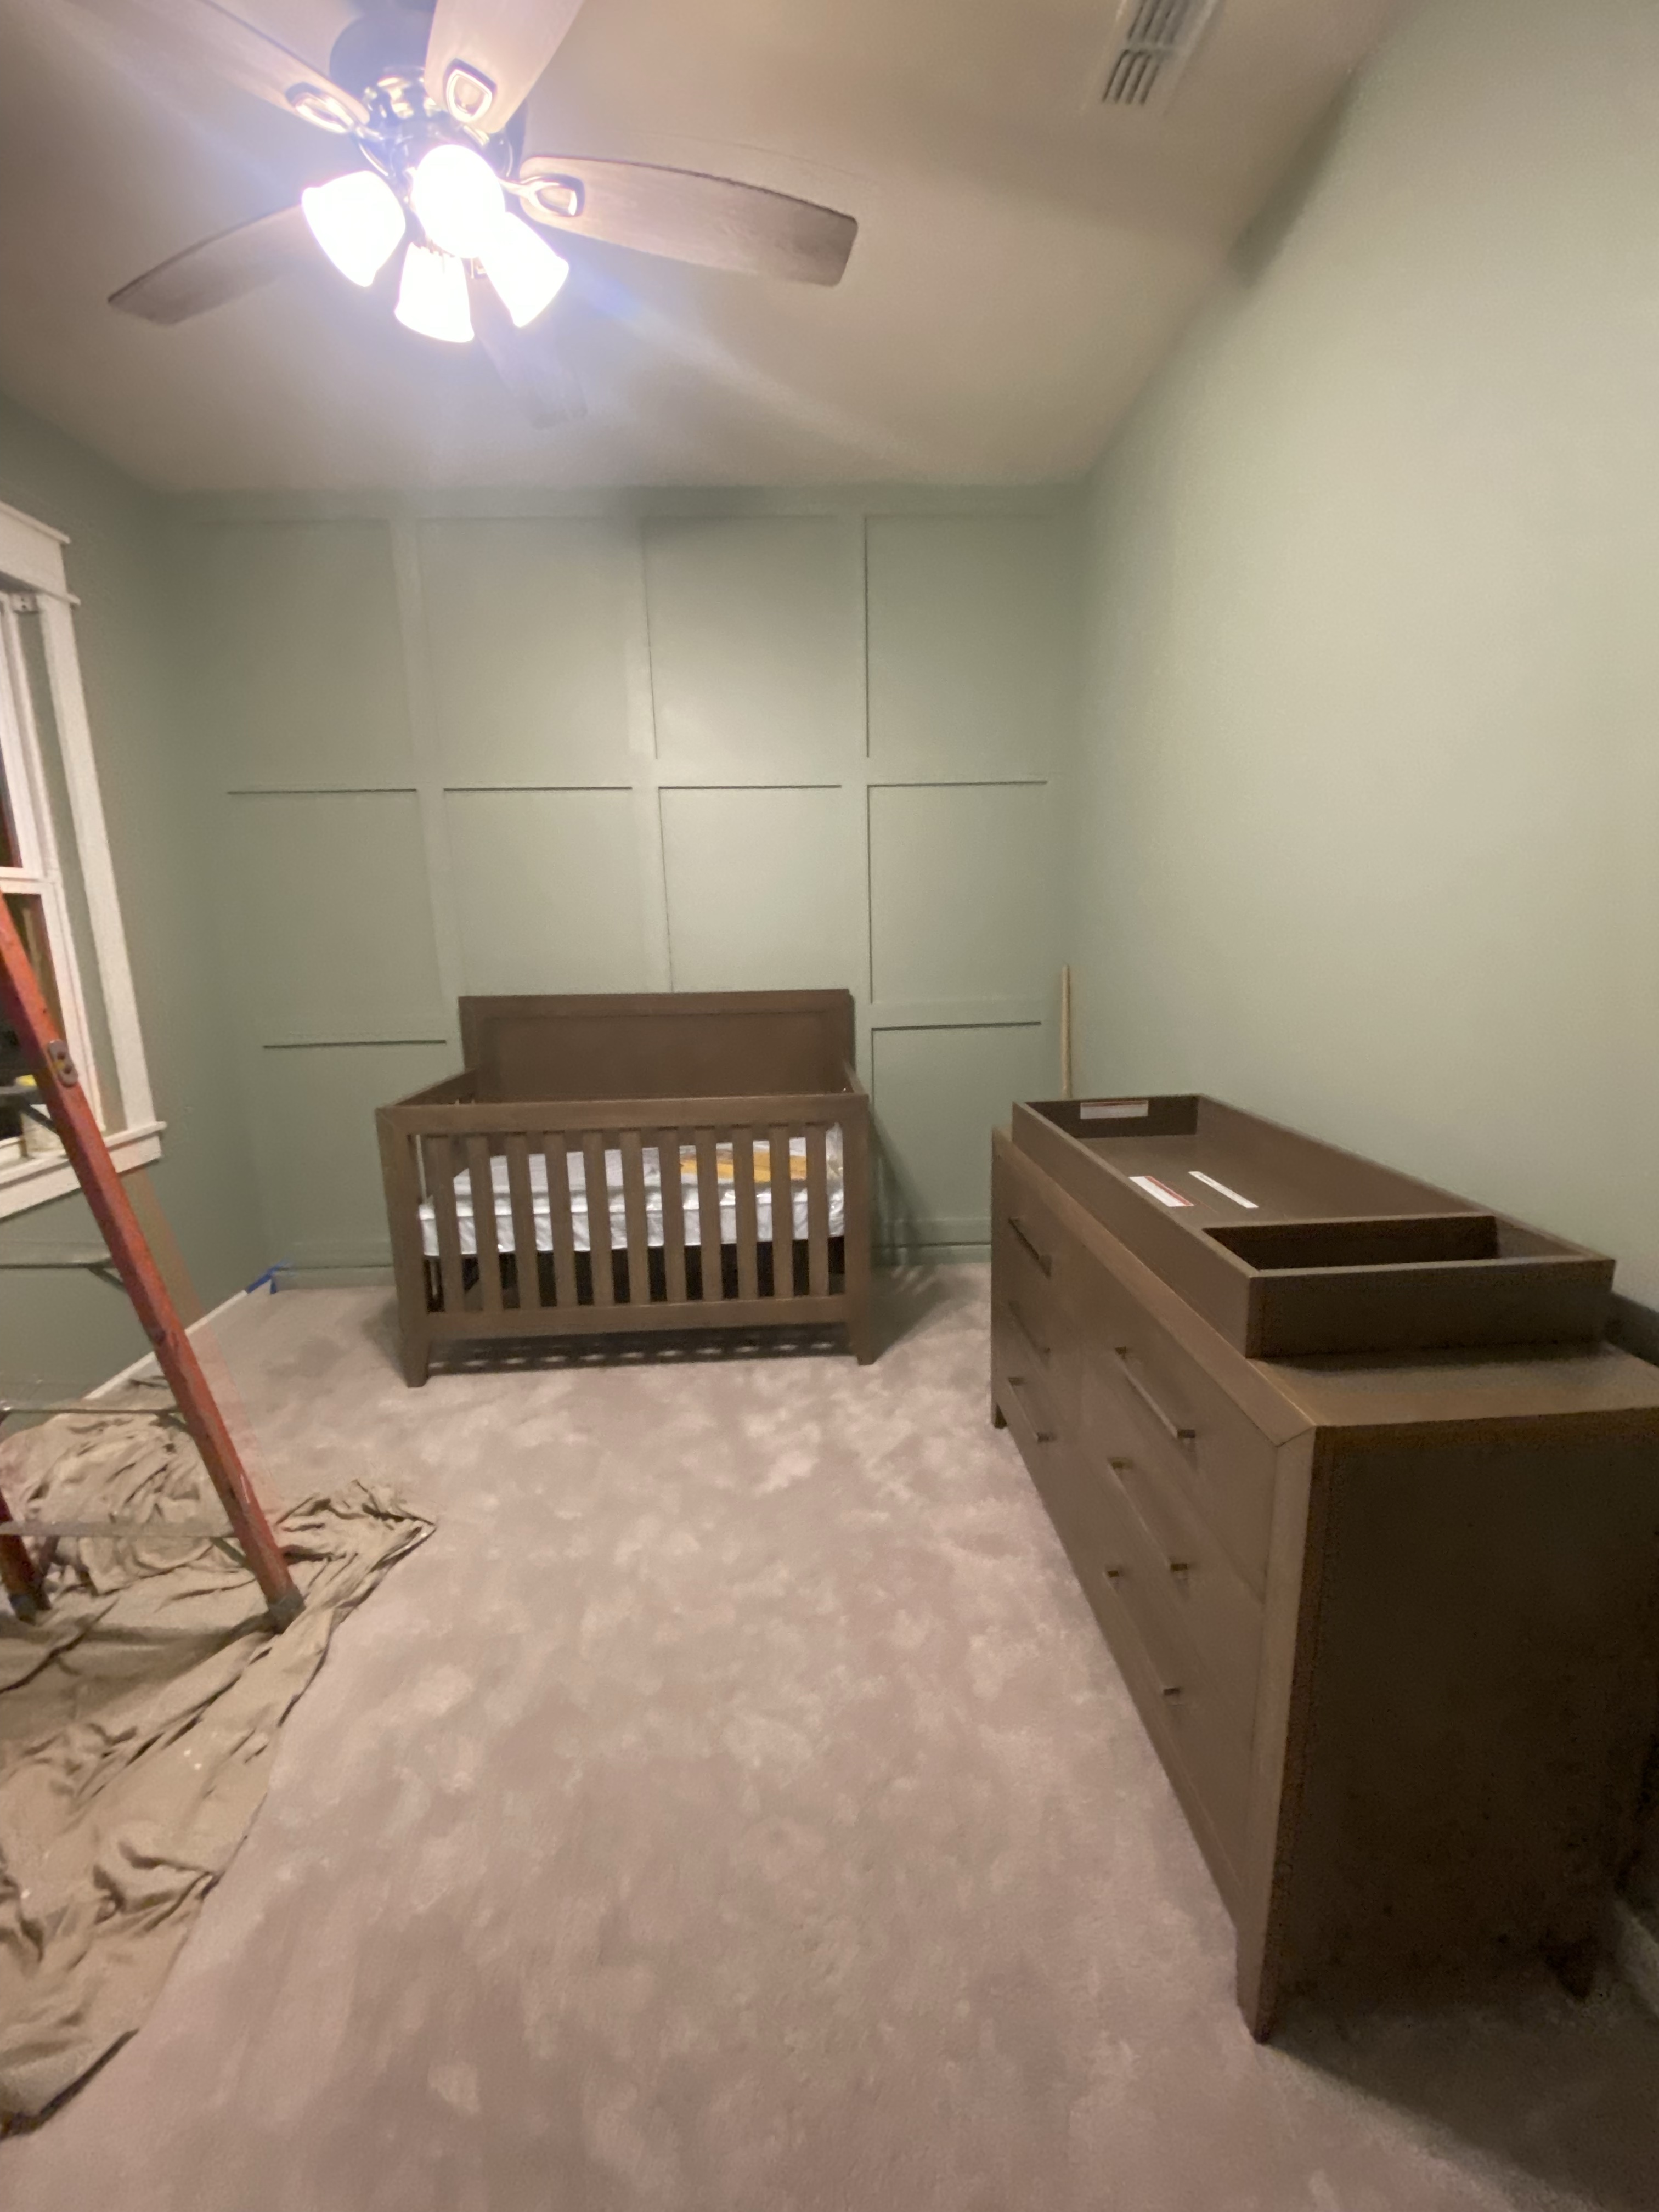
Check out the room before. A perfect canvas to transform with 3 simple updates: Paint, wainscoting, and quick trim for the window.


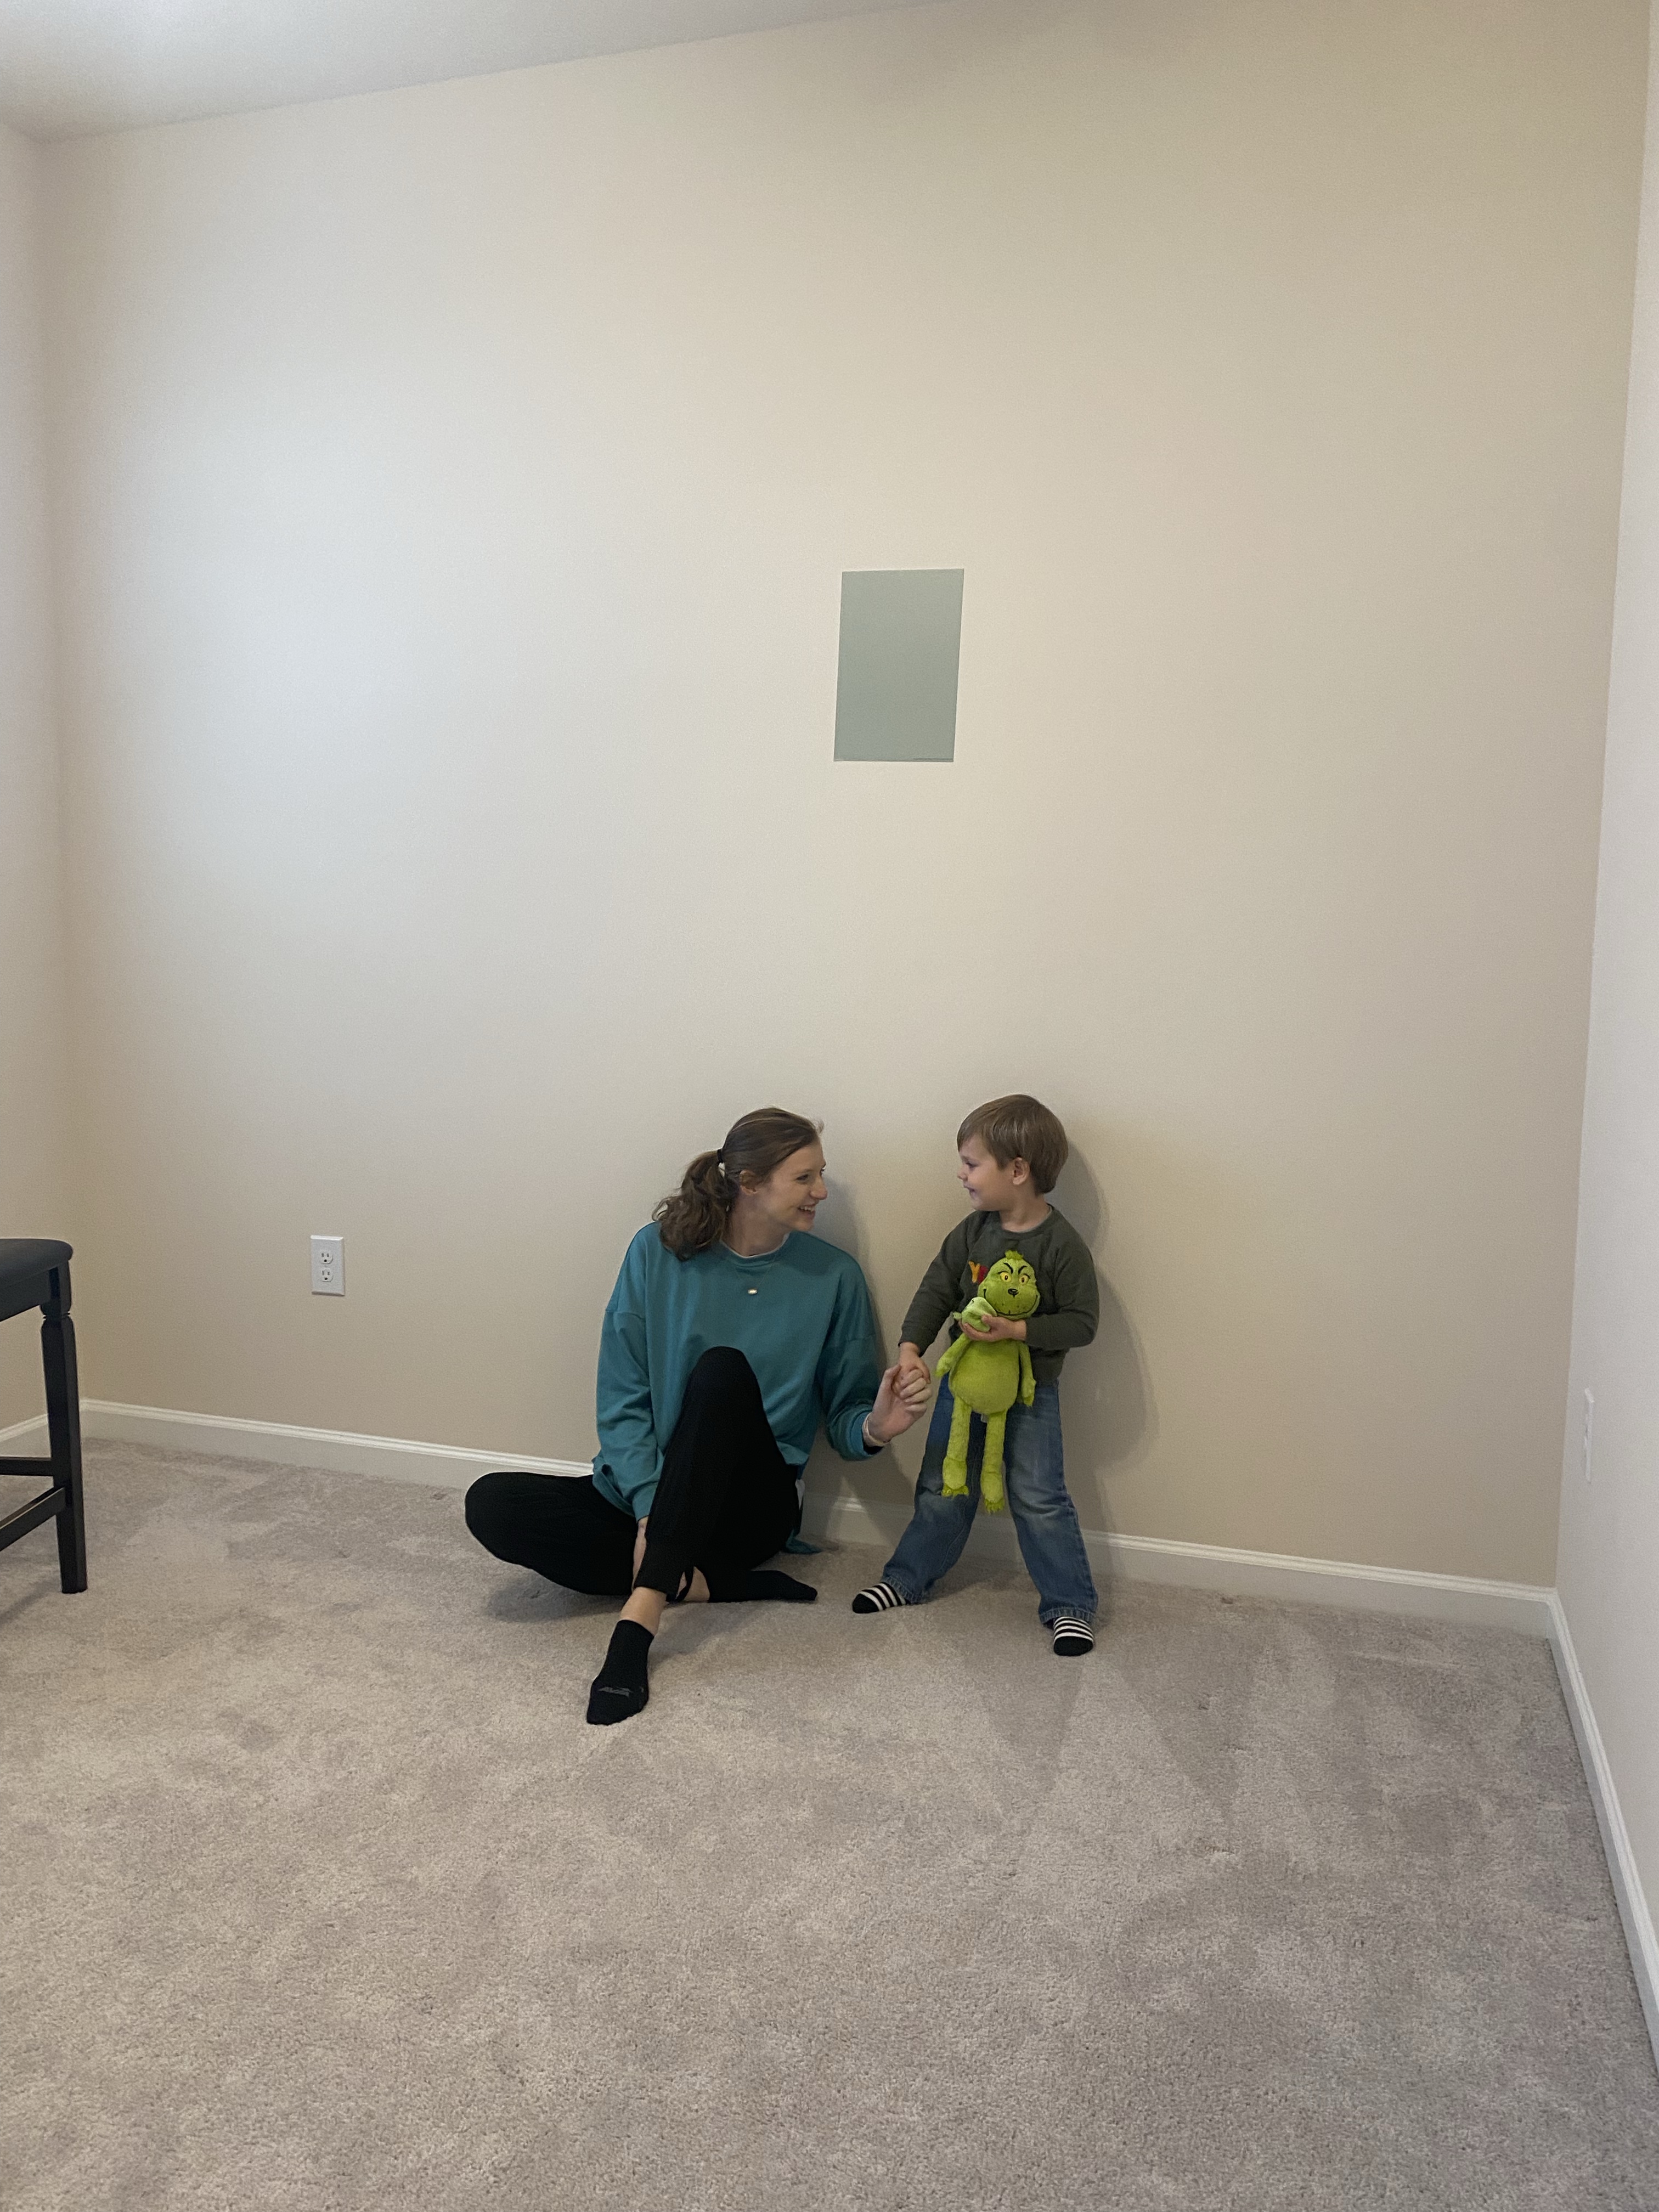
How precious is my sister-in-law?! Can you tell how much the boys adore her just from that last picture?
We did take all three of our boys with us for our project day but I was sure to pack plenty of snacks and food to appease their endless appetites. My brother in law, Michael, had set up the sweetest movie viewing pallet for the boys. He inflated a giant air mattress and loaded it with comfy pillows and blankets.
While the boys watched a movie, we got to work right away.
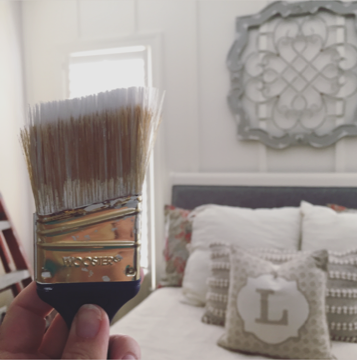
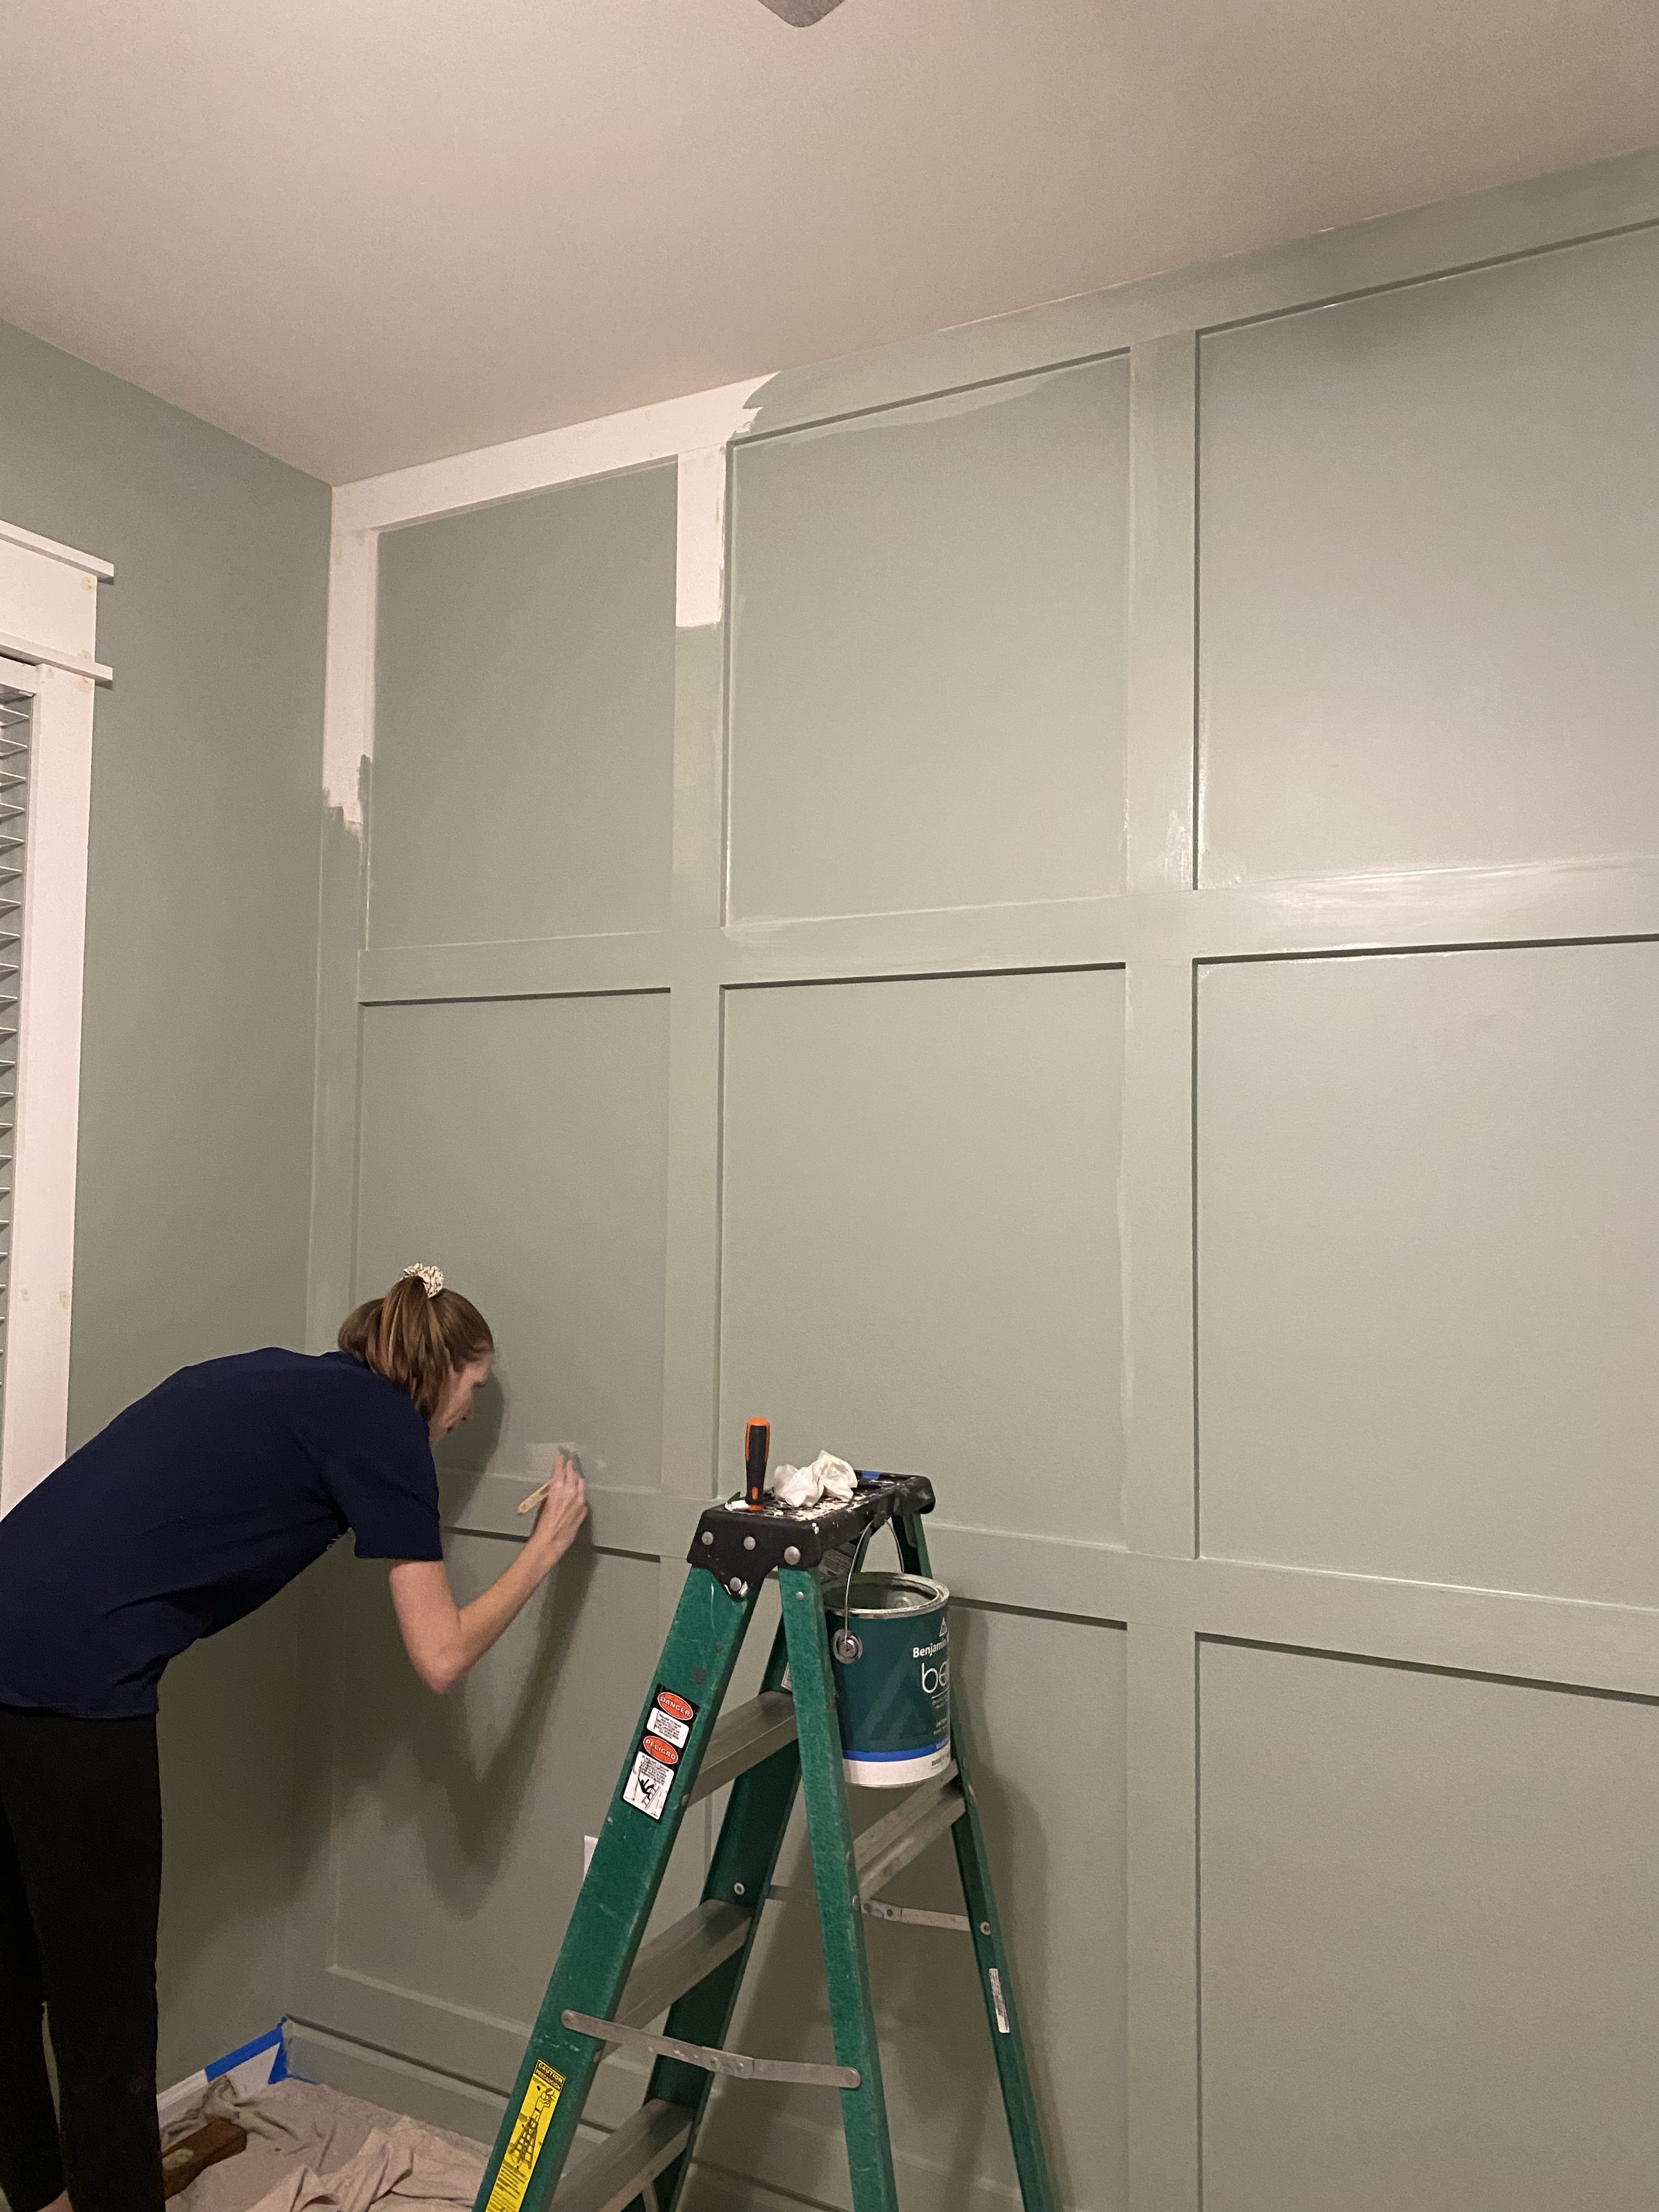
The men set off for Home Depot for the wood supplies while Rachel and I began painting right away. The men purchased primed boards which helped painting go smooth and required less coats.
We try to use primmed MDF on these types of accent walls as those boards have clean cuts when trimmed. This hardware store location didn’t have the product in stock that we usually buy for these projects so we made an easy swap with an alternative, primed pine, and it turned out perfect.
I had the best time chatting as we painted the entire room. It’s a day I won’t soon forget and can’t wait to share about the project day with baby when he is older. His mama worked so hard to make his room special.
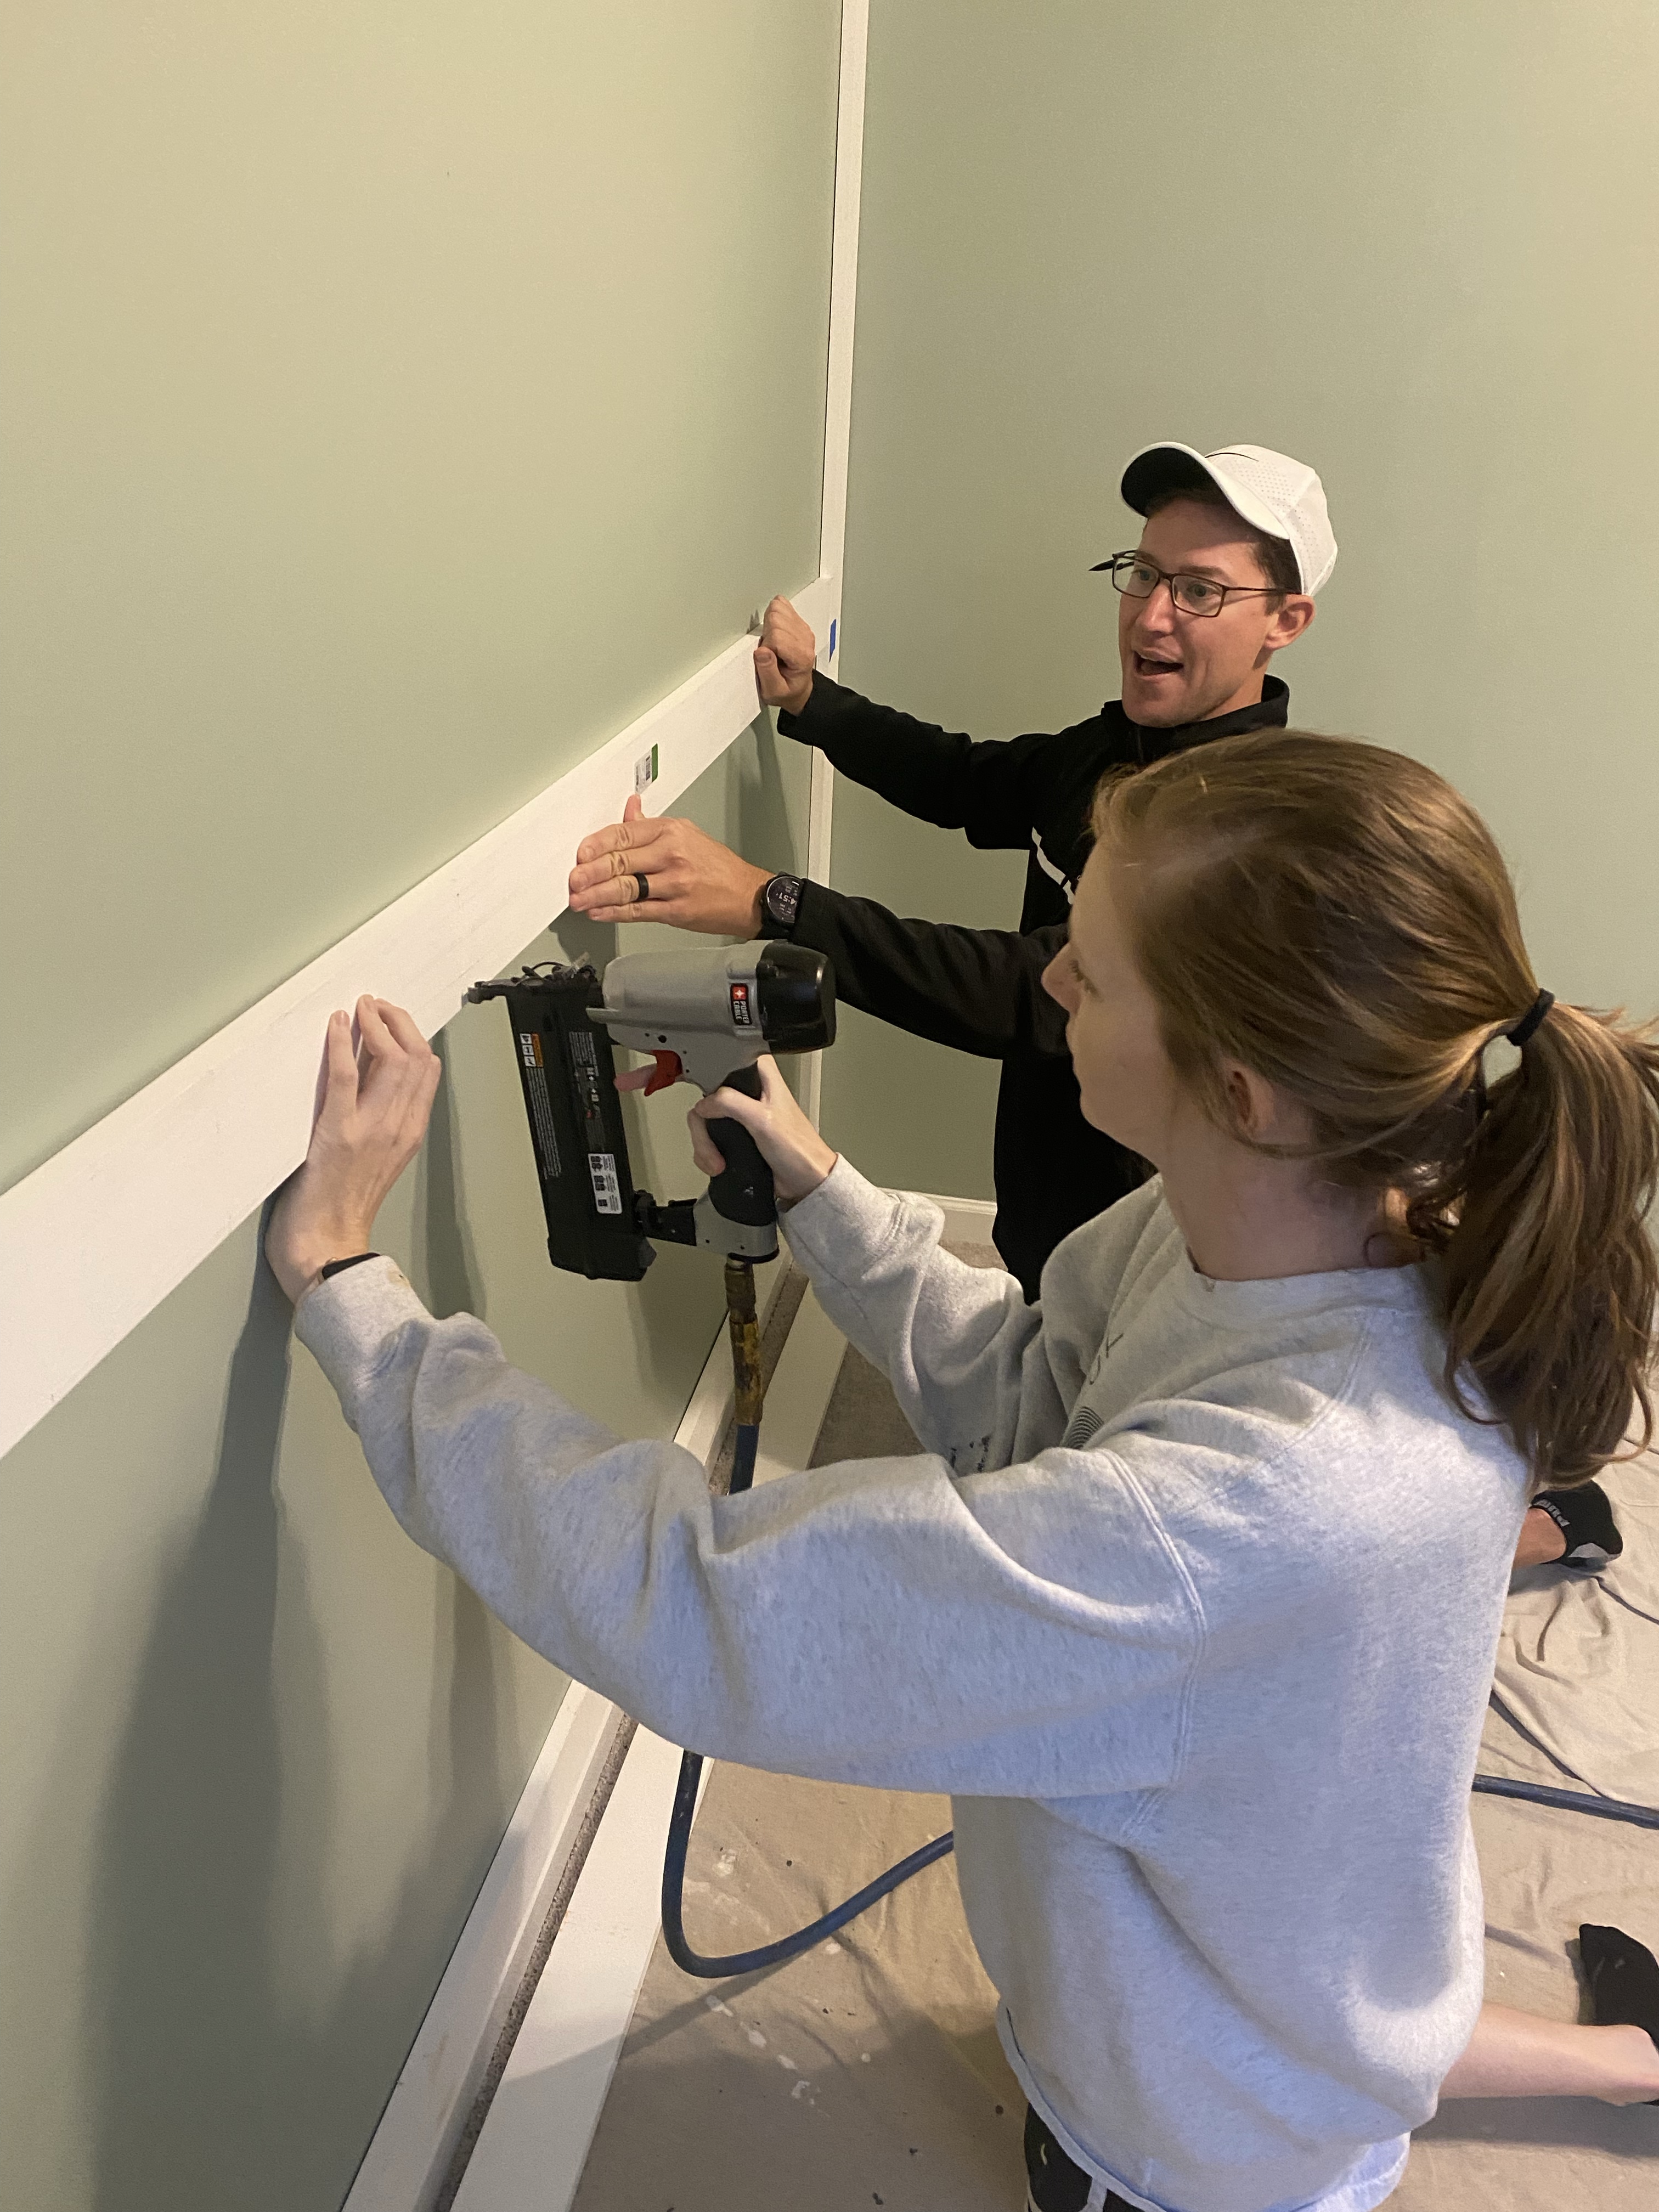
Adam took lead on measuring and cutting the wood for the accent wall. While it may look simple to plan out the spacing for the boxes, I can assure you the math is a little more challenging.
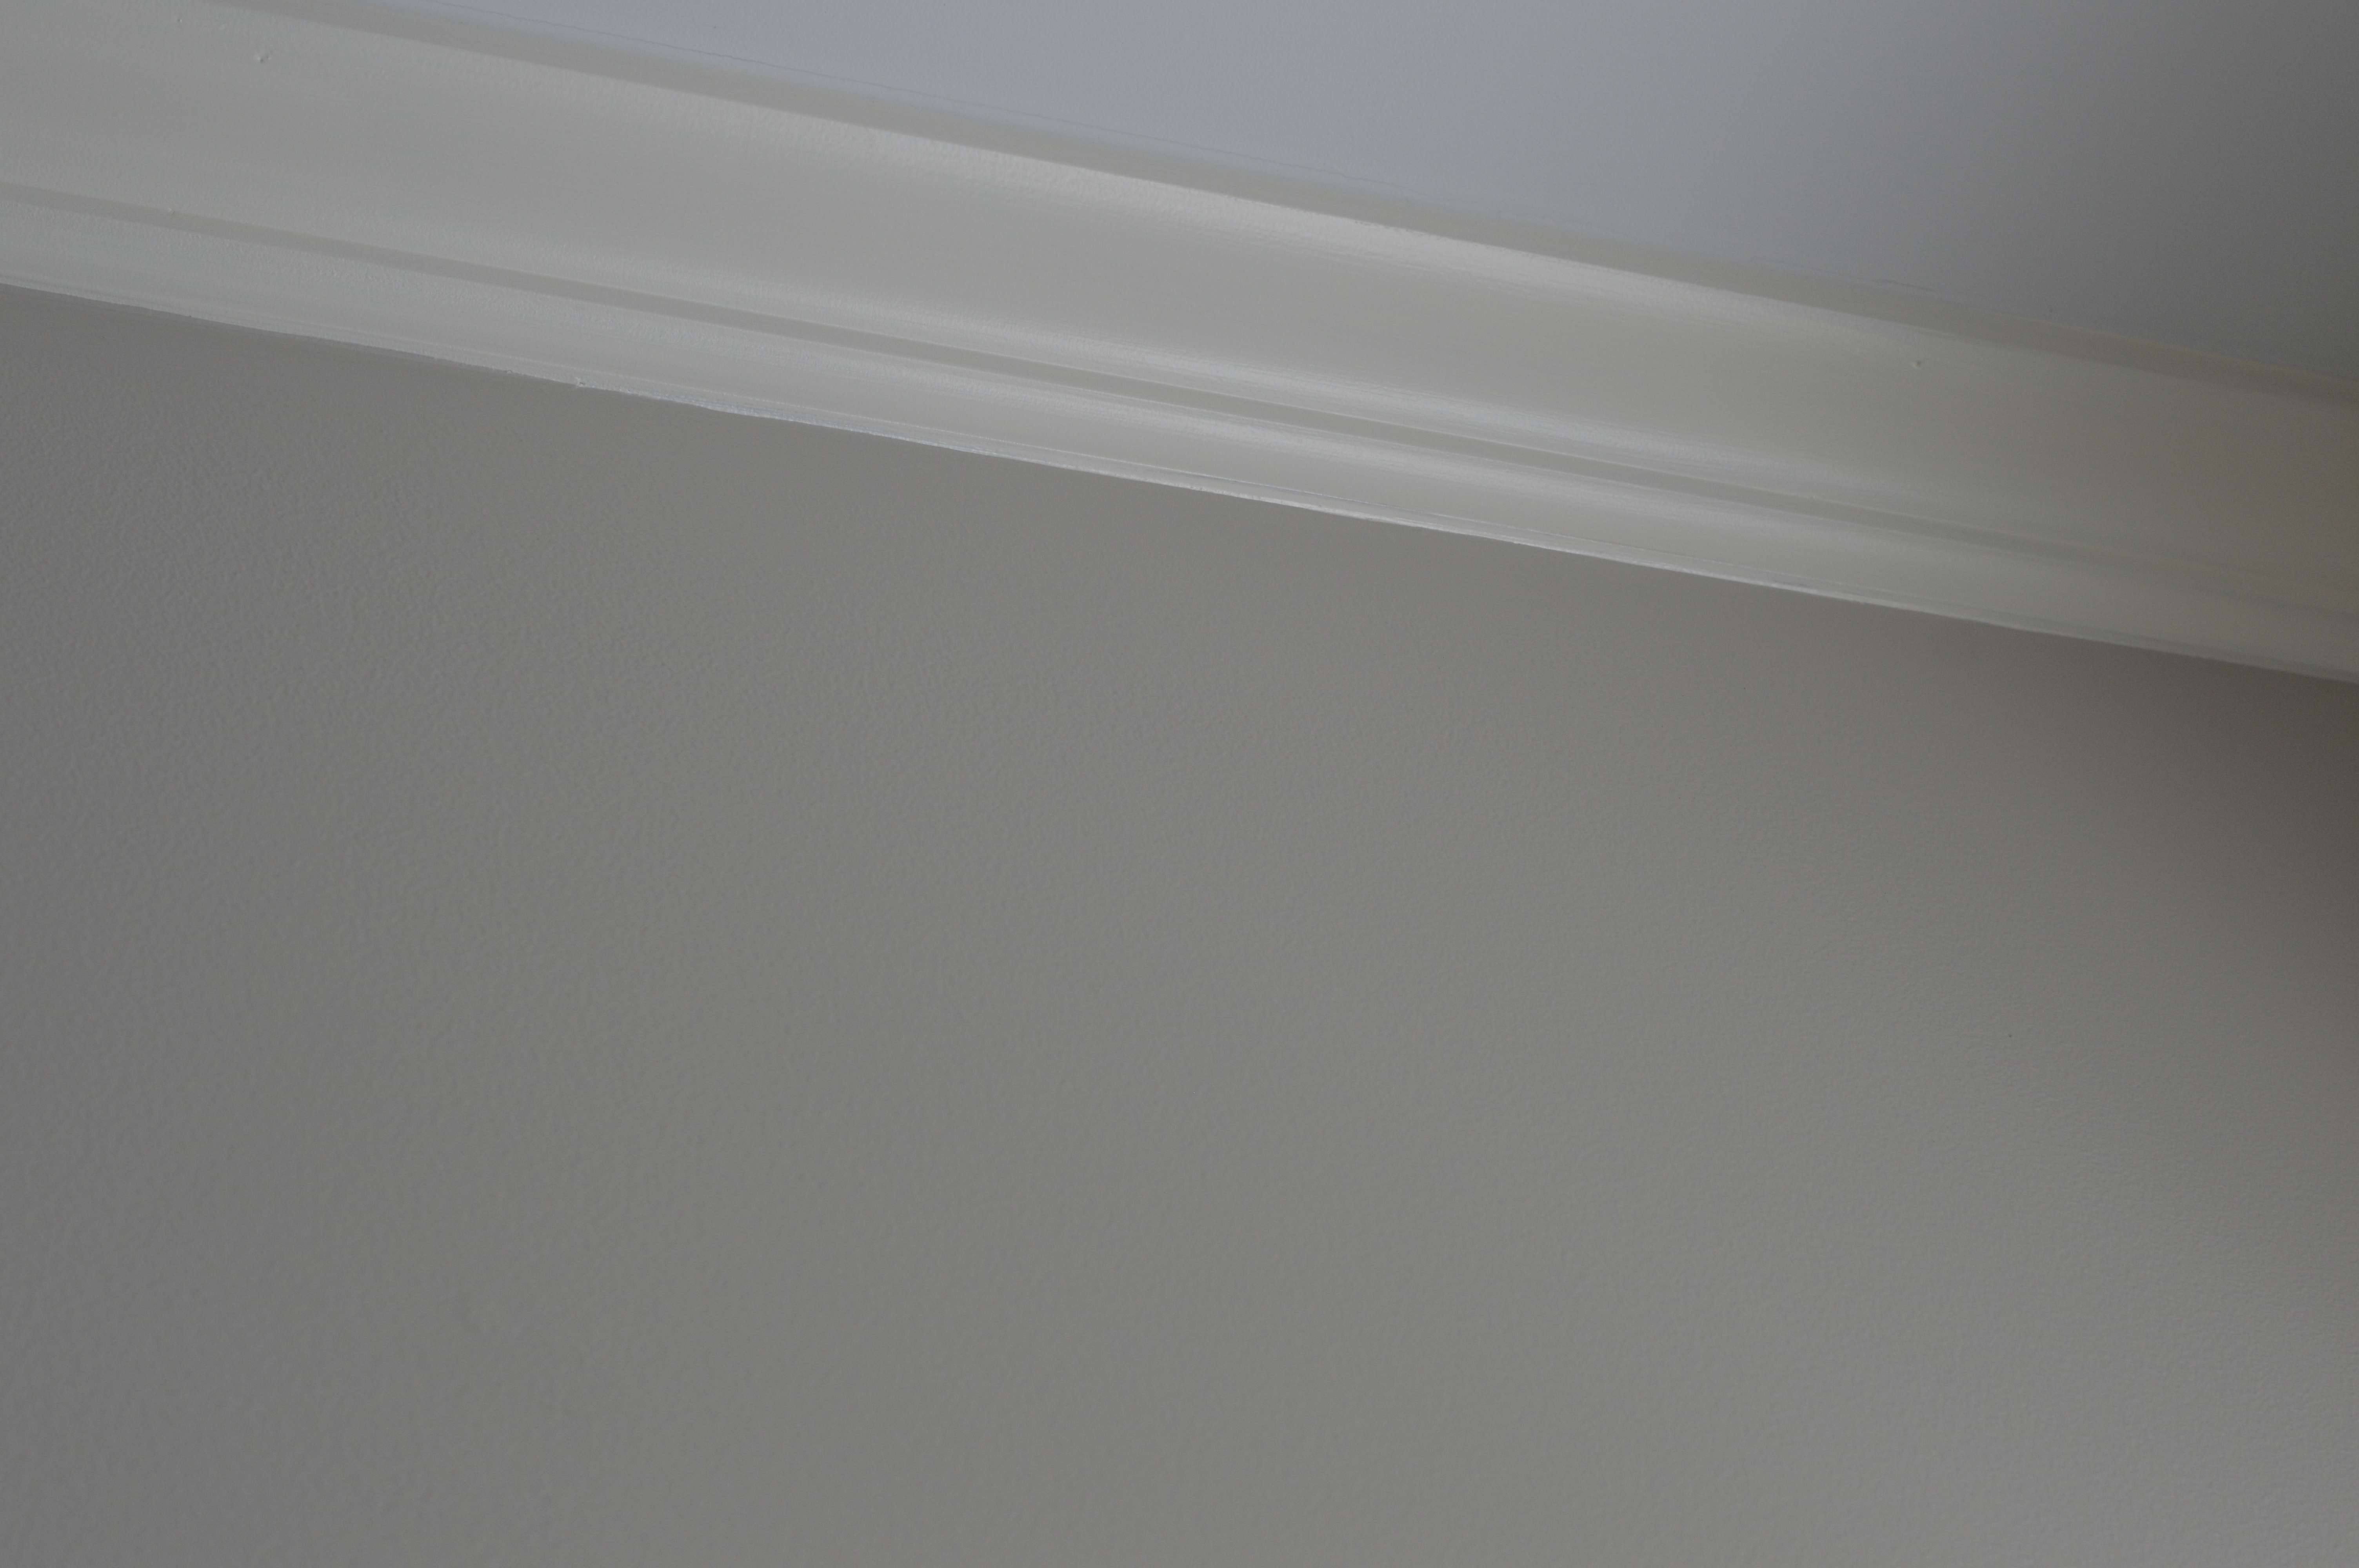
*We also purchased a piece of cove molding to add to the existing baseboard. When flipped upside down, you can rest it on the baseboard and it creates for the perfect flat surface for your board and batten pieces to run in flush with no overhang.


It was a long day of painting and had to be cut shorter for me so I could get the kids home and ready for bed. I left Adam to finish off the wall but showed Rachel how to finish caulking all the seams after the final boards were up and the process for filling nail holes.
We had a couple mishaps with placement of boards in the wrong place, having to remove them, remeasure and nail them back up in the correct spot but Allas, the wall was complete.

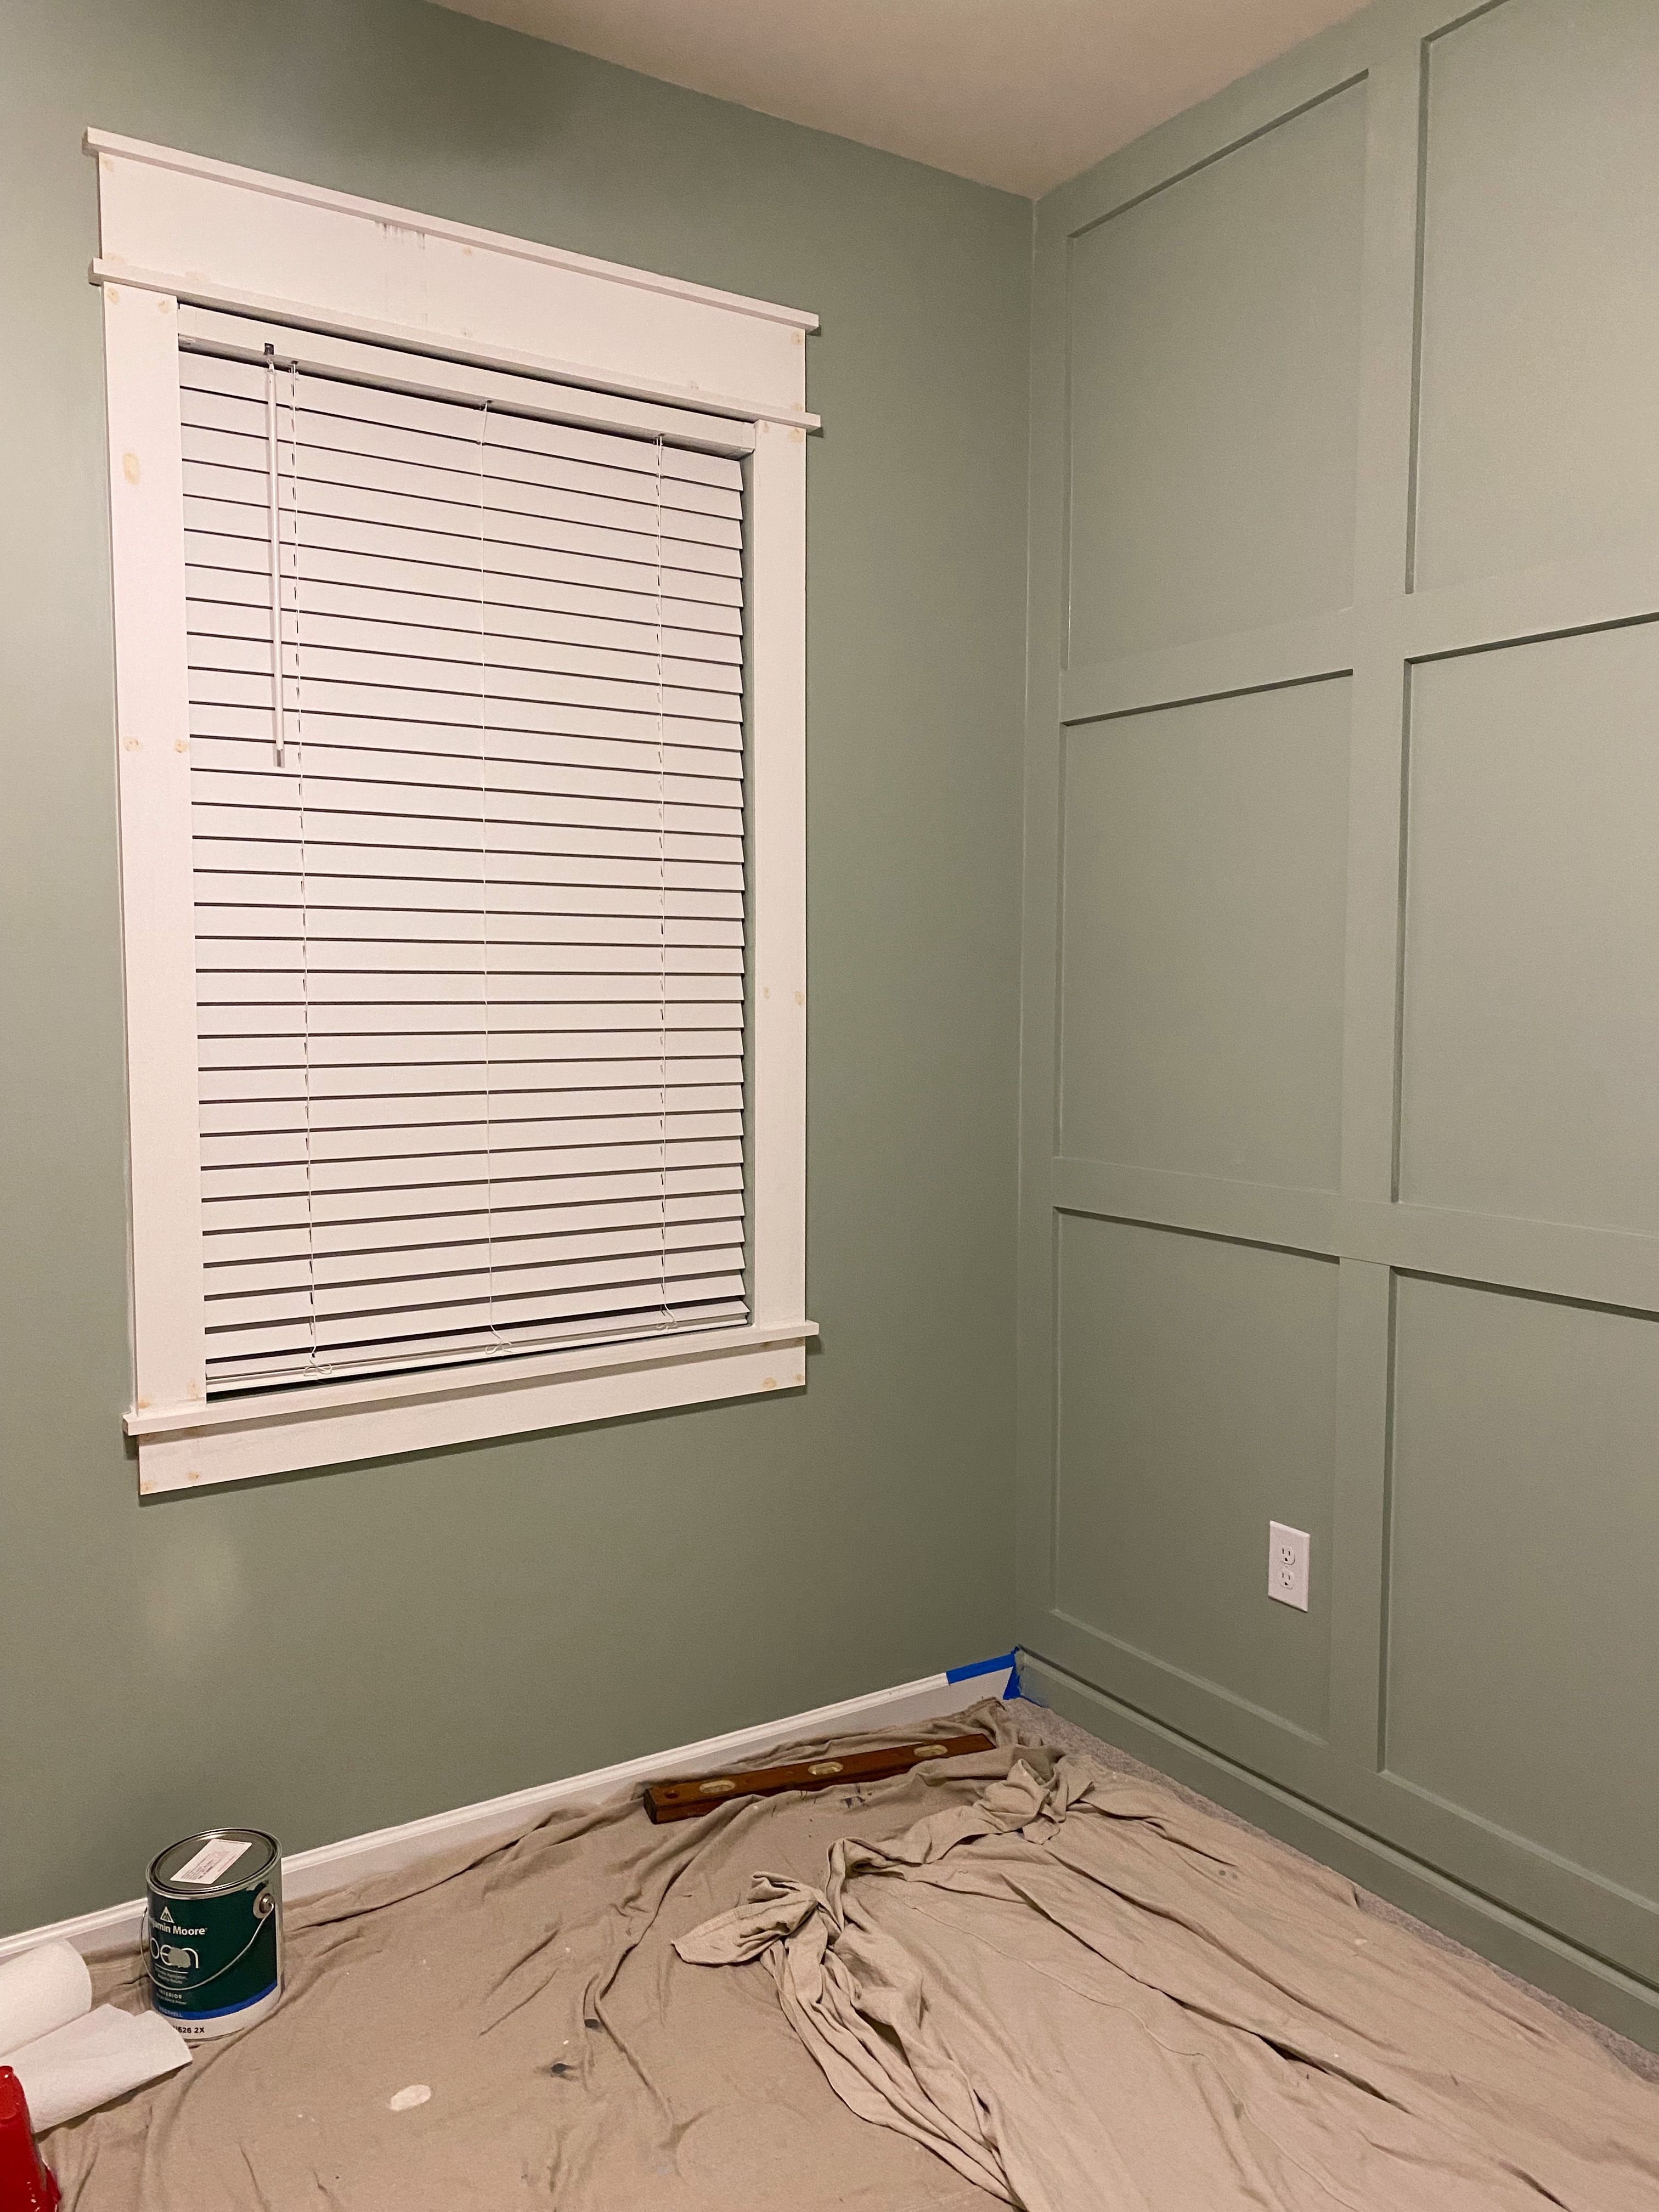
The window wasn’t completed until the following weekend. We had run out of time. I went back over the following weekend to finish up the wood working and did the window all by myself. I say this in a way to encourage you to tackle projects that seem daunting and just TRY it. Turns out, it was a simple update that, once complete, looked like it was always meant for the space.

My sister-in-law even said she wanted to add it to all the windows in the home now. It’s an update that can be made room by room and doesn’t have to be rushed.
I have never trimmed out a window before. I’ve watched numberous videos and how-tos but never had the opportunity prior to this project.
I used this as a guide and customized it to their space.
(Pic of window trim guide)


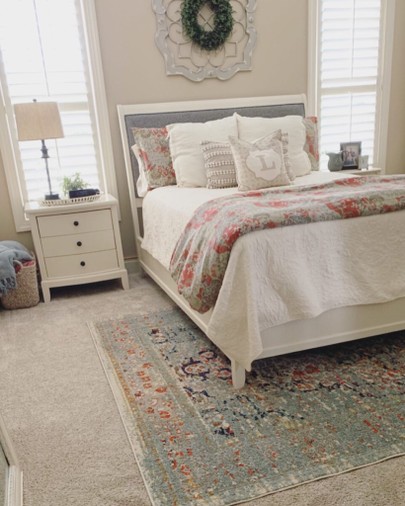
I have to admit, projects outside of our home are my favorite. Painting is therapeutic for me. Transforming a space is relatively budget friendly but brings a big impact. Adding texture to the walls in the form of wainscoting adds depth. Framing out the window added character and contributed to the overall aesthetic of the room that complimented the accent wall and helped create a finished look.
I’m excited to watch as they make all of the selections to finish out the room with furniture and decor in the theme they are going with.
Come on baby Chappell. We cannot wait to meet you.
Until then, my other sis-in-law are planning the SWEETEST baby shower which is coming up in February. Queue the happy tears anytime party details arrive in the mail.
This is your reminder to make a project list and TRY something new. Make it yours and create your Haven one room at a time.