
For $40 in material, you can update any room with a simple accent wall.
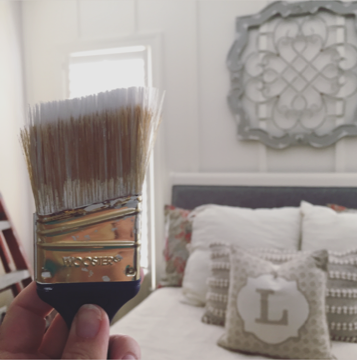
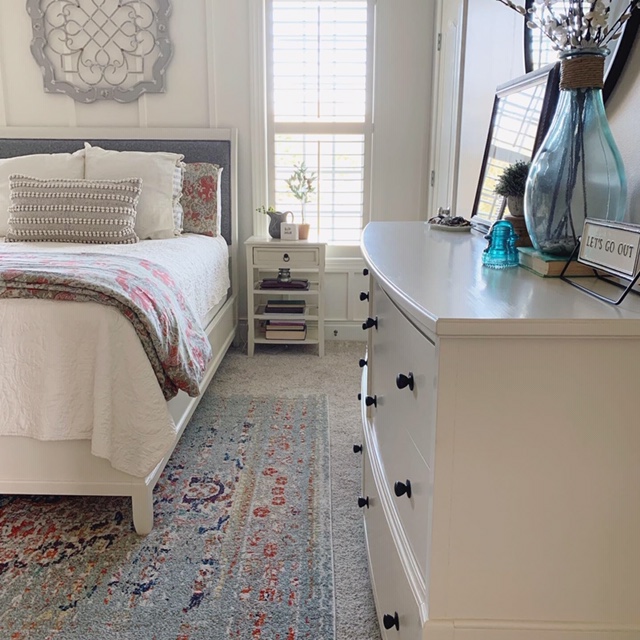
The motivation behind our master bedroom refresh was my vision to lighten up the space completely. Some of my favorite rooms have been spaces we stayed at on vacations. The retreat-like ambiance always relaxes us the most so having that in our room where we sleep every night & wake up every morning became my goal.
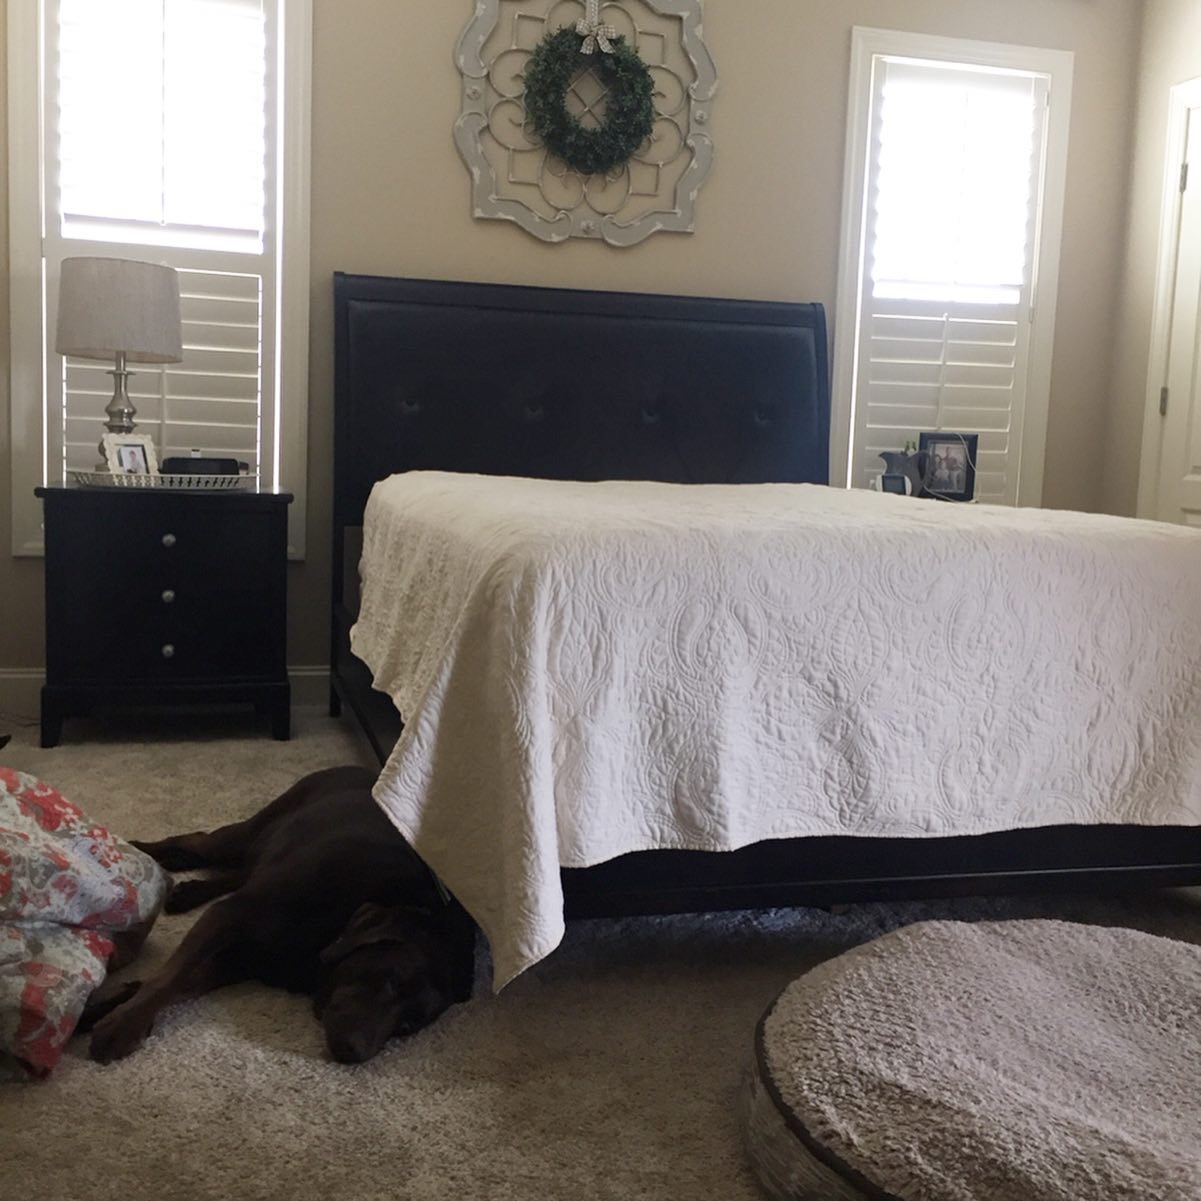
First, I started by refinishing our dark, black furniture with this chalk paint recipe and by updating the black leather headboard insert with a beautiful gray twill fabric.
You can watch my step by step for recovering the headboard insert in highlights here.
Refinishing the furniture alone was a major update to the room. We’ve never been a big fan of the tan walls, partly because our first home had so much of that color before we made the change over to agreeable gray.
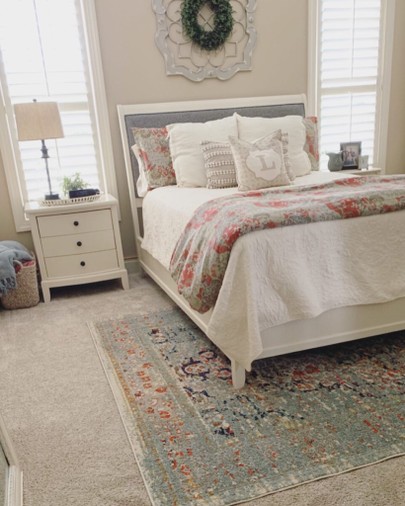
The accent wall was going to be behind our bed, on the main wall. This wall also happens to be the only one in the room with windows. A couple of years ago, we updated the windows with plantation shutters which we absolutely LOVE but something about them looked unfinished on that wall. I wanted the shutters and new accent wall to blend and look like one big statement.
Adding floor to ceiling board & batten and painting it the same color as the shutters and trim became the vision for the space.
We agreed on using 1×2 primed MDF.
The first thing I had to do was add trim to the crown and baseboard on this wall that allowed for the MDF to bump up flush to the edge.
I used this product, cove moulding, from Home Depot.
Once it was painted to match the existing trim, it made the crown and baseboard look like a chunkier piece of trim.
See the before and after:
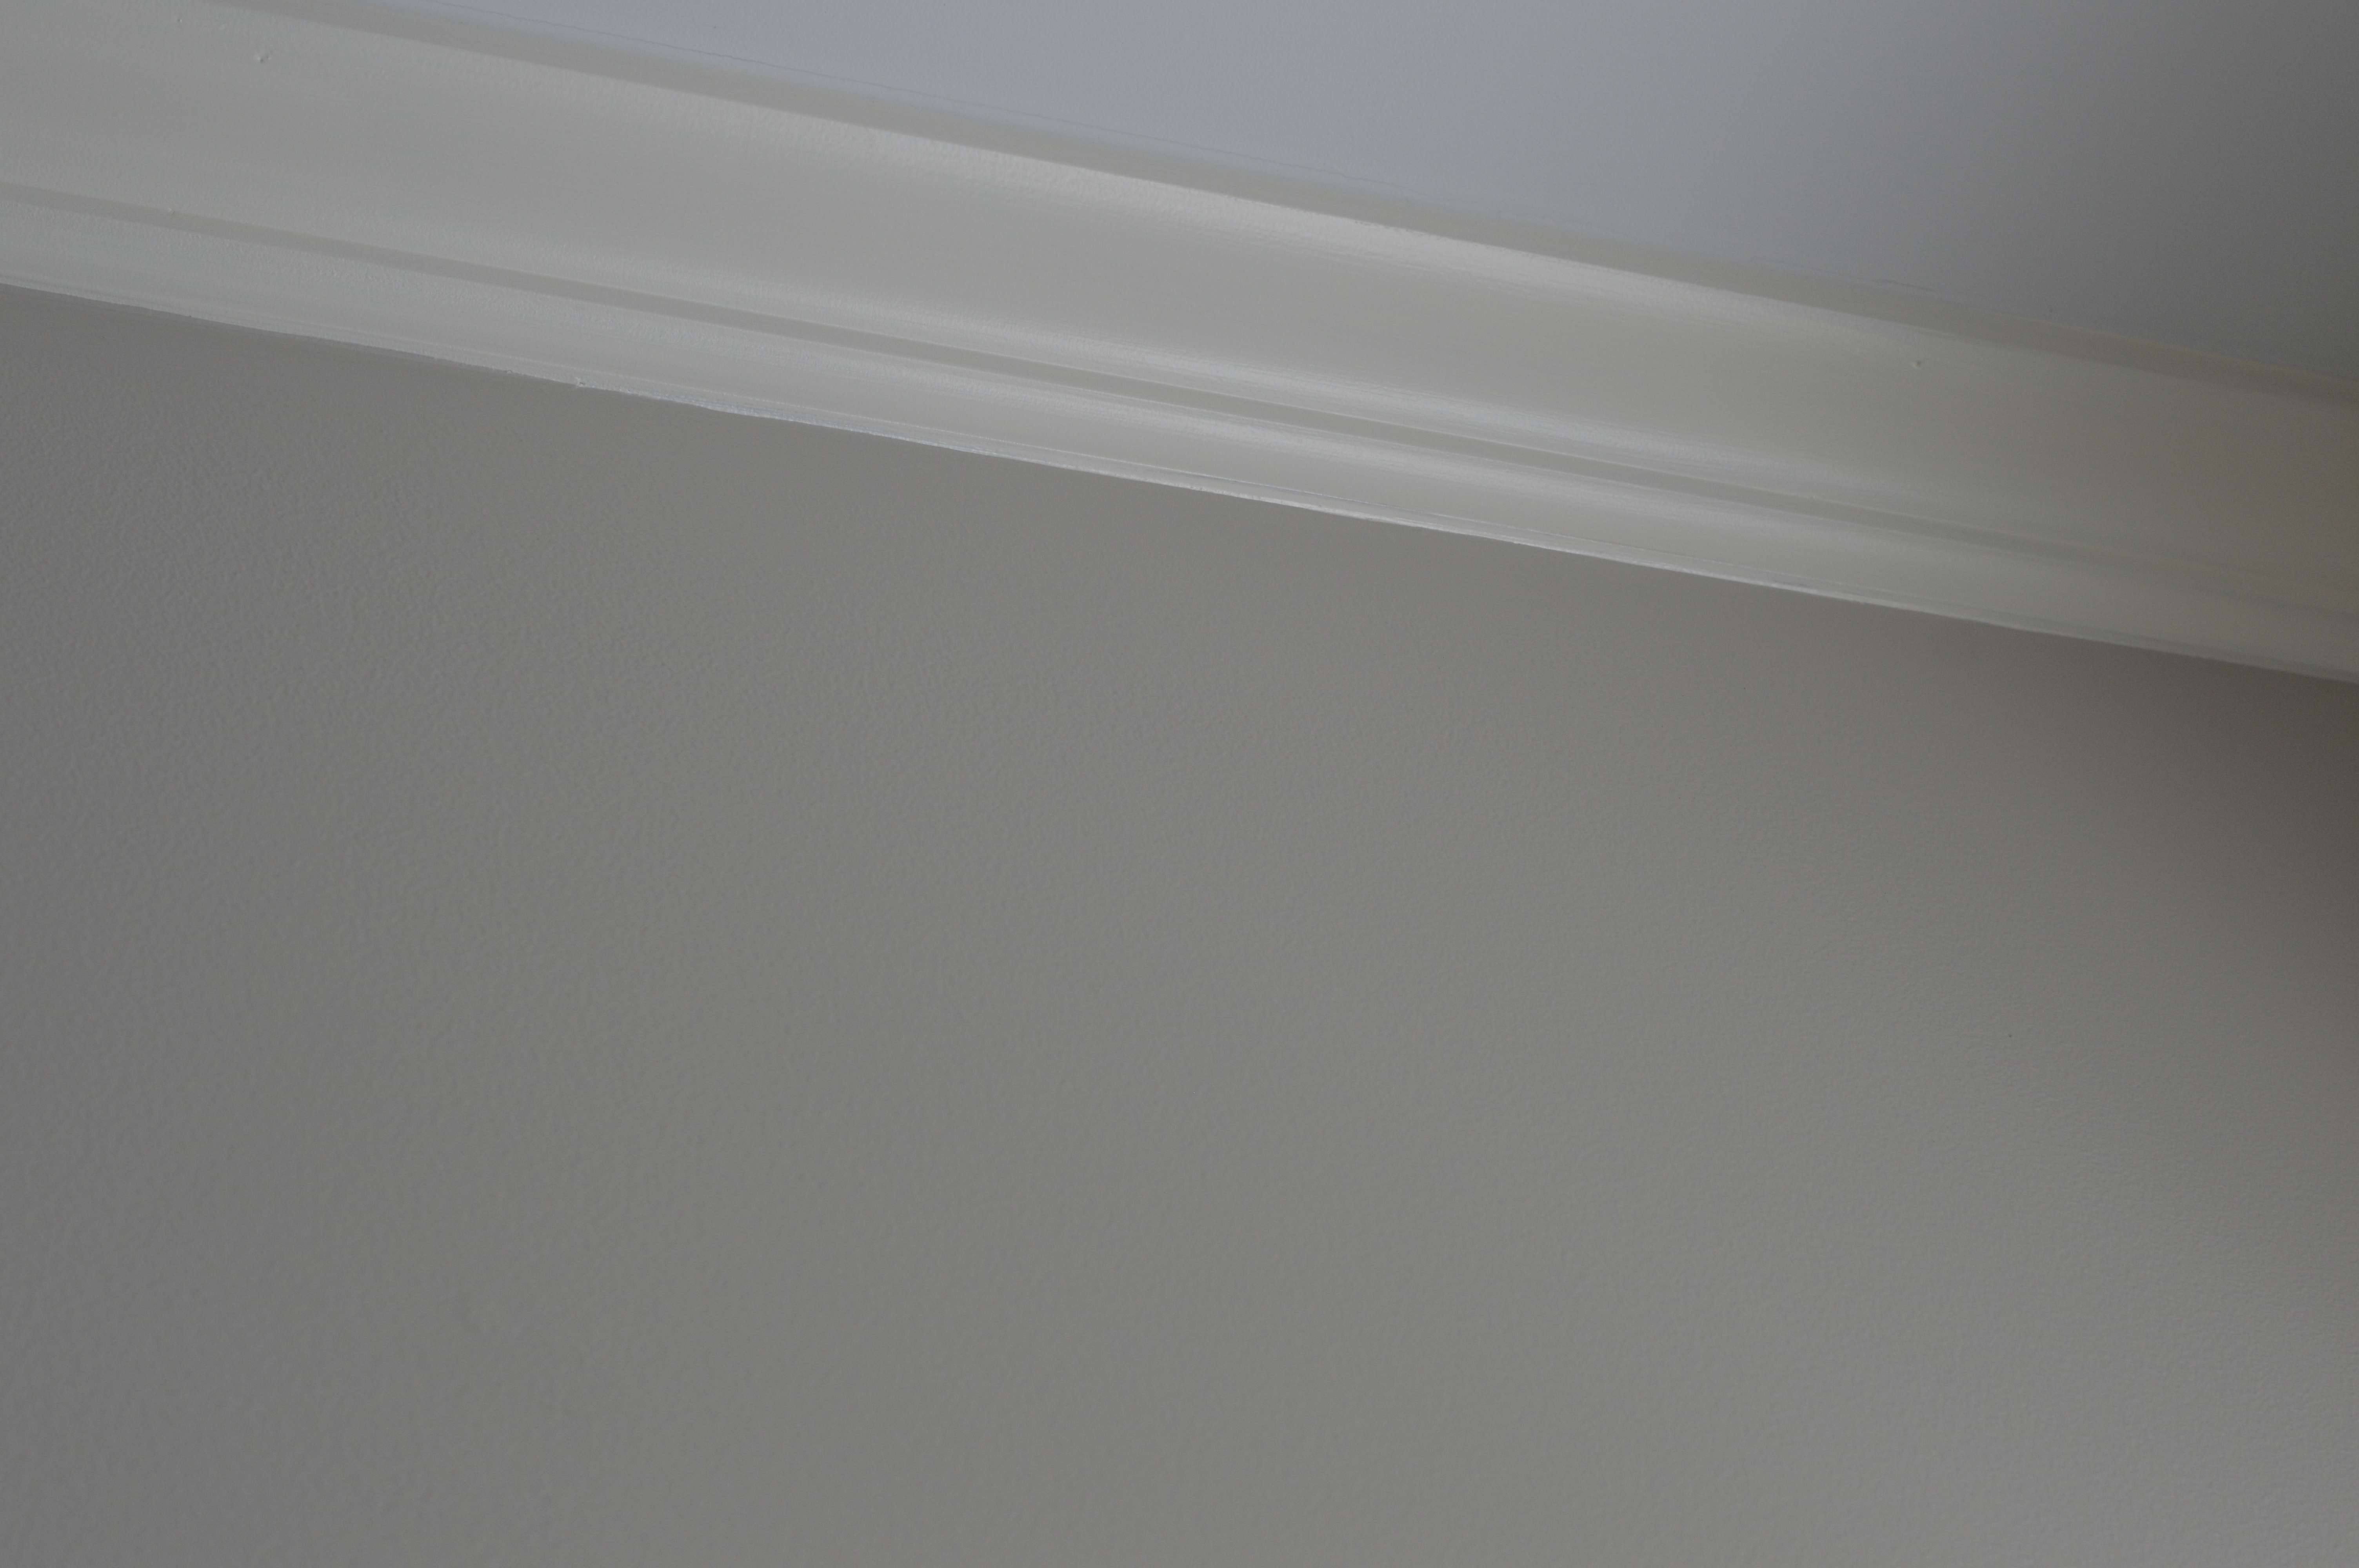
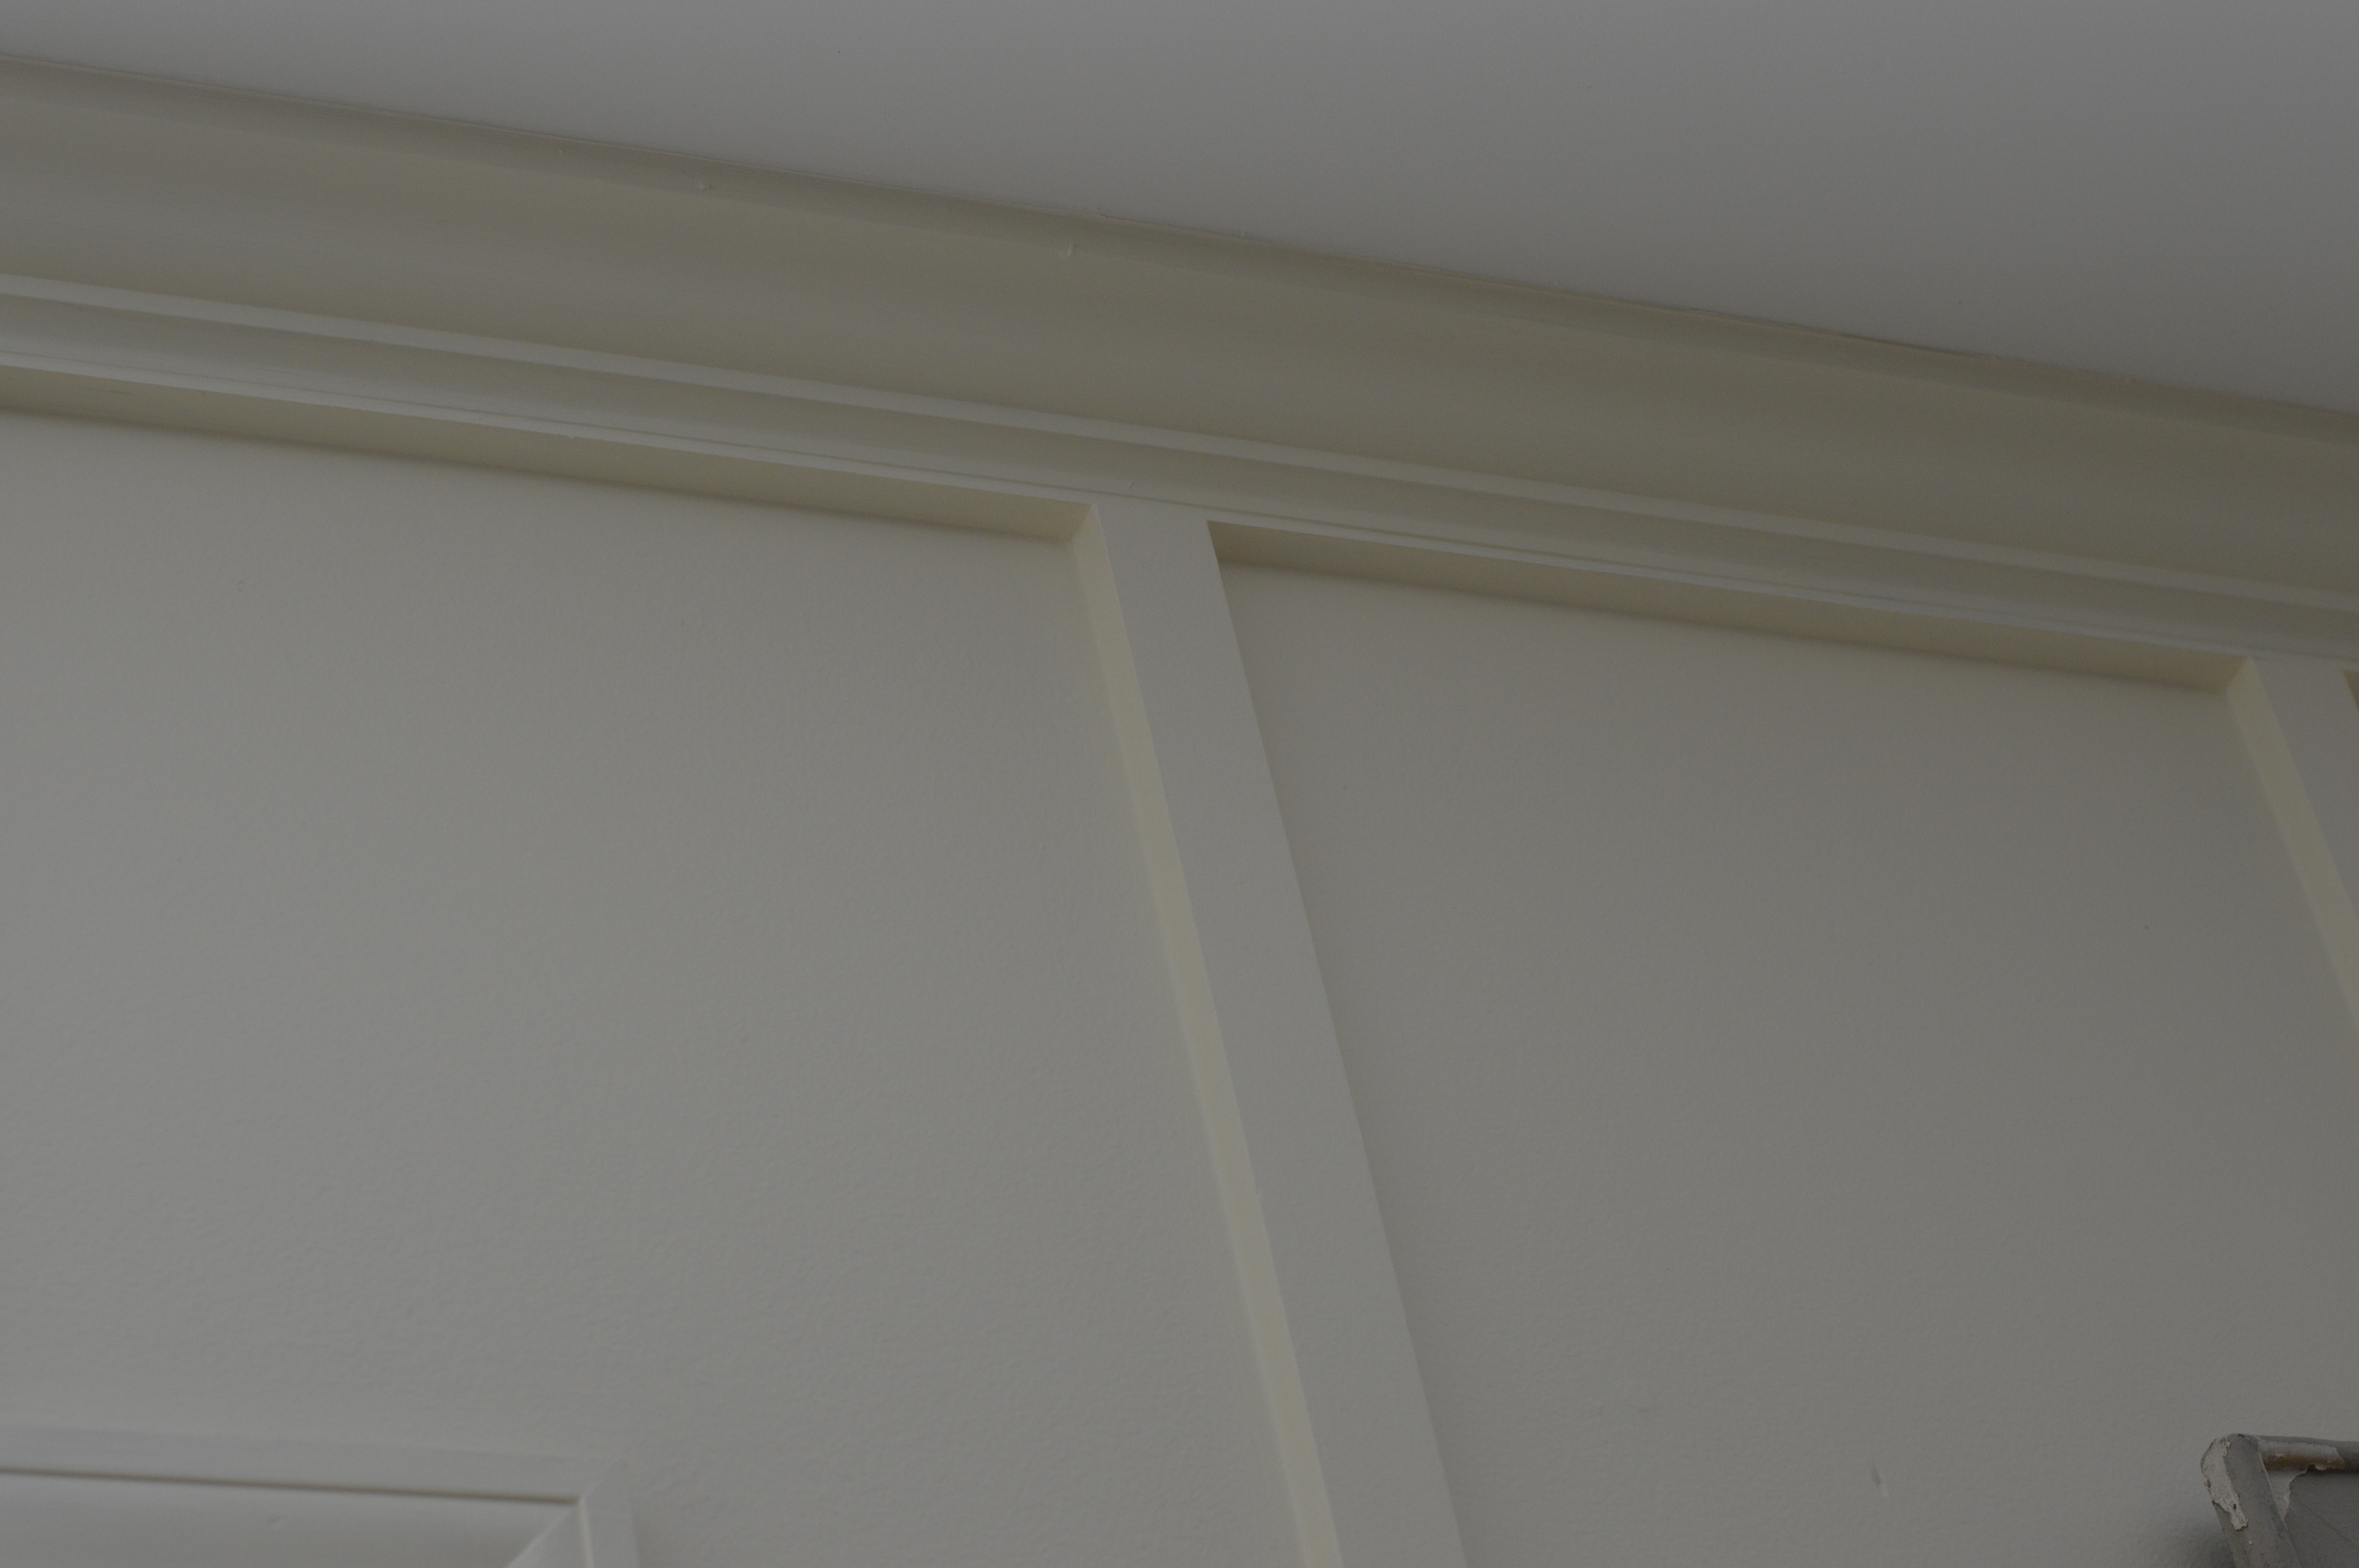

Notice how the after picture shows the MDF boards are flush to the added cove moulding?
After measuring the length of the wall, we determined an approximate number of 1×2 boards needed, 10 (4 of which were not full length due to the two windows) and approximately 15.5-16 inches apart.
The spacing had to be adjusted slightly because the wall length wasn’t 100% exact on either side of the windows. Thankfully, my mom was at the house when I was struggling to make these adjustments. Simple math sounded like the logical solution but then the boards weren’t centered evenly over the windows. Long story short, we finally worked out the spacing solution, adjusted when needed and overall, you don’t notice there are any differences in spacing between any of the MDF strips.
The BEST part about this project was getting to use my father-in-laws nail gun.
It’s not just any nail gun. It’s cordless, doesn’t require an air compressor and uses CO2 cartridges. (I’m going to need one for myself.) Most air compressors are loud so it was nice using this nail gun as I was DIYing this project during toddler naptime. The nail gun was fairly quiet, quiet enough to not wake said sleeping toddler.
If you’re in the market for a finish nailer. I encourage you consider this one as an option and compare as you won’t also have to buy an air compressor.

Simple Steps for adding board & batten when you have existing crown and baseboards that you don’t want to remove.
- Add cove moulding with a finish nailer to the length of the existing crown and baseboards.
- Caulk seams, putty nail holes with wood putty, let it dry then sand lightly with 220 grit block
- Now you can paint this newly updated trim and the wall the intended color of your accent wall. (I recommend doing this before adding the board & batten strips as it will make painting easier when they are added.)
- Add the first board and batten strip flush to the edge of the wall. Don’t worry about any gaps that may exist due to wall inconsistencies, you will be caulking this prior to painting once the strips are up.
- Measure out spacing for each strip of your board and batten.
- Add liquid nails to the back of the strips, then nail to the wall using your finish nailer. Liquid nails are recommended as you likely won’t be adding each strip where the studs are located.
- After adding each board, fill holes with wood putty, caulk all seams at the added boards and wall (you want to do this to fill any gaps that may exist), wait to dry, sand puttied holes then vacuum up all debris.
- Now you’re ready for paint! If you painted the wall the accent color prior to adding the B&B strips, you’ll just have to paint the seams and newly added trim.


In full transparency, it’s been a lot of work updating this room soley because of my project to repaint ALL of our bedroom furniture. It’s an easy process, just time consuming due to the coats of paint and polycrylic finish.
In the end, all of the labor is worth it. You eventually forget about how much it hurts during the process, then you do it all over again for the next project.
I want to hear if you are planning to add an accent wall. Share in comments if you’re adding a pattern or keeping it classic with a floor to ceiling board and batten addition.
