
House projects are funny. You make a list of things you want to do, both big and small and either check them off little by little or stare at the same list for years. We’ve been in our home for 8+ years and have really only scratched the surface on projects we want to tackle and yet at the same time, we have done so much.
This particular project recently became a priority as I have found I need to hide the clutter and for everything to have a designated space. The clutter started to feel heavy in my mind and that was something I needed to offload.
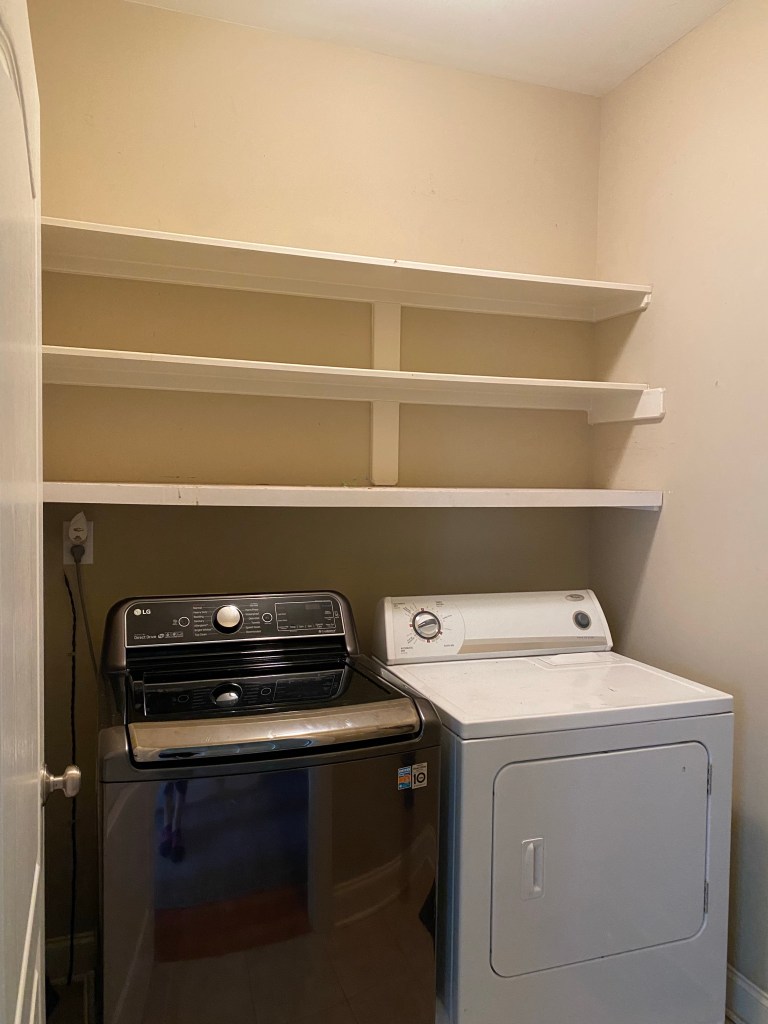
Our laundry room always has the door open as our dog’s food and water bowls are in this space. Additionally, it had open shelving so it always looked messy.
The hallway where the laundry room is has also become the point of entry we use most. Guests often come in this door instead of the front door as well. While we can’t change the footprint of this area, I could control the appearance and functionality of this space.
Control the controllables.
Before: (YIKES)
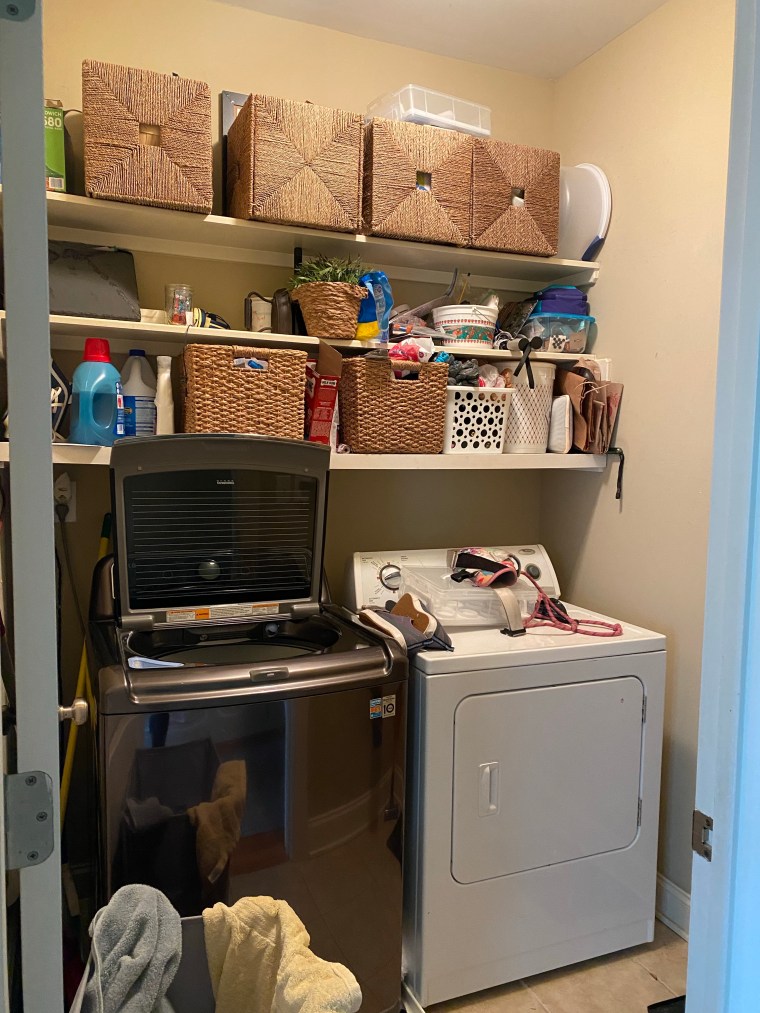
Do you understand why I needed to clear this clutter by physically and mentally?
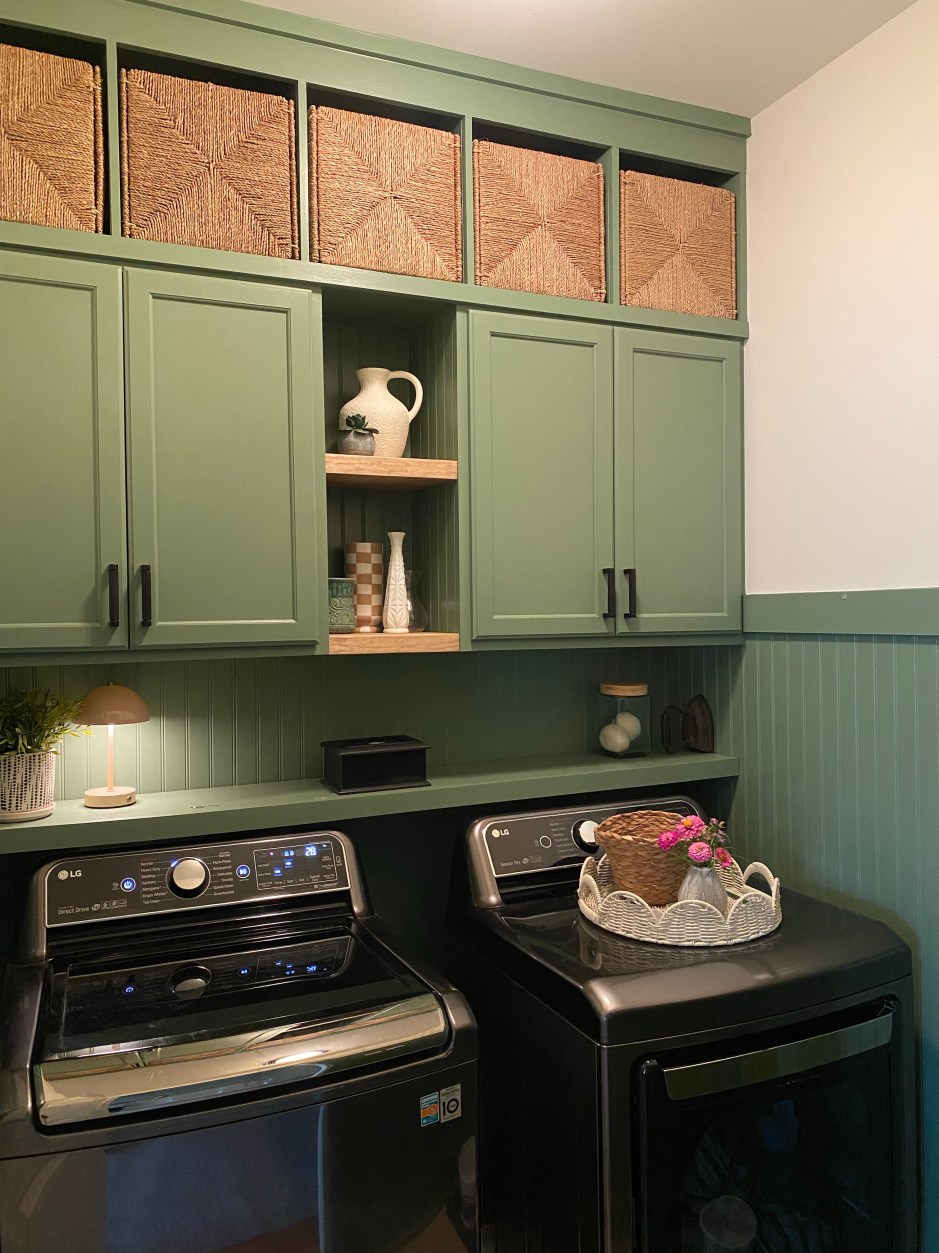
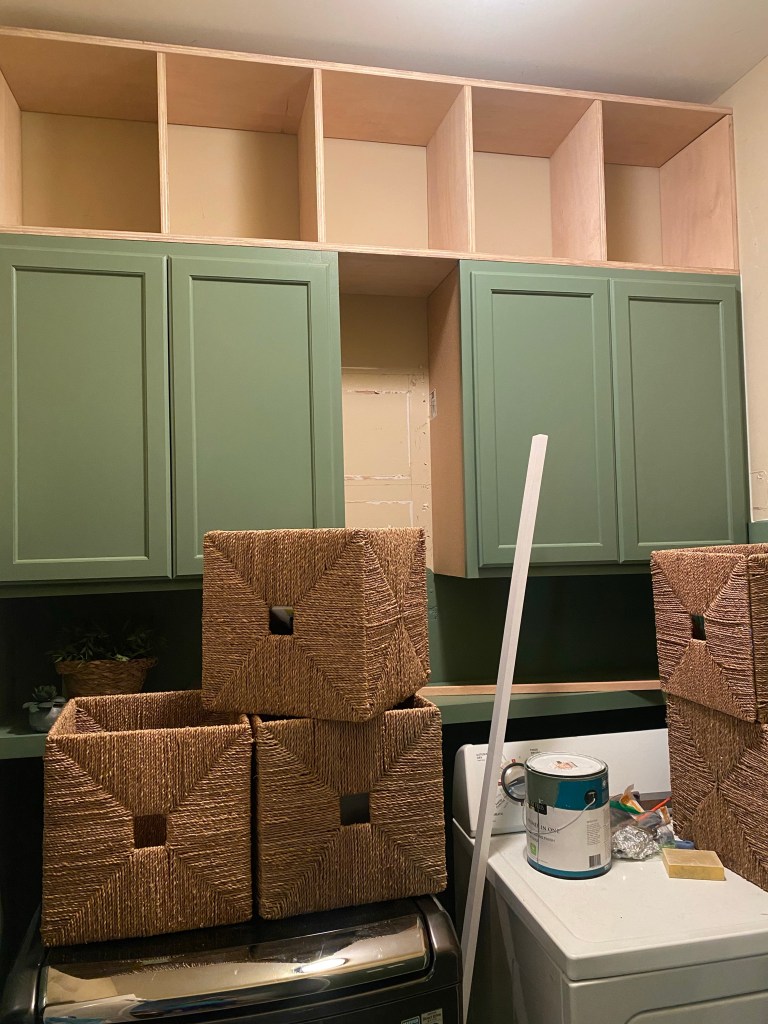
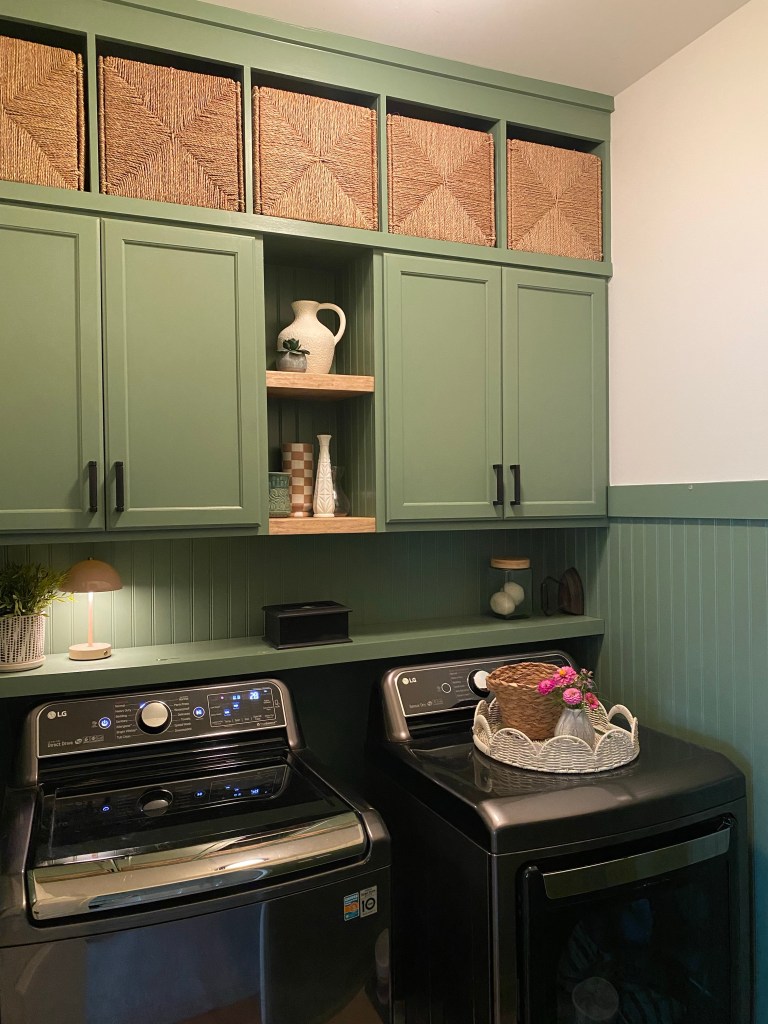
I knew I wanted cabinets with doors for storage and open cubbies to fit baskets above them.
My plan:
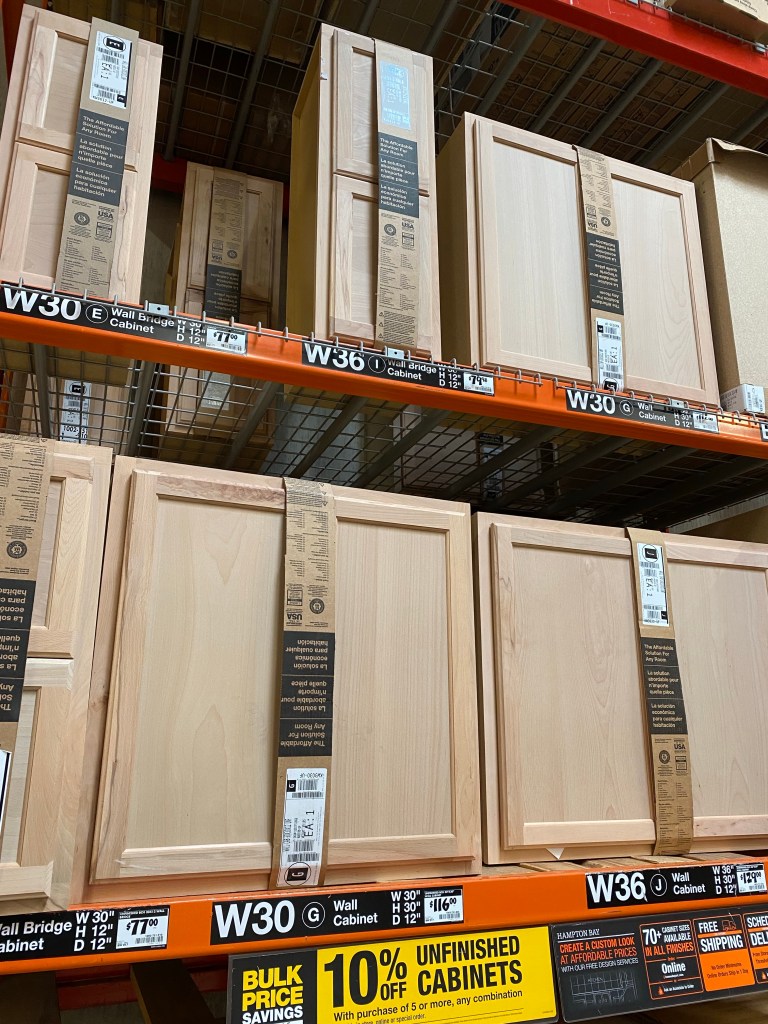
- Buy unfinished stock cabinets that fit in the space
- Prime and paint cabinets
- Add hardware
- Build cubbies to fit above then paint to match
- Add trim at the ceiling
- New light fixture
- Add beadboard on the walls and eventually add a fun wallpaper
But first, demo and prep the walls for all the mentioned items above.
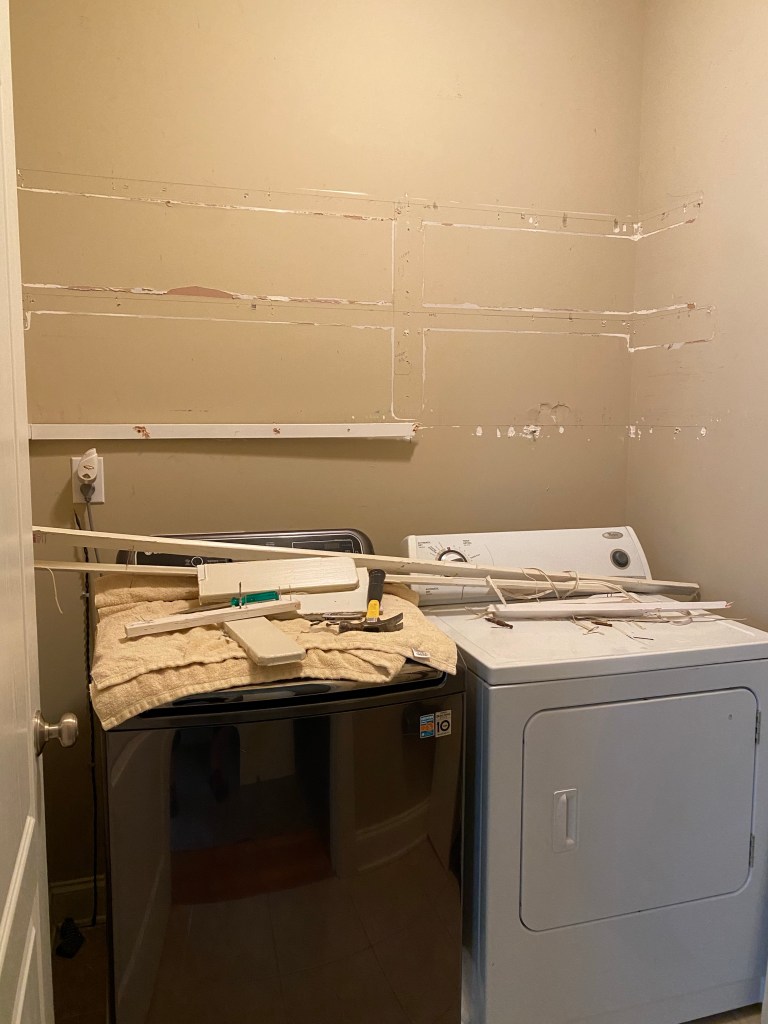

I kept the shelving boards to repurpose in one of the boy’s closets. I’ll share more on this in another post soon.
The sheetrock was damaged in areas but knowing cabinetry and wall treatments would hide the majority of it, I focused my attention on the remaining walls.
We decided to go with a dark green paint that we had on hand from a previous project, Dried Thyme.
One thing I’d like to note when you’re selecting paint colors and are tackling a project little by little, remember the big picture of the finished space. Think ahead to the final details you want, the flooring you will eventually add, ect. In this instance, I knew we had future plans to change out the flooring to a 12″ black hex tile.
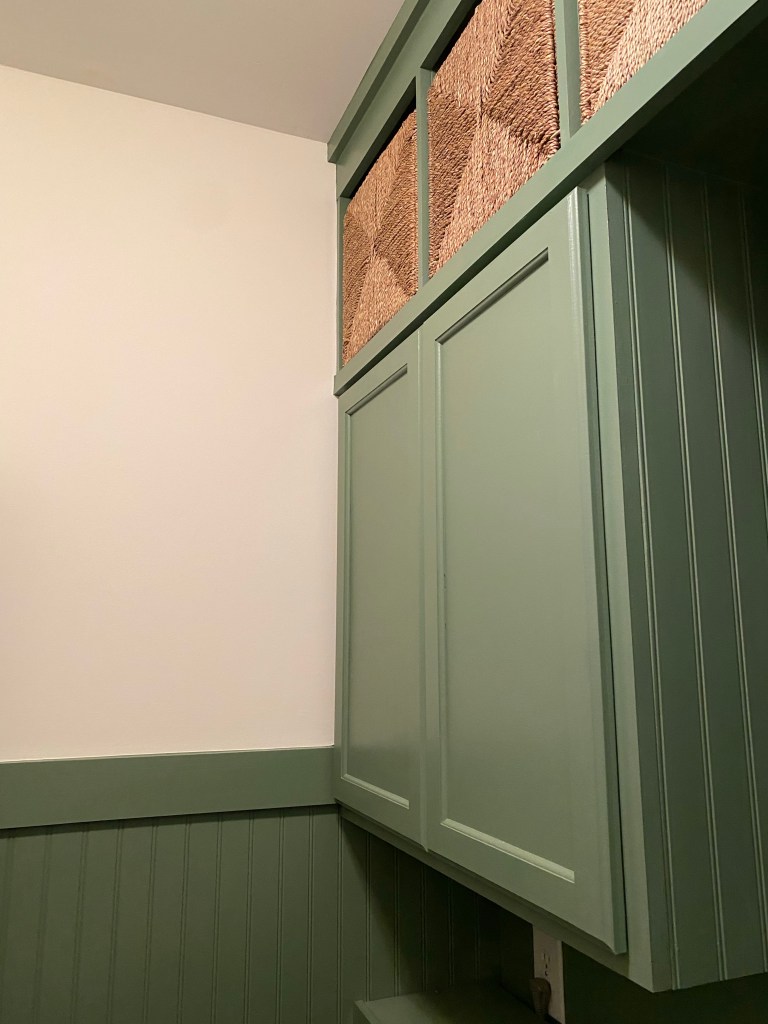
I first painted the walls green, Dried Thyme, to the height I wanted to add beadboard and trim cap. For visual confirmation on the height I wanted for the trim, I painted a horizontal line of the green paint and measured to make sure that height worked well with the height we would be hanging the cabinets.
It was time to buy the cabinets. I recommend you search online before you visit the hardware store. I have found that not all stores carry the same products and in our case, the closest Home Depot doesn’t stock prefab cabinetry but the next town over does.

Prepping the cabinets is important.
Basic process included:
- Remove all staples from packaging
- Remove doors
- Lightly sand the rough areas with 220 grit paper
- Remove residue with tack clothe
- Prime, prime, prime – Important if you don’t want to paint multiple coats of the main color
- Allow to dry then paint
- Allow to dry, lightly sand any rough spots and repeat prep and paint process
- Allow paint to cure before putting the doors back on (I waited a nearly a week to be certain but mainly because life was also happening with 3 kids and my husband traveling with work)
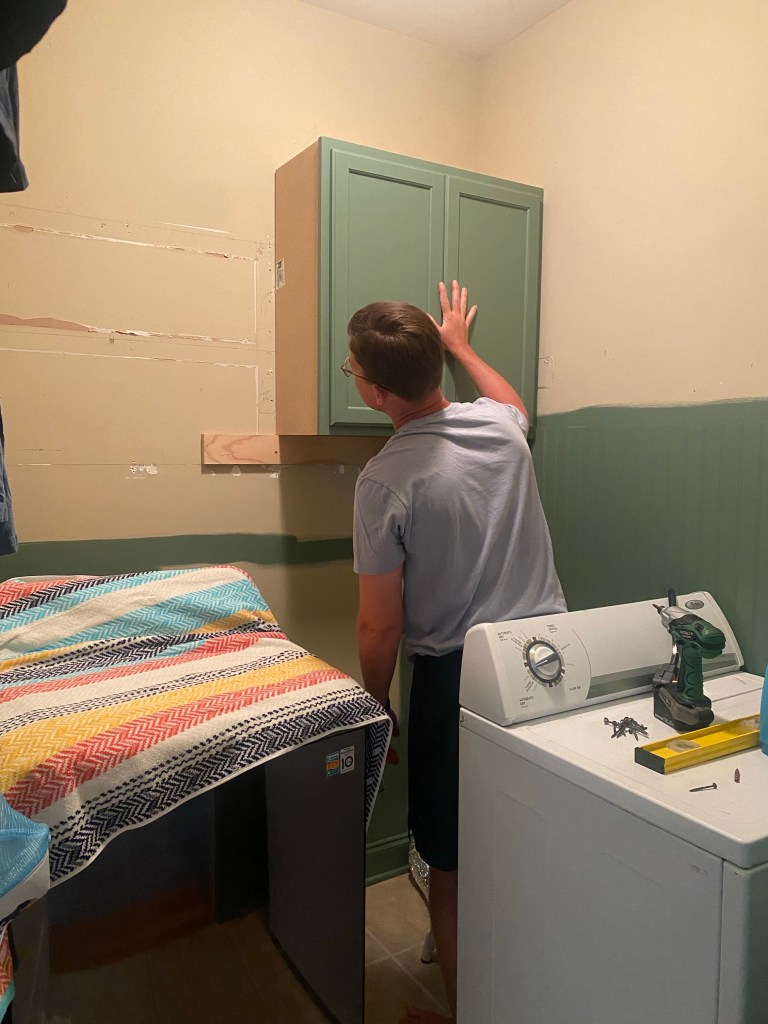
I knew there was no way I was going to hang these cabinets by myself. Could it be done? Yes. Did I want to avoid getting injured or damaging the washer and dryers? 100% yes.
With the help of my husband, we added a temporary bracket for the cabinets to rest on while we anchored them into studs in the wall. This actually proved to be very difficult as the studs were not exactly located at the 4 corners of the cabinets on the walls.
We made it work and added extra screws for safe measure.
Next up, making the cubbies to fit above the cabinets. This is a smaller space and I knew I wanted it to feel larger than it is which I could accomplish by making the cubbies reach the ceiling height.
I measured A LOT and made my next trip back to Home Depot. I had them rip down the 3/4 plywood sheet into the depth of the boxes needed.
Let’s be honest, using a table saw is not something I’m comfortable doing alone and I was tackling this project on another week that my husband was traveling for work.
I loaded up the strips of plywood and beadboard for the remains walls and ventured back home where I would cut them down to length.
I am not going to provide a step by step tutorial of how I built these boxes for multiple reasons:
- I had to deconstruct them to install then reassemble them in place
- I didn’t add a backer board and instead, caulked the seams and painted the wall to give the illusion they have the backer board.
- This unit was made to fit baskets I already had.
I do recommend having your baskets before determining the size cubbies you’re going to make. This will ensure it looks intentional and was made custom for the space.
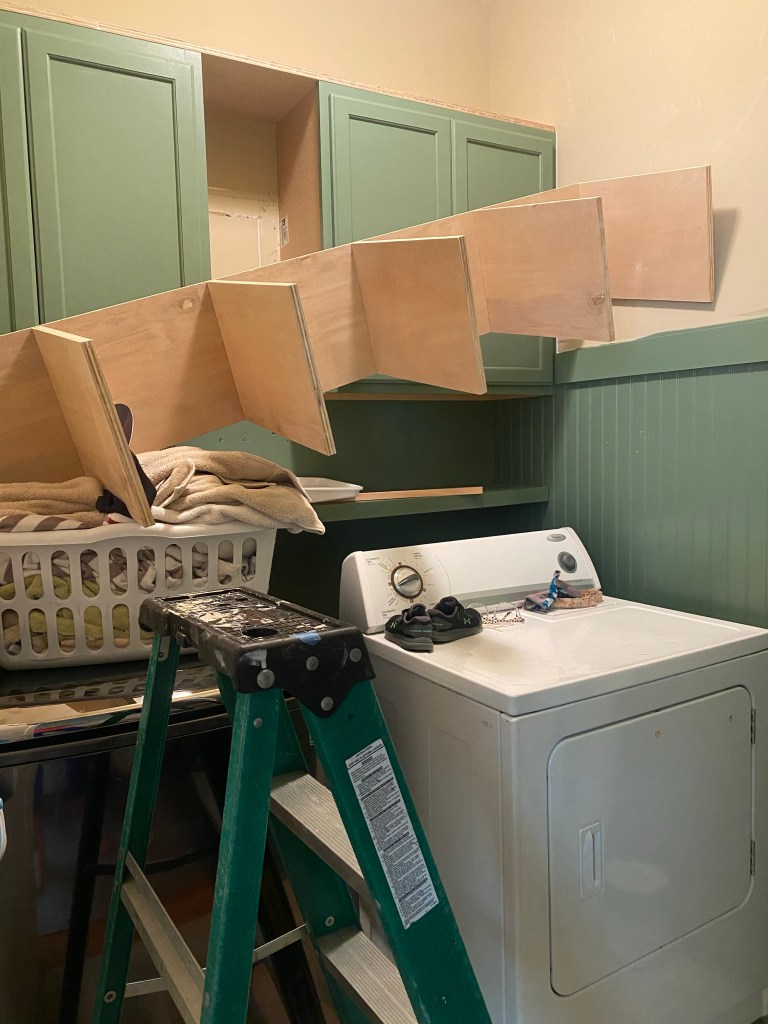
The walls in this space are not square and caused the issue of us not being able to install the build easily. While the measurements fit the intended space, it didn’t fit in the middle of the room where it needed to start for us to shimmy it into place.
It was a disaster. Our marriage survived the struggle but it was questionable for a moment. (I’m totally kidding but in full transparency, our patience was put to the test.)
After disassembling the majority of the cubby and putting it back up, we anchored it in place and I got to work prepping for paint.
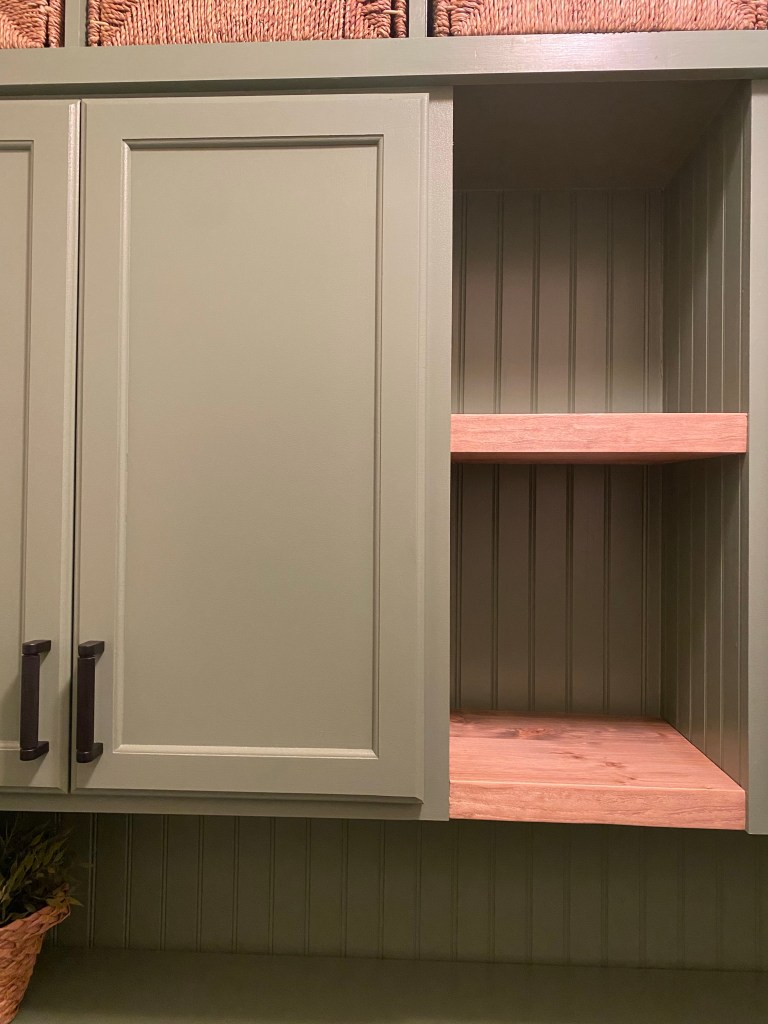
Next up, determining trim for the top of the cubby.
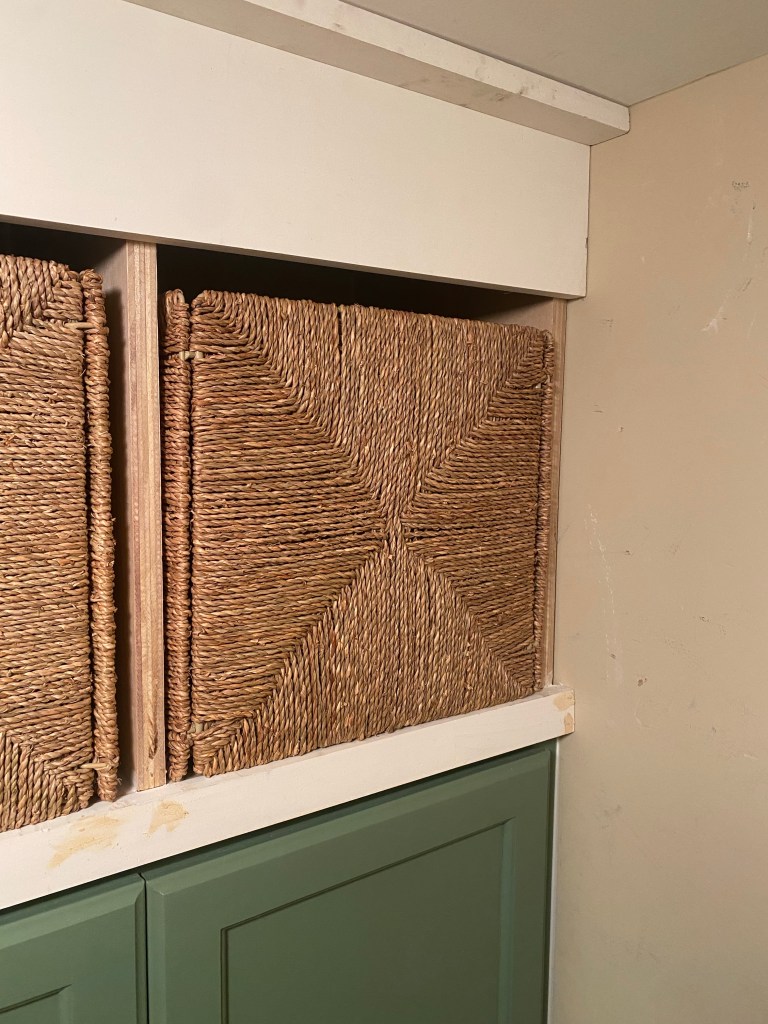
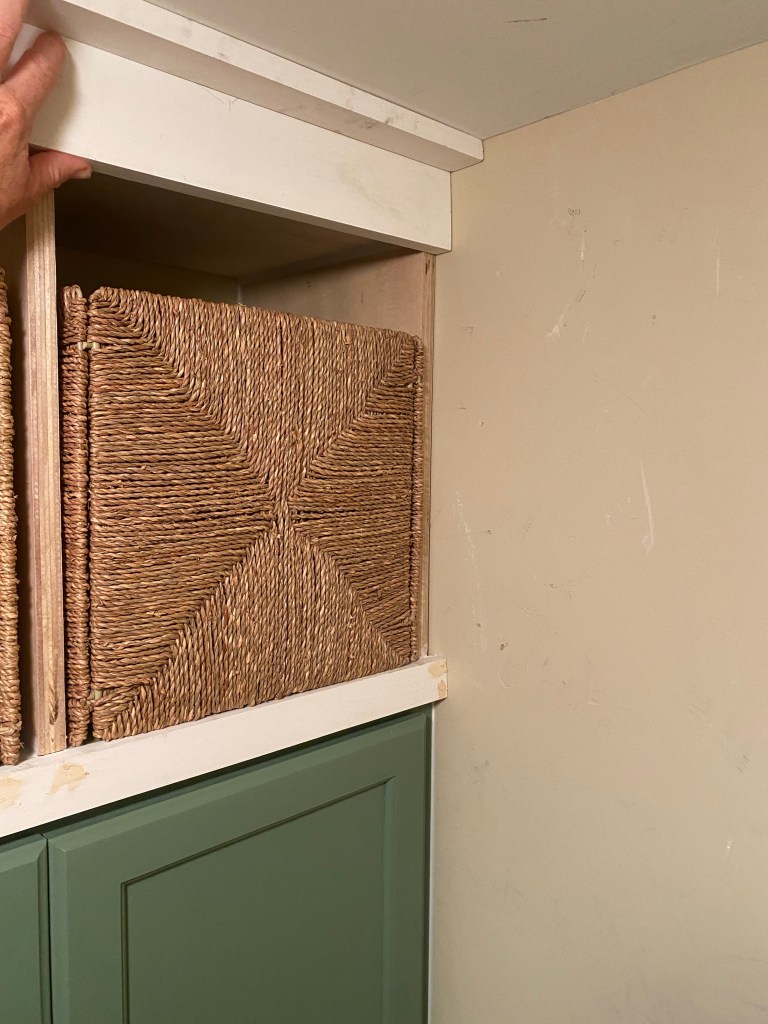
I ended up going with a height that was between the two options pictured above and am very happy with it.
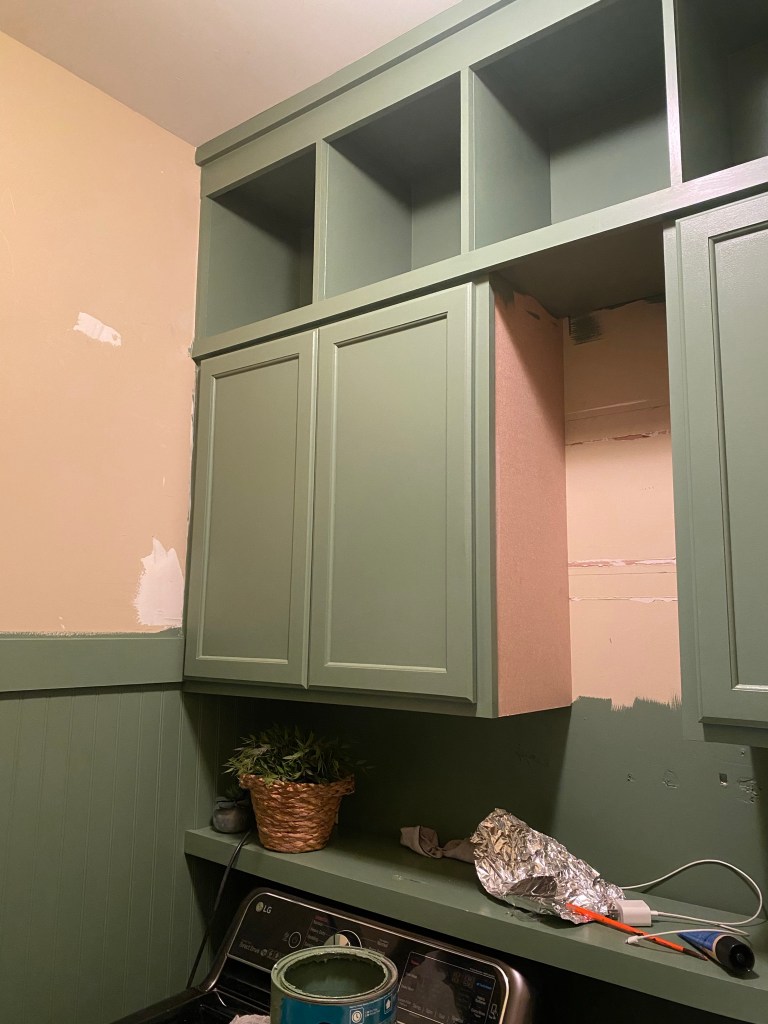
After more caulk and paint, this unit was complete.
While this space is small, it was packed with so many steps to get to the finish line. There was also a long wait time between steps due to busy schedules, waiting for paint to dry, hardware to arrive, and more. I tried to multi-task when possible. When the paint was drying on the cubby boxes, I was outside cutting the beadboard and nailing it in place.
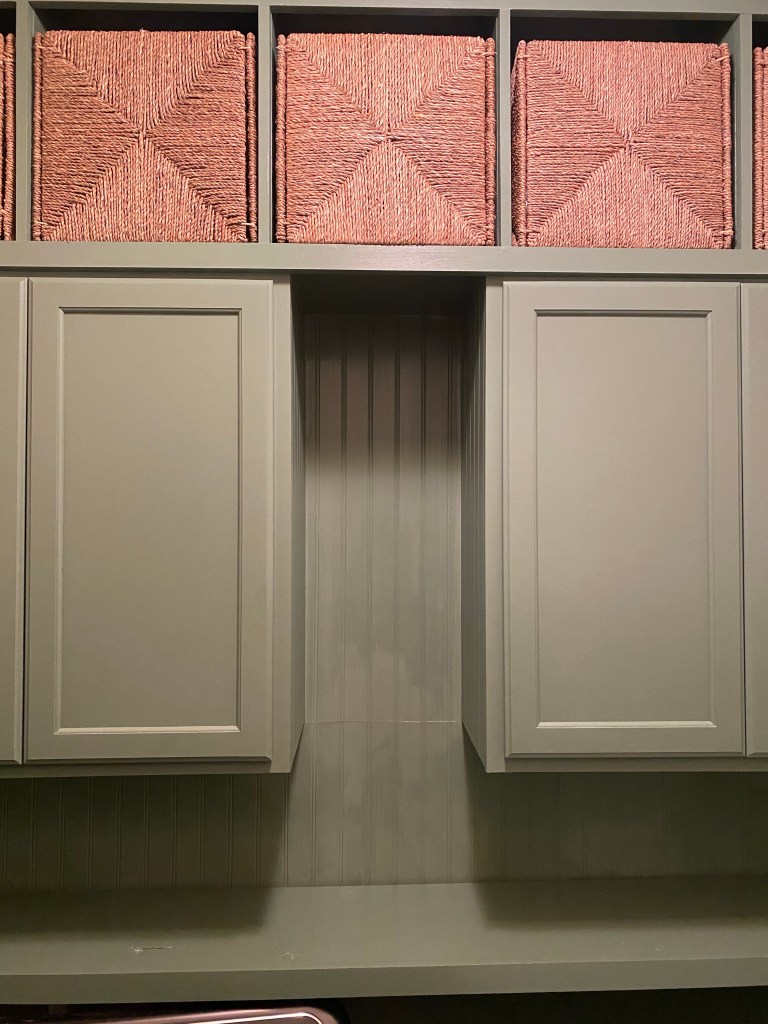
Continuing the beadboard was not part of the original plan. I had been given thin brick tile that I was planning to use as the backspace but with the height of the beadboard, the matching green shelf and cabinets, the best option for this space was to continue with the beadboard. It looks seamless and intentional.
The seam wasn’t an issue as I placed it where there would be one floating shelf.
After the final touchup of paint was done, I was nearing the finish line.
The finishing touch needed was to add floating shelving between the two cabinets.
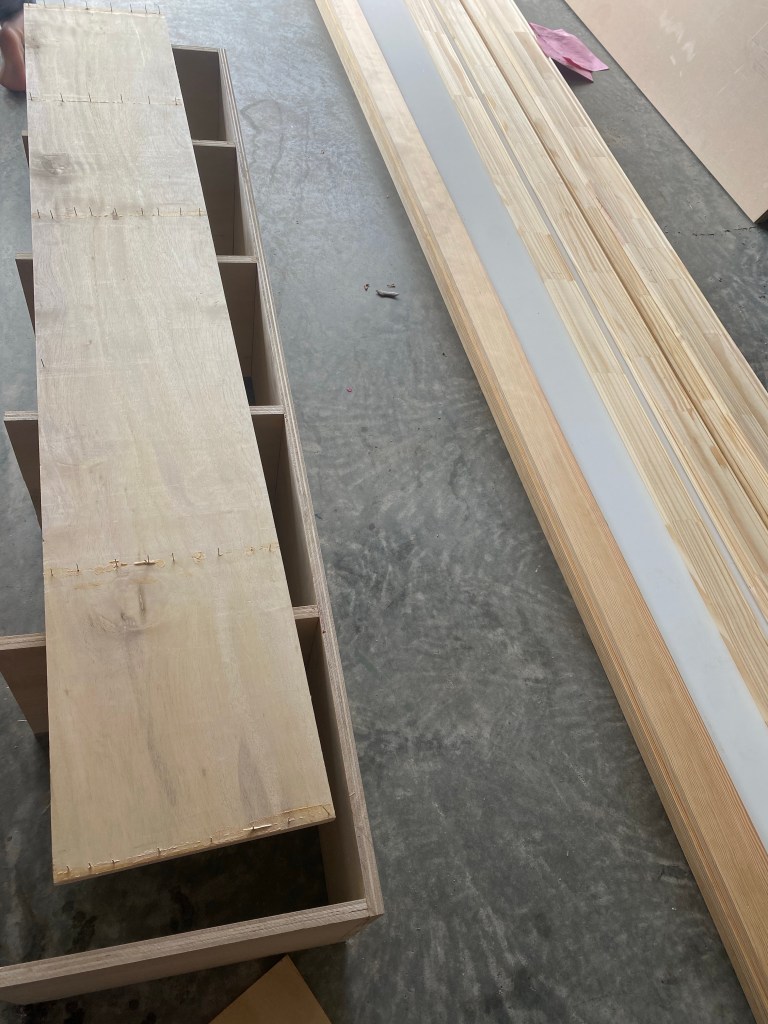
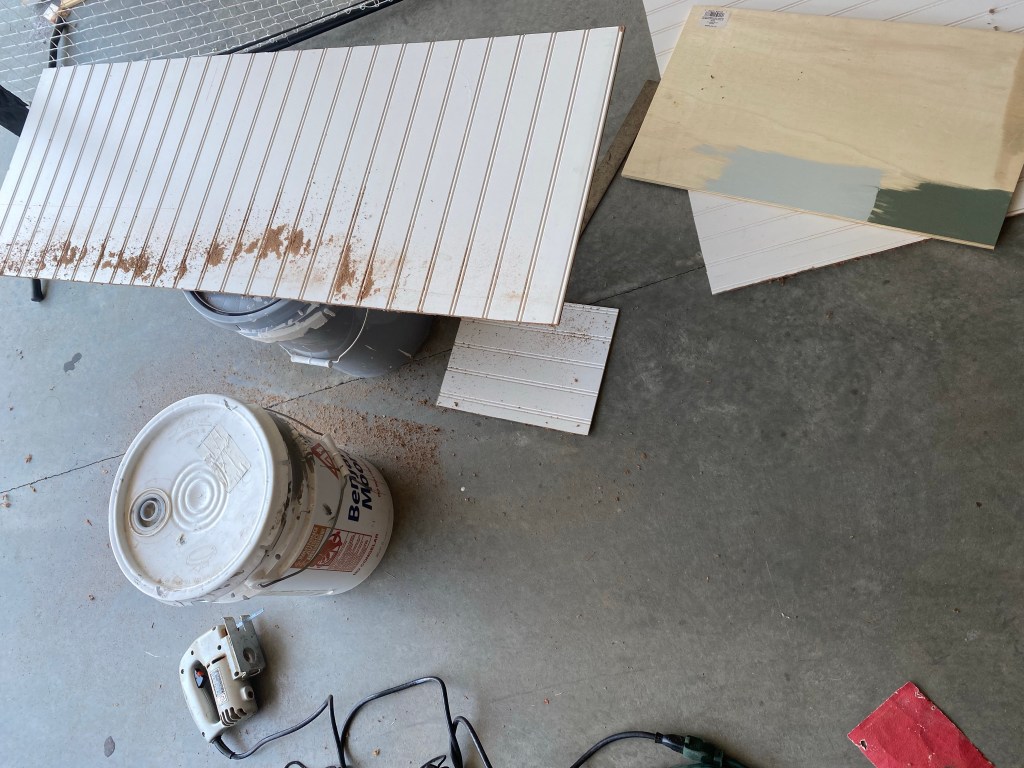
We took a family outing one weekend to find supplies and ended up having to DIY this to get the look I wanted. We purchased 2 project boards from Lowe’s. I glued and clamped them together while allowing it to cure more than the recommended time.
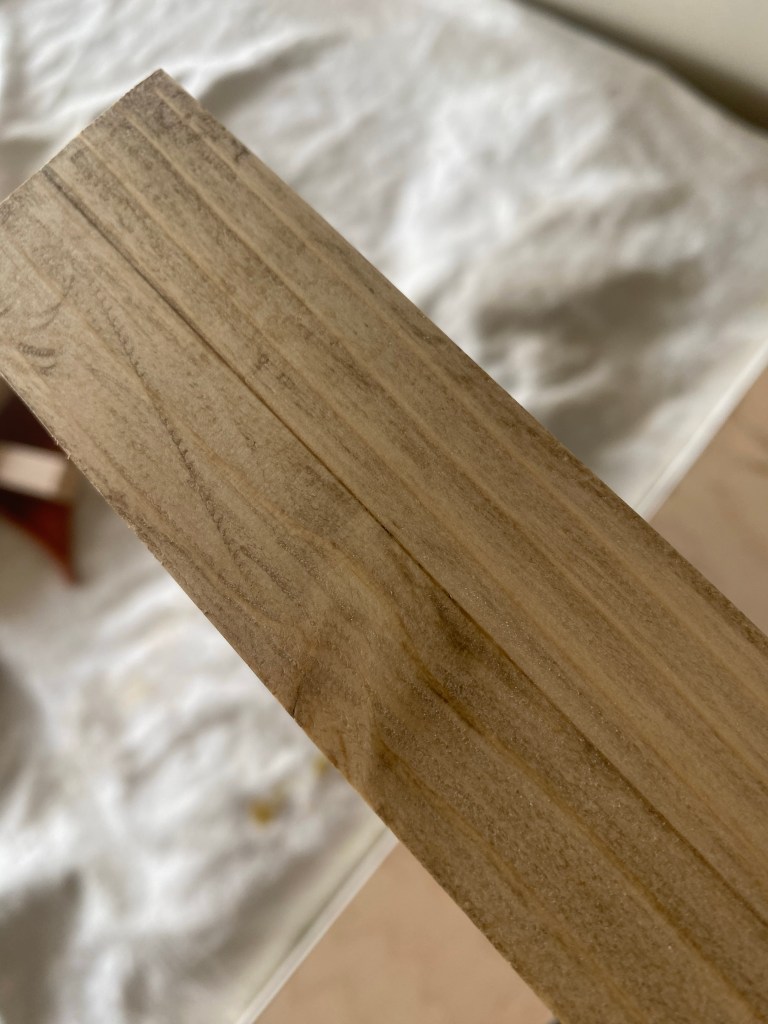

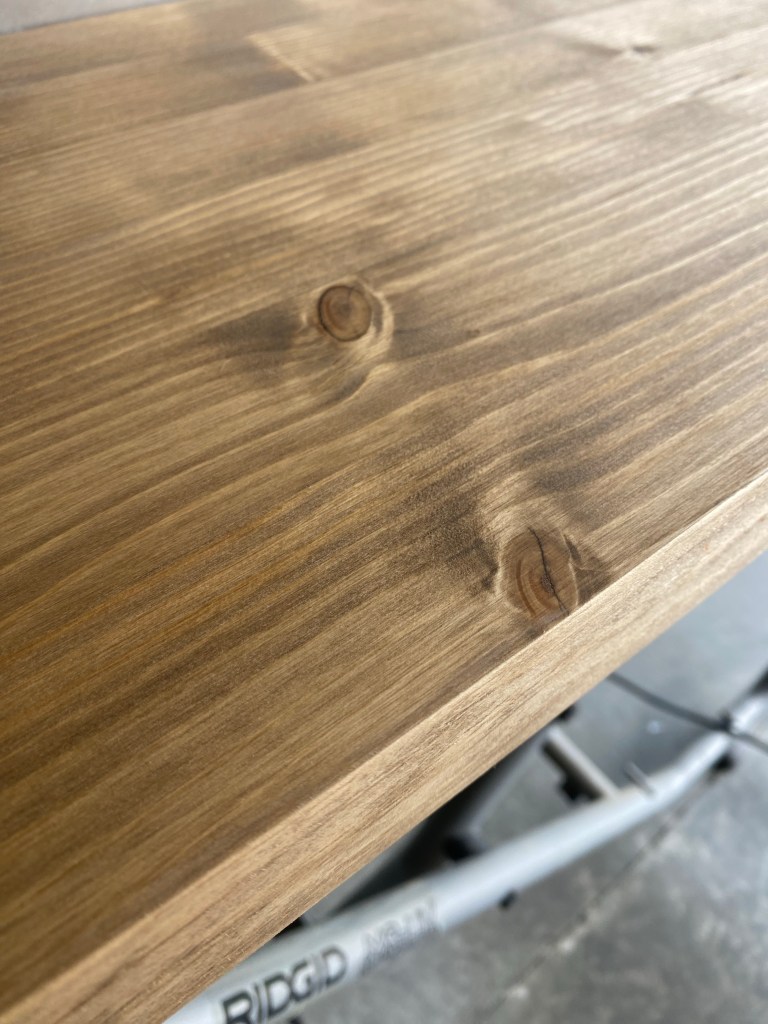
Next up, cut them down to size to fit. I then filled the seam with a mixture of sawdust and wood glue in an attempt to make this thicker board appear to be one. Unfortunately after sanding and staining them, it was visible which you can see from the first picture above.
My backup plan was to add edge banding and stain it to match. This worked out perfectly!

If you’re in a season of feeling like you’re not making much progress on you home project list, let this be a note of encouragement for you to take a moment to look back at what you have accomplished. You may find you’ve come further along than you realize and are well on your way to creating your Haven and a home that works for you and your family.

If you want to see the behind the scene failures and successes, please follow along on Instagram @4havenssake.
