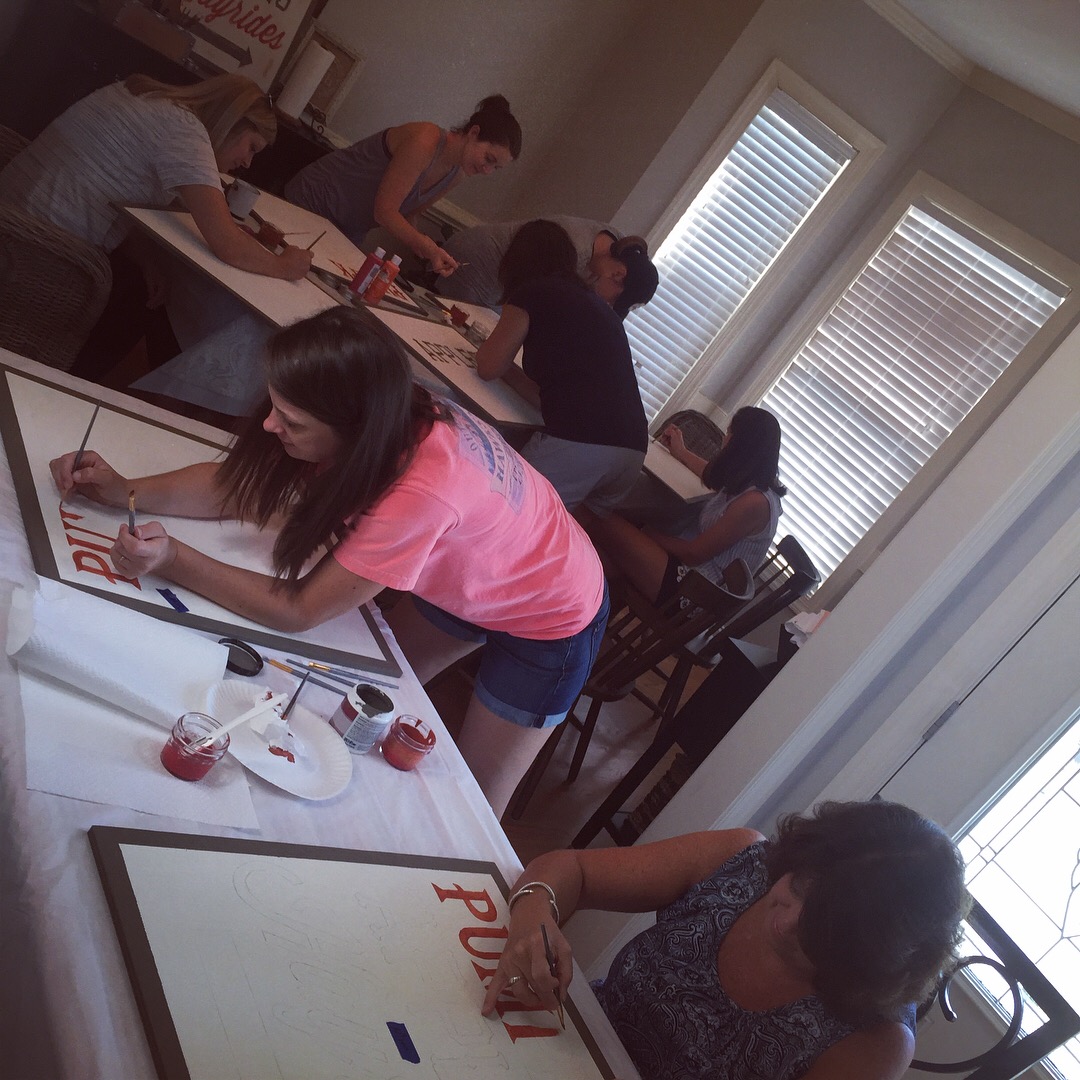
Fellow crafters I have a fun project for you. Share the idea with your friends and coordinate a time to host a “make and take” sign event like I did.
Fellow crafters I have a fun project for you. Share the idea with your friends and coordinate a time to host a “make and take” sign event like I did.
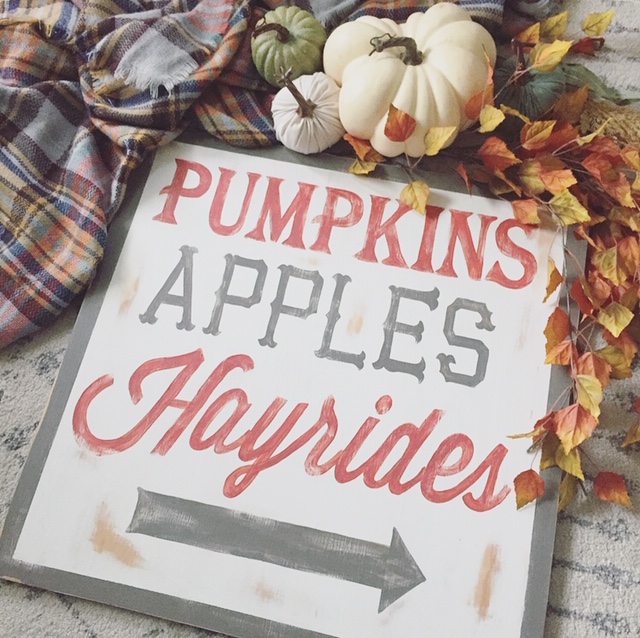
When I saw Ella Clair’s Fall sign on Pinterest, I was inspired to make it and take it a step further by having the reverse side of the sign a Christmas design. I’m all for multi-purpose home decor and the possibility of not having to store away 2 holiday signs was ideal.
Ella Clair’s design was more rectangular. I modified the design to accommodate this 2×2 plywood sheet and created a Christmas design in word for the reverse side.

You could also have a year round design on the reverse side in lieu of 2 holiday themes.
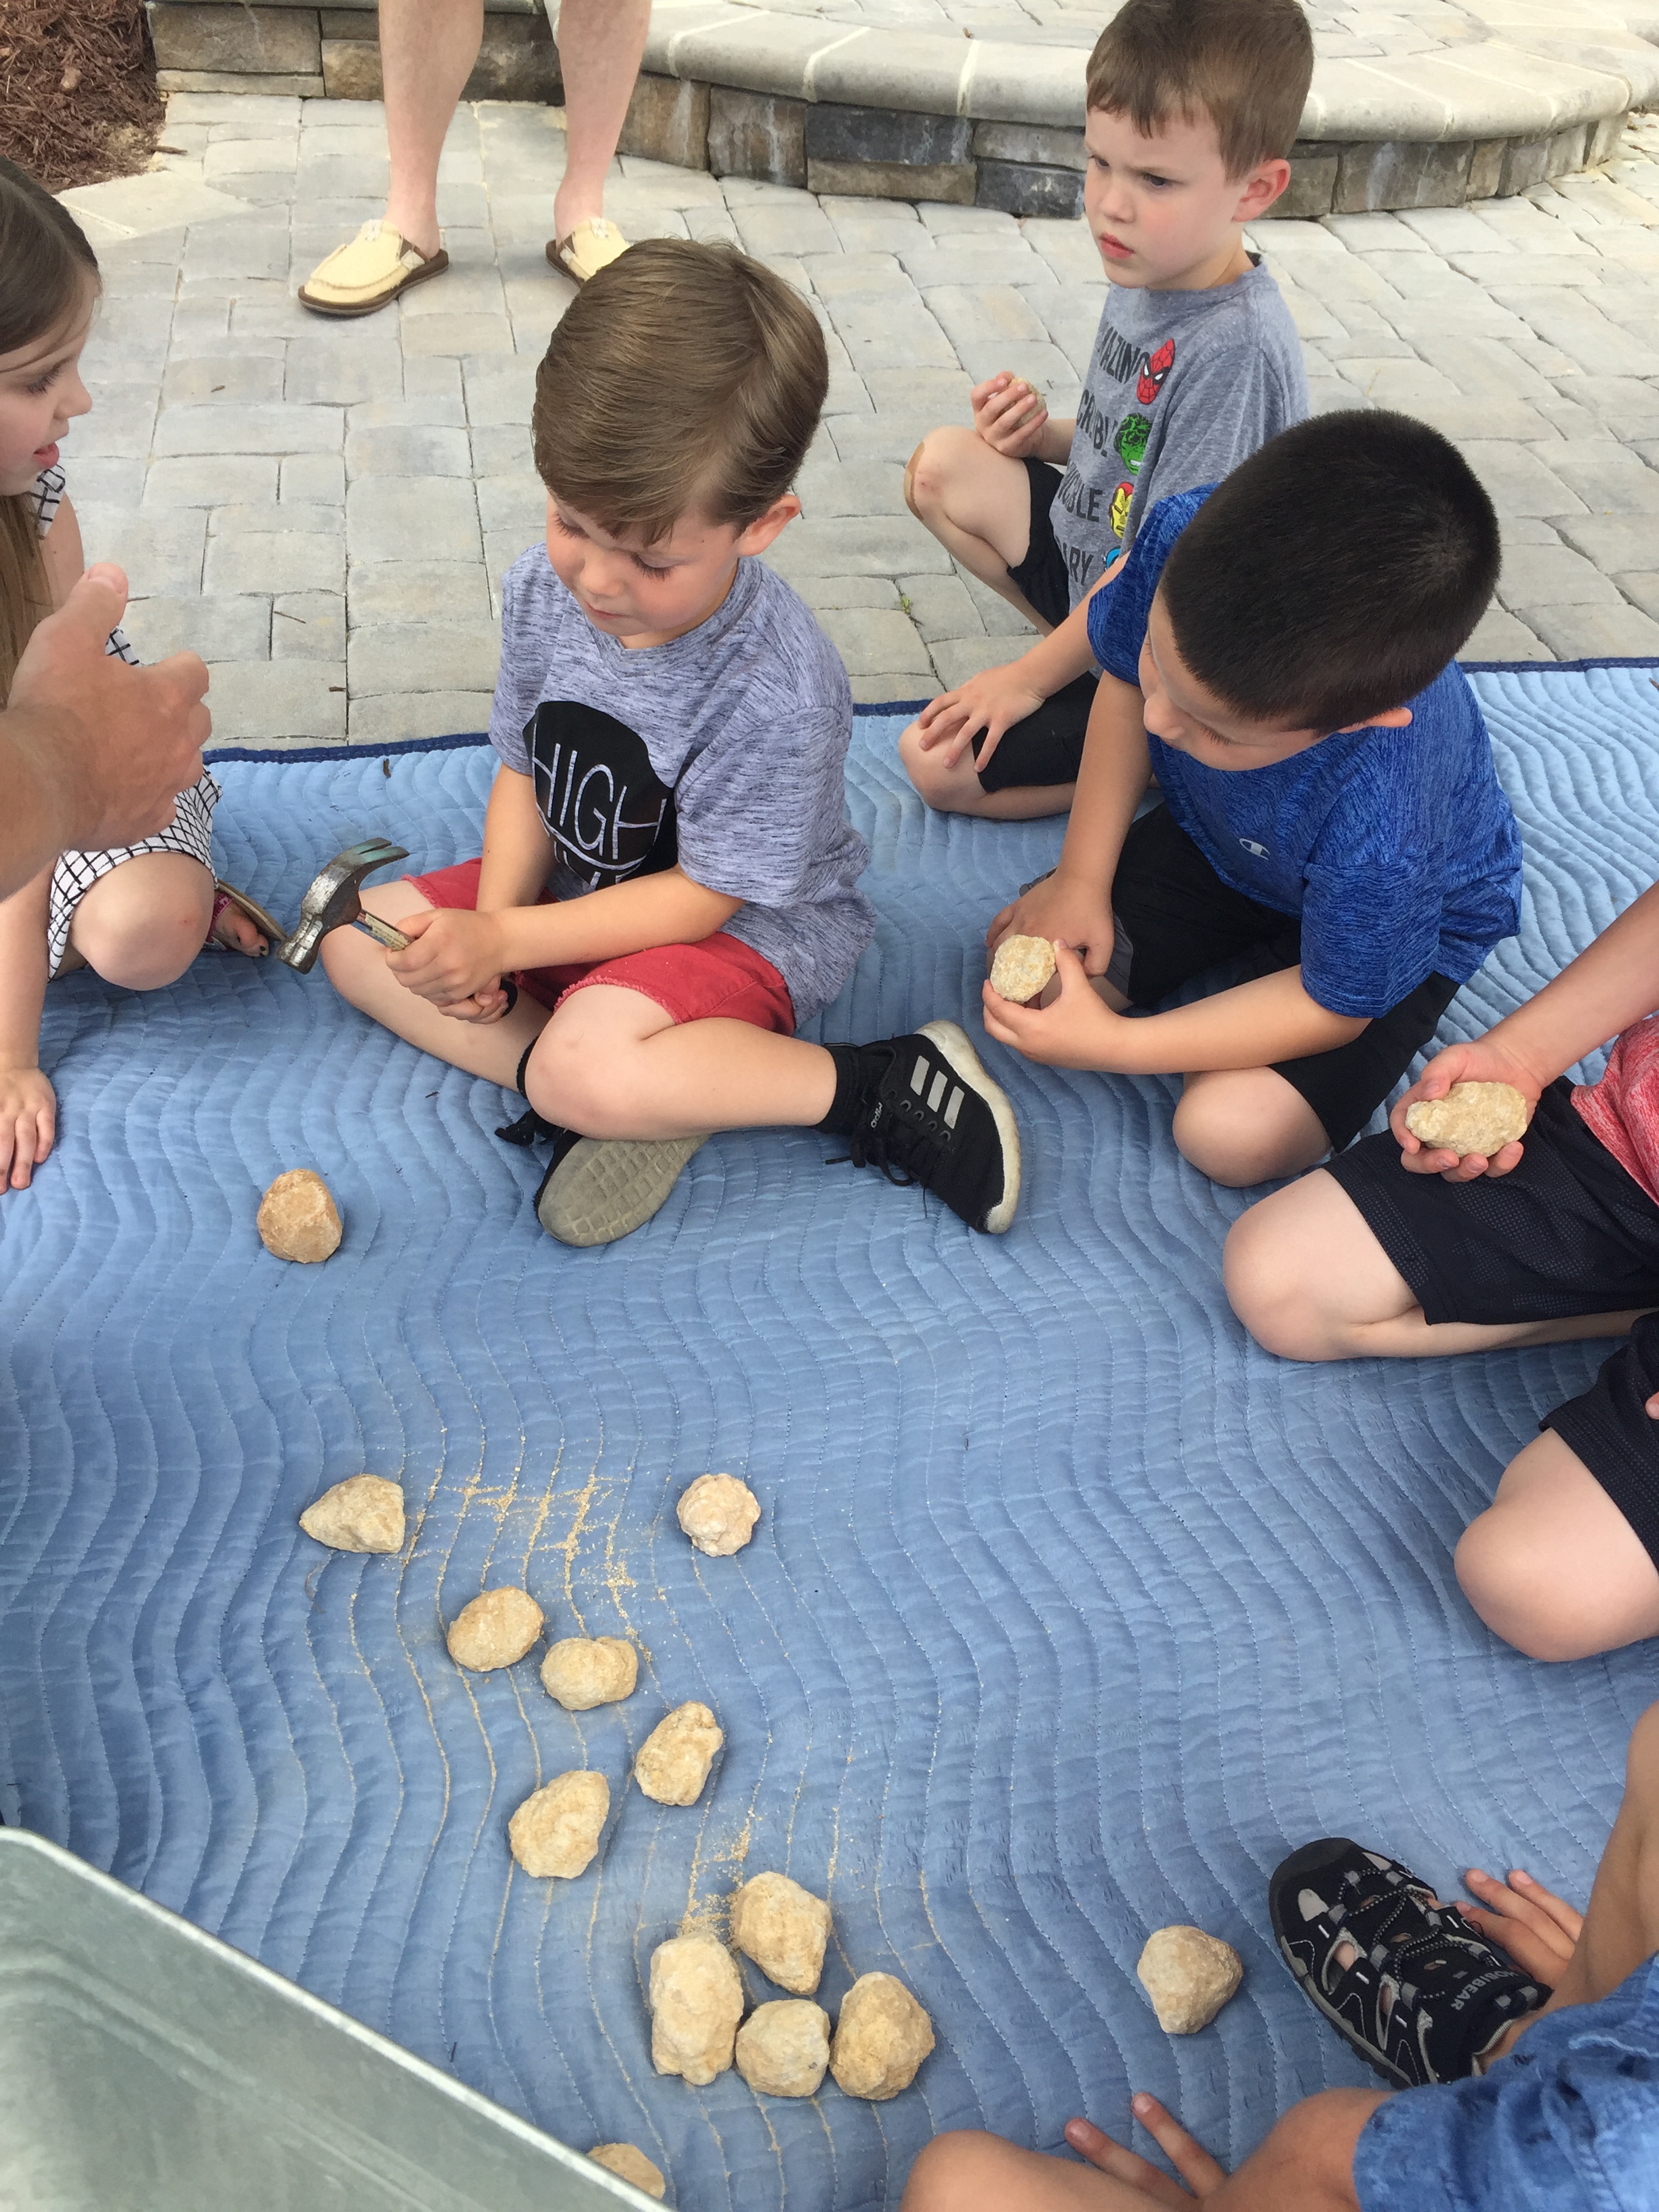
The first phase of this sign party started with good friends/neighbors on our street. We had the BEST time stenciling and hand painting our signs one cool evening in my neighbors garage. Collectively we had all of the supplies needed to paint the signs apart from the 2×2 plywood boards.
Here is what you need:
2×2 1/2 inch untreated plywood (You can get this exact size from Home Depot for around $6
Craft paint – Colors of your choosing. I had red & orange on hand so we just mixed the two with a smidge of black to make the perfect shade of rust.
Base paint – use any white paint you have on hand. We used White Dove by Sherwin Williams
Gray/Brown Paint – Used for the border, lettering and the arrow – Gargoyle by Sherwin Williams
Pencil
Printer
Painters Tape
Craft paint brushes
STEPS:
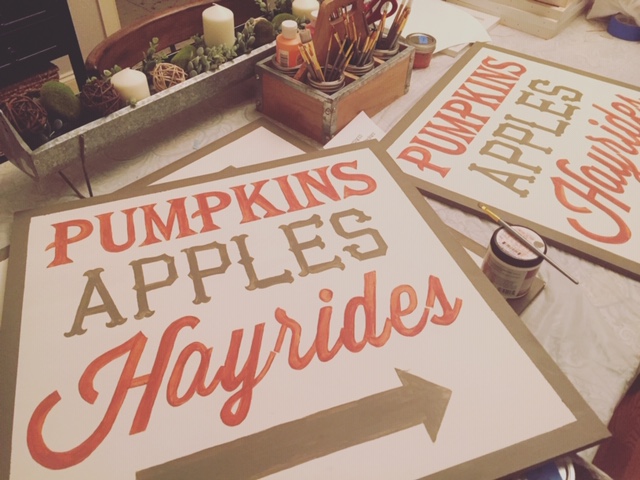
- Paint the board using any white paint you have on hand
- Once dry, use the painters tape to frame out a border on your board. I left approximately 1/2 inch from the edges.
- Paint the border, including the edges on the sides and allow to dry
- While paint is drying, print the fall design provided by Ella Claire, found here. Please respect her request that this is to only be used for personal use. If you visit her original blog post, she gives tips on how to add this template to a document as an image, then stretching it to the size needed. (I added the template to Excel as I found it easiest to stretch to the needed 2×2 size, much larger than her original)
- Download the Christmas design here
- Tape the pages together so the design lines up connecting the letters. You may have to trim some of the paper to prevent overlap.
- Shade the backside of the design with a pencil as you will then place the shaded side down on your white background a trace the outline of the design.
- Once you trace the outline of the design, remove the template and you will be left with the pencil outline to fill in with paint.
- Begin painting the lettering. Don’t worry about any mistakes and uneven lines. You will distress your sign as the last step and can hide areas to make appear distressed and intentional.
- Once your first side is complete, you will repeat the backside with the second seasonal design.
- Distress both sides as much or as little as you’d like using an electric sander and 220 grit paper.
- You may add a Polycrylic top coat if you think it will be outside and exposed to the weather elements. I didn’t complete this step as our sign is under a covered front porch. Paints are also permanent finishes once cured.
Happy painting friends!


![beary special]](https://forhavenssake.family.blog/wp-content/uploads/2019/02/beary-special.jpg)