Small Business Gift Guide

As a small business owner, I fully understand the impact of shopping small and having the support of your local community and the community that can be built online.

My favorite holiday guide is below along with sales/promos these businesses may be offering during Small Business Saturday.

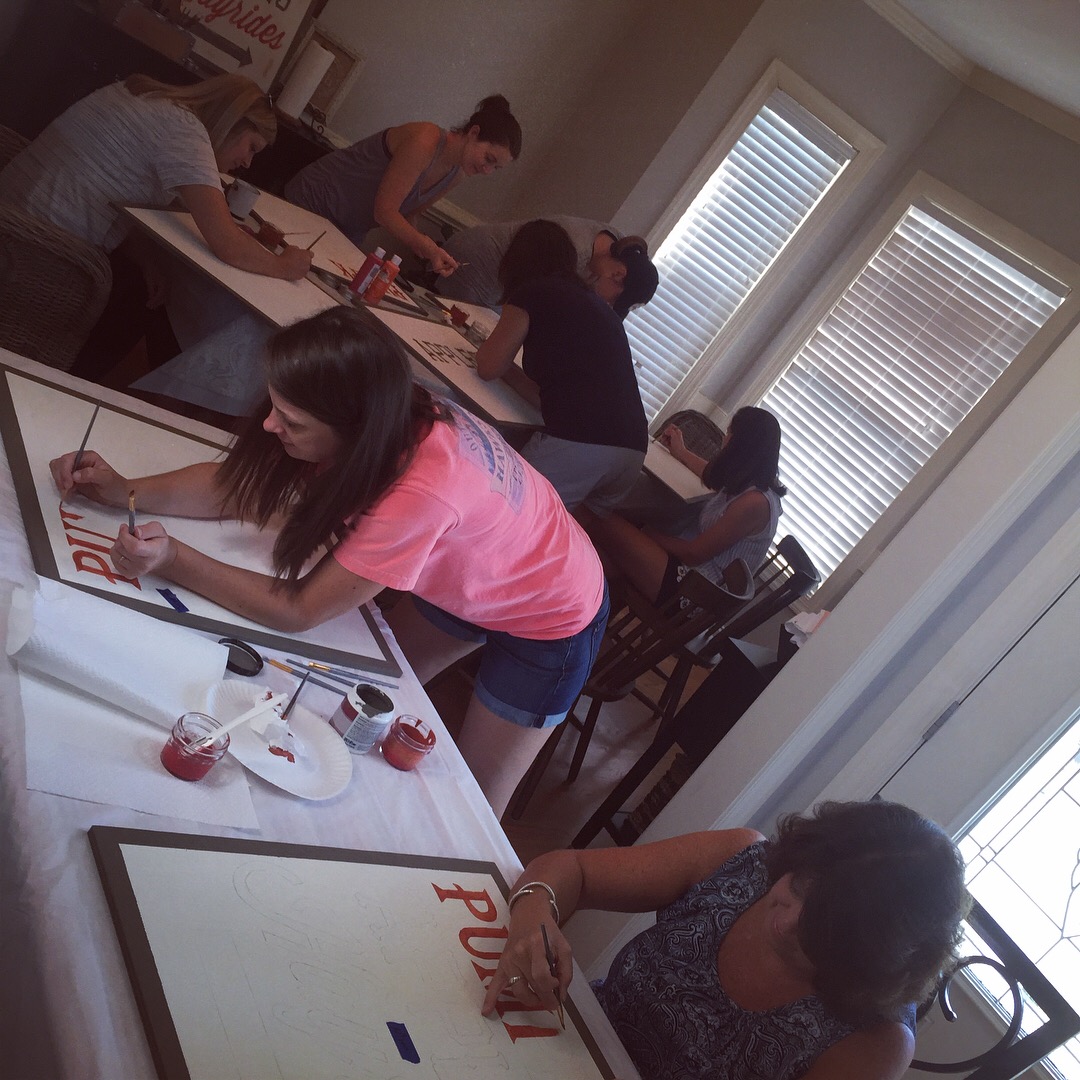
If you have not already attended a local maker/vendor market in your community, I encourage you to look up a schedule of events happening this Holiday Season. Attending as a vendor is always the highlight of owning a small business. It is a way to connect with customers face to face & discover other amazing artisans in the community.

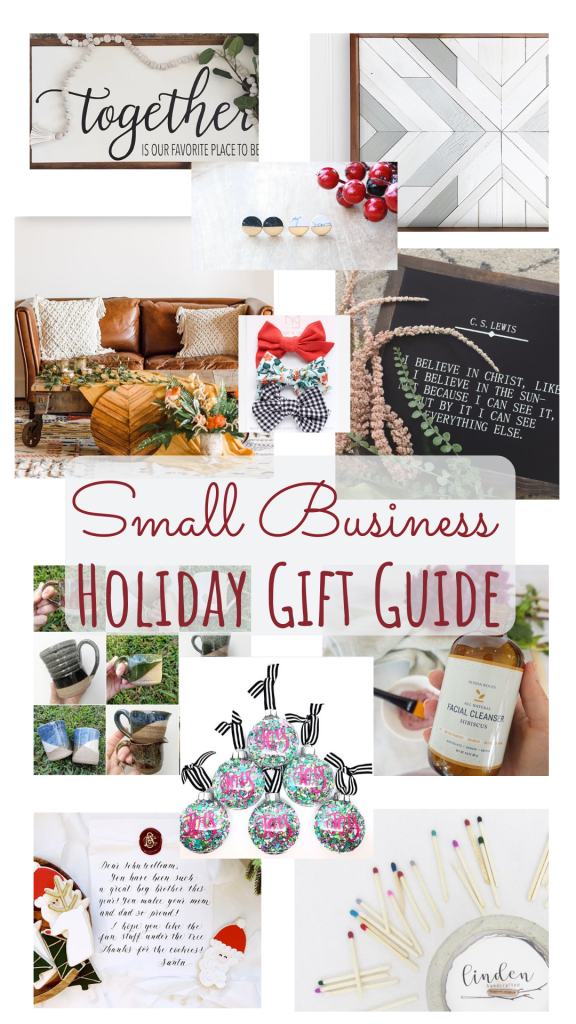
The Homestead Haven – Offering 30% off on Small Business Saturday. Specializing in curated & meaningful home decor items. A portion of all proceeds is donated to a charitable cause each quarter. The gift that keeps on giving. Shop the Together is our favorite place to be, as pictured, and other favorited items.

Elle Woods Co. – Beautiful reclaimed home decor which can also be customized. Each piece is unique and skillfully curated with so much passion and an eye for design. Shop her shirts & sweatshirt sale going on now.

Pierce & Hide – Leather earrings & statement jewelry. Small Biz Saturday – Buy 2 get 1 Free. This mom boss is a total inspiration! Not only does she strive to offer affordable & beautiful jewels, she has used her shop to help others in need by offering special sales and then donates to charitable causes. This B2G1 sale is a great way to shop for others & treat yourself at the same time!

Greenhouse Picker Sisters – Specialty events and styling. One visit to their warehouse for a Galentine’s event with Restored for Moms, I knew they were my kind of people. Their selection of decor that you can choose from your event is un-believable! Prepare to be in awe of their stunning creations. If you’re in need of an event planner, they are your gals.

Honor & Grace – Beautiful special collection handcrafted bows for girls (mamas too). Two mom bosses who are spreading so much goodness with their curated goods & positive messages found in their posts.

Porch Dog Pots – Locally made (NC) ceramics. They are SO beautiful! Having recently spent time with Caitlin for a special anniversary date night with my husband, I can attest to the craft involved in curating these beautiful pieces. She went above and beyond to make our workshop special. Find her at local holiday markets here in NC.

-I’ll be sharing a blog post on how you can give the gift of experience with your spouse to celebrate an anniversary involving the traditional gift of pottery.

Herban Roots – Crafted organic skincare that bridges the gap between luxury and natural efficacy. Did I mention she’s a total mom boss?! Upon opening my Everything Salve, I was transported to memories at the spa. The fresh scent and quality product has become part of my daily regime. They have everything you need to start/end your day with a pure skincare regime.

Confetti Scout Gifts – So many sales and free shipping available in her shop! Owner, Jill, and mom boss, is ALL about spreading HAPPINESS & LOVE through our unique, handmade Confetti Art, and decor! One visit to her shop and you will have all. the. feels of happiness & love.

Freshly Pressed – Custom SANTA LETTERS for your littles?! Need I say more? Oh but her shop offers so much more. See her post (Santa letter as pictured above) for a chance to win a letter from Santa, a coupon for 20% off custom stationary and qualify for a giveaway of a half-dozen box of Christmas cookies by @ohsugarcookiecompany! Custom stationery – letterpress, design, and calligraphy. One visit to her Instagram and you’ll want to redo your wedding all over again just to have her customized invitations.

Linden Handcrafted – 20% off with code Thankful20. Hand-casted concrete products that are repurposeful. Their all natural soy scented candles are divine! I’m currently burning the Blue Spruce which smells like Christmas. Once burned completely, the mold can be used as a planter! How cool is that?! They also offer unique home decor goods. If you love a good candle & also love adding new plants to your home, you will want to shop these small batch products.

Fall & Christmas DIY Reversible Sign

Fellow crafters I have a fun project for you. Share the idea with your friends and coordinate a time to host a “make and take” sign event like I did.

Fellow crafters I have a fun project for you. Share the idea with your friends and coordinate a time to host a “make and take” sign event like I did.

When I saw Ella Clair’s Fall sign on Pinterest, I was inspired to make it and take it a step further by having the reverse side of the sign a Christmas design. I’m all for multi-purpose home decor and the possibility of not having to store away 2 holiday signs was ideal.

Ella Clair’s design was more rectangular. I modified the design to accommodate this 2×2 plywood sheet and created a Christmas design in word for the reverse side.

You could also have a year round design on the reverse side in lieu of 2 holiday themes.

The first phase of this sign party started with good friends/neighbors on our street. We had the BEST time stenciling and hand painting our signs one cool evening in my neighbors garage. Collectively we had all of the supplies needed to paint the signs apart from the 2×2 plywood boards.

Here is what you need:

2×2 1/2 inch untreated plywood (You can get this exact size from Home Depot for around $6

Craft paint – Colors of your choosing. I had red & orange on hand so we just mixed the two with a smidge of black to make the perfect shade of rust.

Base paint – use any white paint you have on hand. We used White Dove by Sherwin Williams

Gray/Brown Paint – Used for the border, lettering and the arrow – Gargoyle by Sherwin Williams

Pencil

Printer

Painters Tape

Craft paint brushes

STEPS:

  1. Paint the board using any white paint you have on hand
  2. Once dry, use the painters tape to frame out a border on your board. I left approximately 1/2 inch from the edges.
  3. Paint the border, including the edges on the sides and allow to dry
  4. While paint is drying, print the fall design provided by Ella Claire, found here. Please respect her request that this is to only be used for personal use. If you visit her original blog post, she gives tips on how to add this template to a document as an image, then stretching it to the size needed. (I added the template to Excel as I found it easiest to stretch to the needed 2×2 size, much larger than her original)
  5. Download the Christmas design here
  6. Tape the pages together so the design lines up connecting the letters. You may have to trim some of the paper to prevent overlap.
  7. Shade the backside of the design with a pencil as you will then place the shaded side down on your white background a trace the outline of the design.
  8. Once you trace the outline of the design, remove the template and you will be left with the pencil outline to fill in with paint.
  9. Begin painting the lettering. Don’t worry about any mistakes and uneven lines. You will distress your sign as the last step and can hide areas to make appear distressed and intentional.
  10. Once your first side is complete, you will repeat the backside with the second seasonal design.
  11. Distress both sides as much or as little as you’d like using an electric sander and 220 grit paper.
  12. You may add a Polycrylic top coat if you think it will be outside and exposed to the weather elements. I didn’t complete this step as our sign is under a covered front porch. Paints are also permanent finishes once cured.

Happy painting friends!

Board & Batten Accent Wall

For $40 in material, you can update any room with a simple accent wall.

The motivation behind our master bedroom refresh was my vision to lighten up the space completely. Some of my favorite rooms have been spaces we stayed at on vacations. The retreat-like ambiance always relaxes us the most so having that in our room where we sleep every night & wake up every morning became my goal.

First, I started by refinishing our dark, black furniture with this chalk paint recipe and by updating the black leather headboard insert with a beautiful gray twill fabric.

You can watch my step by step for recovering the headboard insert in highlights here.

Refinishing the furniture alone was a major update to the room. We’ve never been a big fan of the tan walls, partly because our first home had so much of that color before we made the change over to agreeable gray.

The accent wall was going to be behind our bed, on the main wall. This wall also happens to be the only one in the room with windows. A couple of years ago, we updated the windows with plantation shutters which we absolutely LOVE but something about them looked unfinished on that wall. I wanted the shutters and new accent wall to blend and look like one big statement.

Adding floor to ceiling board & batten and painting it the same color as the shutters and trim became the vision for the space.

We agreed on using 1×2 primed MDF.

The first thing I had to do was add trim to the crown and baseboard on this wall that allowed for the MDF to bump up flush to the edge.

I used this product, cove moulding, from Home Depot.

Once it was painted to match the existing trim, it made the crown and baseboard look like a chunkier piece of trim.

See the before and after:

Notice how the after picture shows the MDF boards are flush to the added cove moulding?

After measuring the length of the wall, we determined an approximate number of 1×2 boards needed, 10 (4 of which were not full length due to the two windows) and approximately 15.5-16 inches apart.

The spacing had to be adjusted slightly because the wall length wasn’t 100% exact on either side of the windows. Thankfully, my mom was at the house when I was struggling to make these adjustments. Simple math sounded like the logical solution but then the boards weren’t centered evenly over the windows. Long story short, we finally worked out the spacing solution, adjusted when needed and overall, you don’t notice there are any differences in spacing between any of the MDF strips.

The BEST part about this project was getting to use my father-in-laws nail gun.

It’s not just any nail gun. It’s cordless, doesn’t require an air compressor and uses CO2 cartridges. (I’m going to need one for myself.) Most air compressors are loud so it was nice using this nail gun as I was DIYing this project during toddler naptime. The nail gun was fairly quiet, quiet enough to not wake said sleeping toddler.

If you’re in the market for a finish nailer. I encourage you consider this one as an option and compare as you won’t also have to buy an air compressor.

Simple Steps for adding board & batten when you have existing crown and baseboards that you don’t want to remove.

  1. Add cove moulding with a finish nailer to the length of the existing crown and baseboards.
  2. Caulk seams, putty nail holes with wood putty, let it dry then sand lightly with 220 grit block
  3. Now you can paint this newly updated trim and the wall the intended color of your accent wall. (I recommend doing this before adding the board & batten strips as it will make painting easier when they are added.)
  4. Add the first board and batten strip flush to the edge of the wall. Don’t worry about any gaps that may exist due to wall inconsistencies, you will be caulking this prior to painting once the strips are up.
  5. Measure out spacing for each strip of your board and batten.
  6. Add liquid nails to the back of the strips, then nail to the wall using your finish nailer. Liquid nails are recommended as you likely won’t be adding each strip where the studs are located.
  7. After adding each board, fill holes with wood putty, caulk all seams at the added boards and wall (you want to do this to fill any gaps that may exist), wait to dry, sand puttied holes then vacuum up all debris.
  8. Now you’re ready for paint! If you painted the wall the accent color prior to adding the B&B strips, you’ll just have to paint the seams and newly added trim.

In full transparency, it’s been a lot of work updating this room soley because of my project to repaint ALL of our bedroom furniture. It’s an easy process, just time consuming due to the coats of paint and polycrylic finish.

In the end, all of the labor is worth it. You eventually forget about how much it hurts during the process, then you do it all over again for the next project.

I want to hear if you are planning to add an accent wall. Share in comments if you’re adding a pattern or keeping it classic with a floor to ceiling board and batten addition.