Crisp Air & Colorful Trails: Our Top Family Friendly Hikes in The Triangle

When I look back on my most cherished memories, from childhood to adulthood, so many of them were spent outside, immersed in nature. Adam and I have always loved to get out and explore new places, both locally and in our travels.

Our family dynamic has evolved with the addition of our three sons, who are now 10, 8, and 4 years old. What hasn’t changed is our love to get outside in nature and explore.

Bringing kids along can sometimes feel overwhelming, but I assure you, with patience and persistence, they’ll develop a love for the outdoors and enjoy exploring new trails with you.

Hiking, biking, scootering (this is a word, right?), and running different trails local to our area has lead us to find our favorite places that we frequently visit.

Here are our top 5 family-friendly trails that you should definitely add to your adventure list! Along with each trail, I’ve included a guide to help you determine if it’s ideal for walking, running, biking, or scootering—so you can pick the perfect path for your next outing.
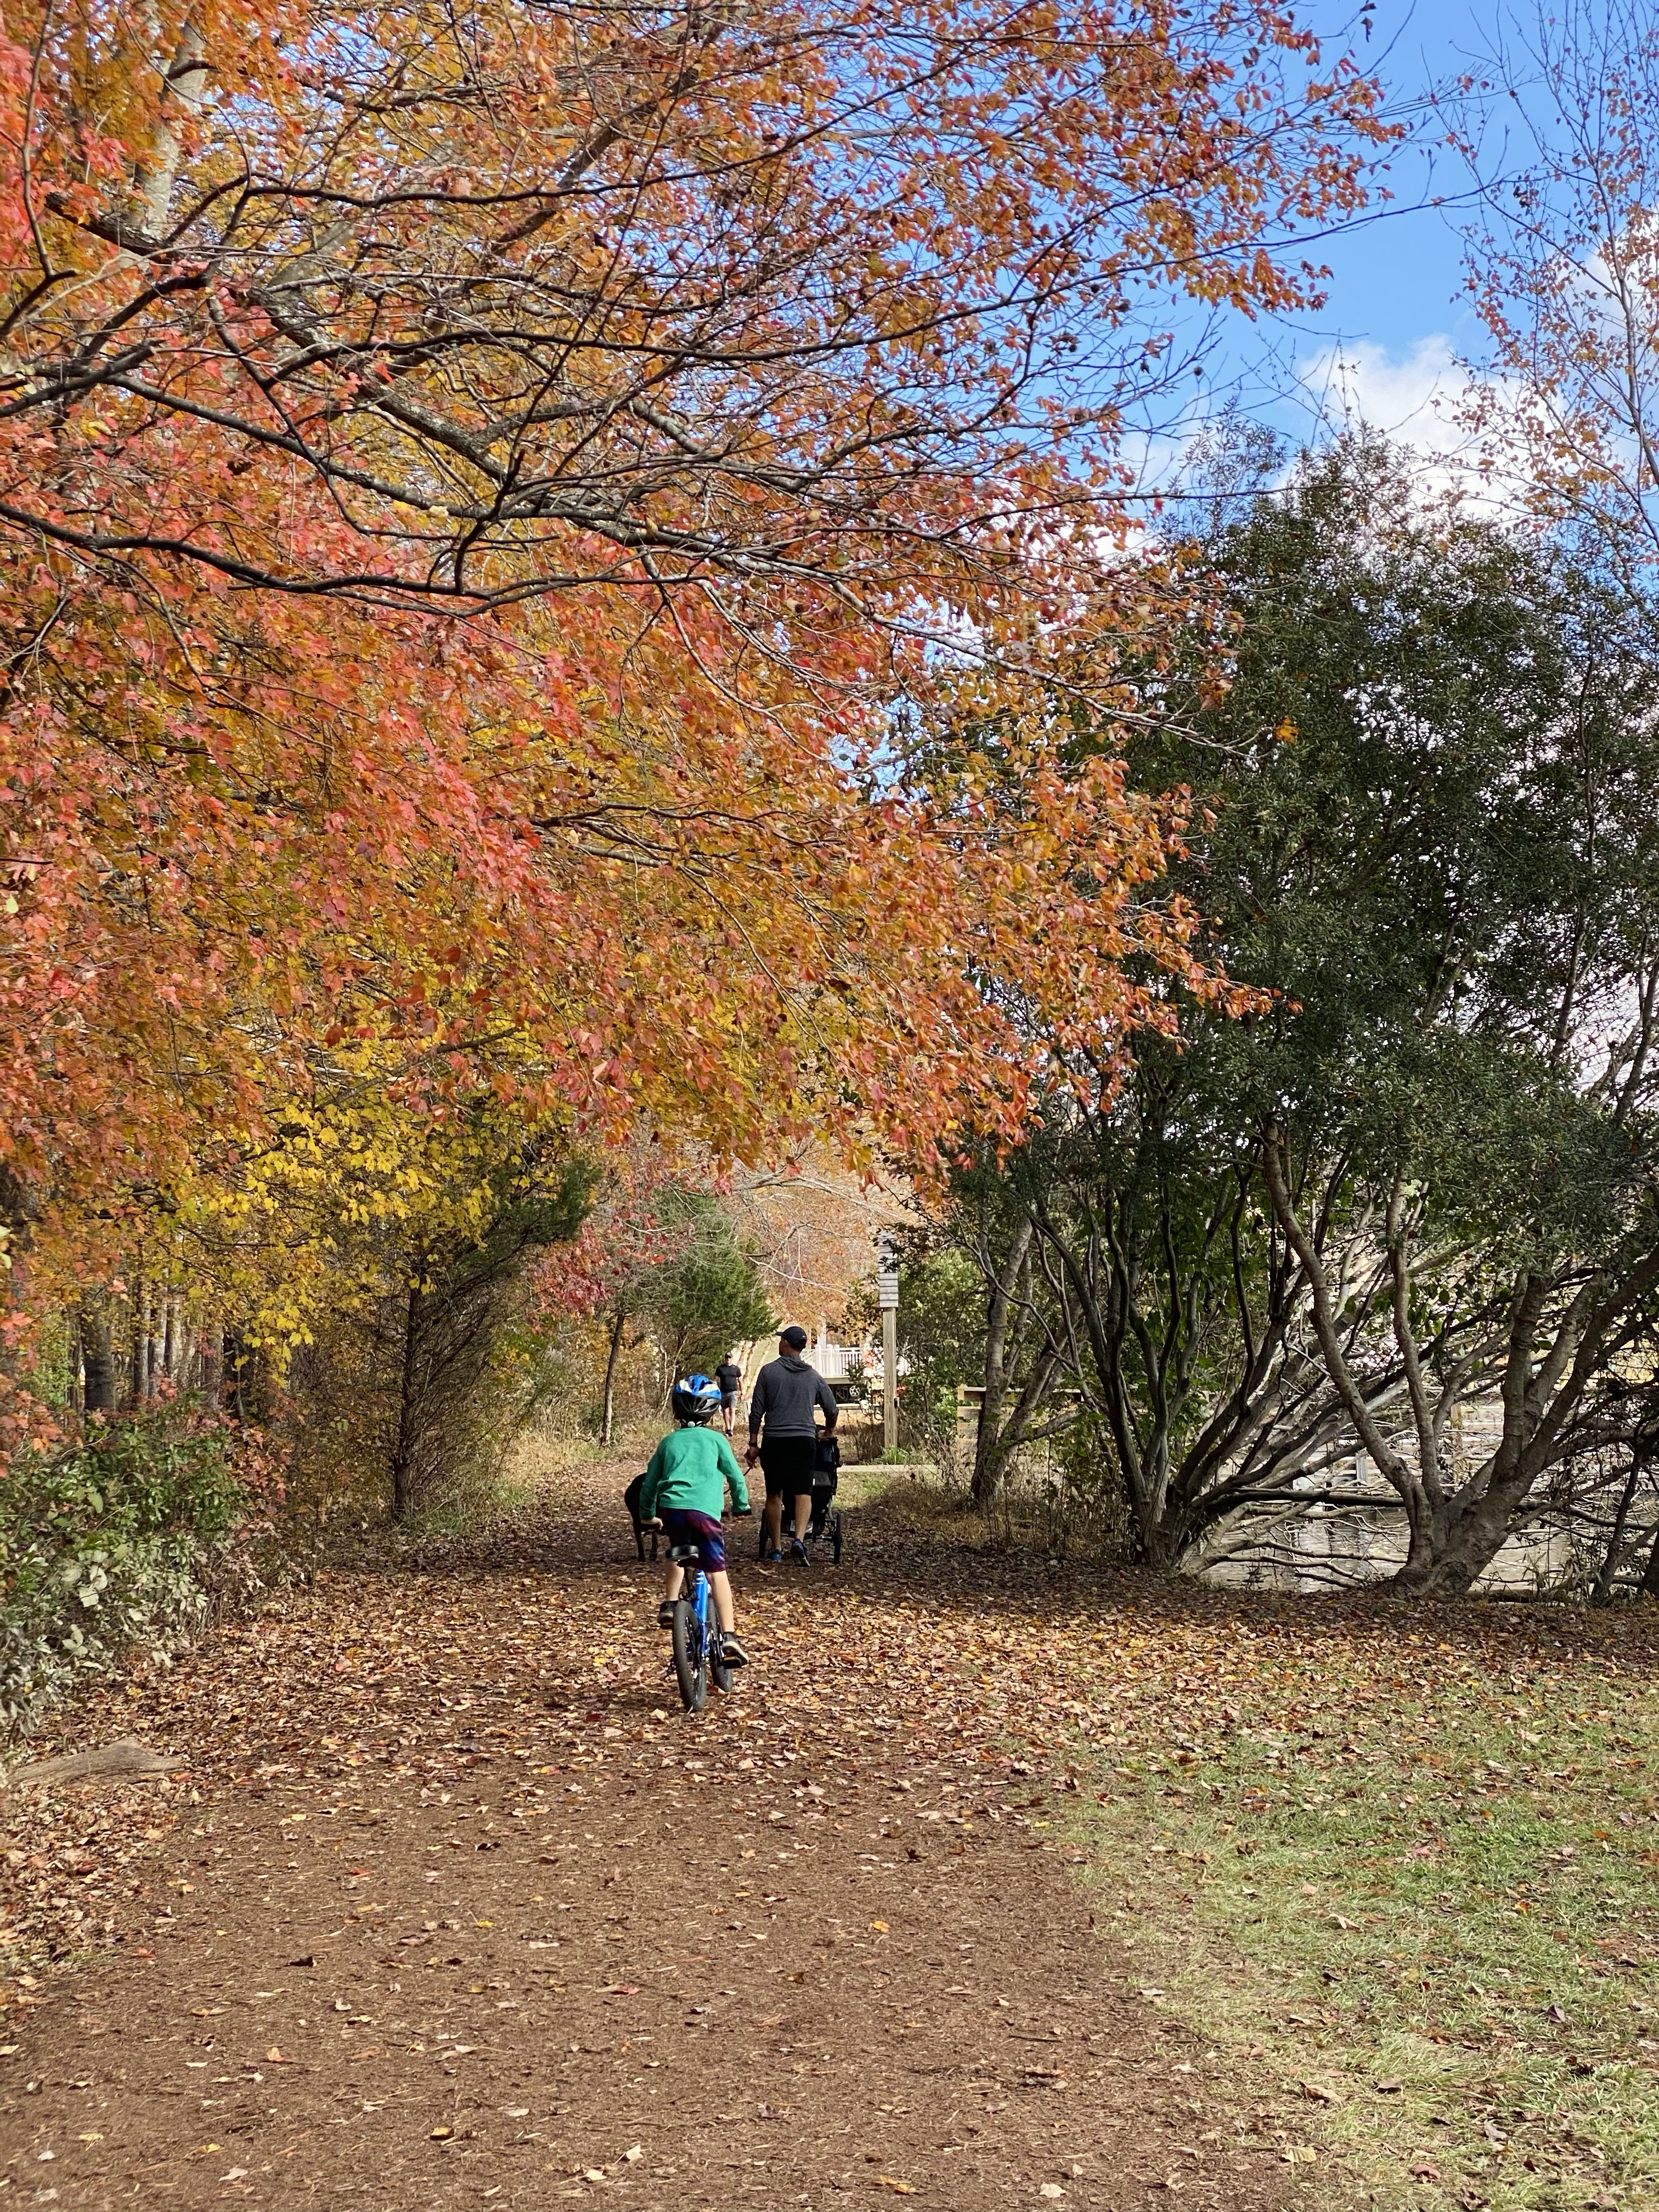
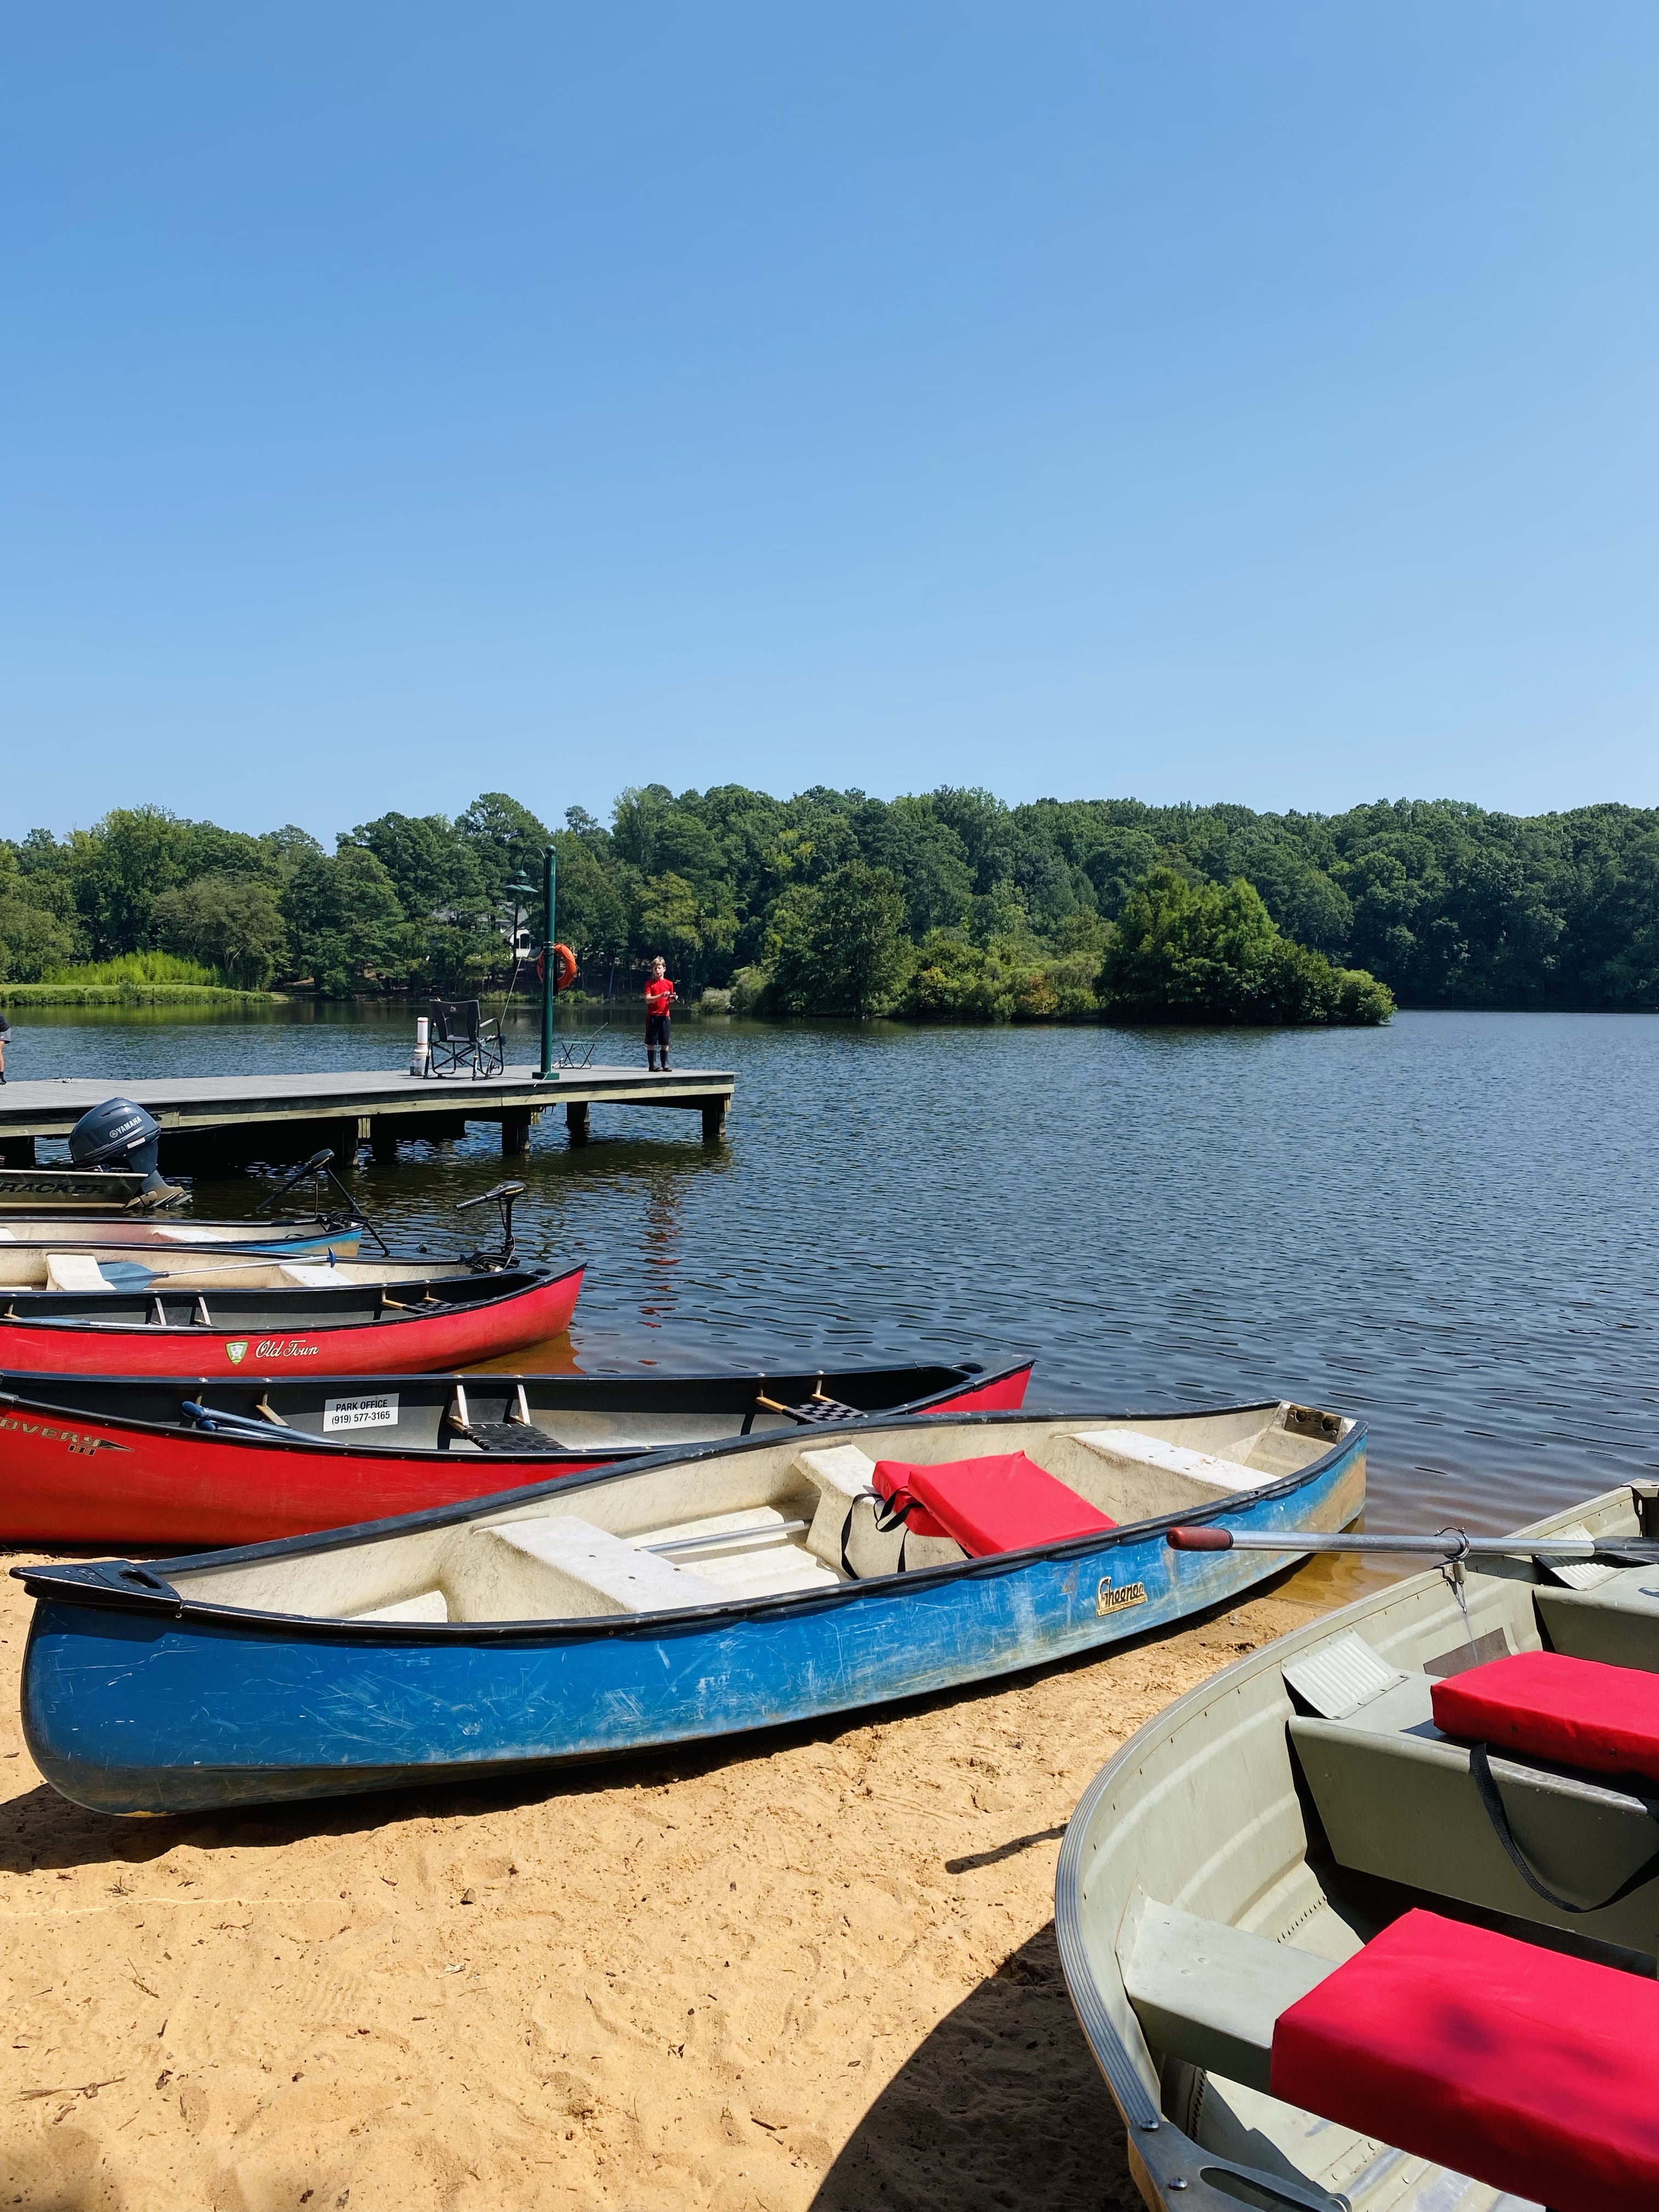
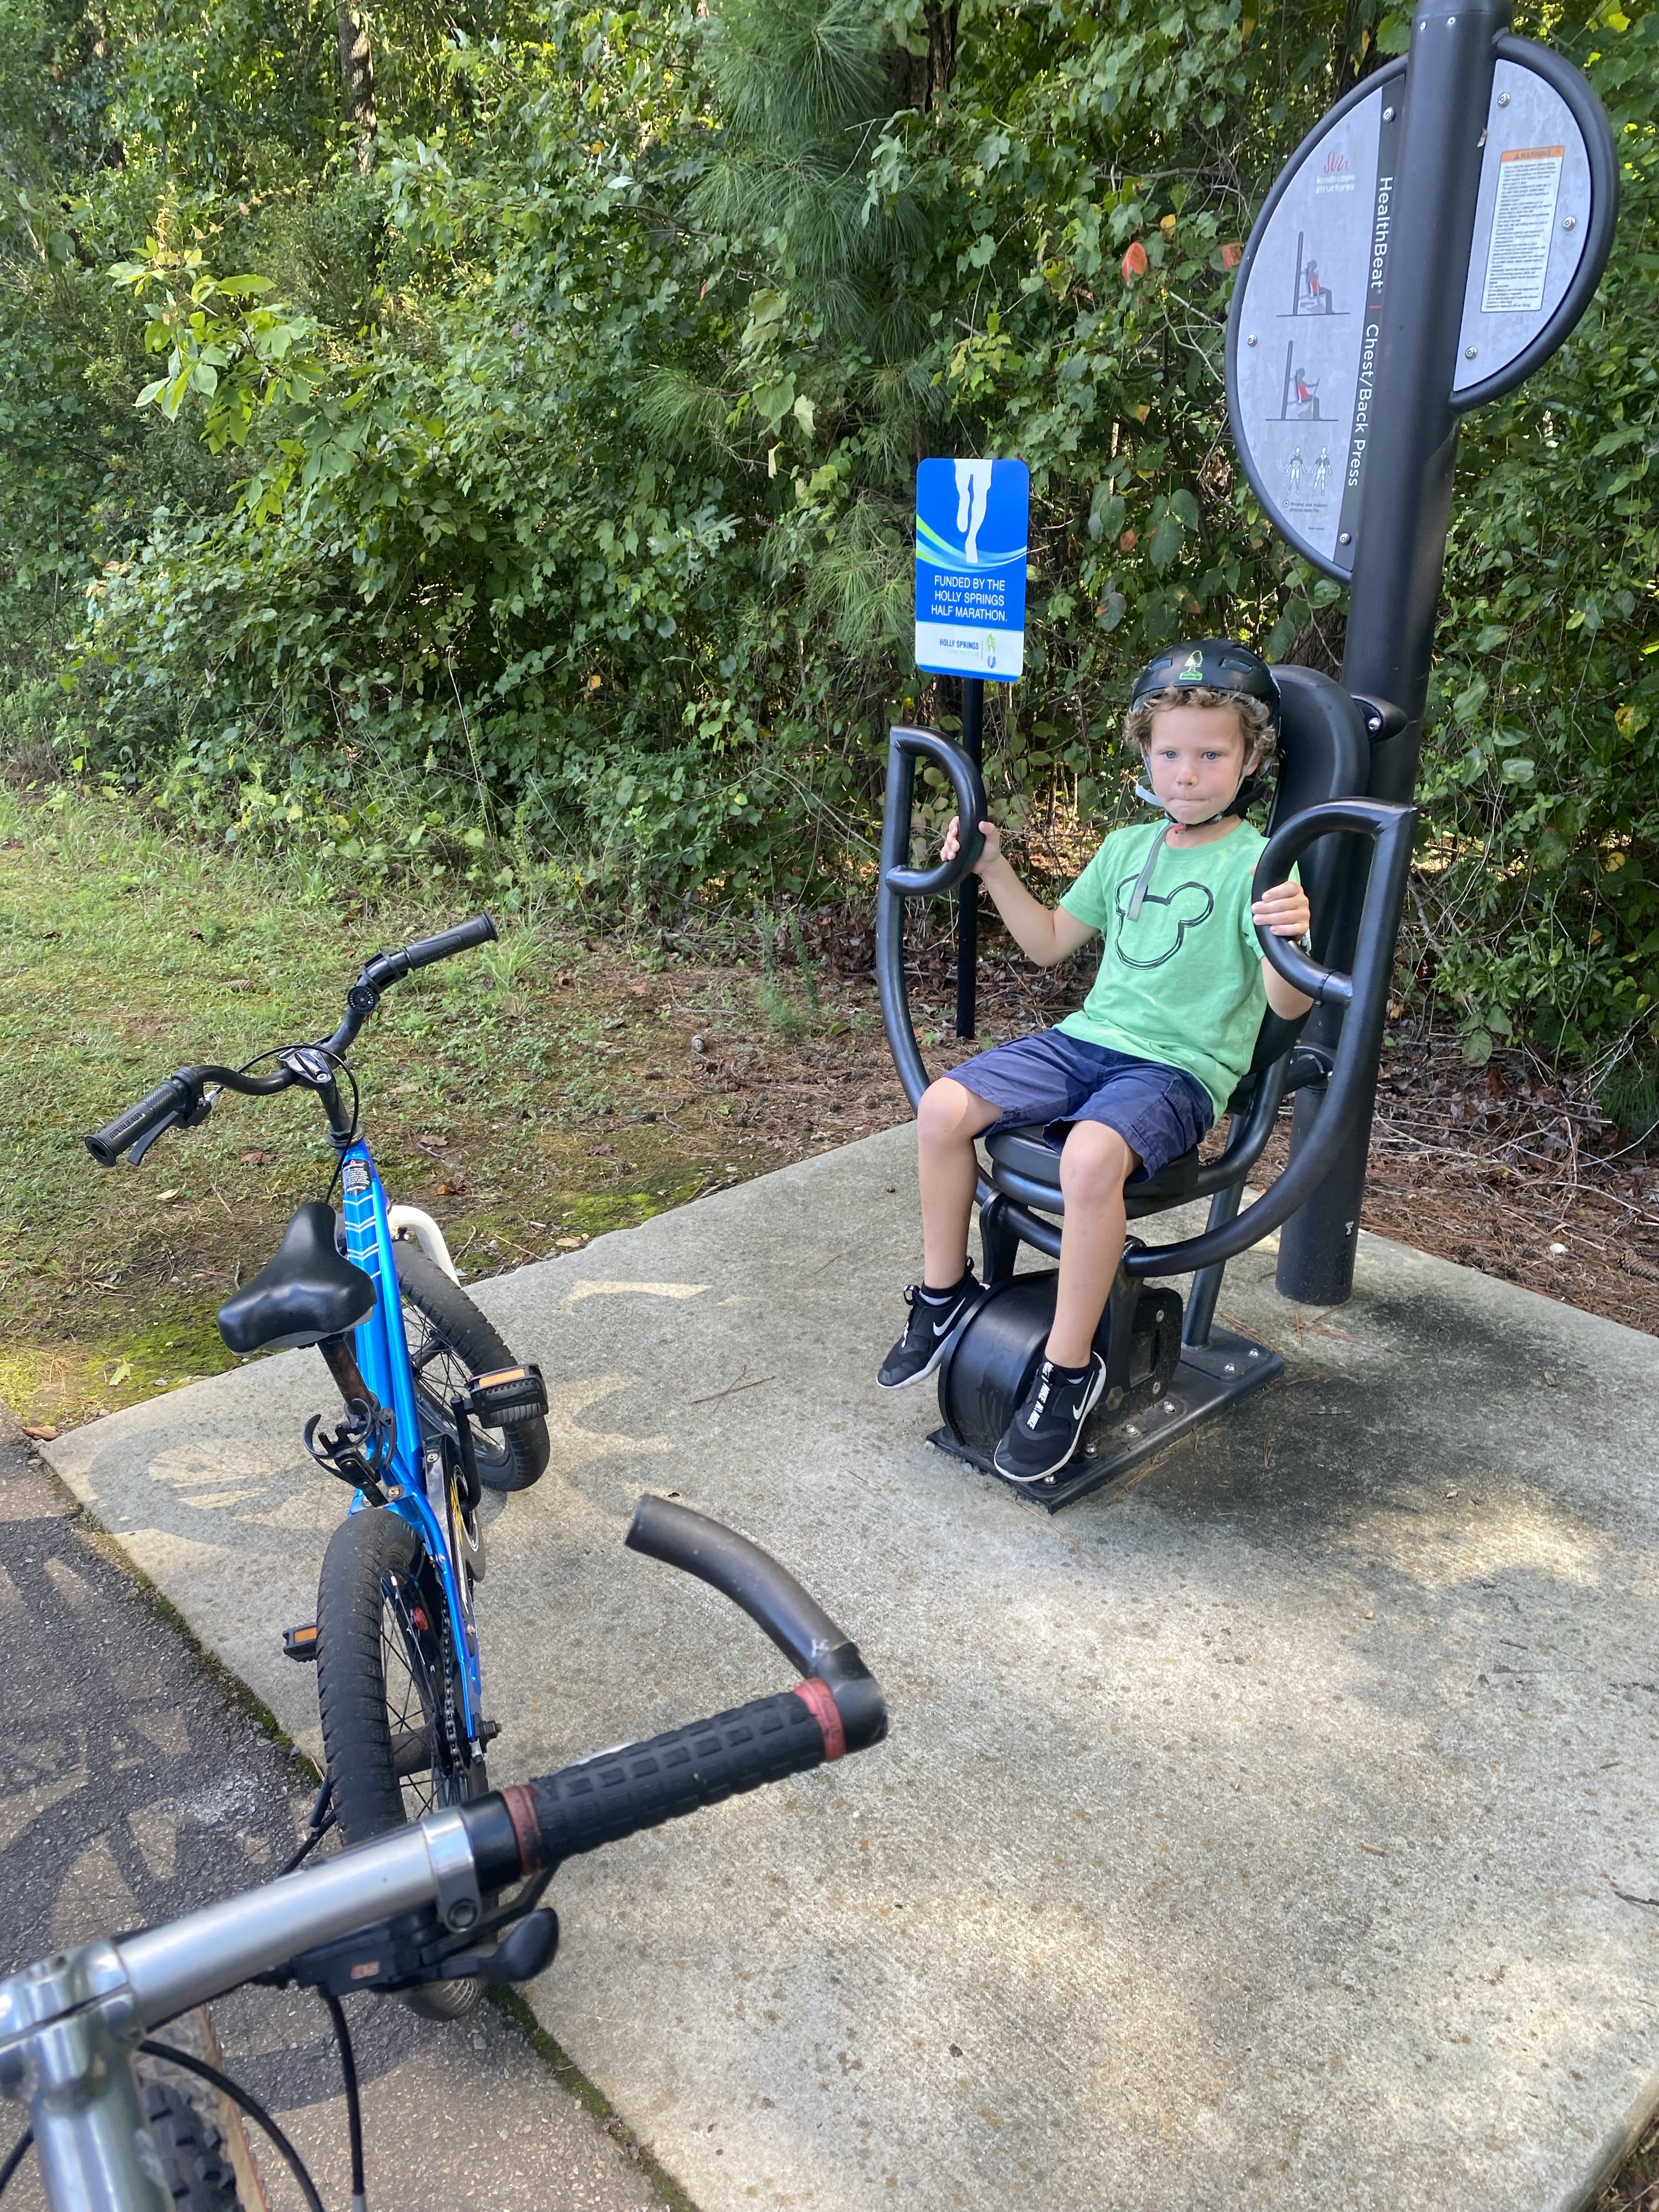
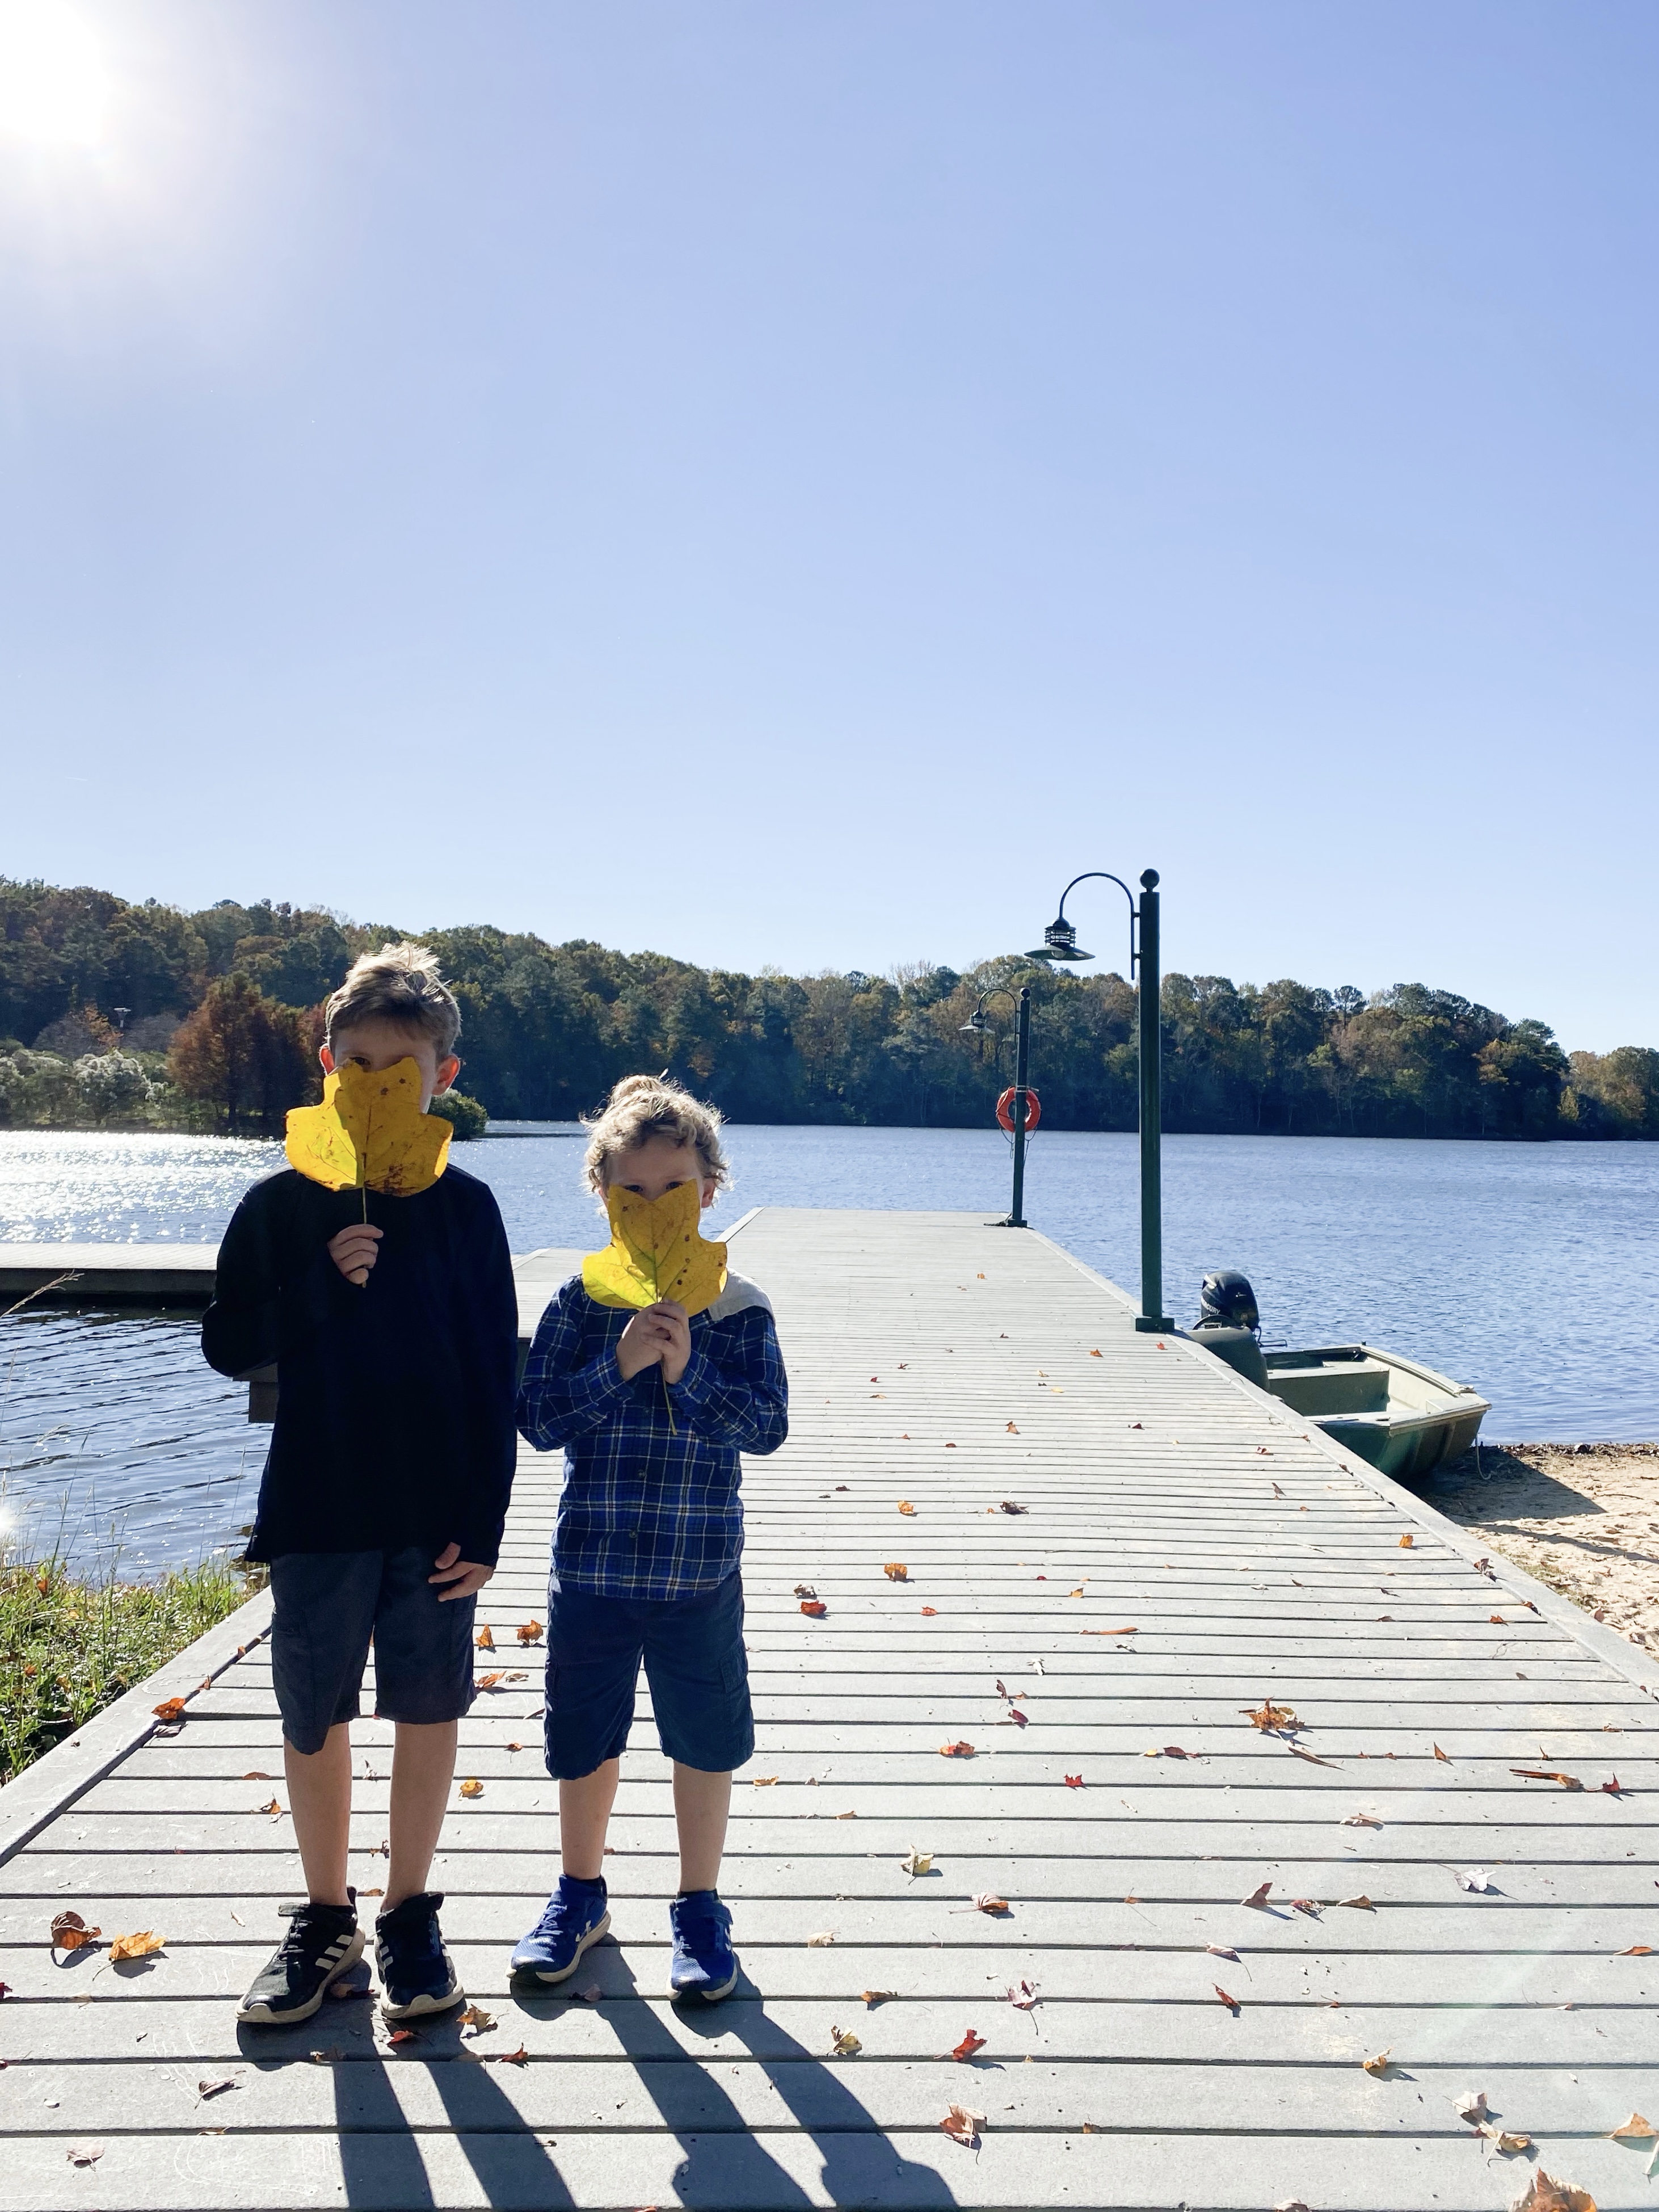
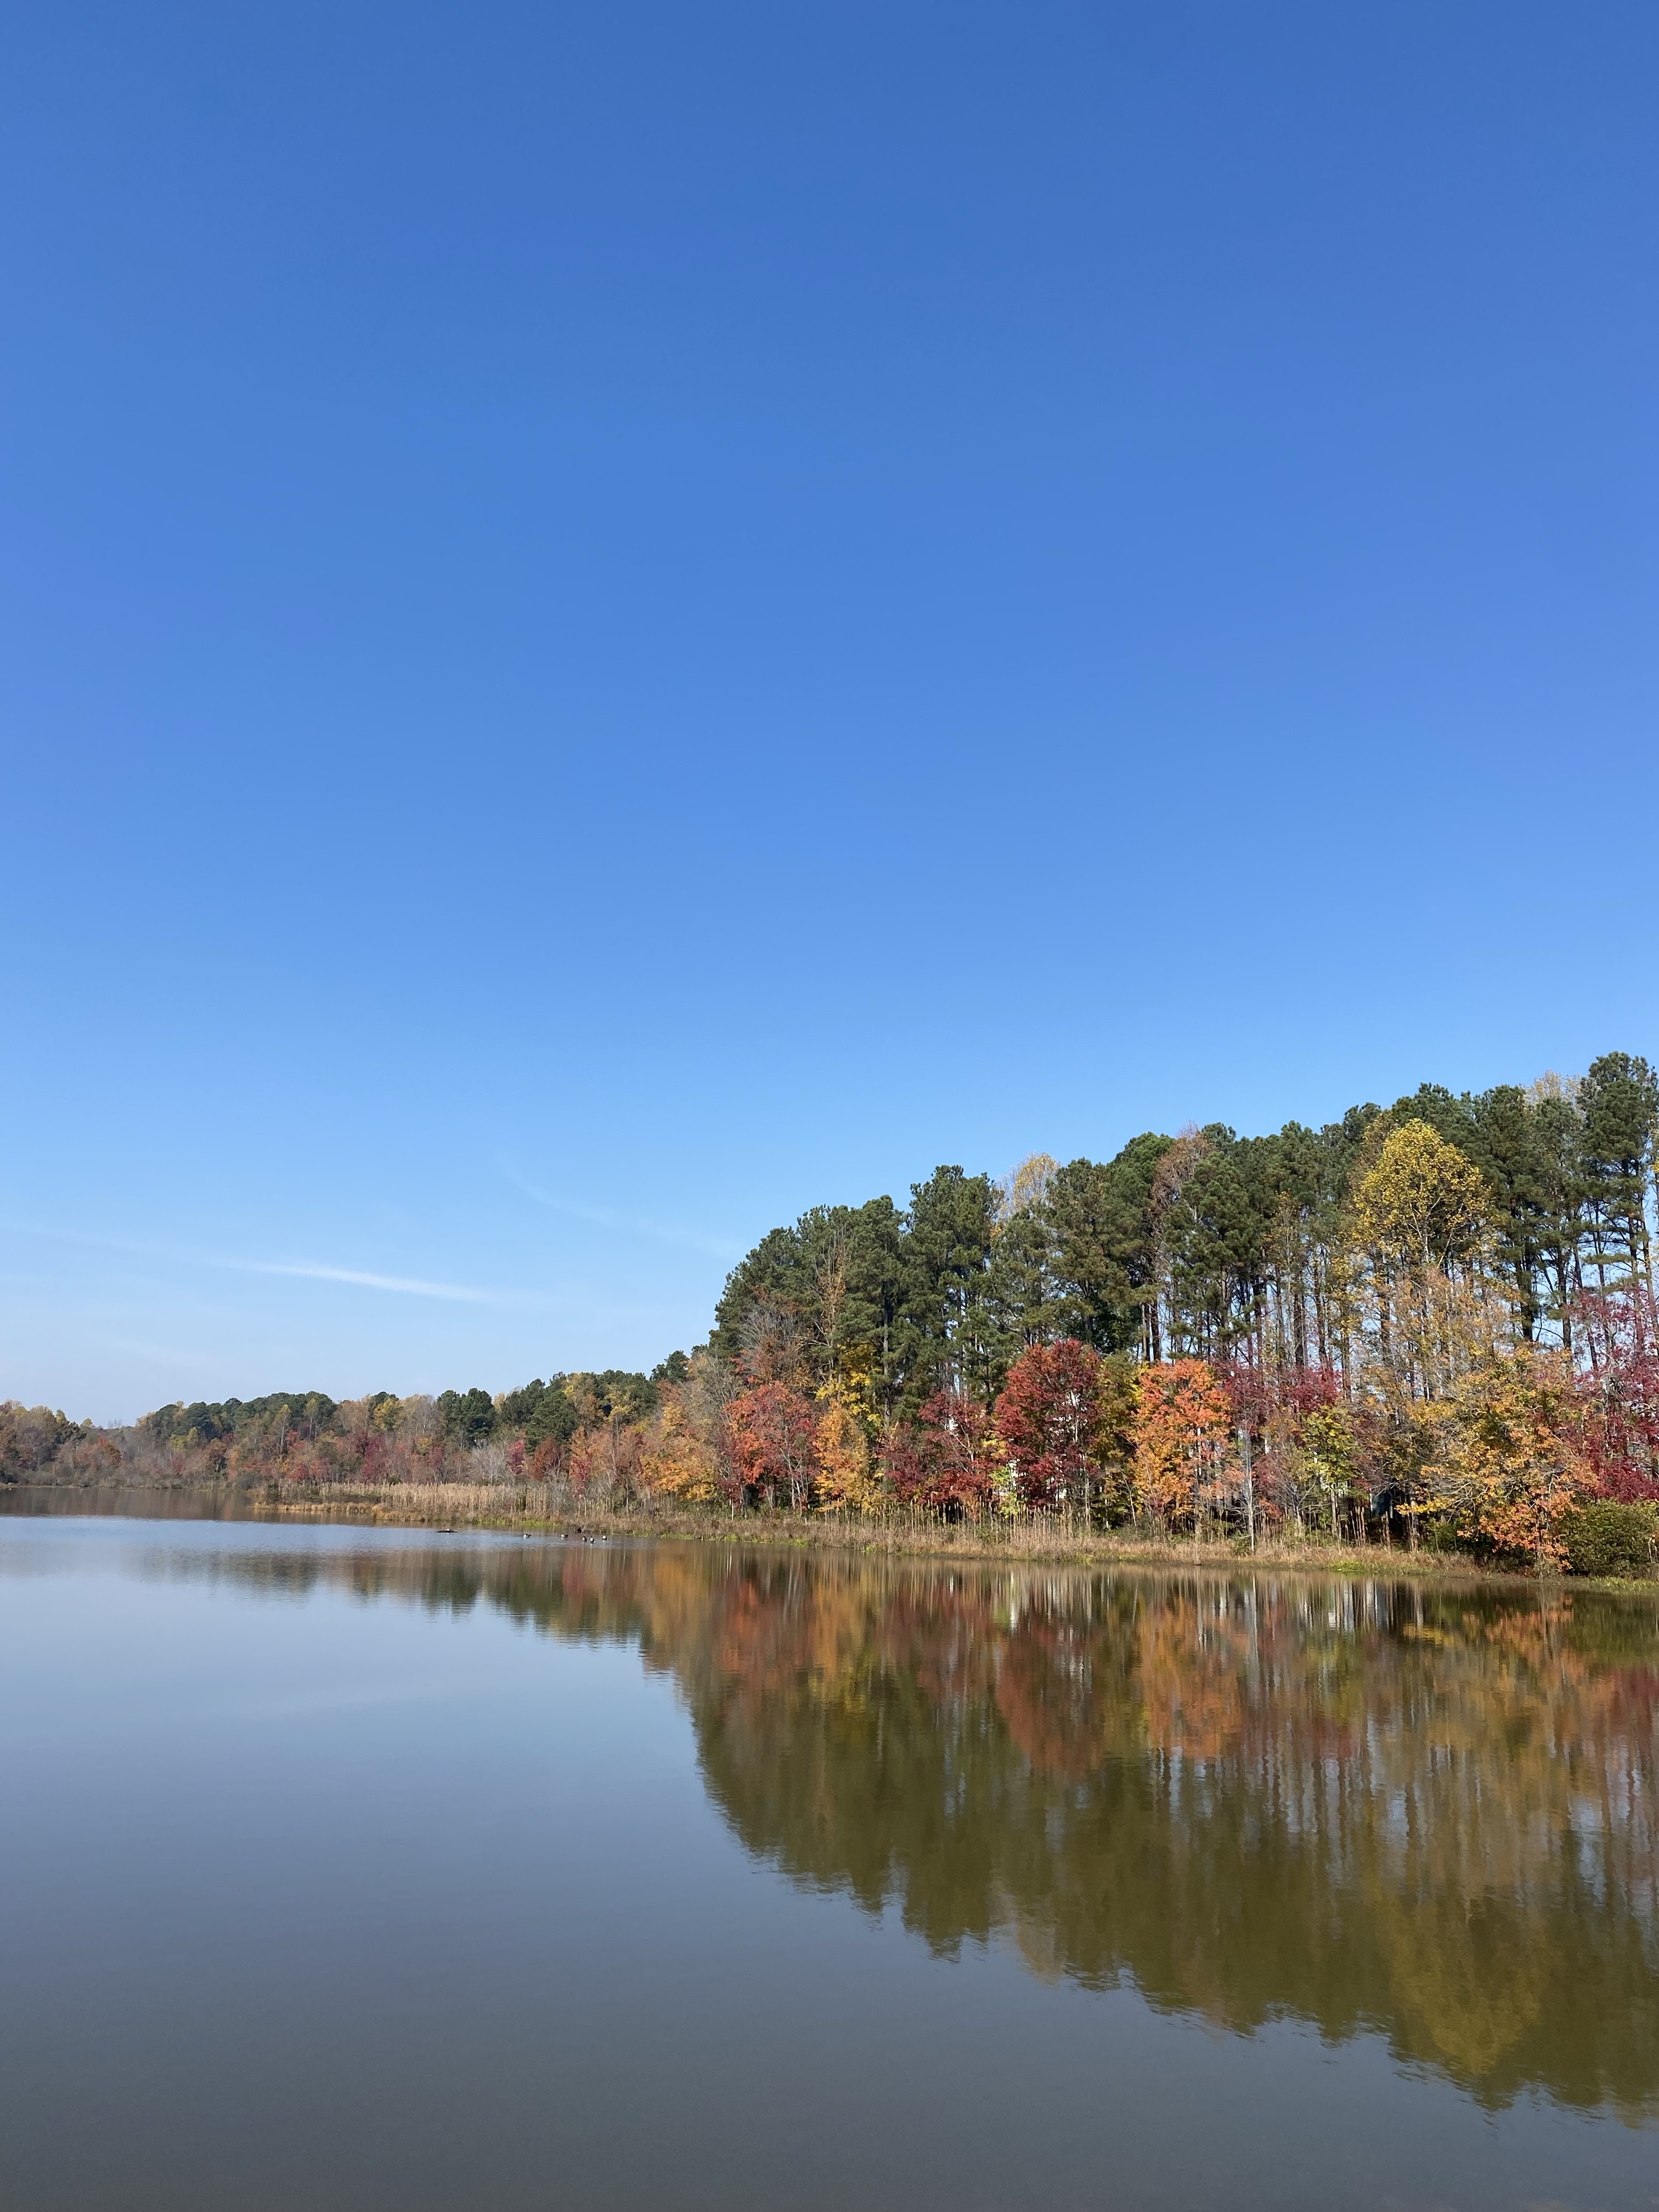
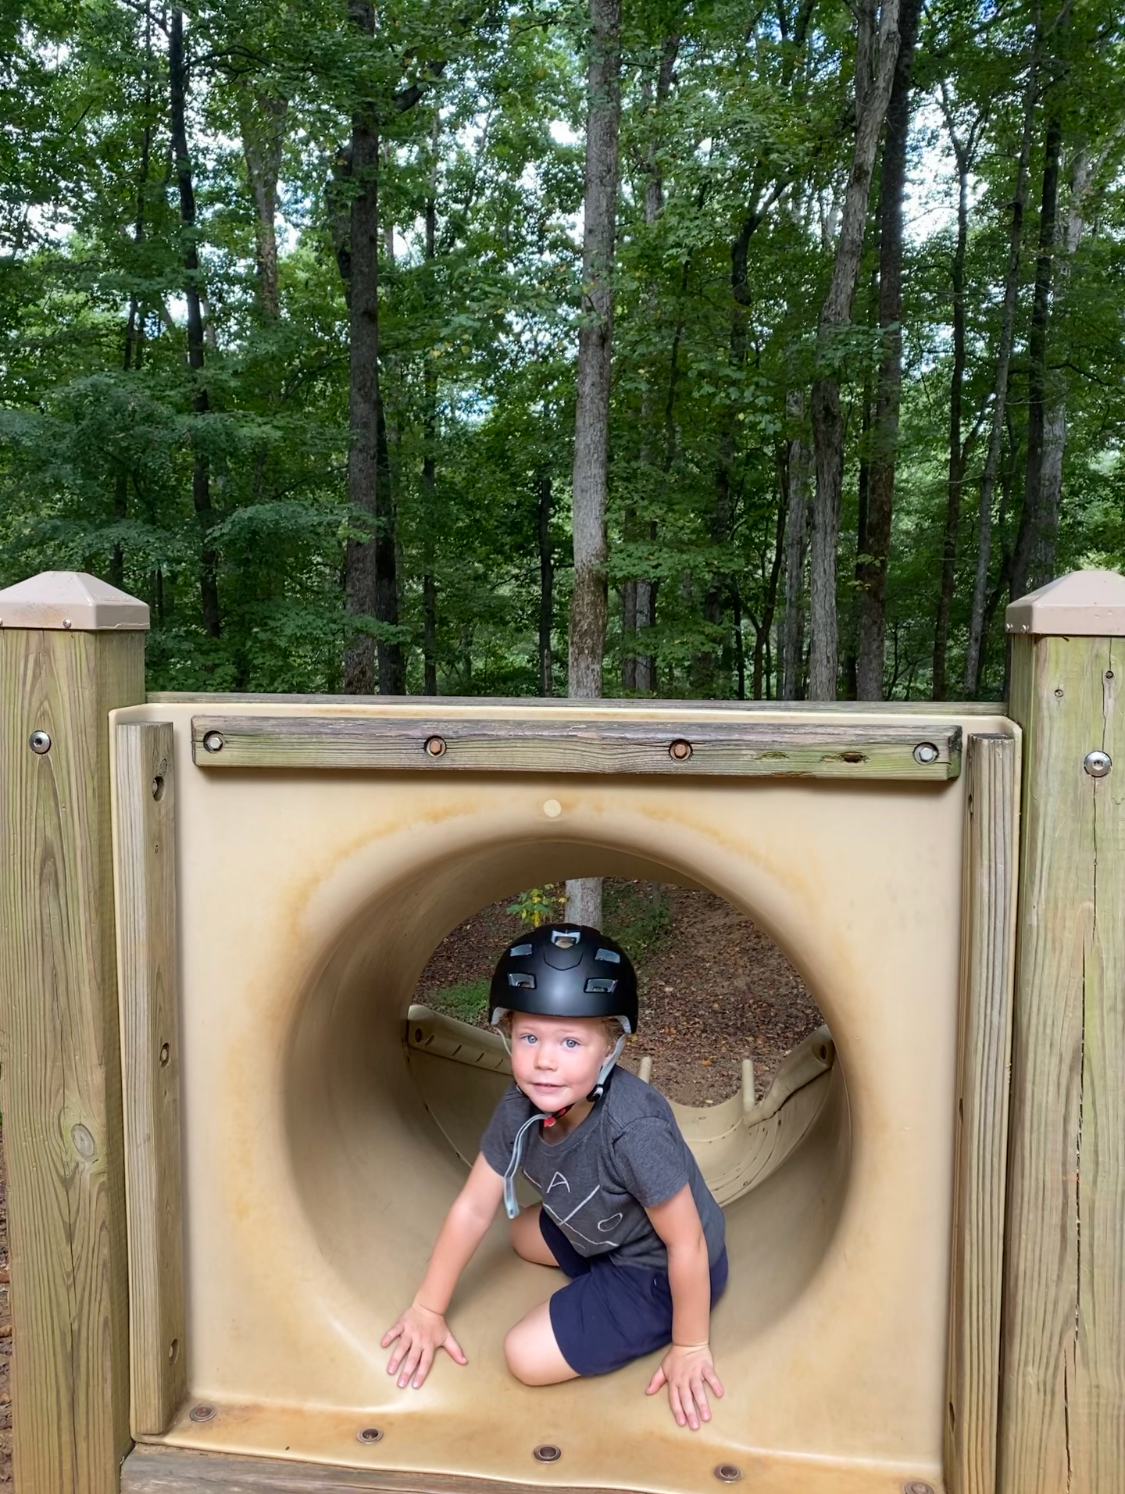
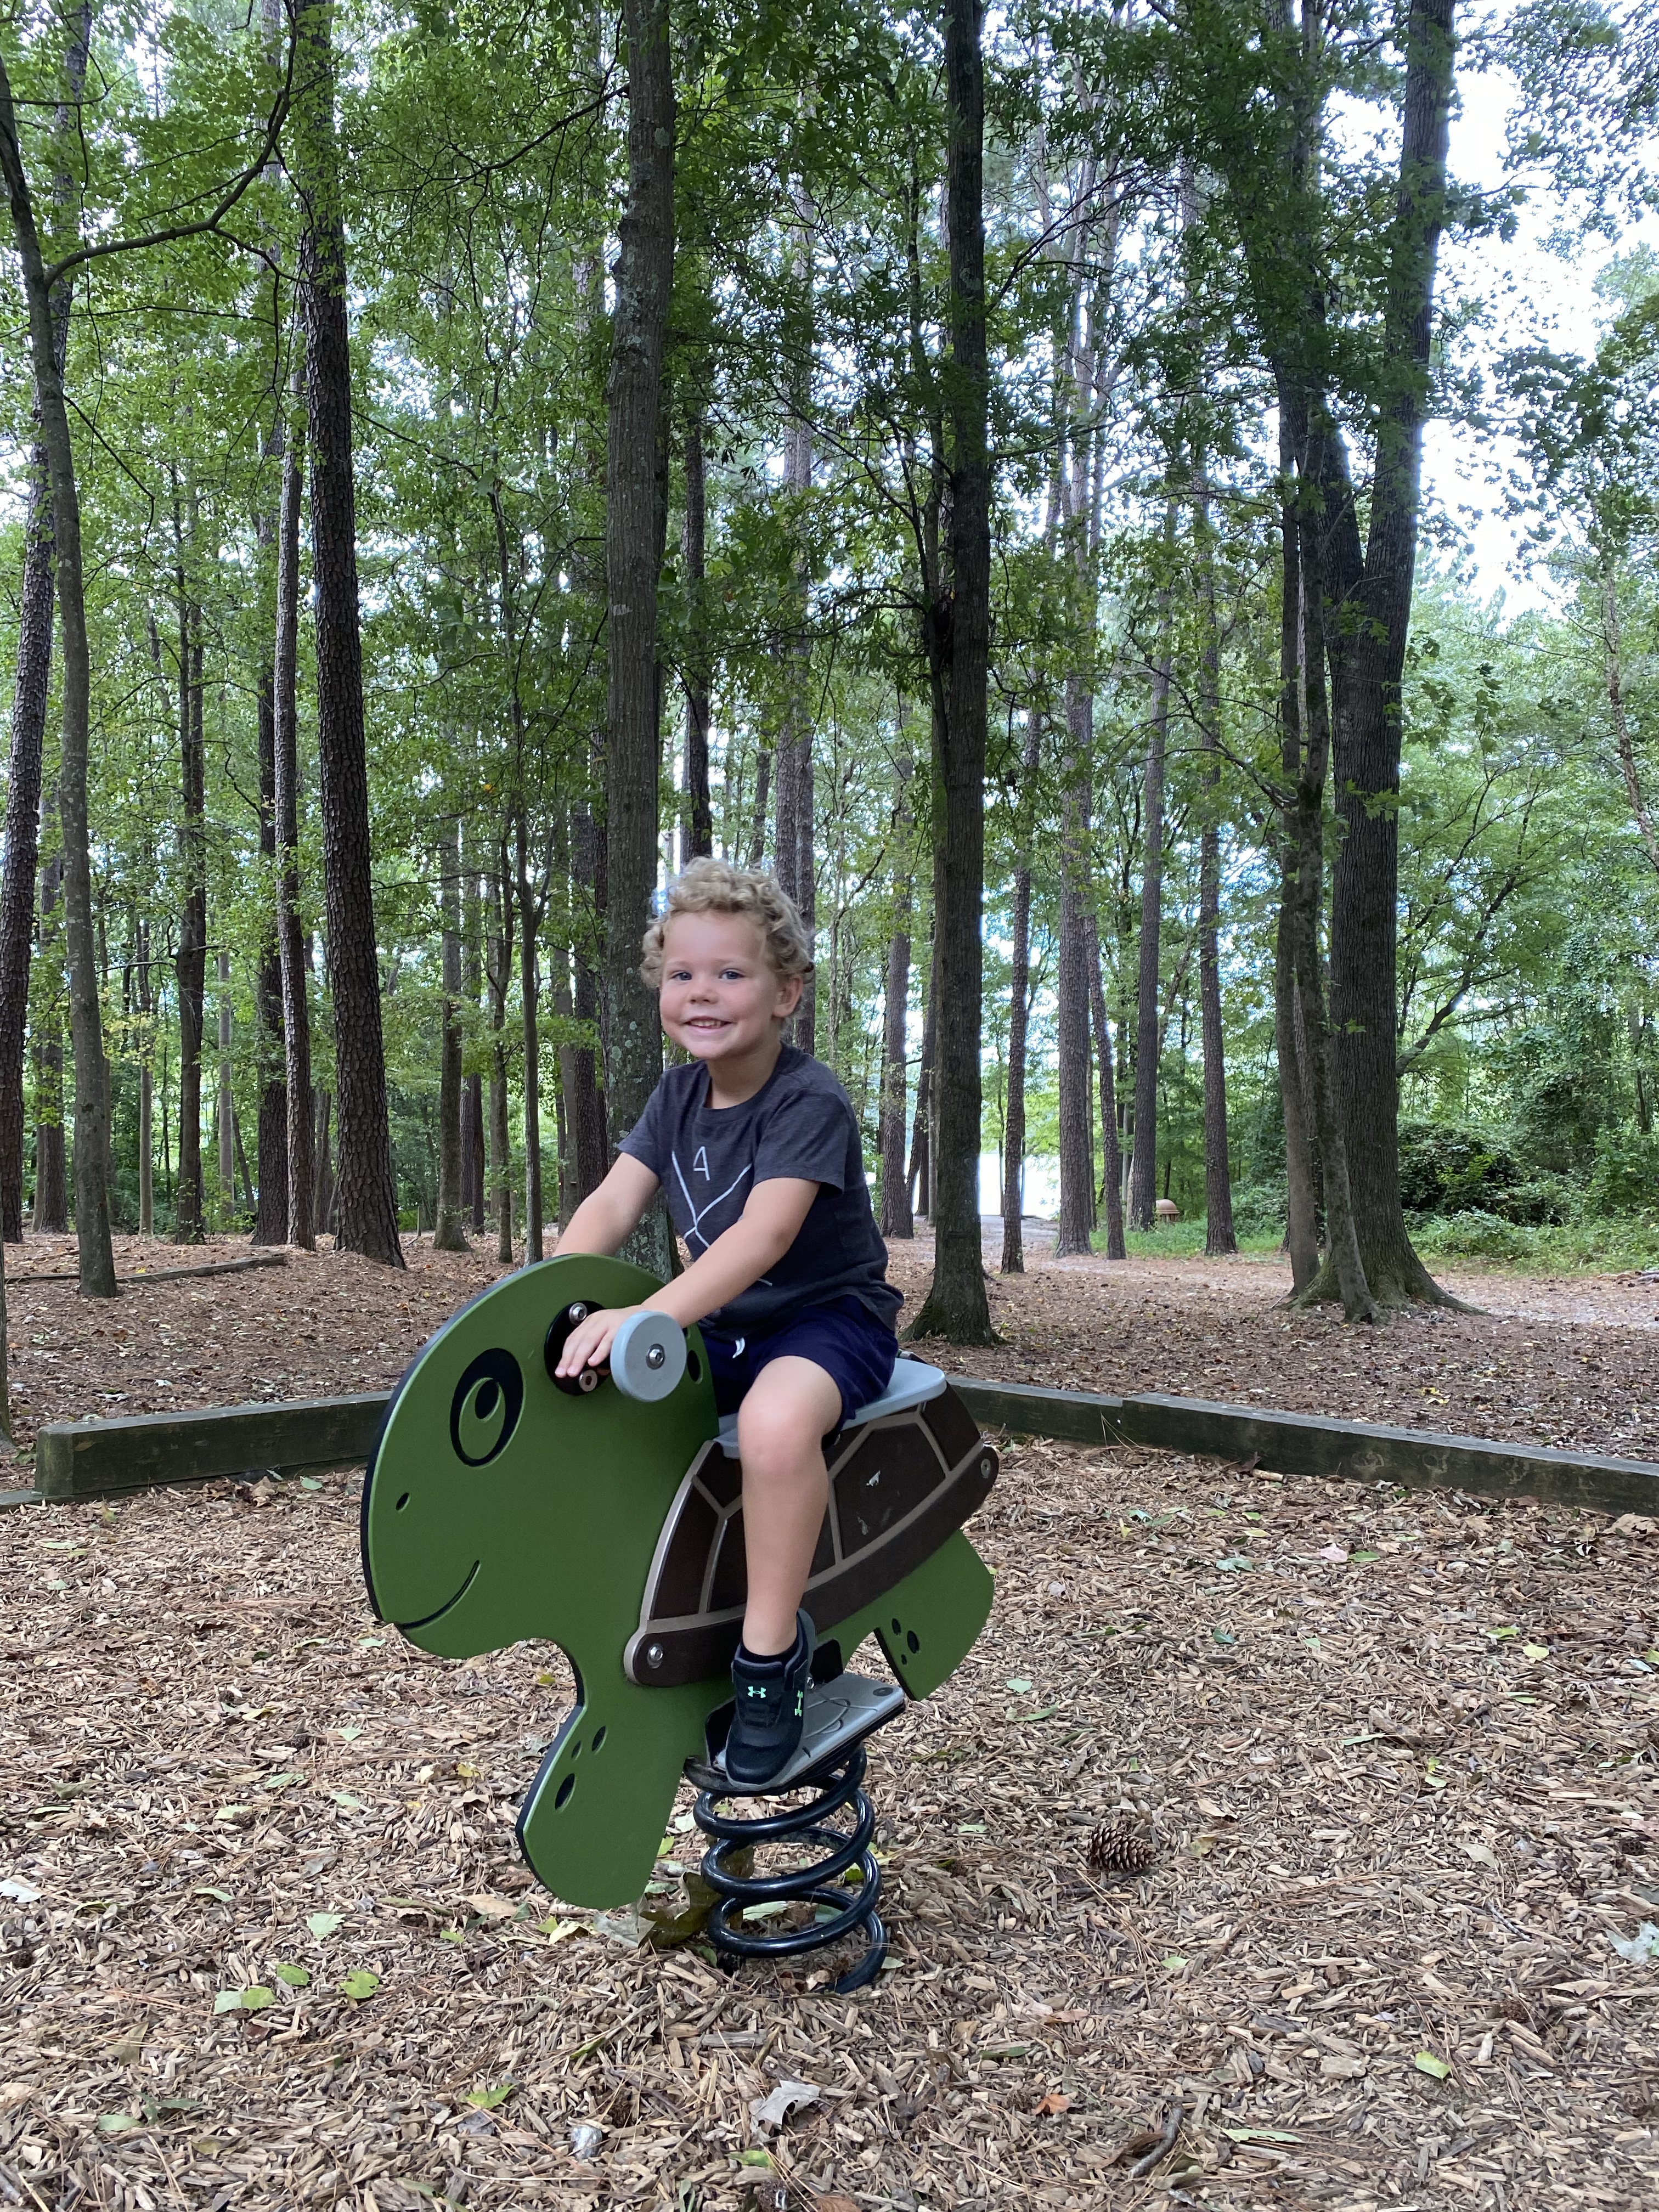
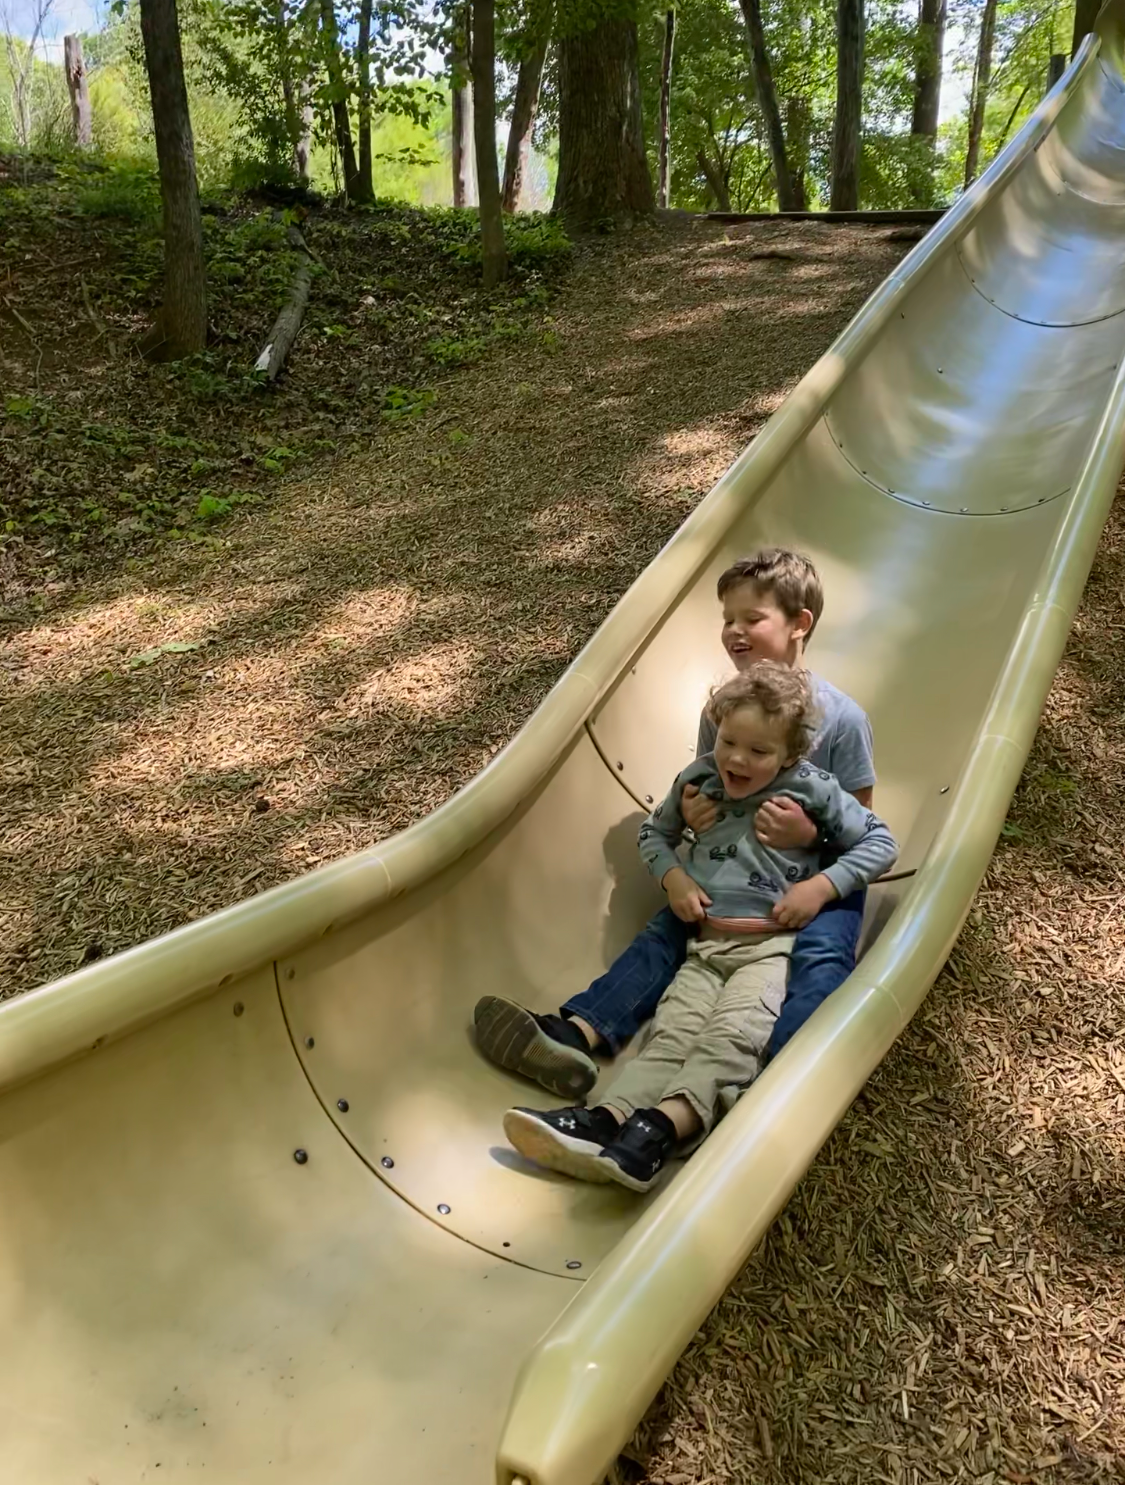
Bass Lake Park – 🚶‍♀️ 🏃‍♀️ 🚴‍♀️ 🛴 (Greenway Path only)

This is a 2.02 mile loop, mostly mulched, that also has connecting access to the Carl Dean Greenway and Sugg Farm.

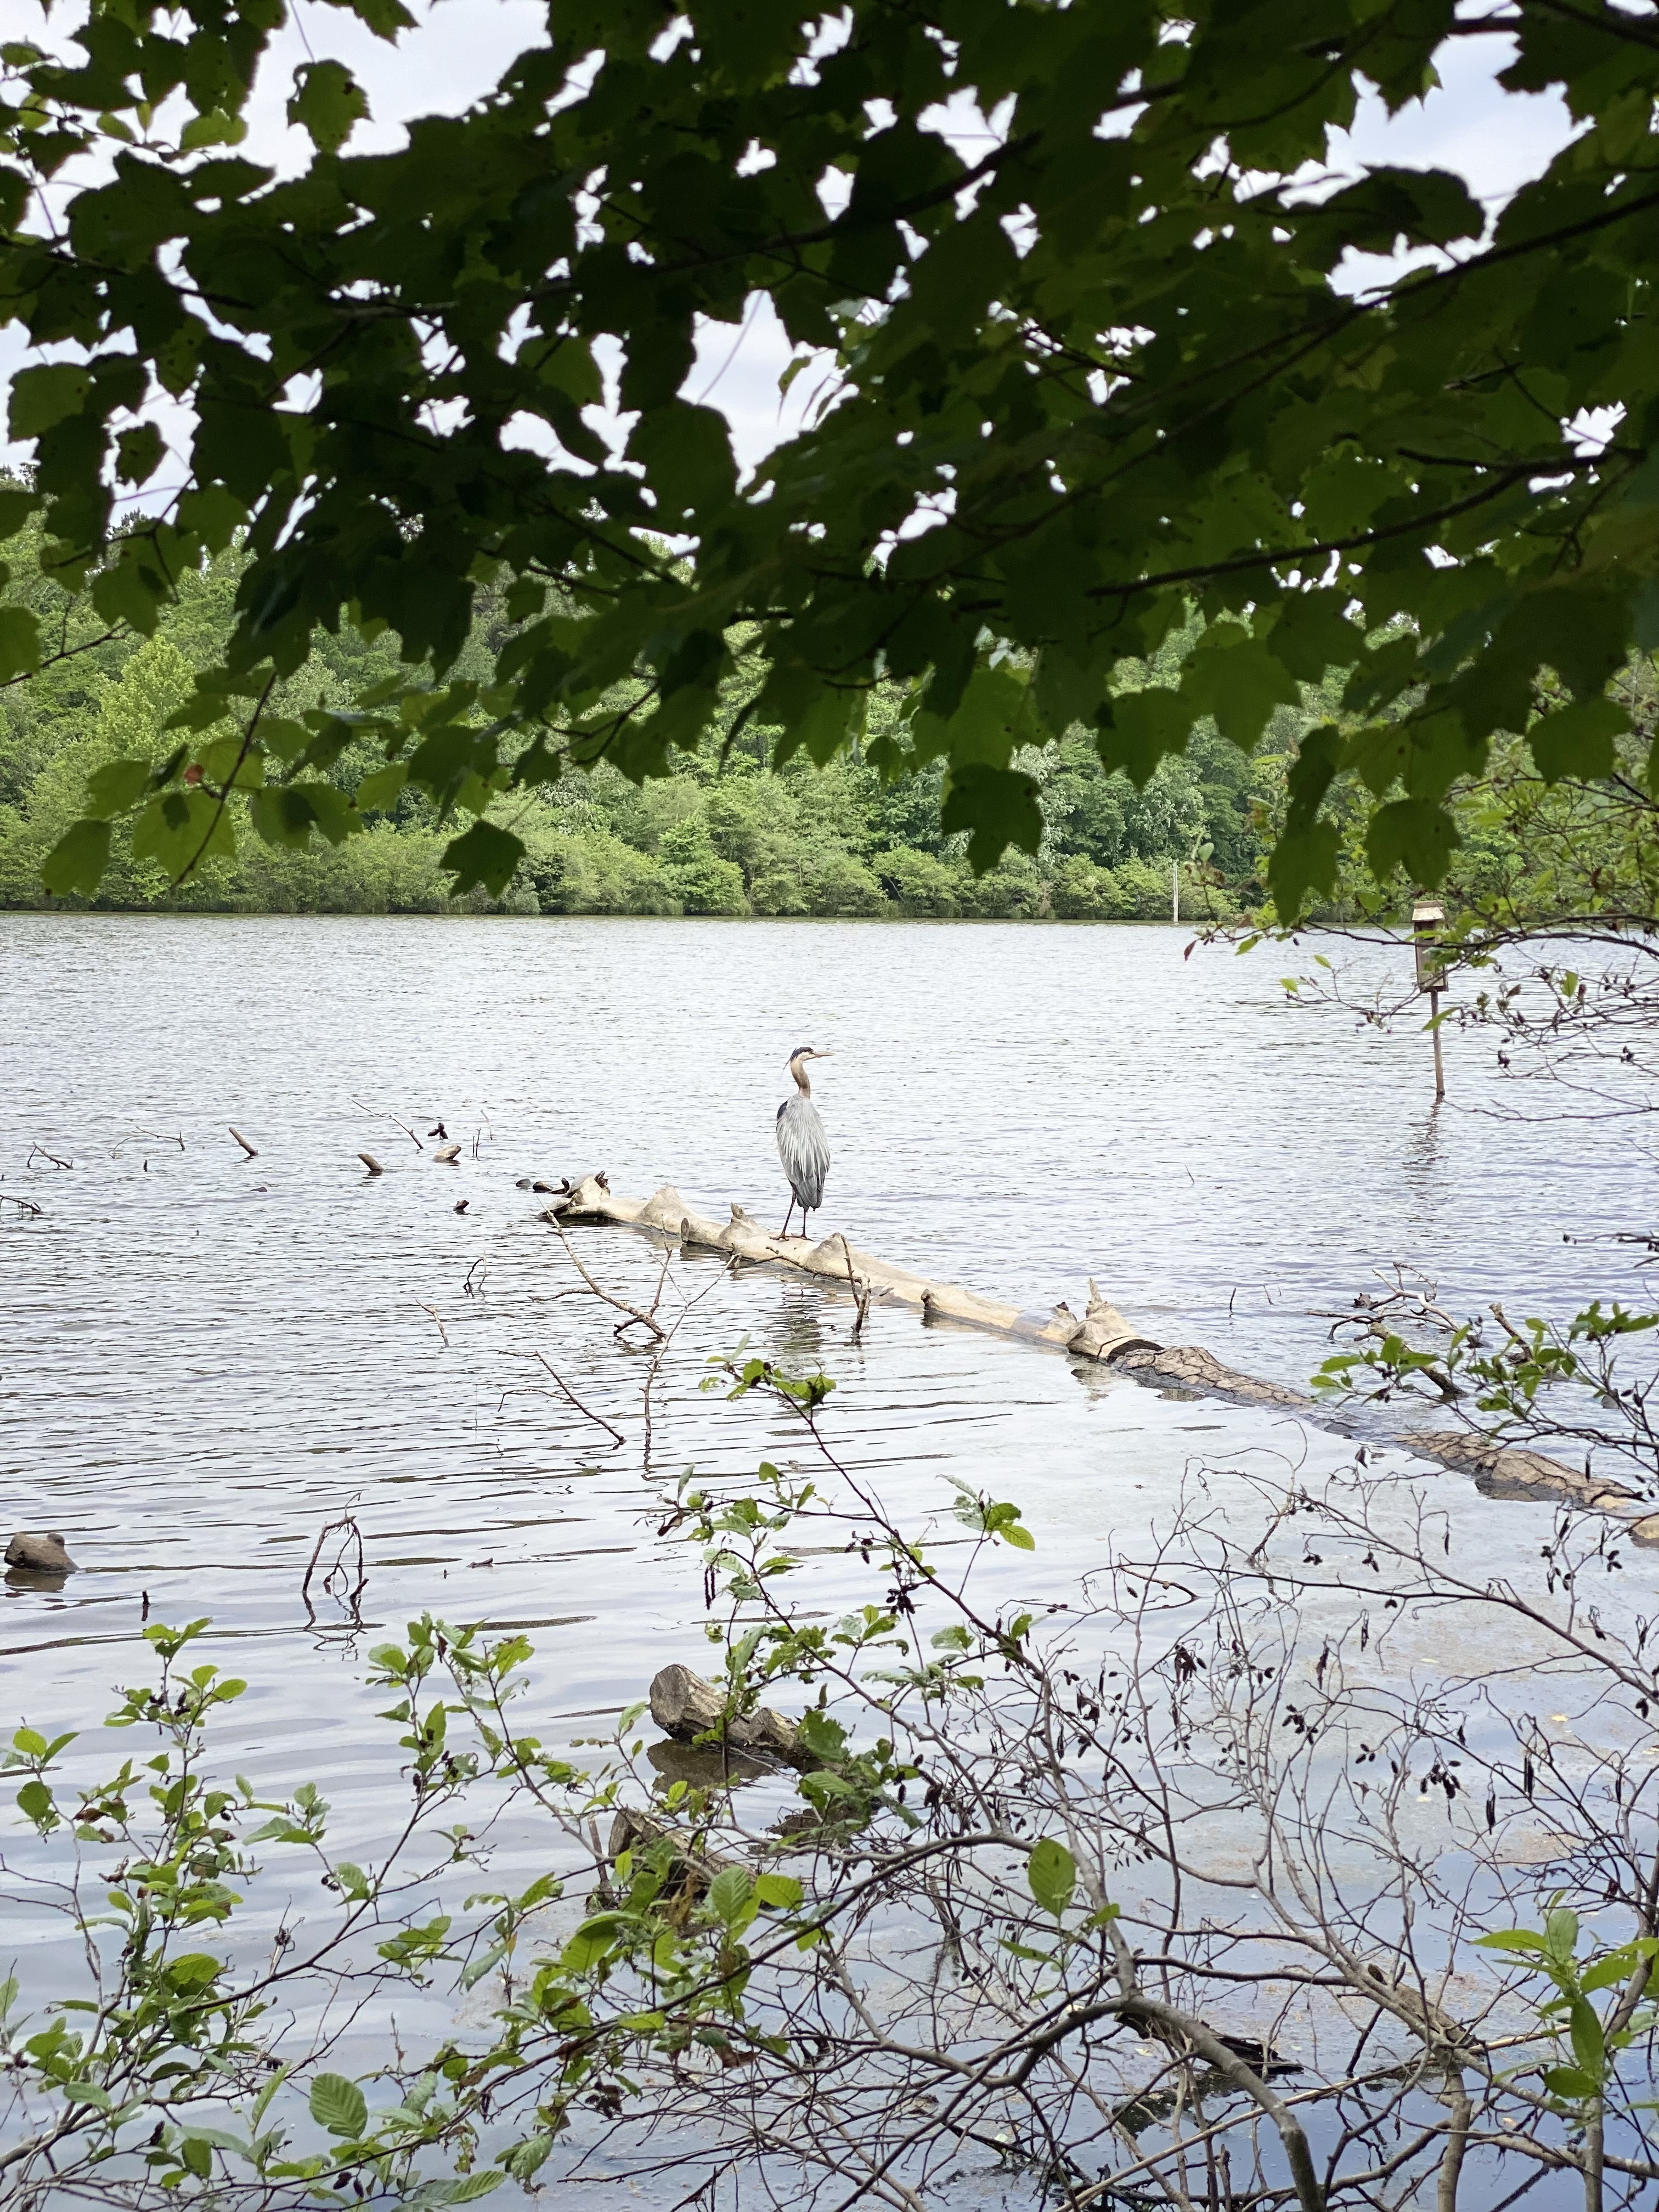
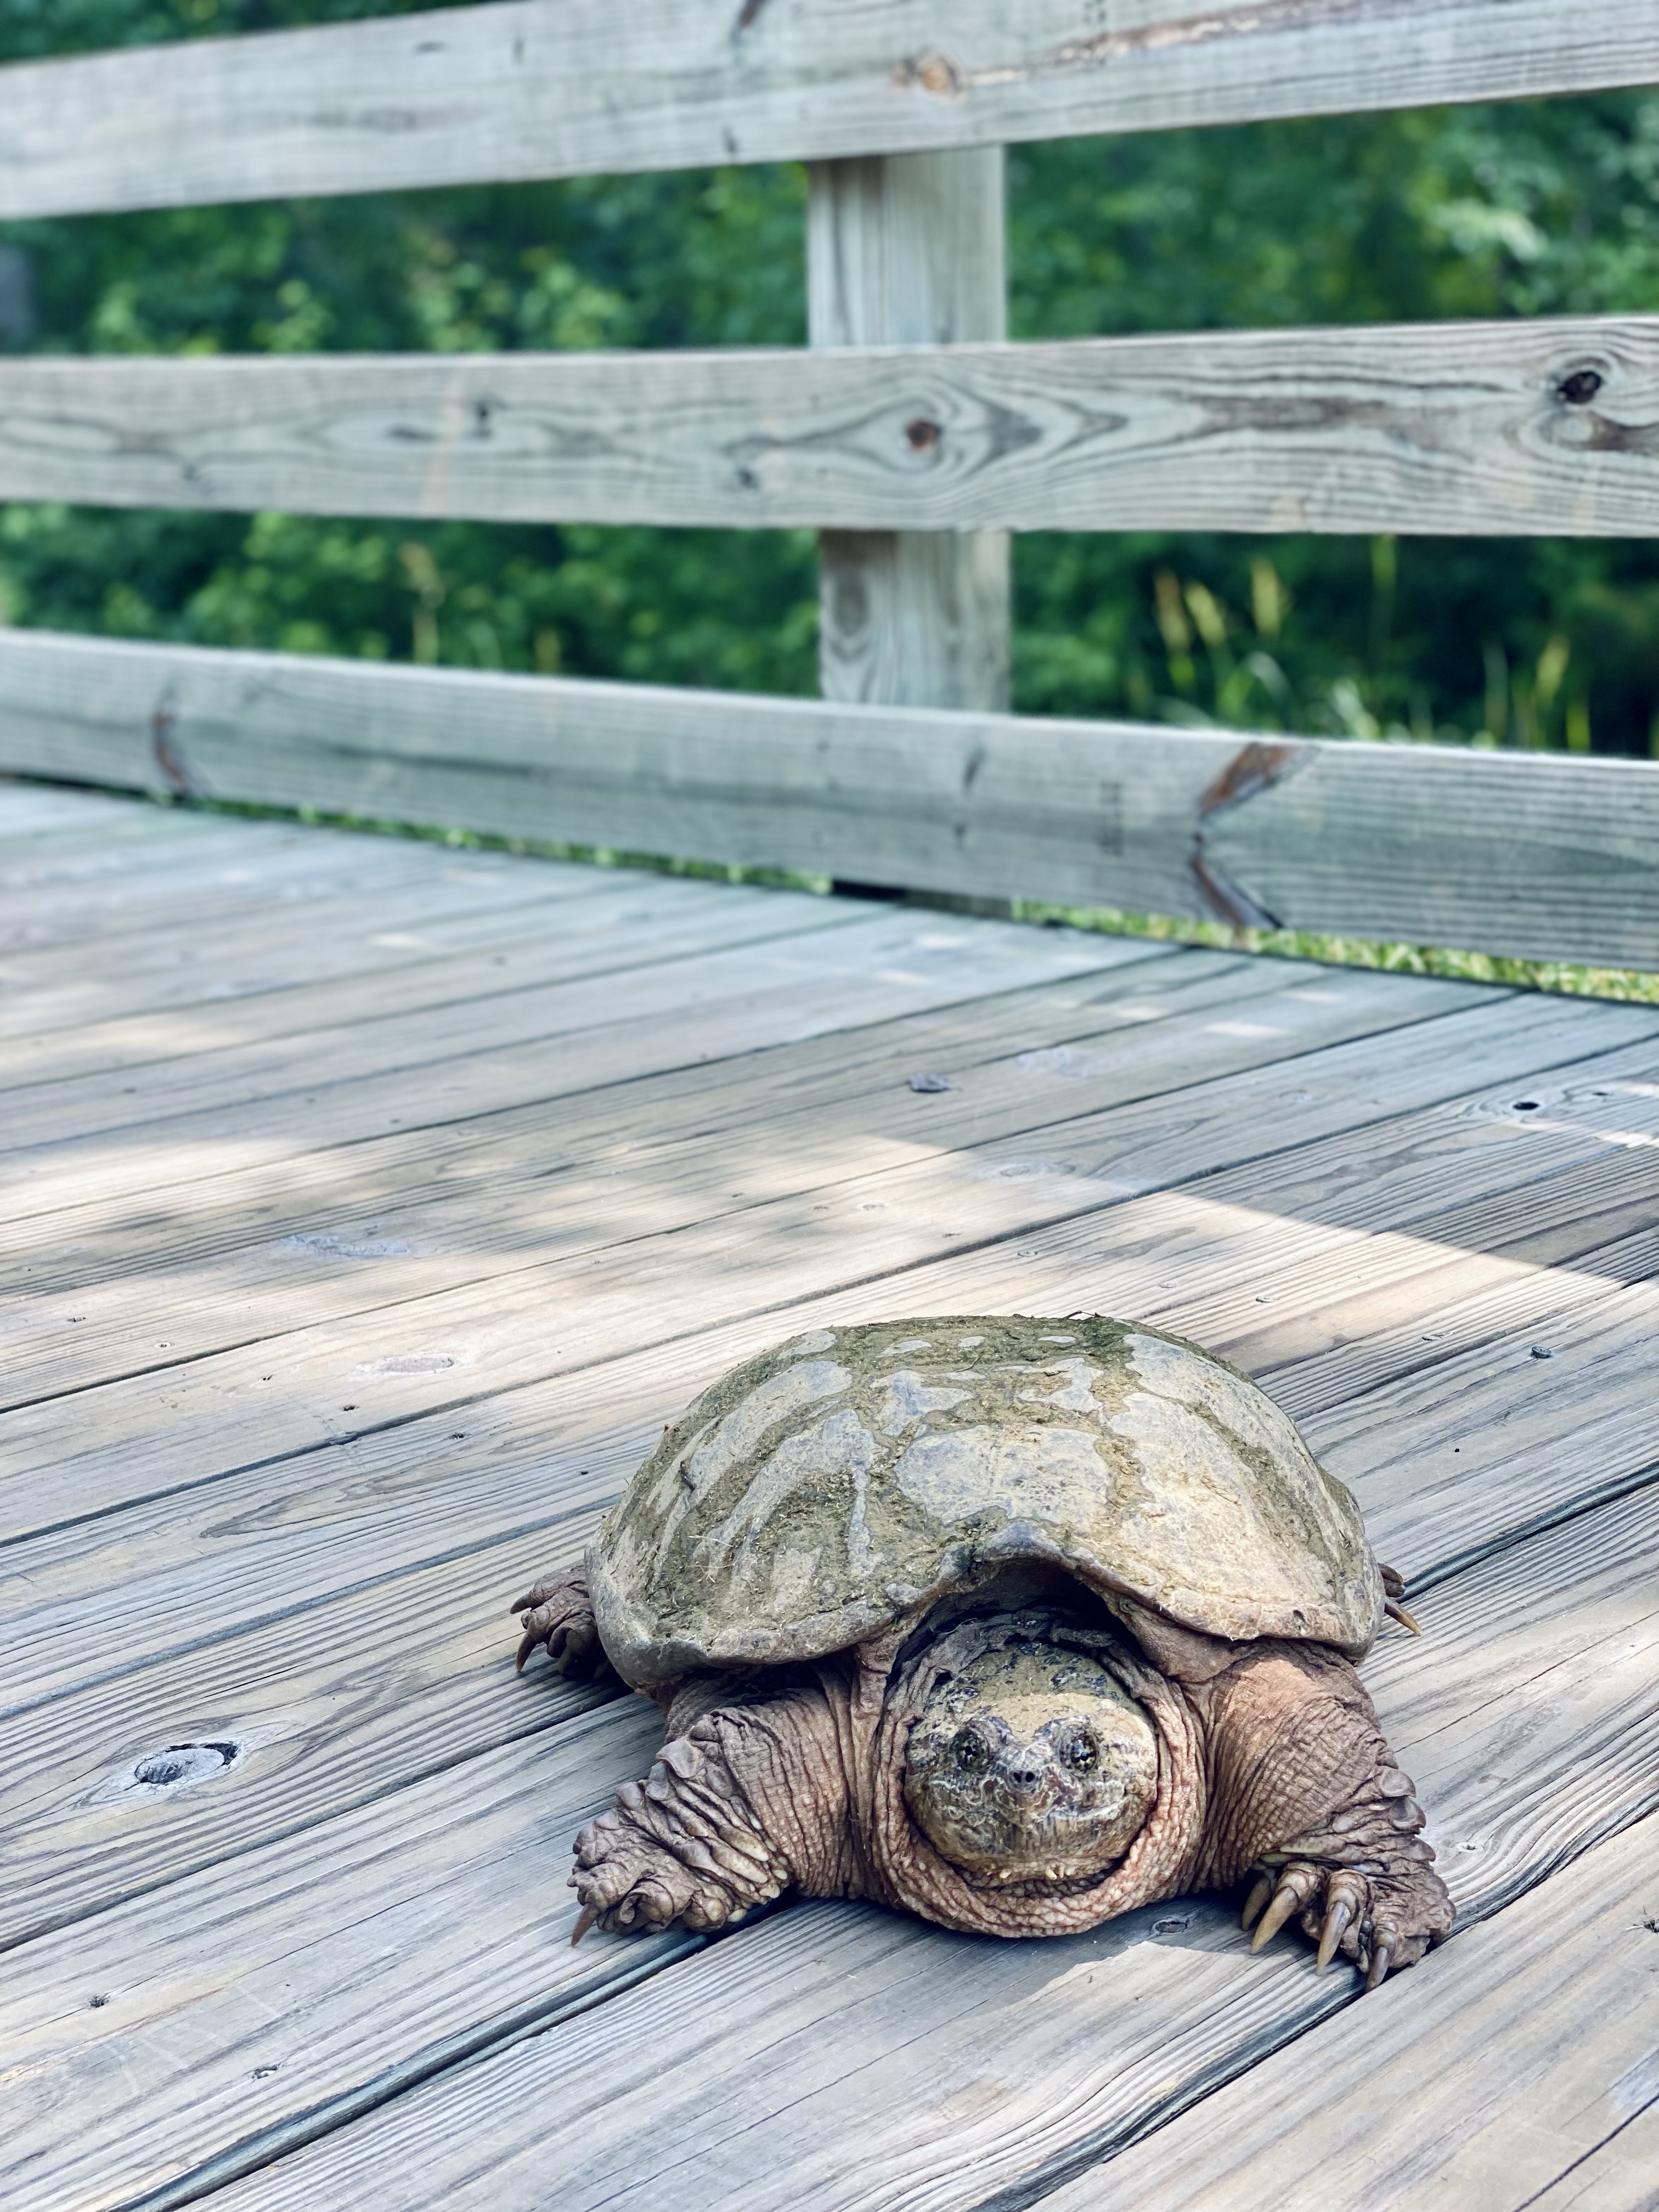
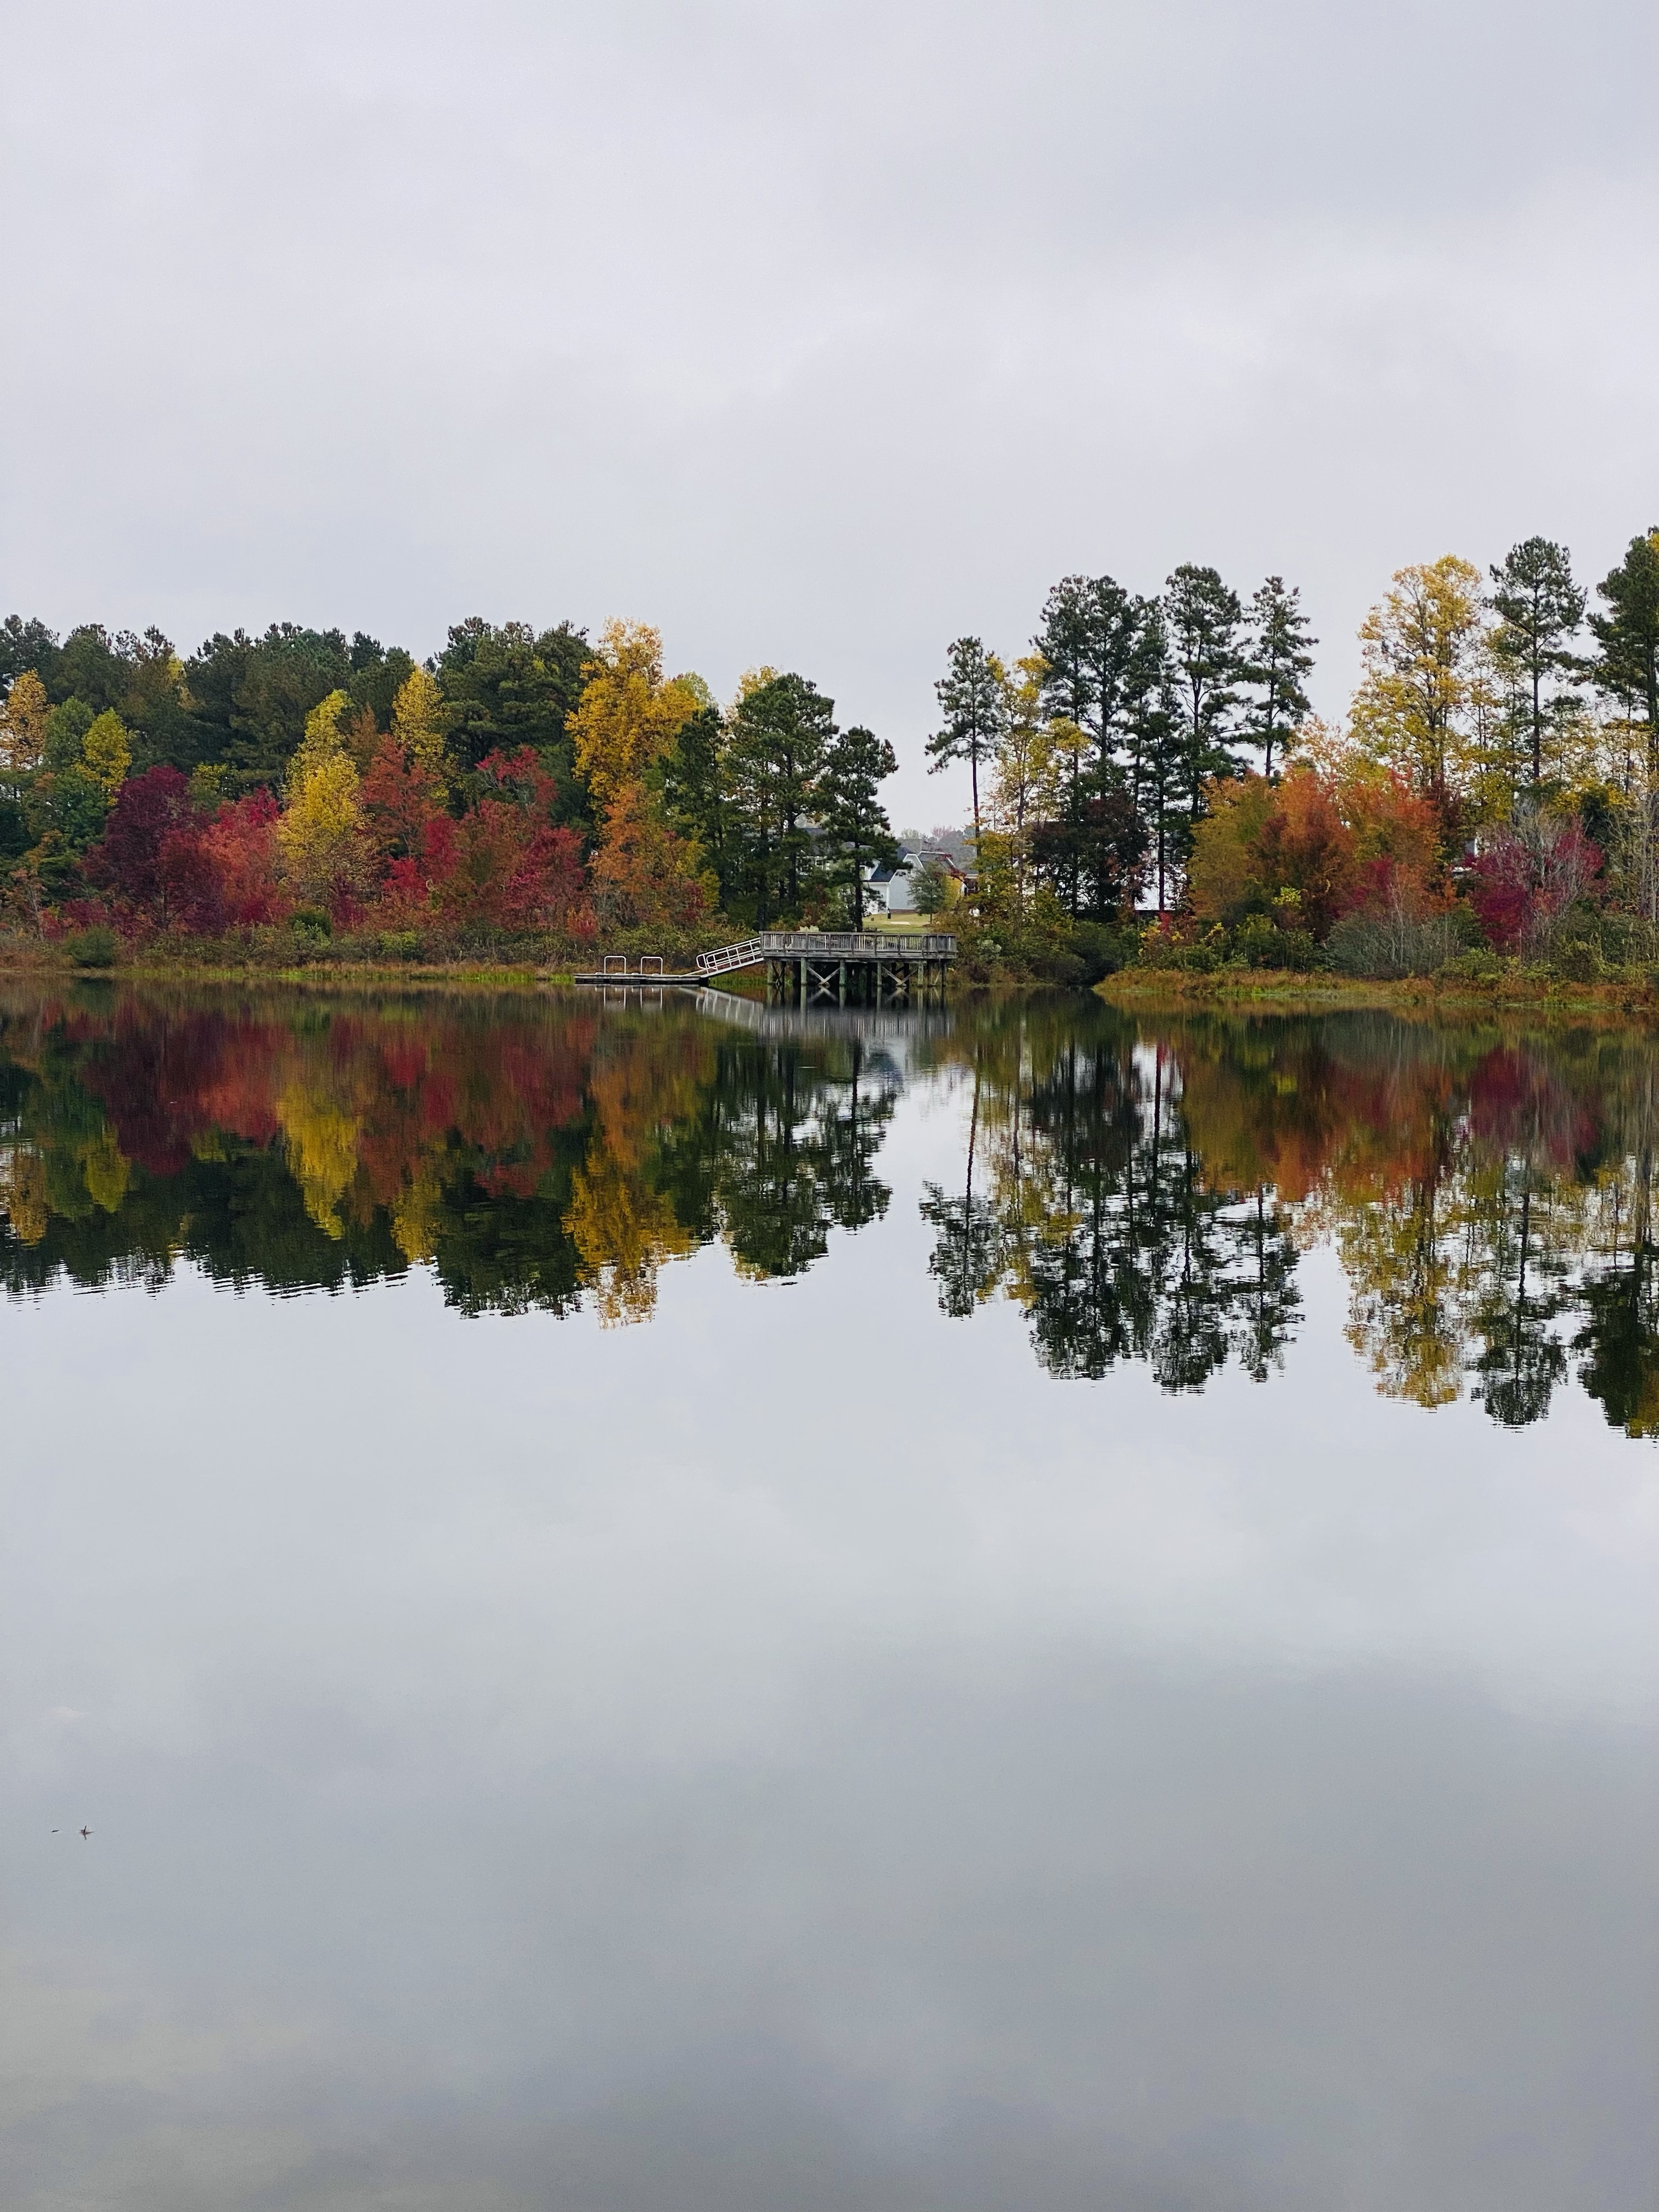
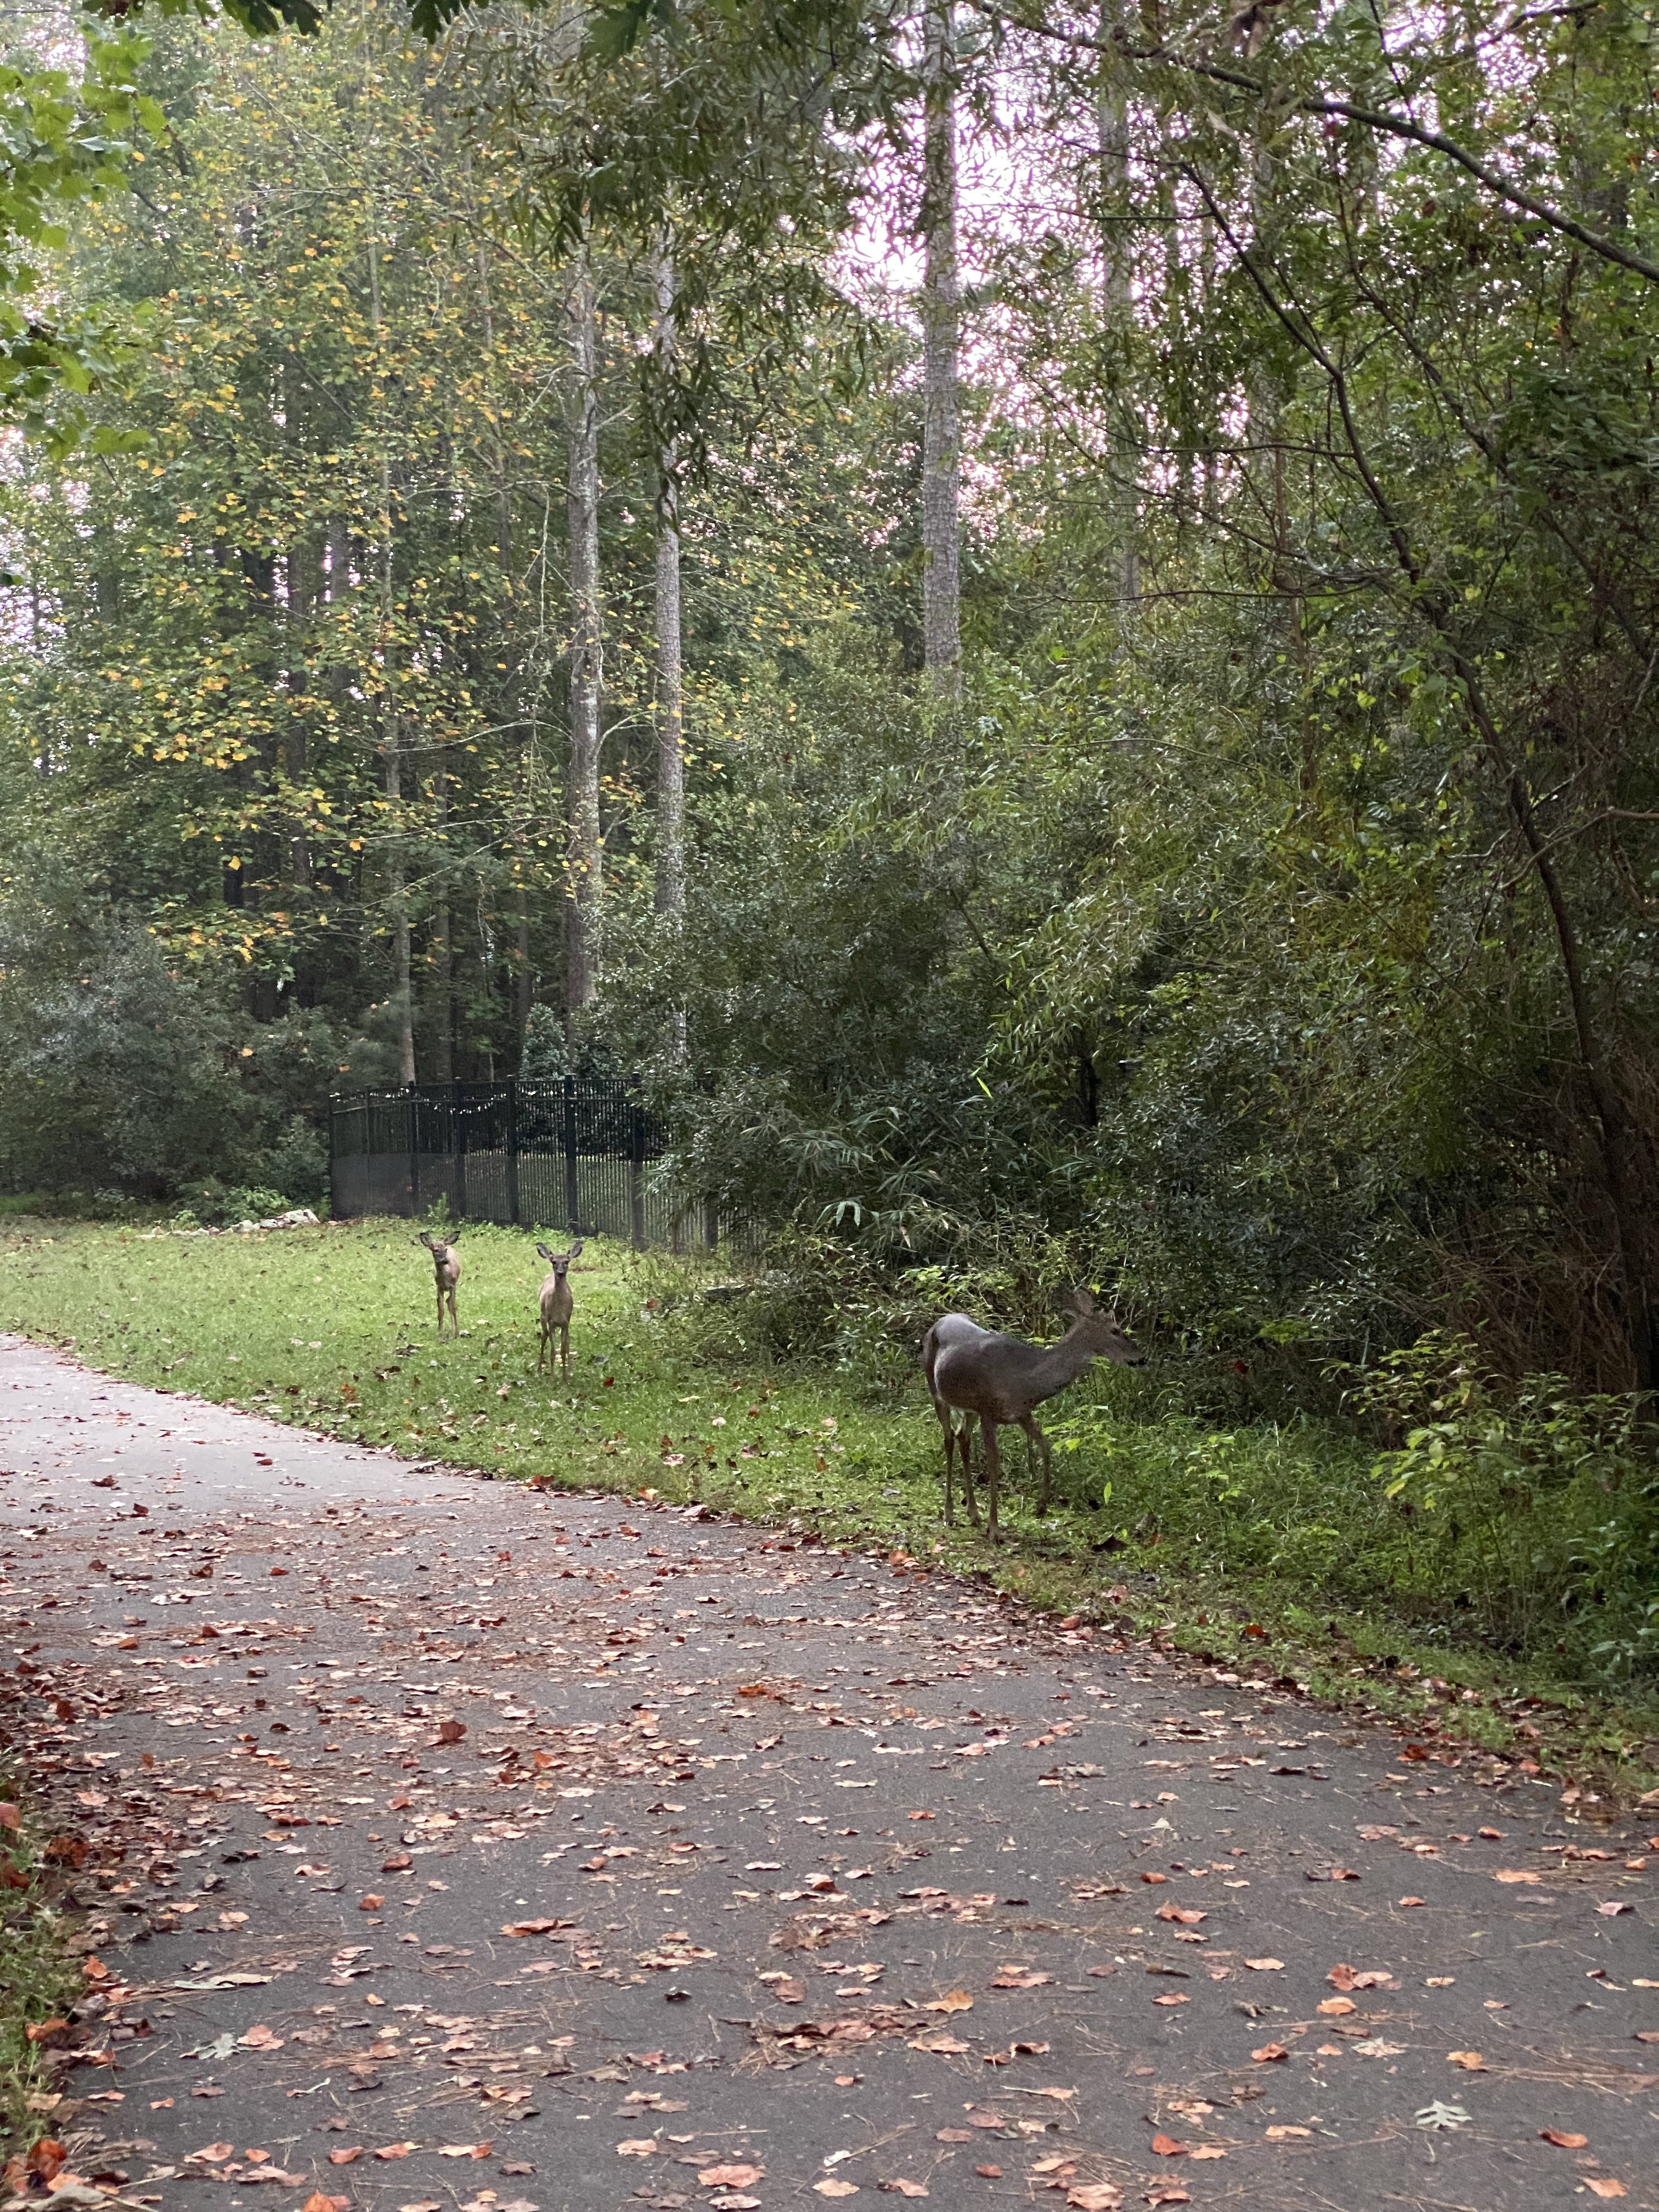
This is a beautiful trail year-round. In the summer and spring, everything is lush and green. In the Fall, the foliage is vibrant. Be on the lookout for wildlife year-round. We almost always see deer in the woods. We have also seen river otters, cormorants, and snakes in the summer but this is rare.

The main club house also has concessions available for purchase like various chips, cracker packs, ice creams, water and sports drinks. (Very inexpensive too) This is a fun fact you can keep in your back pocket if you need to encourage little ones to make it around the lake.

The kids will also love viewing the various reptiles and small animals they have inside the clubhouse.

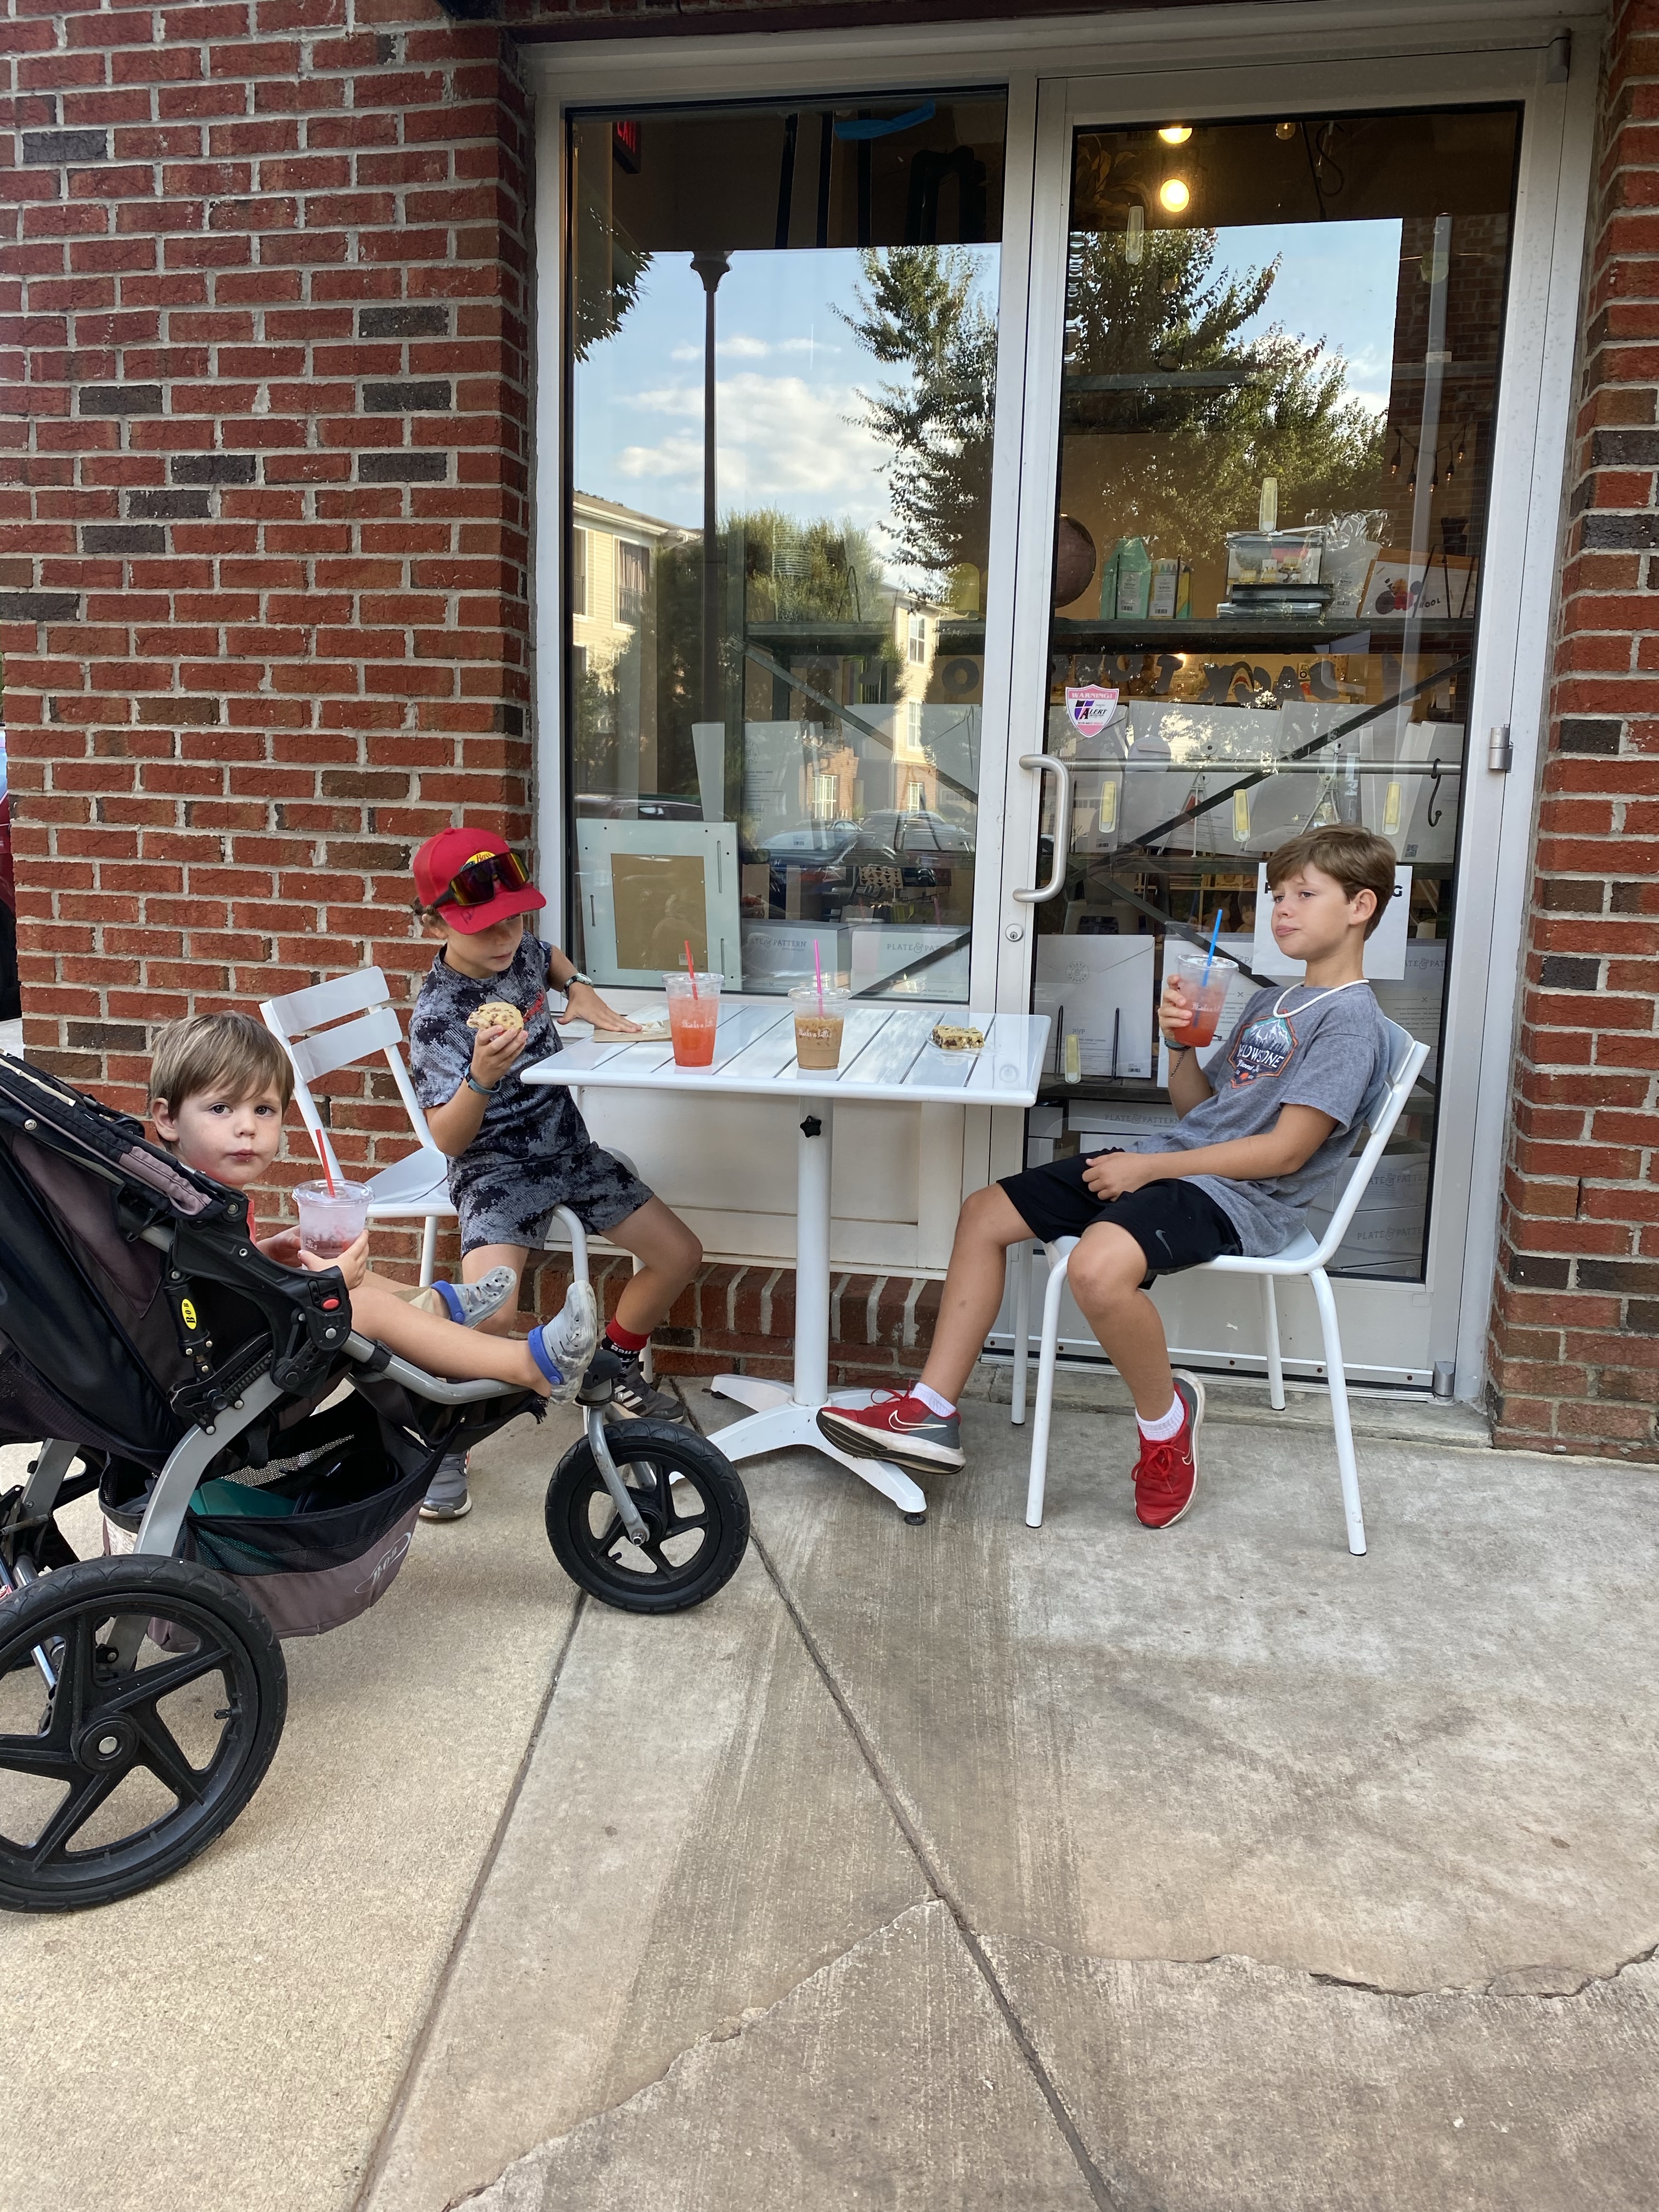
If you are up for a longer distance, 4 miles out and back from the main parking lot, I highly recommend getting on the connecting greenway path. The kids take their scooters or bikes when this is our planned adventure. We often take the greenway all the way to Main Street Square where you’ll find a few shops but our favorite stop is Thanks A Latte. I can get a little pick-me-up and the kids share a baked good.

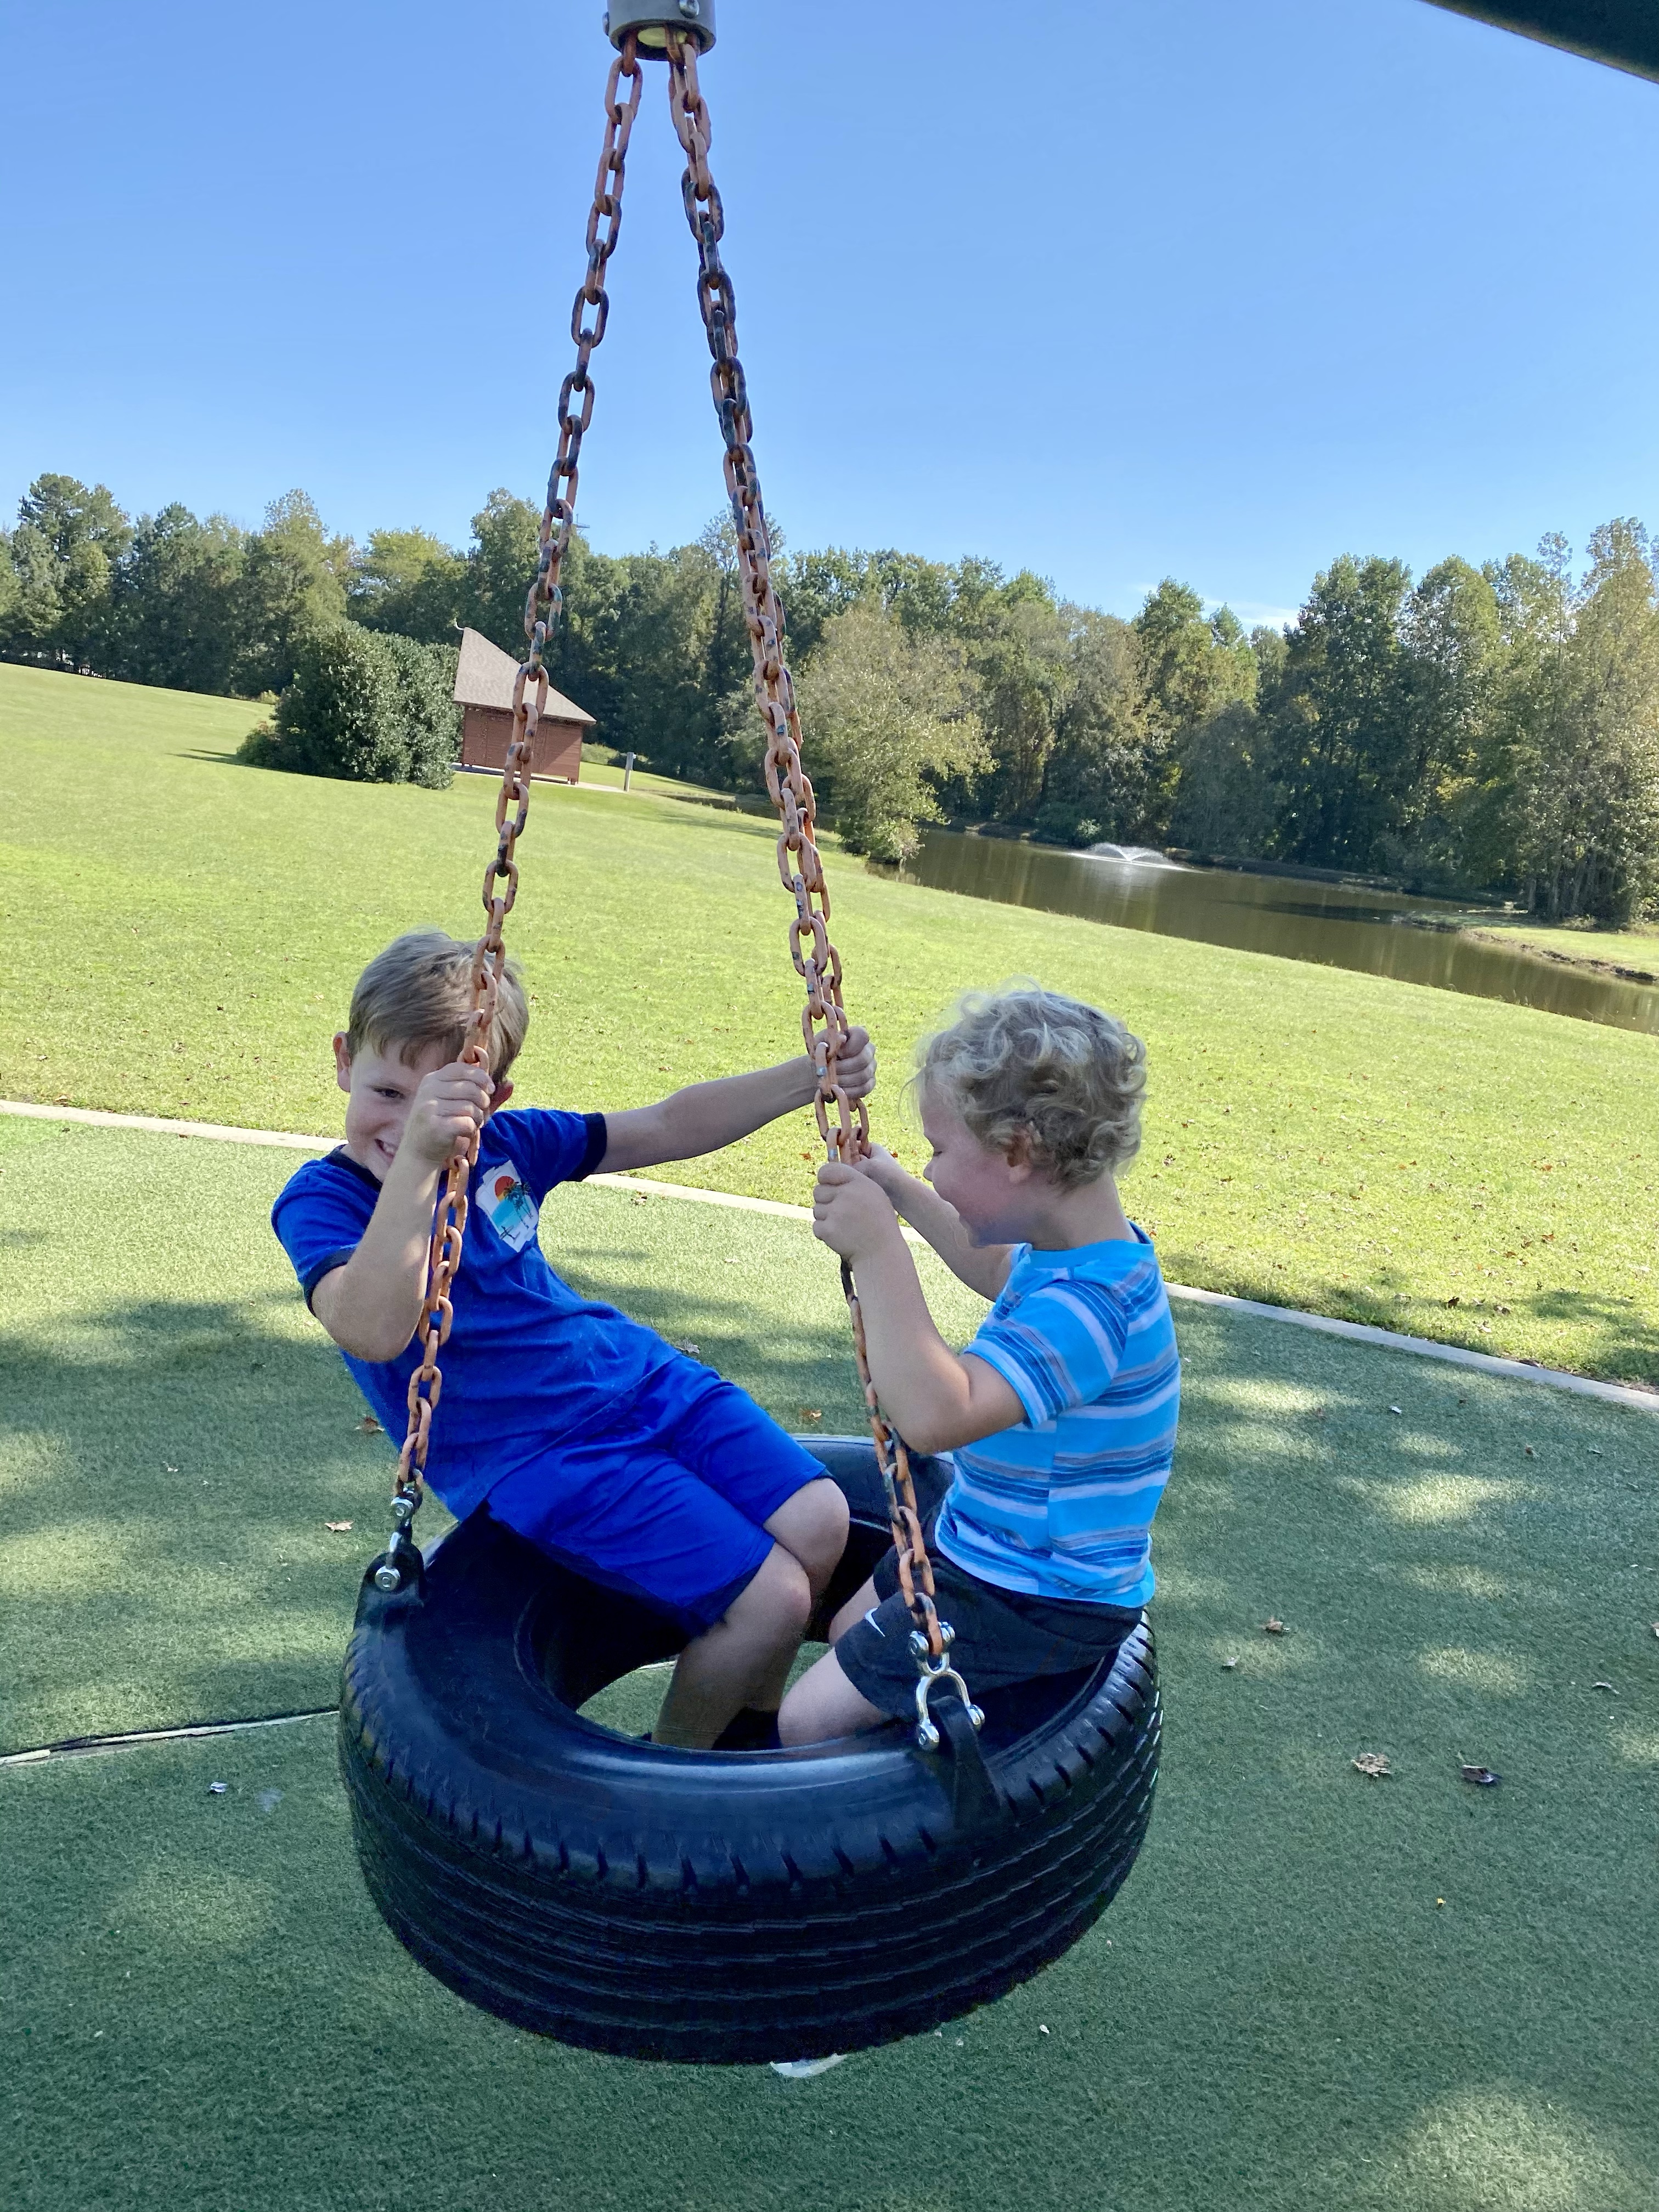
The greenway also connects to Womble Park in Holly Springs which is a great park for kids of all ages.

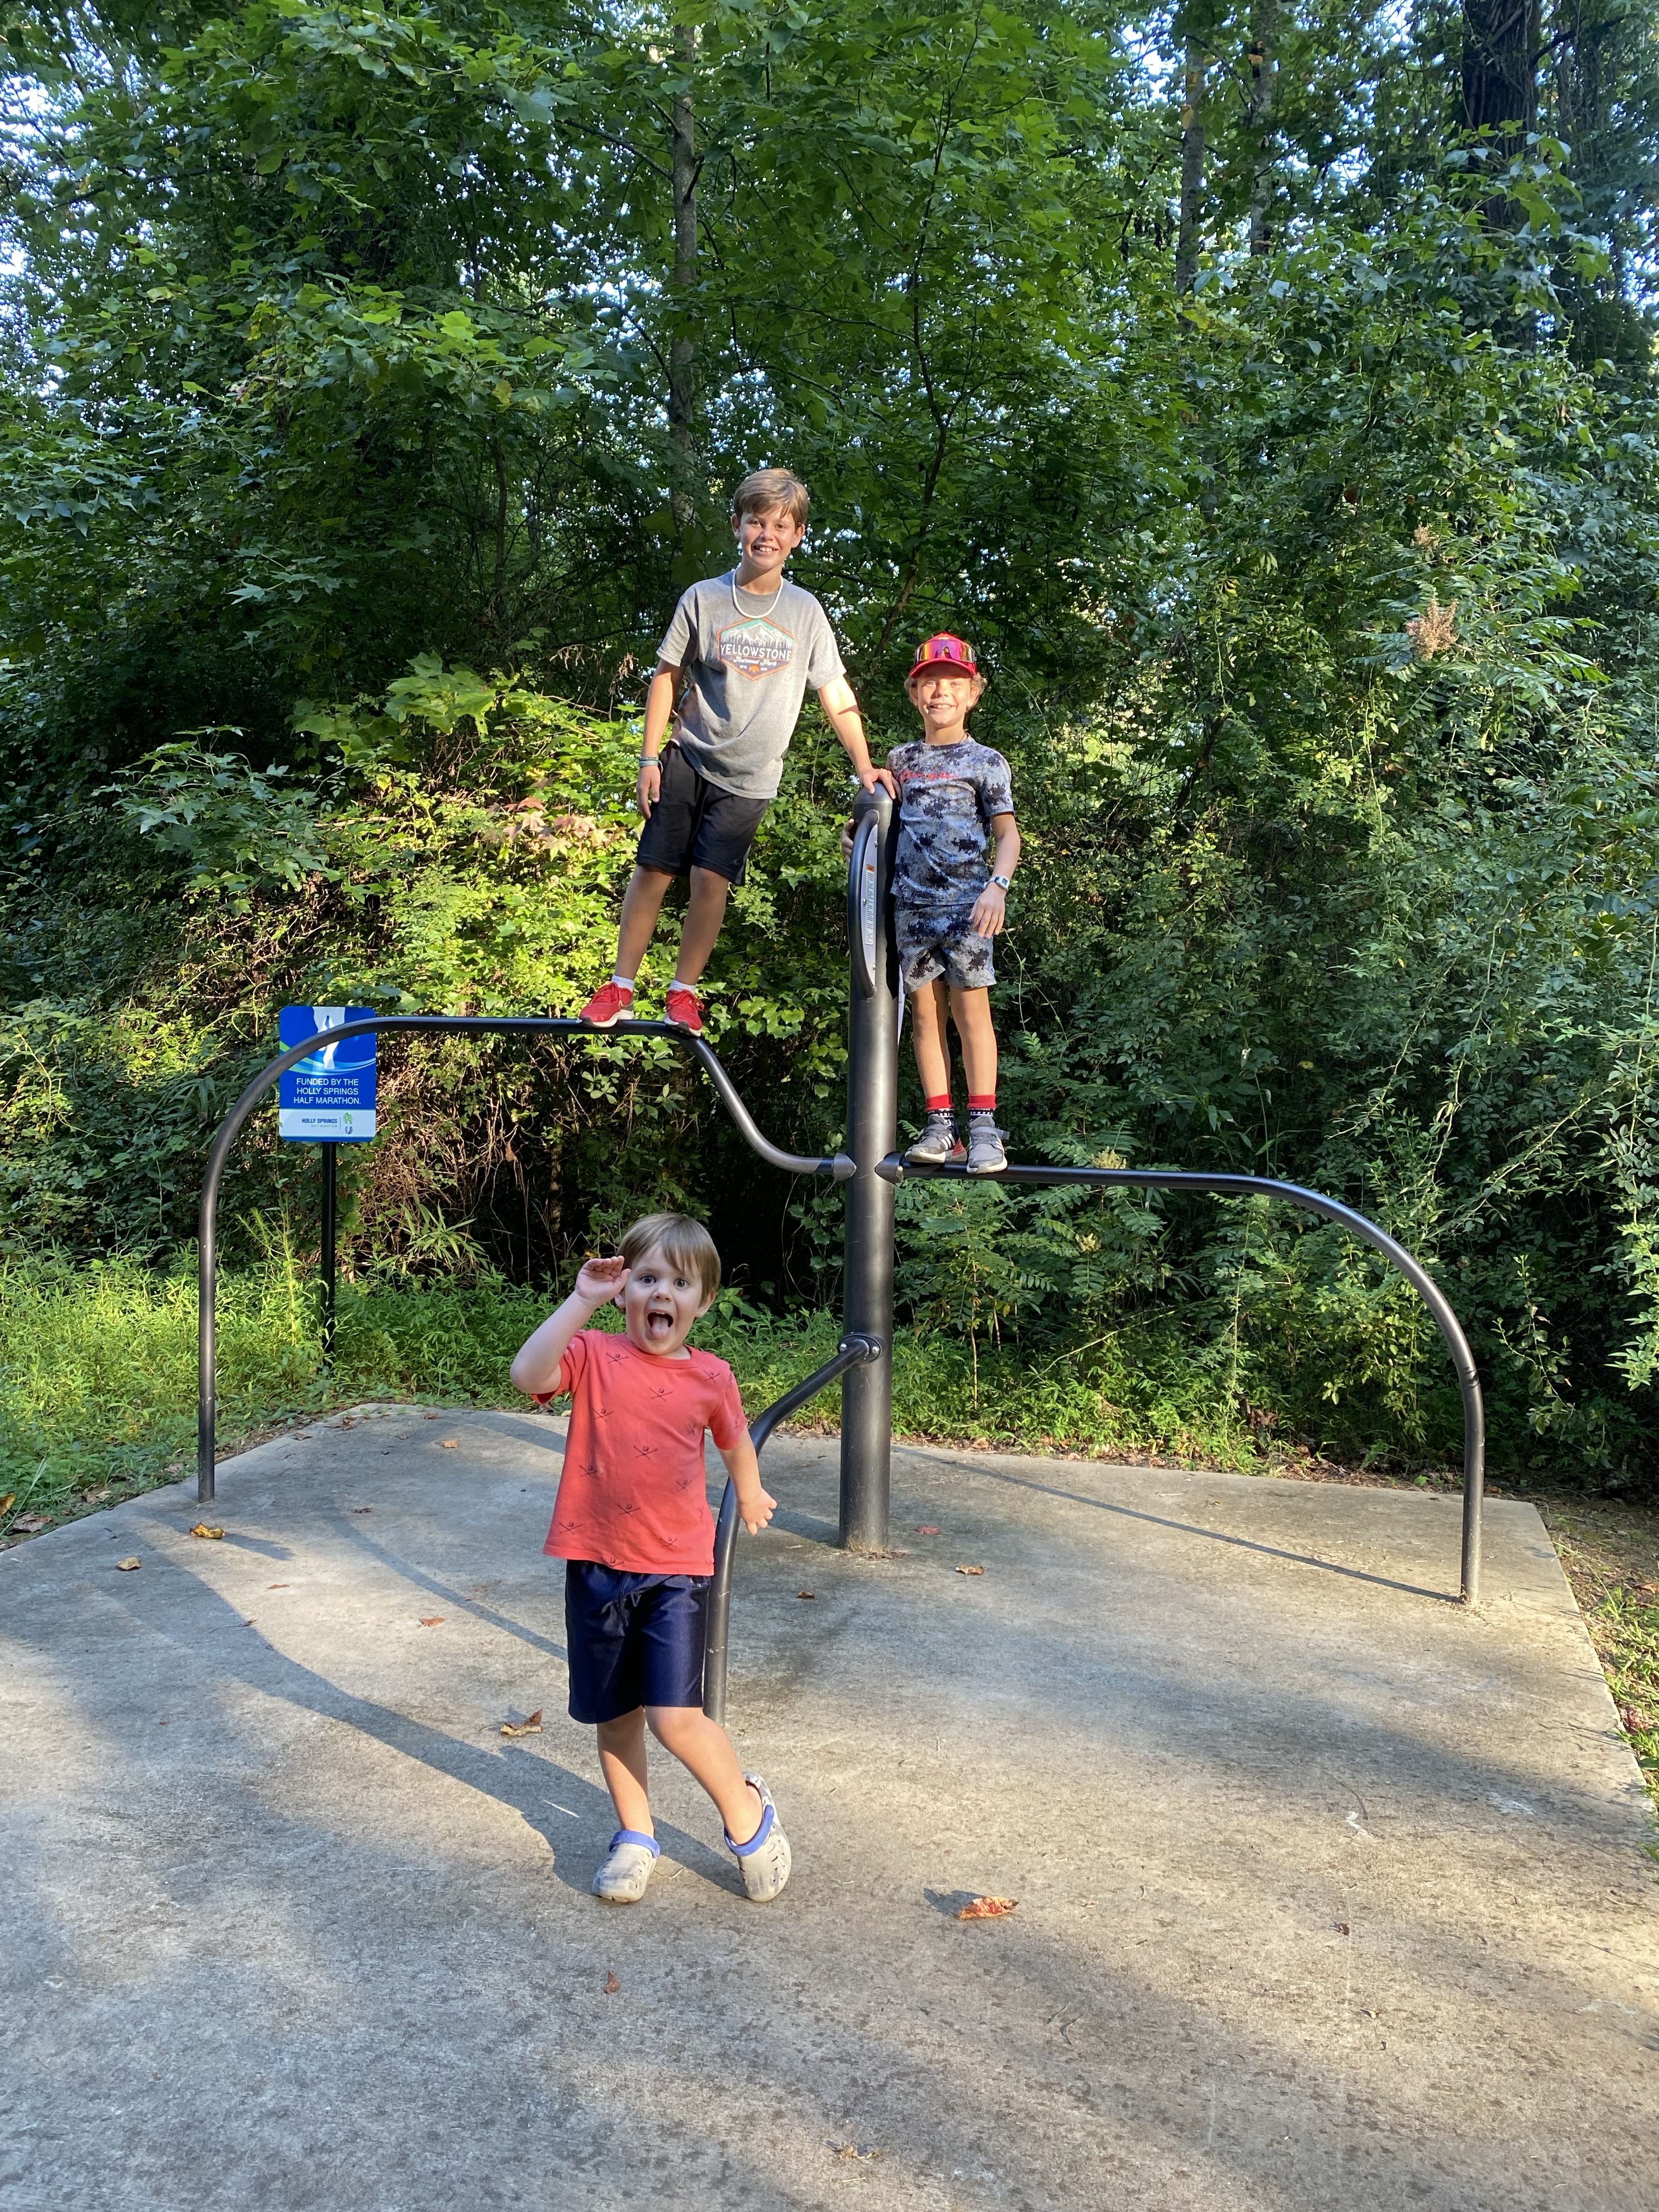
There are various workout stations along the greenway path that the boys love to rush ahead to find and try out. (Pull up bars, core bench, step-up boxes, ect.)

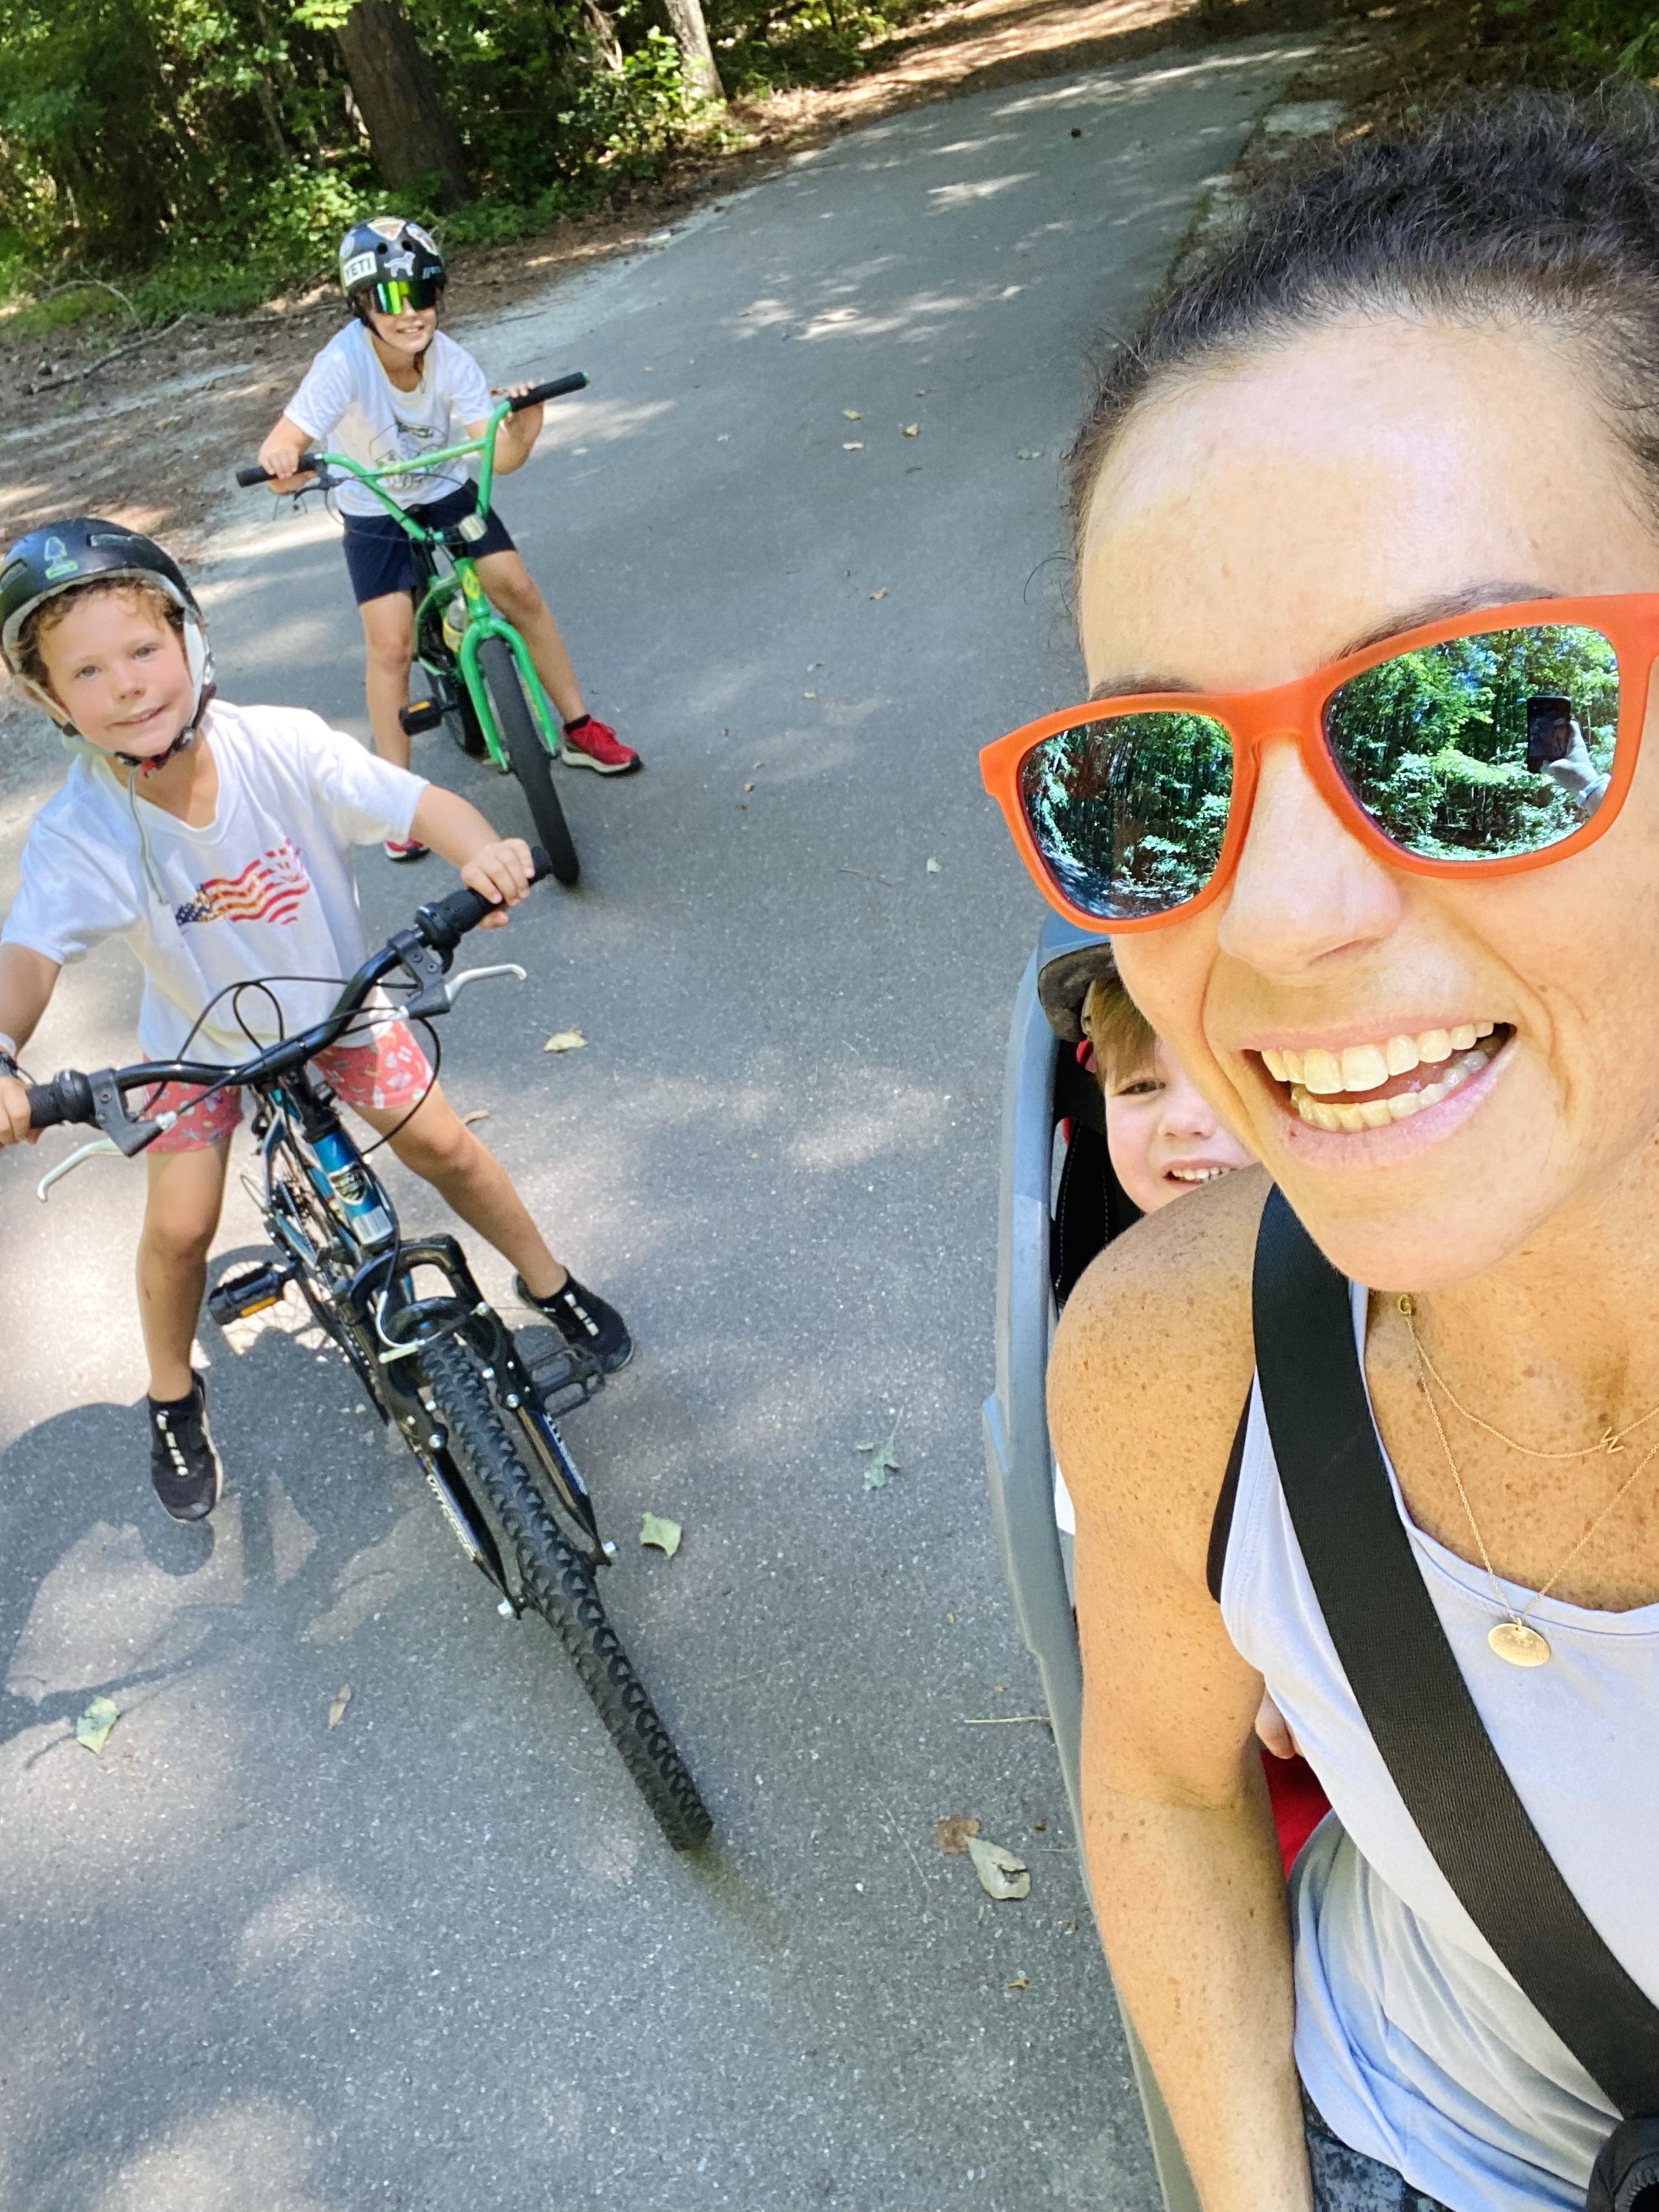
If you’re feeling really adventurous and are biking the greenway path, you can continue past Main Street Square and follow the sidewalk into downtown Holly Springs for shopping, lunch, and ice cream. I did this with all 3 of our sons one Saturday when daddy was out of town on a guys trip. We had the best day and felt like we were exploring somewhere far away from our home. We parked at Bass Lake, biked to Main Street Square (had a snack), biked to Smash Burger, biked to Fresh Homemade Ice cream, biked to Womble Park and played, then biked back on the greenway path to the car. Total mileage was around 8-9 miles. The older two did it with ease while the littlest was along for the ride in the carrier attached to my bike.
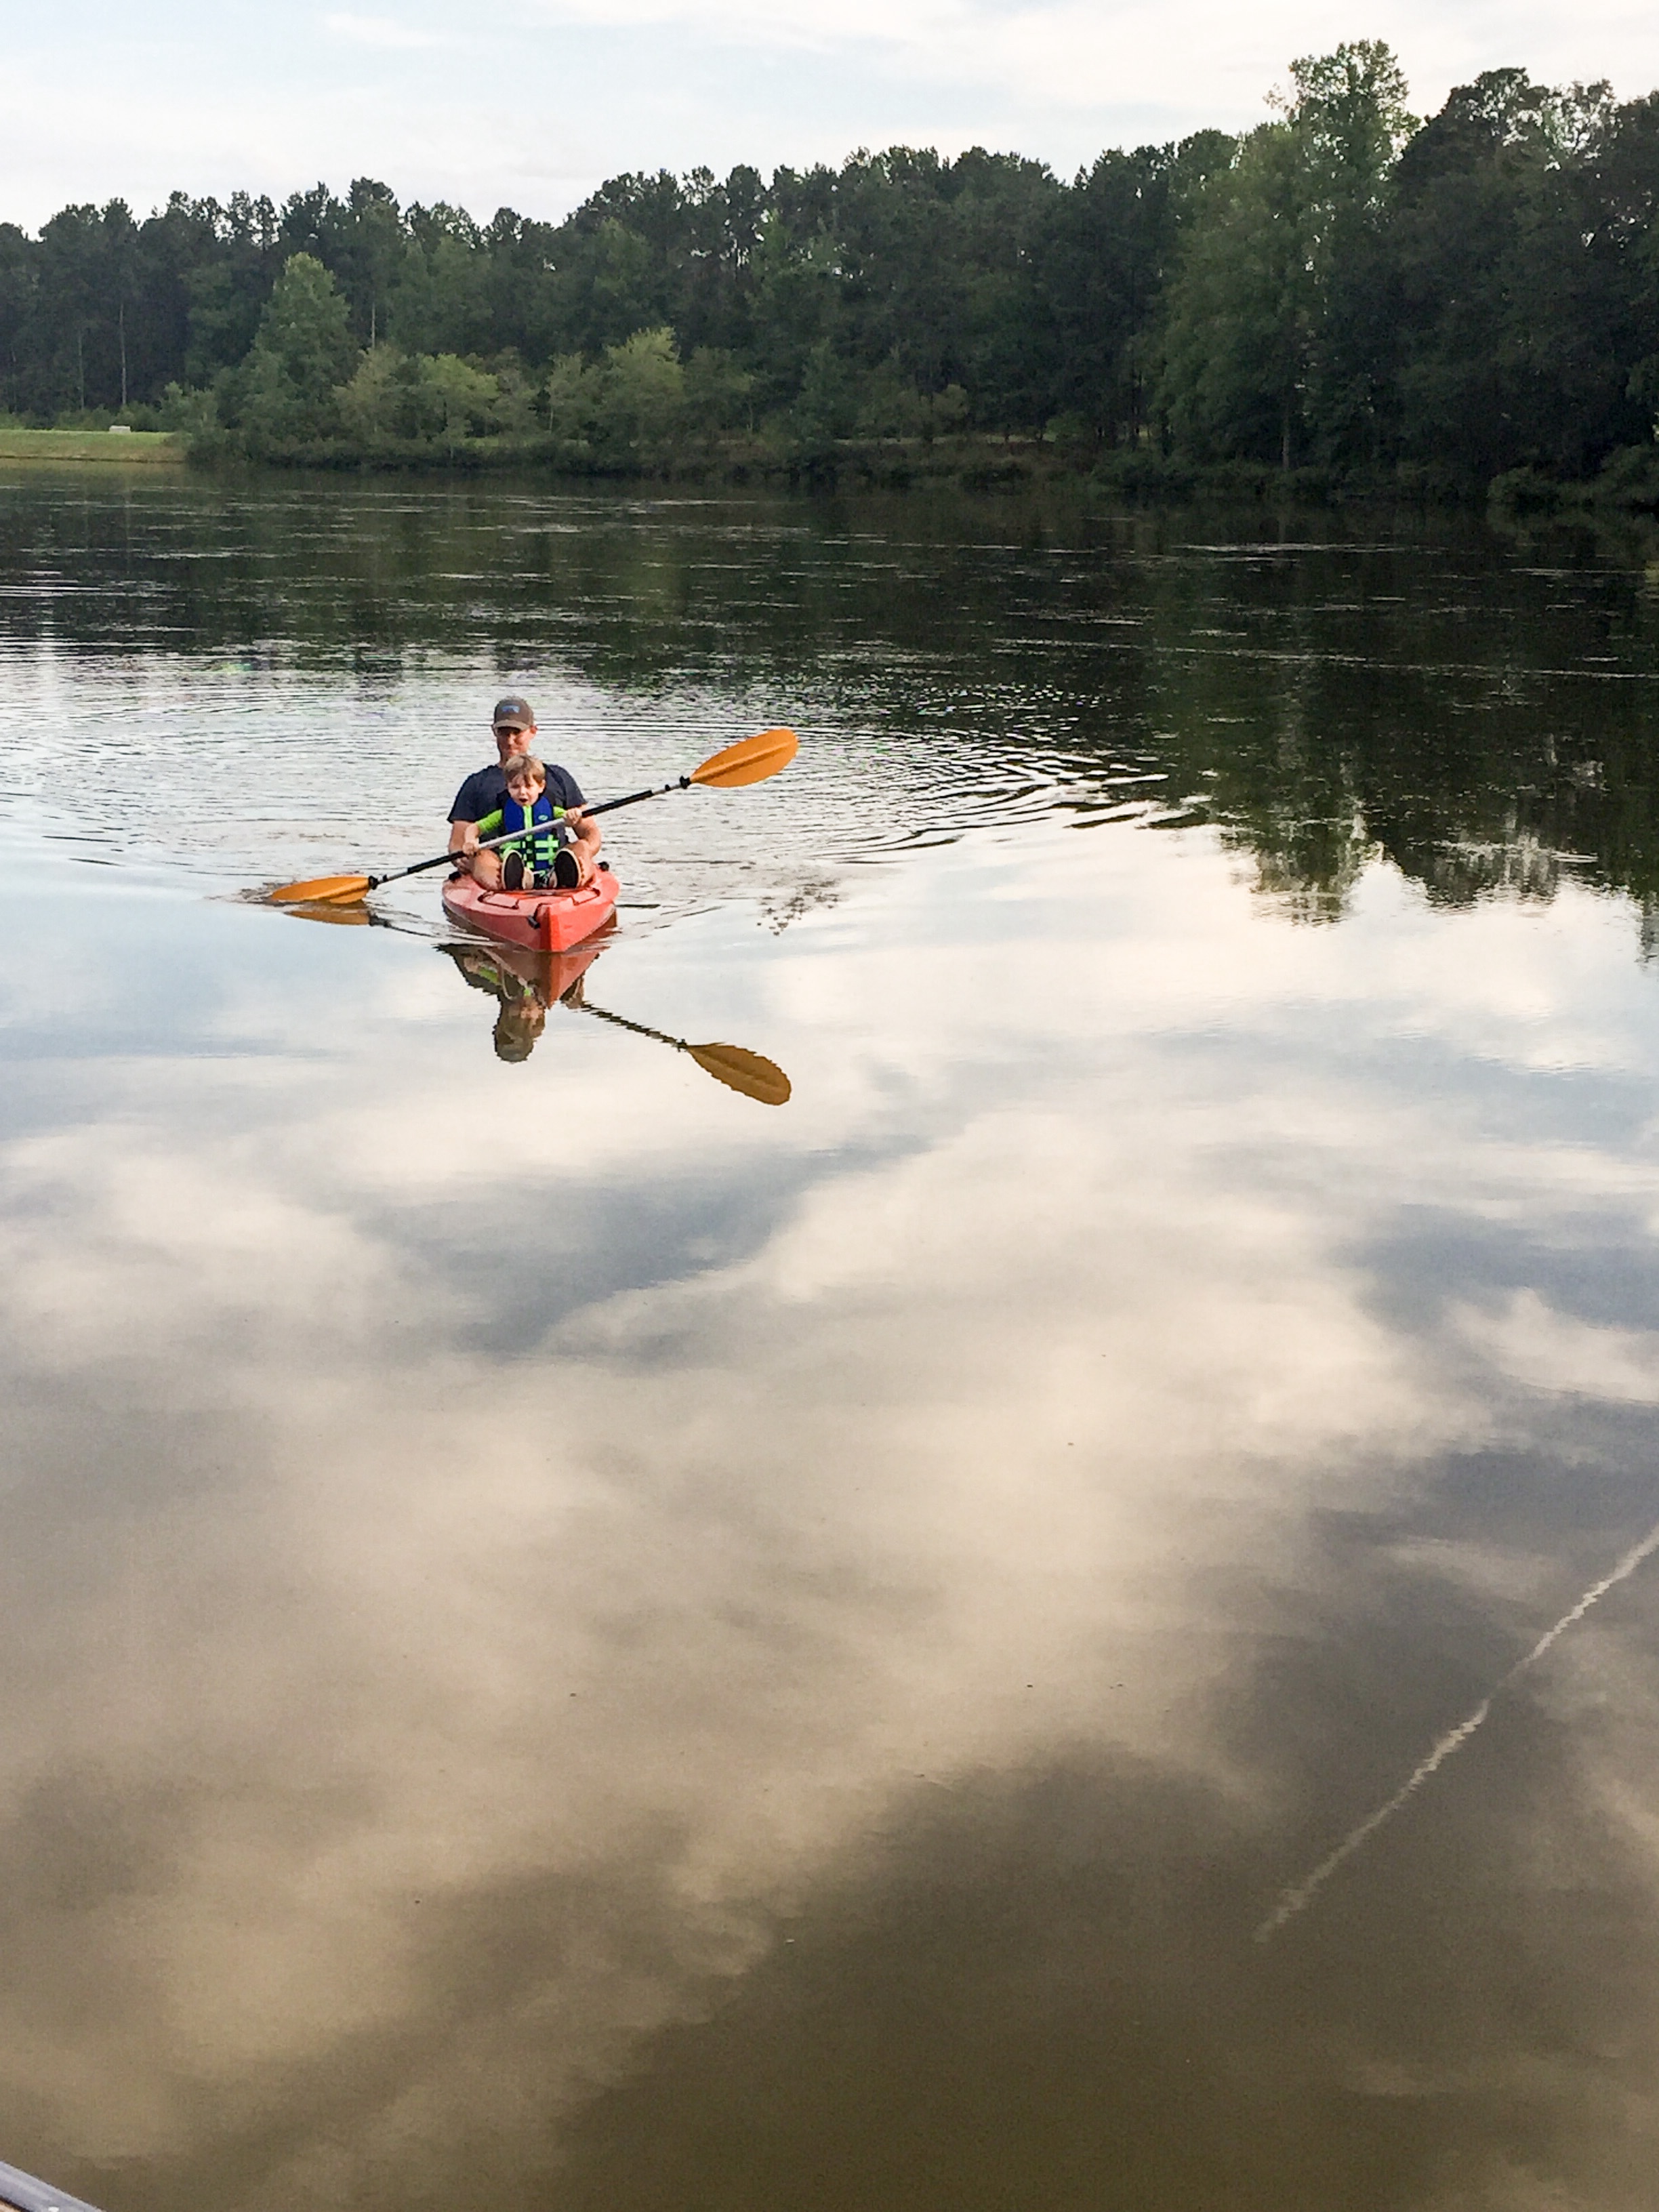
Fuquay Varina Greenway – 🚶‍♀️ 🏃‍♀️ 🚴‍♀️ 🛴
2-6 Miles

This is a mostly flat and paved path with a few gentle hills. Since it’s an out-and-back trail, you can easily adjust the distance depending on where you park and how far you choose to go along the greenway.

If you are to park in the main lot off of Hwy 55 in Fuquay Varina, you can follow the path all the way to the main lake which is 1 mile. There are benches and two swings at this point. If you continue past the lake and follow the pathway to the right, you will reach the High School. Continue around the school to the connecting sidewalk. Circling back around the school to the greenway path is 4 miles back to the parking lot. You can also park at the lot by ClubWorx gym but it will require you to cross Hwy 55 via the crosswalk. Parking here and following the path all the way around the high school will be 6 miles in distance.

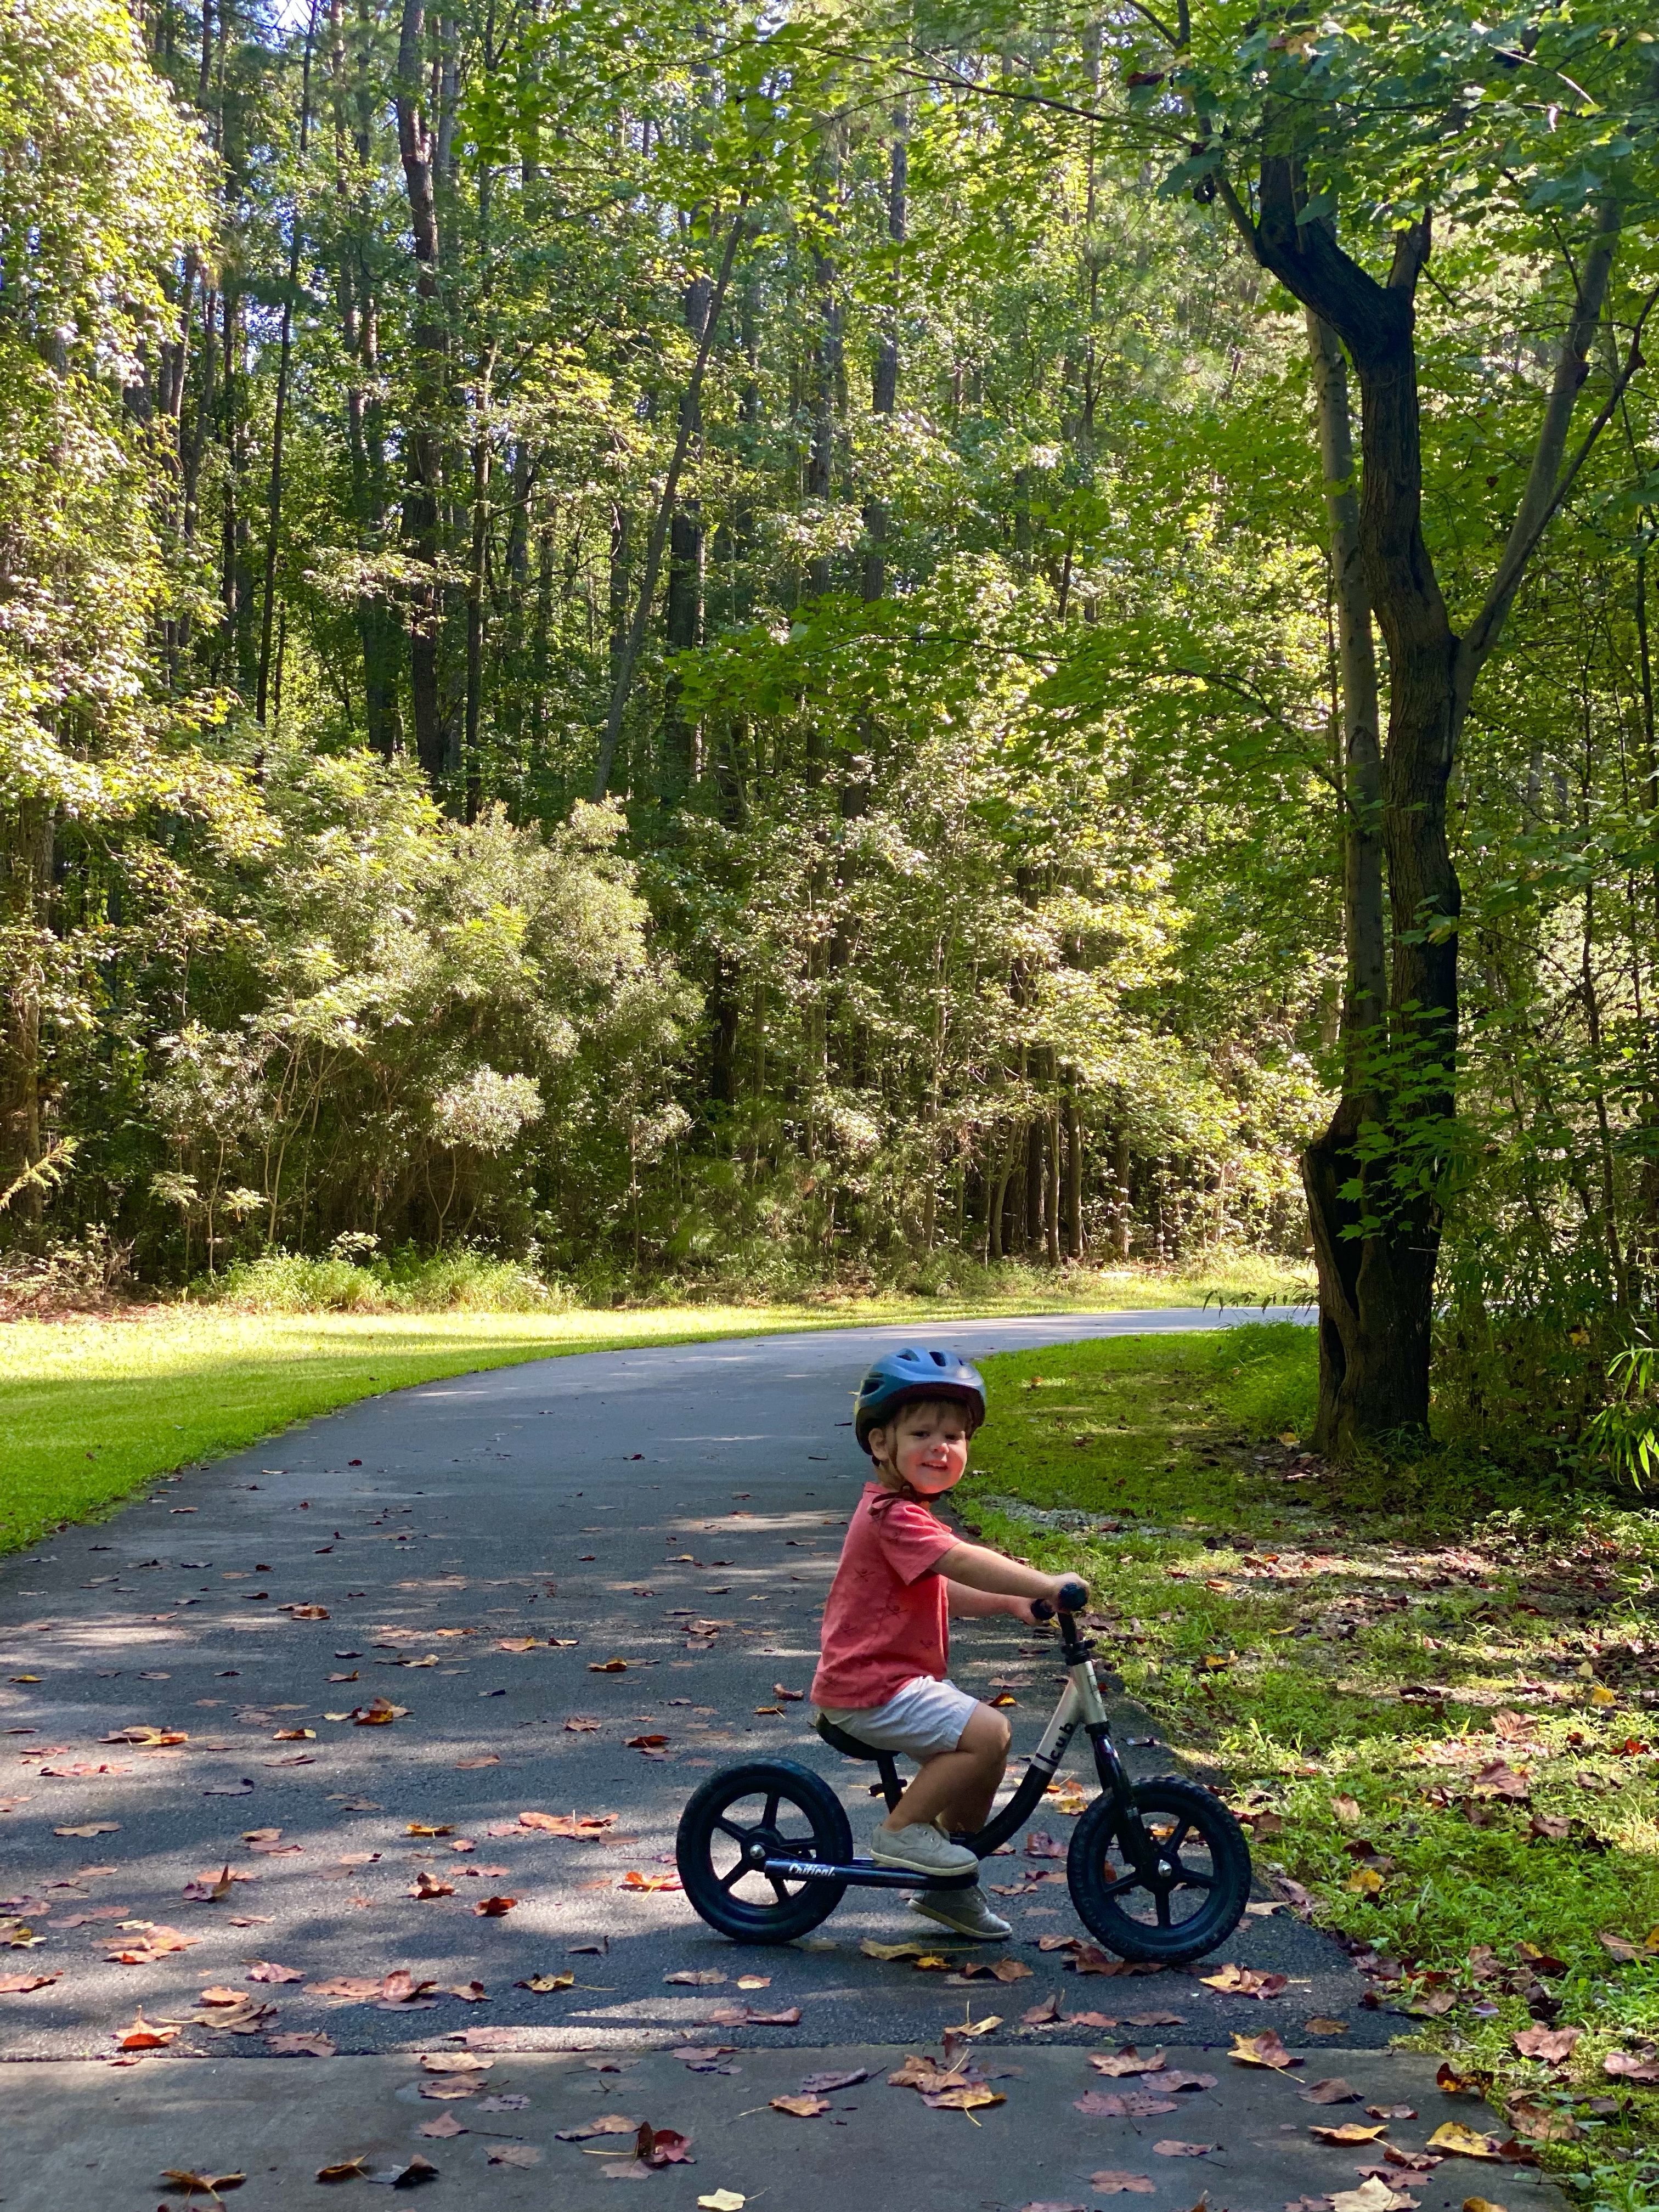
Our boys love to take their scooters or bikes for this outing. Our youngest will often ride his balance bike but I still bring the stroller from time to time if I know he will teeter out and need to rest. Isn’t this how most walks go with toddlers? You end up carrying the gear of the tired little ones.

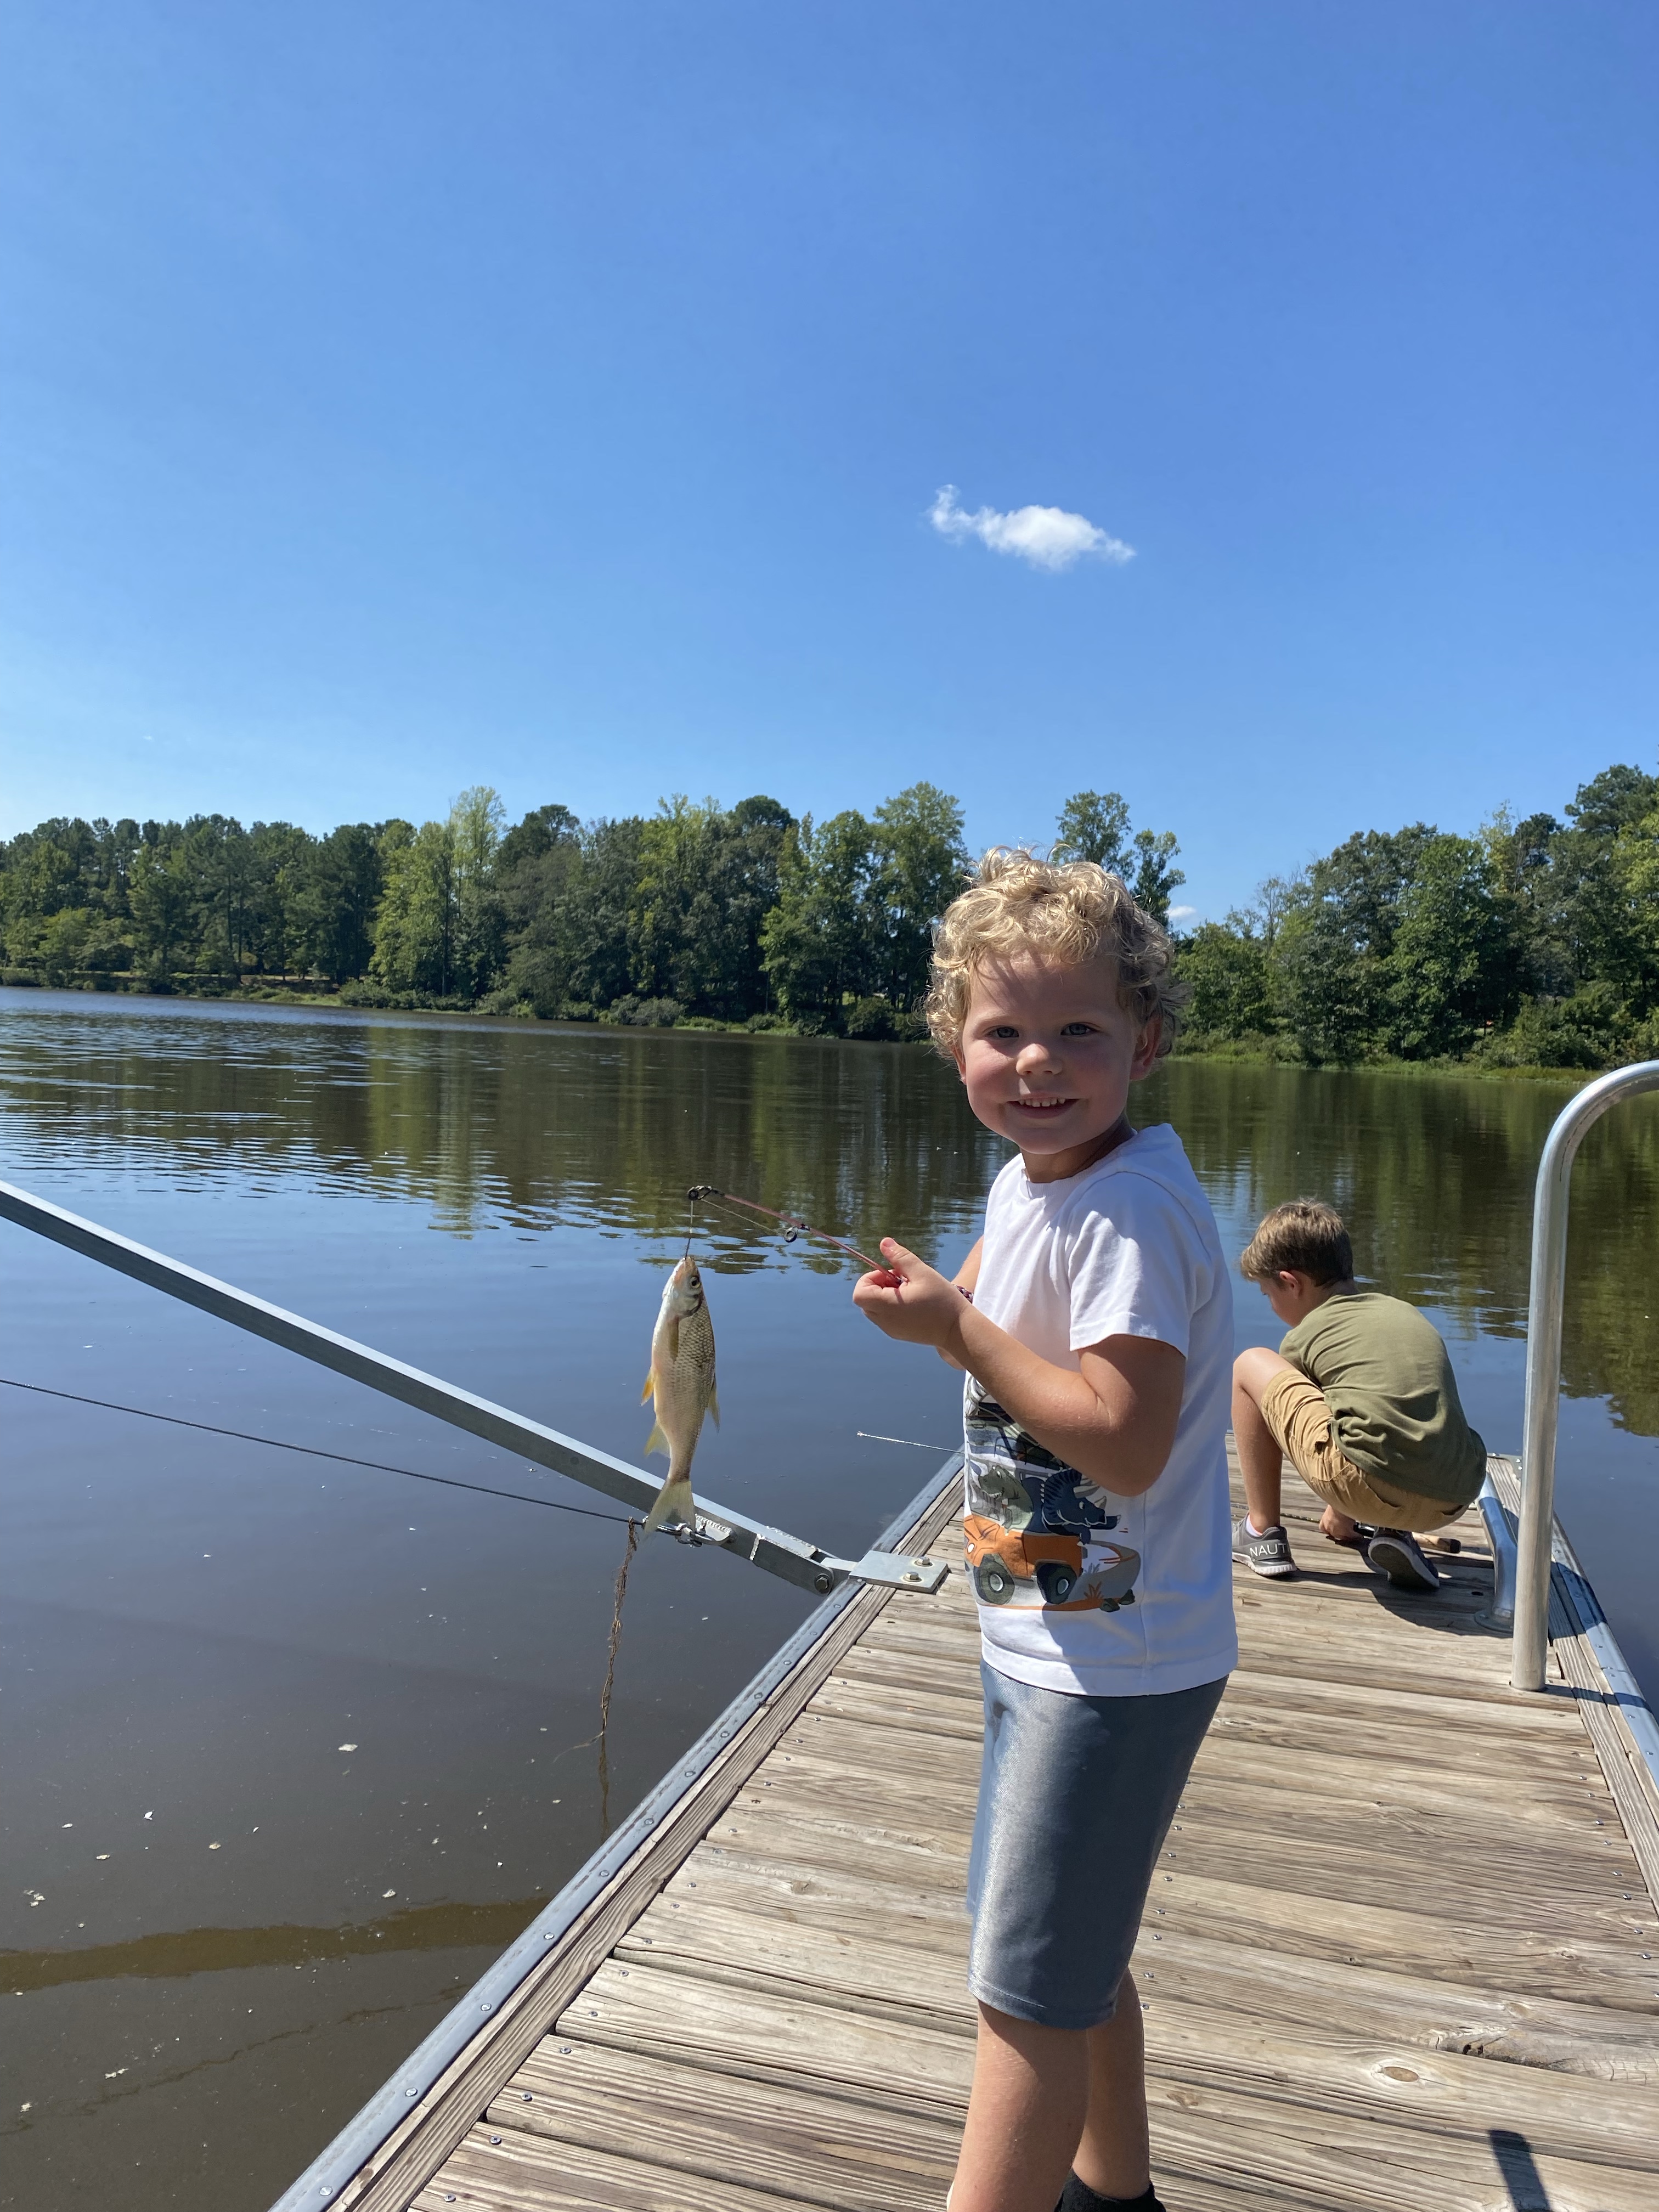
The boys sometimes fish at the kayak launch that is located on the lake.

Raven Rock State Park – 🚶‍♀️ 🏃‍♀️

You can choose trails of varying lengths, depending on how far you’d like to hike. Our favorites, which are probably the most popular, offer scenic views and unique rest spots along the way. We usually stick to the Little Creek Loop Trail and Raven Rock Loop Trail, which conveniently connect for a seamless hike.

To access the trailhead for Little Creek Loop Trail, park at the first lot on the right after you enter the park entrance. There, you will see an oversized picnic shelter. The trailhead is just to the right of it.

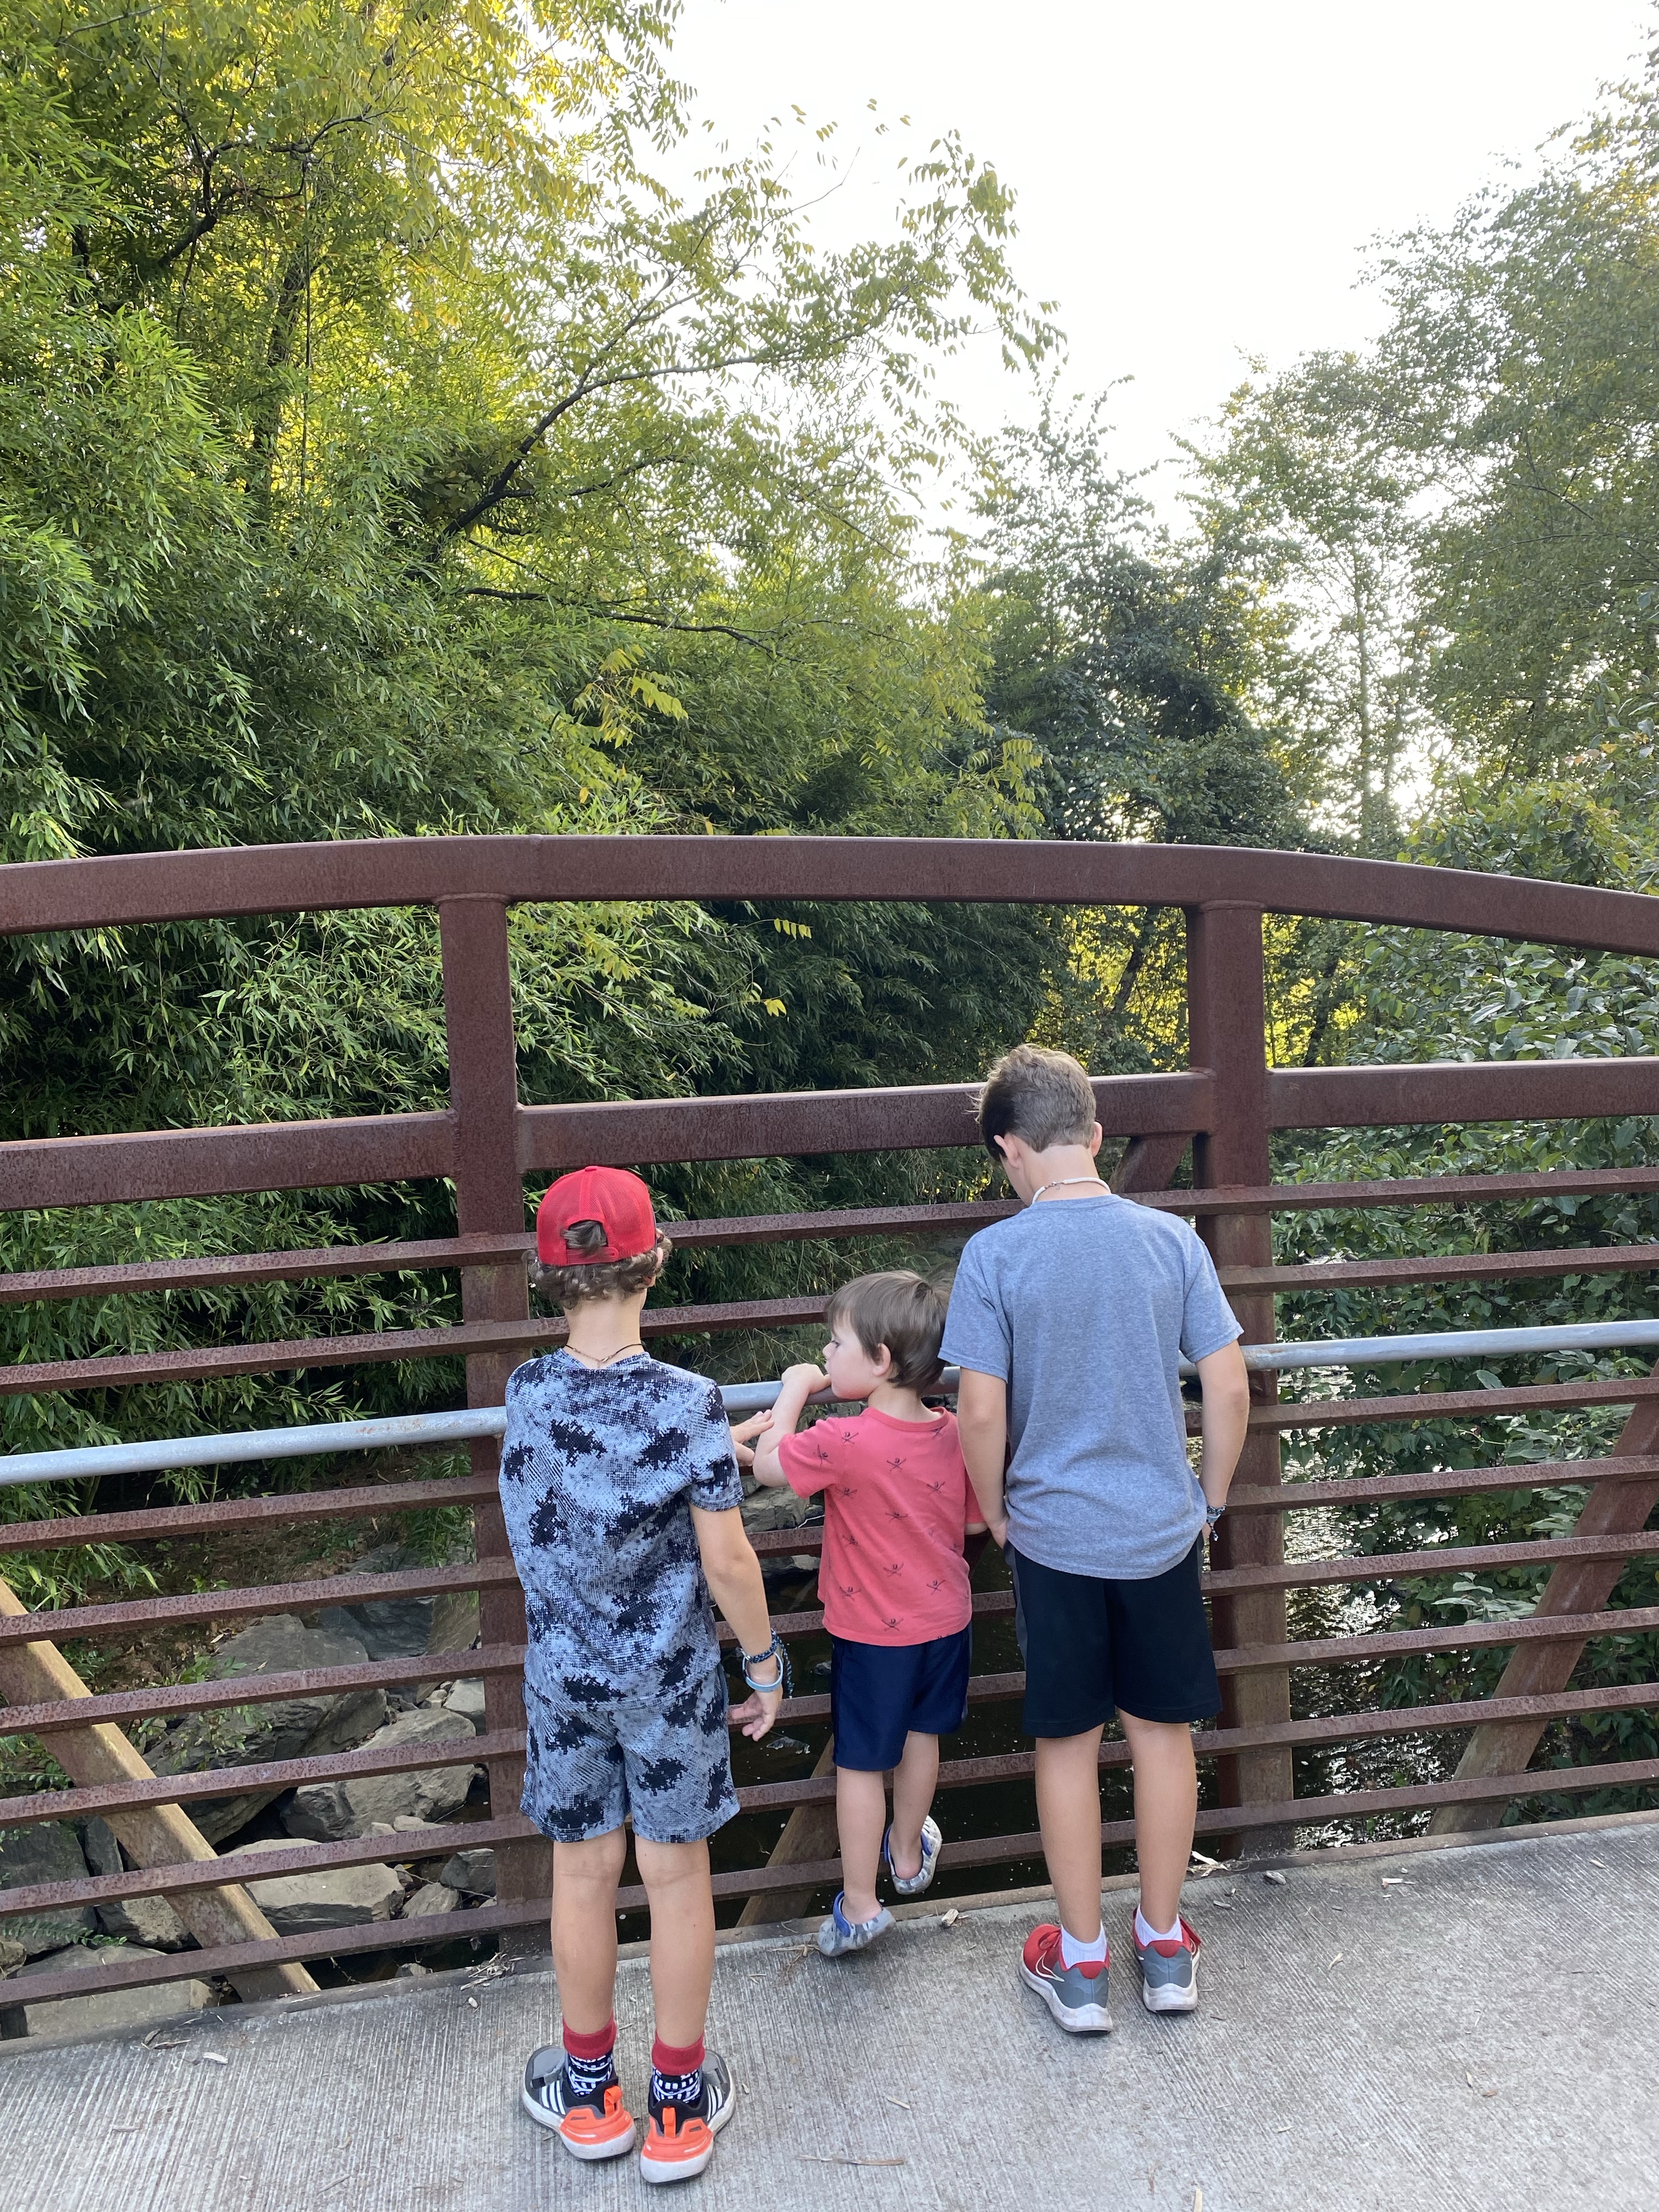
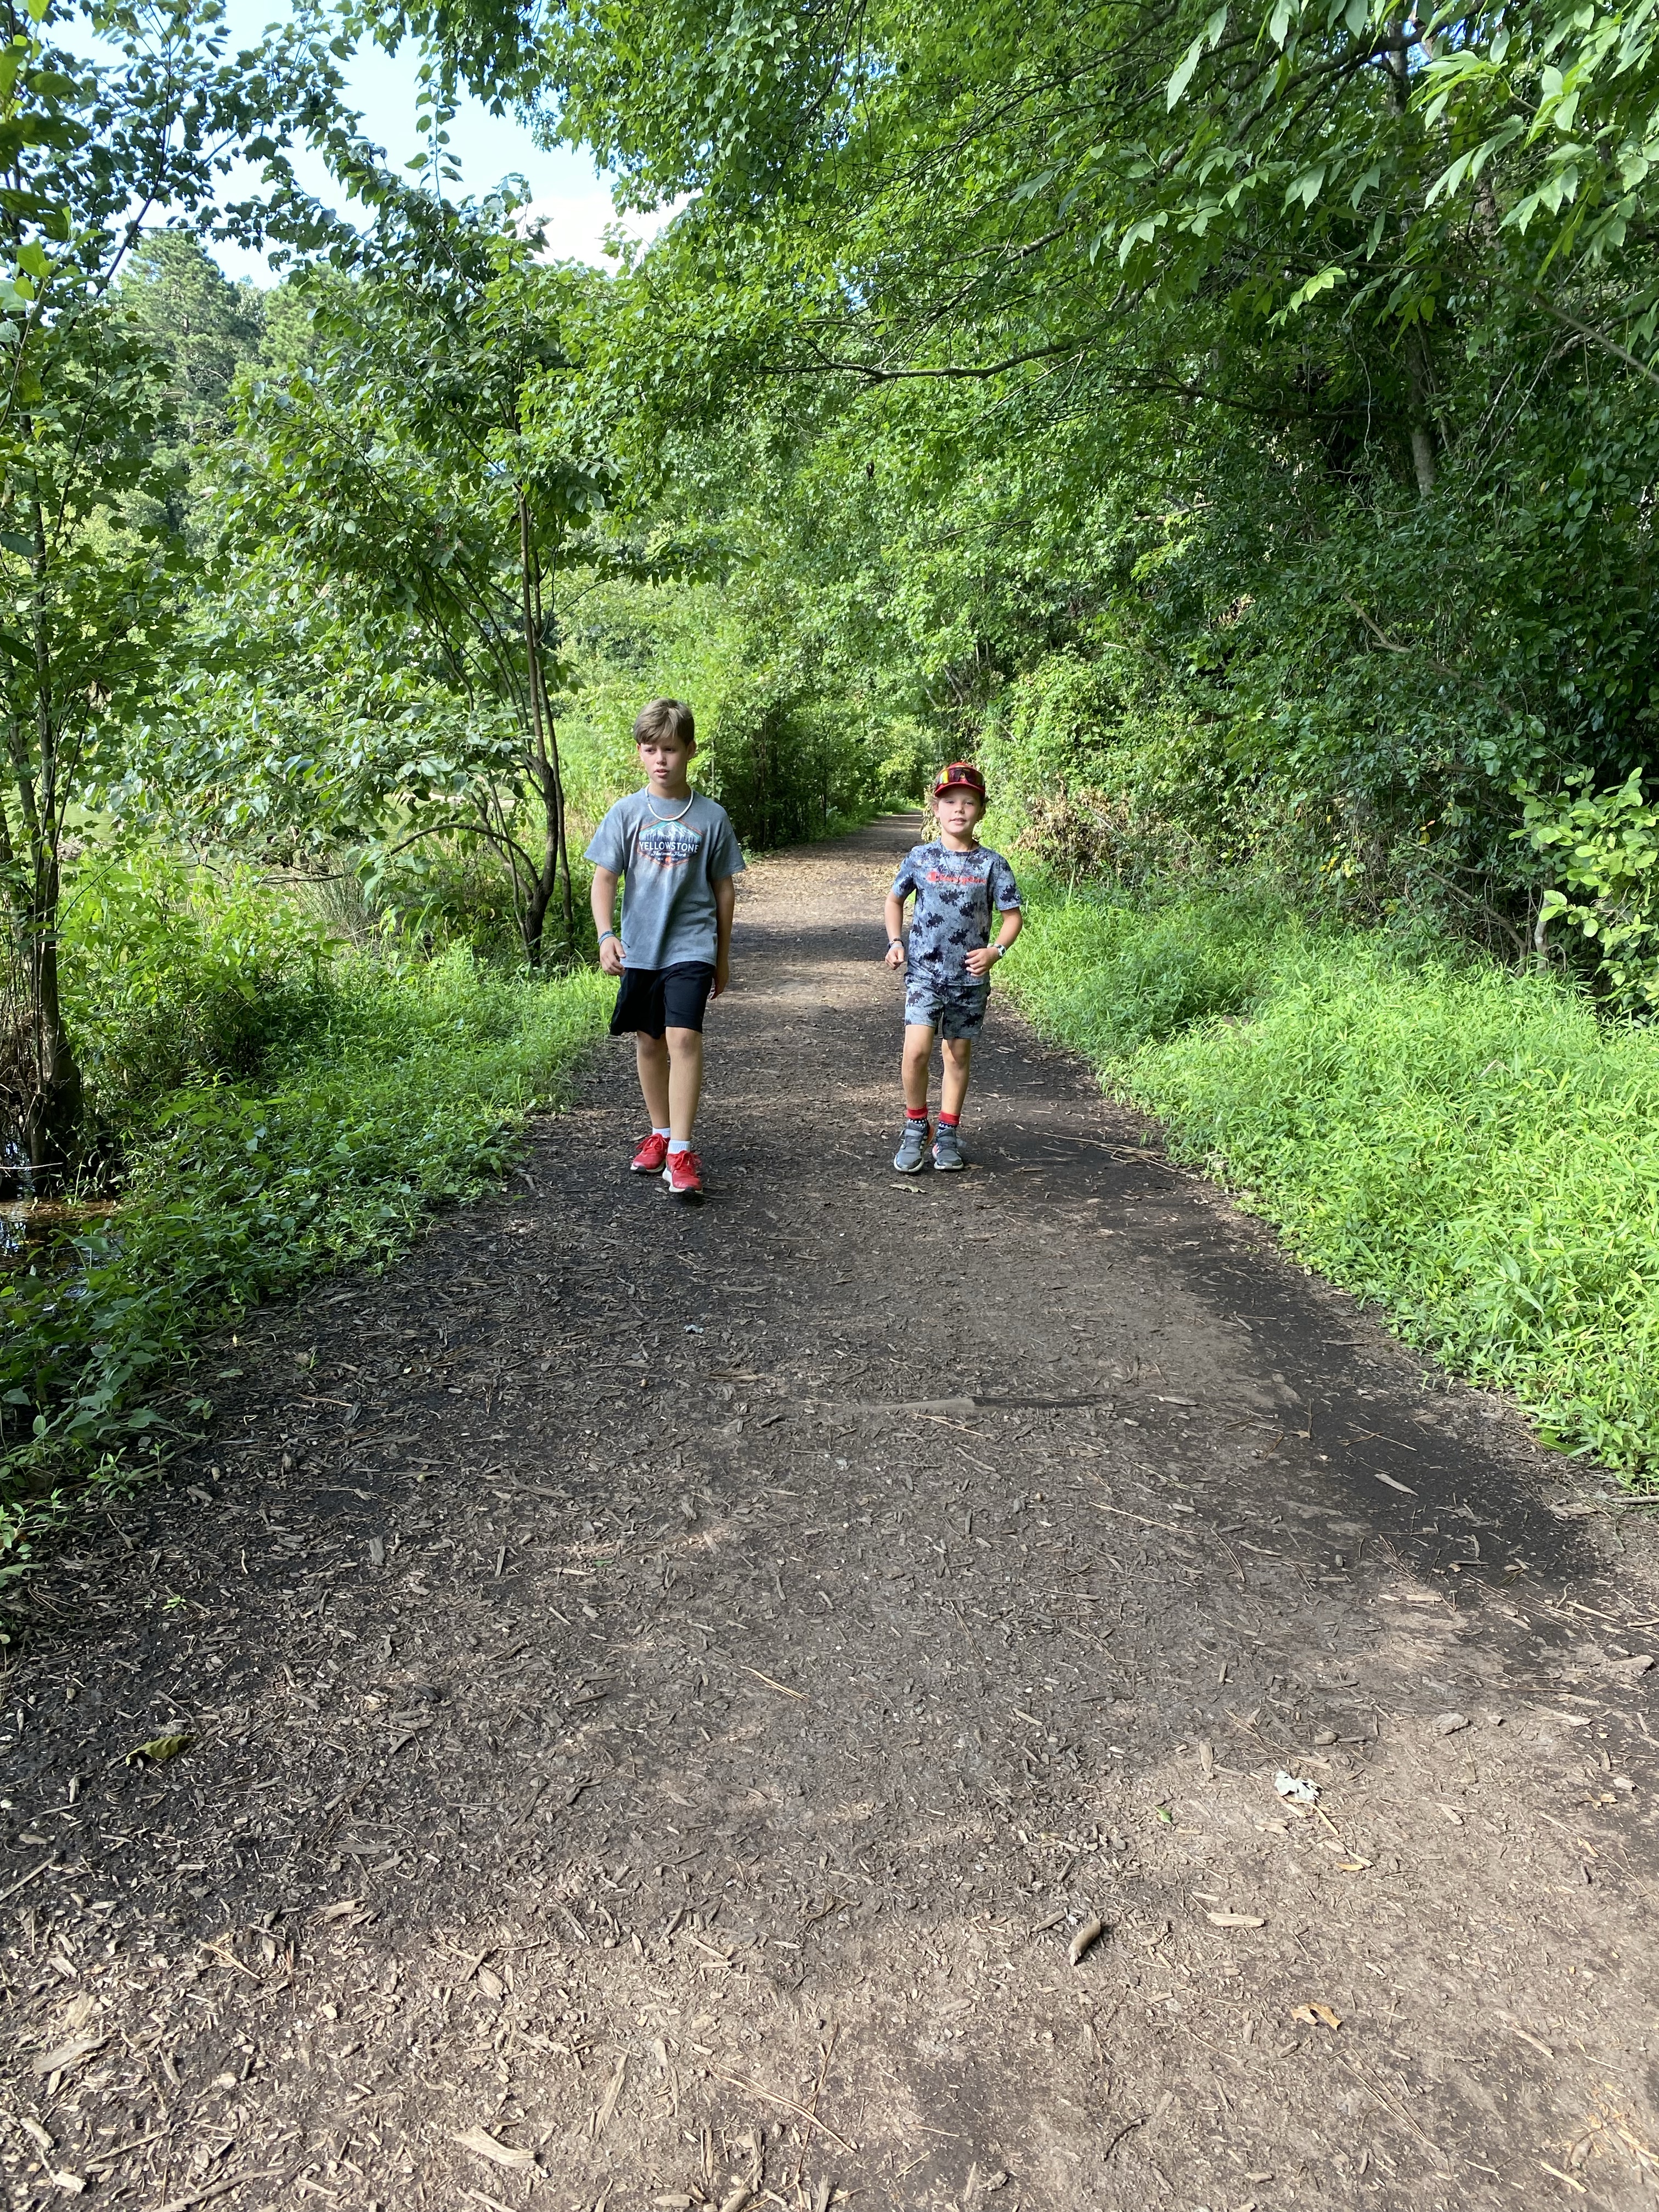
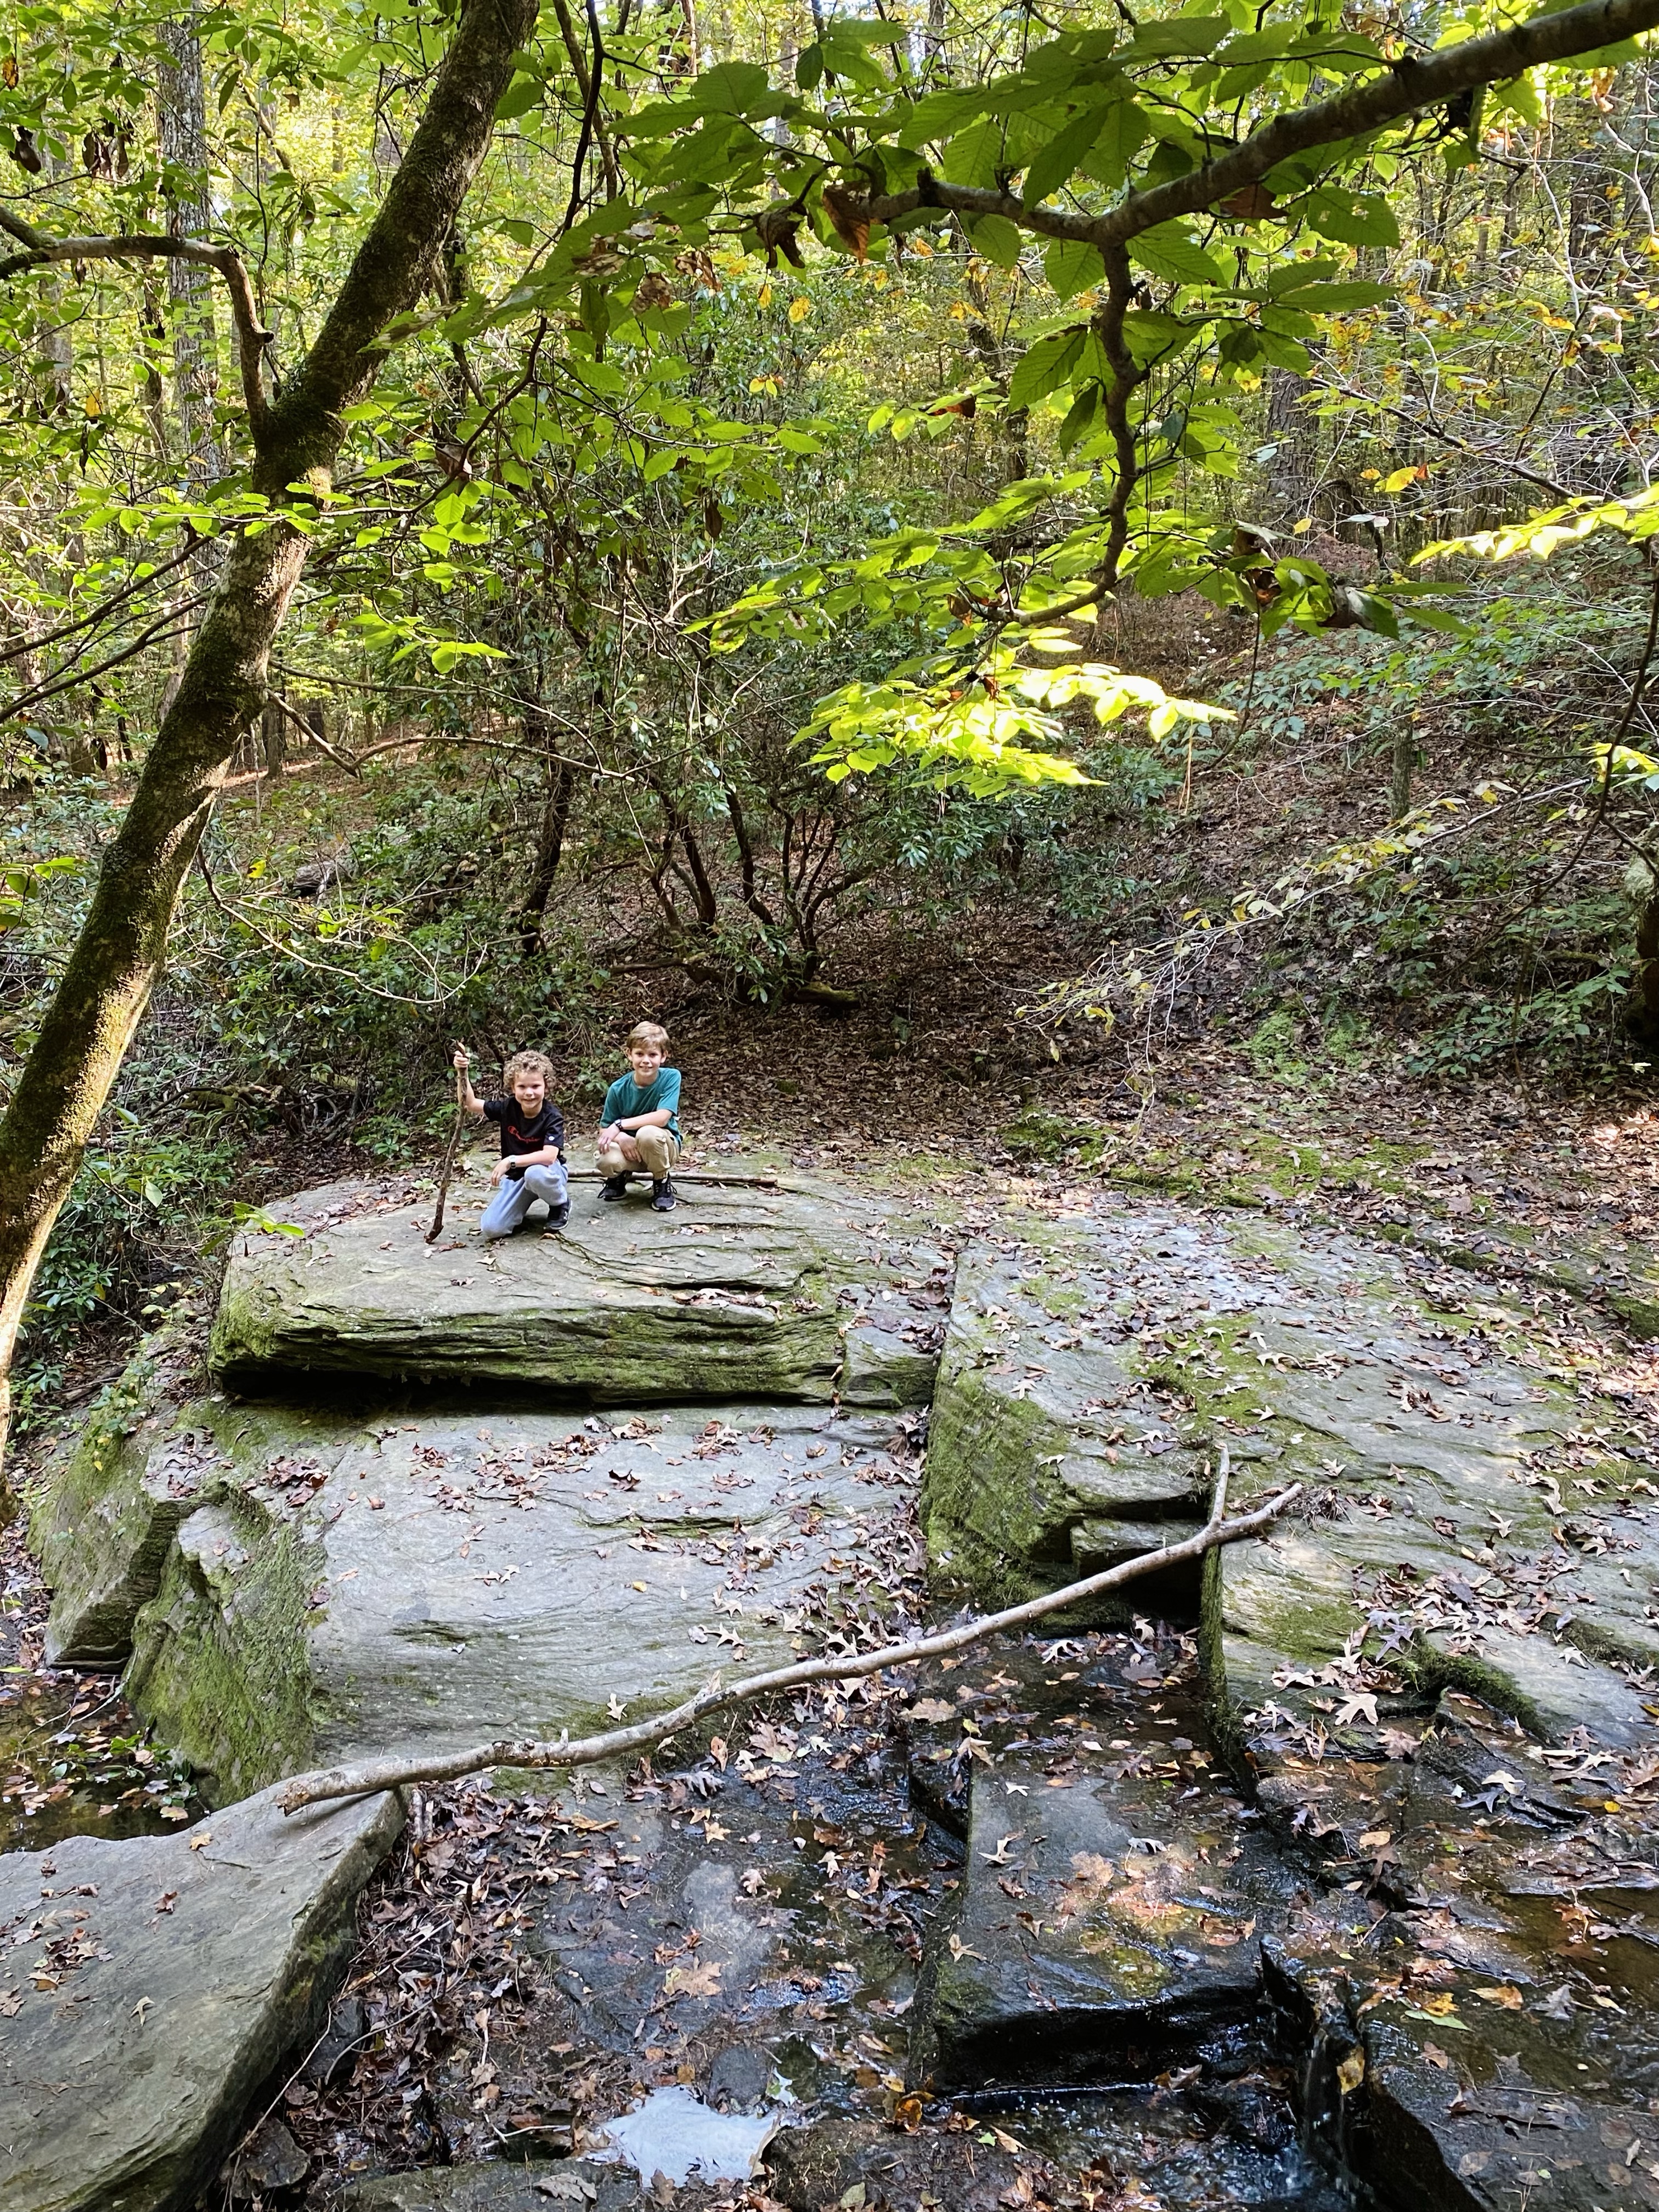
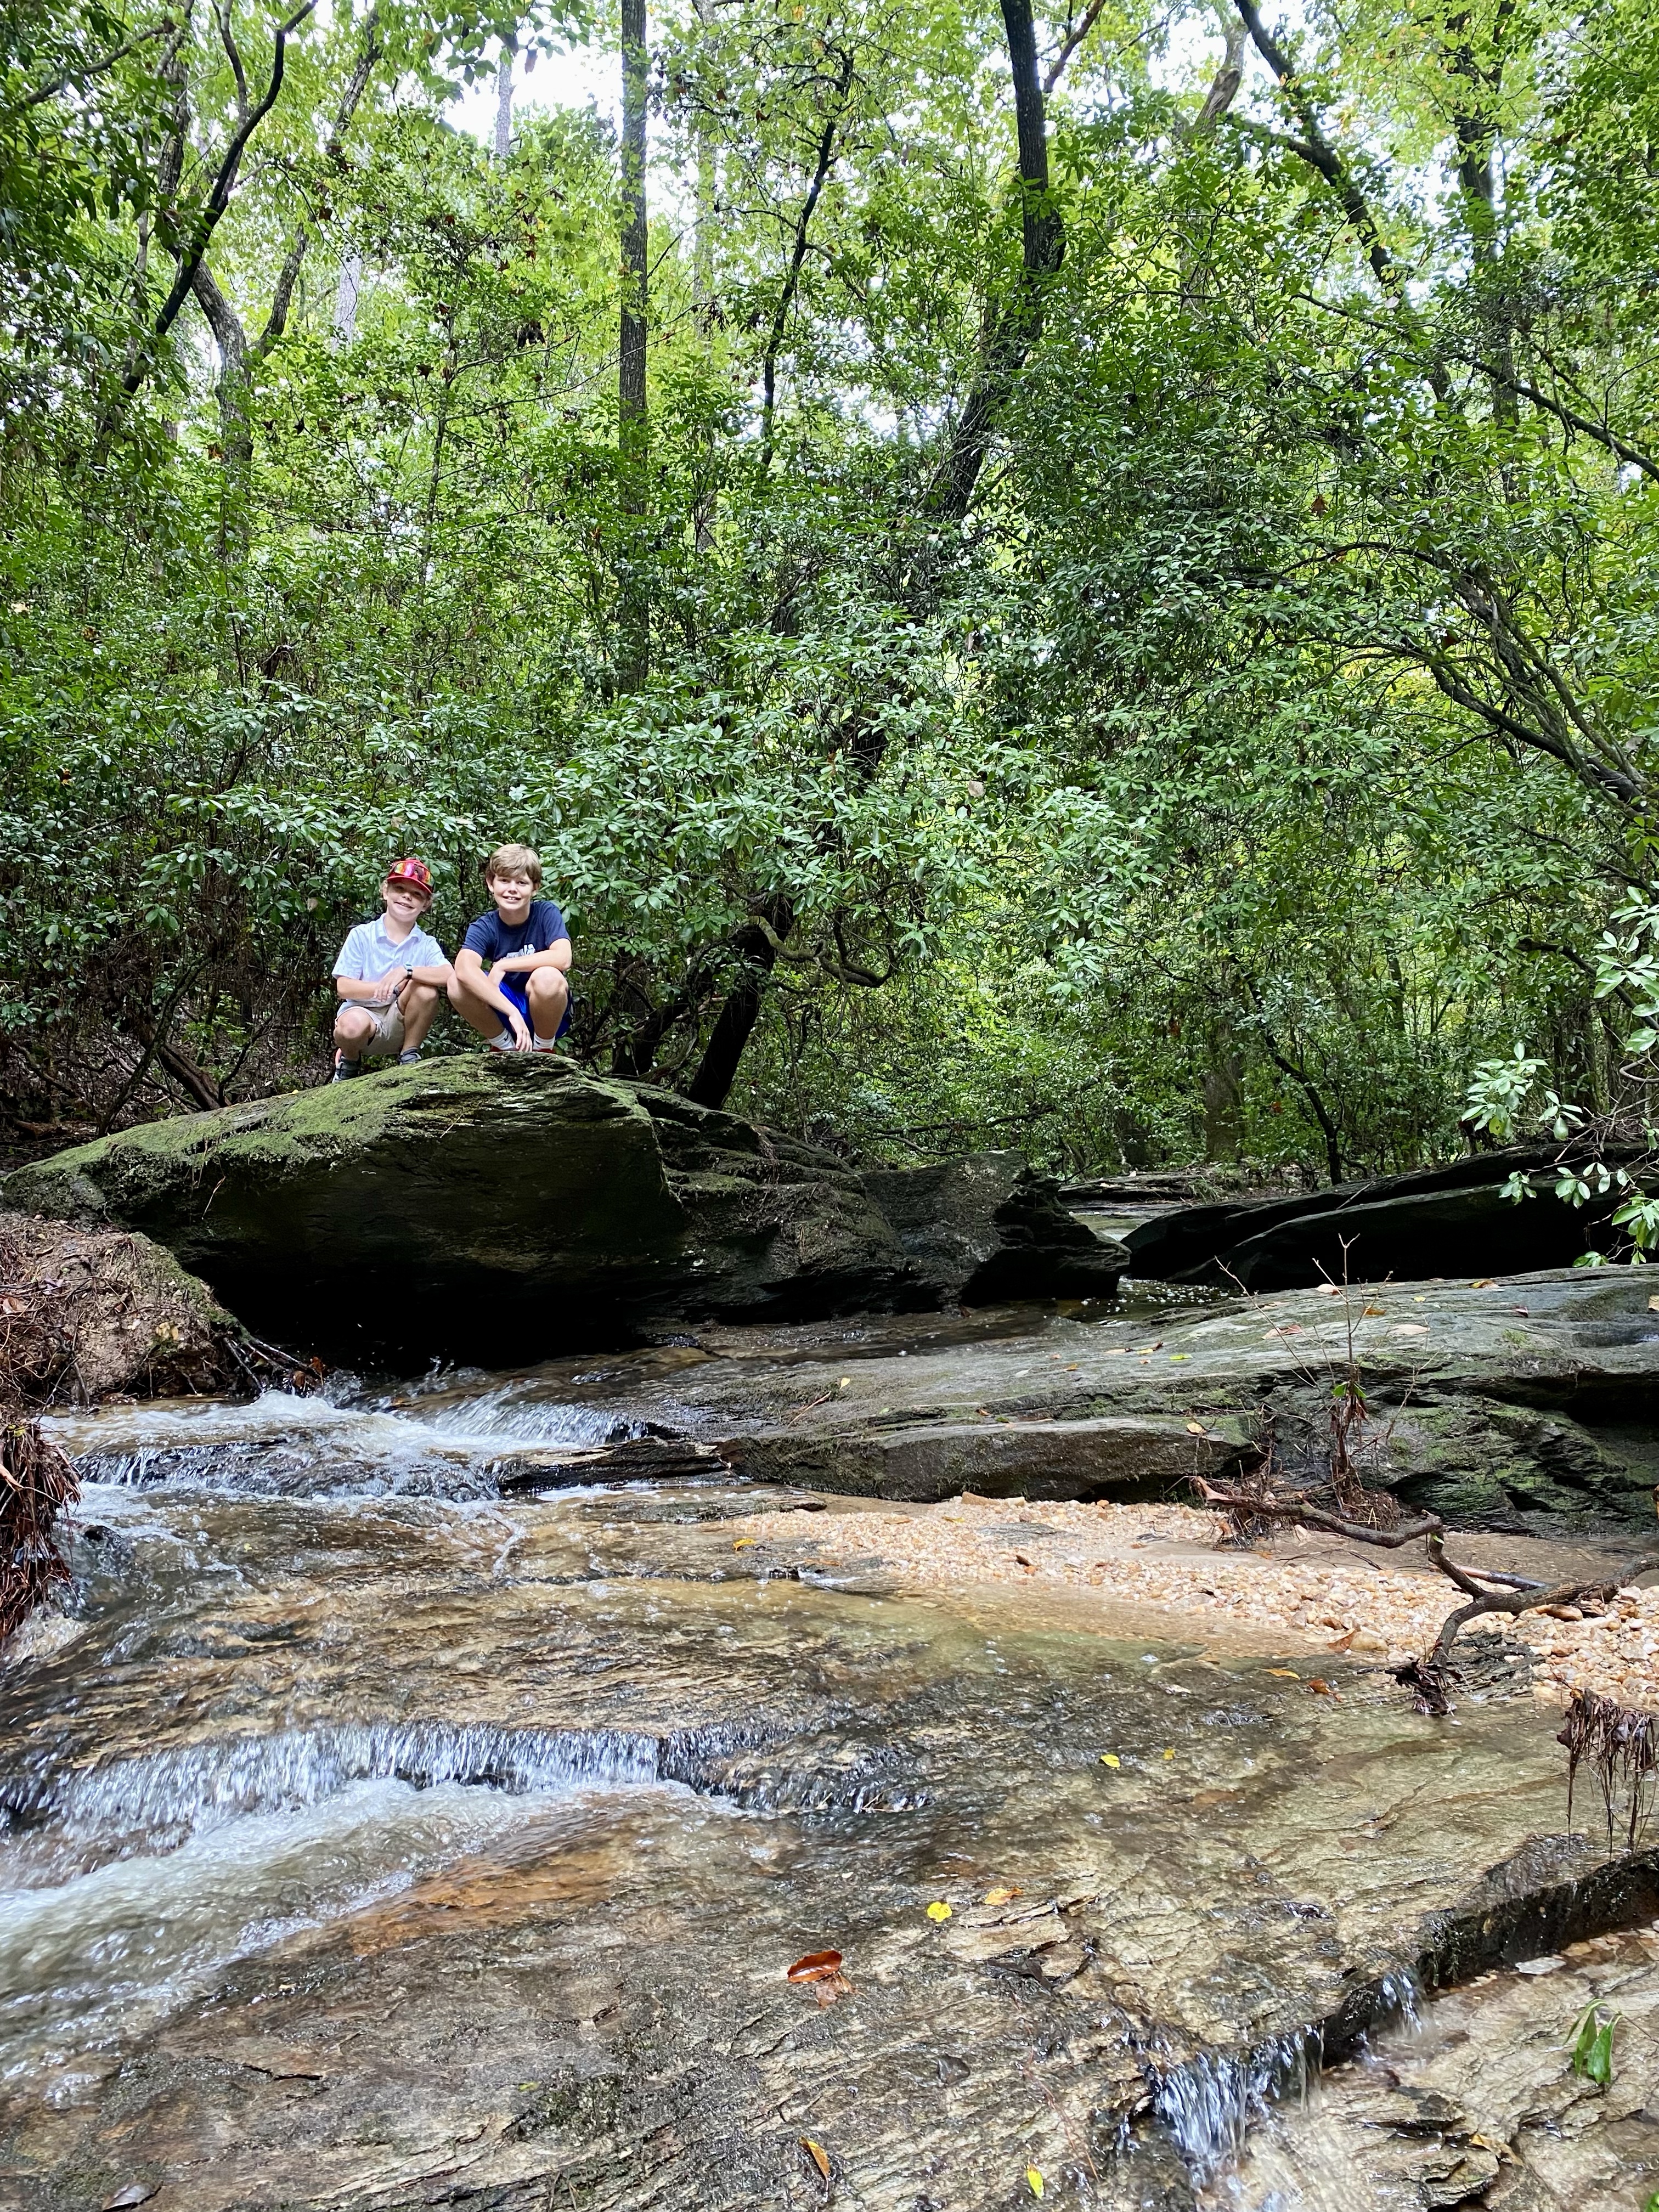
The boys love Little Creek Loop as it follows alongside the creek with several pathways that run off the main trail that connect to the creek which they explore. They enjoy jumping onto the larger boulders that are in some areas, skipping rocks, and looking for crayfish.
(Insert picture of boys on the rocks at the creek)

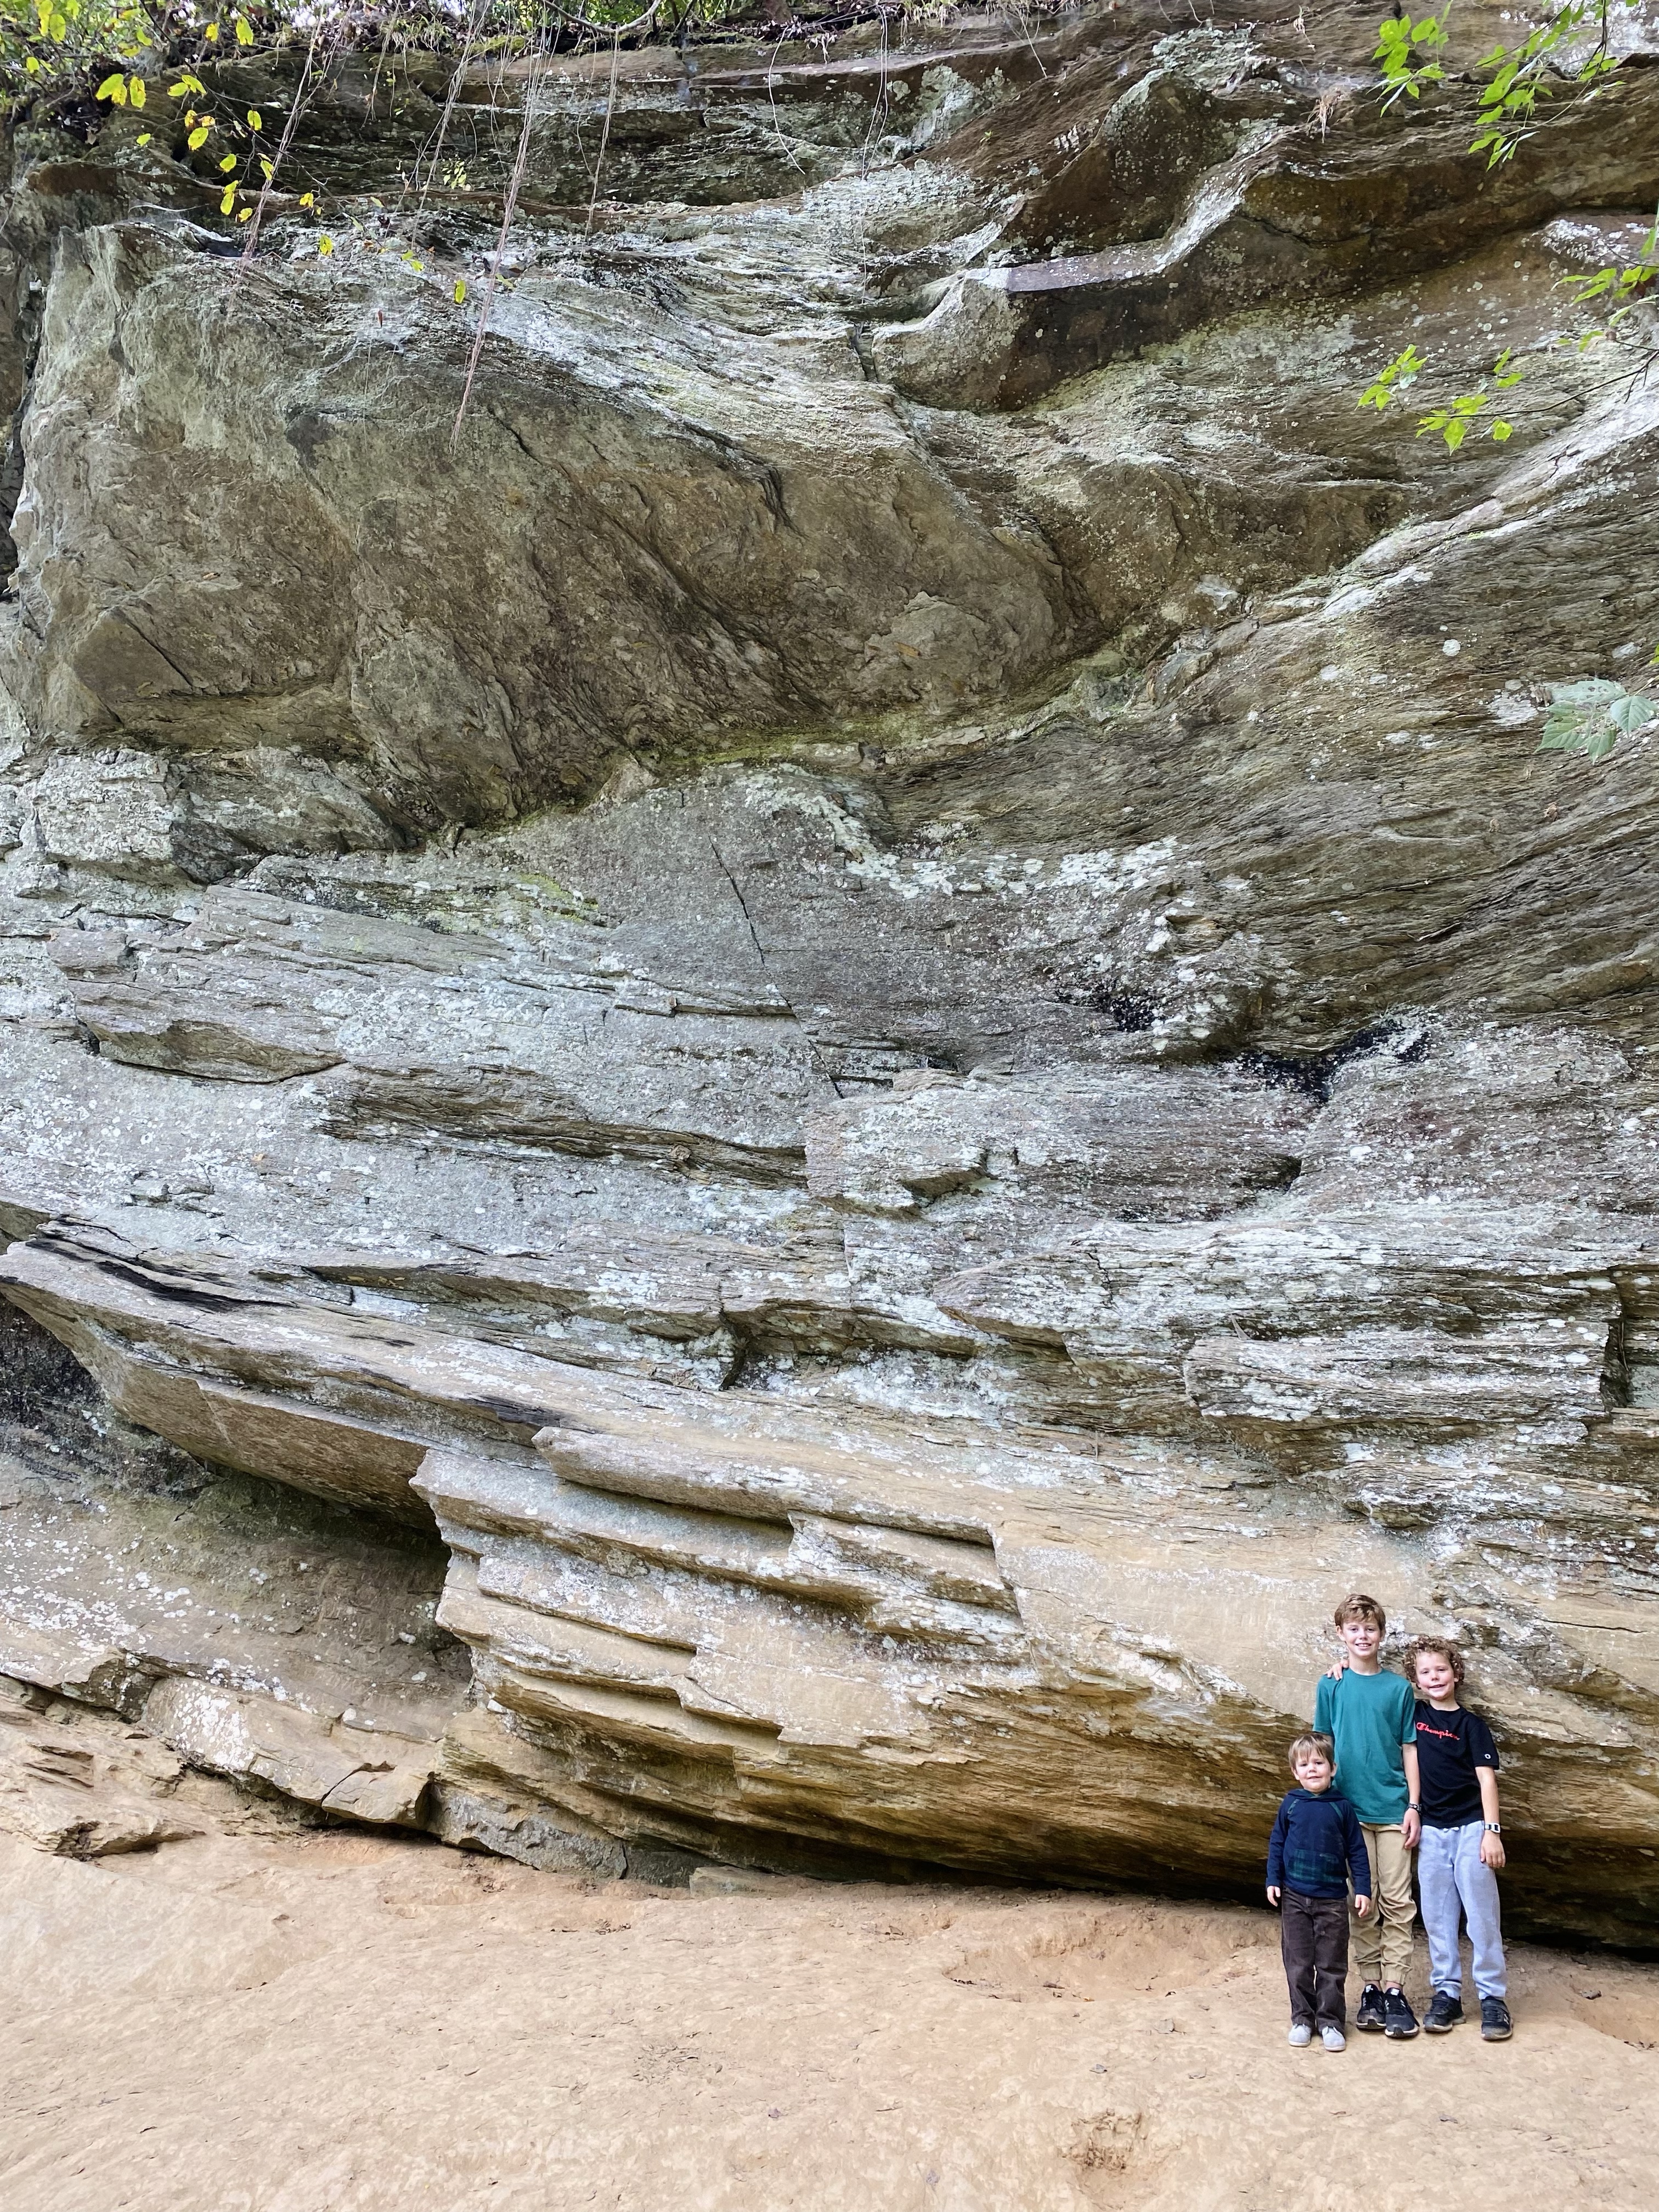
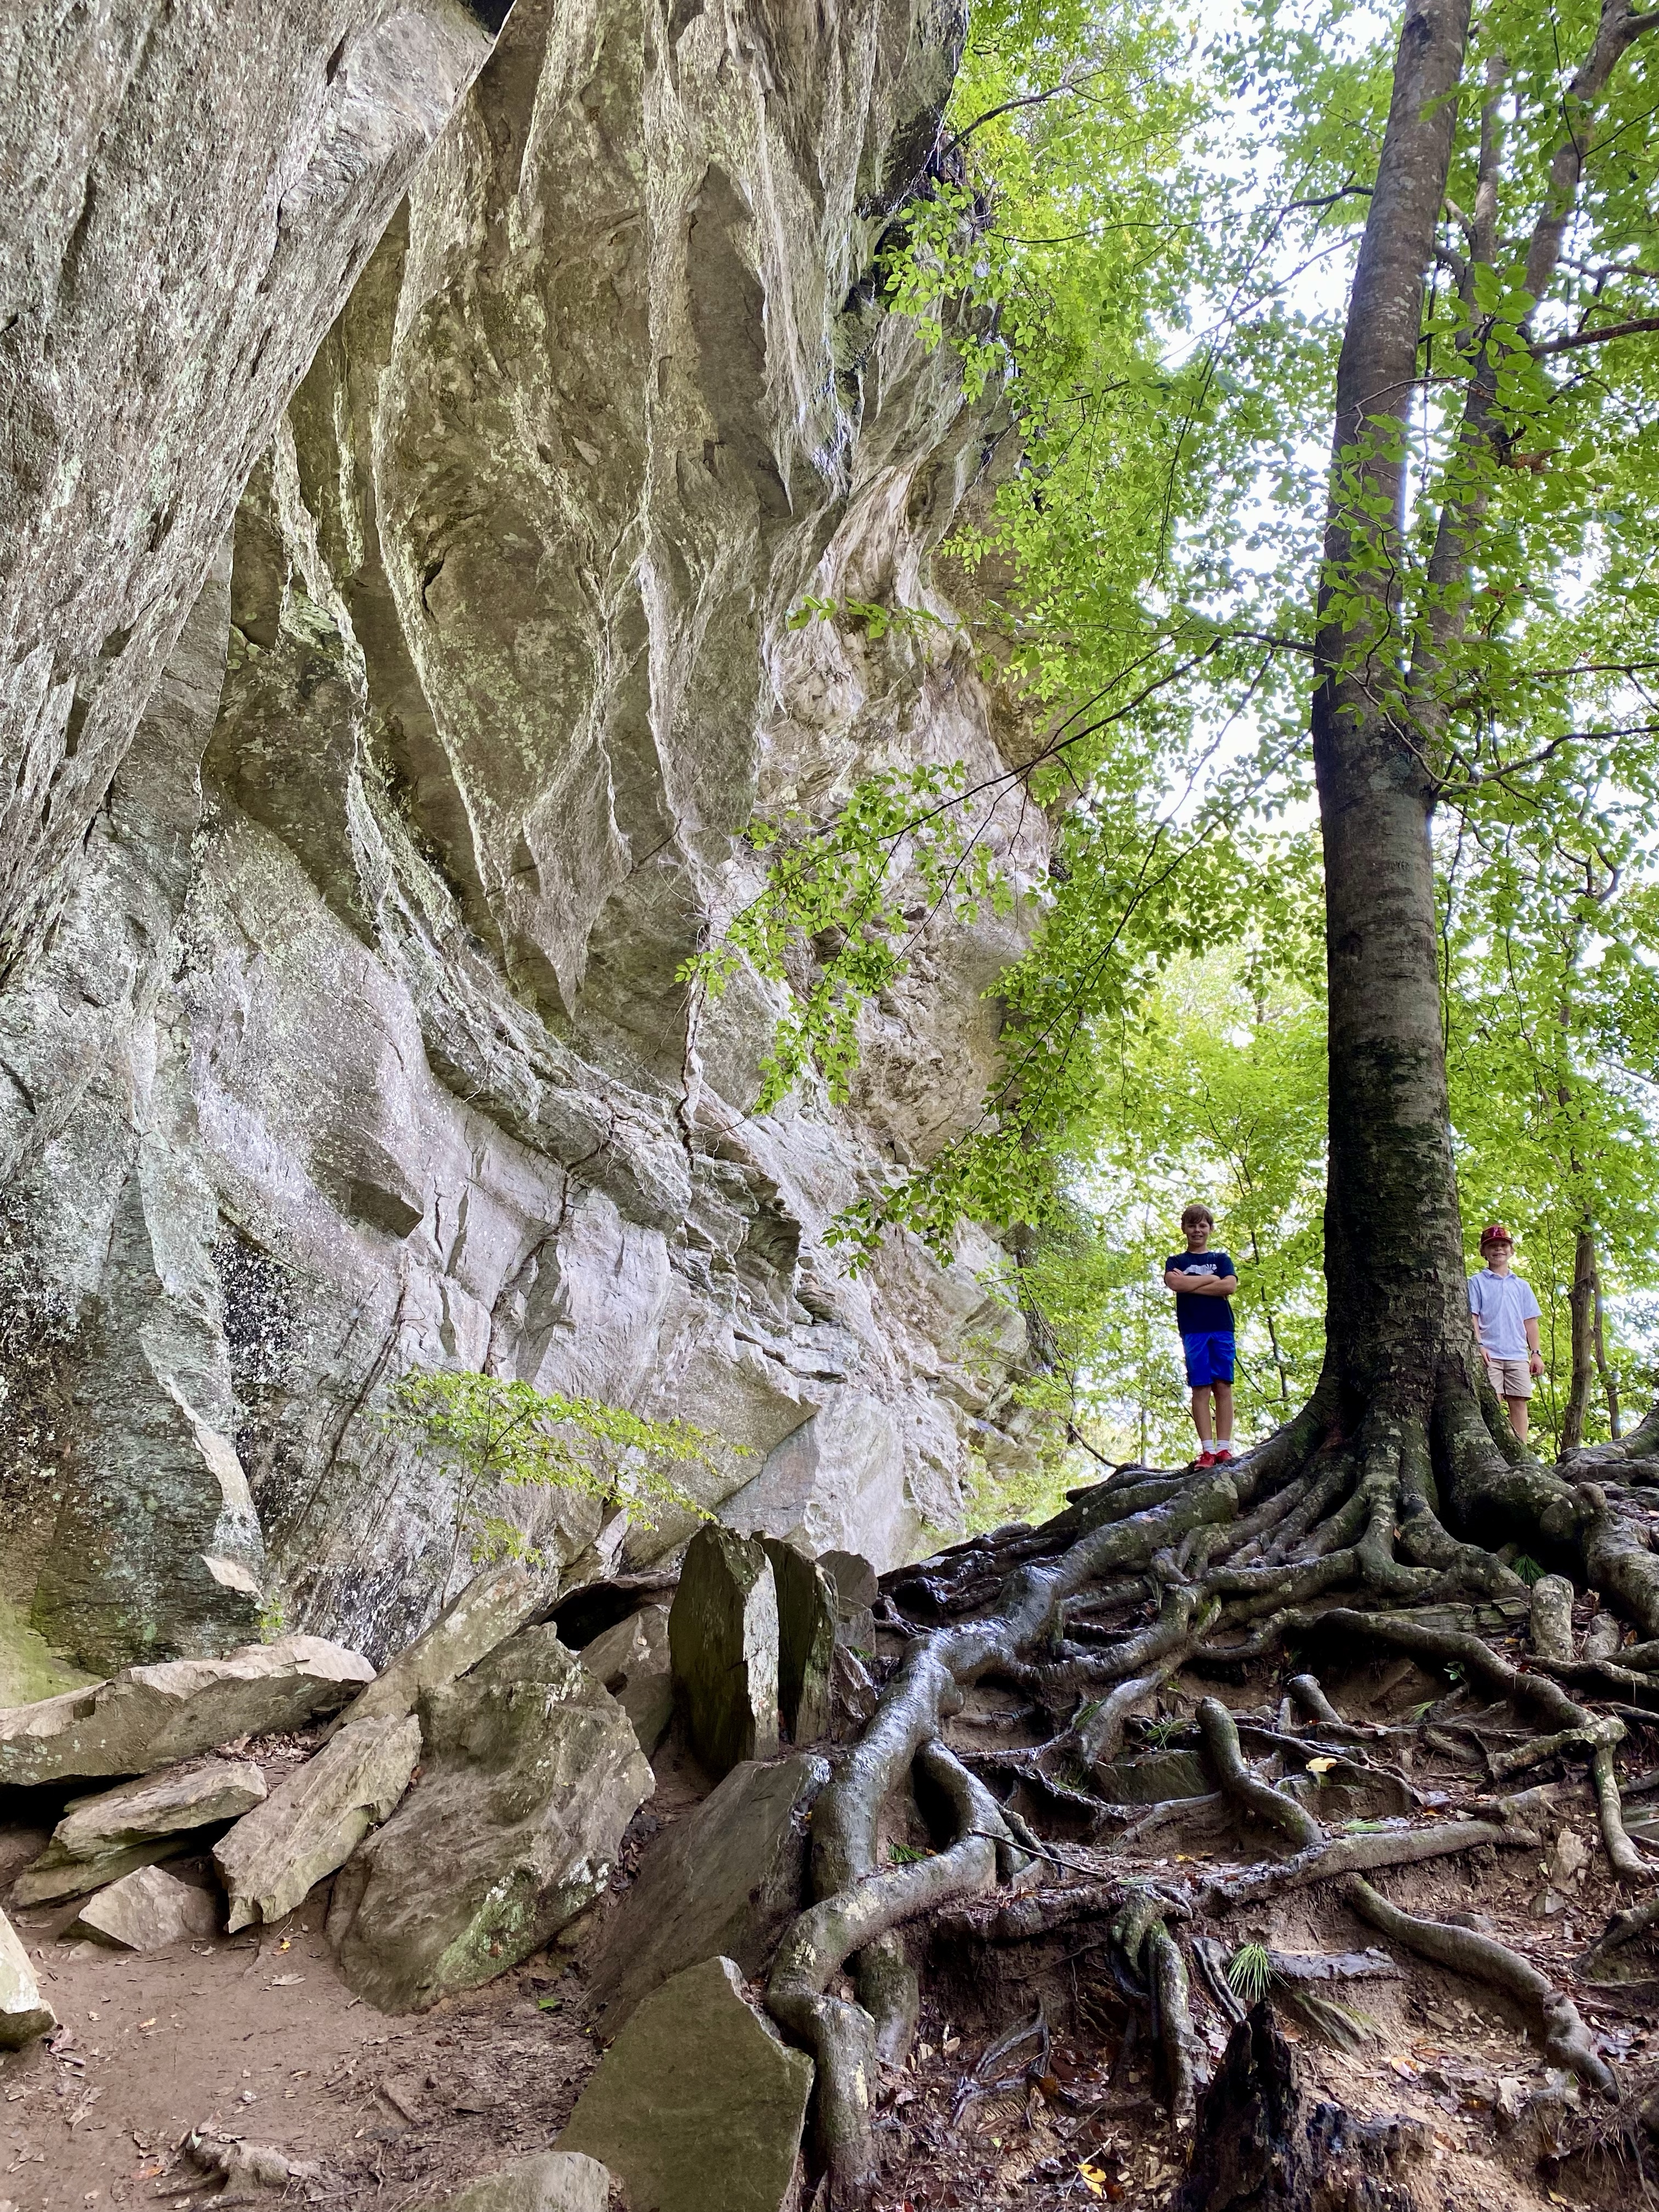
Don’t miss out on the stairs that lead down to the banks of the Cape Fear River. The rock walls and exposed roots of the trees are worth exploring.

Explore the various trails at Raven Rock here.
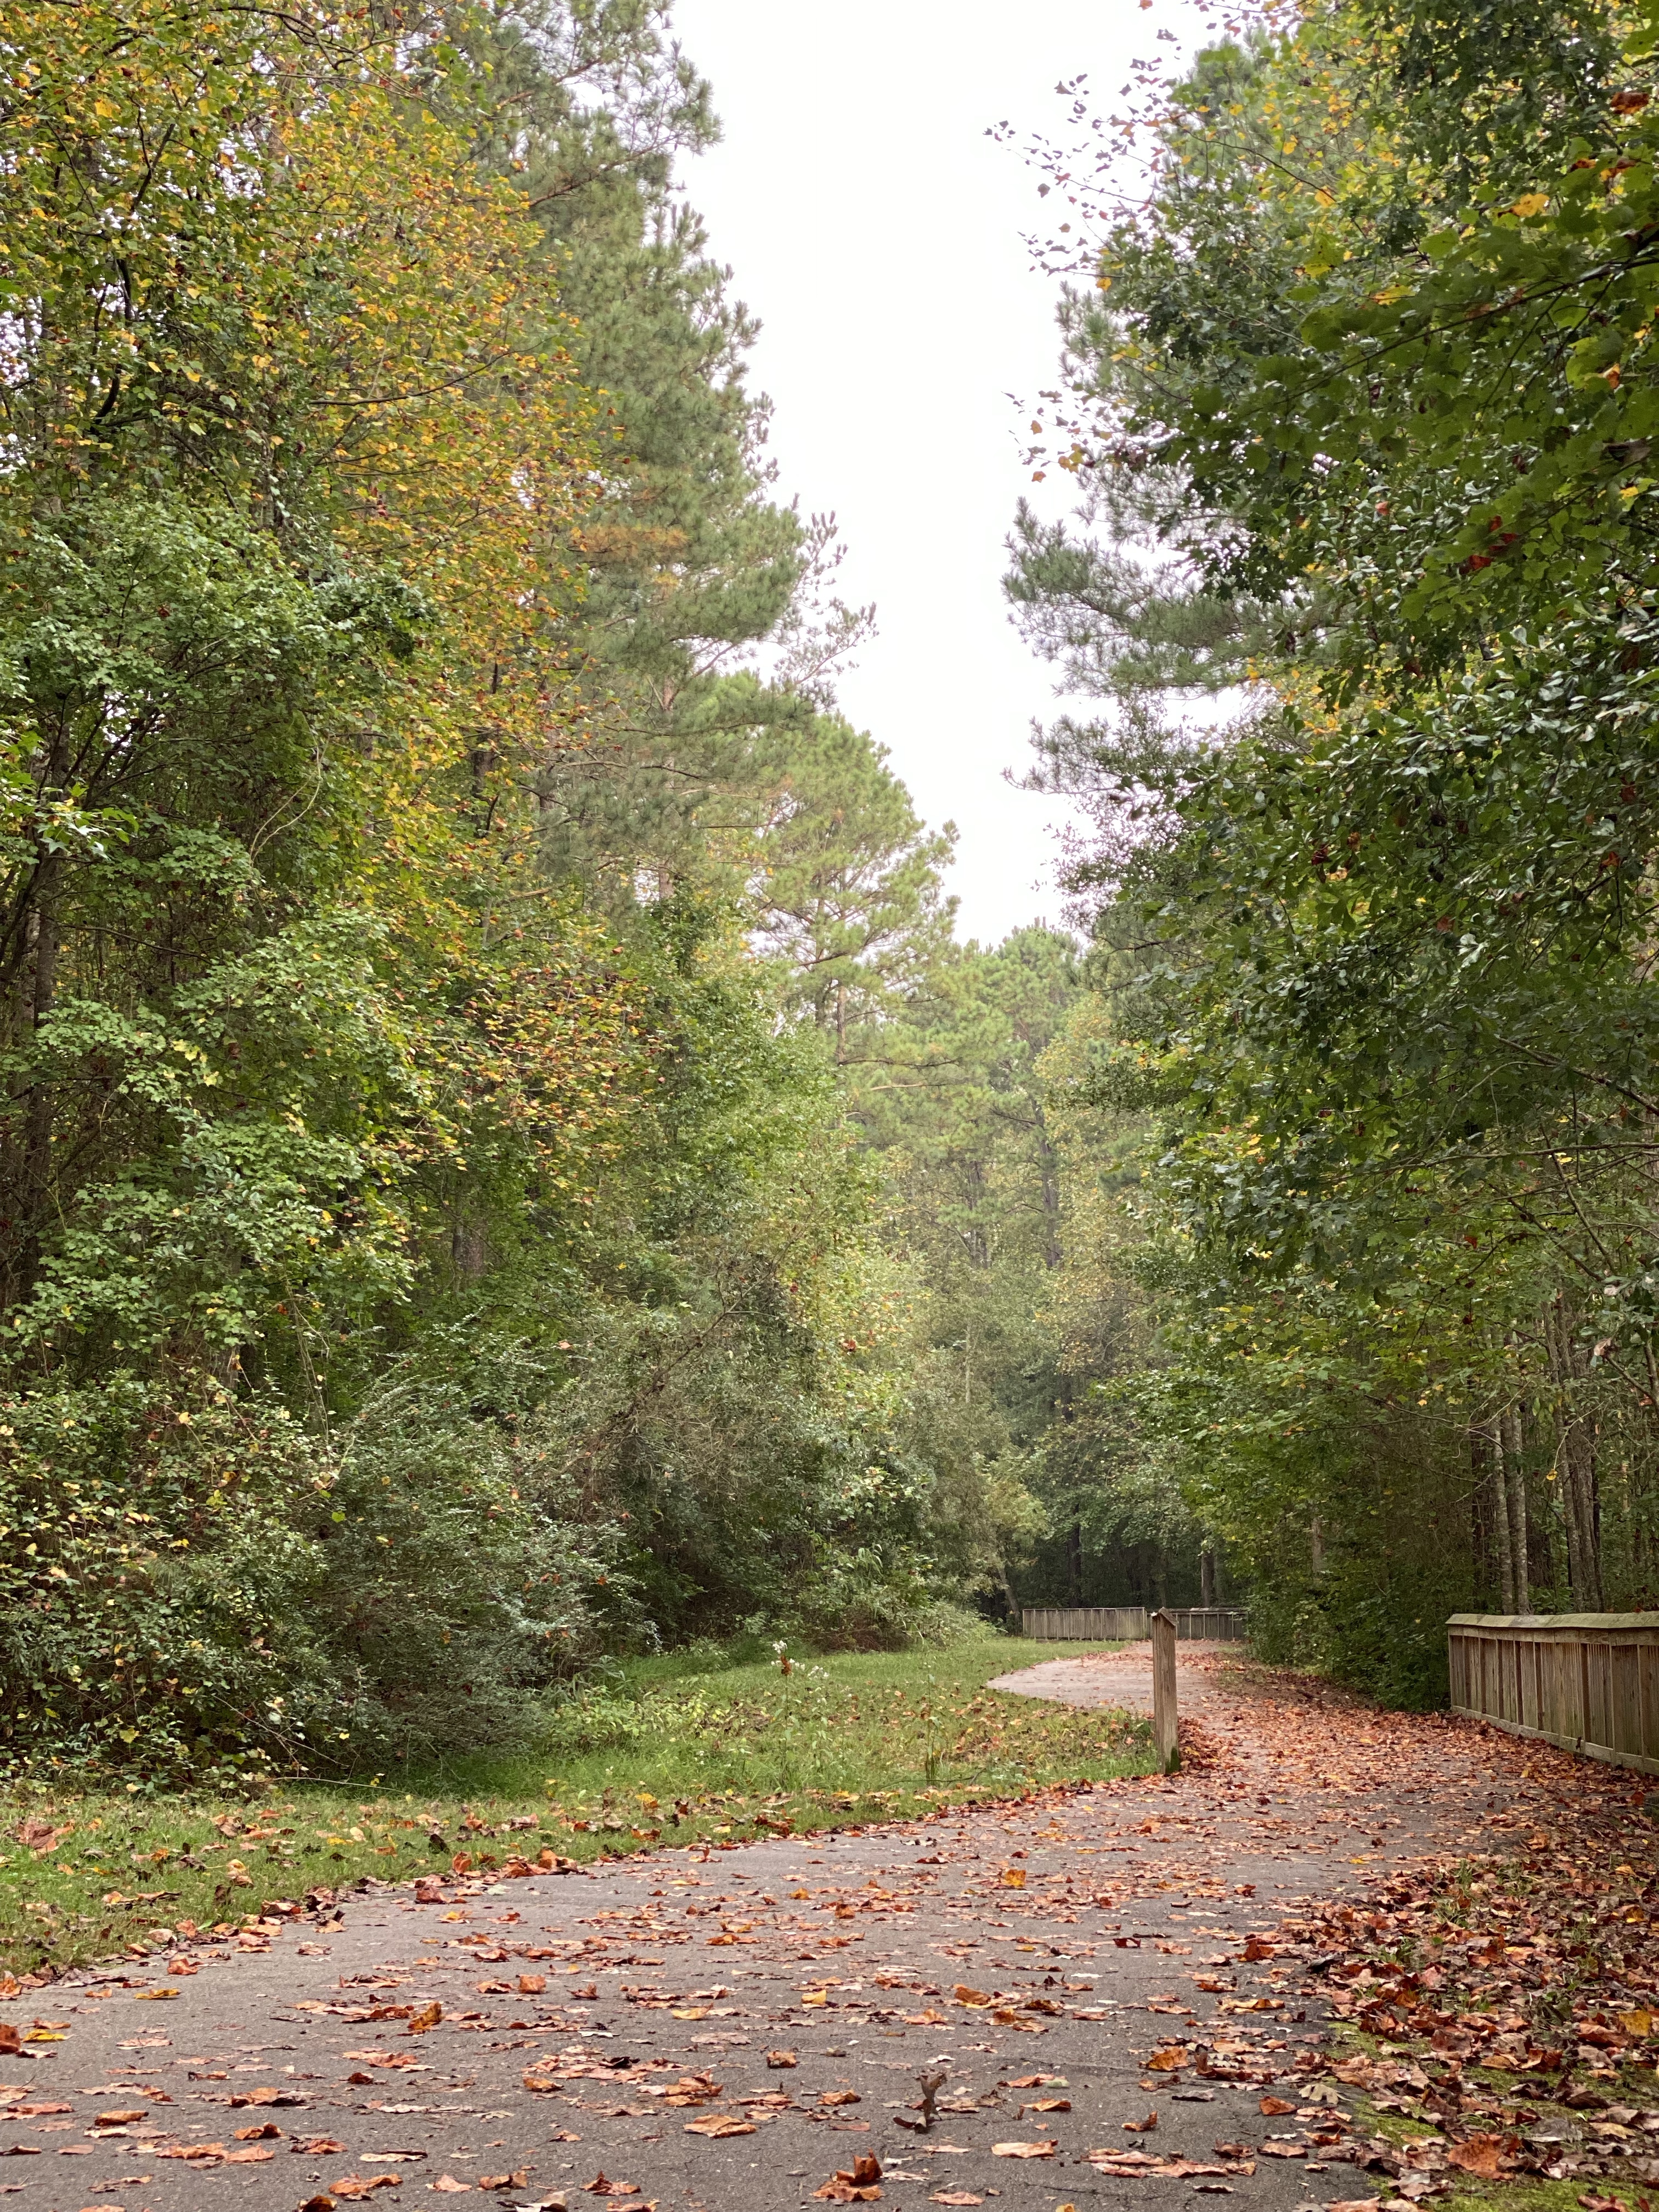
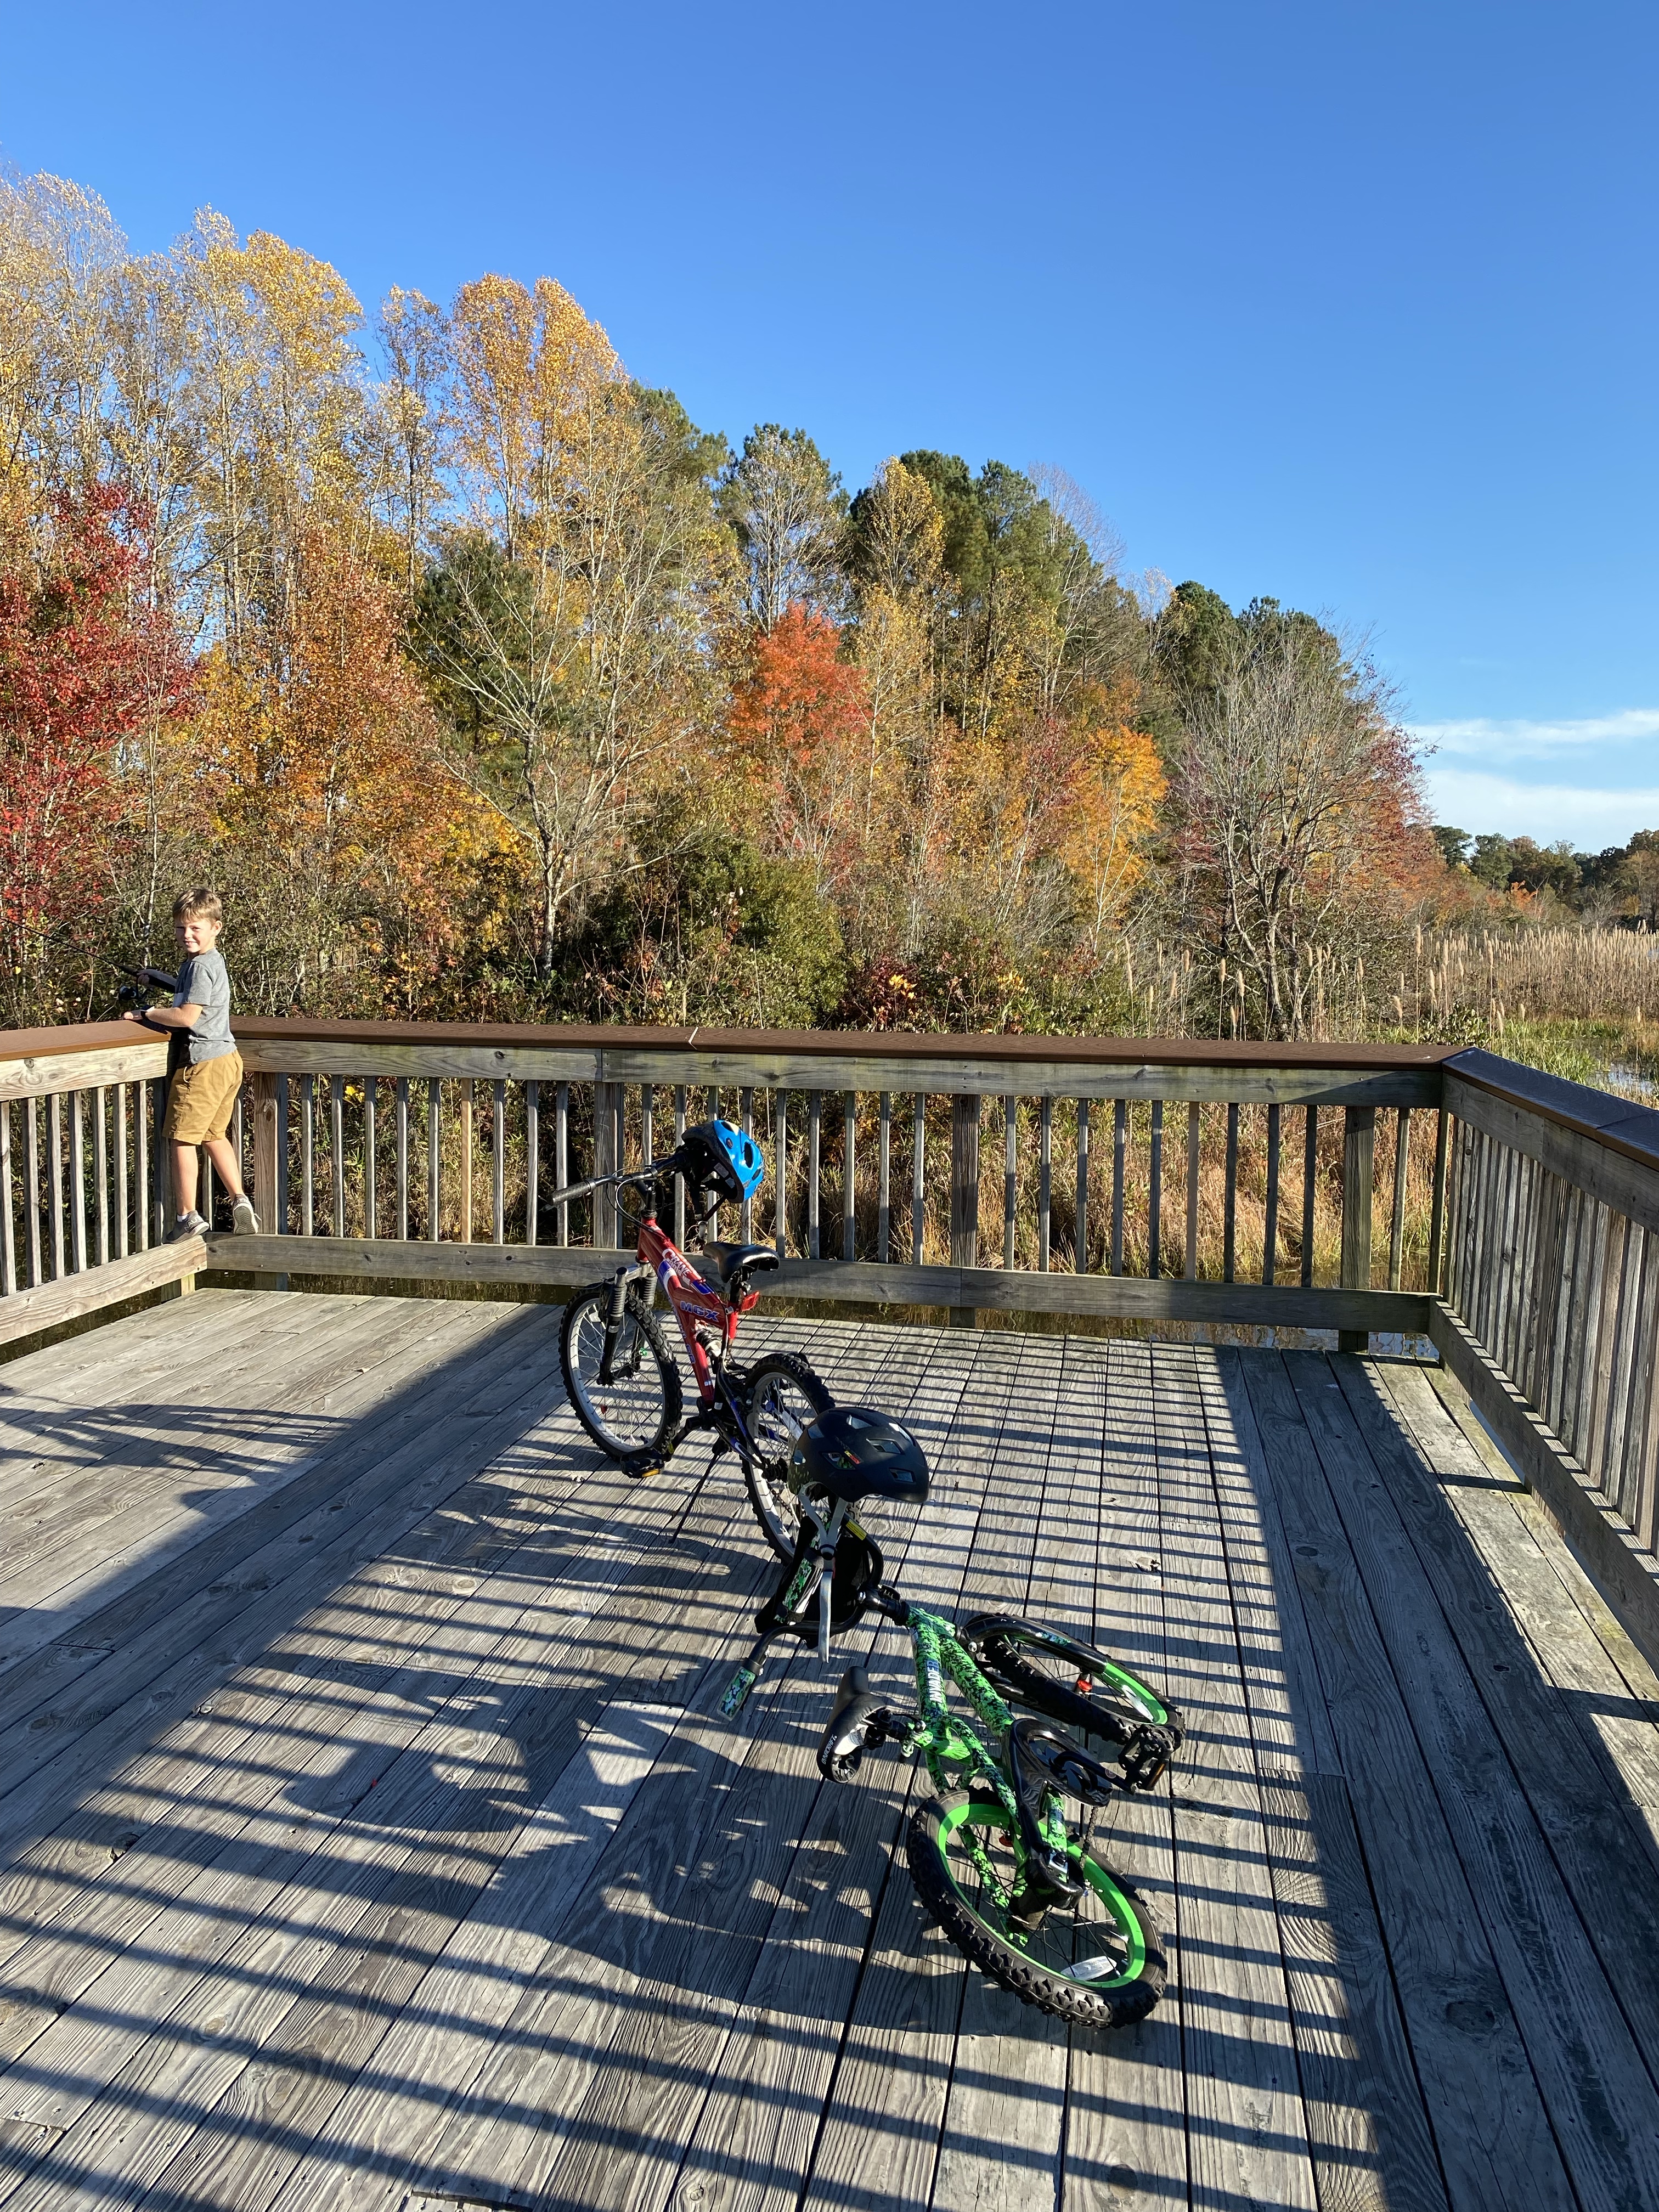
Hilltop Needmore Town Park – 🚶‍♀️ 🏃‍♀️ 🚴‍♀️ 🛴

This was a former golf course within a neighborhood community. The trails are paved and were once the pathway for golf carts. There are some steeper hills which can pose to be more challenging for the littles on wheels. It’s never stopped our boys from trying to make it to the top peddeling. Going downhill is no issue apart from my own anxiety as they fly down.

There are 5 miles of paved trails with varying elevations on each. Due to some construction of a new community center and elementary school, there is one trail section that is closed to pedestrian traffic. Stay current with closures on their website, here.

This is a beautiful park year-round. The large oak trees, rolling hills and ponds throughout provide for many scenic spots for picnics, leisurely walks, and wildlife watching. Whether you’re exploring the trails or simply enjoying the peaceful atmosphere, it’s a perfect place to connect with nature.
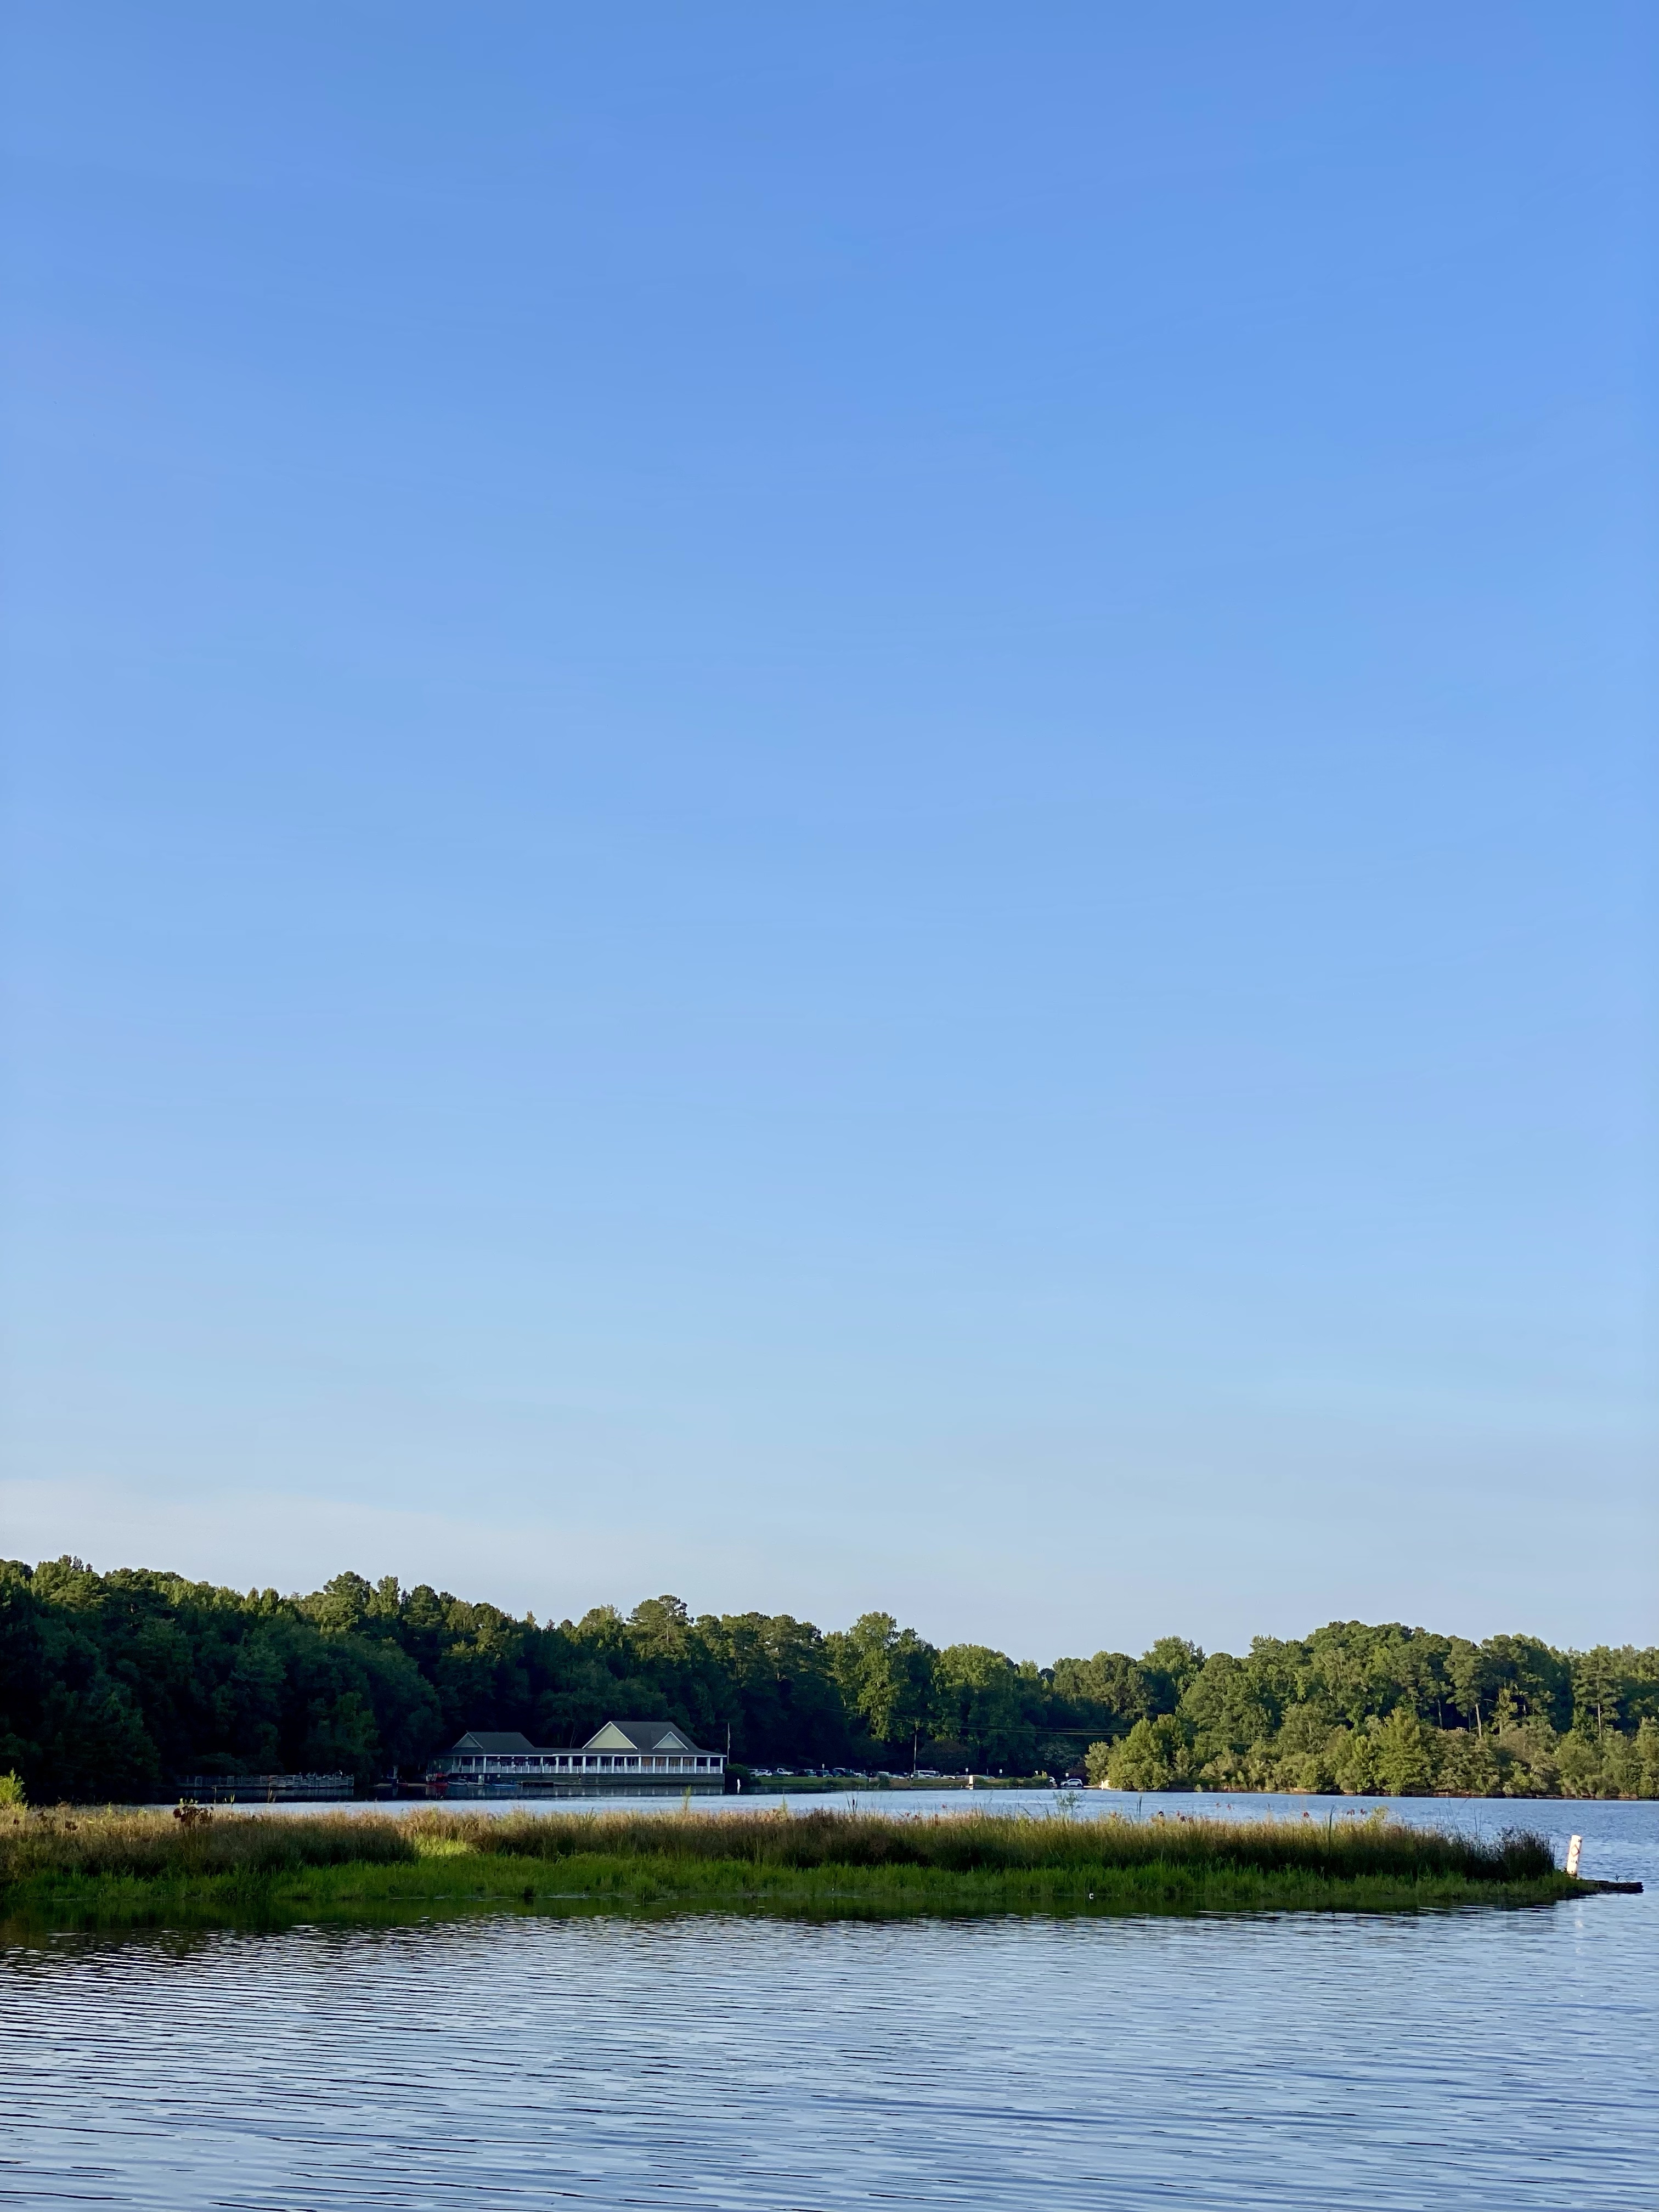
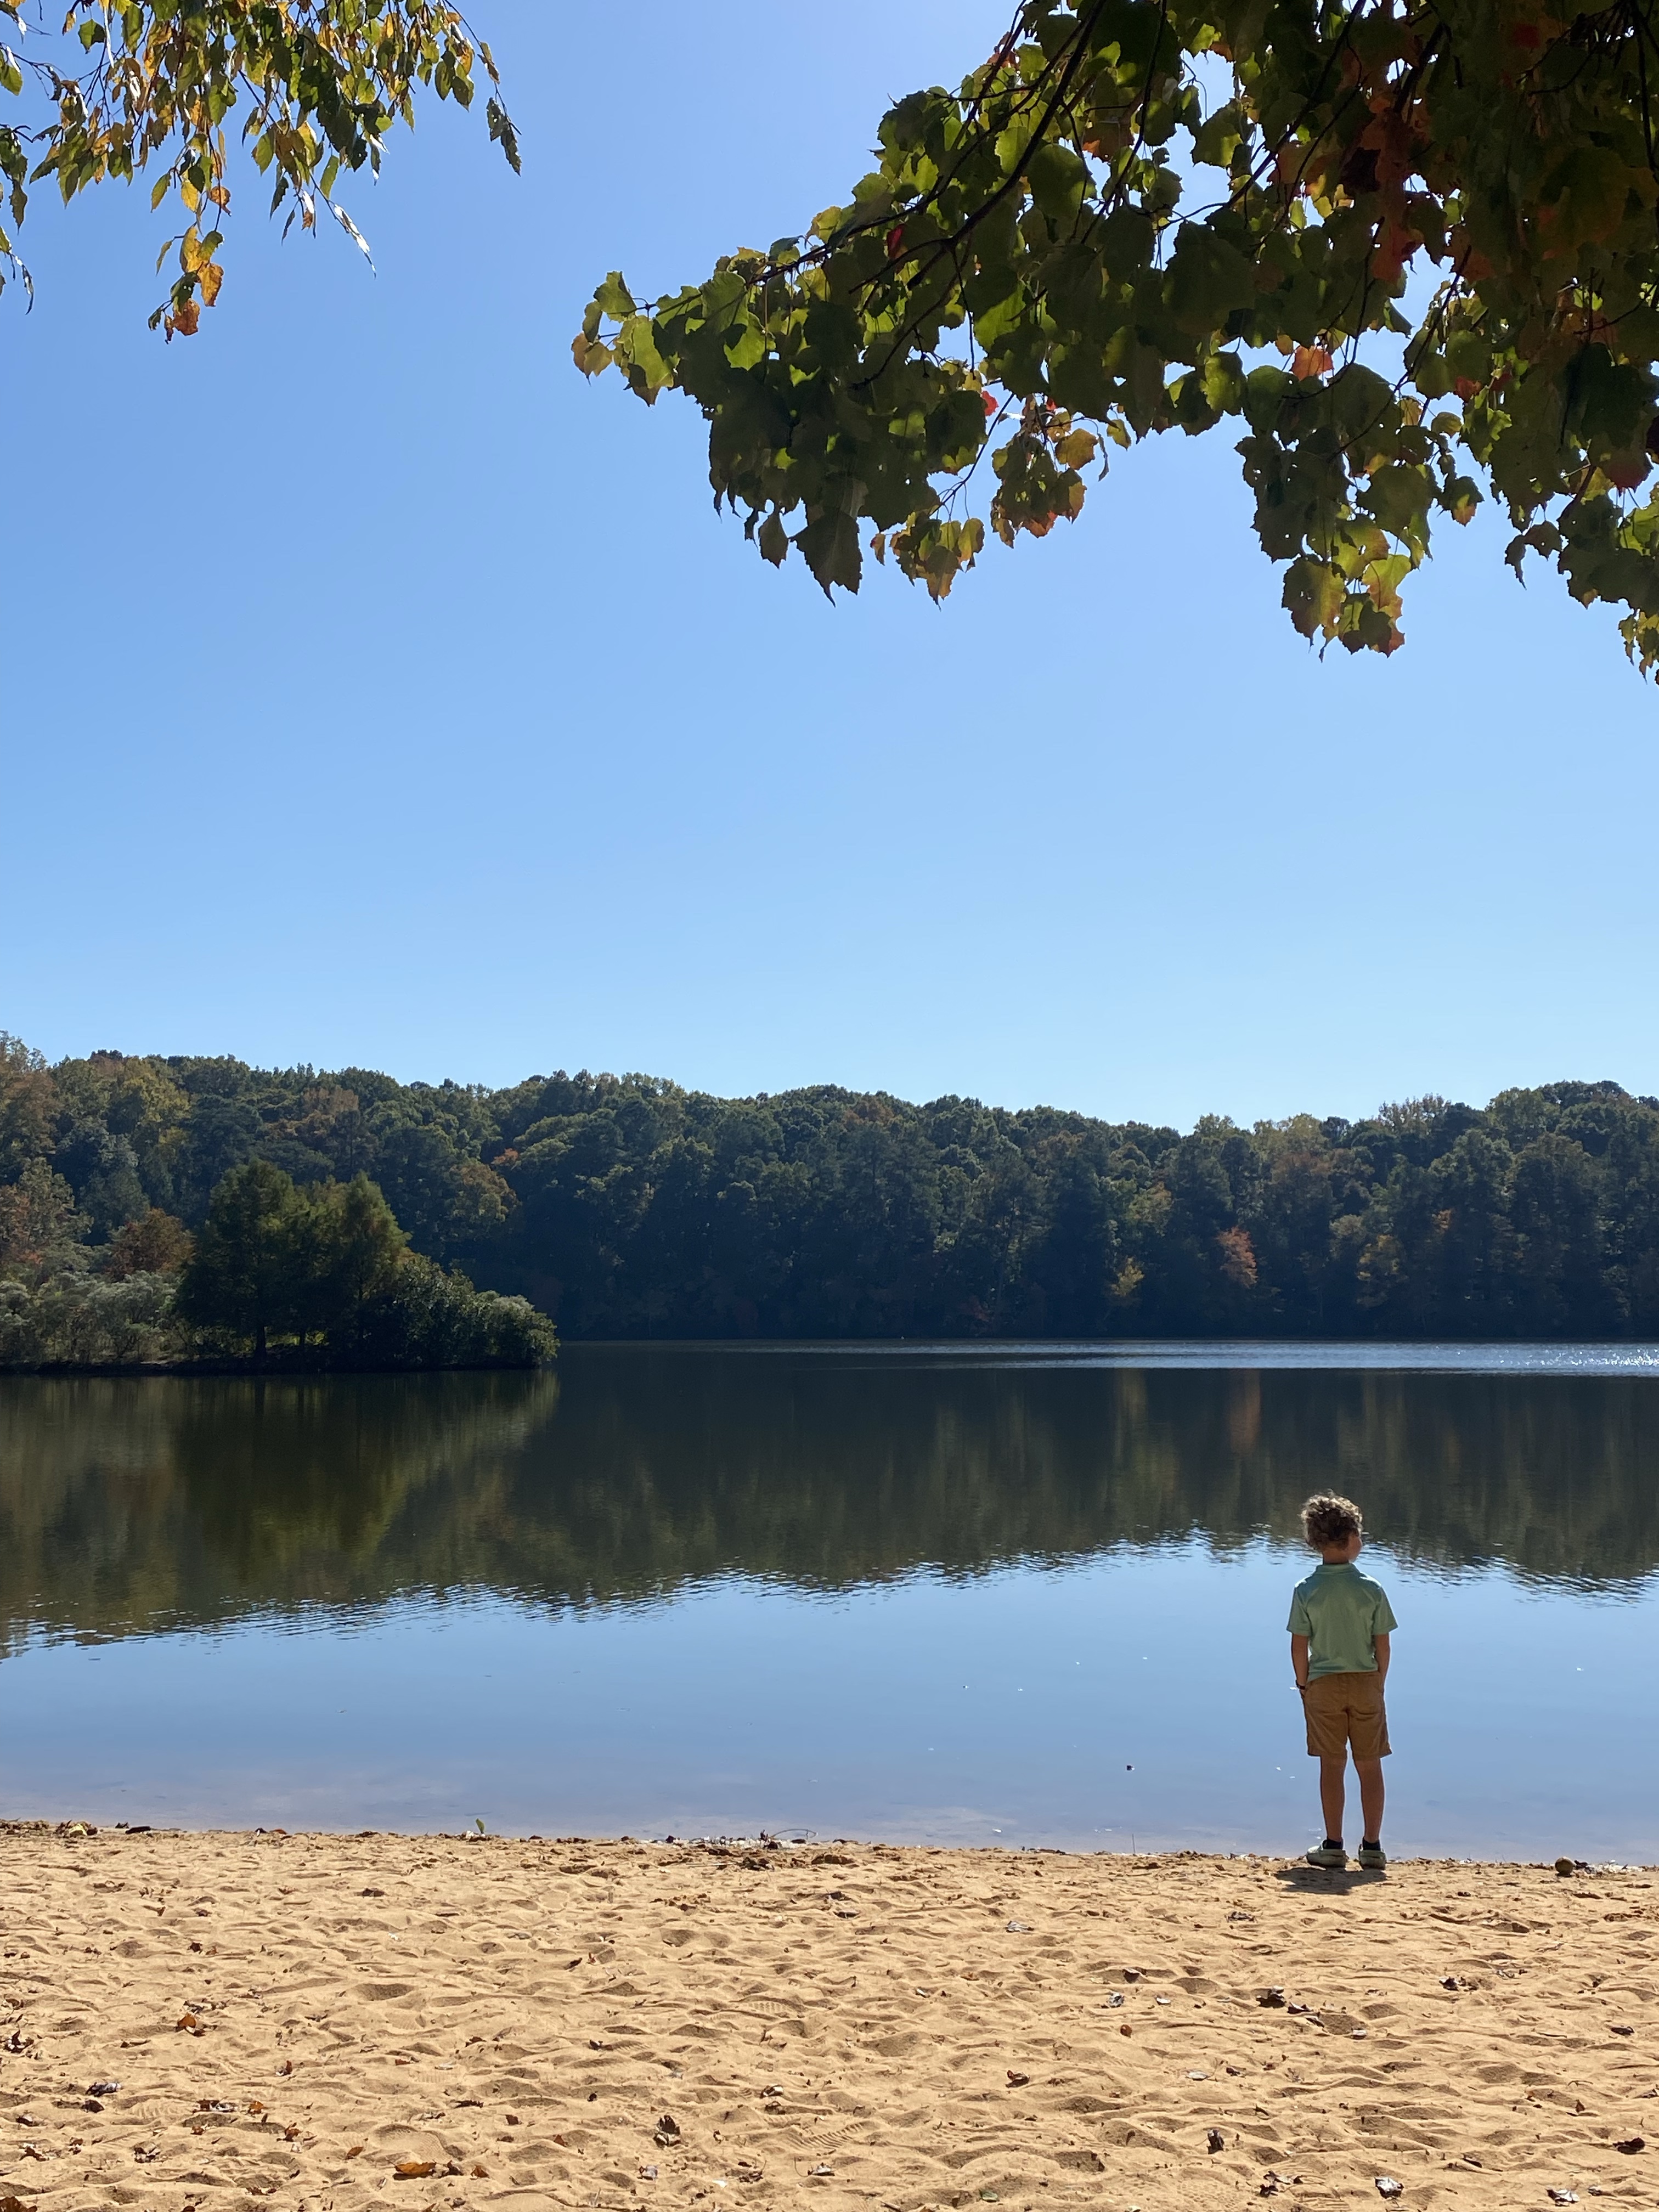
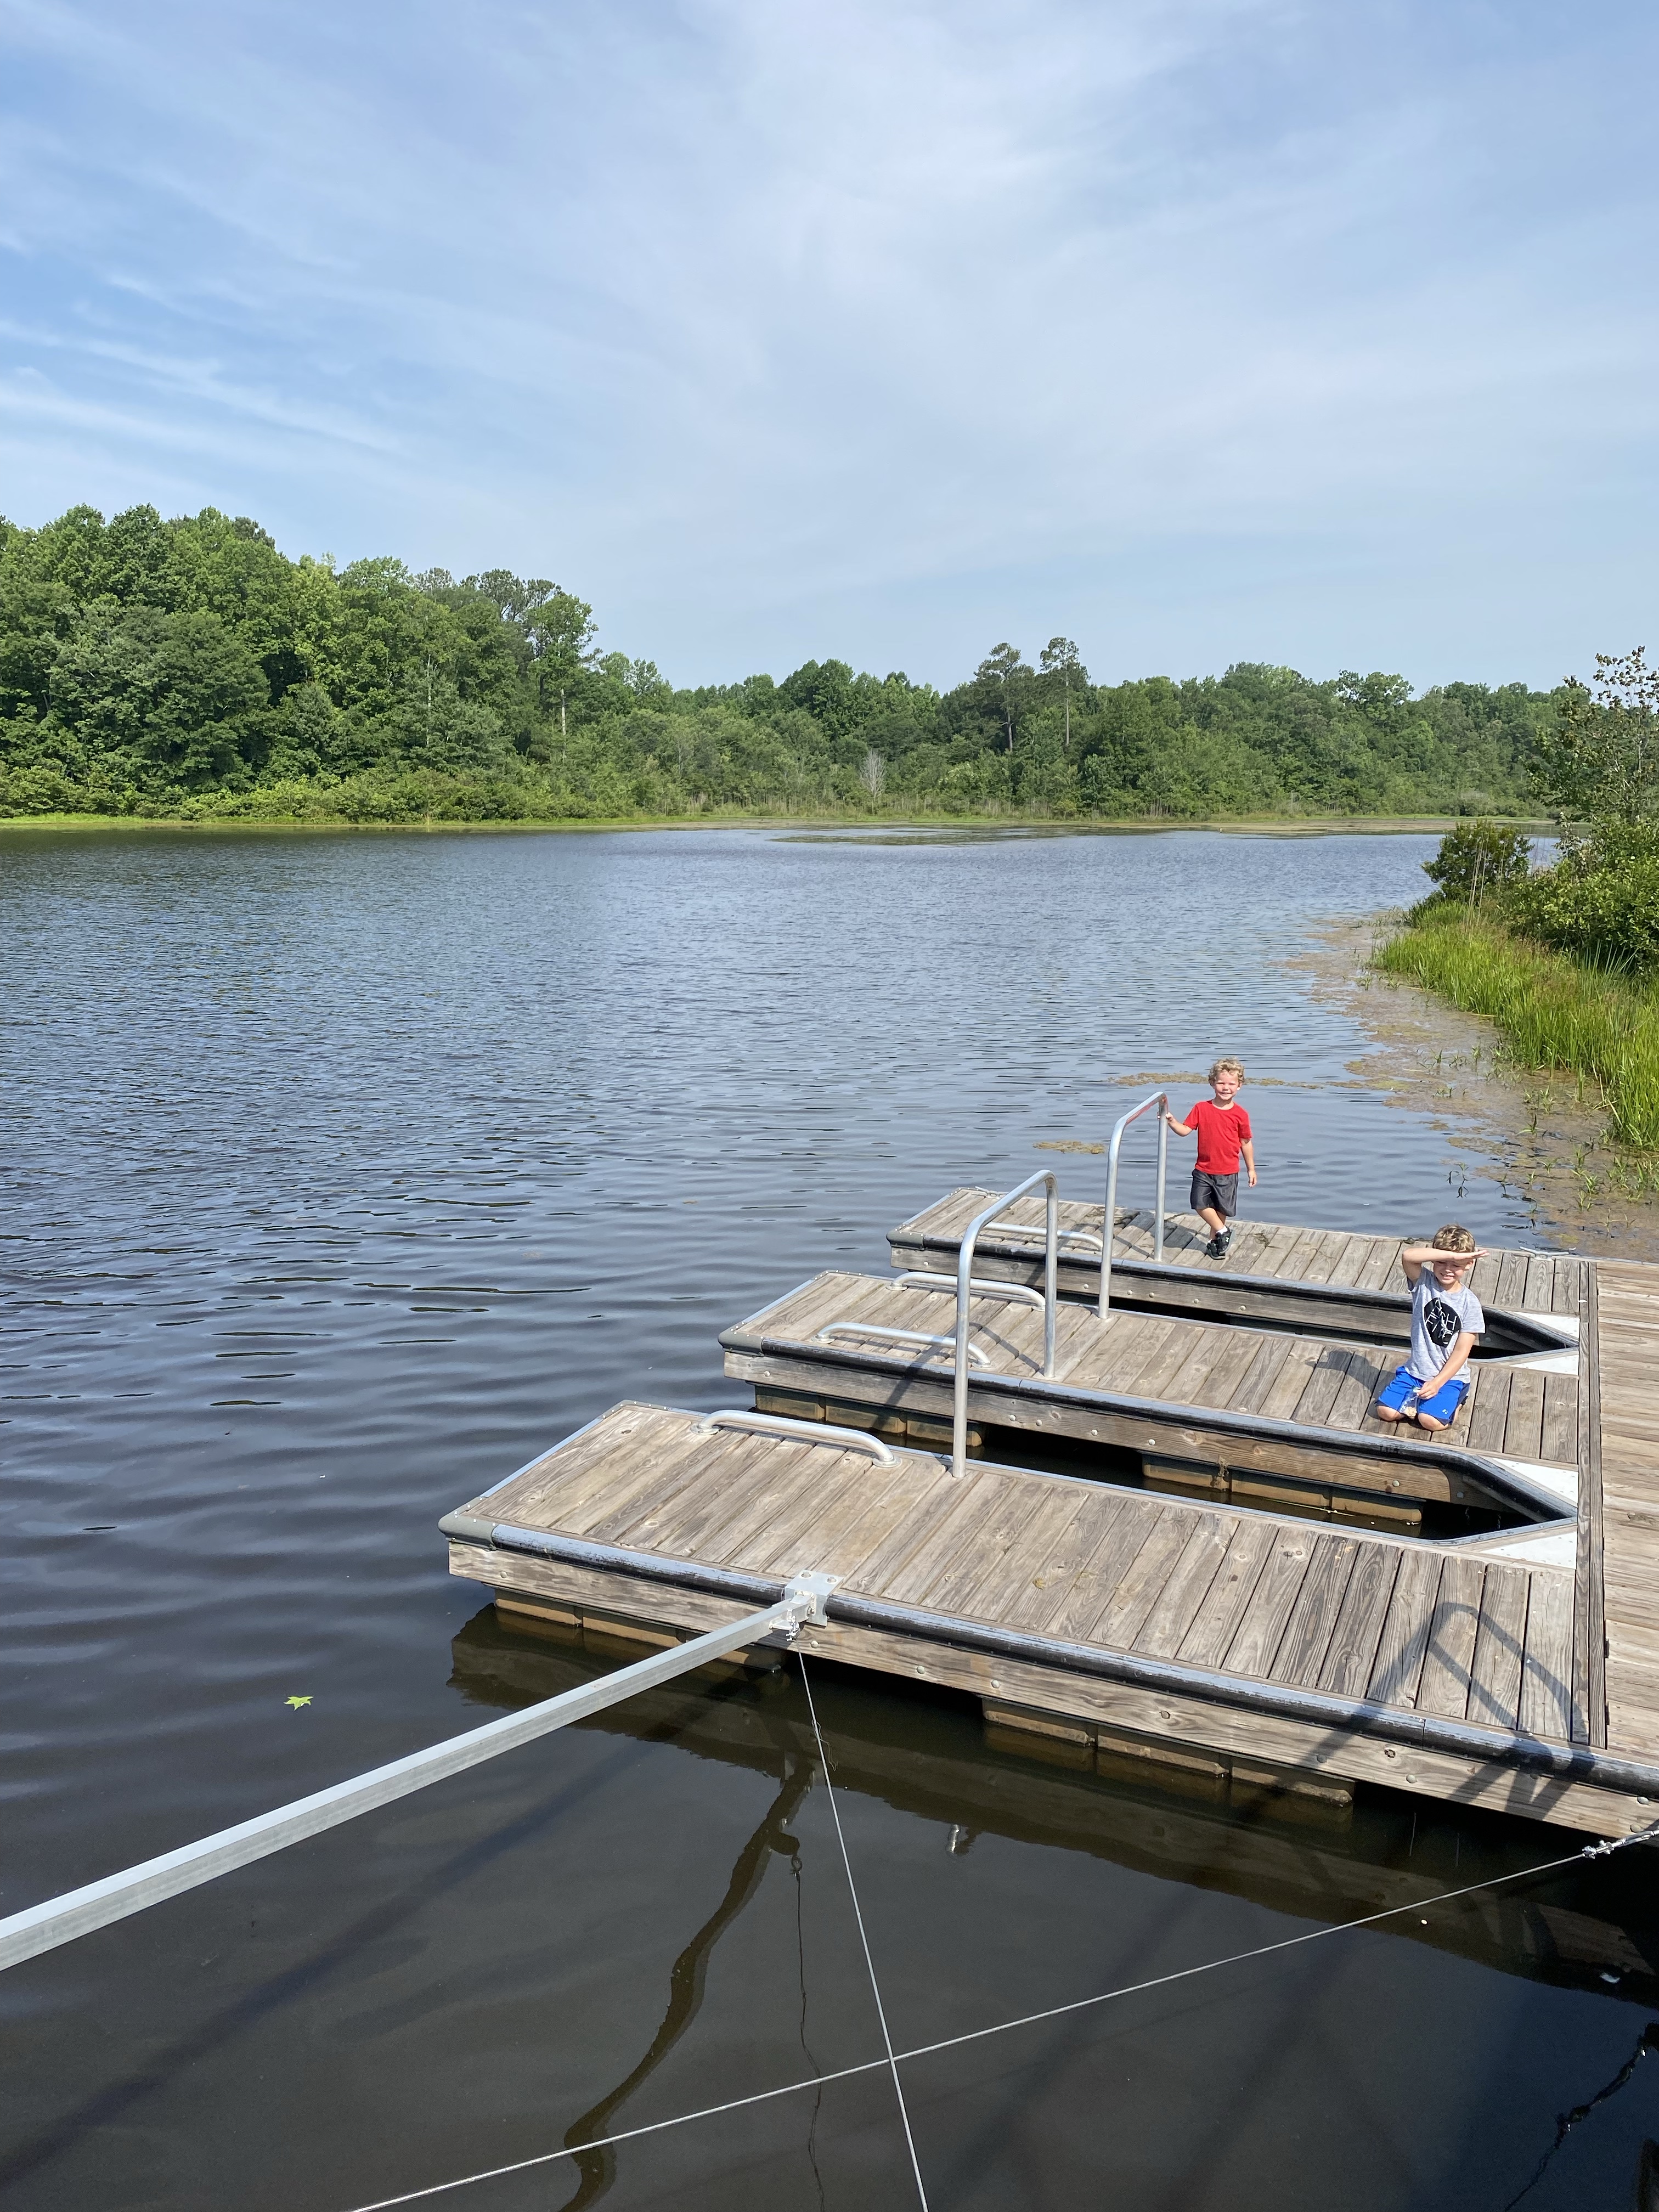
Lake Benson + White Deer Parks – 🚶‍♀️ 🏃‍♀️ 🚴‍♀️ 🛴
2-4 Miles

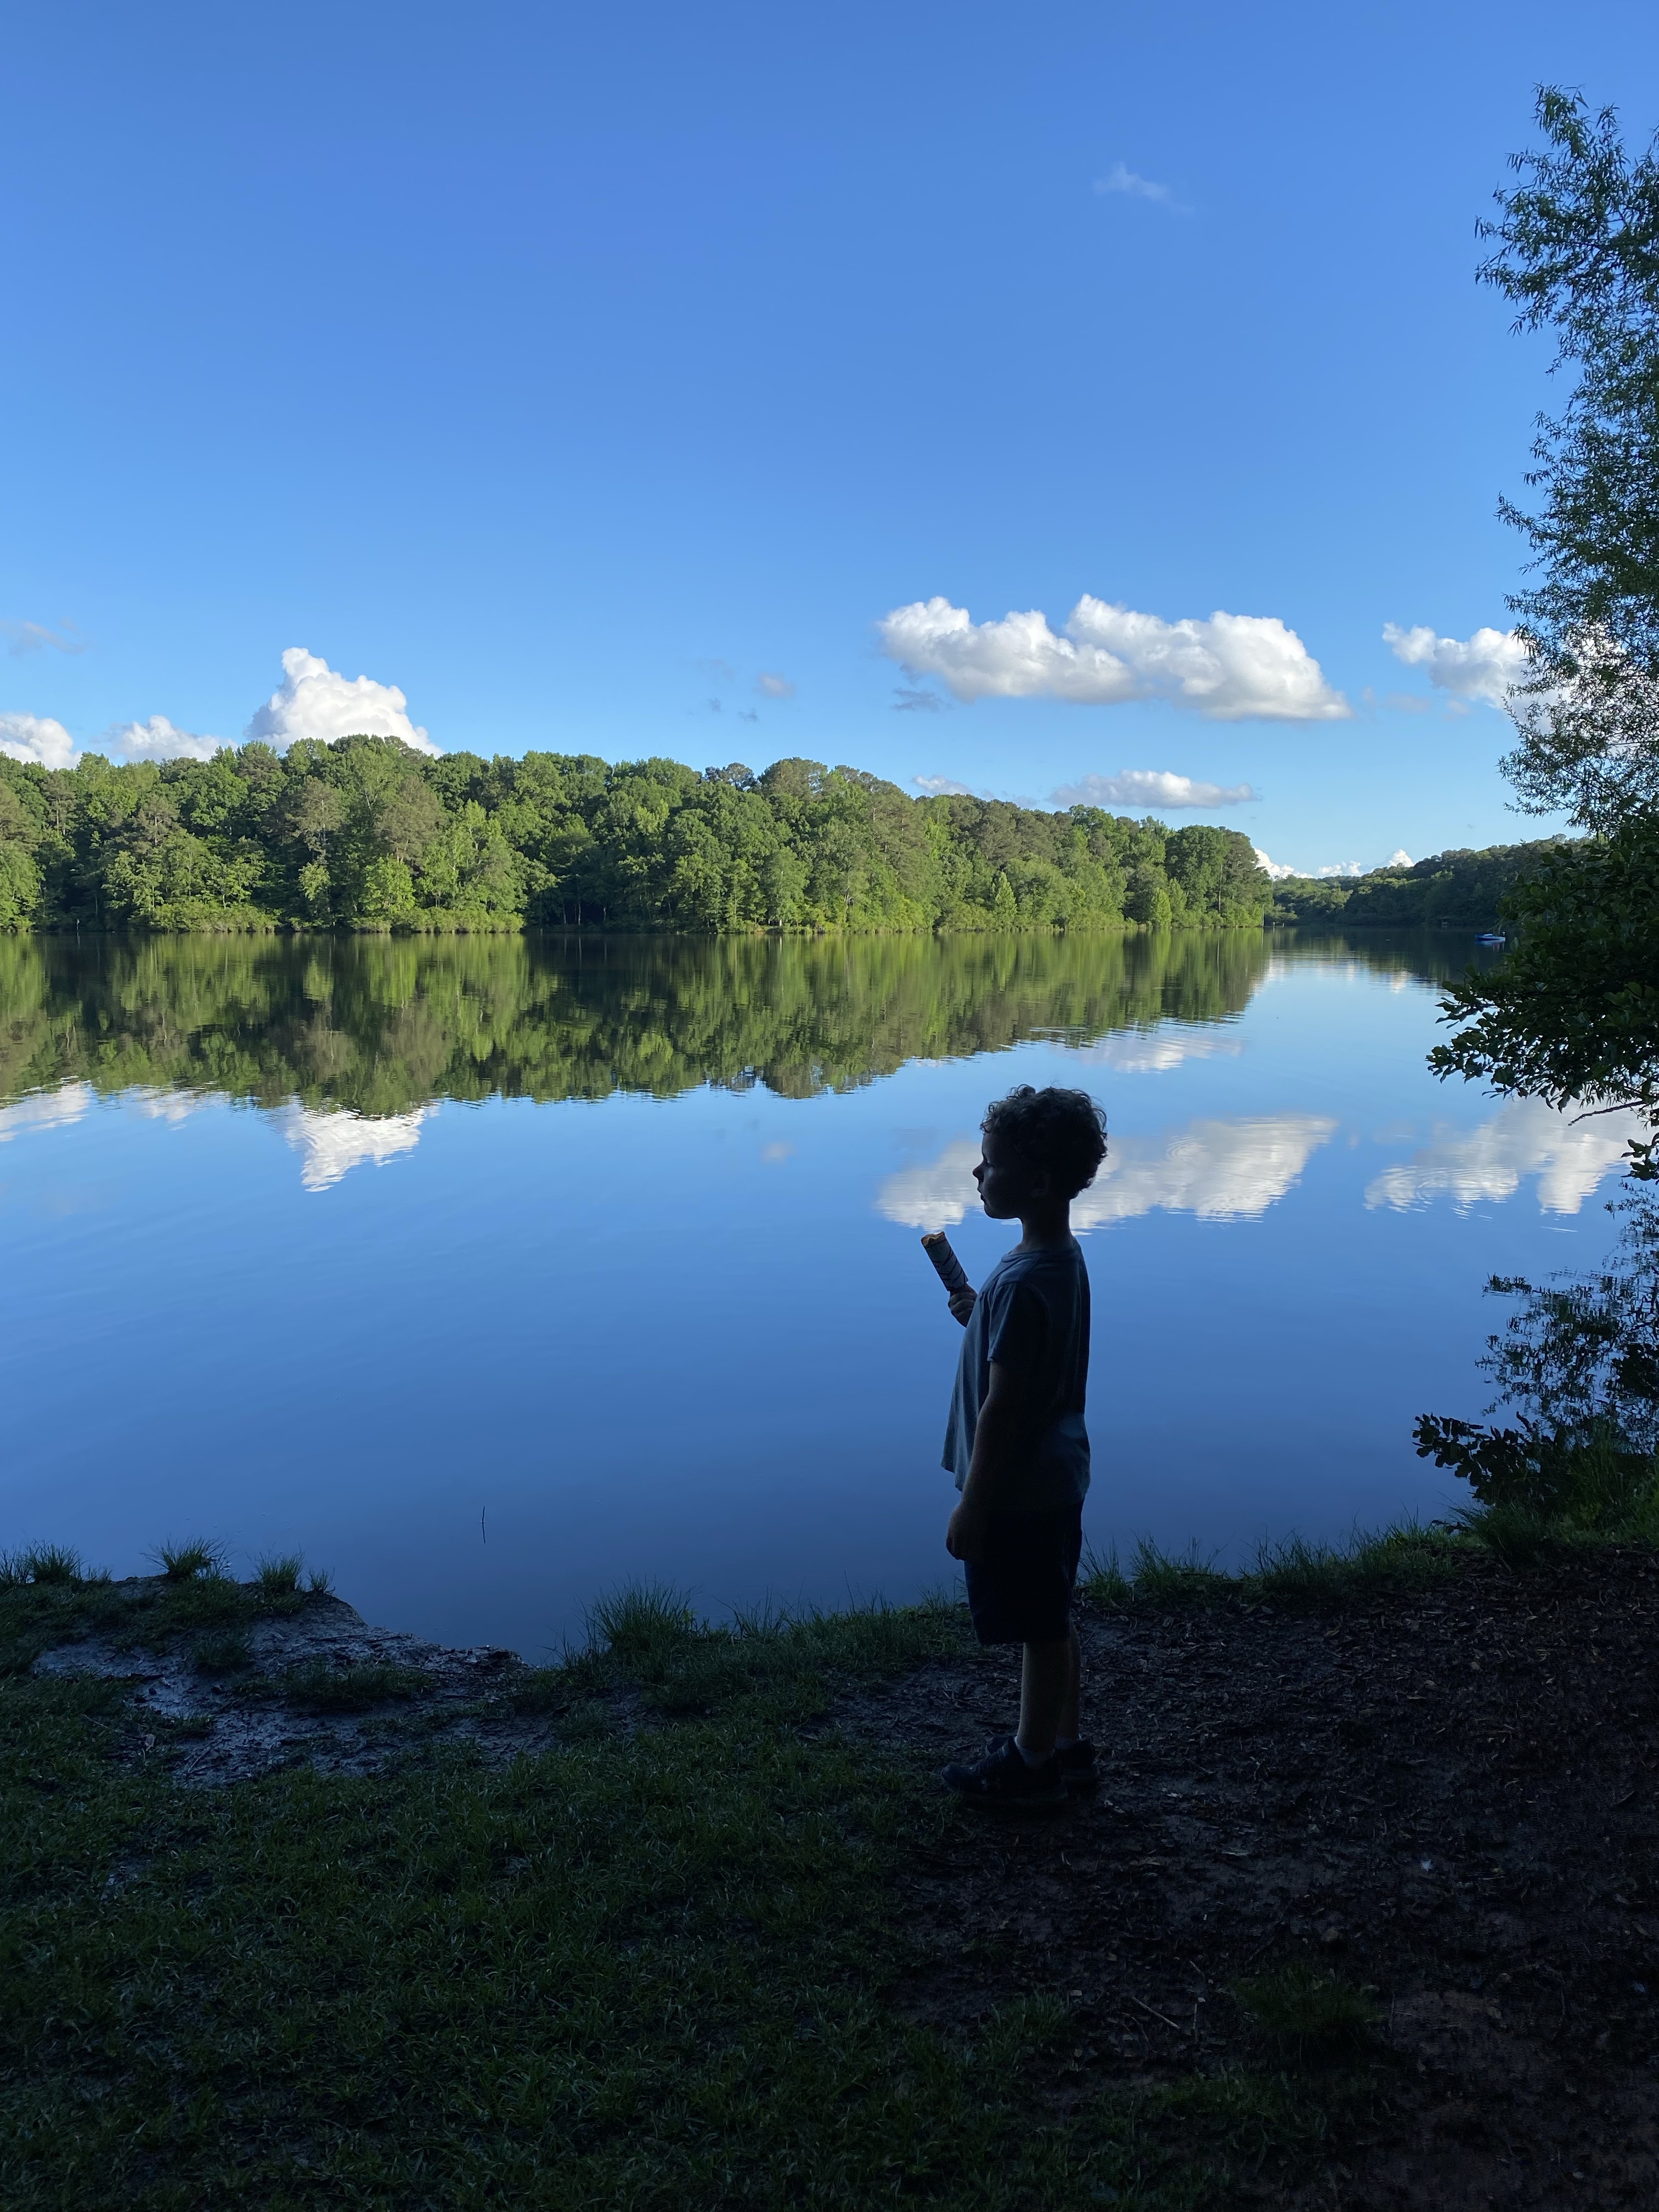
Lake Benson Park and White Deer Park in Garner, NC, offer a perfect family-friendly outdoor escape. The trails at Lake Benson wind along the shores of the scenic lake, providing peaceful views and ample opportunities for spotting local wildlife. We have seen several deer on our visits. The wide, mostly flat trails are ideal for leisurely walks, jogs, or bike rides with kids.

There is one gravel section that goes into the woods that I’d recommend doing if you are on foot.

You can also explore shaded picnic areas and enjoy any three of the playgrounds making it a fun outing for all ages.

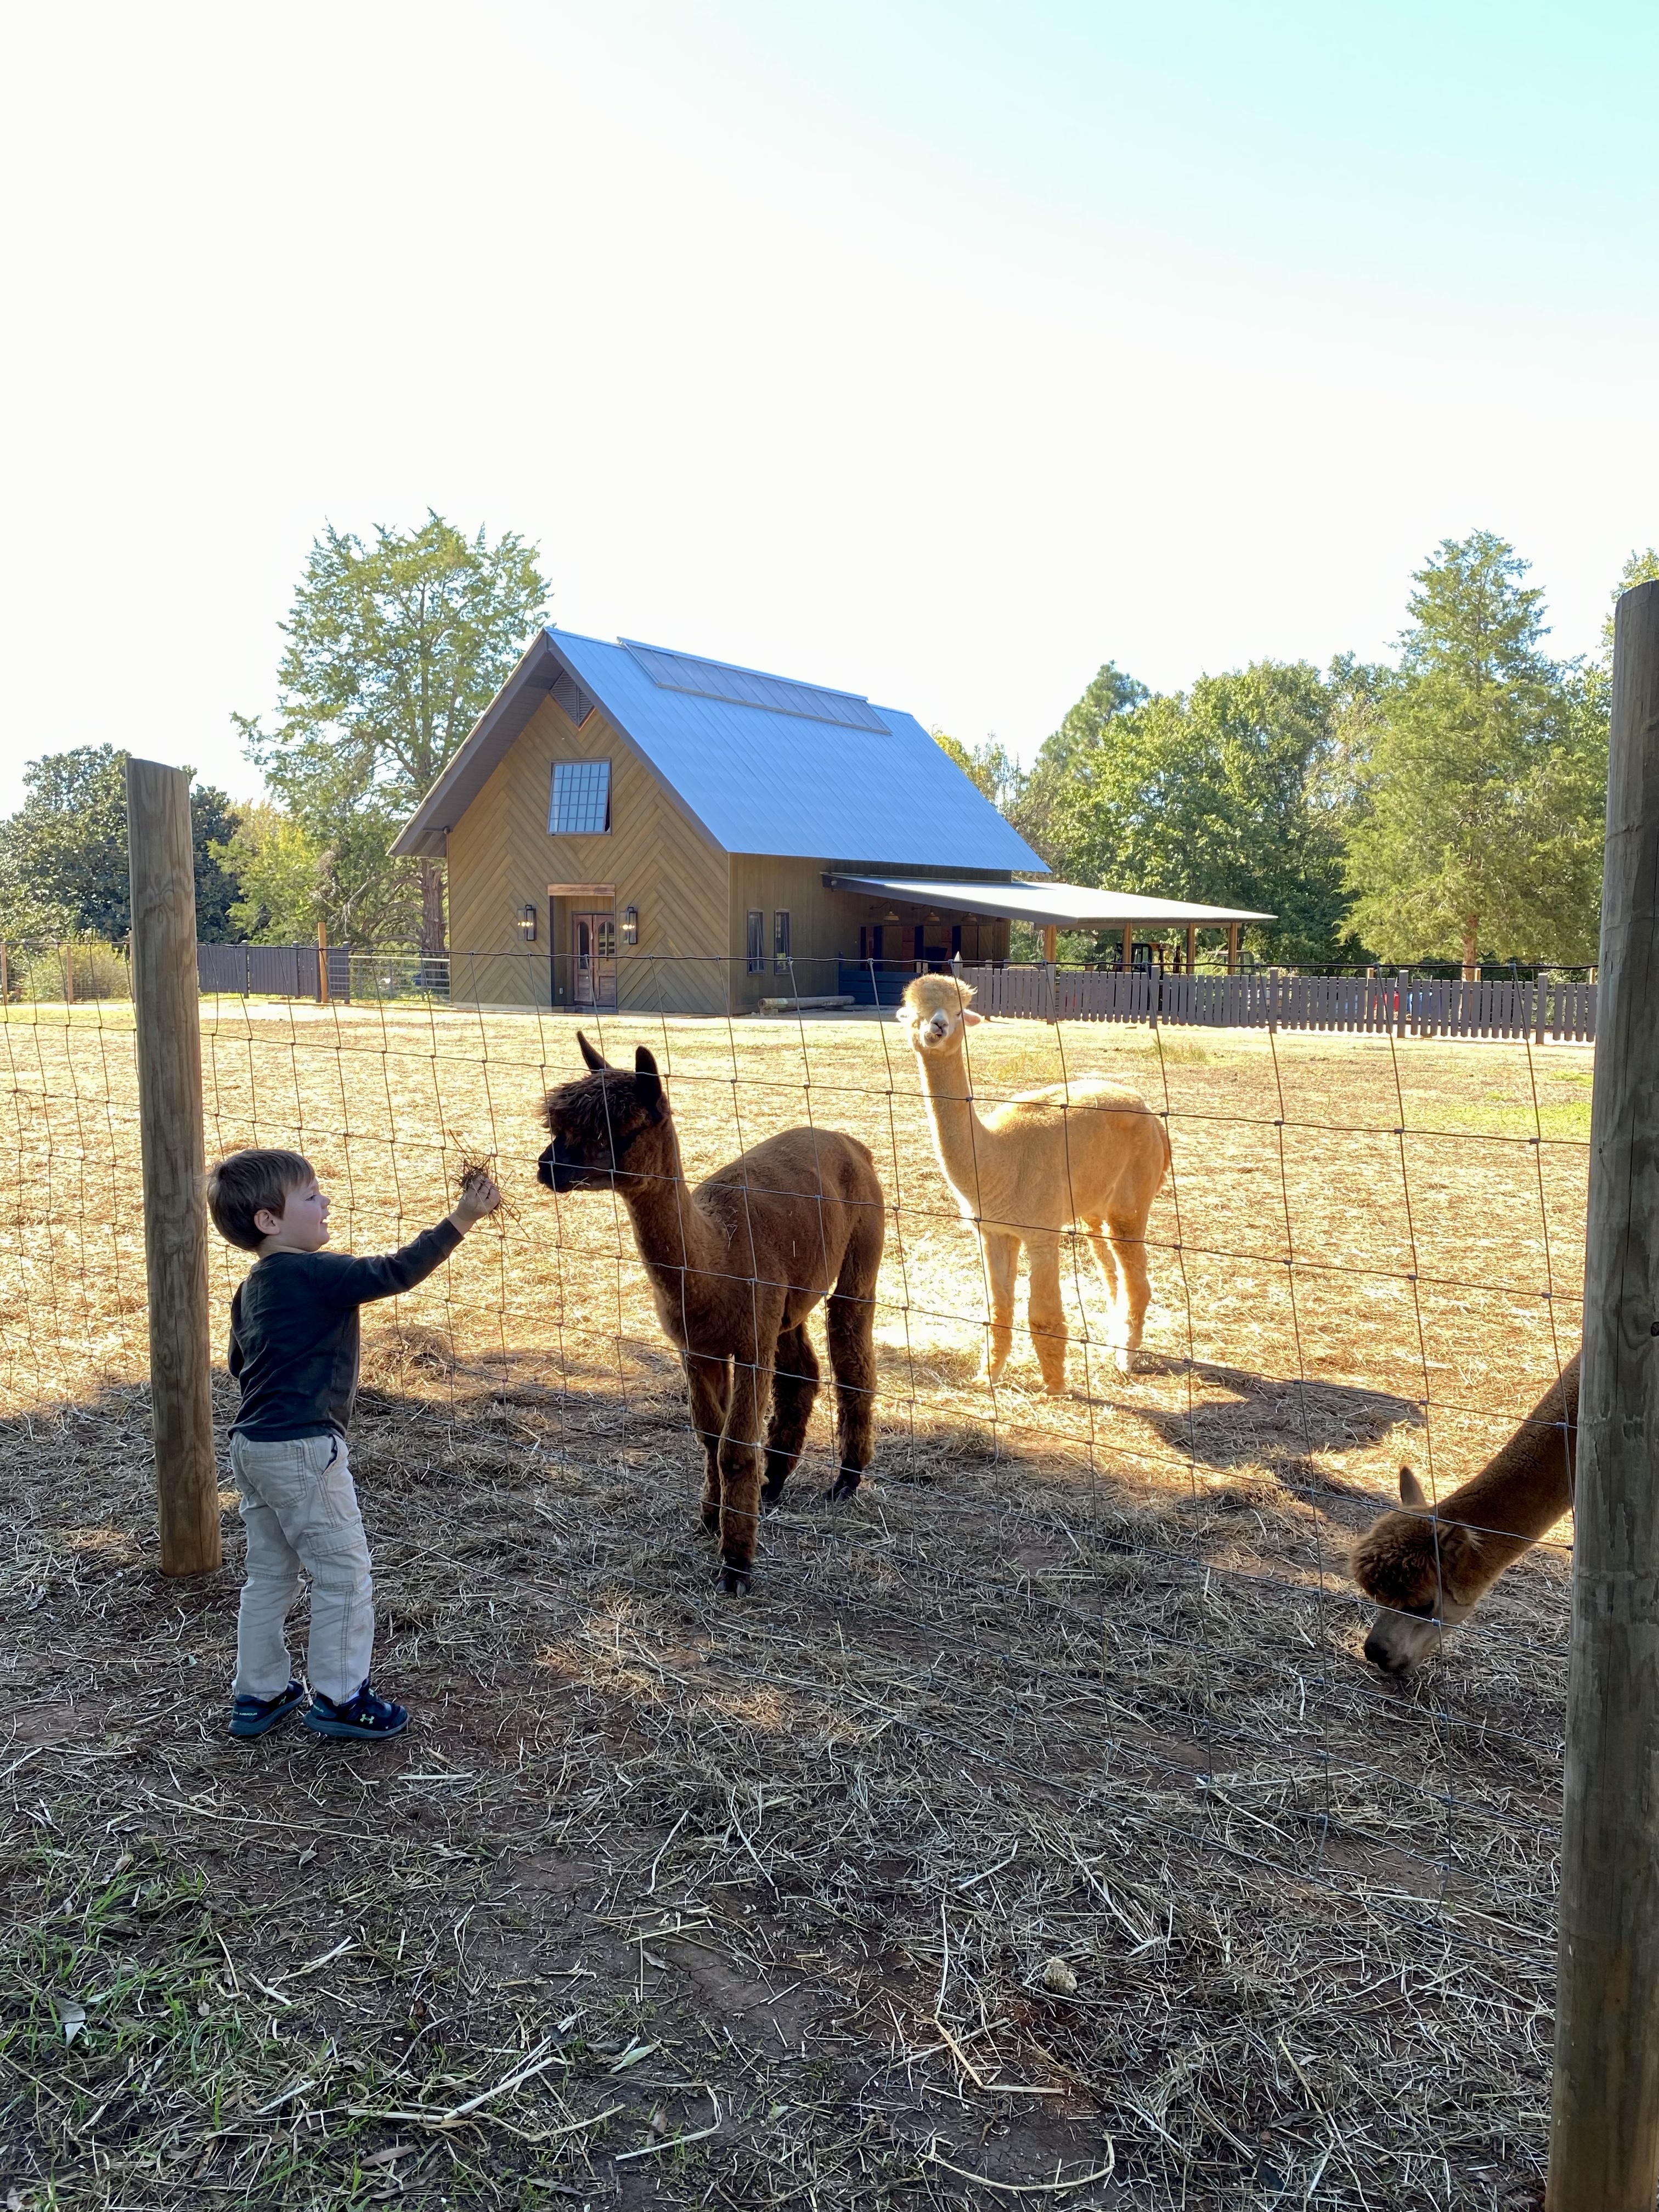
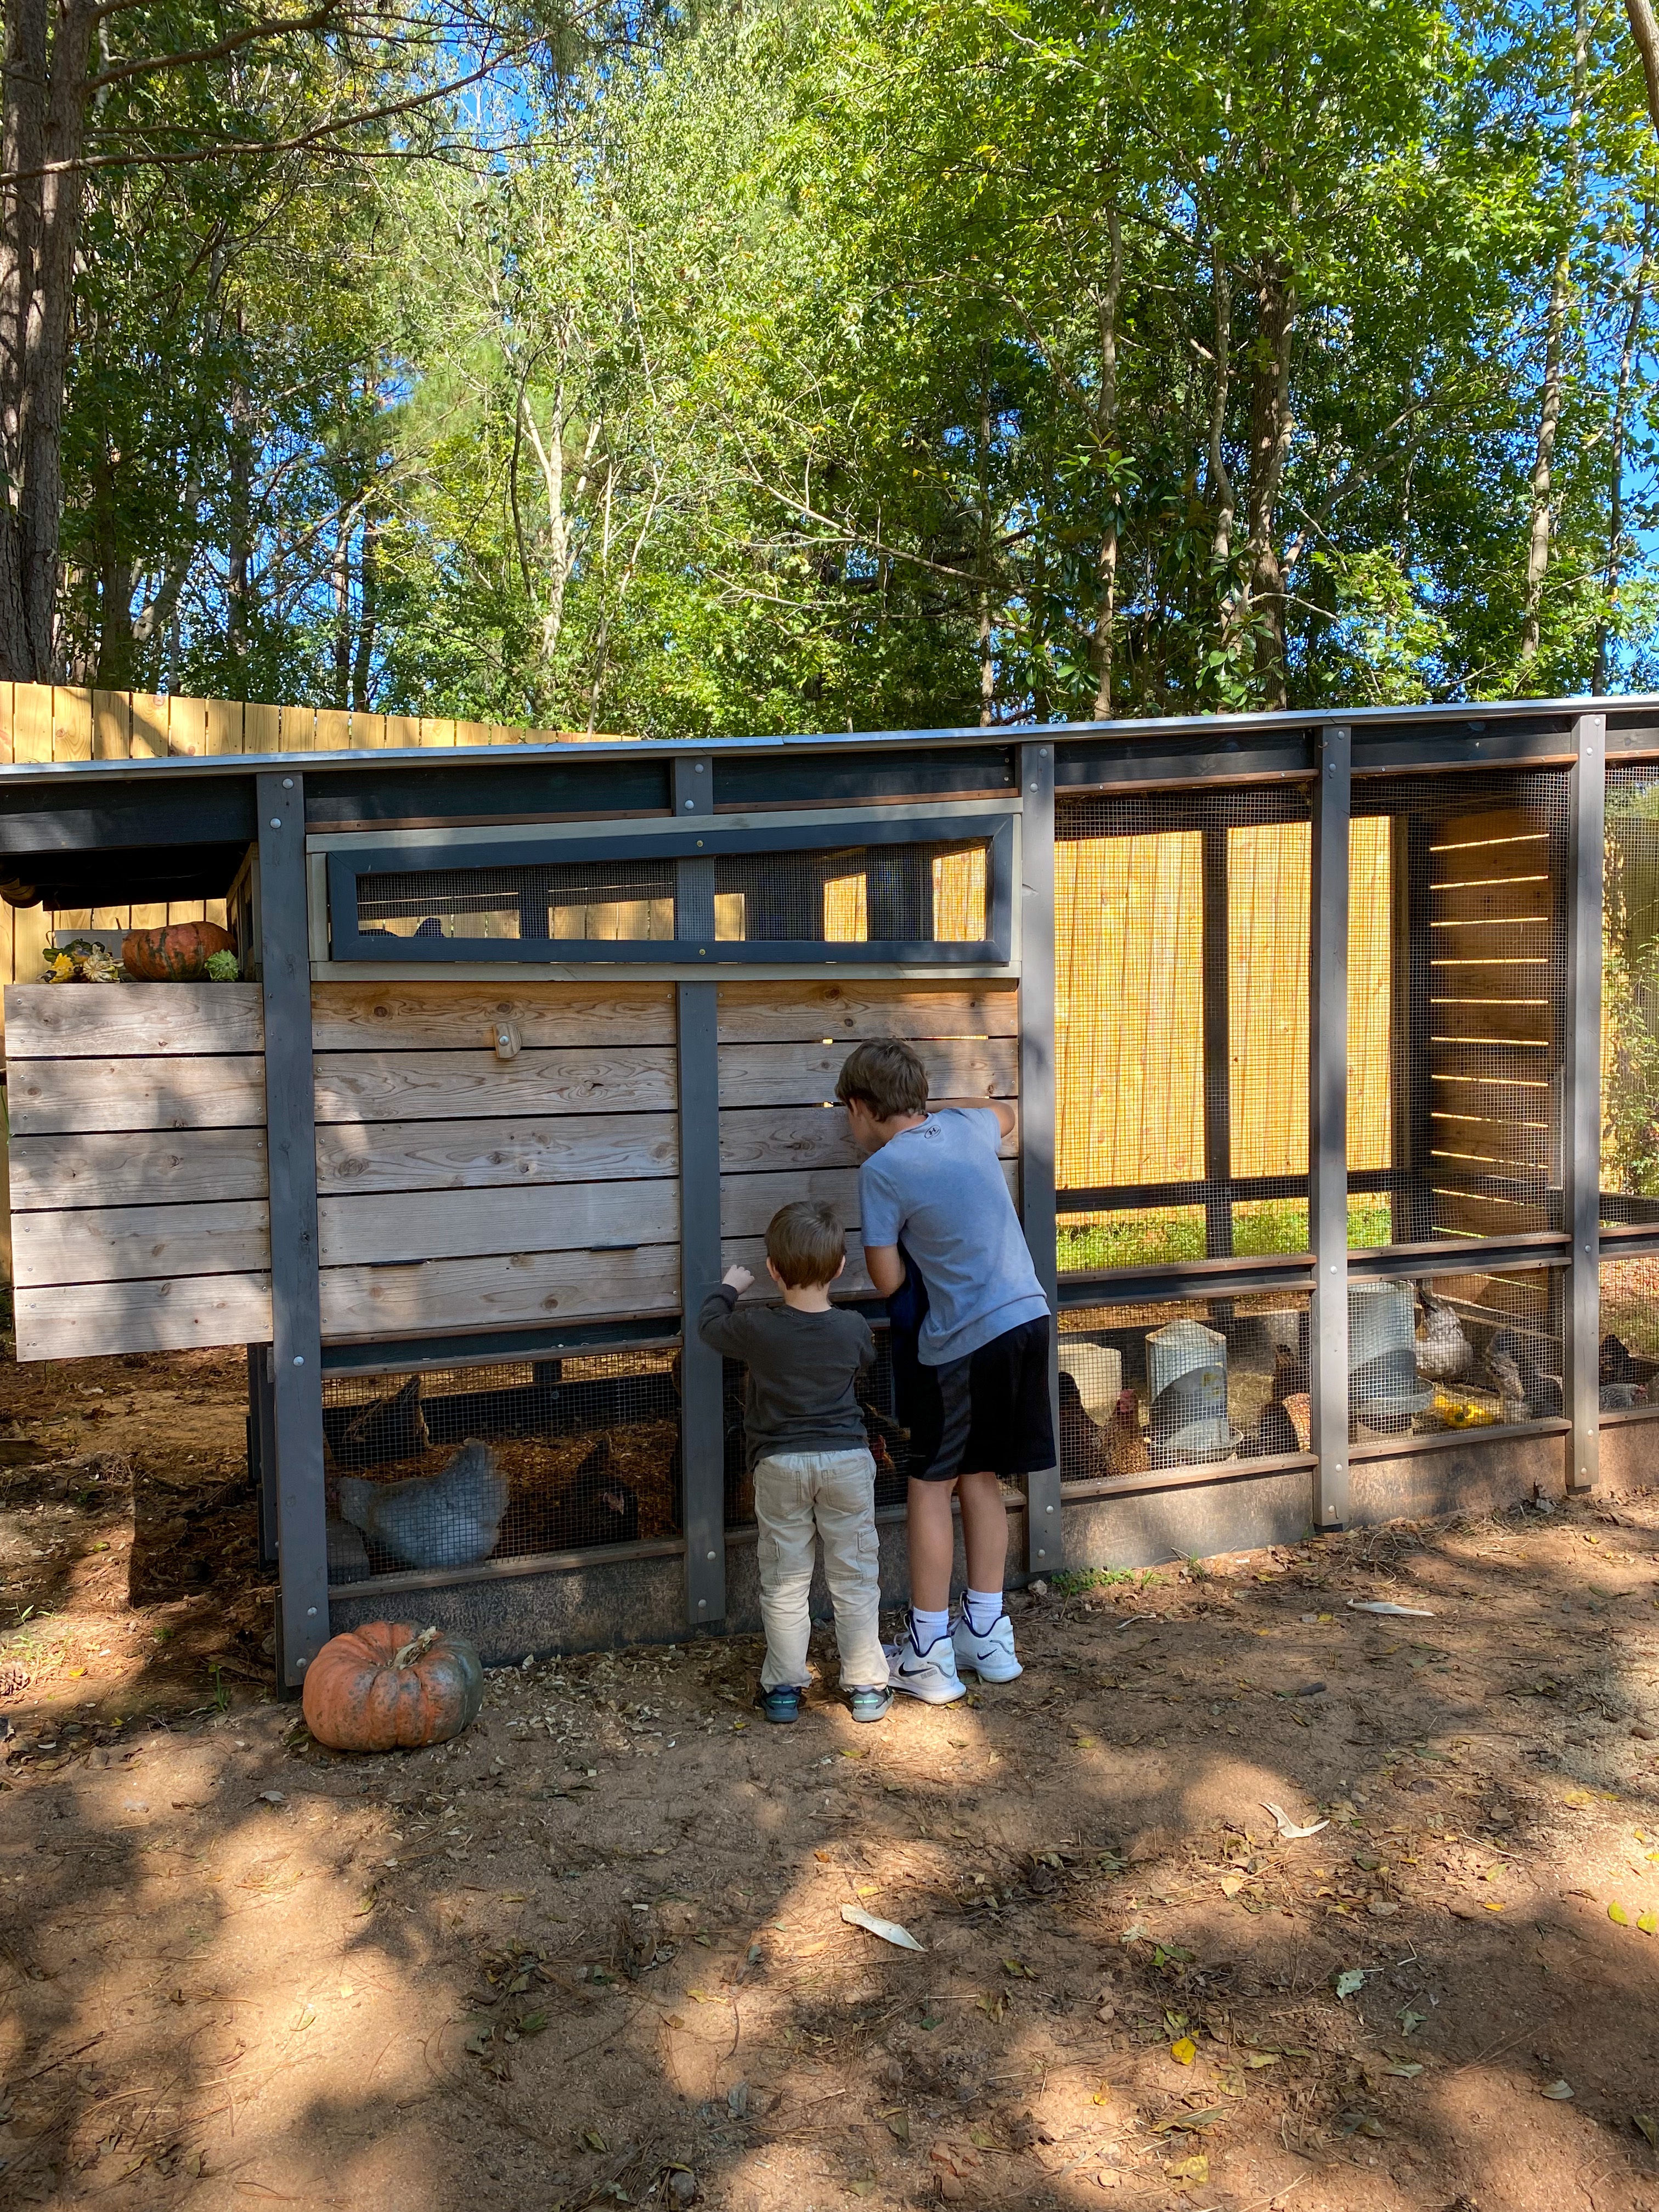
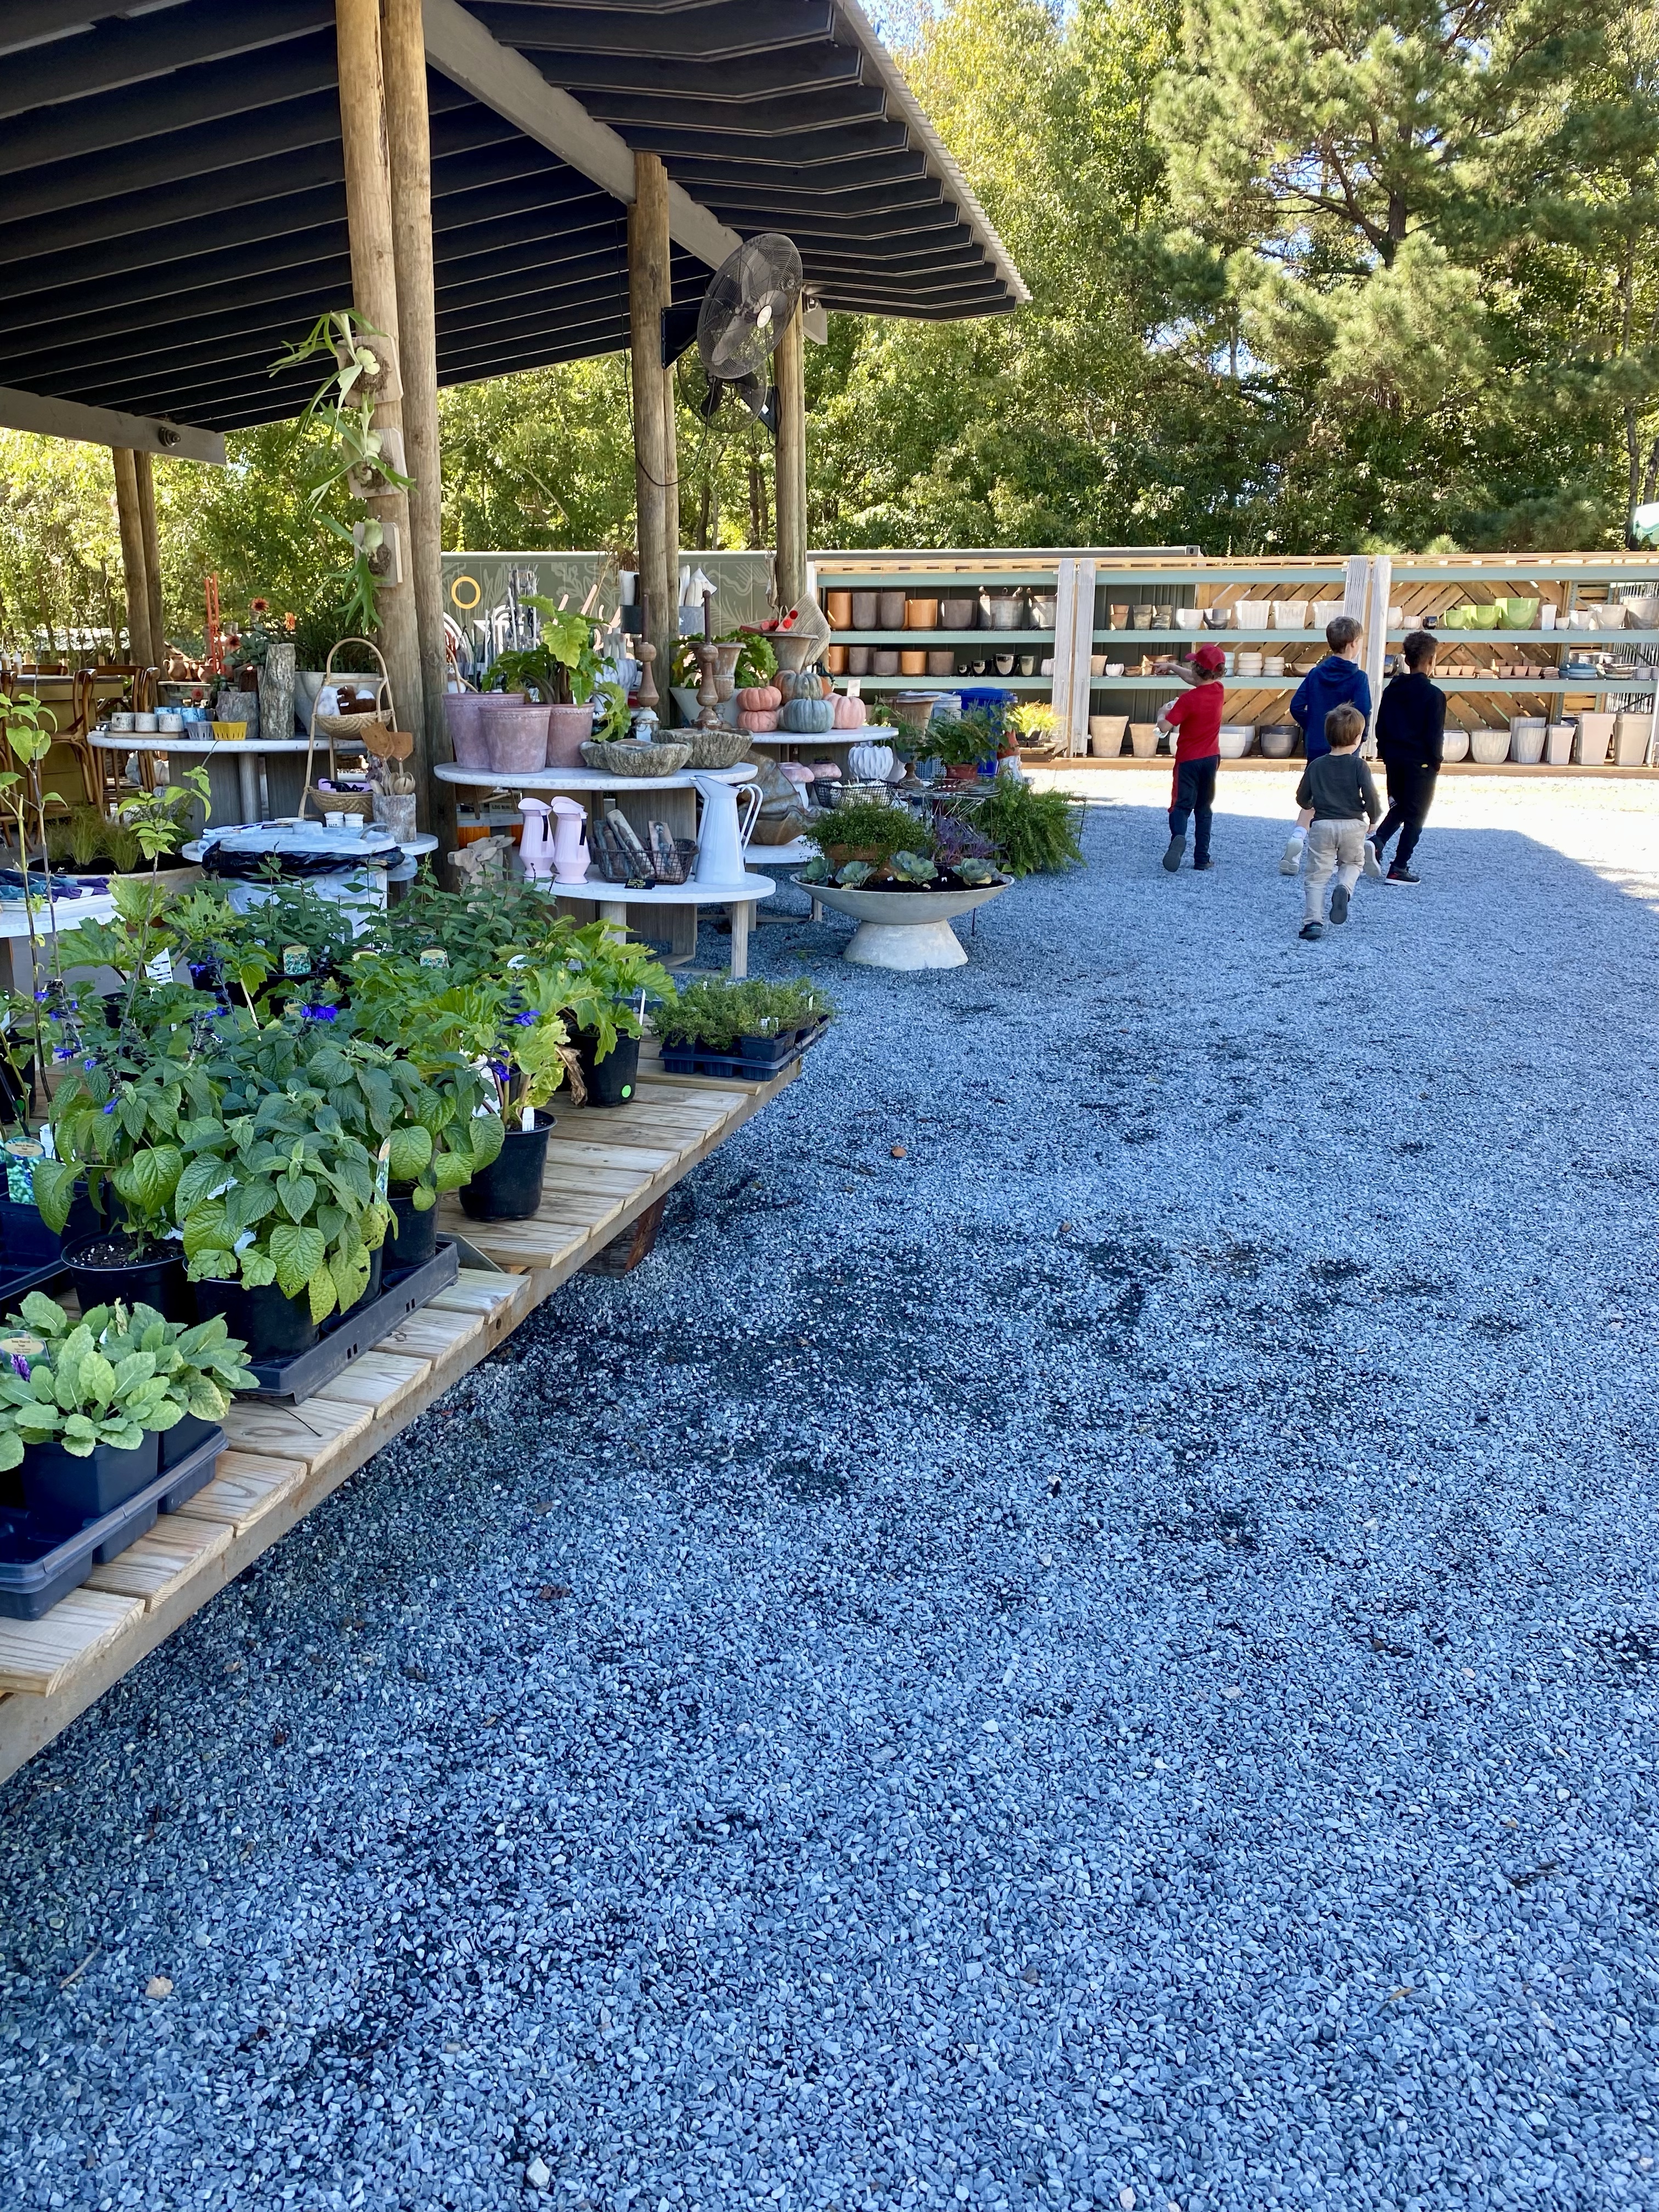
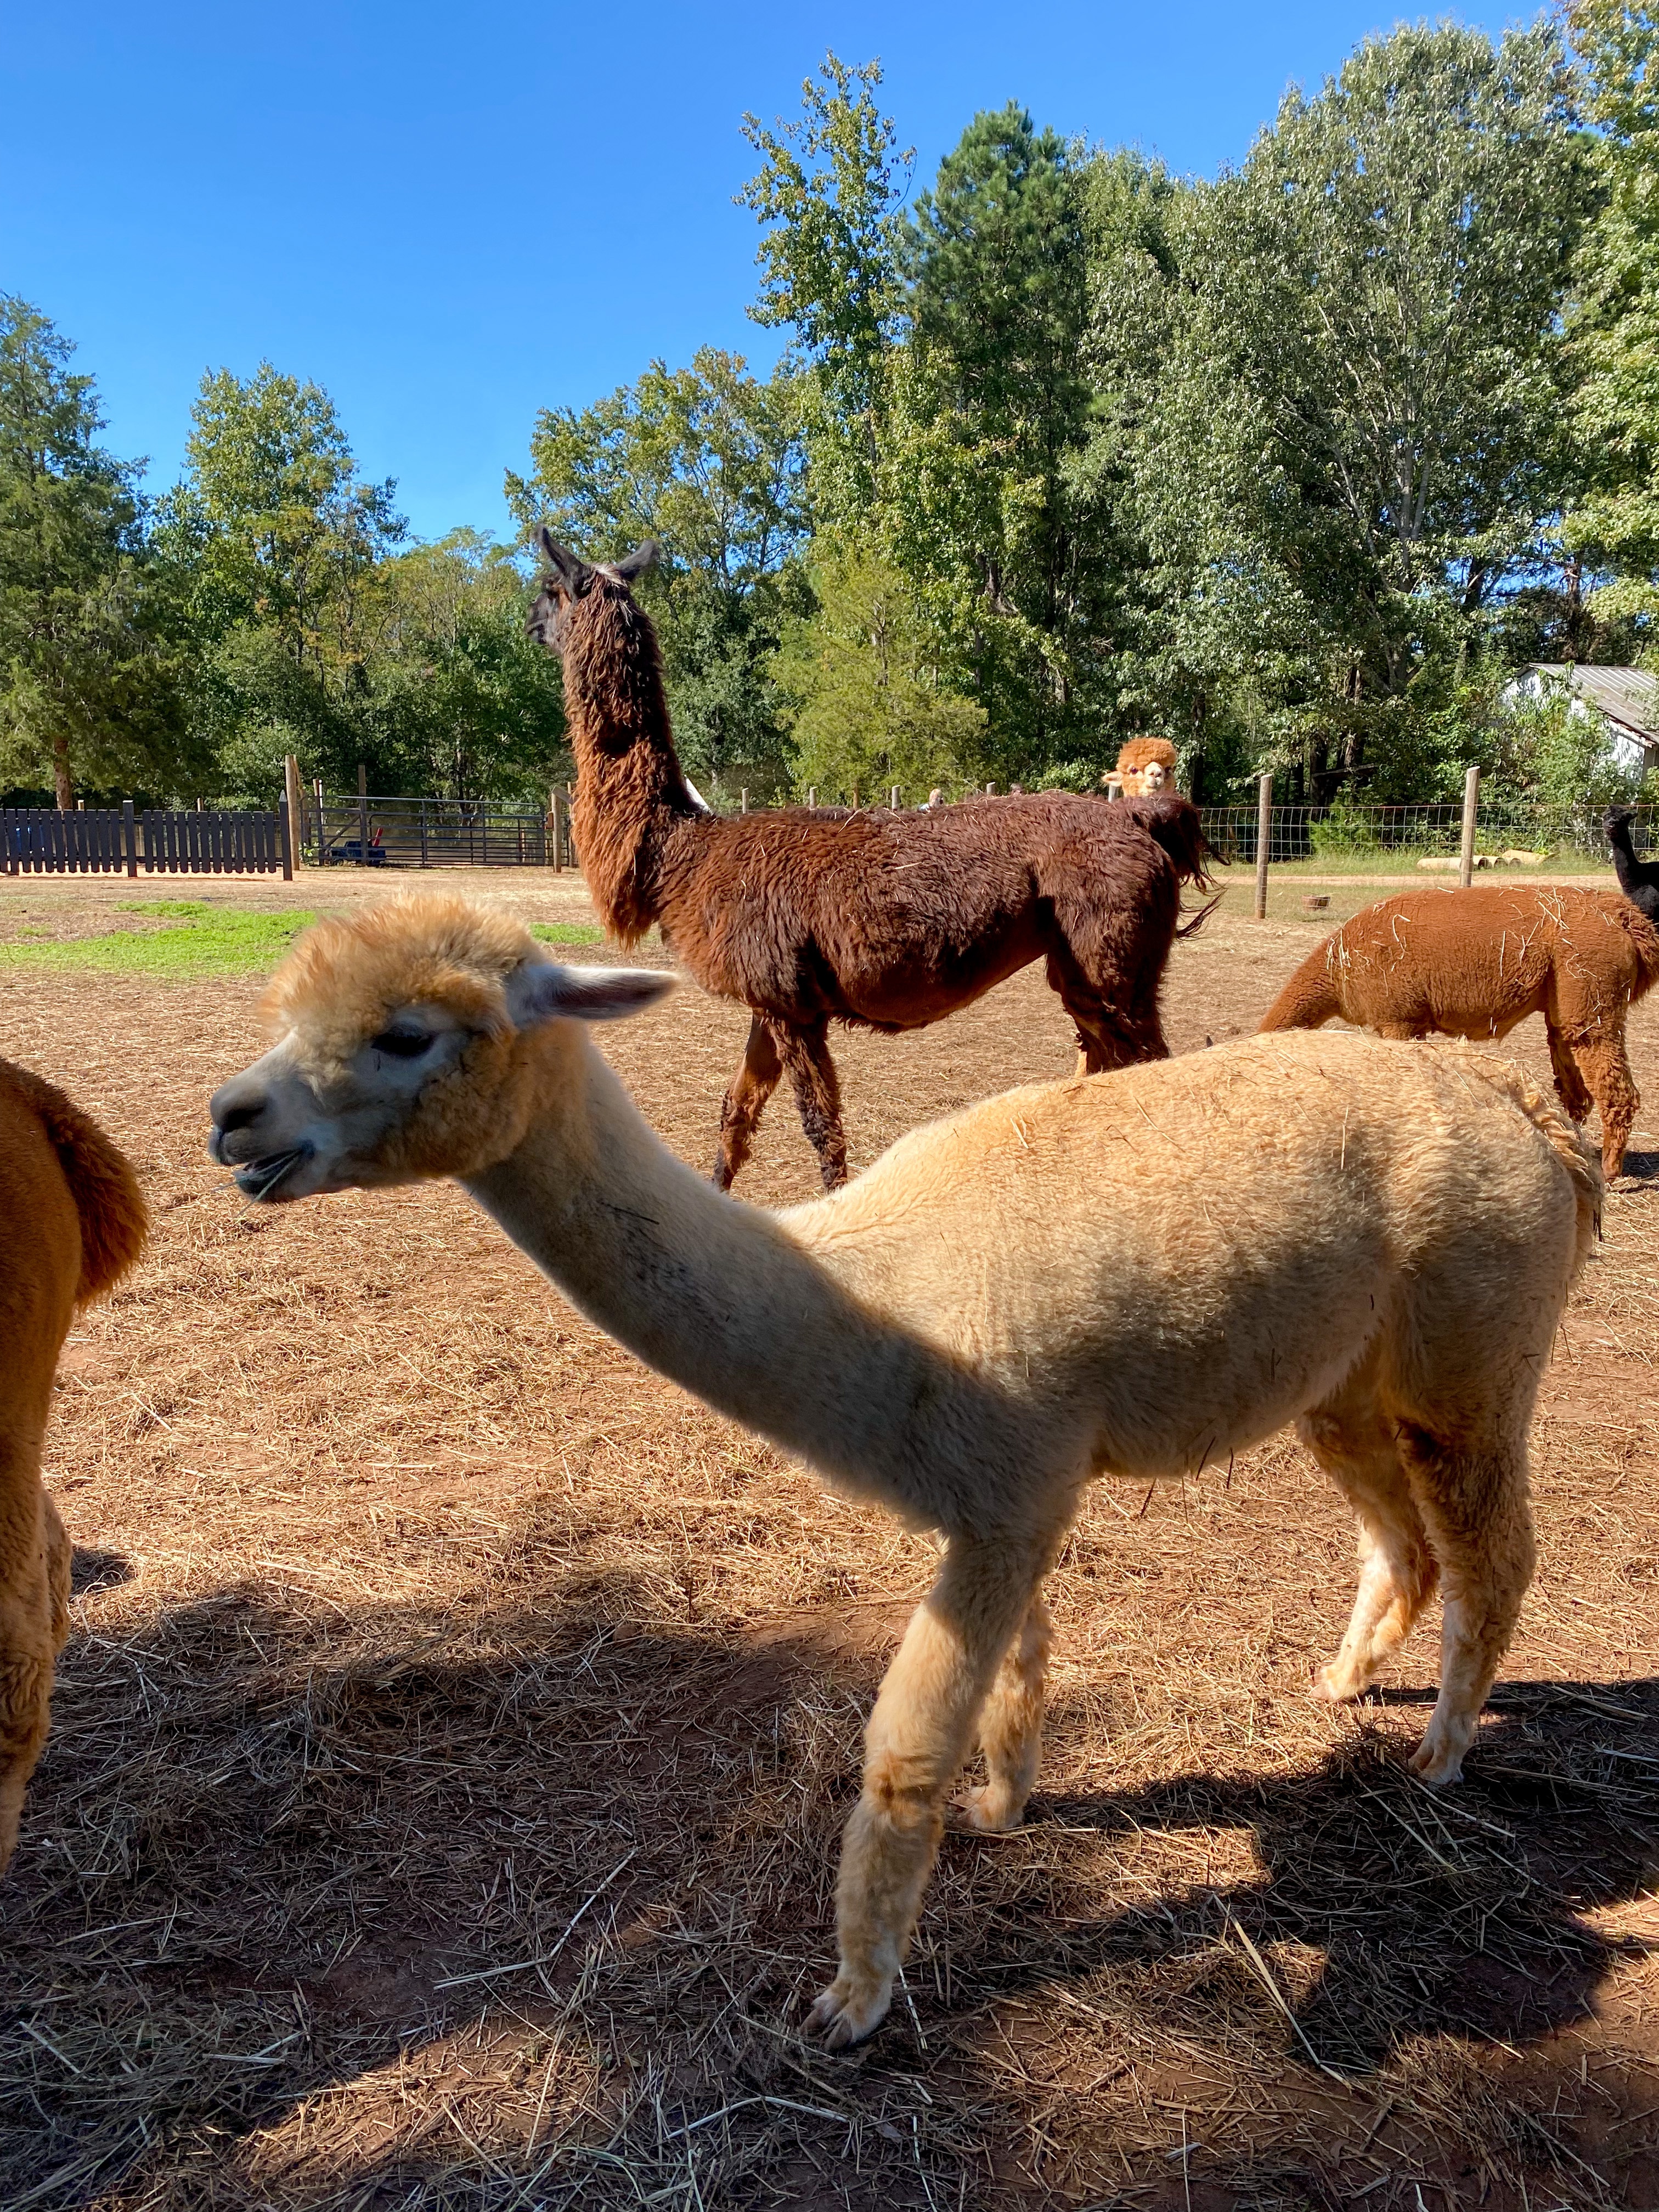
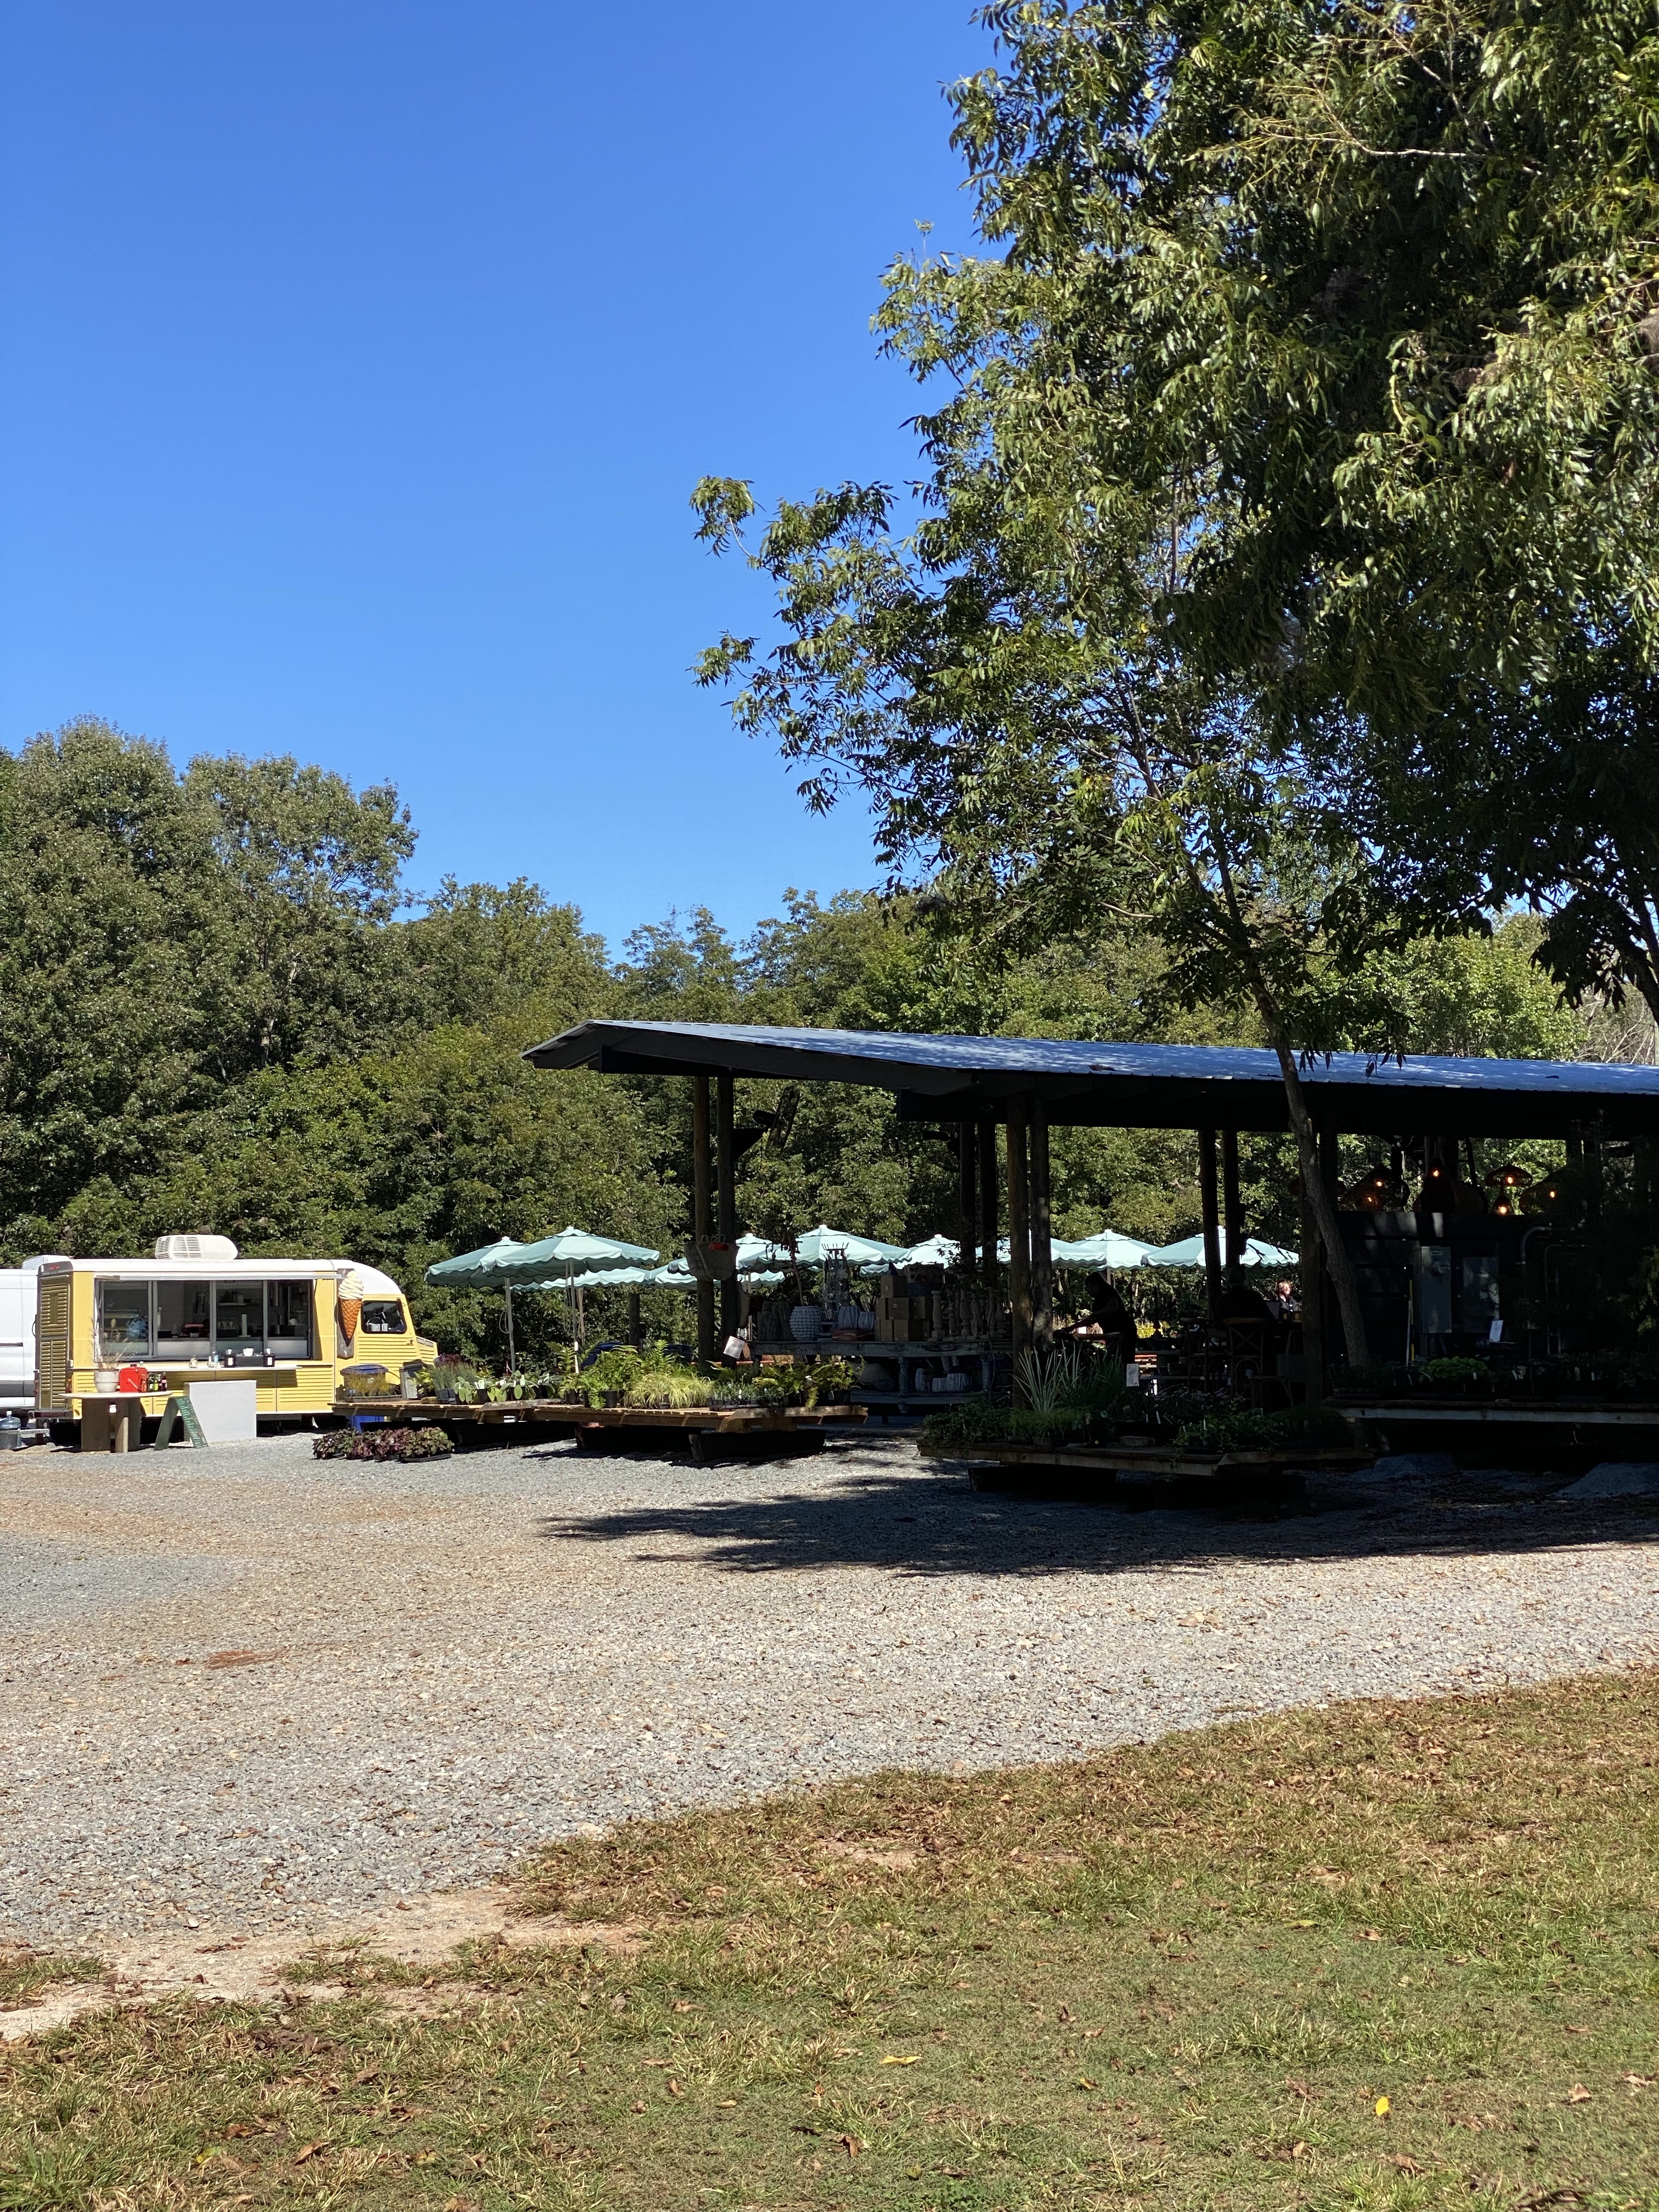
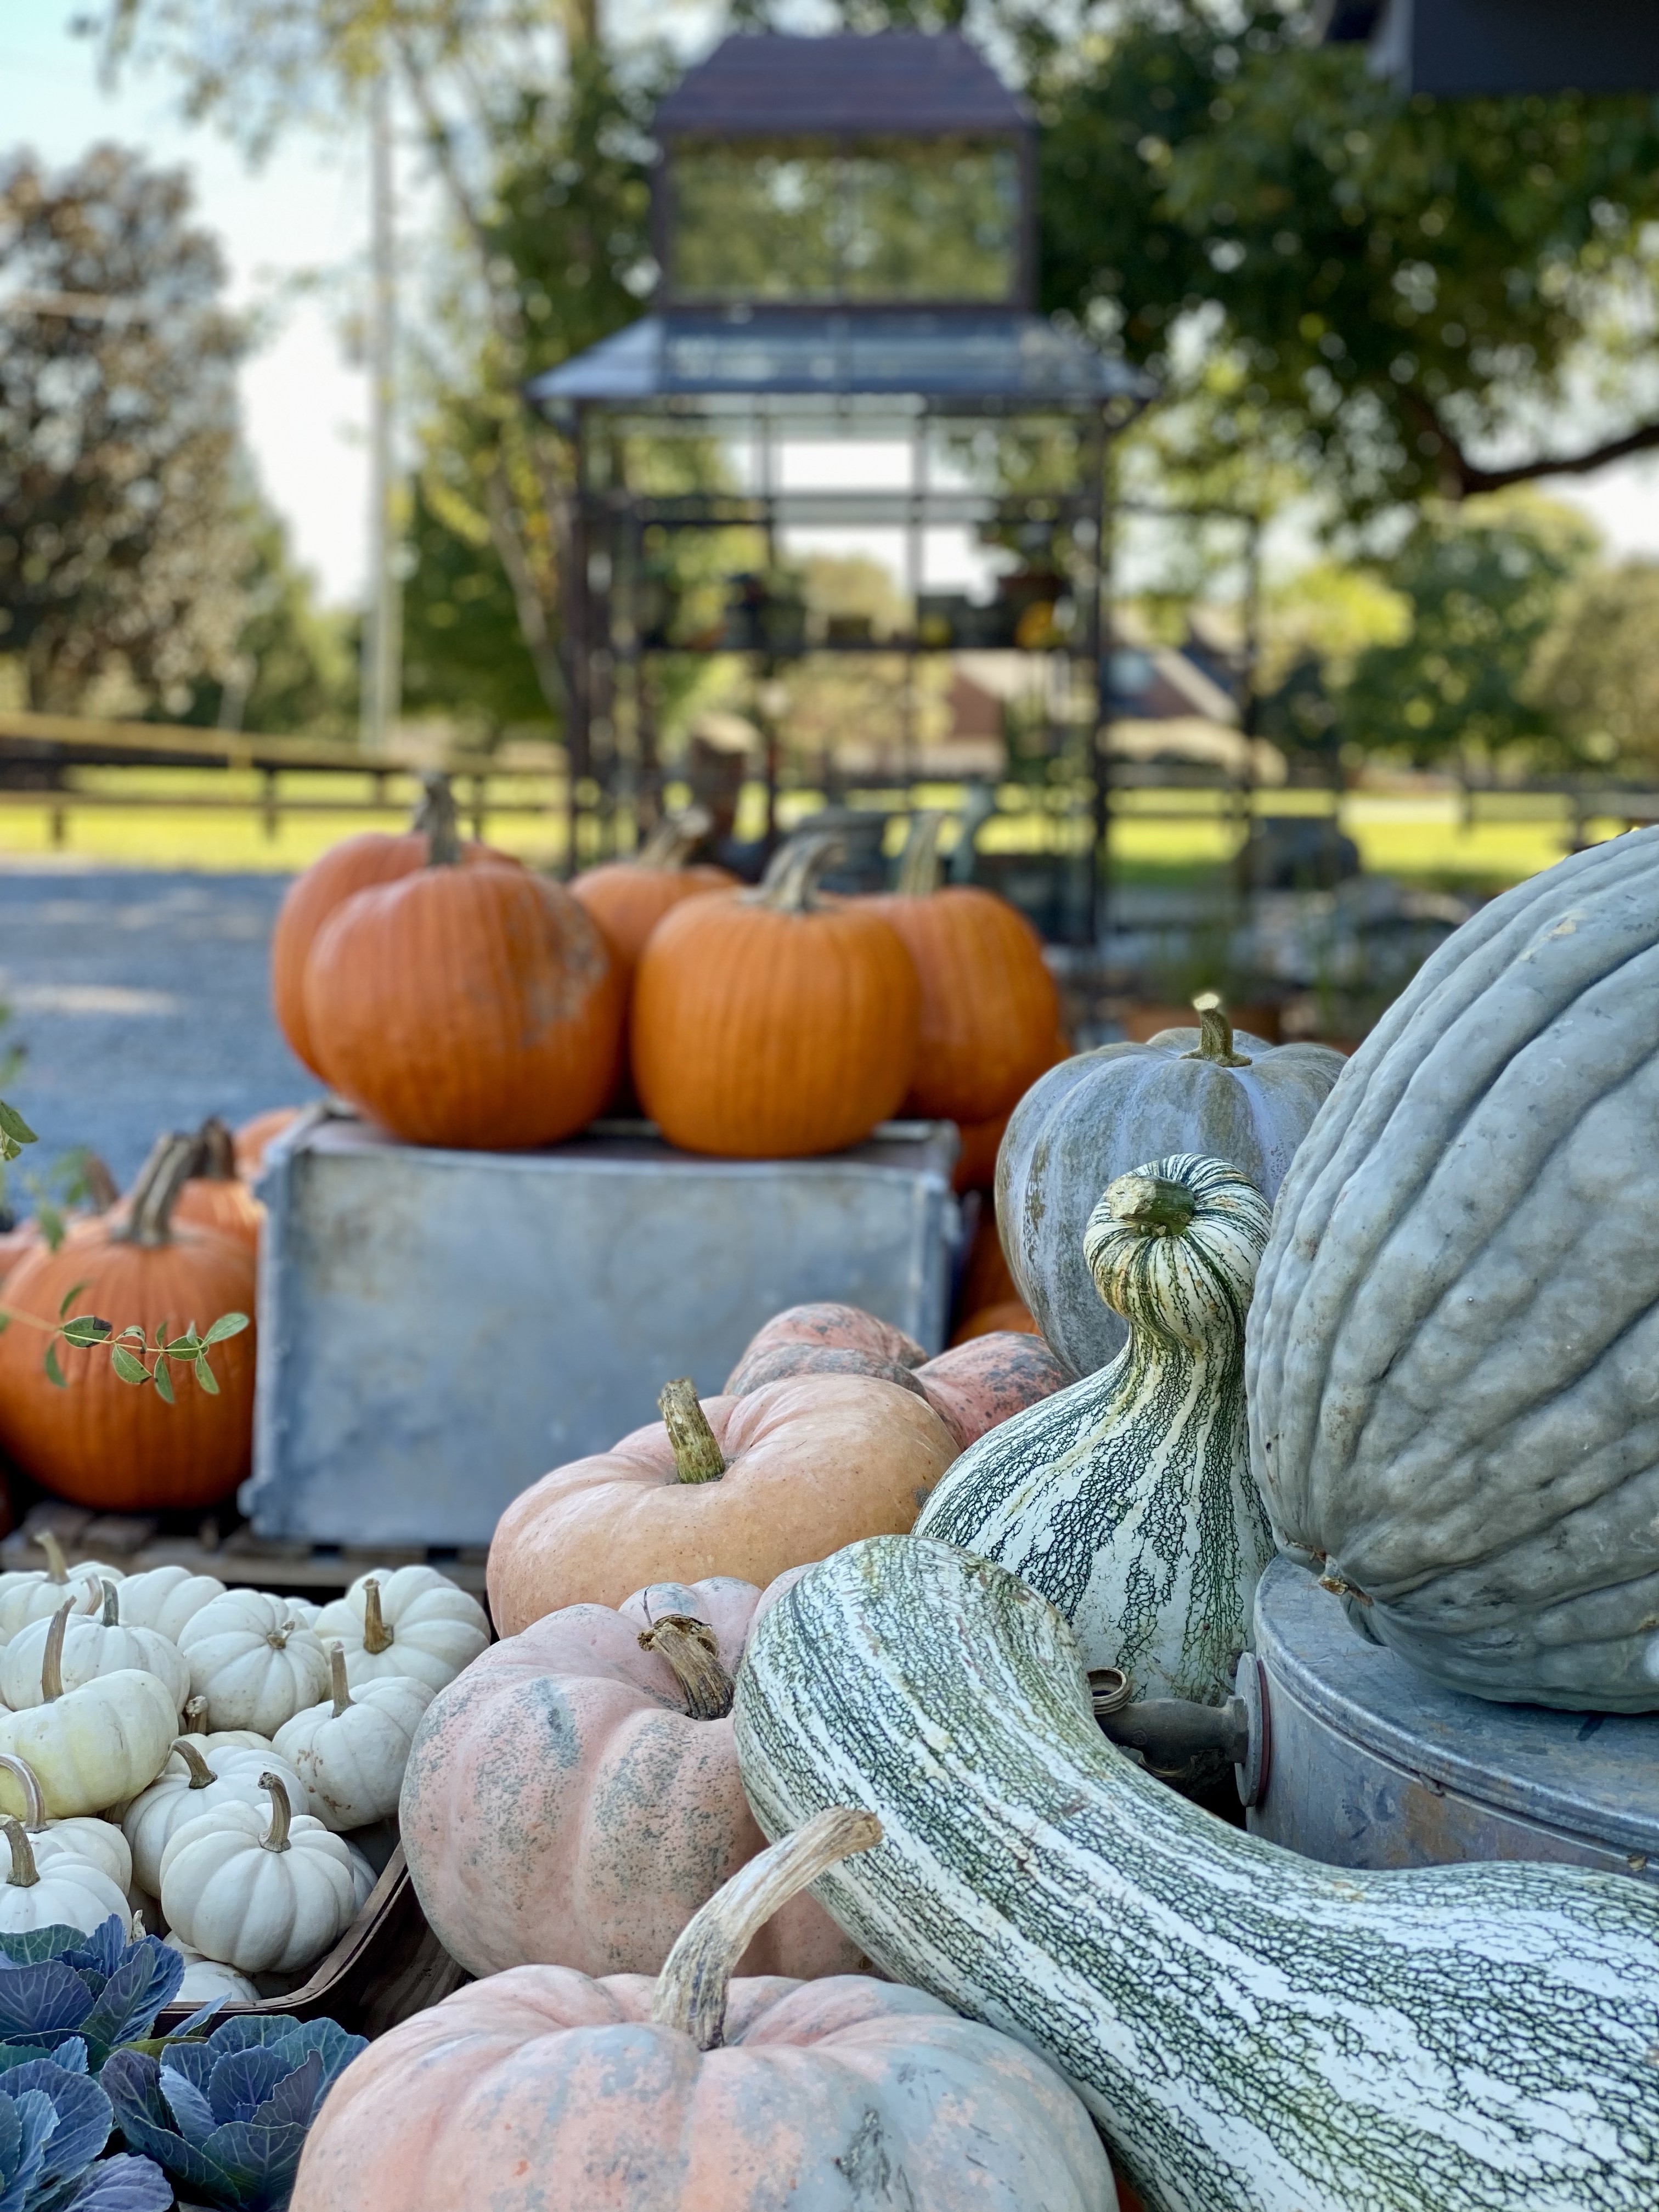
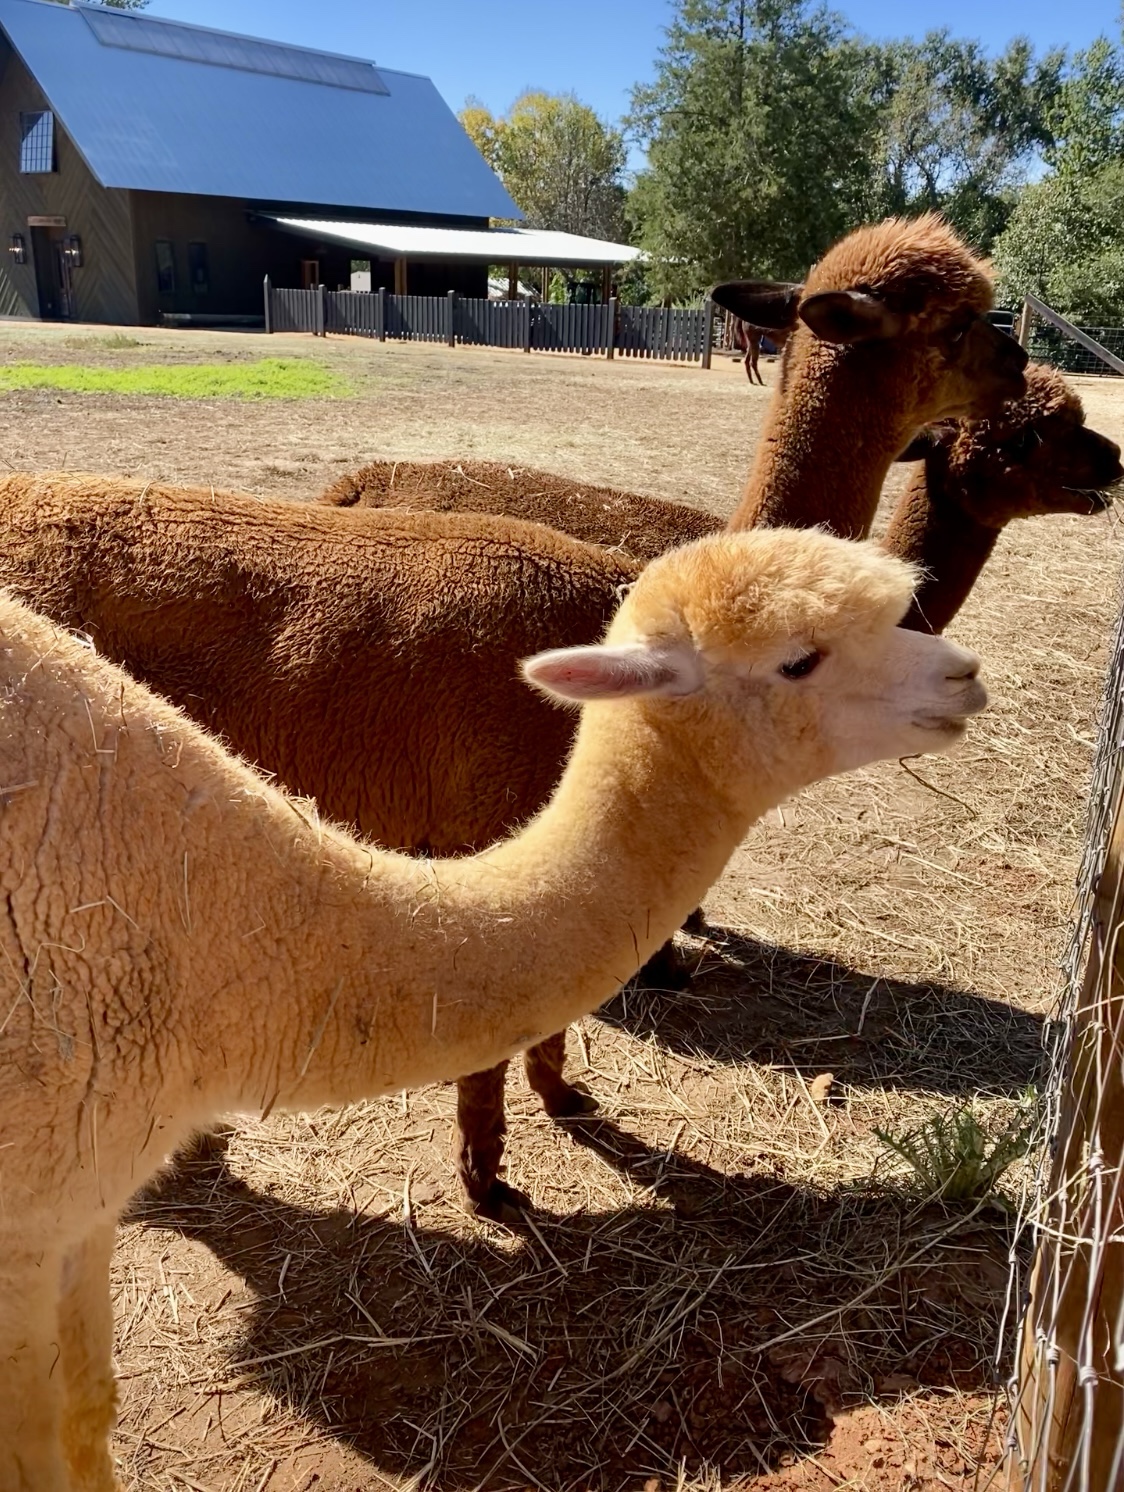
While you’re in the area, be sure to stop by Holl & Stone. It’s located between Lake Benson and White Deer park. There, you can feed the llama, alpacas and other farm animals, shop fresh produce and plants then get a ice cream from their food truck.

As a family, we’ve found that these hikes not only help us get outside and move but also create opportunities for bonding, problem-solving, and even a little adventure. Whether it’s a peaceful stroll or a more challenging trek, there’s something for every energy level. I hope you’re inspired to lace up your shoes and hit the trails with your family. 

Laundry Room Refresh

House projects are funny. You make a list of things you want to do, both big and small and either check them off little by little or stare at the same list for years. We’ve been in our home for 8+ years and have really only scratched the surface on projects we want to tackle and yet at the same time, we have done so much.

This particular project recently became a priority as I have found I need to hide the clutter and for everything to have a designated space. The clutter started to feel heavy in my mind and that was something I needed to offload.

Our laundry room always has the door open as our dog’s food and water bowls are in this space. Additionally, it had open shelving so it always looked messy.

The hallway where the laundry room is has also become the point of entry we use most. Guests often come in this door instead of the front door as well. While we can’t change the footprint of this area, I could control the appearance and functionality of this space.

Control the controllables.

Before: (YIKES)

Do you understand why I needed to clear this clutter by physically and mentally?

I knew I wanted cabinets with doors for storage and open cubbies to fit baskets above them.

My plan:

  • Buy unfinished stock cabinets that fit in the space
  • Prime and paint cabinets
  • Add hardware
  • Build cubbies to fit above then paint to match
  • Add trim at the ceiling
  • New light fixture
  • Add beadboard on the walls and eventually add a fun wallpaper

But first, demo and prep the walls for all the mentioned items above.

I kept the shelving boards to repurpose in one of the boy’s closets. I’ll share more on this in another post soon.

The sheetrock was damaged in areas but knowing cabinetry and wall treatments would hide the majority of it, I focused my attention on the remaining walls.

We decided to go with a dark green paint that we had on hand from a previous project, Dried Thyme.

One thing I’d like to note when you’re selecting paint colors and are tackling a project little by little, remember the big picture of the finished space. Think ahead to the final details you want, the flooring you will eventually add, ect. In this instance, I knew we had future plans to change out the flooring to a 12″ black hex tile.

I first painted the walls green, Dried Thyme, to the height I wanted to add beadboard and trim cap. For visual confirmation on the height I wanted for the trim, I painted a horizontal line of the green paint and measured to make sure that height worked well with the height we would be hanging the cabinets.

It was time to buy the cabinets. I recommend you search online before you visit the hardware store. I have found that not all stores carry the same products and in our case, the closest Home Depot doesn’t stock prefab cabinetry but the next town over does.

Prepping the cabinets is important.

Basic process included:

  • Remove all staples from packaging
  • Remove doors
  • Lightly sand the rough areas with 220 grit paper
  • Remove residue with tack clothe
  • Prime, prime, prime – Important if you don’t want to paint multiple coats of the main color
  • Allow to dry then paint
  • Allow to dry, lightly sand any rough spots and repeat prep and paint process
  • Allow paint to cure before putting the doors back on (I waited a nearly a week to be certain but mainly because life was also happening with 3 kids and my husband traveling with work)

I knew there was no way I was going to hang these cabinets by myself. Could it be done? Yes. Did I want to avoid getting injured or damaging the washer and dryers? 100% yes.

With the help of my husband, we added a temporary bracket for the cabinets to rest on while we anchored them into studs in the wall. This actually proved to be very difficult as the studs were not exactly located at the 4 corners of the cabinets on the walls.

We made it work and added extra screws for safe measure.

Next up, making the cubbies to fit above the cabinets. This is a smaller space and I knew I wanted it to feel larger than it is which I could accomplish by making the cubbies reach the ceiling height.

I measured A LOT and made my next trip back to Home Depot. I had them rip down the 3/4 plywood sheet into the depth of the boxes needed.

Let’s be honest, using a table saw is not something I’m comfortable doing alone and I was tackling this project on another week that my husband was traveling for work.

I loaded up the strips of plywood and beadboard for the remains walls and ventured back home where I would cut them down to length.

I am not going to provide a step by step tutorial of how I built these boxes for multiple reasons:

  1. I had to deconstruct them to install then reassemble them in place
  2. I didn’t add a backer board and instead, caulked the seams and painted the wall to give the illusion they have the backer board.
  3. This unit was made to fit baskets I already had.

I do recommend having your baskets before determining the size cubbies you’re going to make. This will ensure it looks intentional and was made custom for the space.

The walls in this space are not square and caused the issue of us not being able to install the build easily. While the measurements fit the intended space, it didn’t fit in the middle of the room where it needed to start for us to shimmy it into place.

It was a disaster. Our marriage survived the struggle but it was questionable for a moment. (I’m totally kidding but in full transparency, our patience was put to the test.)

After disassembling the majority of the cubby and putting it back up, we anchored it in place and I got to work prepping for paint.

Next up, determining trim for the top of the cubby.

I ended up going with a height that was between the two options pictured above and am very happy with it.

After more caulk and paint, this unit was complete.

While this space is small, it was packed with so many steps to get to the finish line. There was also a long wait time between steps due to busy schedules, waiting for paint to dry, hardware to arrive, and more. I tried to multi-task when possible. When the paint was drying on the cubby boxes, I was outside cutting the beadboard and nailing it in place.

Continuing the beadboard was not part of the original plan. I had been given thin brick tile that I was planning to use as the backspace but with the height of the beadboard, the matching green shelf and cabinets, the best option for this space was to continue with the beadboard. It looks seamless and intentional.

The seam wasn’t an issue as I placed it where there would be one floating shelf.

After the final touchup of paint was done, I was nearing the finish line.

The finishing touch needed was to add floating shelving between the two cabinets.

We took a family outing one weekend to find supplies and ended up having to DIY this to get the look I wanted. We purchased 2 project boards from Lowe’s. I glued and clamped them together while allowing it to cure more than the recommended time.

Next up, cut them down to size to fit. I then filled the seam with a mixture of sawdust and wood glue in an attempt to make this thicker board appear to be one. Unfortunately after sanding and staining them, it was visible which you can see from the first picture above.

My backup plan was to add edge banding and stain it to match. This worked out perfectly!

If you’re in a season of feeling like you’re not making much progress on you home project list, let this be a note of encouragement for you to take a moment to look back at what you have accomplished. You may find you’ve come further along than you realize and are well on your way to creating your Haven and a home that works for you and your family.

If you want to see the behind the scene failures and successes, please follow along on Instagram @4havenssake.

Colors of the Caribbean: A San Juan Edition

I recently had an opportunity to join my husband on a work conference trip to San Juan, Puerto Rico. Even though I knew our time together would be limited due to his work obligations, I was all in to join him.

Alone time on a beach with a book? Yes, please.

Seeing San Juan through a different perspective this trip was much different than my first time on the island. Many years ago when I was in the youth group at church, we traveled to San Juan for a mission trip, World Changers. The week was spent tackling various construction projects to help serve the community.

Need a visual? I was on a crew that built a small home and put on a new roof on a home, in the Summer, in the Caribbean, and under the blazing sun. High schoolers with adult crew leads and supervision completed the physical labor. Can you imagine that?

I think it’s safe to say that my hands on experience with DIY and seeing the impact it can have on others, myself included, started at a very young age. Re-roofing a home for someone who didn’t have the means to fund it and building a small home from the ground up and witnessing a family’s gratitude when the job was complete was by far one of the most impactful moments for me on that trip. It certainly beat my coming home and my ankles being the same size as my calves because of my reaction to numerous fire ant bites. This is NO exaggeration, ask my parents who greeted us at the RDU airport.

Apart from one afternoon exploring Old San Juan as a group, we were immersed in the deep culture of San Juan and slept in a non-AC building where fire ants infested our beds (no amount of Arm & Hammer sprinkled on our sheets deterred them). It was a HOT week.

I think it’s important for you to have a visual of my first experience to see the contrast of my visit back to San Juan as an adult for vacation and not a mission trip.

Present day travels to Puerto Rico looked much different and I’m here to share about our few days in the vibrant city of San Juan.

Lucky for us, the conference was held at a beachfront resort on the popular Condado beach.

The area was pedestrian friendly with sidewalks and a greenway path for bikes that lead you all the way into Old San Juan which was approximately 3 miles before you reach the downtown entrance. We walked all the way into town early one morning. I ran the pathway every morning and soaked in the sunshine, ocean breezes and made a few stops along the way for scenic opportunites. It was fun to explore charming pockets of common areas, historical remnants and scenic overlooks.

We arrived to San Juan early on a Sunday morning which gave us a few hours to explore before Adam had to be at the conference. We unpacked, changed into shorts and t-shirts and booked an uber into town. There was a good bit of traffic on our commute so when we were close to town, we asked our driver if we could get out and walk. She was happy to let us out and we were happy to get out and walk in the sunshine along the coast.

As we wondered through the colorful streets and historic landmarks of San Juan, we found ourselves captivated by its beauty. There is vibrant architecture and rich culture everywhere we explored.

There are two major historic castles in Old San Juan that you can tour. Paying the entry fee into one gets you entry into both on the same visiting day. Because it’s a US National Park, we were able to use our National Park pass that we had purchased for our travels to Zion & Bryce National parks just last Spring. Read all about that life giving trip here.

It was well worth the time exploring Castillo San Felipe del Morro and the history lesson, highly recommend.

The greenspace around the Castillo was full of families flying kites, having picnic lunches and groups gathering to hang out.

If you’re wondering if San Juan is kid friendly, without question, YES.

We left the Castillo and walked the sidewalk into the vibrant streets of Old San Juan to explore. The only thing we had marked on a map were three recommendations from the hotel receptionist for places to eat and the location for the original Pina Colada.

We popped in a few shops along the way, talked to the locals working there and confirmed we needed to visit, Barrachina. We snagged the last two seats at the courtyard bar, ordered two of the original Pina coladas and an entree to share, a local specialty called Mofongo, pictured above.

It was a very rich dish with a lot of flavor.

After exploring the streets a little while longer after lunch, we hustled back to the hotel and went our separate ways. I set out for the beach where the staff set up chairs and umbrellas, anywhere you want to be, and Adam set off for the conference.

I have to admit, my chair was placed in a very popular area of the beach due to the Puerto Rican flag by the water. It provided entertainment for me as several couples seized it as a photo opportunity and video content.

The water was beautiful. I made the most of the only full sunny day we had and spent as much time at the beach and pool as possible.

Food Recommendations from our trip that I highly recommend:

Burrito Social – Fresh seafood tacos and Mexican cuisine + margarita happy hour.

La Hacienda – Market + Cafe, you can order fresh made items a la cart from the deli (eggs, chorizo, eat.), collect items to cook if you’re staying at an Airbnb, and order coffee. Prices were some of the best we found.

Barrachina – Pina Colada + local cuisine

Di Zucchero – Across the street from the Marriott, they have a very robust menu, rooftop and indoor/outdoor dining options.

Anitas – BEST gelato we’ve had outside of Italy. Truly, it was amazing. We visited the location on Condado beach and in downtown San Juan. Their story of how they started and where they have expanded globally is incredible. Come to NC Anitas!

One thing I wish I had researched ahead of our trip was visiting El Yunque Rain Forest for a hike and exploring. Some of the other conference goers had done this and show us pictures. It looked amazing so I would highly recommend doing this if you have a car rental and/or book an excursion through your hotel. Learn from our missed opportunity and read more about how you can explore the rain forest on your visit to San Juan, here.

This trip reignited my love of color and affirmed my recent design decisions in the home that incorporates more.

More than anything, Adam and I were reminded how much we love to travel. Before kids, we made travel a priority. After kids, we started including the kids. It’s important to us to expose them to many cultures and experiences from little weekend getaways to larger trips that require thorough planning.

All this to say, it’s worth making arrangements to travel with your spouse sans kids and together as a family.

San Juan, Puerto Rico would be a destination you could easily travel to with little ones and is also a great area to retreat to with your spouse, kid free.

Whether you’re drawn to its colorful streets, rich history, or lively culture, San Juan promises an unforgettable adventure. I hope you’re able to experience firsthand why this Caribbean gem captures the hearts of all who visit.

We certainly left with full hearts and vibrant memories.

Love & Laughter

Fun fact, my birthday is just 2 days after Valentine’s Day so I’ve always looked forward to the holiday and have always felt extra love surrounding February 14th and 16th.

With 3 young boys of our own and little Valentines being passed out by each to their classmates, I tend to think back on a personal memory of Valentine’s Day.

This year’s Valentines for the boy’s classmates are done and of course they include an allergy friendly option. Made Good granola bars are my go to. See below.

Do you remember the days of exchanging Valentines with your classmates in elementary school? One year in particular stands out for me and it’s because I was embarrassed and uncertain how to respond to a personalized Valentine in my bag.

The setting: 3rd grade, Mrs. Houston’s class. Oh how I loved her.

I remember the white paper bags that we decorated individually that were lined up under the chalkboard. A chalkboard. I just aged myself didn’t I? We had a week to fill all of our classmate’s Valentine bags with personalized goodies and notes.

I was in a unique situation at the school because my mother was a teacher there. I was at the school before and after “normal school hours” so I often assisted in the classrooms when help was needed by teachers. 

I was a busy bee as a kid and almost always needed something to do. I loved helping others and still do. I helped Mrs. Houston in the classroom one day during Valentine week and it was on this occasion that I noticed a unique envelope sticking out of my Valentine bag. I peaked at the white legal sized envelope and read what was written on the outside:

To: Amanda

Love: Andy

When Friday came, it was time to take home our Valentine bags.

My mom recently reminded me that I was too nervous to open this letter and made her read it to me when we got home.

Inside was a hand written note, “Will you be my Valentine?” and check boxes, Yes or No. Of course there were check boxes.

Also included with the note was a small 1 inch picture of him. Do you remember those tiny pictures that came as a 8×10 sheet that we used to get with our school picture orders and we’d pass them out to our friends? If not, I have definitely aged myself.

I still recall my cheeks flushing when mom read the note.

Such an innocent request but one that made me nervous and uncertain what to do or how to respond. He was a classmate. What would my response mean? 

I checked NO and returned the letter to him. <gasp>

When I told mom what I had done, I remember her saying, “AMANDA!” But it was said in a way of “Poor Andy”, knowing that I likely hurt his feelings. I can laugh about it now.

Looking back on this small life event, I now recognize 3rd grade was a time when I was beginning to worry about what others thought of me. 

Fast forward to today, I LOVE Valentine’s Day & I no longer care what others think. Life is too short my friends. 

I love the colors associated with Valentine’s Day. The bright pinks and reds tend to lift my spirits and evoke feelings of joy and anticipation for the upcoming season. Here in North Carolina, signs of Spring tend to show up shortly after Valentines which means longer days, vibrant blooms, and warmer days are near.

This Valentine’s Day, I hope you can celebrate love and connection. Use the day as an opportunity to express appreciation and gratitude for loved ones, friends and family.

Write the note. Send the text. Mail a card. Make the phone call.

Brighten someones day.

Do something for yourself.

Celebrate beautiful new beginnings.

Make that special treat. (If you need an idea for this, check out this post for two little Valentine treats.)

Below you will find a few printables which I created that you can use for writing a note or to include with a small gift for that special someone, friend, neighbor or family member.

Let’s spread love like confetti this Valentines and everyday—for Haven’s sake.

PS – I’m sorry Andy.

PPS – I love you Adam.

Double the Delight

Valentine’s Day is just around the corner, and what better way to celebrate than by creating a memorable mess in the kitchen with your little ones, by baking delicious themed treats that are sweeter because they helped.

These two kid-friendly treats are both interactive, delicious, and semi-healthy? Can a cookie be healthy? One of these cookies is topped with fresh fruit of your choice so let’s call it, healthy-ish.

First up we have mini fruit pizzas.

My memories of fruit pizzas go WAY back. I vividly remember my aunt and uncle bringing ingredients and the activity for fruit pizzas to one of our family gatherings at my grandparents home. 

All you have to do is make a classic sugar cookie, following any recipe of your choosing, and use heart shaped cookie cutters to make them Valentine themed.

Wash and prep fresh fruit for toppings and make this simple cream cheese frosting that you will use as the glue that holds the fruit on the cookie. 

After the cookies have cooled, fill a jar with icing and provide a small spatula or butter knife for the kids to spread the icing on their cookies. You may have to assist with this part. 

On a platter, arrange the fruit options that will serve as the toppings for their individual cookie pizzas and let them create.

The next Valentine themed cookie is a play on a classic thumbprint cookie. This recipe is vegan and gluten free too.

Instead of pressing a thumb into the center of the dough balls as you normally would for the classic version, you will help your little one use the side of thumb to press into the dough ball twice to form a heart. 

No two hearts are equal but that is the beauty of these personalized heart prints.

You can fill the hearts with a jam flavor of your choice. We usually have the organic strawberry preserves from Costco on hand. It has basic ingredients and is free from high fructose corn syrup.

Baking with kids can be an opportunity to bond and laugh with your little one. It isn’t just about the final product; it’s about the shared moments, the laughter, and the love that goes into making the special treats.

So, gather your ingredients, embrace the joyous mess, and enjoy creating sweet memories that will last far beyond the heart shaped bites.

Take HEART & bake, for Haven’s Sake.

Little Changes Make a Big Impact

This past November my husband and I were asked if we could help with a feature wall in my brother and sister-in-laws home. They are expecting their first baby in April. Being a mom of 3 boys, I was elated when they are shared they are expecting a BOY.  Queue the biased happy tears for the blessing of raising a son.

Back to the opportunity: Would you be able to help add an accent wall to the future nursury?

Yes. 1000 times yes.  I couldn’t be more excited about the opportunity and spoiler alert, it turned out SO good. 

A quick look at our calendars and throwing dates around, one thing after another fell into place and we were able to get over there within the week. 

A dear friend who is an amazing designer, Amy Huber, told me about a company that will send you paint samples on sticker sheets that you can move around.  Wait, you mean you don’t have to paint samples on different walls in the room to determine which paint looks best anymore? The company is Samplize. For less than $6/sample, you can select as many paint colors as needed and they ship them to you within 24 hours.  No waiting at the paint store for colors to be mixed and no painting the walls with each and washing paint brushes. You simply stick and move the samples from wall to wall during different times of the day.

My sister-in-law and I were both sold on this. They ordered paint samples and sent me pictures of the walls as they started from all the colors they ordered to a smaller selection which they had narrowed down to as their favorites.

In preparation to go to their home with the tools needed for the wainscoting and framing out the window, we did have them send measurements of the room.  Having the measurements helped us all plan out which wall would likely be best for the accent wall and to plan accordingly for supplies. 

Check out the room before. A perfect canvas to transform with 3 simple updates: Paint, wainscoting, and quick trim for the window.

How precious is my sister-in-law?! Can you tell how much the boys adore her just from that last picture? 

We did take all three of our boys with us for our project day but I was sure to pack plenty of snacks and food to appease their endless appetites. My brother in law, Michael, had set up the sweetest movie viewing pallet for the boys. He inflated a giant air mattress and loaded it with comfy pillows and blankets. 

While the boys watched a movie, we got to work right away.

The men set off for Home Depot for the wood supplies while Rachel and I began painting right away. The men purchased primed boards which helped painting go smooth and required less coats.

We try to use primmed MDF on these types of accent walls as those boards have clean cuts when trimmed. This hardware store location didn’t have the product in stock that we usually buy for these projects so we made an easy swap with an alternative, primed pine, and it turned out perfect.

I had the best time chatting as we painted the entire room. It’s a day I won’t soon forget and can’t wait to share about the project day with baby when he is older. His mama worked so hard to make his room special. 

Adam took lead on measuring and cutting the wood for the accent wall. While it may look simple to plan out the spacing for the boxes, I can assure you the math is a little more challenging. 

*We also purchased a piece of cove molding to add to the existing baseboard. When flipped upside down, you can rest it on the baseboard and it creates for the perfect flat surface for your board and batten pieces to run in flush with no overhang.

It was a long day of painting and had to be cut shorter for me so I could get the kids home and ready for bed. I left Adam to finish off the wall but showed Rachel how to finish caulking all the seams after the final boards were up and the process for filling nail holes. 

We had a couple mishaps with placement of boards in the wrong place, having to remove them, remeasure and nail them back up in the correct spot but Allas, the wall was complete.

The window wasn’t completed until the following weekend. We had run out of time. I went back over the following weekend to finish up the wood working and did the window all by myself. I say this in a way to encourage you to tackle projects that seem daunting and just TRY it. Turns out, it was a simple update that, once complete, looked like it was always meant for the space.

My sister-in-law even said she wanted to add it to all the windows in the home now. It’s an update that can be made room by room and doesn’t have to be rushed.

I have never trimmed out a window before. I’ve watched numberous videos and how-tos but never had the opportunity prior to this project. 

I used this as a guide and customized it to their space.

(Pic of window trim guide)

I have to admit, projects outside of our home are my favorite.  Painting is therapeutic for me. Transforming a space is relatively budget friendly but brings a big impact. Adding texture to the walls in the form of wainscoting adds depth. Framing out the window added character and contributed to the overall aesthetic of the room that complimented the accent wall and helped create a finished look.

I’m excited to watch as they make all of the selections to finish out the room with furniture and decor in the theme they are going with.

Come on baby Chappell. We cannot wait to meet you.

Until then, my other sis-in-law are planning the SWEETEST baby shower which is coming up in February. Queue the happy tears anytime party details arrive in the mail.

This is your reminder to make a project list and TRY something new. Make it yours and create your Haven one room at a time.

Delicious + Gluten Free Pumpkin Muffins

I recently saw Jennifer Gardner share a recipe for pumpkin muffins on her pretend cooking show, which I love, and had to give them a go.  

After reading over the ingredient list, I knew I could make simple modifications to make them gluten free. 

Let me tell you, they are delicious and were loved by everyone in the family.

In the past when I’ve made pumpkin muffins, I’ve topped them with either unsweetened dried cranberries and/or butterscotch or chocolate chips. Our boys requested butterscotch on them this time. They add just a tiny bit of sweetness without being too much.

I hope you enjoy these as much as we did.

Whole 30 Made Simple

Keep it simple. Think protein, veggies, fresh fruits and raw nuts.   

Are you considering trying out Whole 30 for the first time? If so, I am here to put you to ease as it’s really not that difficult. Chances are you can make simple modifications to recipes you already know and love but make them Whole 30 Compliant.

I highly encourage you to do Whole 30 at least once.  It’s eye opening to how much is in our food that is “approved by the FDA” as safe. I can promise you when you’re forced to read labels to avoid certain things in your diet, whether by choice or allergy related, you’ll quickly see that things you thought were already healthy choices, are not in fact, healthy.

Don’t stress about what you’re going to eat and meals you’re going to cook. You don’t have to do a complete overhaul but read the labels. You’ll be shocked to see how many products, including meats, have added sugars, nitrates, carrageenan, just to name a few (all things you need to avoid while on Whole 30), but there is always a substitution. 

So what does Whole 30 compliant mean. Essentially, you are eliminating foods that are free from added sugars, grains, dairy, legumes, soy and you also avoid alcohol and processed foods. By doing so, you are choosing compliant options. All of the things you’re asked to avoid during Whole 30 are know inflammatories which can affect how you feel, your quality of sleep, joint and muscle pain, acid reflux, gut issues, and more.  

Sugar is the number one inflammatory and is found as an additive in so many foods that it should not be in. I was SHOCKED when we first read labels. Even a label of “nitrate free” doesn’t mean it is sugar free. 

As someone who suffers from carpel tunnel, the first time we followed this elimination diet, I saw instant relief within the first week. Four years later, I know what triggers my carpel tunnel the most from a food perspective and try to avoid it throughout the year. We maintain a 80/20 lifestyle eating this way, with a few exceptions during holidays of course but let me tell you, I pay for it later. Joint pain, check. Inflammation, check. Carpel tunnel affecting my sleep, check.

Recommitting to eliminating the inflammatories after the holidays is a great way to kickstart a new year for my husband and I. It’s something we actually enjoy.

When I meal plan for the week, I try to think about how one protein can be used in other meals later in the week. For example, if I cook a rotisserie chicken in the crockpot one night, I know I can use left over chicken for fajita bowls/salad, chicken salad (using Primal Kitchen mayo), or tossing chicken in our kitchenmaid mixer with the whisk attachment, pouring in either BBQ or Frank’s Hot Sauce to shred/mix it then put it over a baked sweet potato, light drizzle of Primal kitchen ranch (or DIY your ranch). Trust me on this last one. Buffalo Chicken over a sweet potato is the perfect balance of heat and sweet.

Simple Meal Ideas for 2+ weeks:

Snack Ideas: Hardboiled eggs sprinkled with everything but the bagel seasoning & franks hot sauce or wrap the egg with prosciutto. 

Chomps sticks

Small sweet peppers sliced in 1/2 and filled with tuna, I like to drizzle Frank’s on mine but you could also pre-make a compliant tuna salad to fill the pepper boats. 

Apple slices with almond butter.

Fresh fruit & raw nuts just no peanuts as they are considered a legume and should be avoided during Whole 30.

Breakfast Ideas:

Crustless egg and veggie quiche. Easy to meal prep in advance. I use mostly egg whites, add in spinach, leftover veggies, peppers & onions, mushrooms and bake at 350 degrees until firm, approximately 25 minutes. You can sprinkle on Nutritional yeast for a cheesy flavor.

Sweet Potato Hash – Prep in advance on Sunday and portion out to reheat each morning

Egg Muffins filled with veggies and/or cutup sausage links or bacon. These are an easy grab and go option, paired with fresh fruit.

Dinner Ideas: I’m included this before lunch ideas because we often have dinner leftovers that we try to eat for lunches. 

Whole Chicken in Crockpot with roasted sheet pan veggies. 

– If you follow my Whole Chicken in the crockpot recipe, you can save the stock and use it in this recipe. I make this recipe in the crockpot as well.

-Debone remaining chicken after dinner and portion out for lunches over salad, cauliflower rice bowls with roasted veggies, fresh veggies, avocado slices, ect.

Marry Me Chicken

Eggroll in a Bowl – a family favorite we cook year-round

Sheet pan meatloaf patties with veggies – another meal we keep in rotation year-round

Fajita Bowls/Salads

Paleo Running Mama’s Stir fry (It’s so good!) serve with cauliflower rice

Spaghetti sauce over either zucchini noodles or roasted spaghetti squash (make noodles for kids if needed)

Baked Lemon Pepper chicken thighs with steamed broccoli or sautéed asparagus, and cubbed roasted potatoes

Pork chops with a sautéed veggie hash. 

Grilled Salmon with sautéed asparagus and beets.

See this post for our family’s top meals that we keep in rotation.

Lunch Ideas:

Salads with left over proteins and raw or cooked veggies

Continue the theme each day. Breakfast on repeat, lunch can be protein leftover from the night prior over salad, and select a dinner option.

Our top recommended ingredients to buy:

Coconut Aminos, Rice Vinegar, Sesame Oil, Frank’s Hot Sauce, Ghee, Nutritional Yeast, olive oil, Tapioca Starch or Arrowroot flour

These are substitutes for soy sauce, inflammatory oils and butter and flour (when needed for thickening agent. We keep all of the above as staples in the home for cooking at all times.

If you’ve made it this far, I want to thank you. My goal for this post was to be brief and provide a very simple guide to being successful on Whole 30. It turns out, there’s a lot to say about this meal guide as it can really become a lifestyle, if you choose. 

My hope is that you’ve found tips and tricks for success that can apply today and every day.

Key takeaway, read labels.

Happy cooking my friends.

Whole 30 Top Meals for our Family

Egg Roll in a Bowl

Paleo Running Mama Stir Fry

Recipe Here

Crockpot Whole Chicken

Sheet pan meatloaf & veggies – Follow Skinnytaste’s Recipe but omit the oats and Worcestershire sauce, substitute coconut aminos and a splash of rice vinegar.

Marry Me Chicken

Recipe Here

See my first Whole 30 blog post where I shared several favorite recipes, below.

Whole 30 Recipes

DIY Oyster Shell Garland

2023 Tablescape and Tree – @4HavensSake

Over the years, we have always collected treasures from the beach whether it be unique shells, beach pebbles, sea glass, sharks teeth, or drift wood but more recently, I started finding myself drawn to oyster shells. Each one is so unique and almost like it’s own piece of art with the various colors and shapes.

Like most things, these oyster shell collections were stored away and forgotten about. That is until I came across the recycled strawberry bucket on a shelf of our laundry room FULL of them.

Last year I was asked to collaborate with King of Christmas Trees and was delighted at the opportunity. Christmas is a favorite in this household, my husband included. He was all in for adding another tree to our dining room.

I needed to come up with a theme.

Insert me finding the collection of shells and my brain started to run with an idea. I’d seen oyster shell ornaments, Christmas trees made from shells and other various ideas but never had I seen a Christmas tree adorned with a beaded and shell garland.

I took to the challenge, collected items I needed and got to work.

While I waited on my shipment of wooden beads, I prepped the shells for paint.

  1. Thoroughly cleaned all shells with a solution of dawn, bleach and water
  2. Allowed them to dry completely
  3. Laid out my favorite shells on a protected surface
  4. Painted edges of the shells with this perfect gold paint
  5. Allowed to dry
  6. Drilled tiny holes in each end of every shell to allow for fishing line

The beads arrived and I began to layout the pattern of beads:shells that I felt looked best. Using a heavy duty fishing line that I borrowed from our boys’ fishing gear, I began stringing beads and shells. The two holes I drilled in each shell allowed for one continuous strand. My initial strand was 5 yards in length. I ended up adding 3 additional yards to the strand which was perfect for our 6.5 foot tree.

You could easily make a short strand and add it as decor on a coffee table with books, and other items.

My favorite accent color in the home has always been copper and coral tones. When I saw some of the oyster shells had this coloring in them, I immediately knew which color theme I was going with. I dug out the matte copper ornaments that are usually on our main living room tree and only purchased one package of glass ornaments that had a hint of copper coloring to them and these mini mercury glass ornaments. All other ornaments were some I’d collected over the years and had on our main tree year over year.

For me, this tree represents our time living in Wilmington, NC and is a reminder of memories we have made at many beaches both as a couple and with our boys.

2022 Dining Room Christmas Tree

My hope is that each space in our home is a reflection of what brings us joy and fills our thoughts with moments of nostalgia.

I hope you find inspiration from this fun DIY. Don’t be afraid to create something outside of what is trending in popularity.

Make your home a HAVEN filled with meaningful spaces.