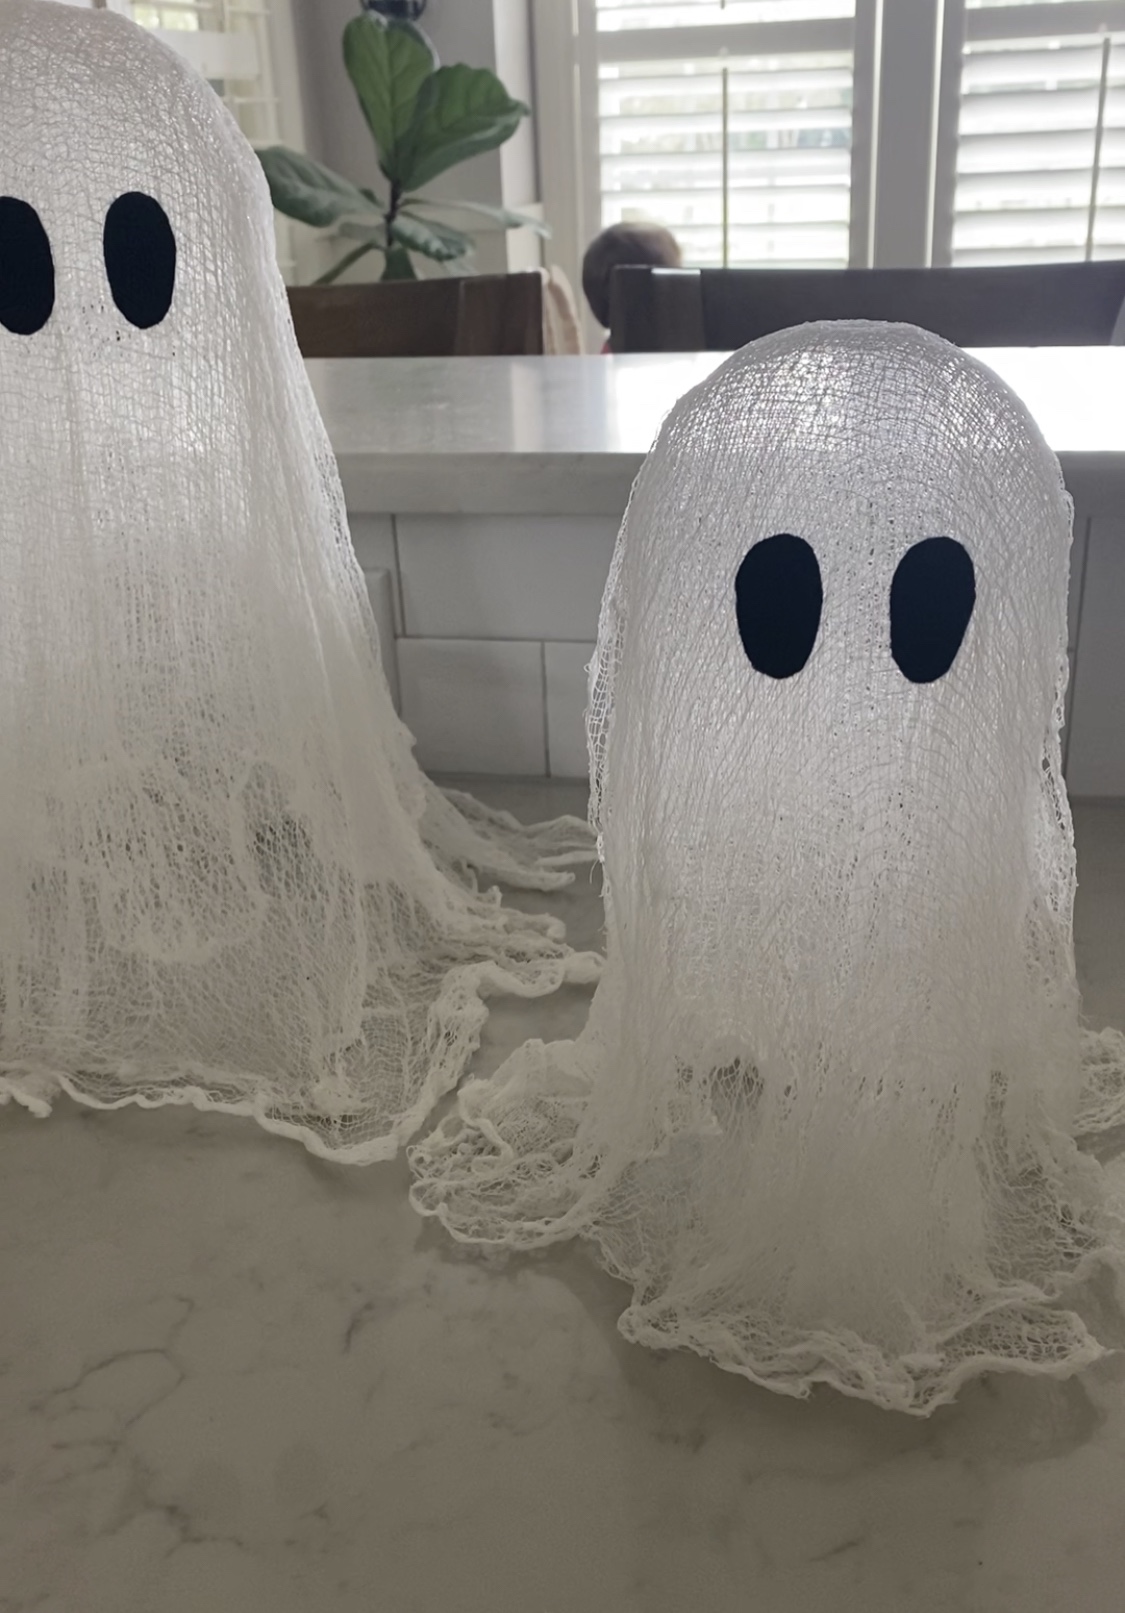
If you saw my post on Monday, you know already that I took on a cheesecloth ghost craft as a way to decompress. On occasion, I am reminded why I thrive when I create, paint a room or take on a DIY project in the home. It’s where I thrive and find Amanda, a moment of pause from mama and the joys and stimulation that role brings.
I am beyond grateful to be available for our boys, don’t get me wrong. There’s always reason to take time for yourself doing something that brings you joy. Filling that cup of joy will spill over when you step back into your role of mom.
This craft requires very few things:
Cheesecloth
Modge Podge
Balloons
Bowl for mixing
Drop cloth of some form
Supportive base to attach balloons
First, blow up the balloons at various sizes to add variation to your ghosts.
Next, drop the cheesecloth over each support and trim accordingly. Tip: Cut them slightly larger than needed so the cheesecloth can puddle nicely.
Mix the modge lodge with a little water to thin out the consistency. Soak each trimmed piece in the mixture, squeeze out the excess and slowly stretch it out to drop back over the base supports you made. I did two layers on each ghost.
Allow them to dry overnight.
Gently separate the balloons from the cheesecloth. Your ghosts may loose shape as you do this step but don’t worry, you can shape them back.
Next you will cut felt eyes or sew on black buttons. Hot glue them on to each ghost.
I decided to add paper flowers and ribbon to two of the ghosts to add a little extra flare, because I’m extra. Have fun with it and make them your own.
Fairy lights were the final touch I added to the ghosts. One long strand worked for all of them.
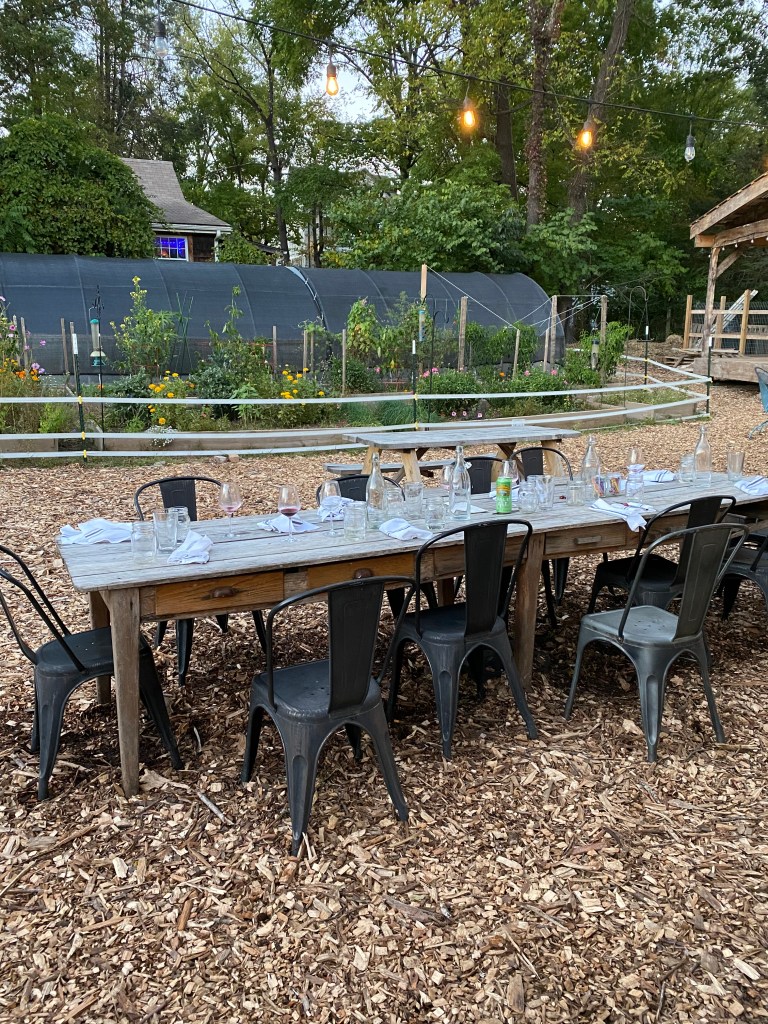
This tables cape will be a fun one to enjoy before a night out trick or treating. Our family has a tradition of filling up on a hearty bowl of my turkey chili with a side of cornbread before any candy is consumed. Be sure to save that recipe! It’s a crowd pleasure and simple to throw into the crockpot.
After two amazing days in Bryce Canyon National Park, we were so excited to head to our next stop, Under Canvas – Lake Powell Resort & Glamping.
If you missed the previous two posts, start here to see our trip overview with links to separate posts on each portion of our trip.
Travel day: Leave our AirBnB in Tropic, UT and head toward Page, AZ.
Itinerary:
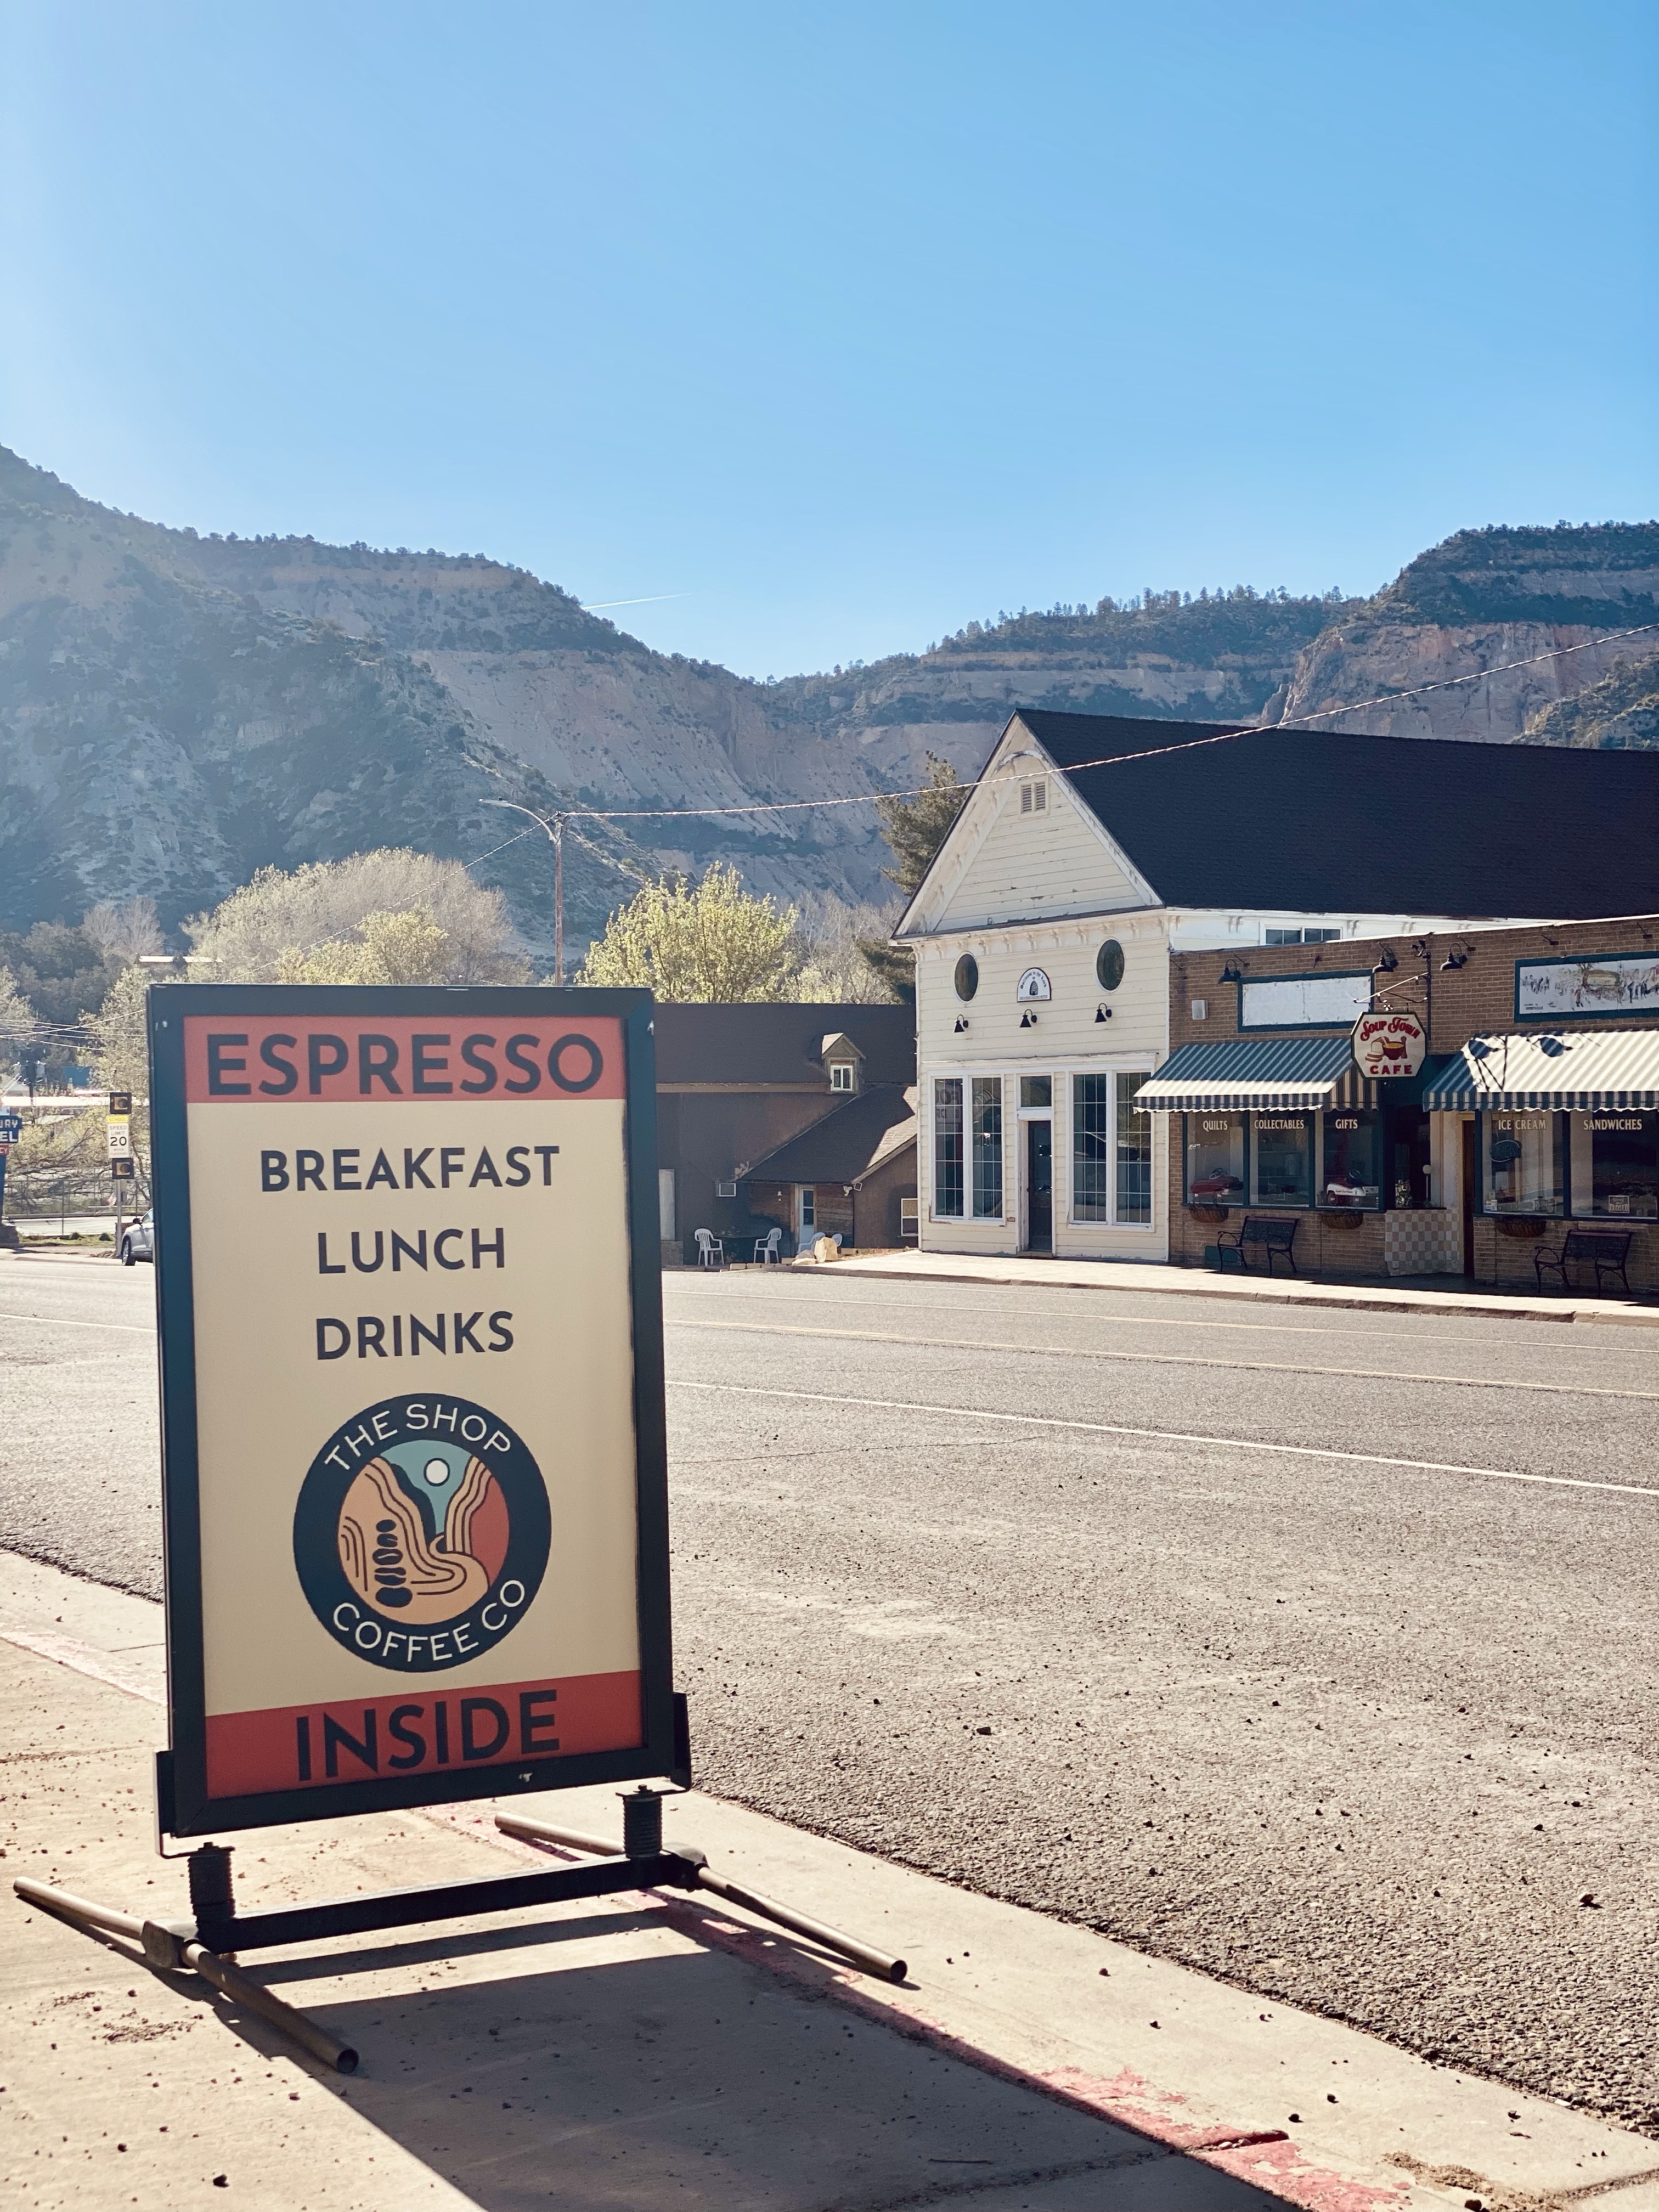
Drive to Coffee at The Shop Coffee Co (which I found in a search for best local coffee shops)
Belly of the Dragon
The Sand Caves
Lunch in Kanab
Explore downtown Kanab
Continue drive to Under Canvas for our one night stay.
If you find yourself driving between Mt. Carmel and Glendale, you have to stop at The Shop Coffee Co. They are more than just coffee and have fresh baked goods, salads, açaí bowls and more. If you’re looking to book a tour via UTV, Jeep, horseback, or canyoneering slot canyons, East Zion Adventures is also located within the coffee shop and can help you take your adventures exploring to the next level.
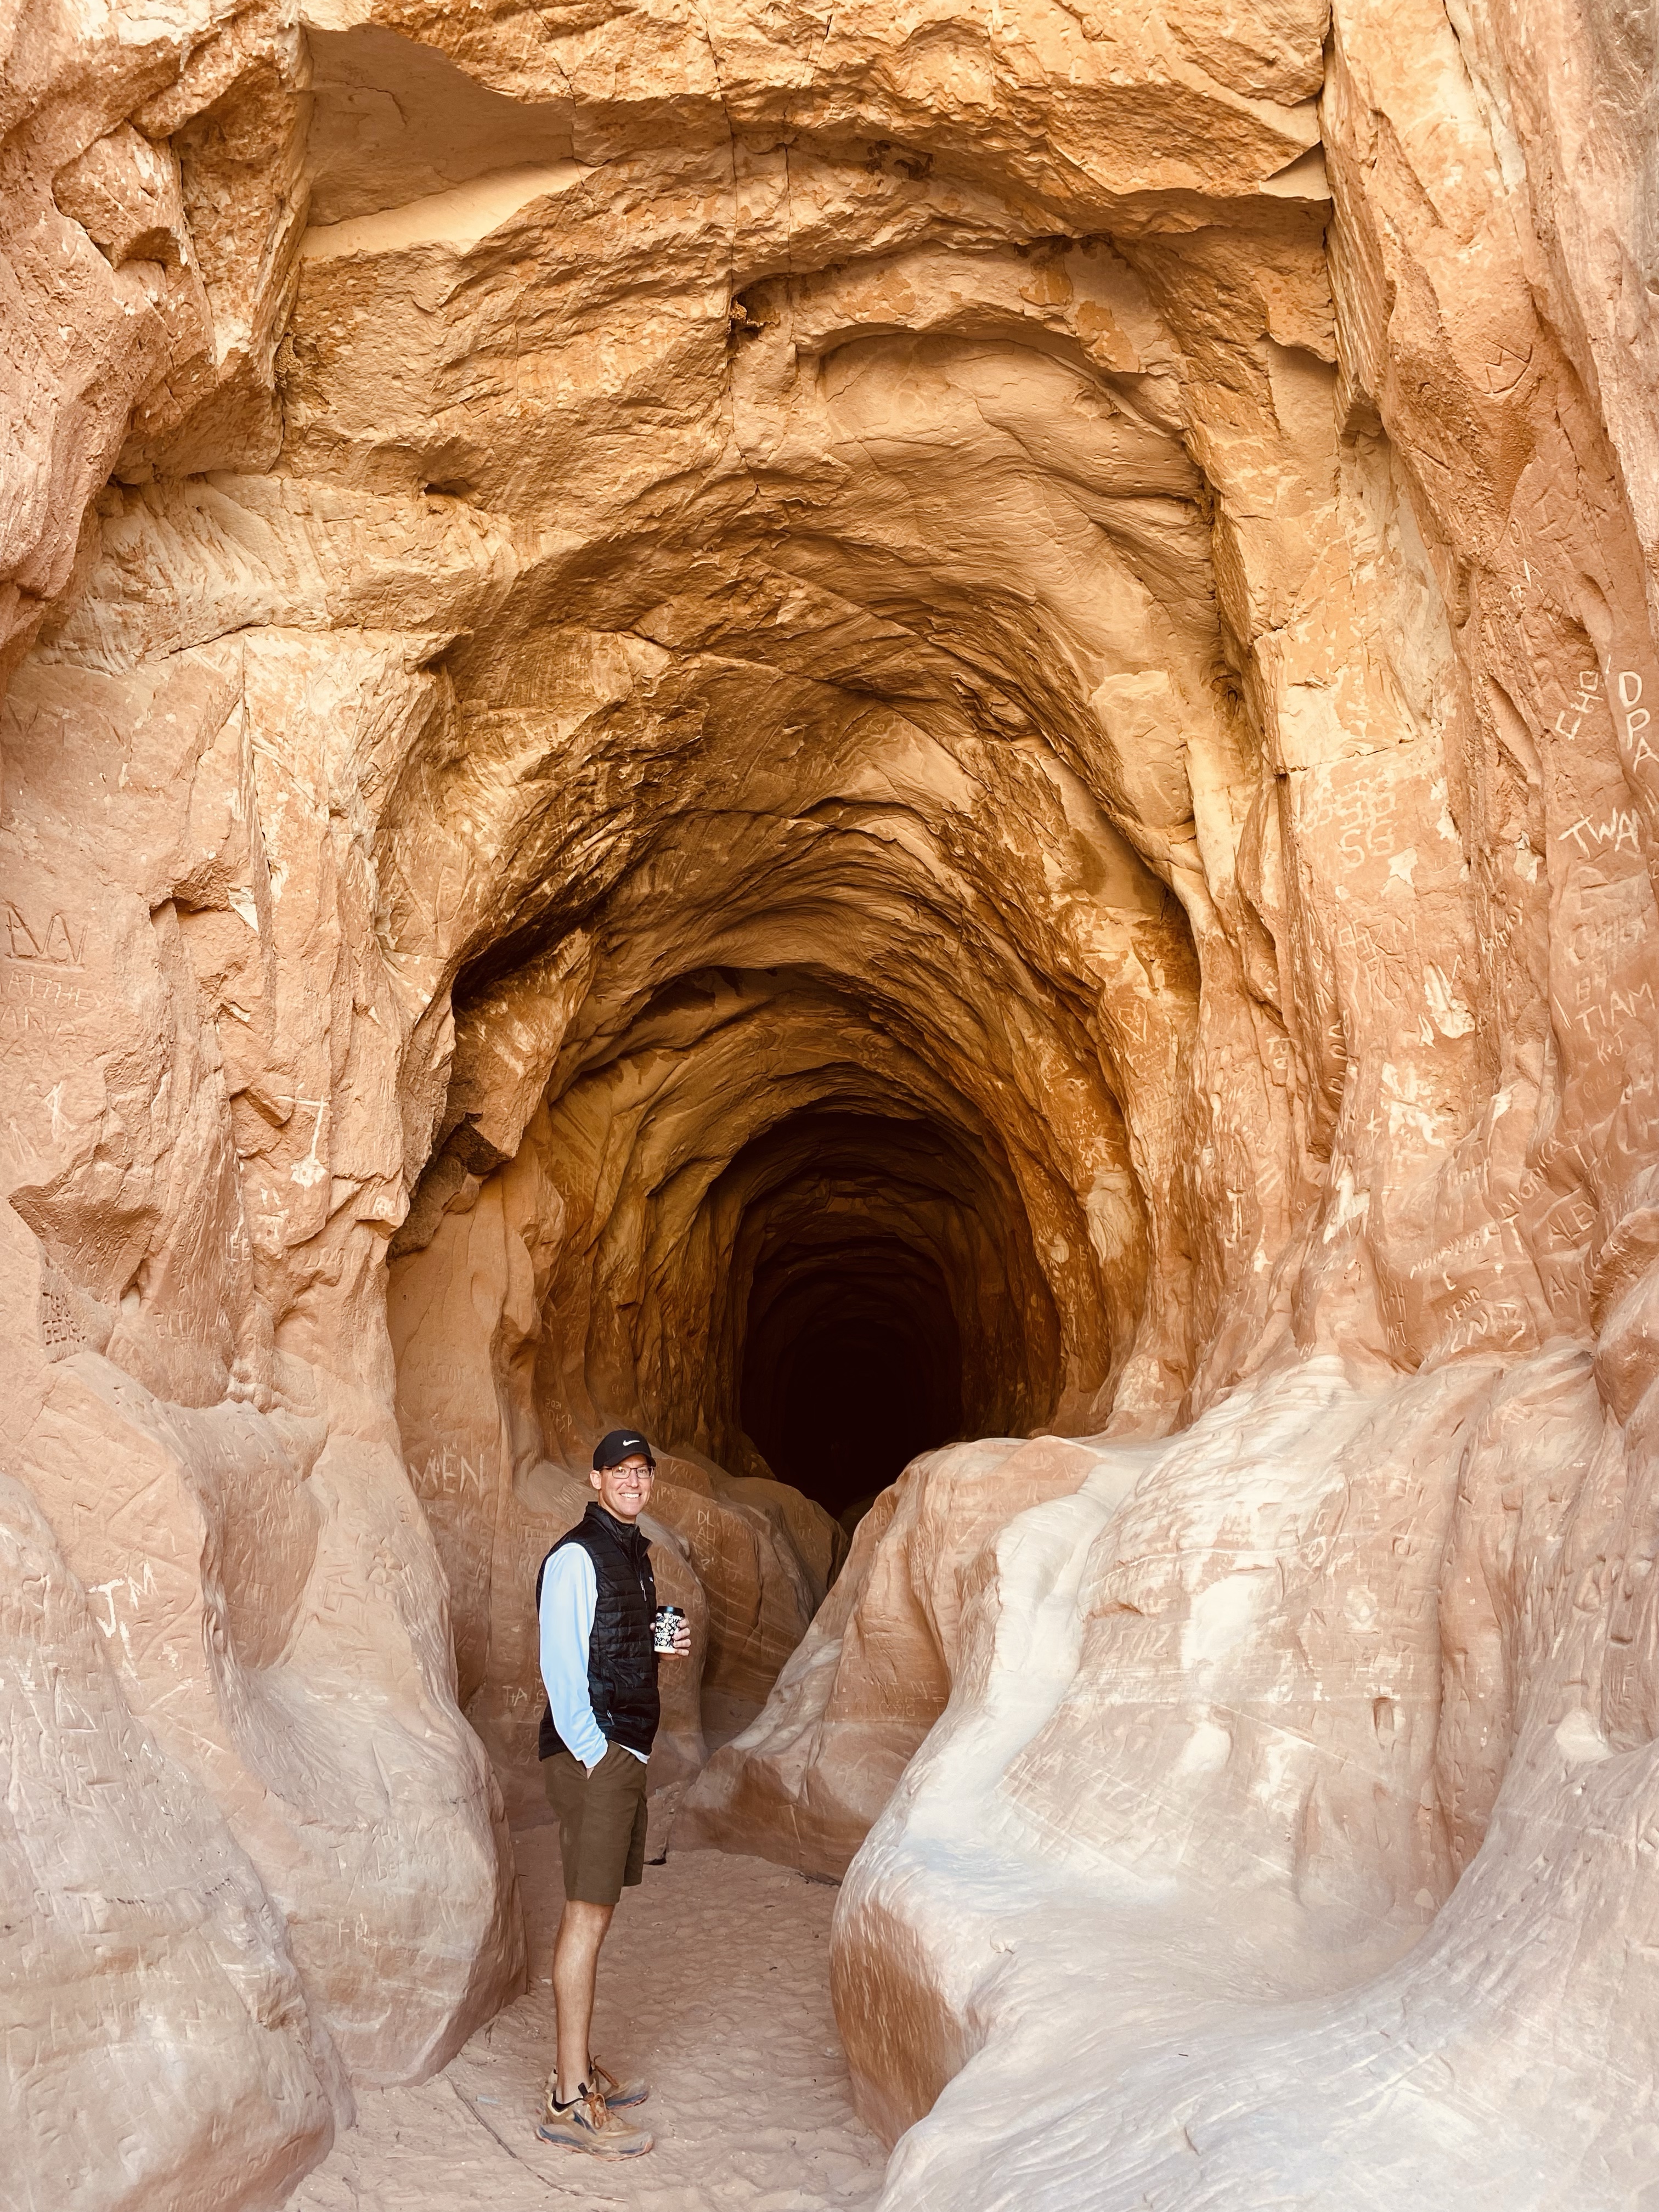
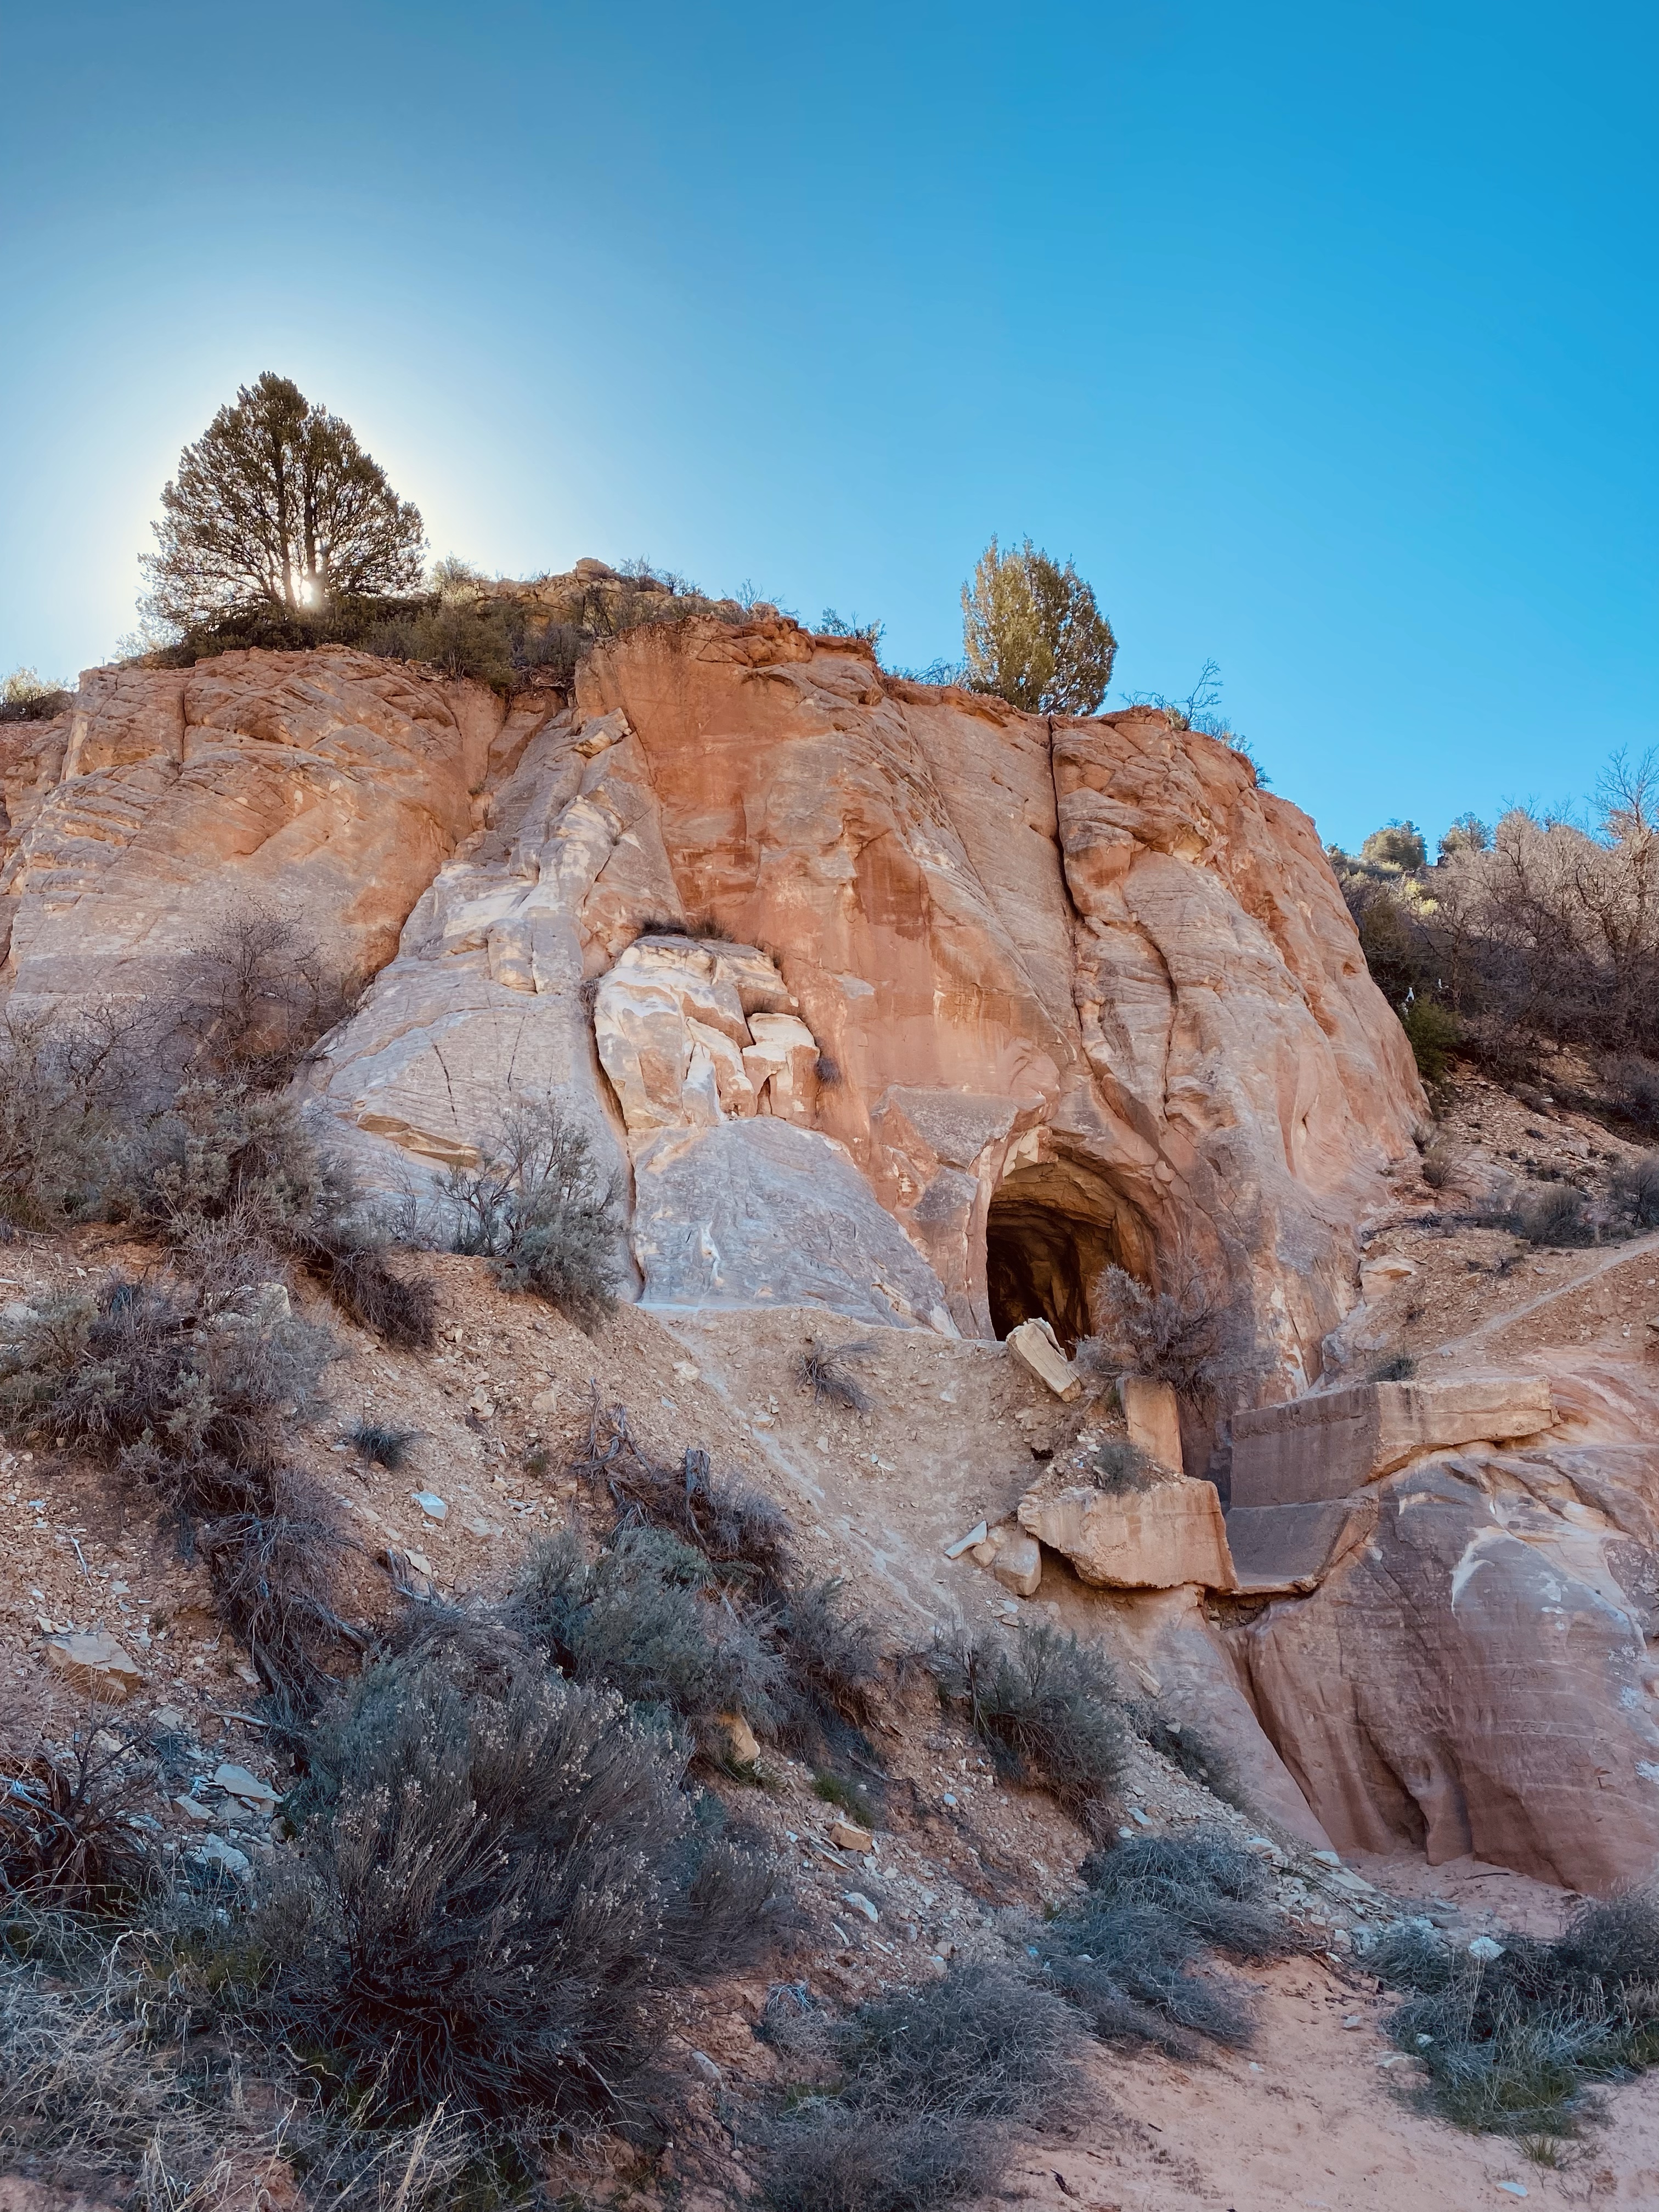
With coffee in hand, we made our way to Belly of the Dragon. While it’s not much of a hike, it is a really neat place to stop. You can say, “I’ve been there.” It’s a manmade tunnel carved under the highway and is used for drainage from the upper canyons.
We hiked all the way through and then explored a trail that was on the other side before making our way back toward the entrance of the Belly of the Dragon. You could hike as much as 4 miles on the trail to a slot canyon. See map, here.
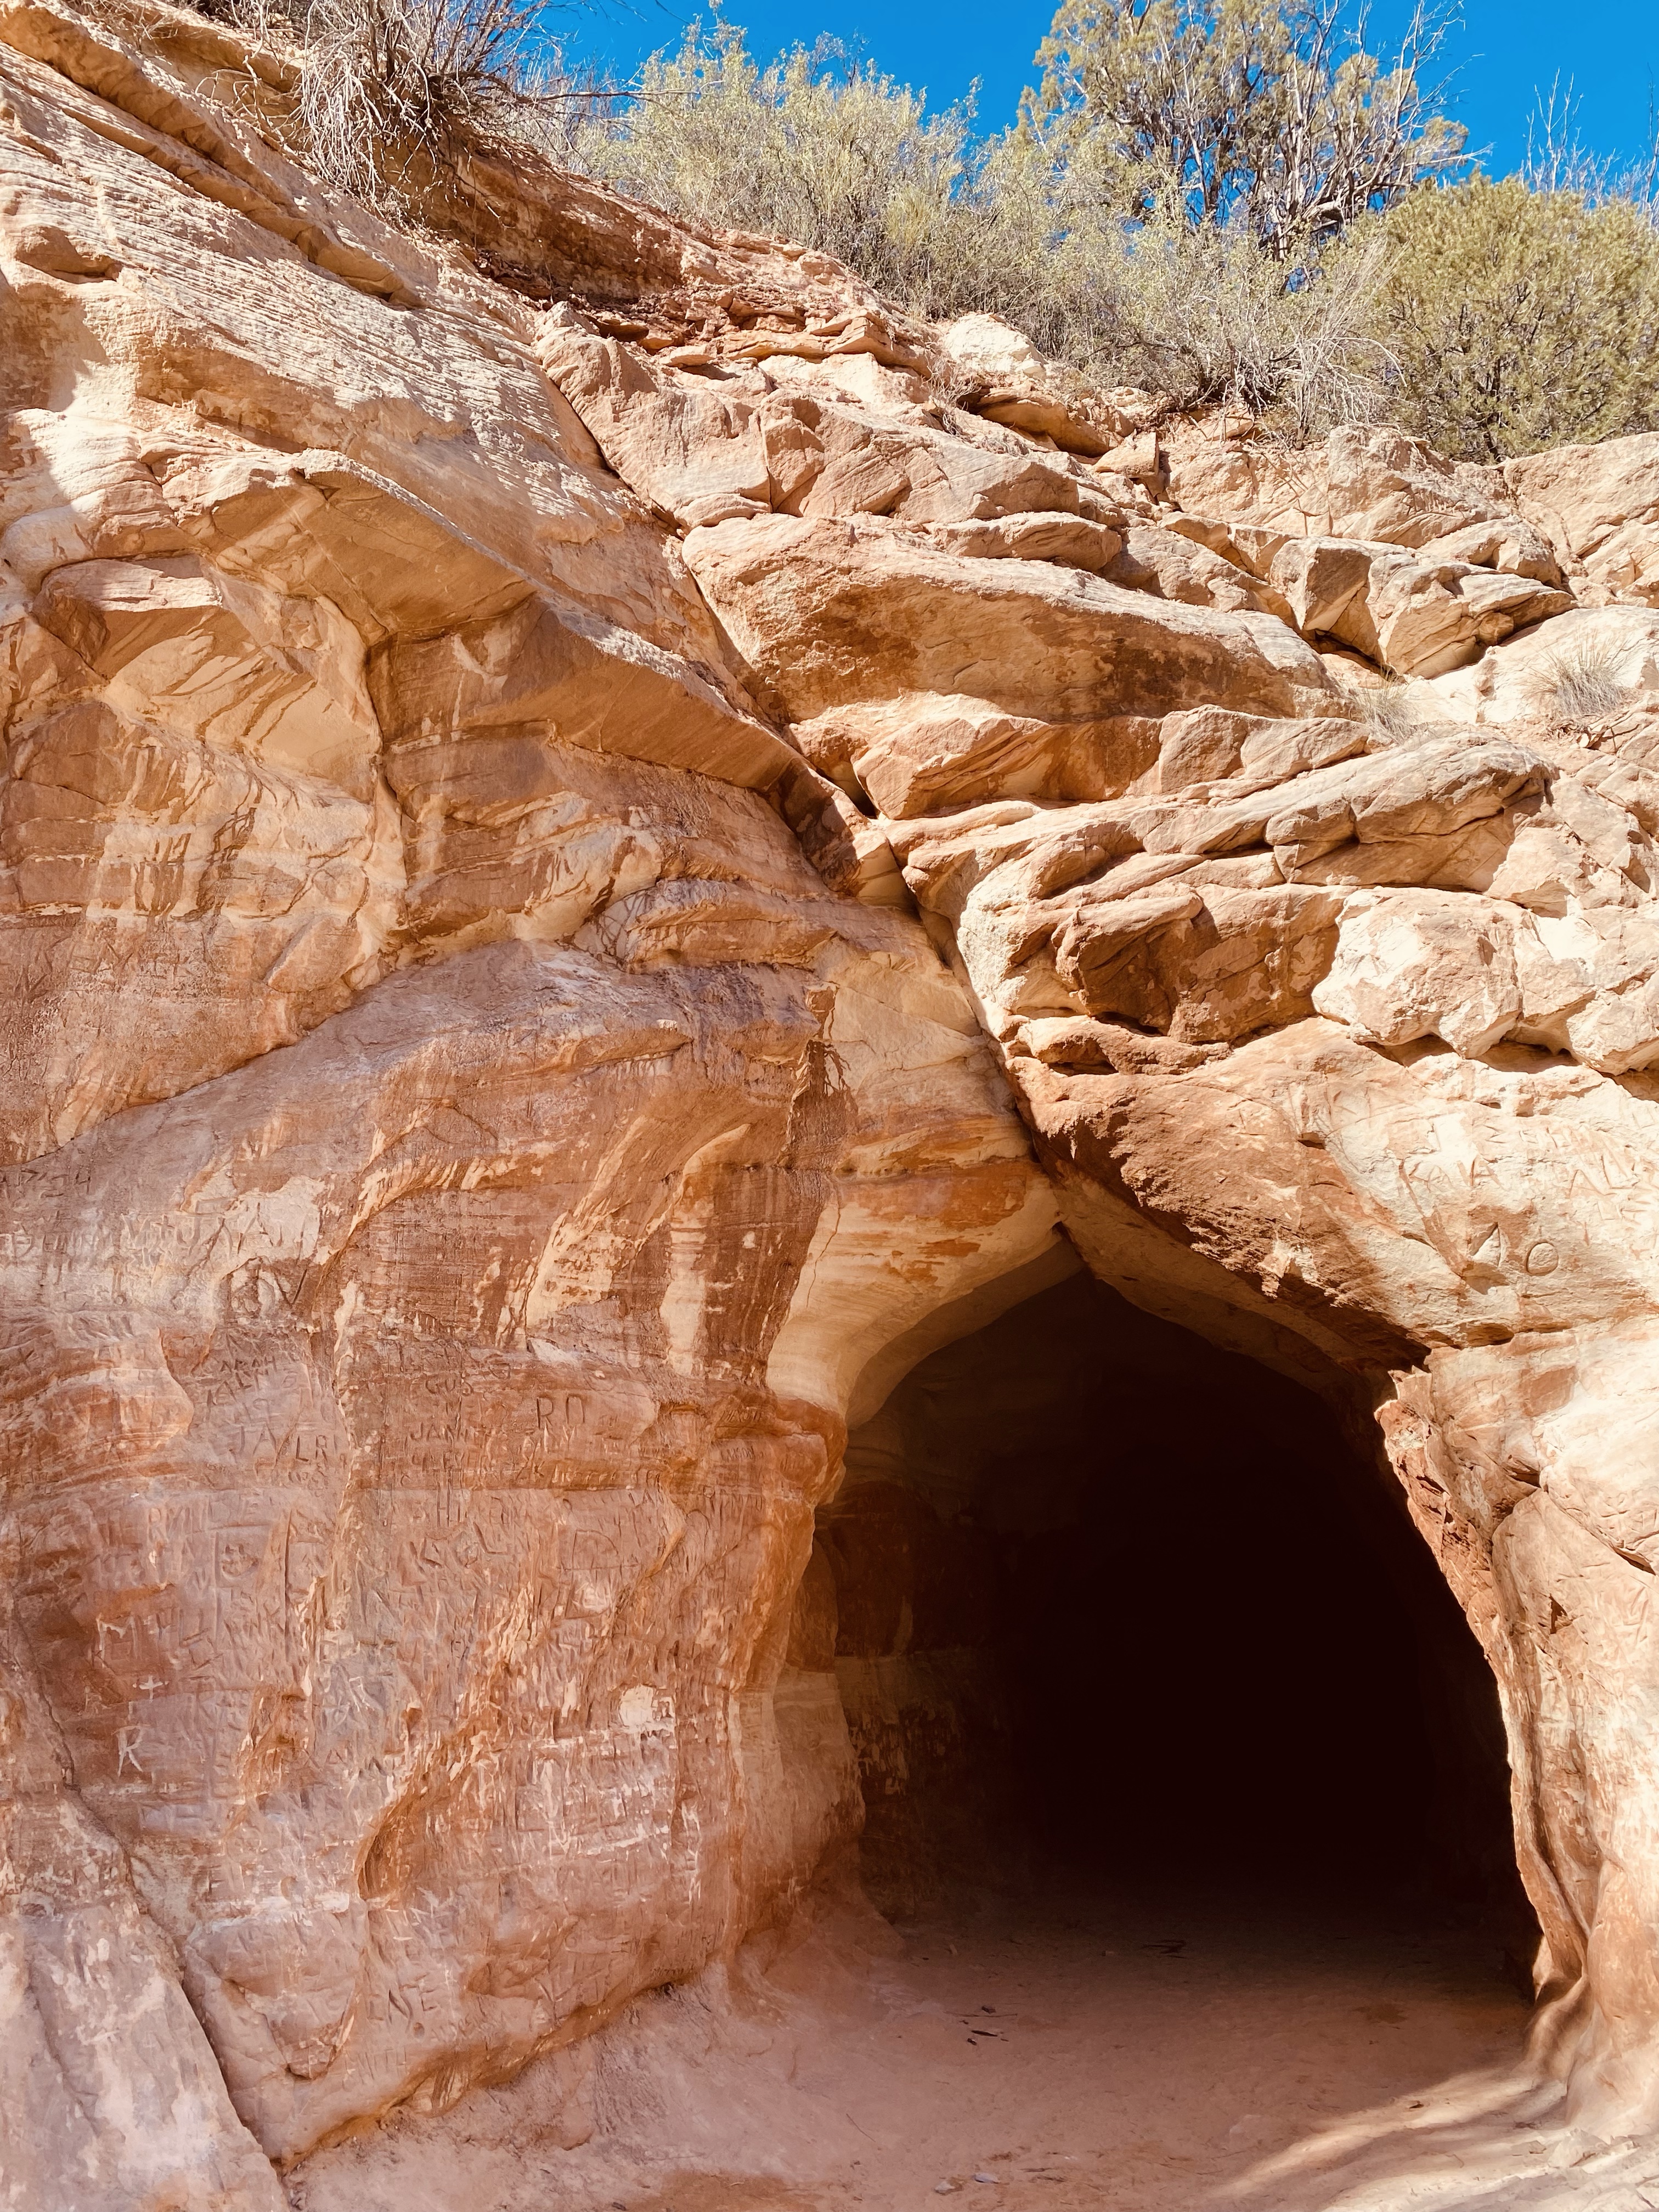
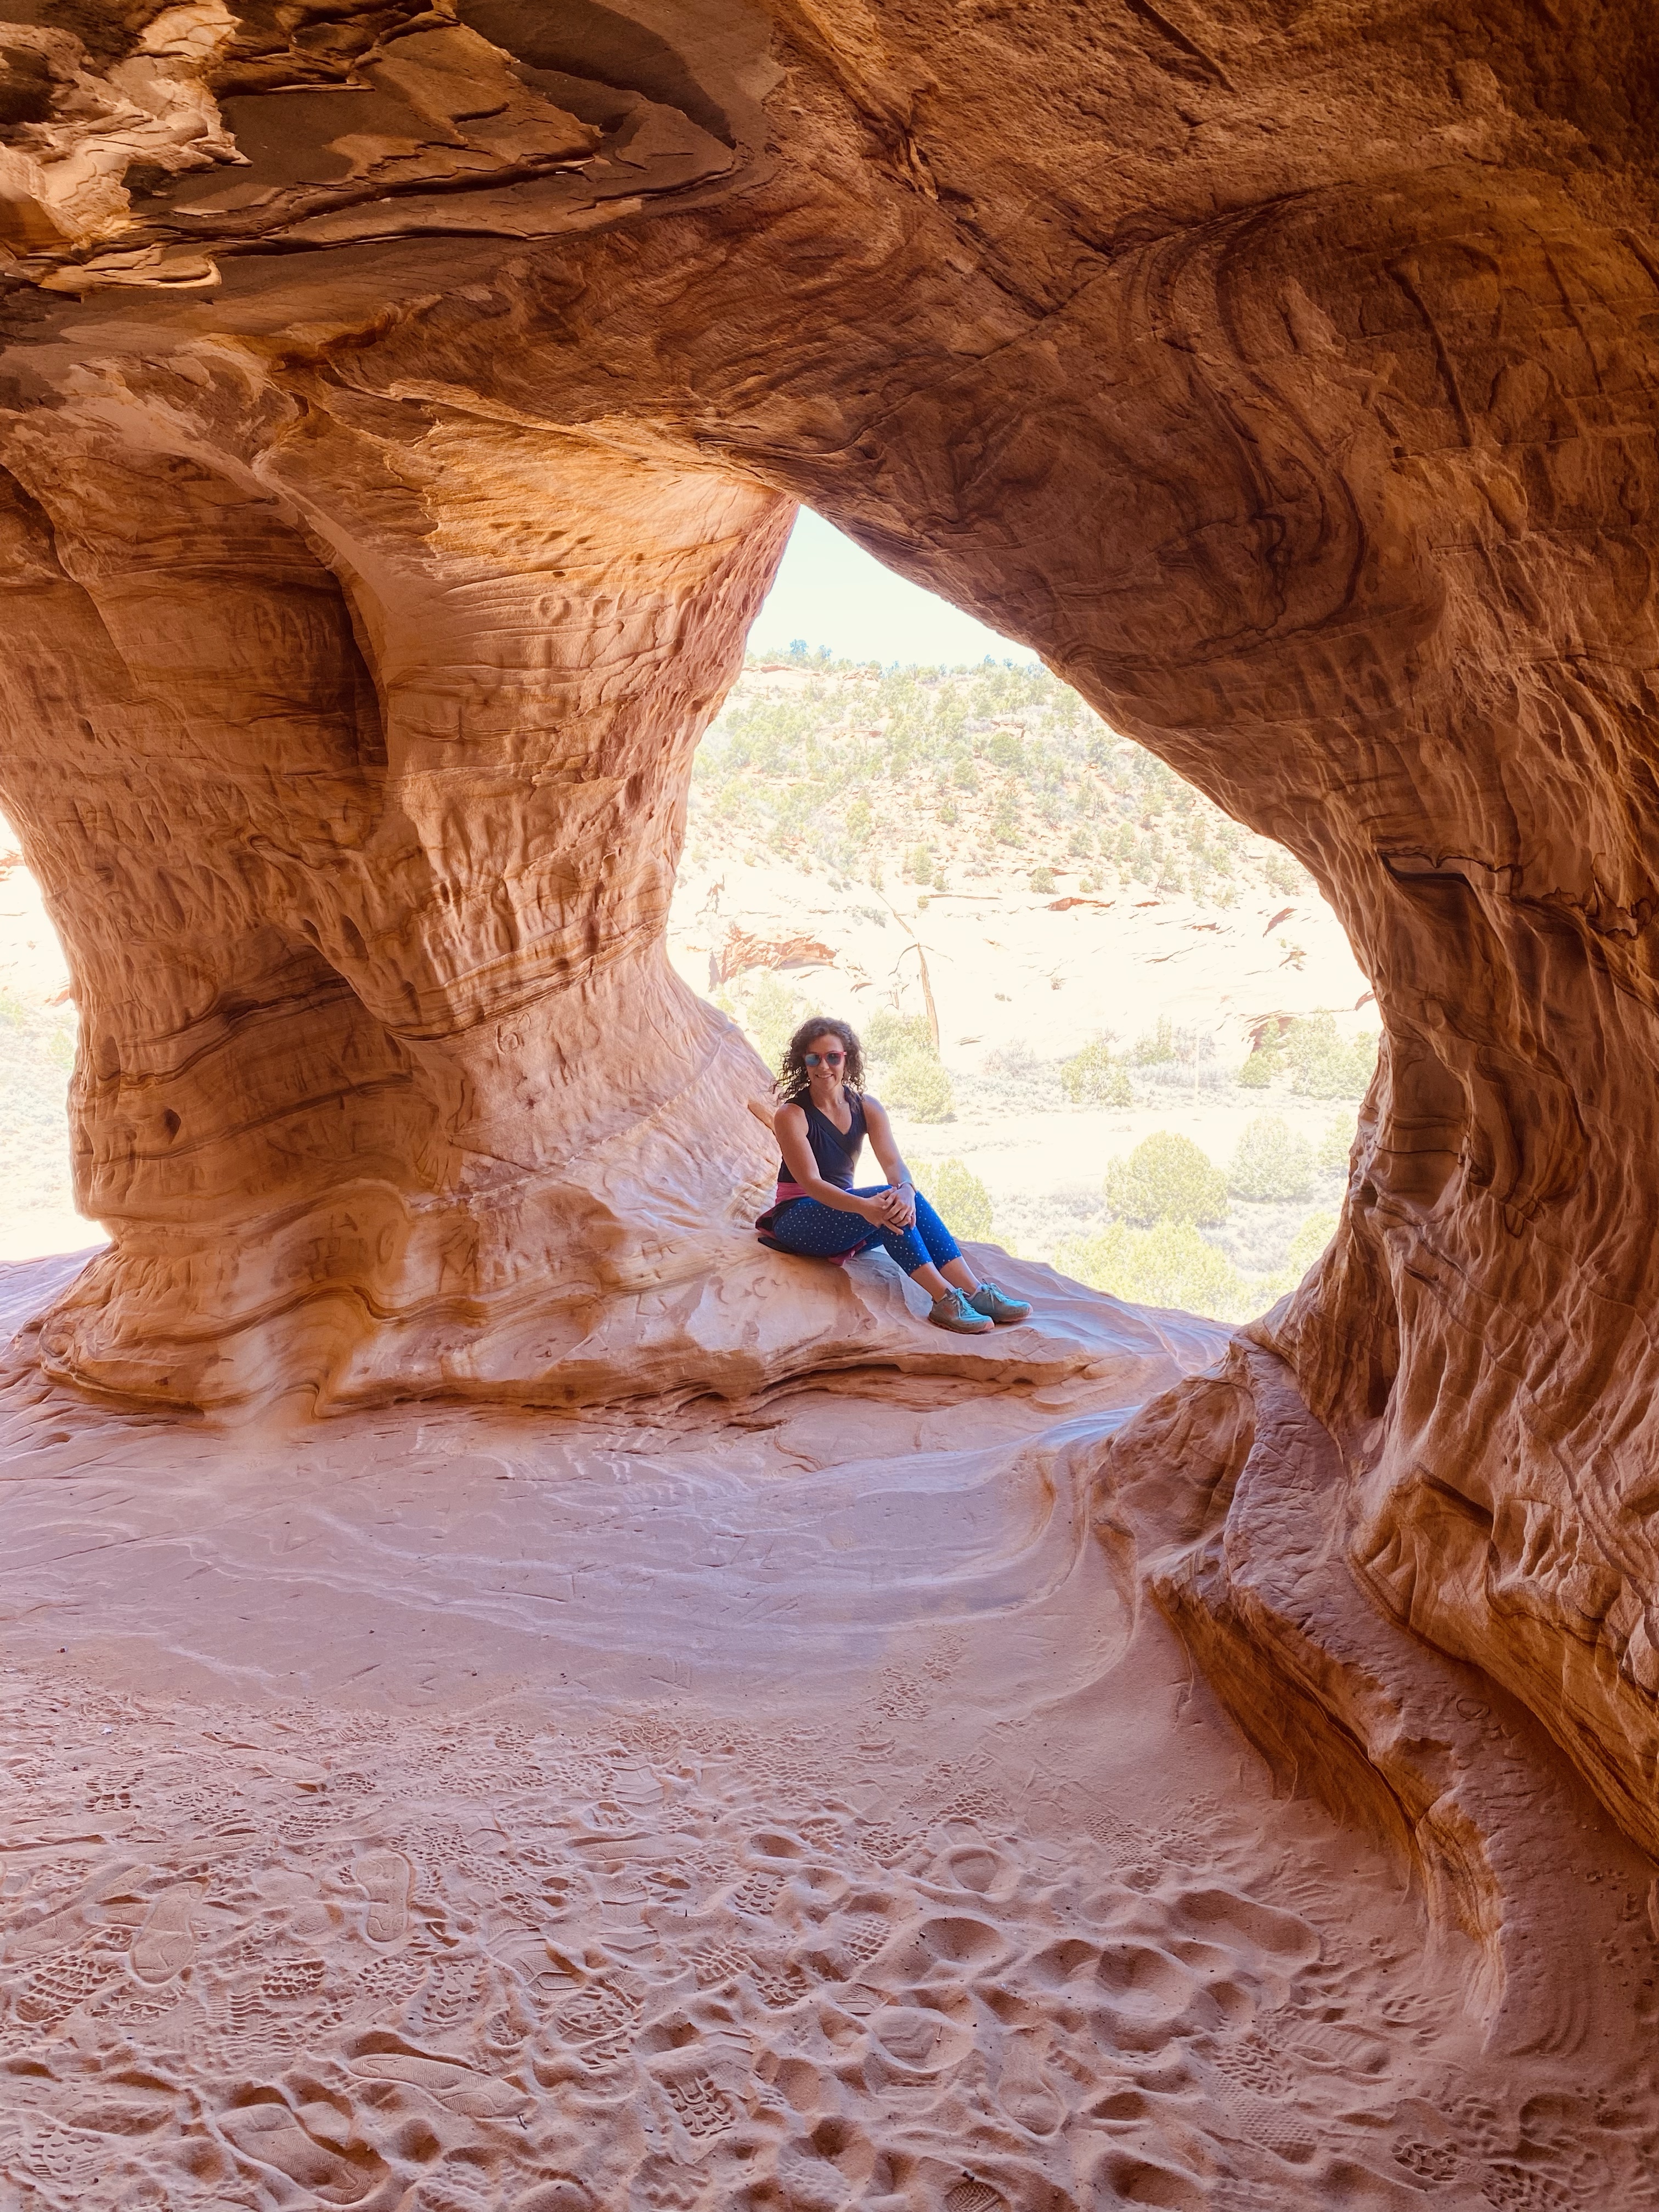
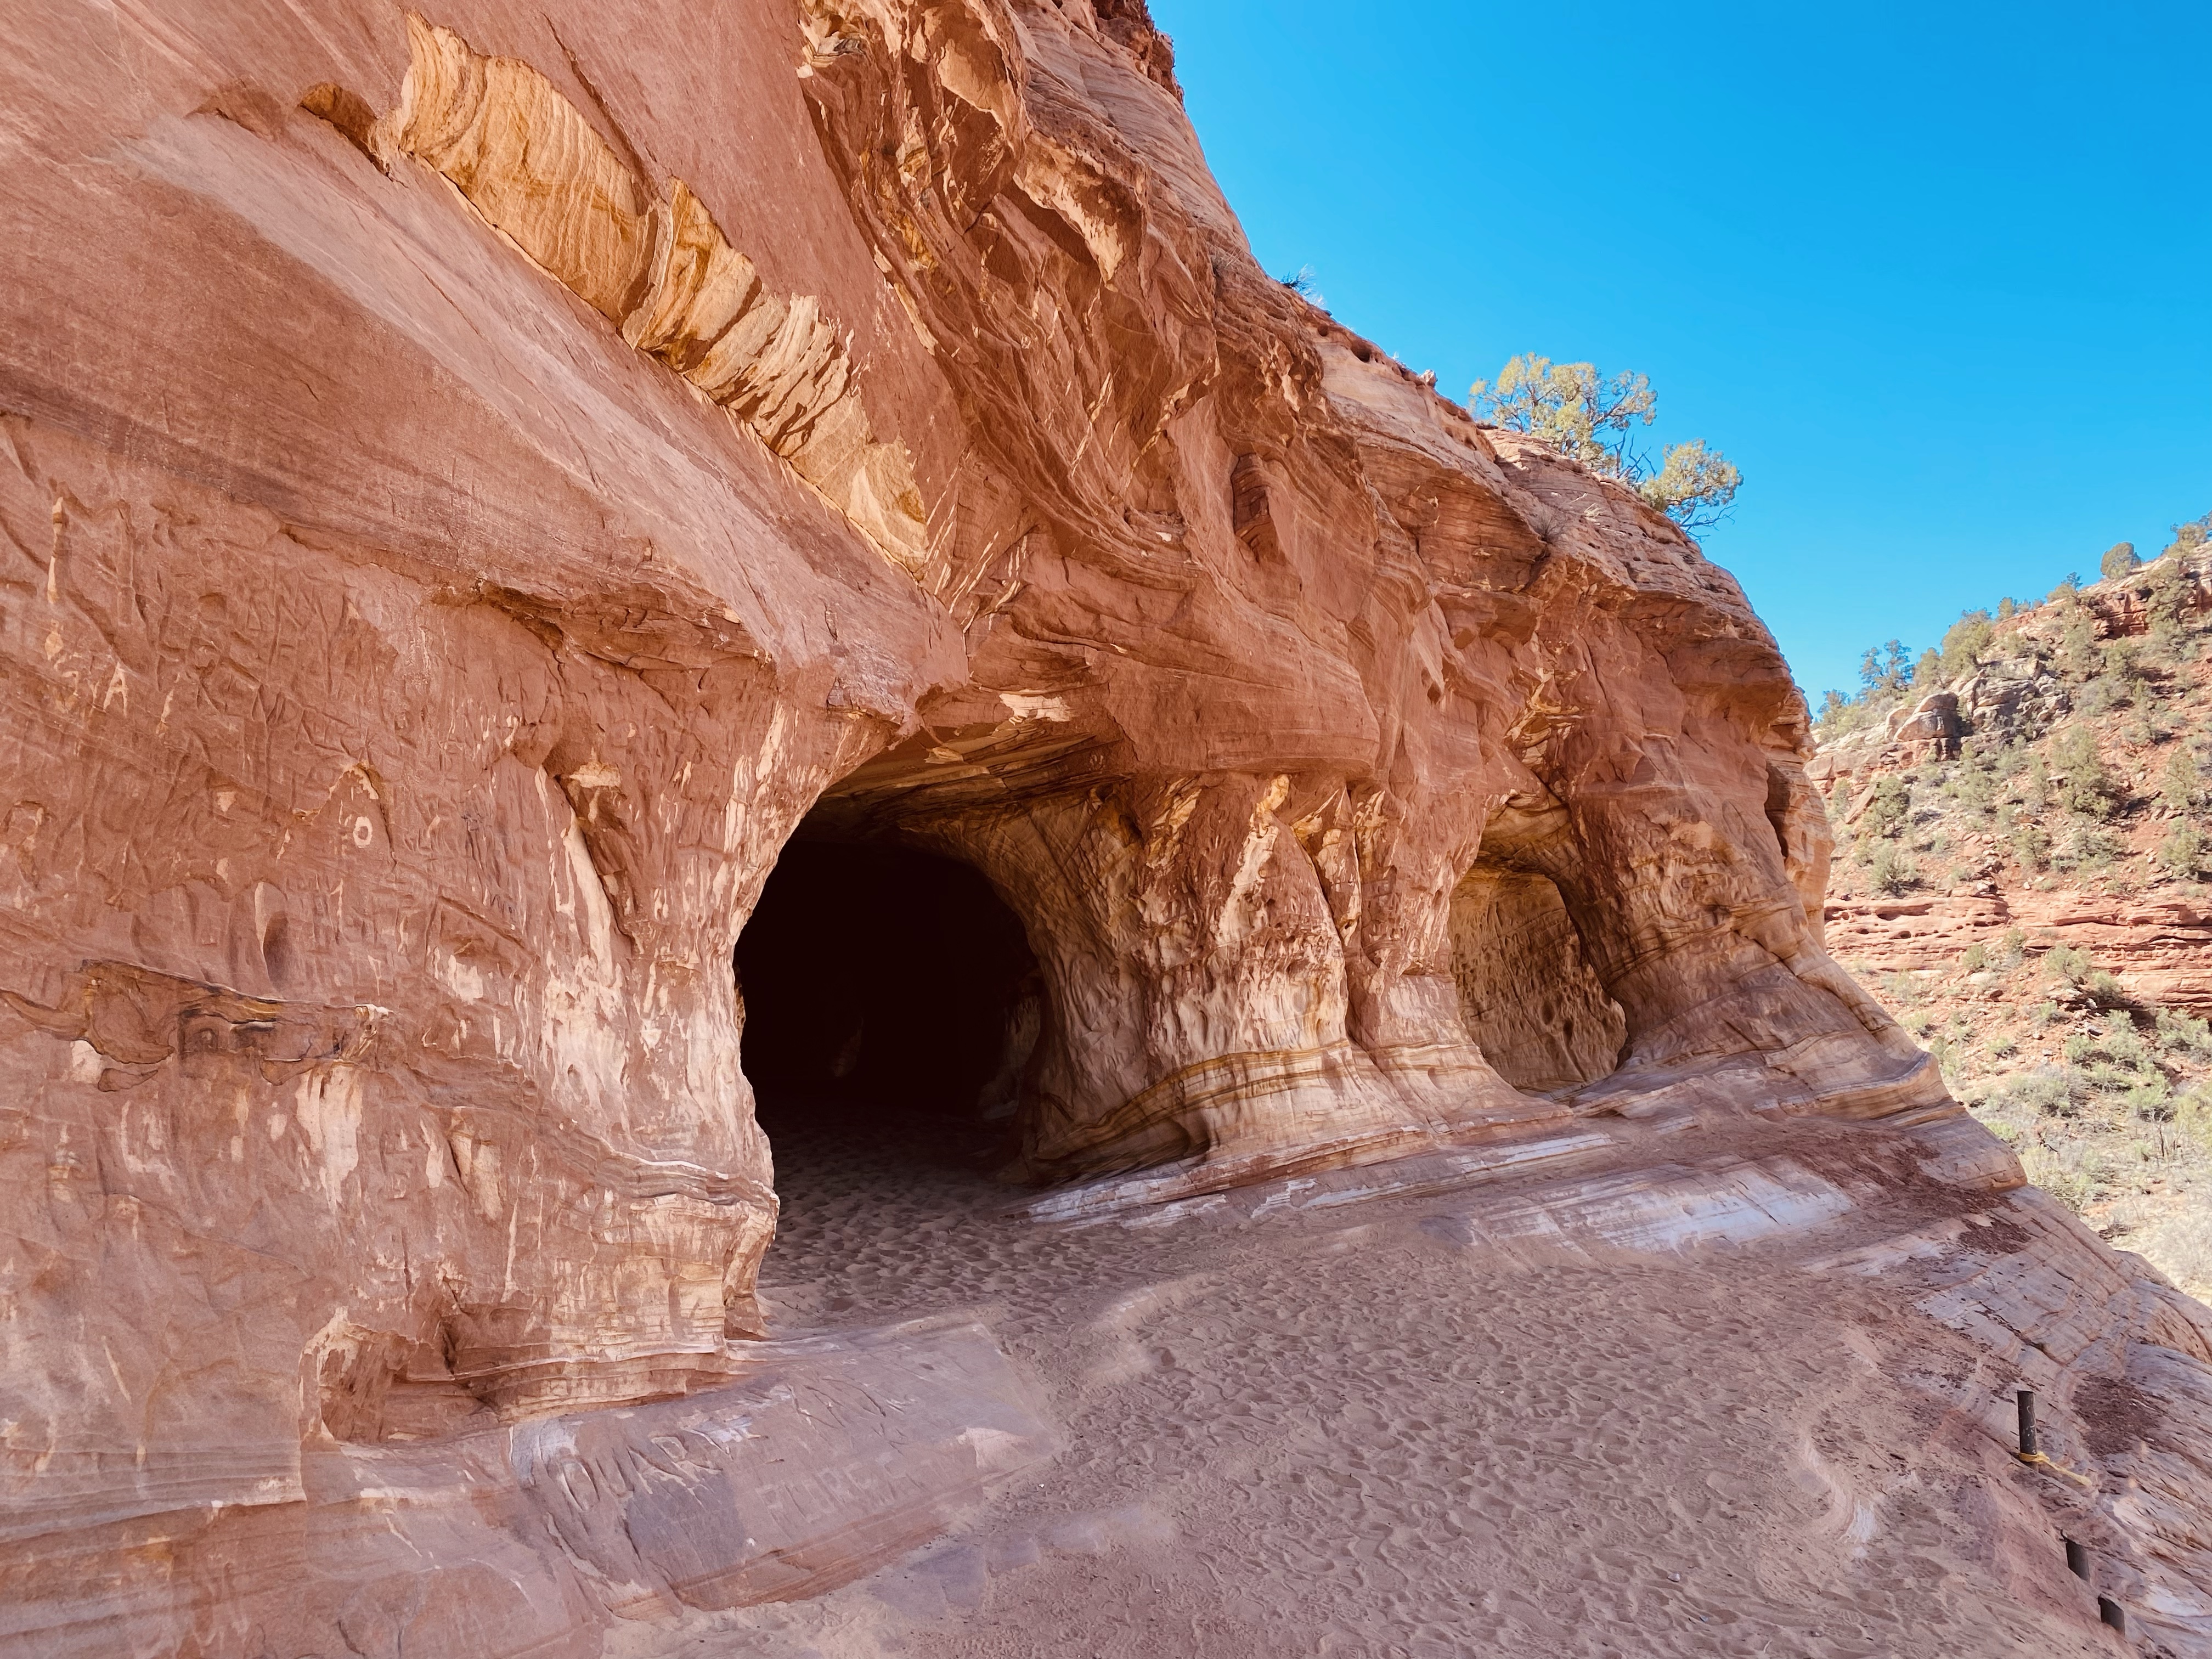
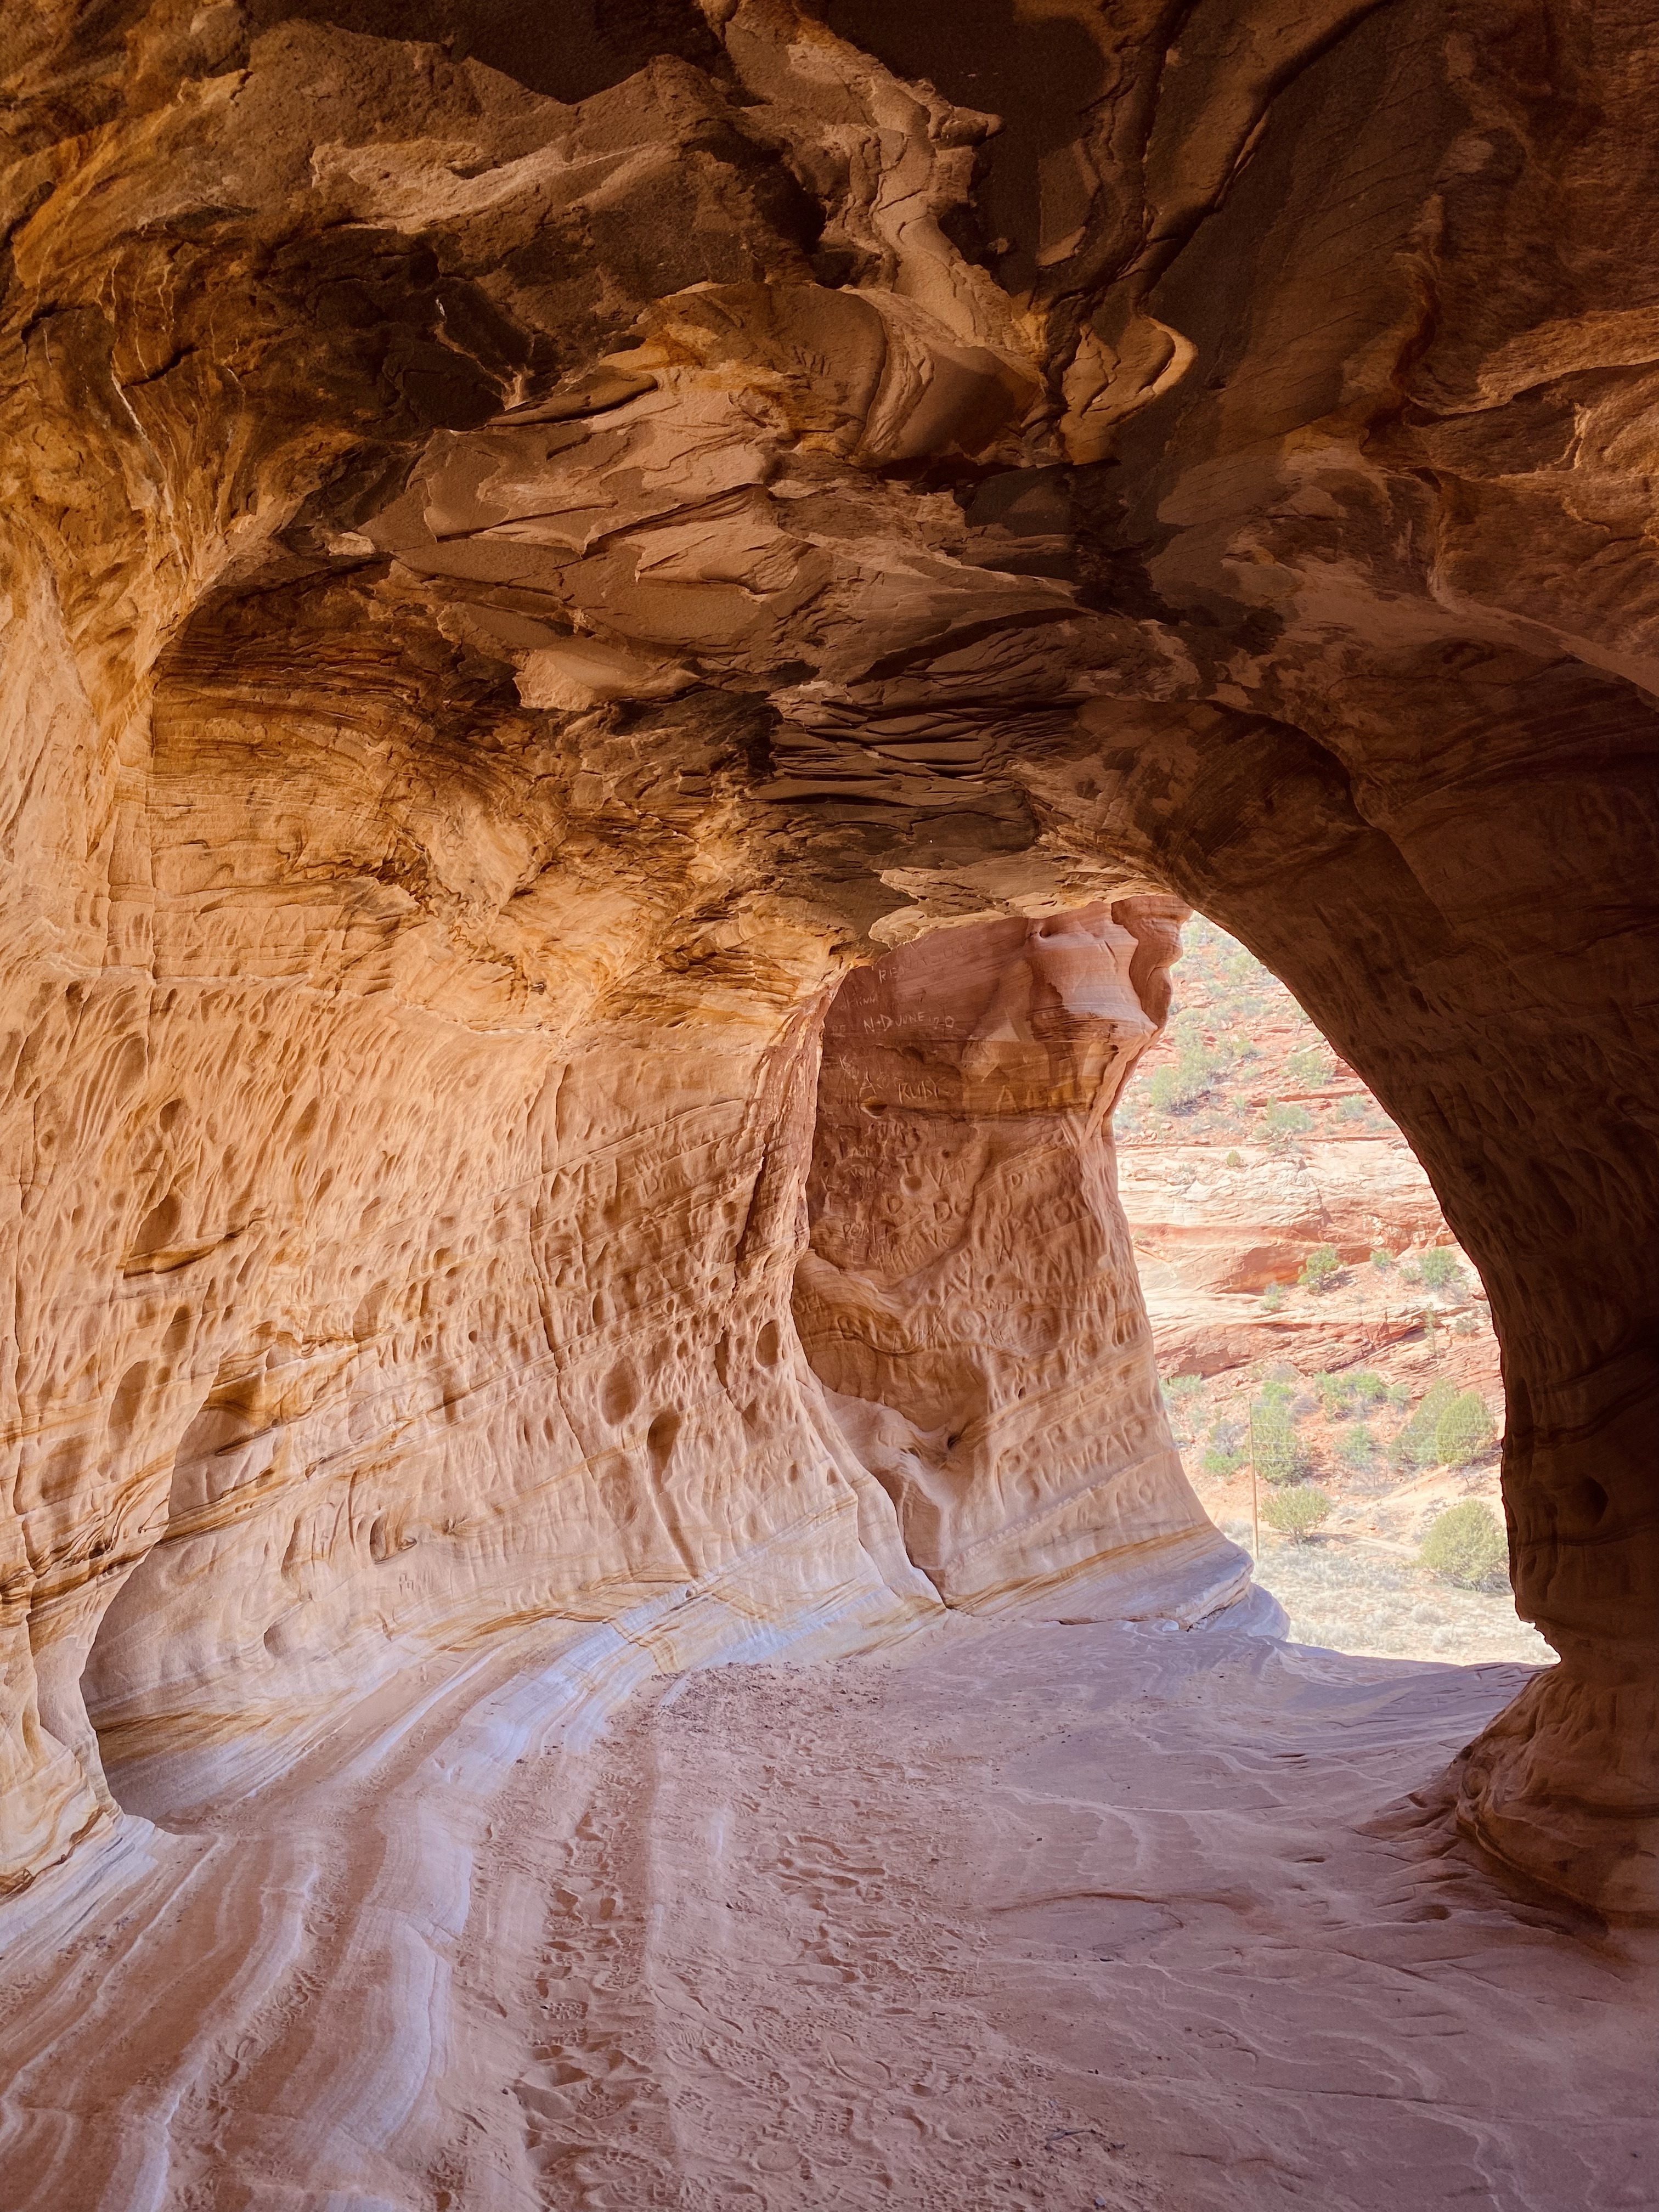
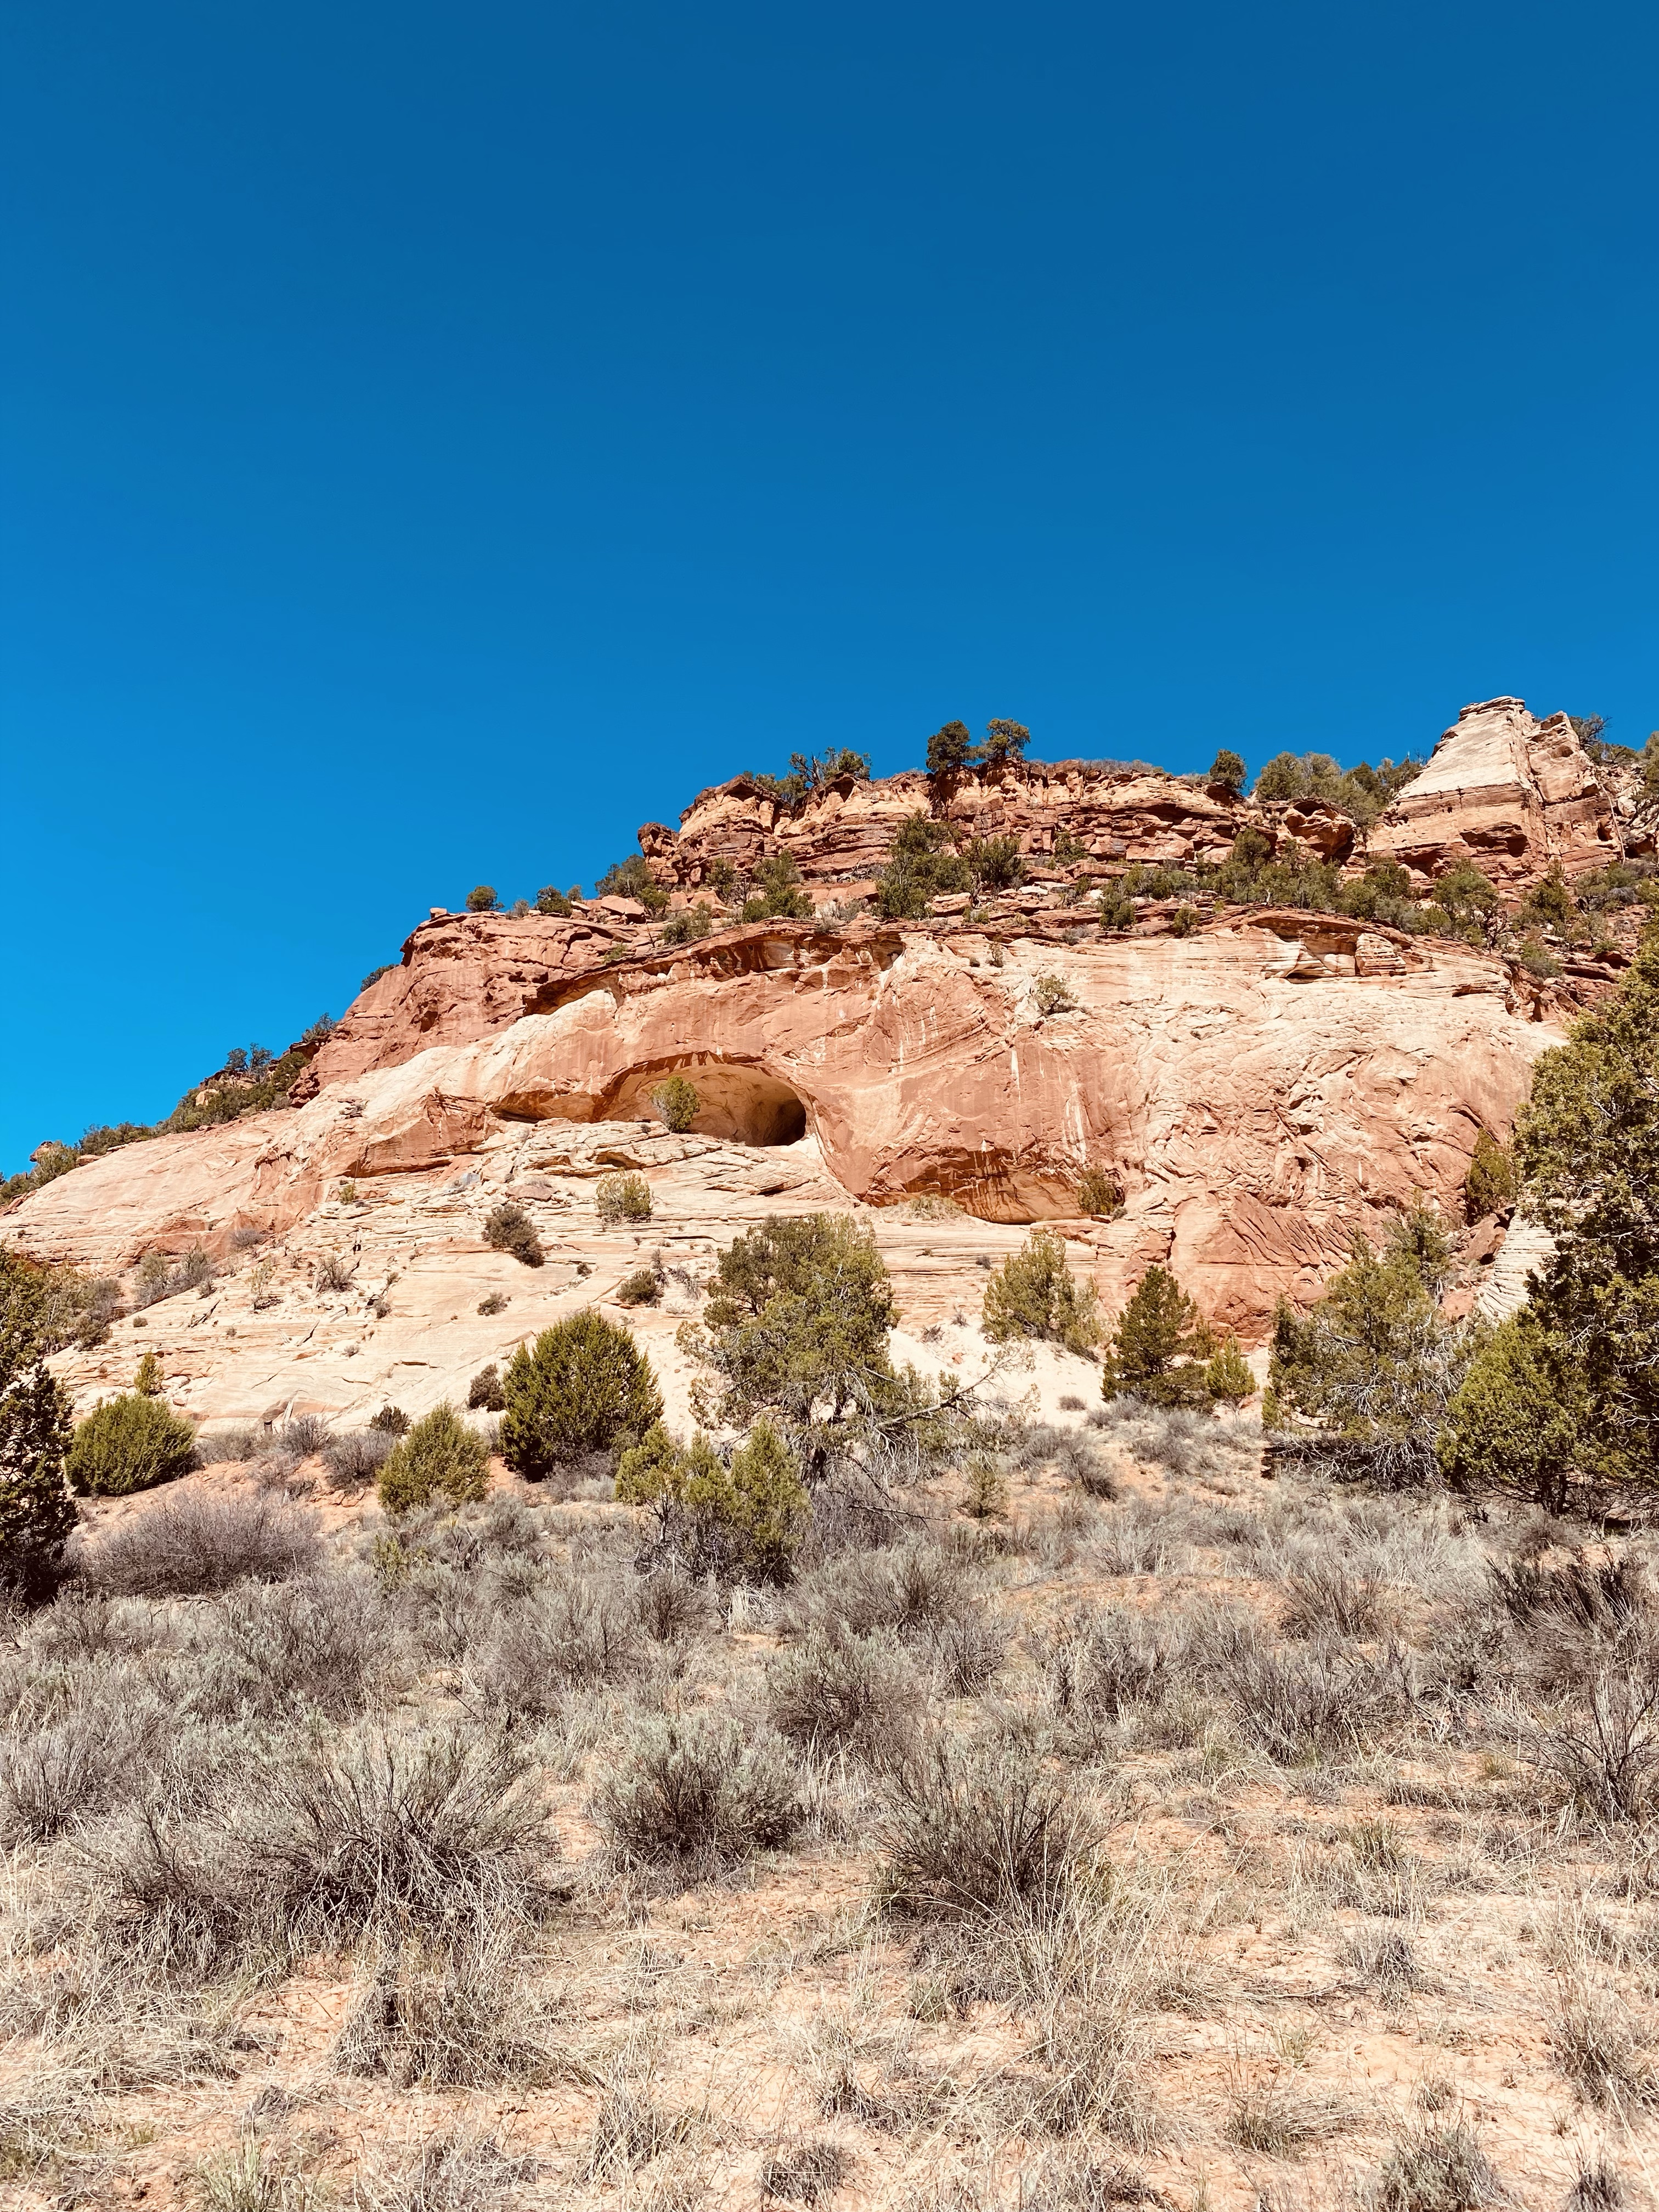
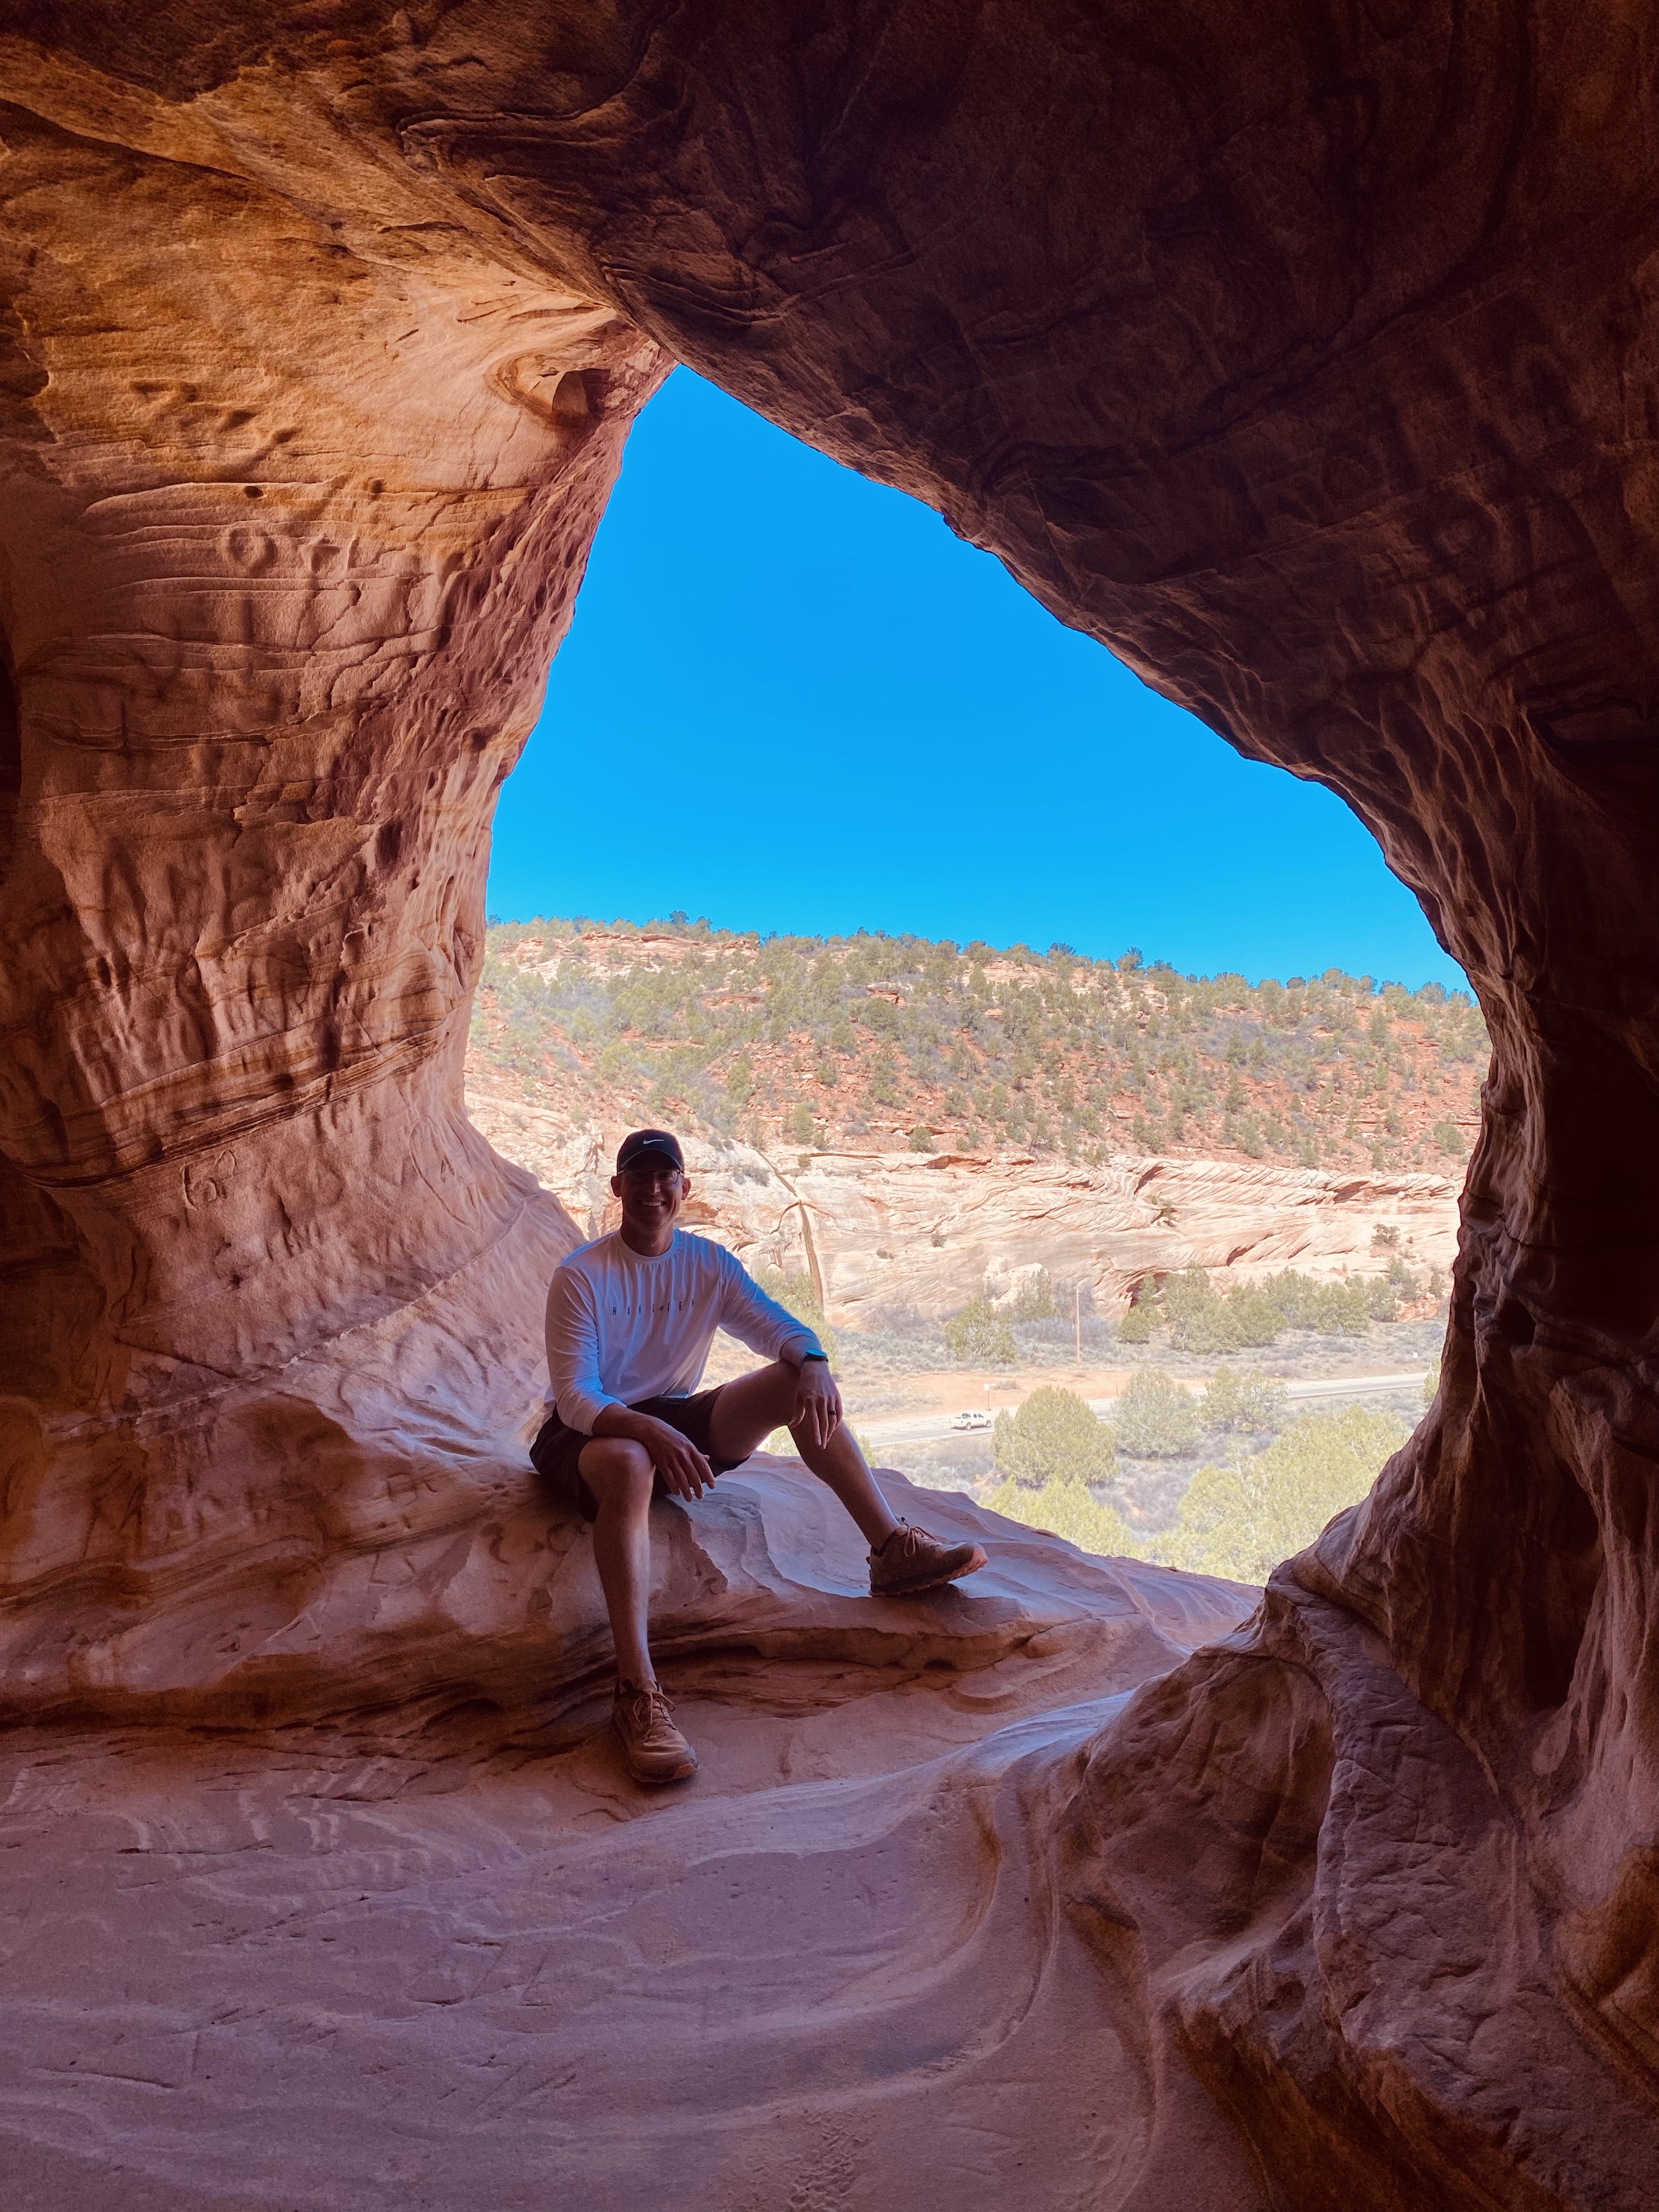
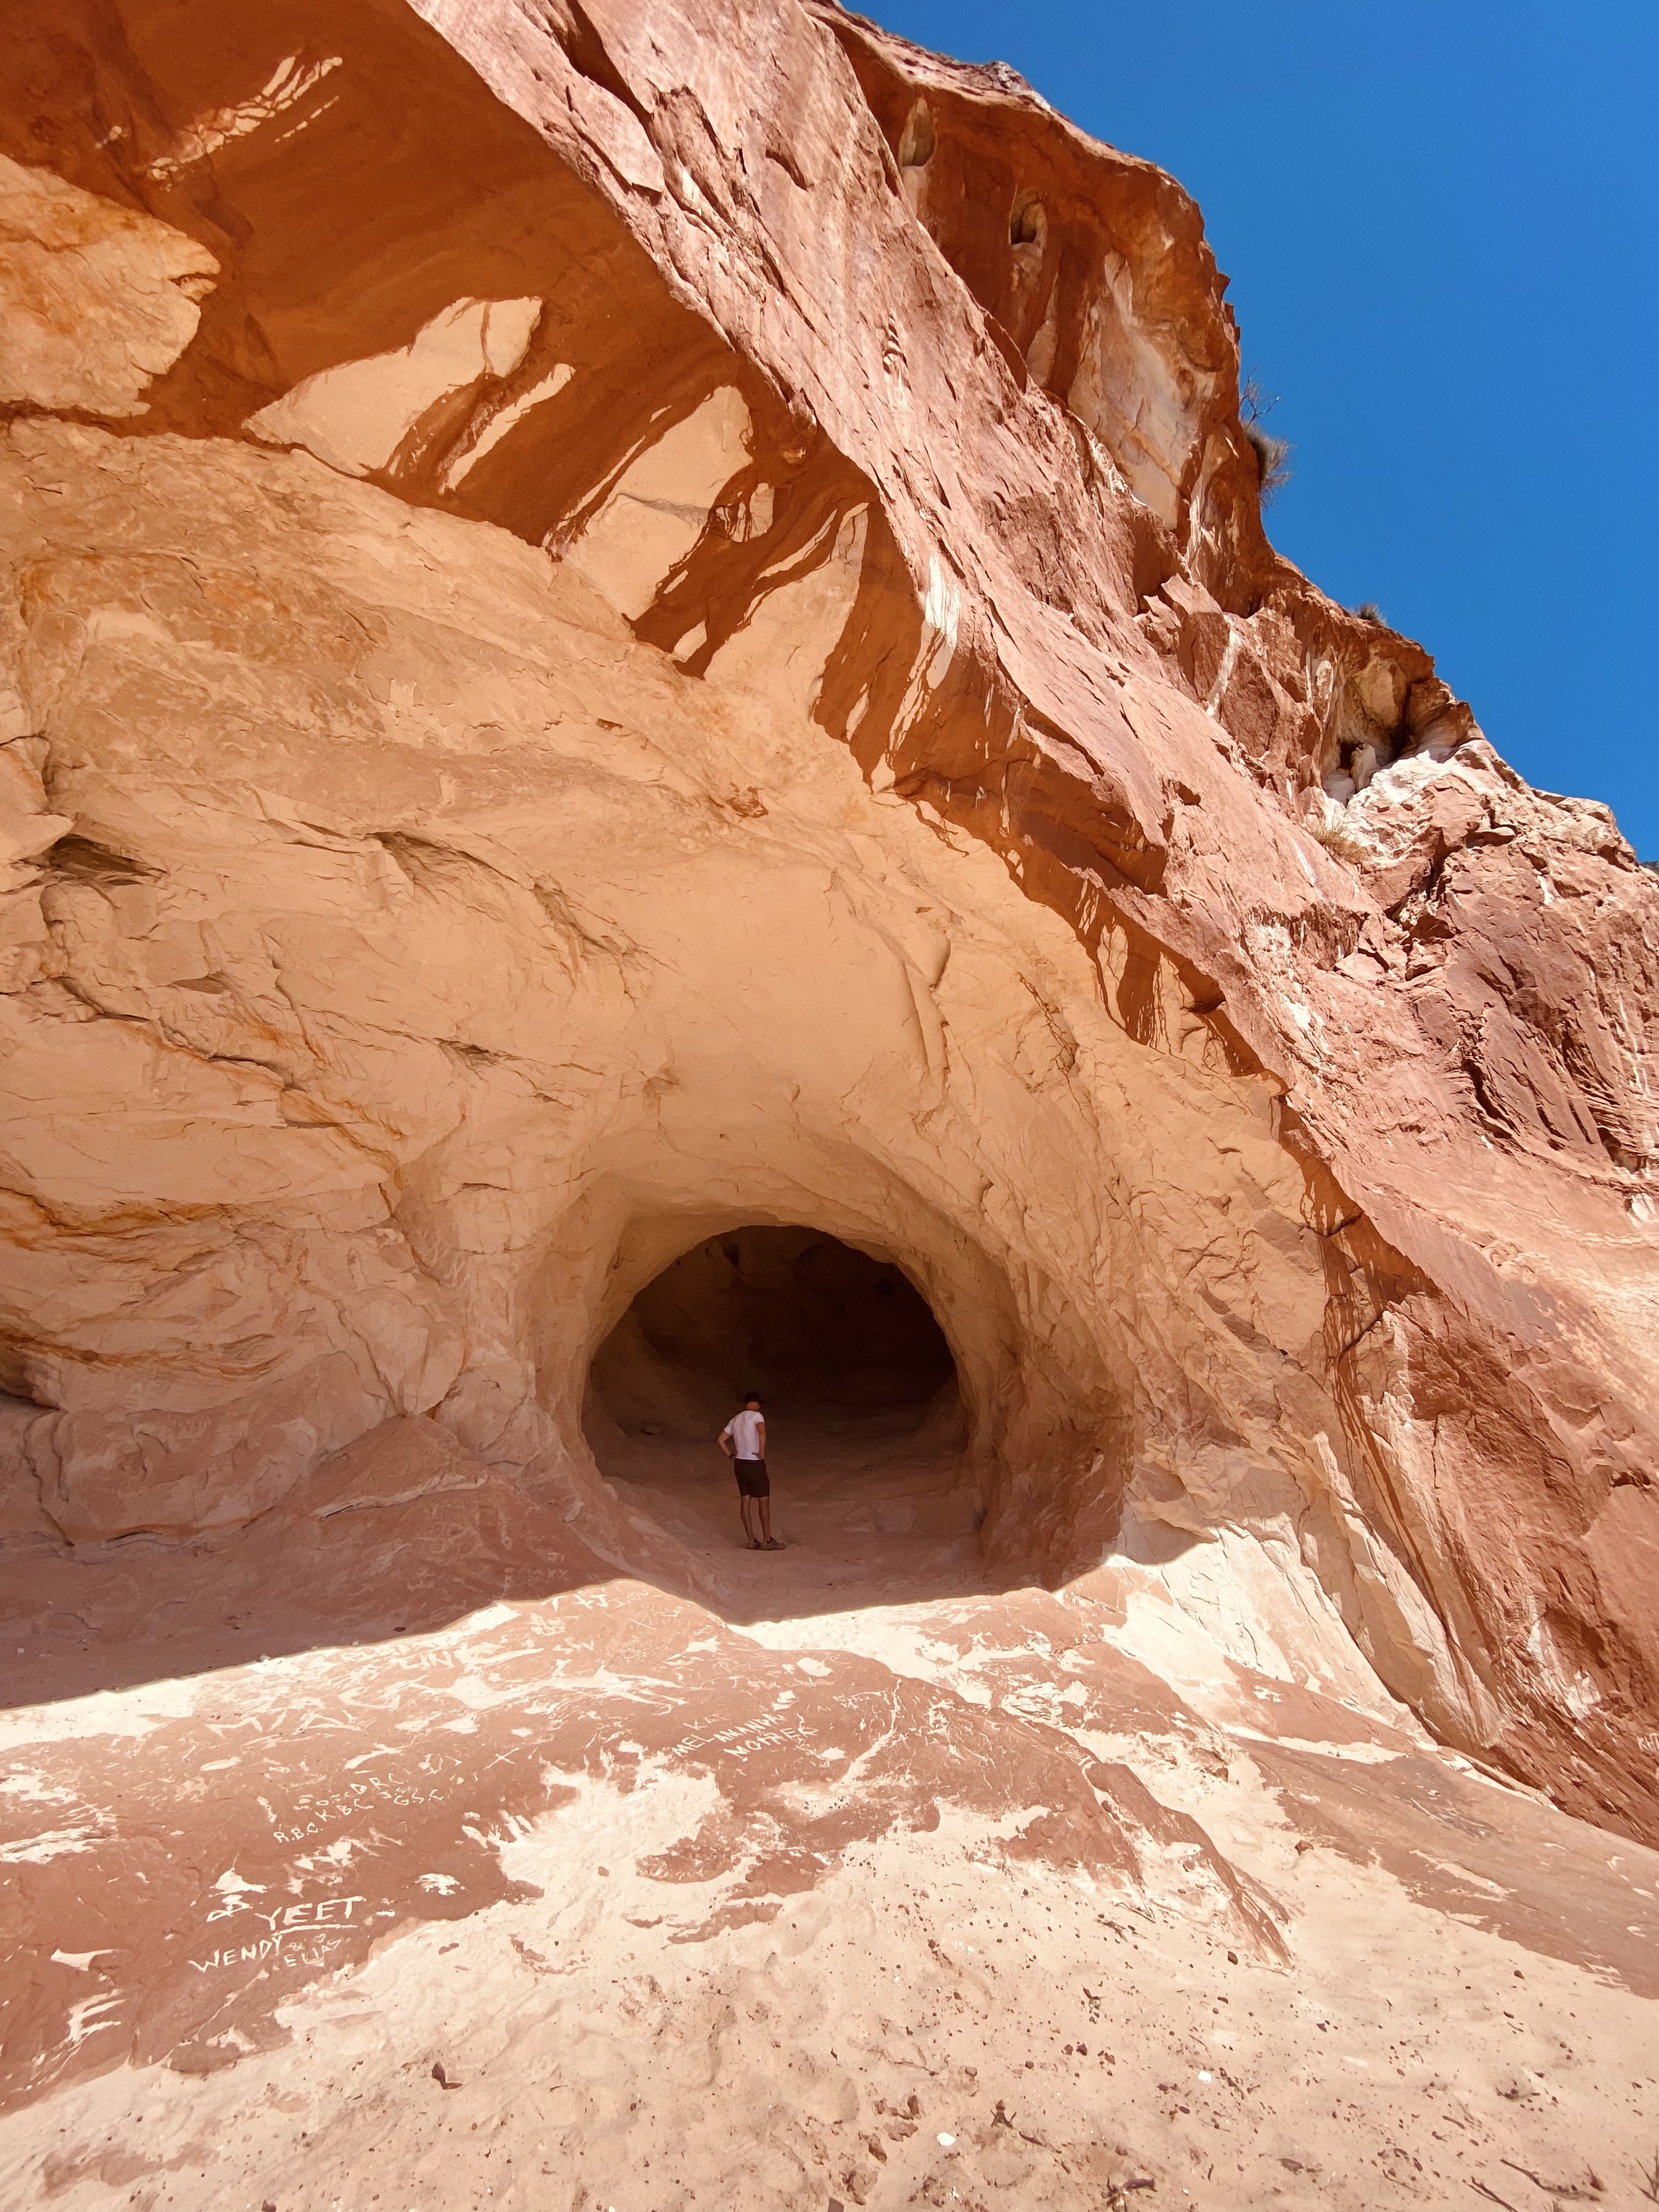
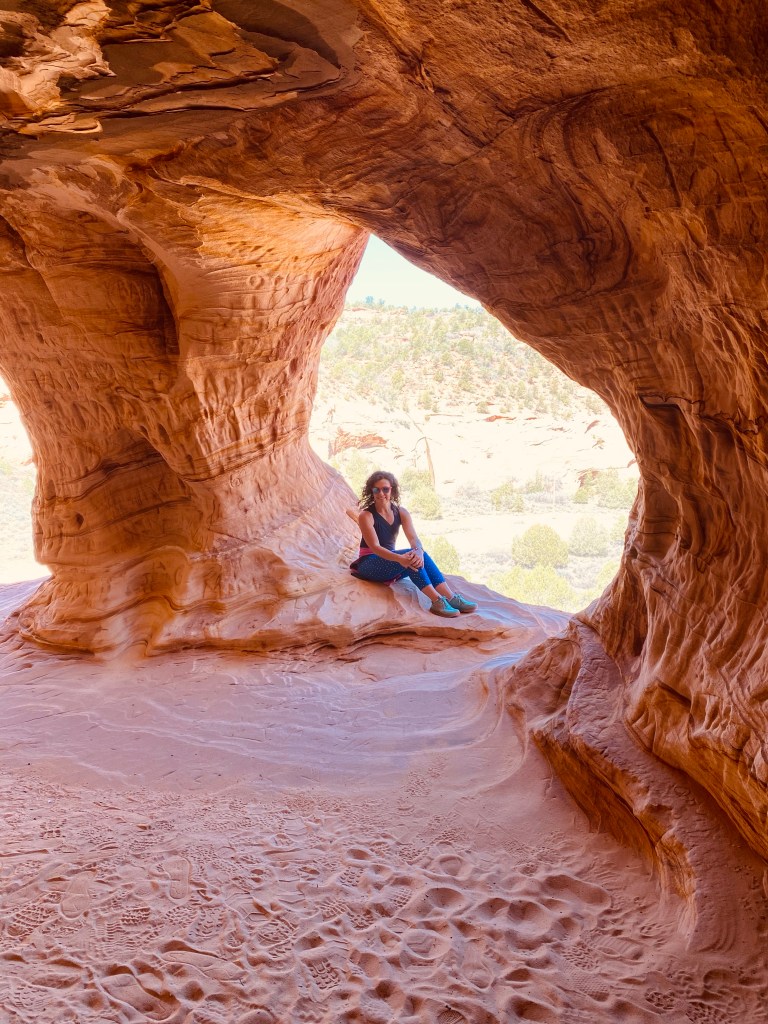
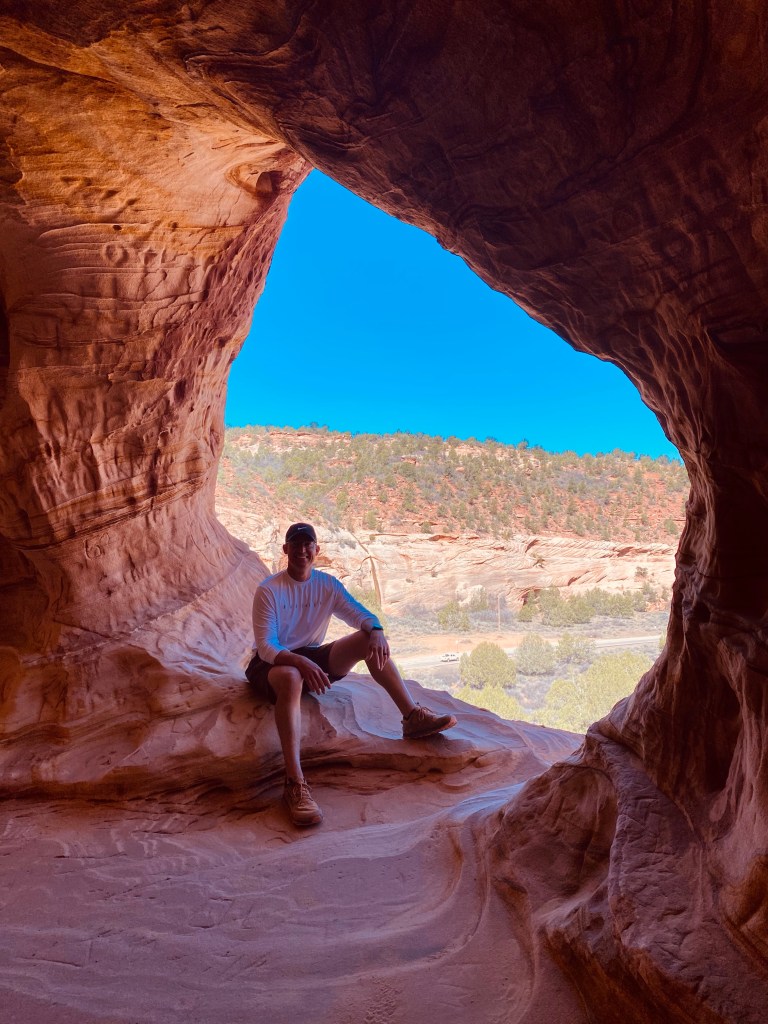
Next stop, The Kanab Sand Caves. You’ll see signs along the highway as you near the parking lot which is just off the highway.
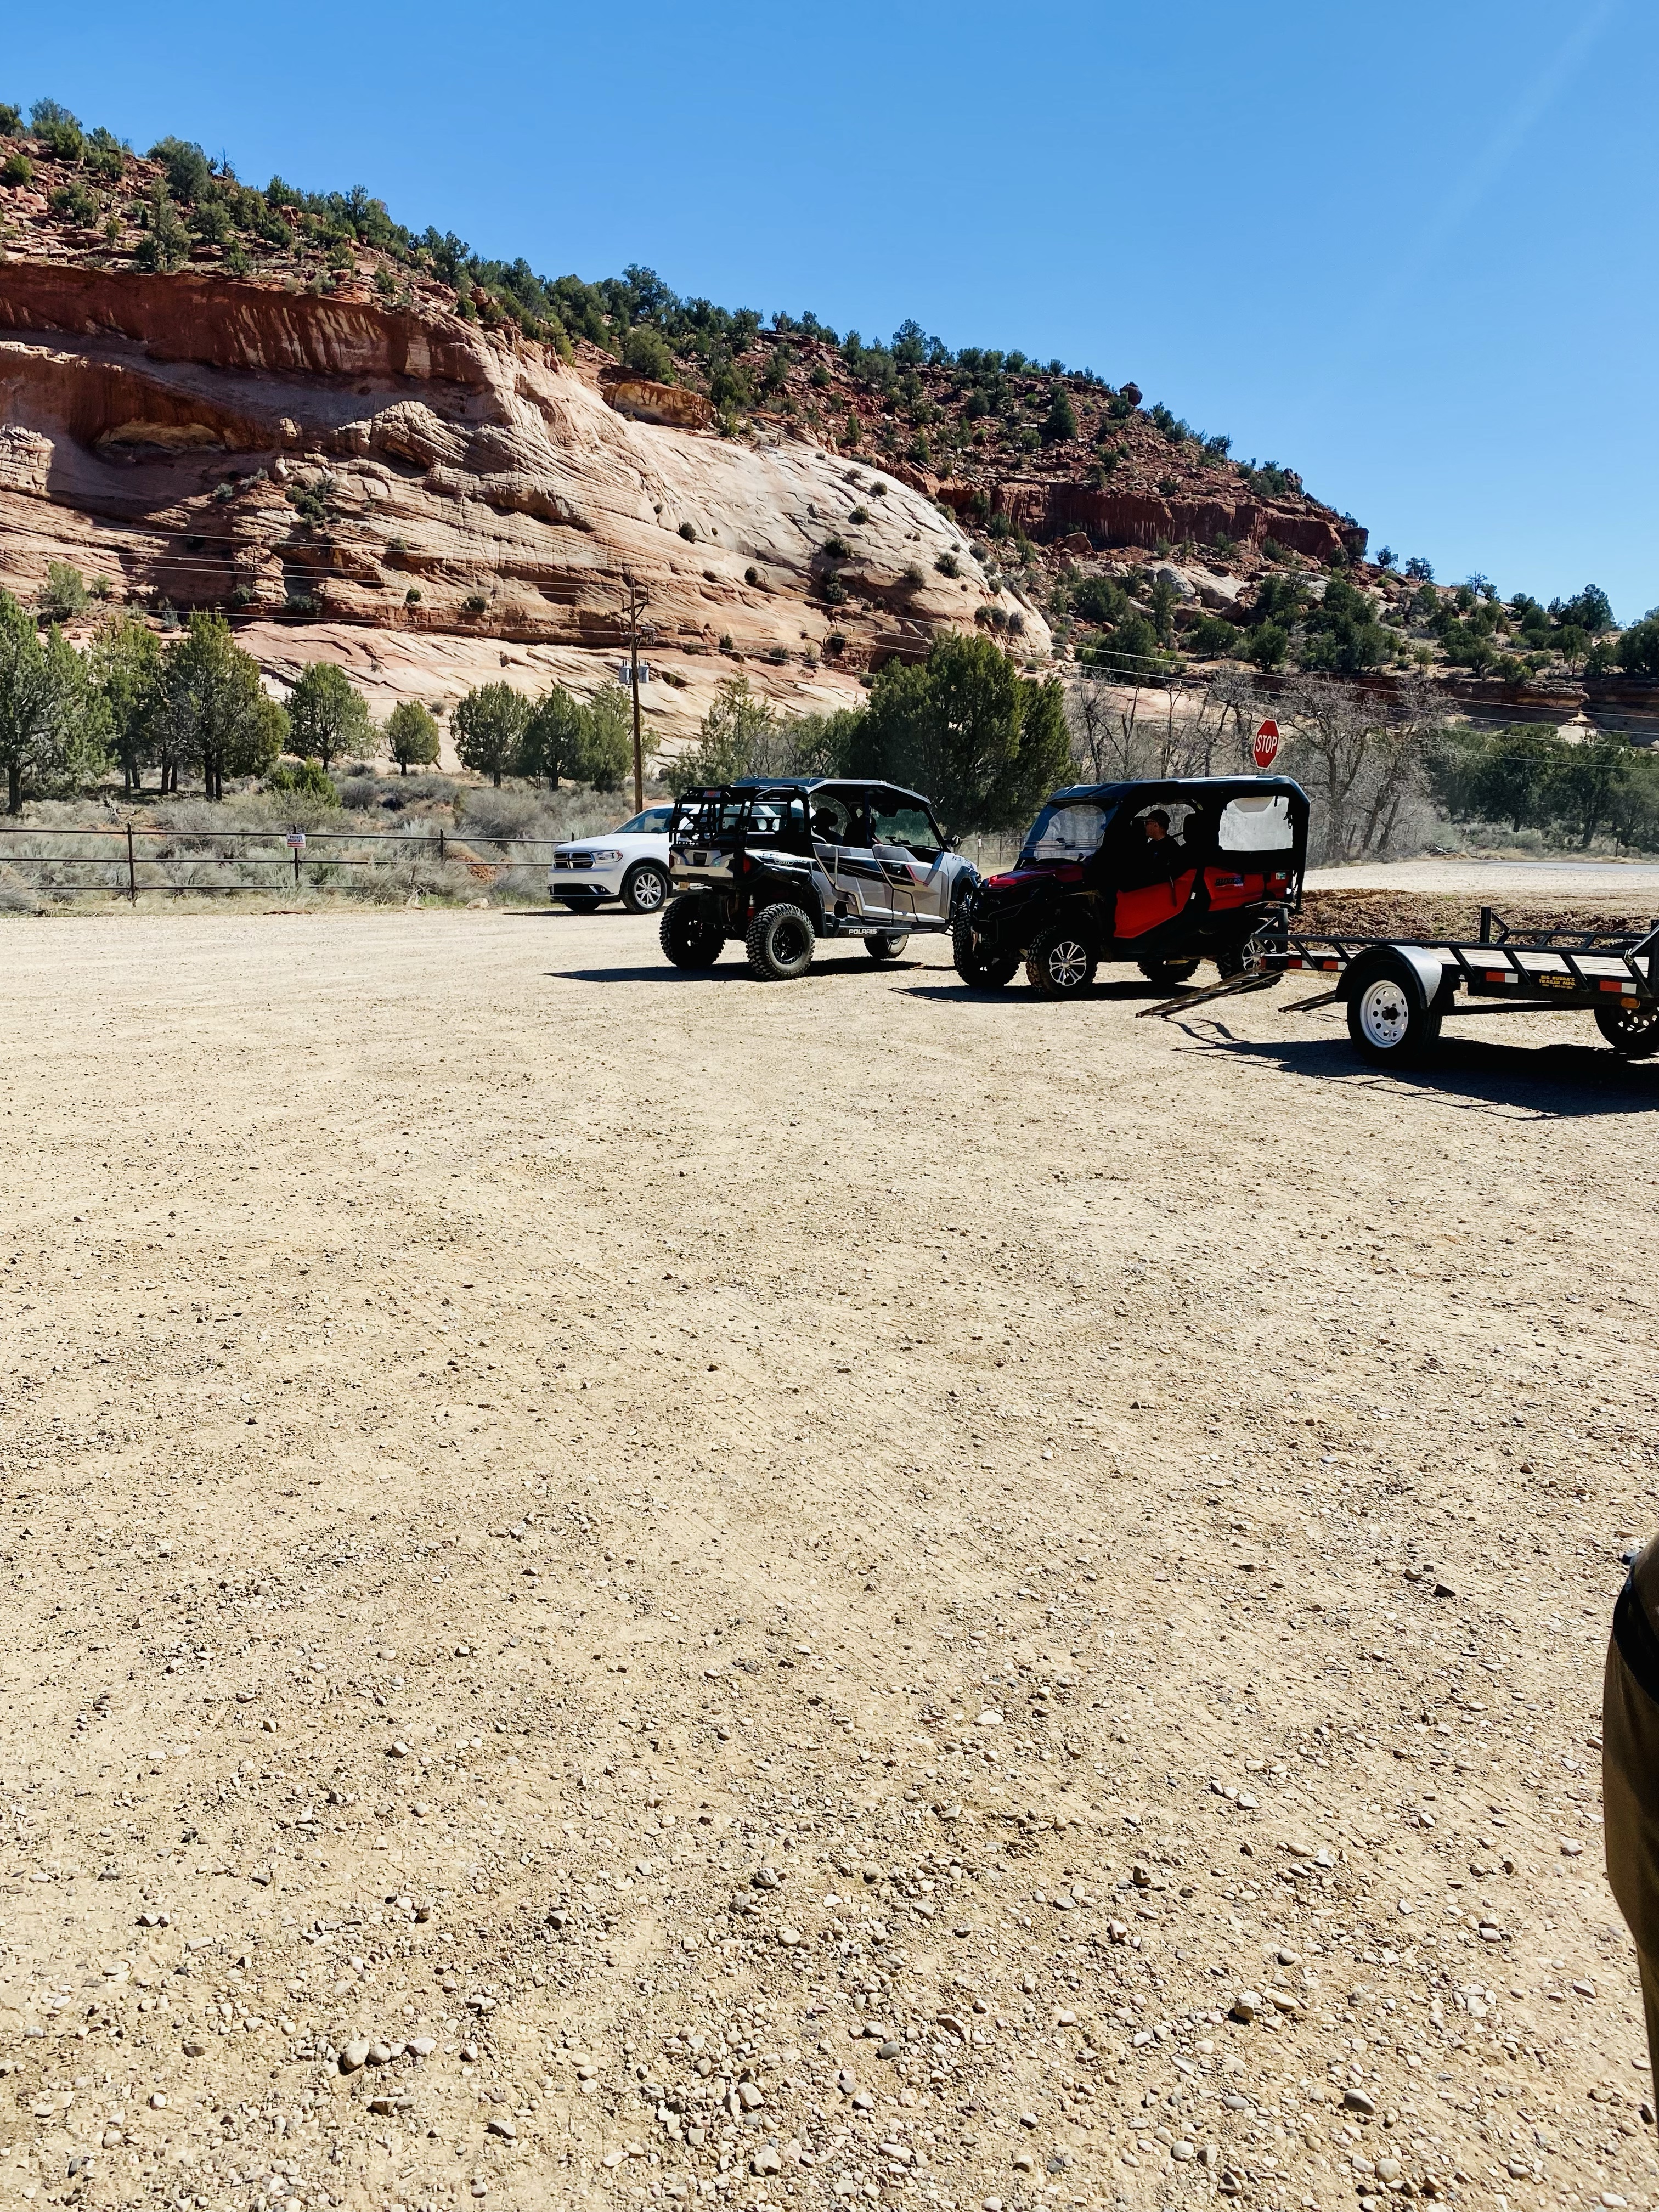
When we parked, a local was nearby unloading his UTV. We talked to him and had a lovely conversation. He gave us confirmation on which way we needed to hike to get to the sand caves but also told us there are other sand caves located just down the road that aren’t touristy. In conversation, he invited us to join him, his son, wife and grandkids on their UTV adventure after we toured the caves. While I do regret not taking him up on their offer, they were all so incredibly kind, we ultimately decided we wanted to spend more time at Under Canvas since we would only be staying there for one night.
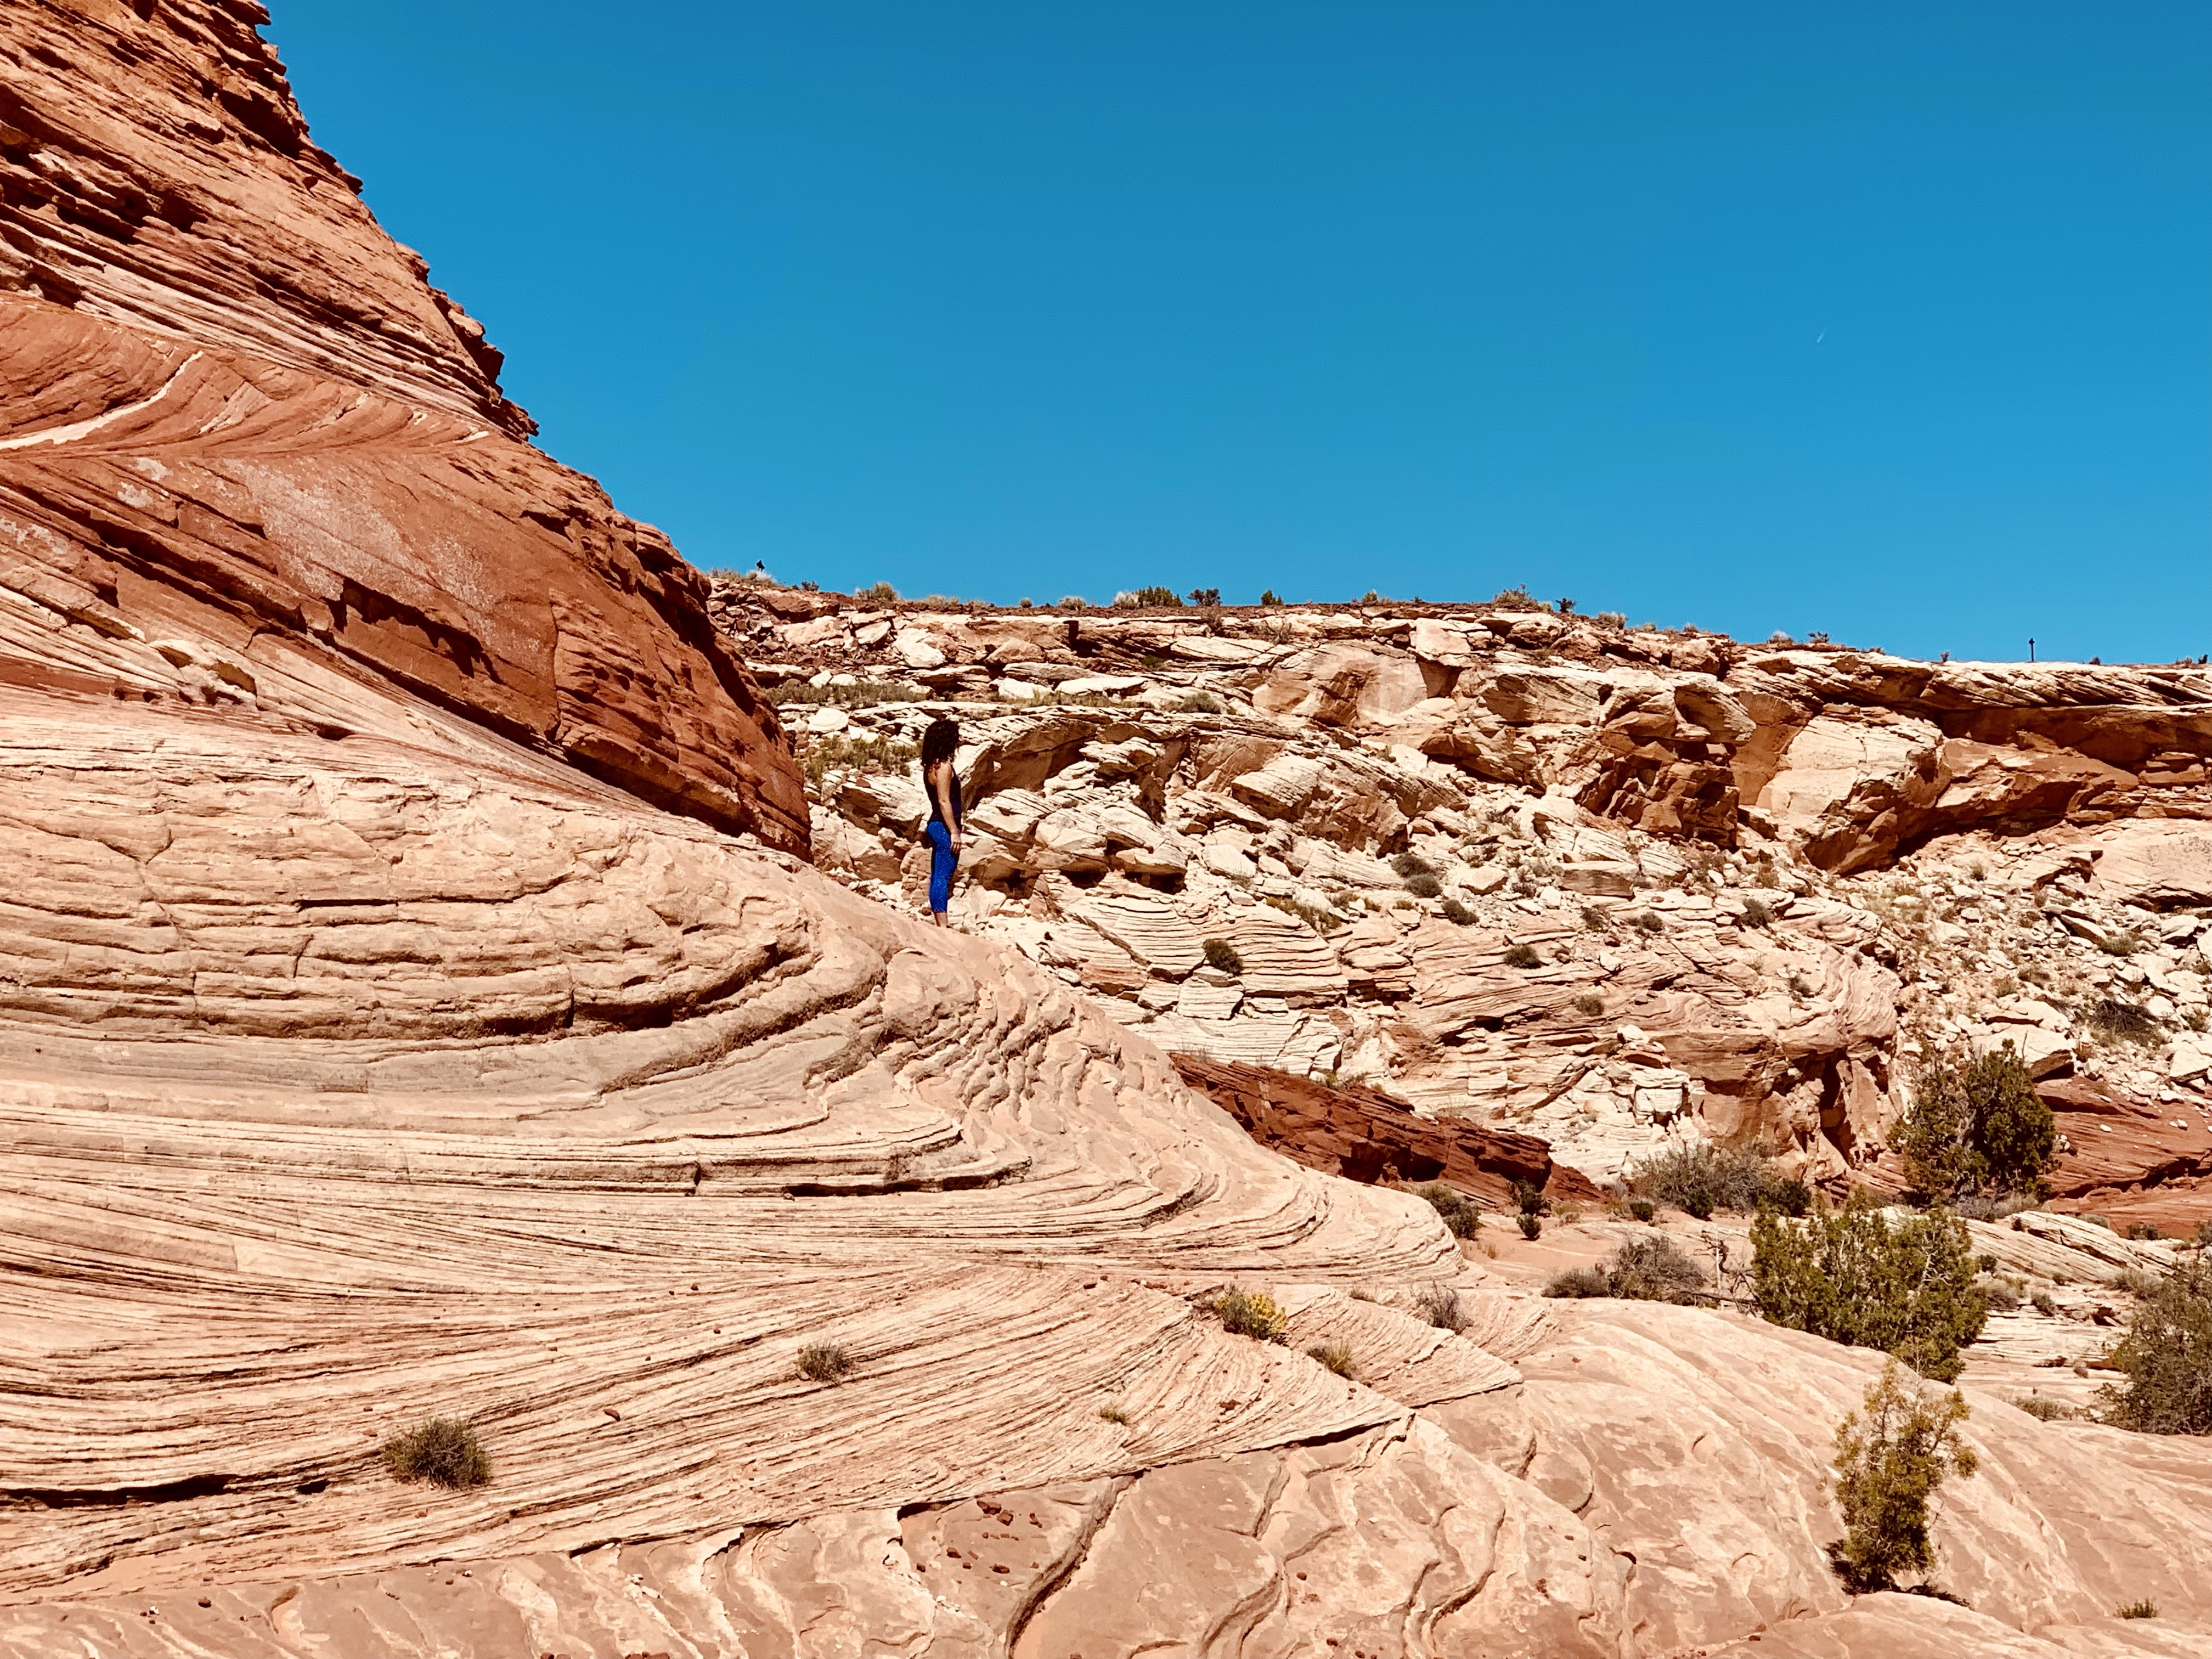
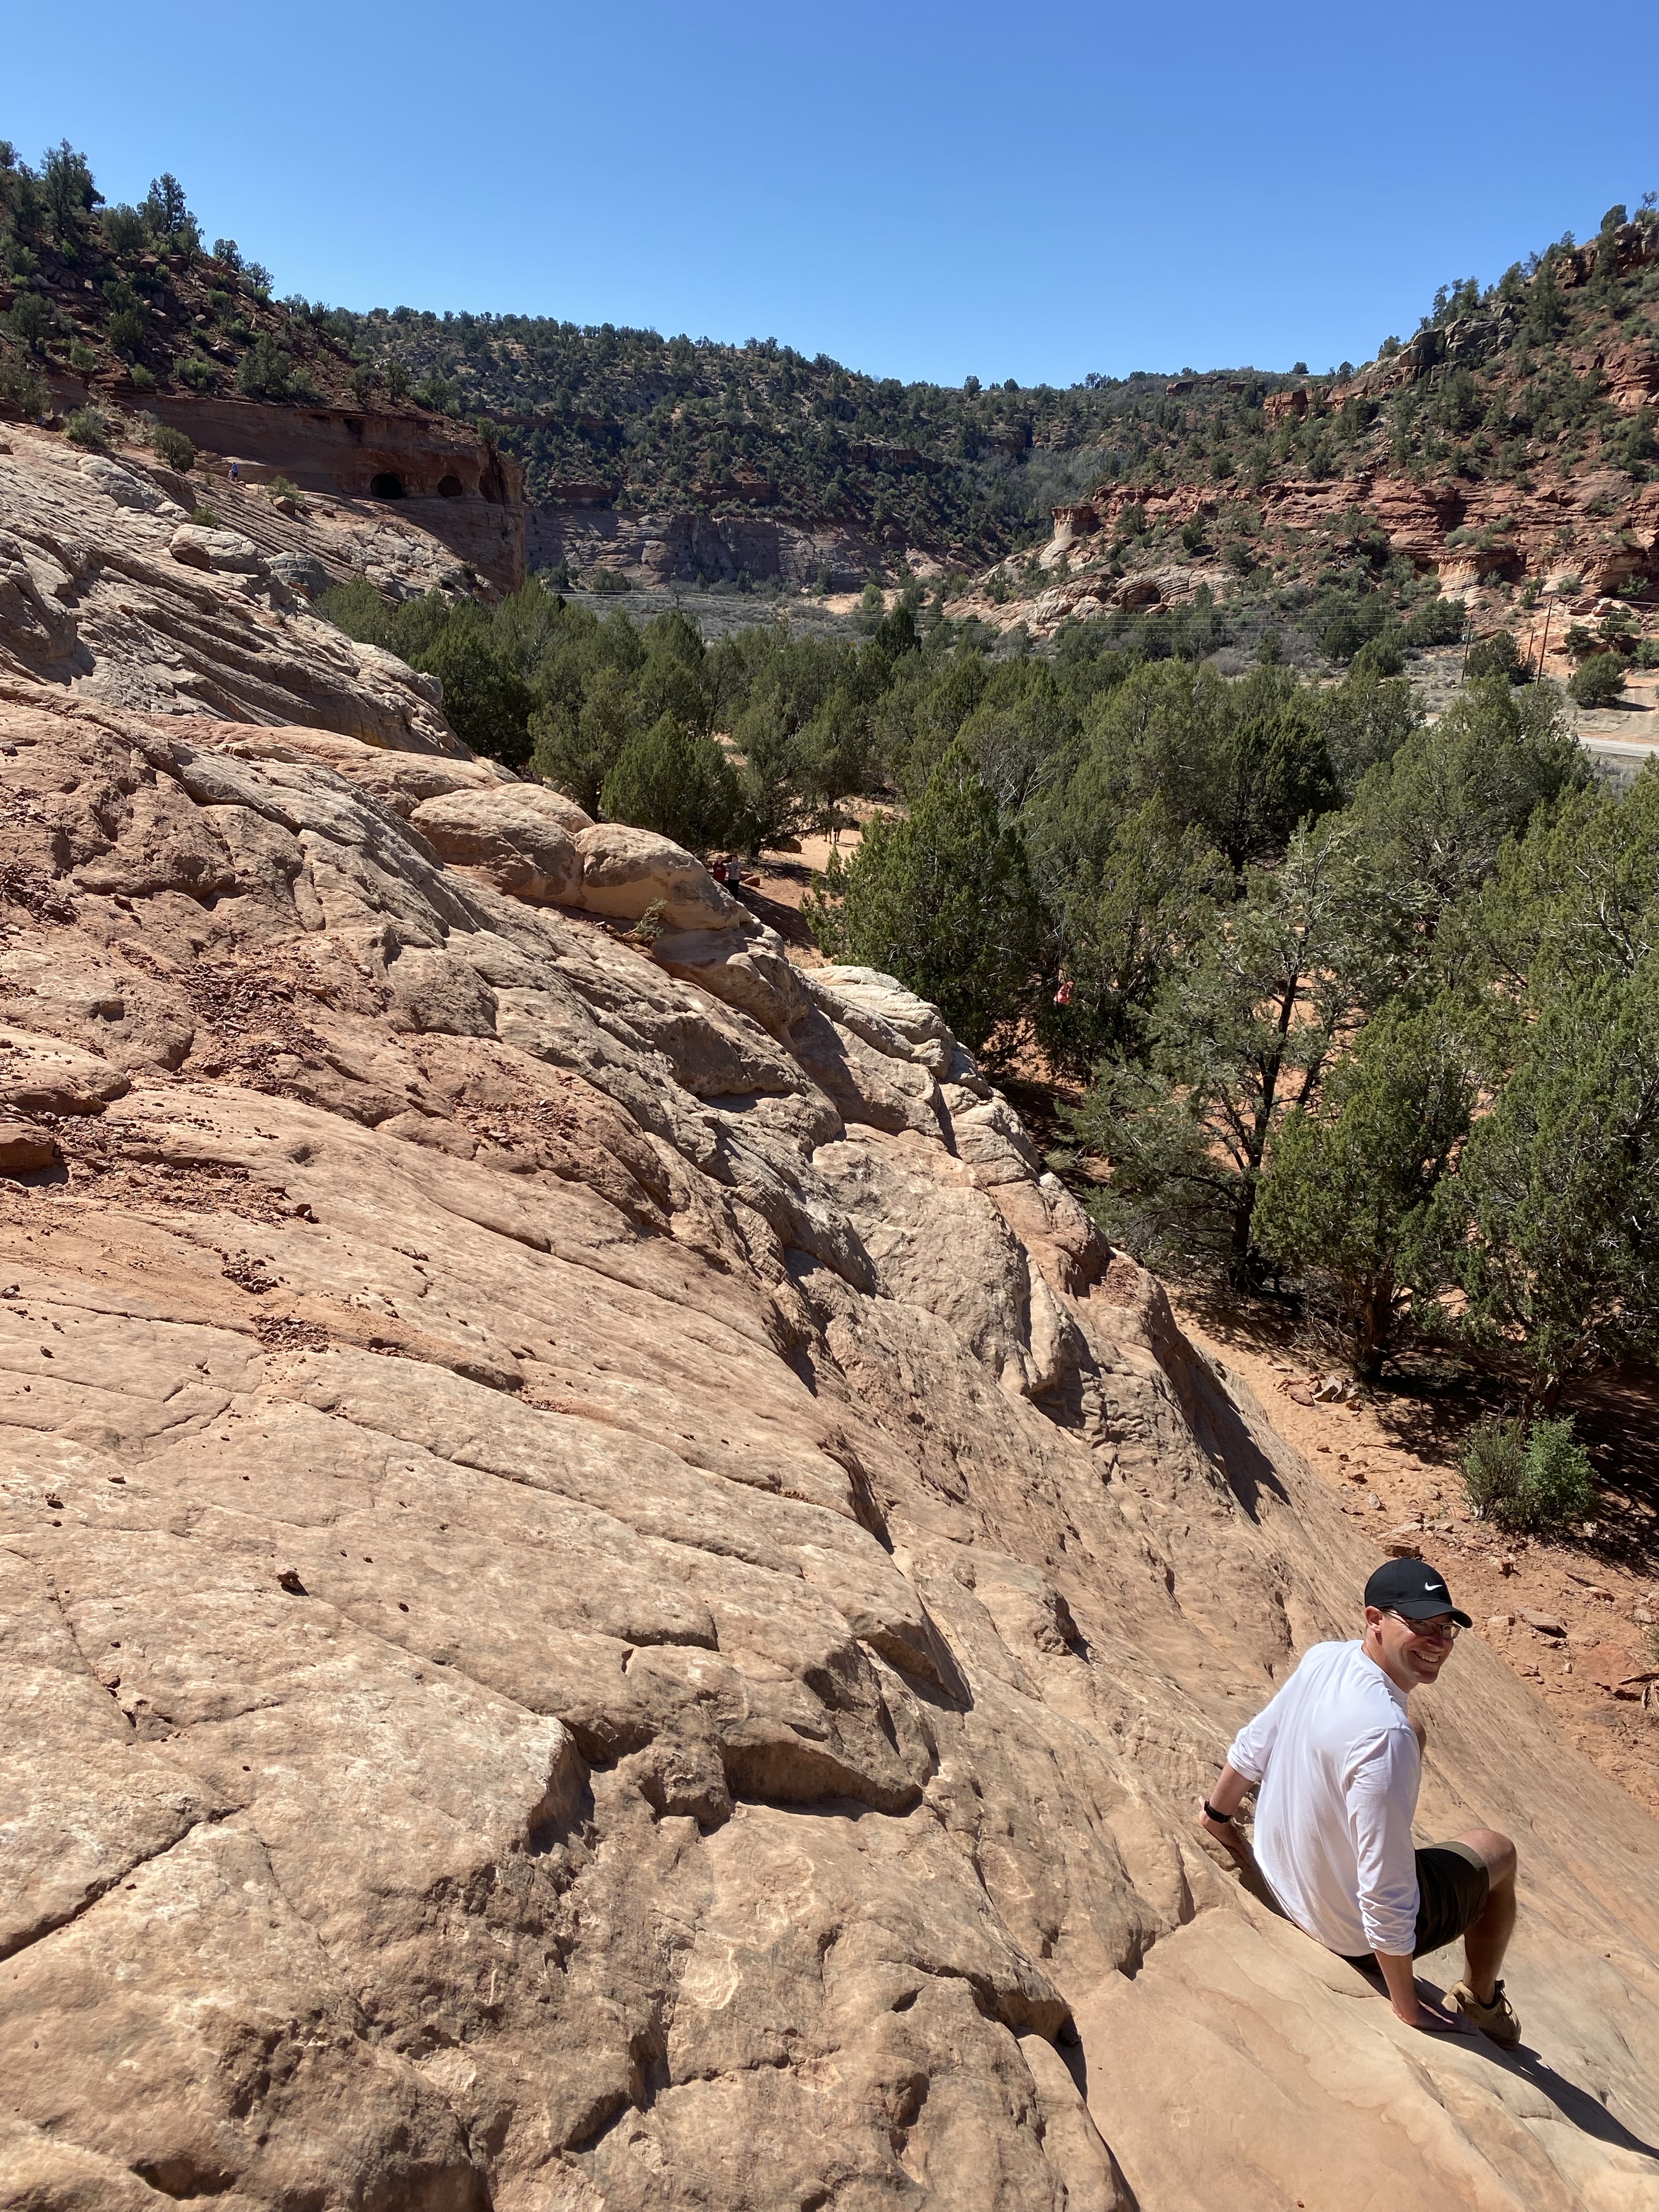
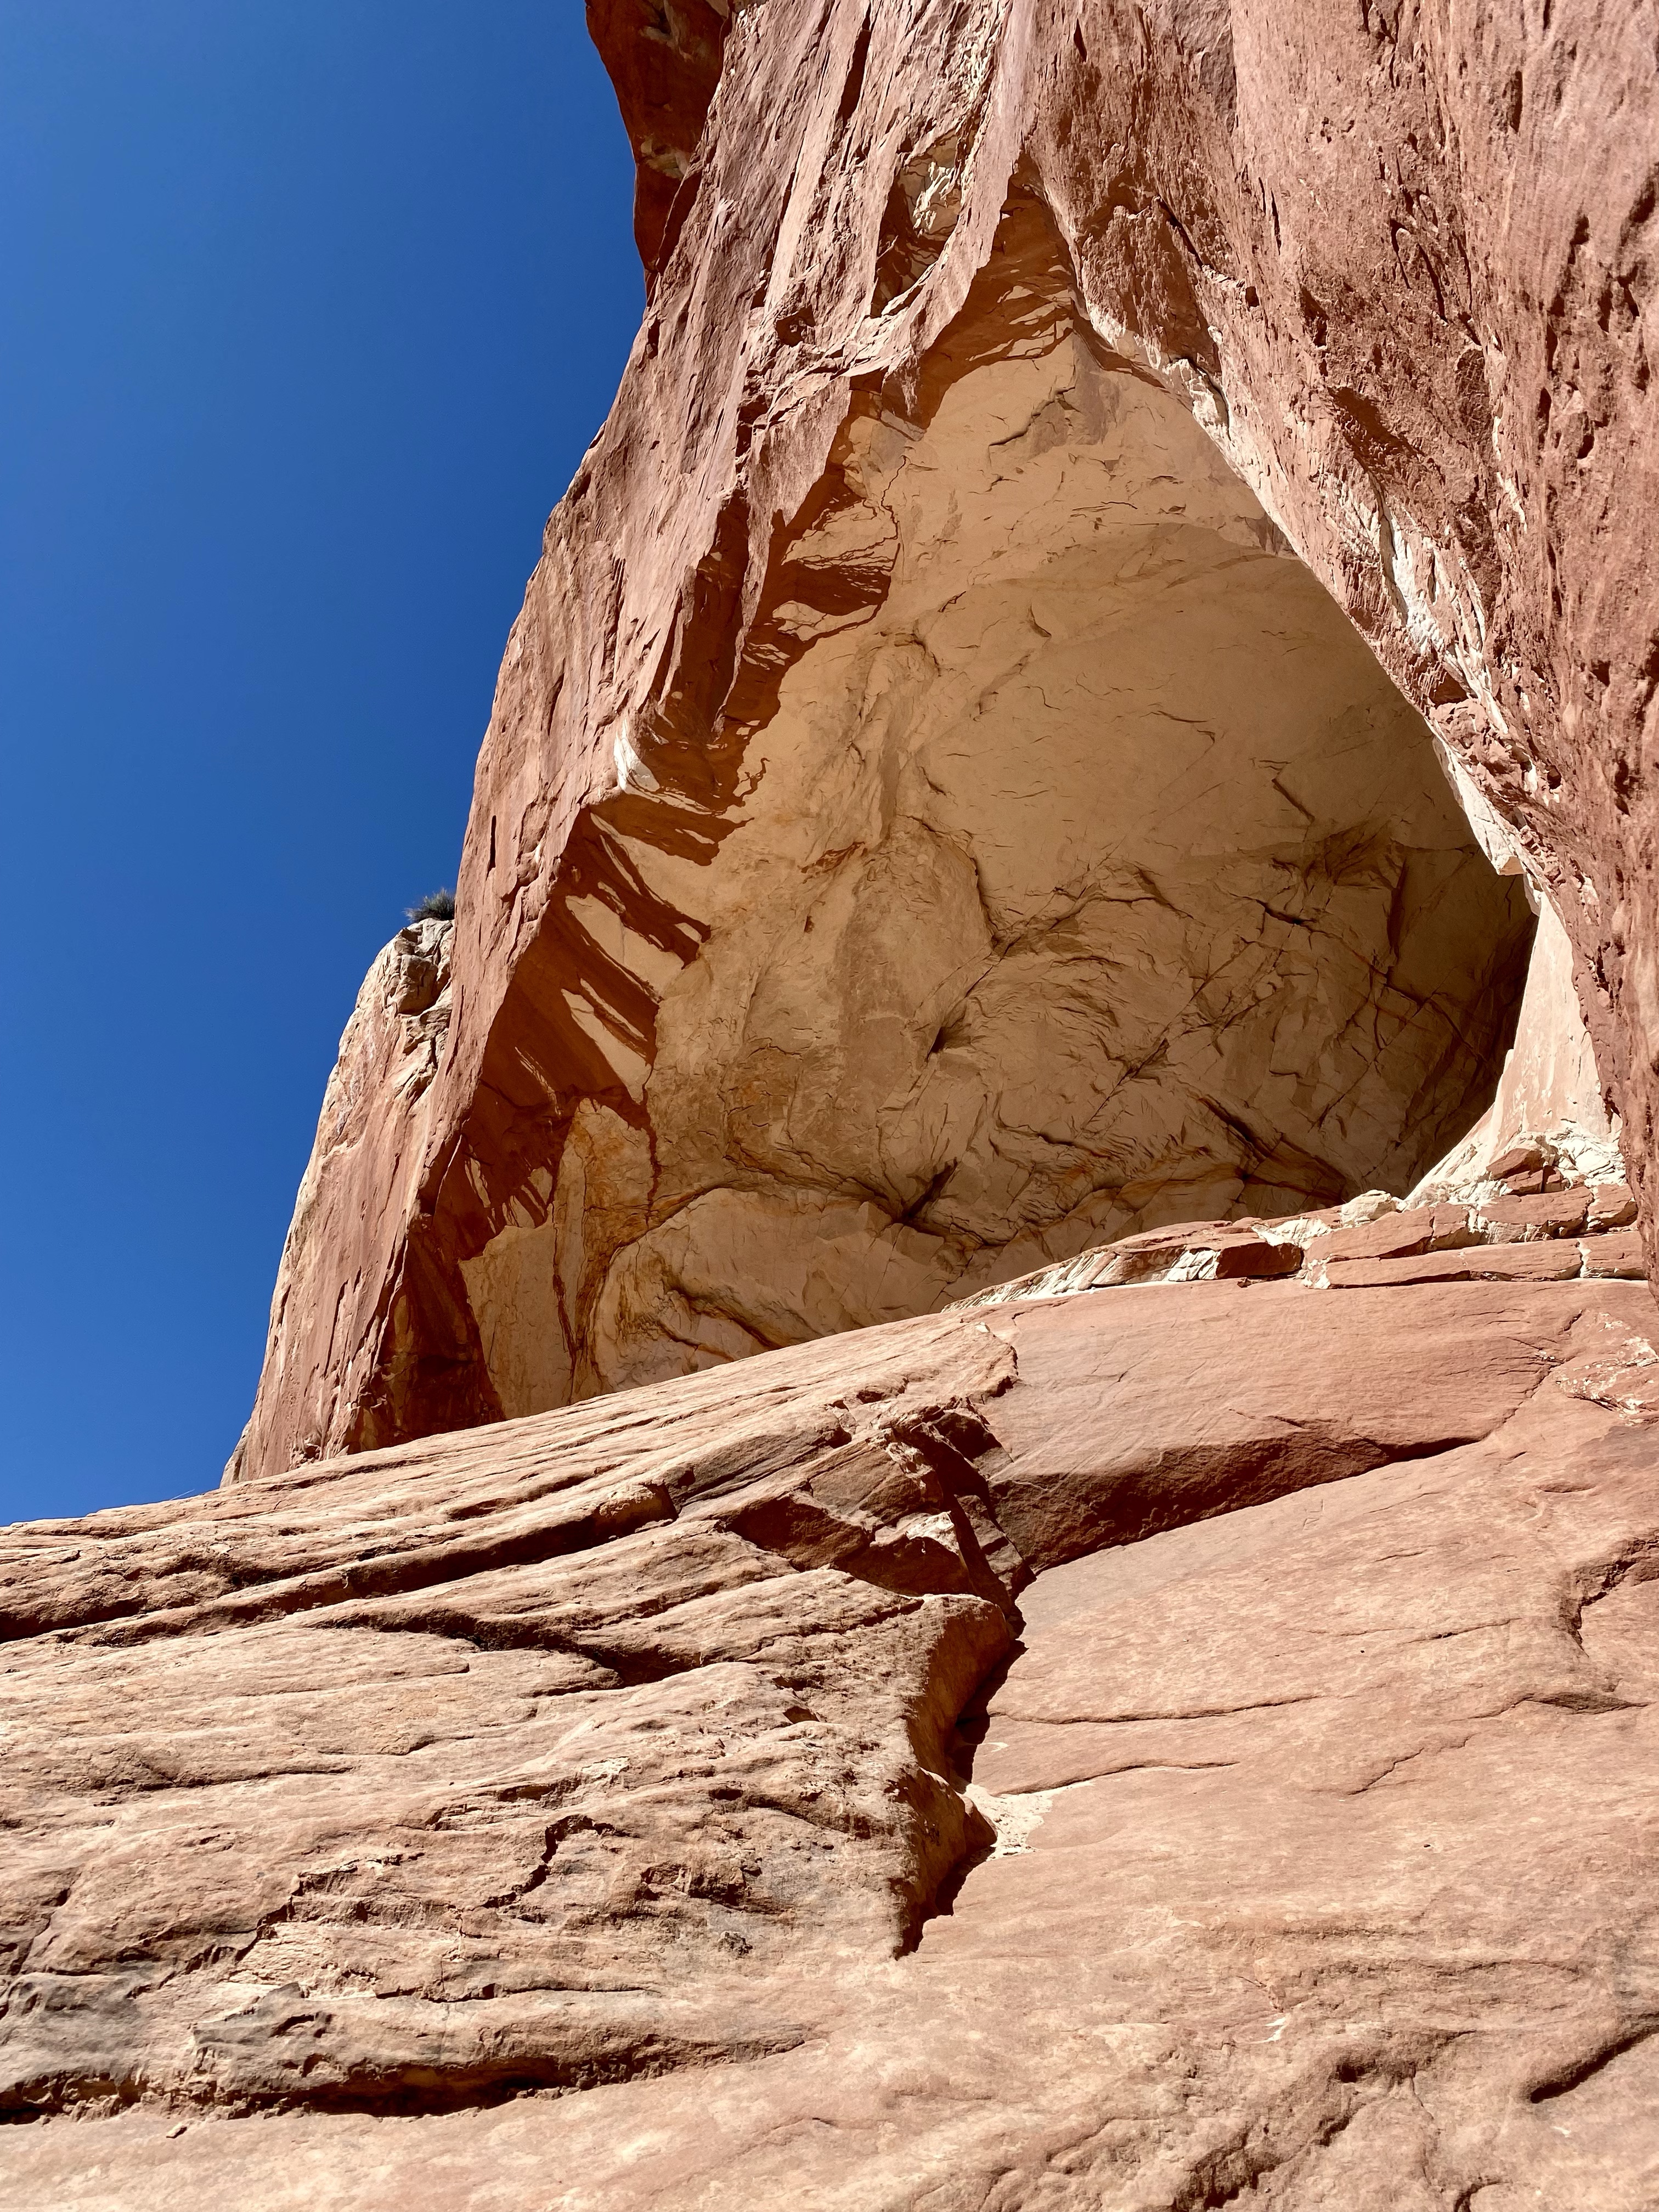
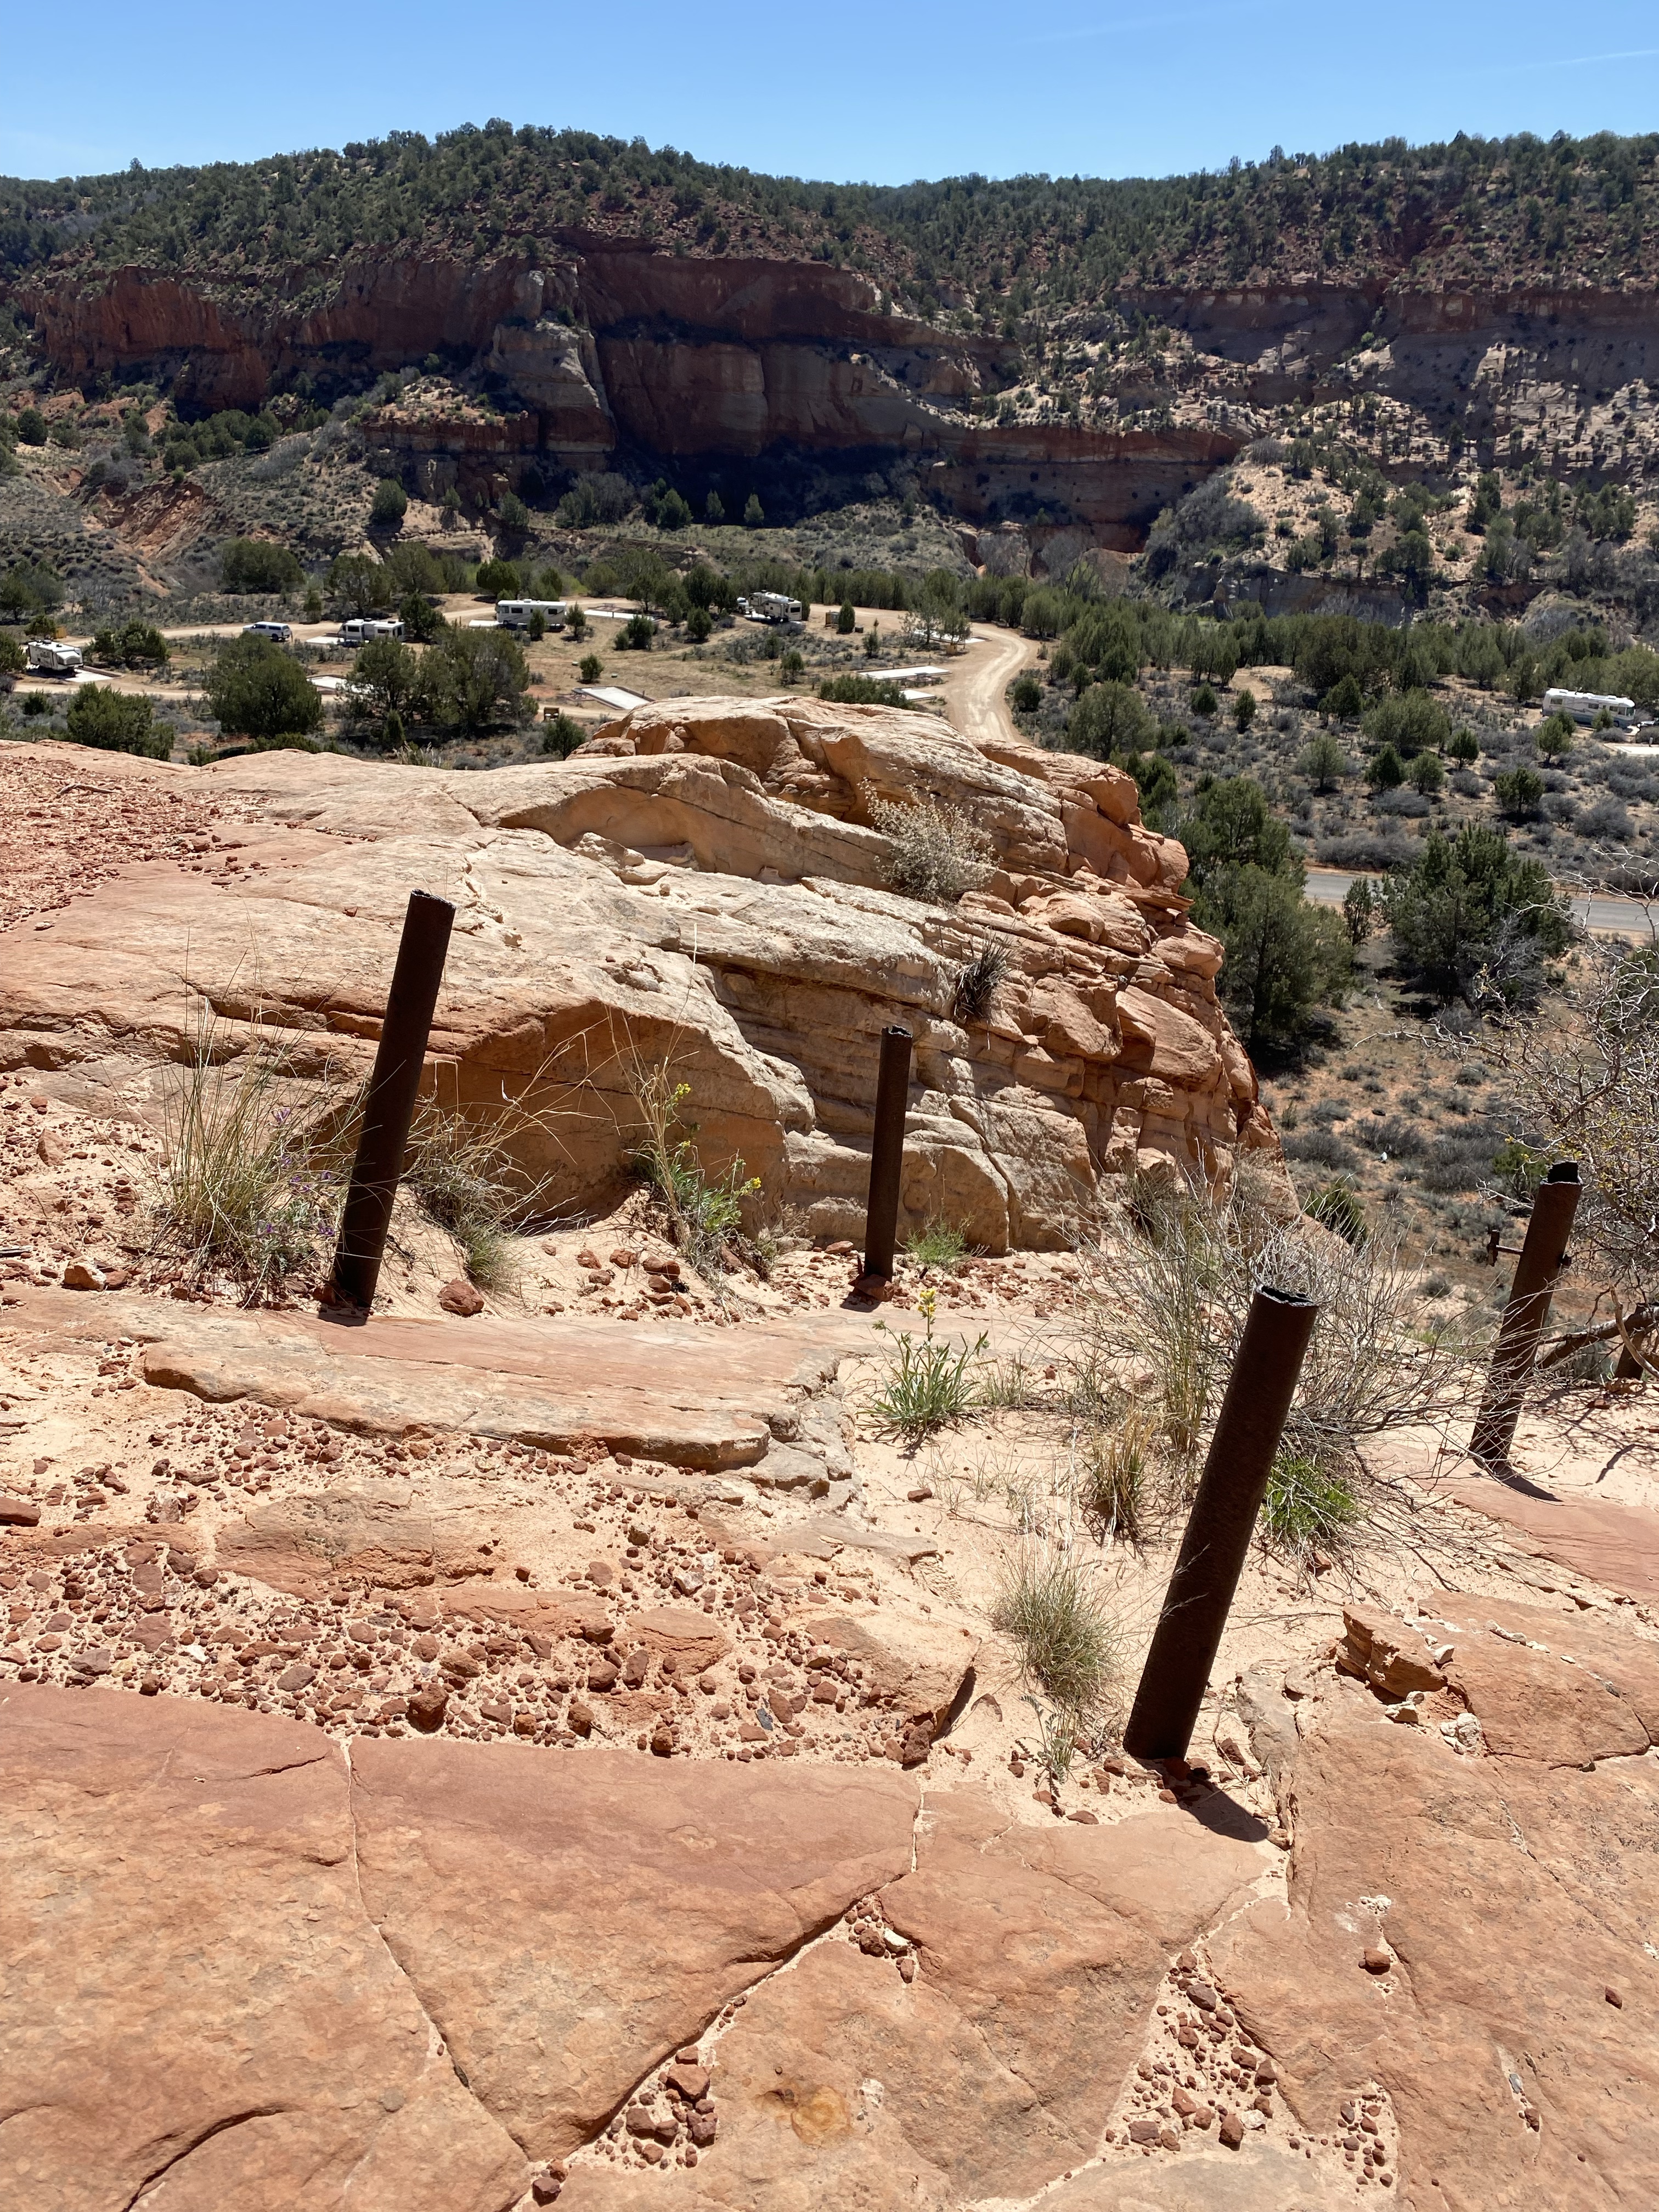
After hiking the 1.2 mile trail, you do have to scale a pretty steep rock to get to the sand caves. If you’re curious, check out the photos shared on AllTrails. I highly recommend shoes with good grip.
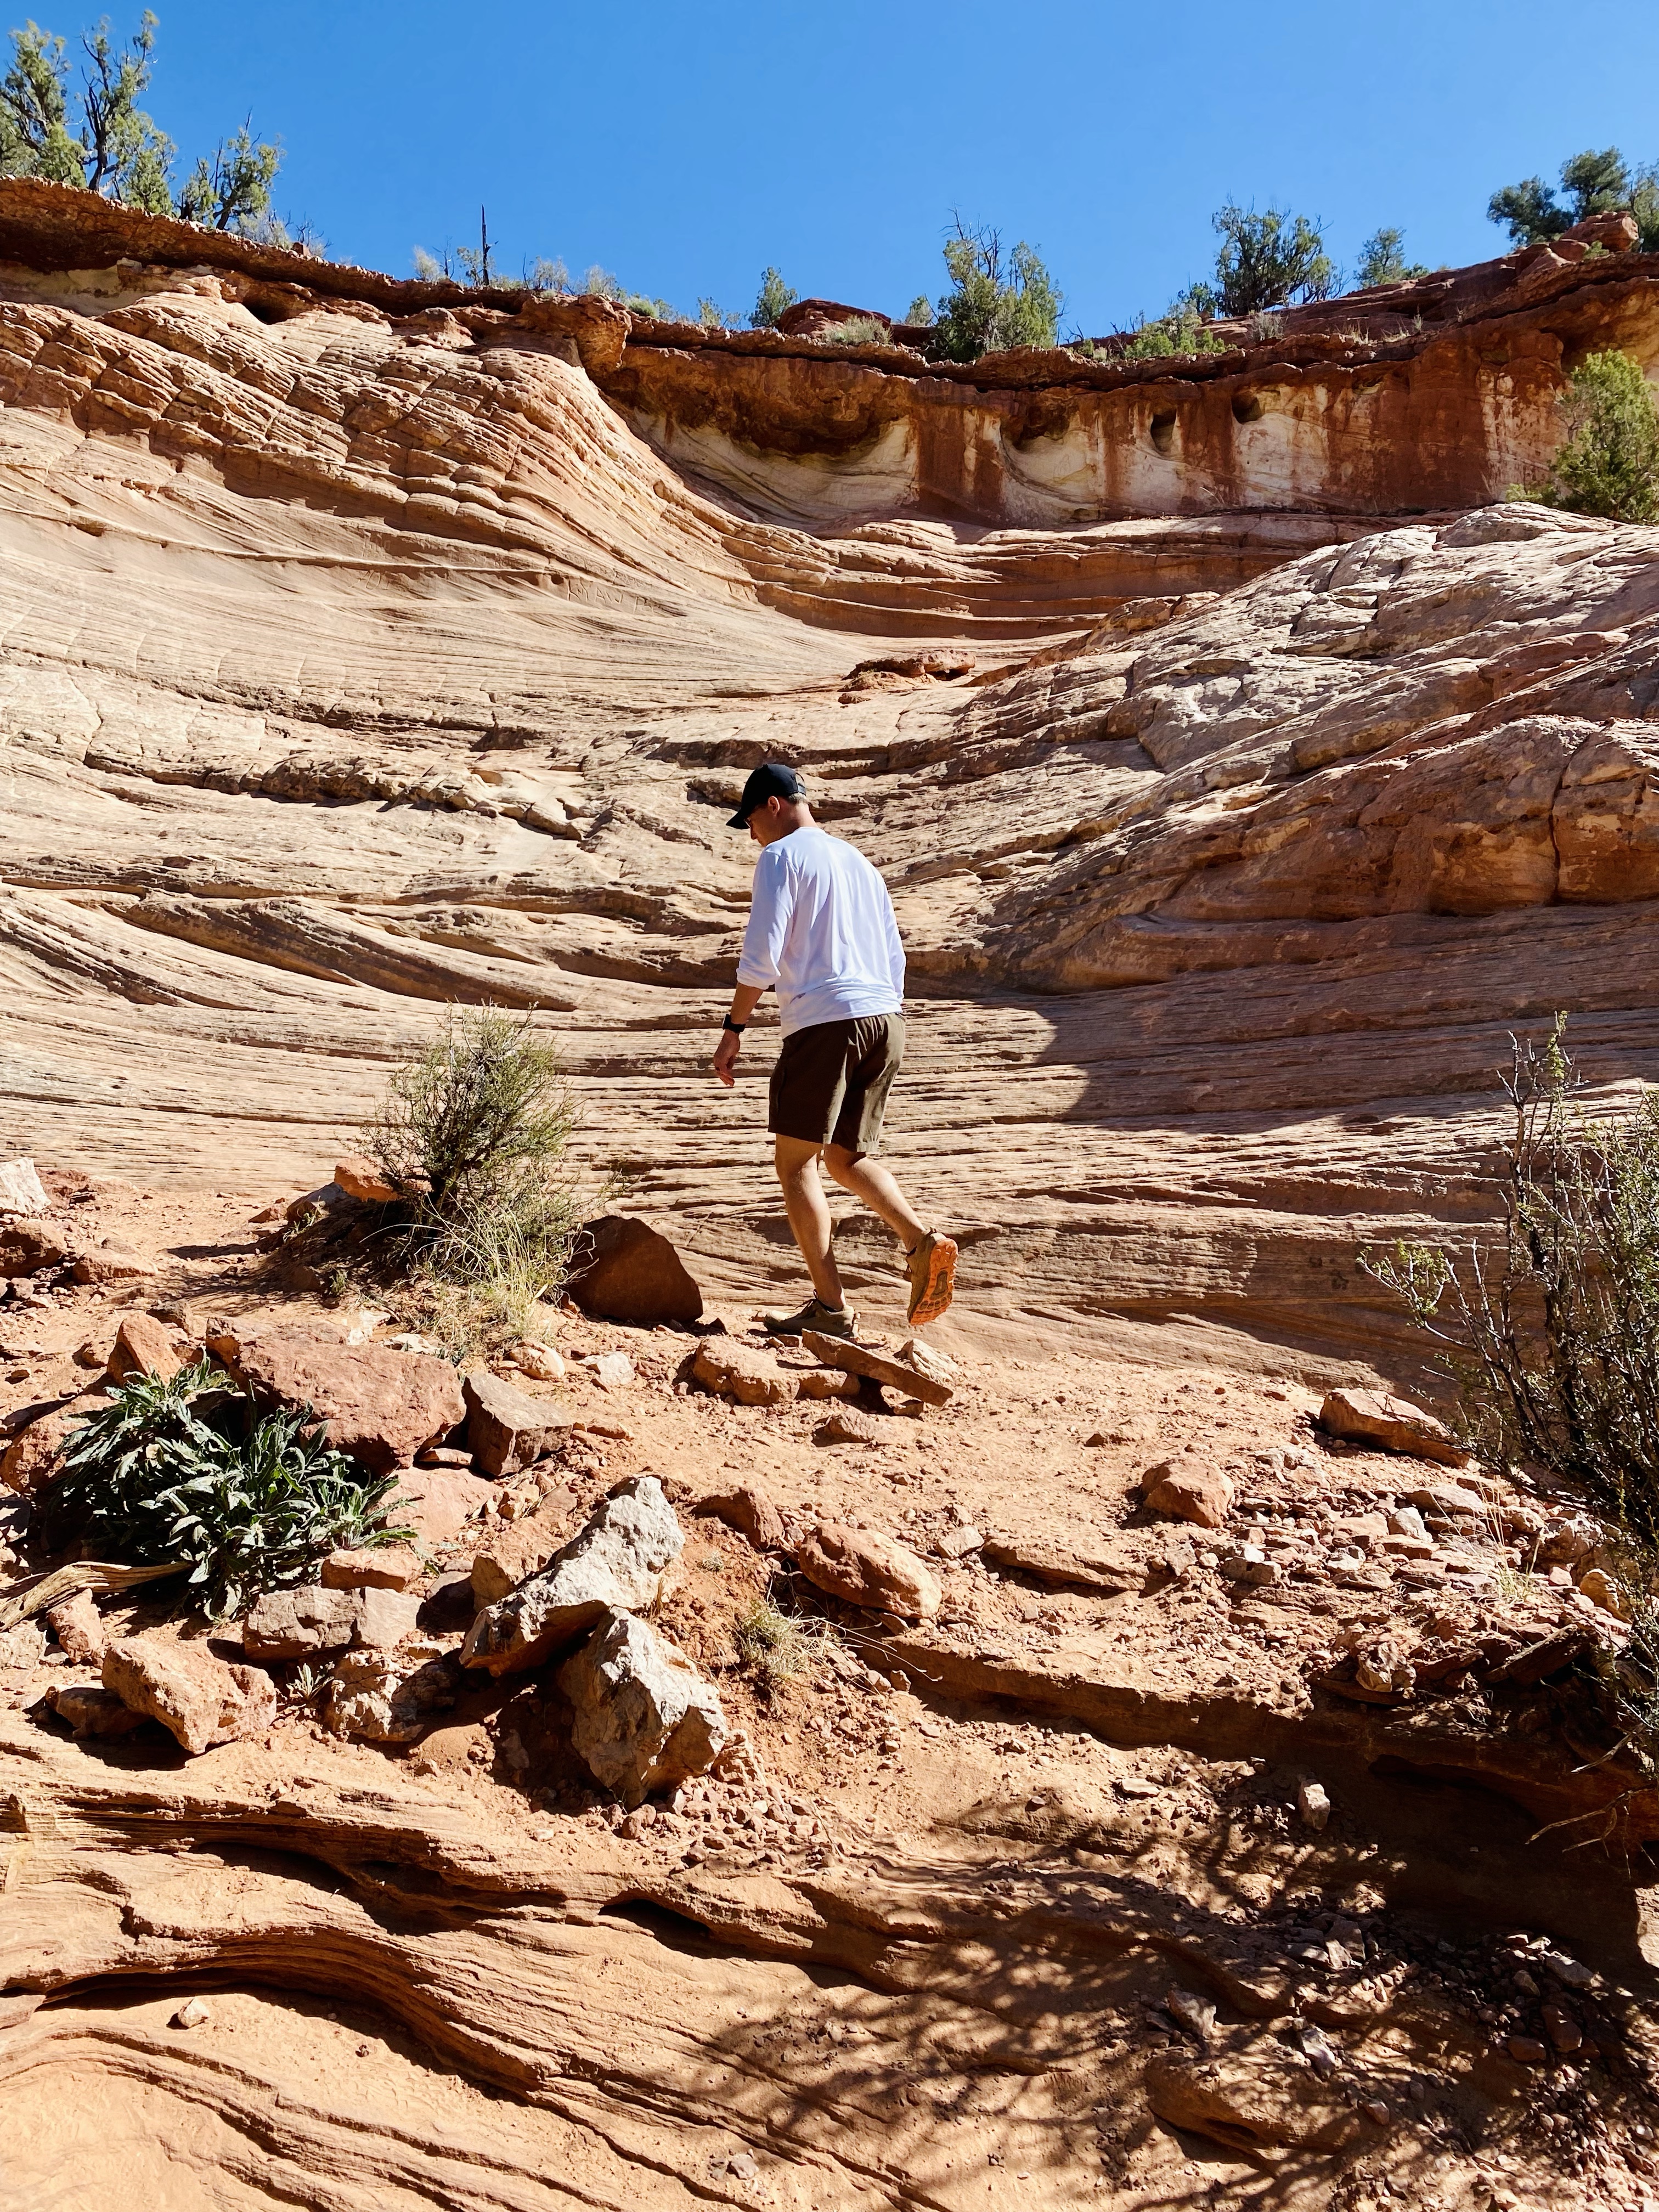
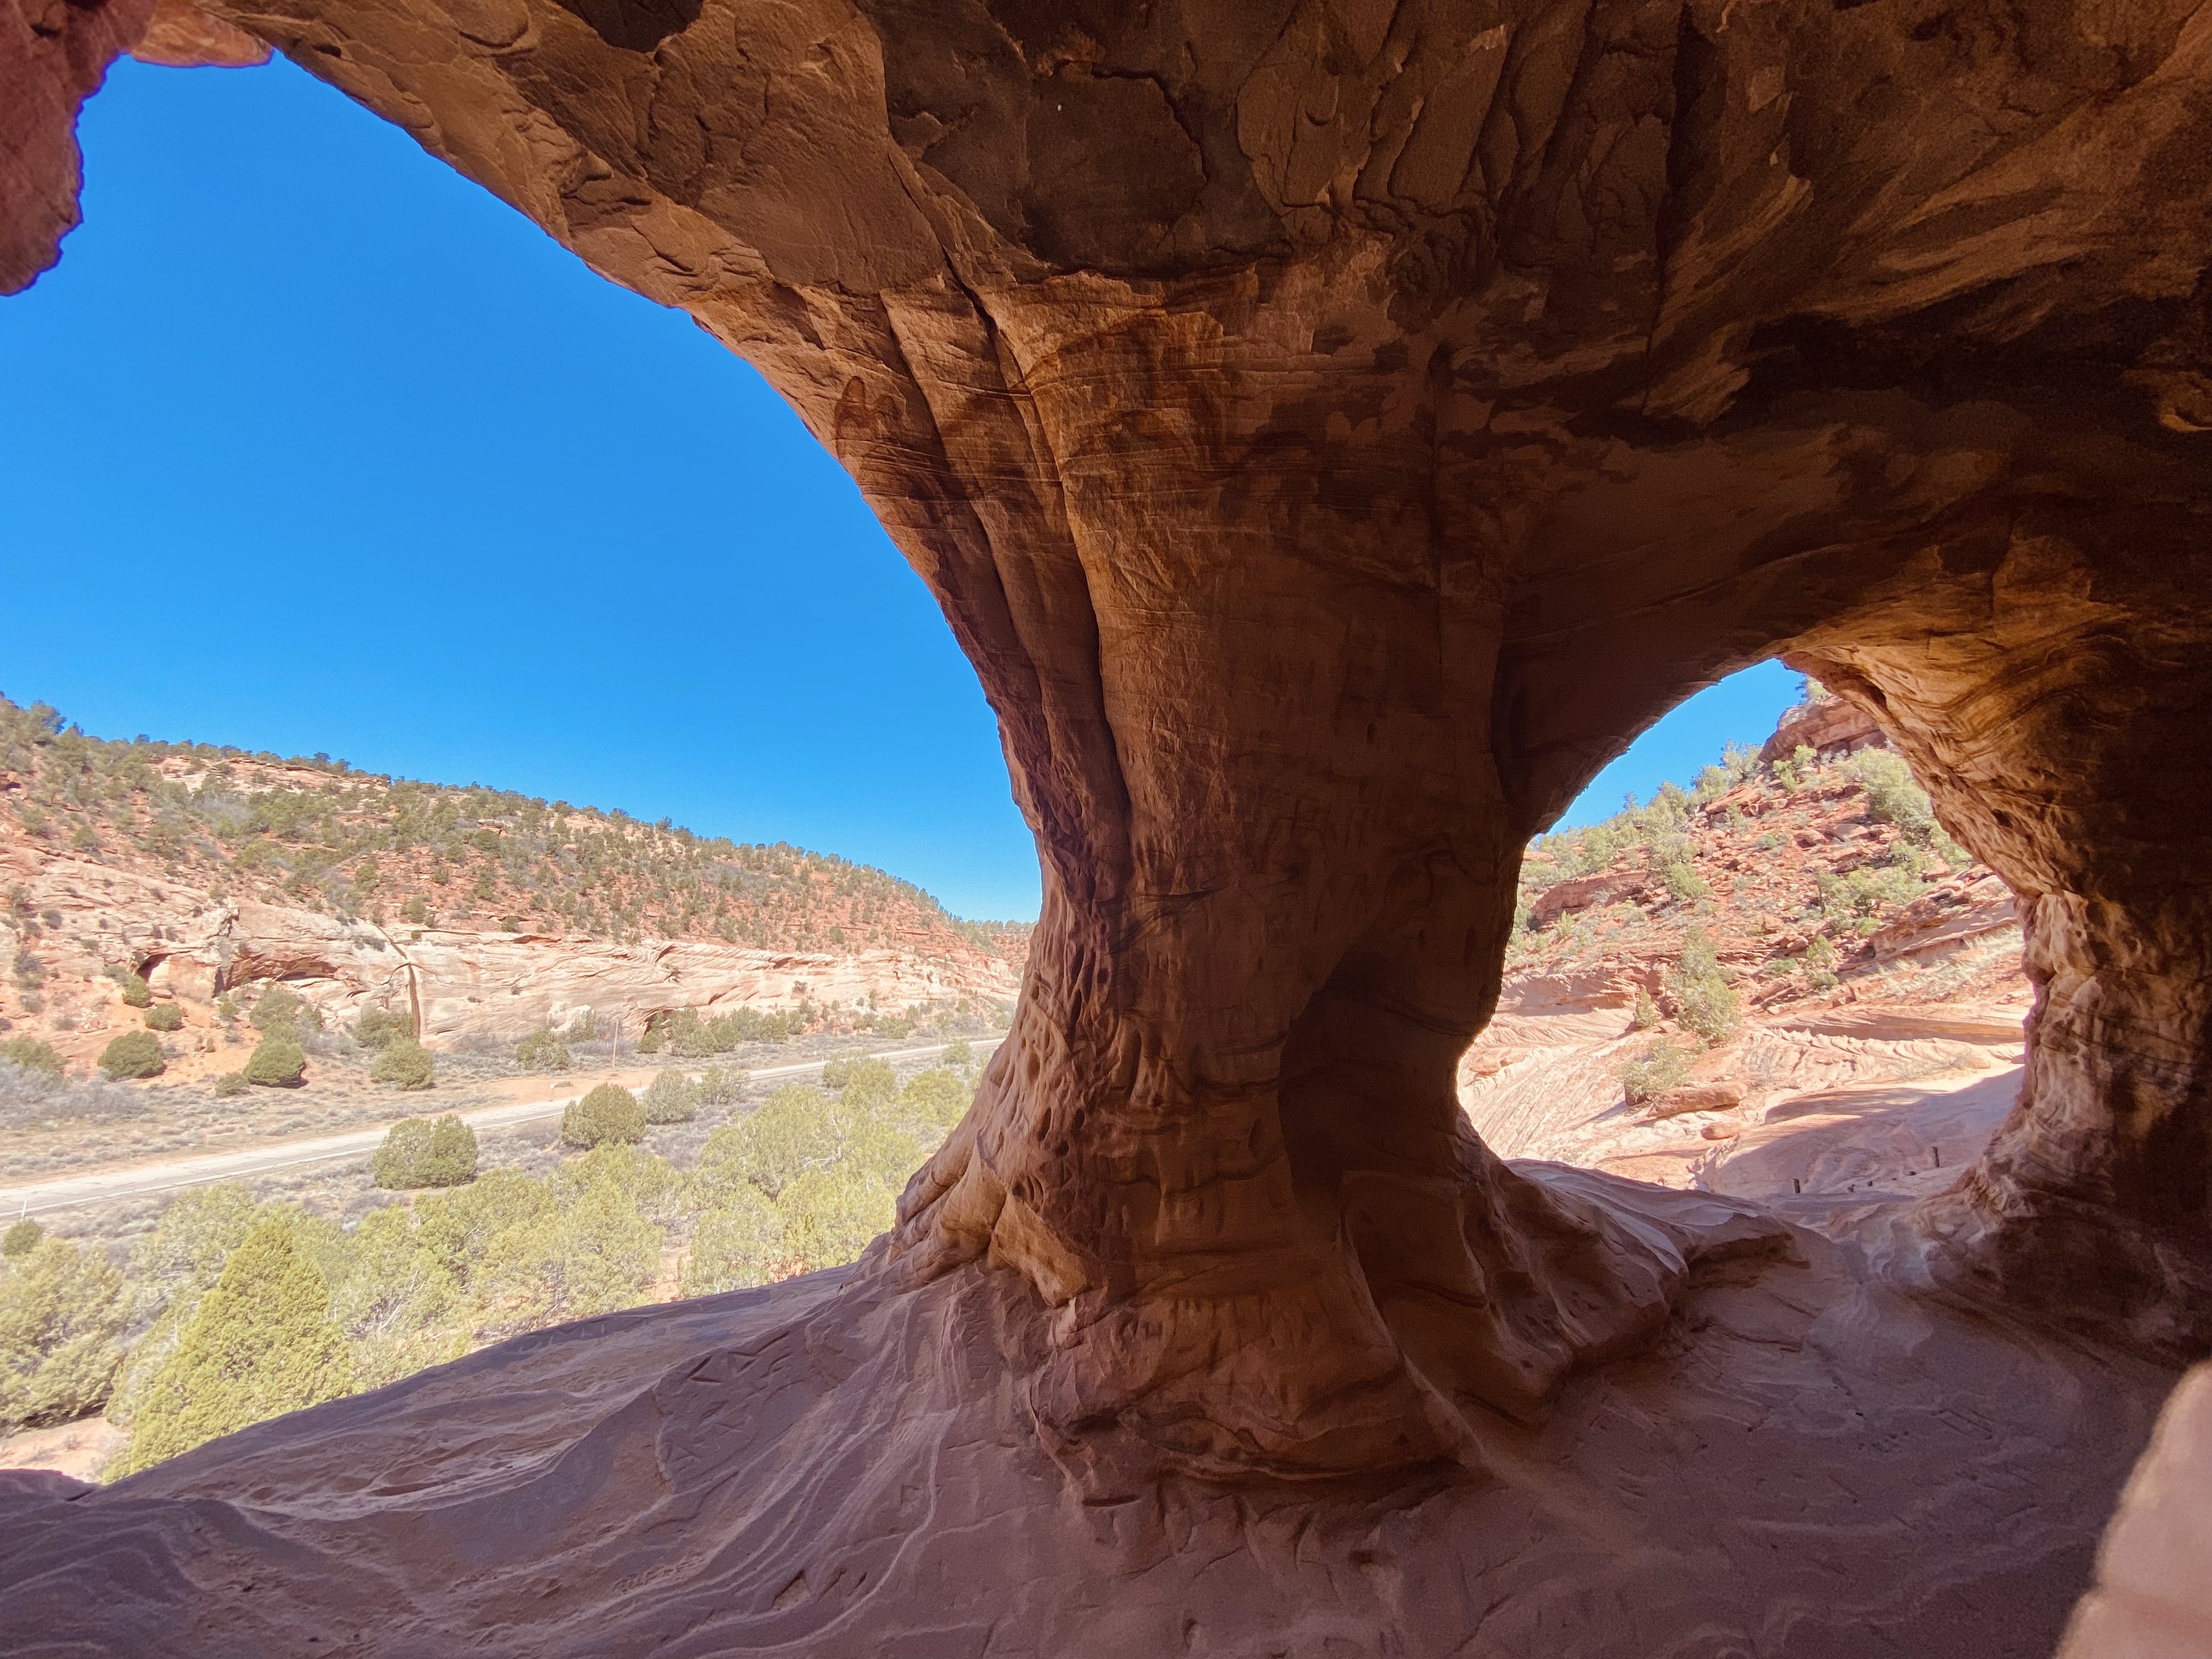
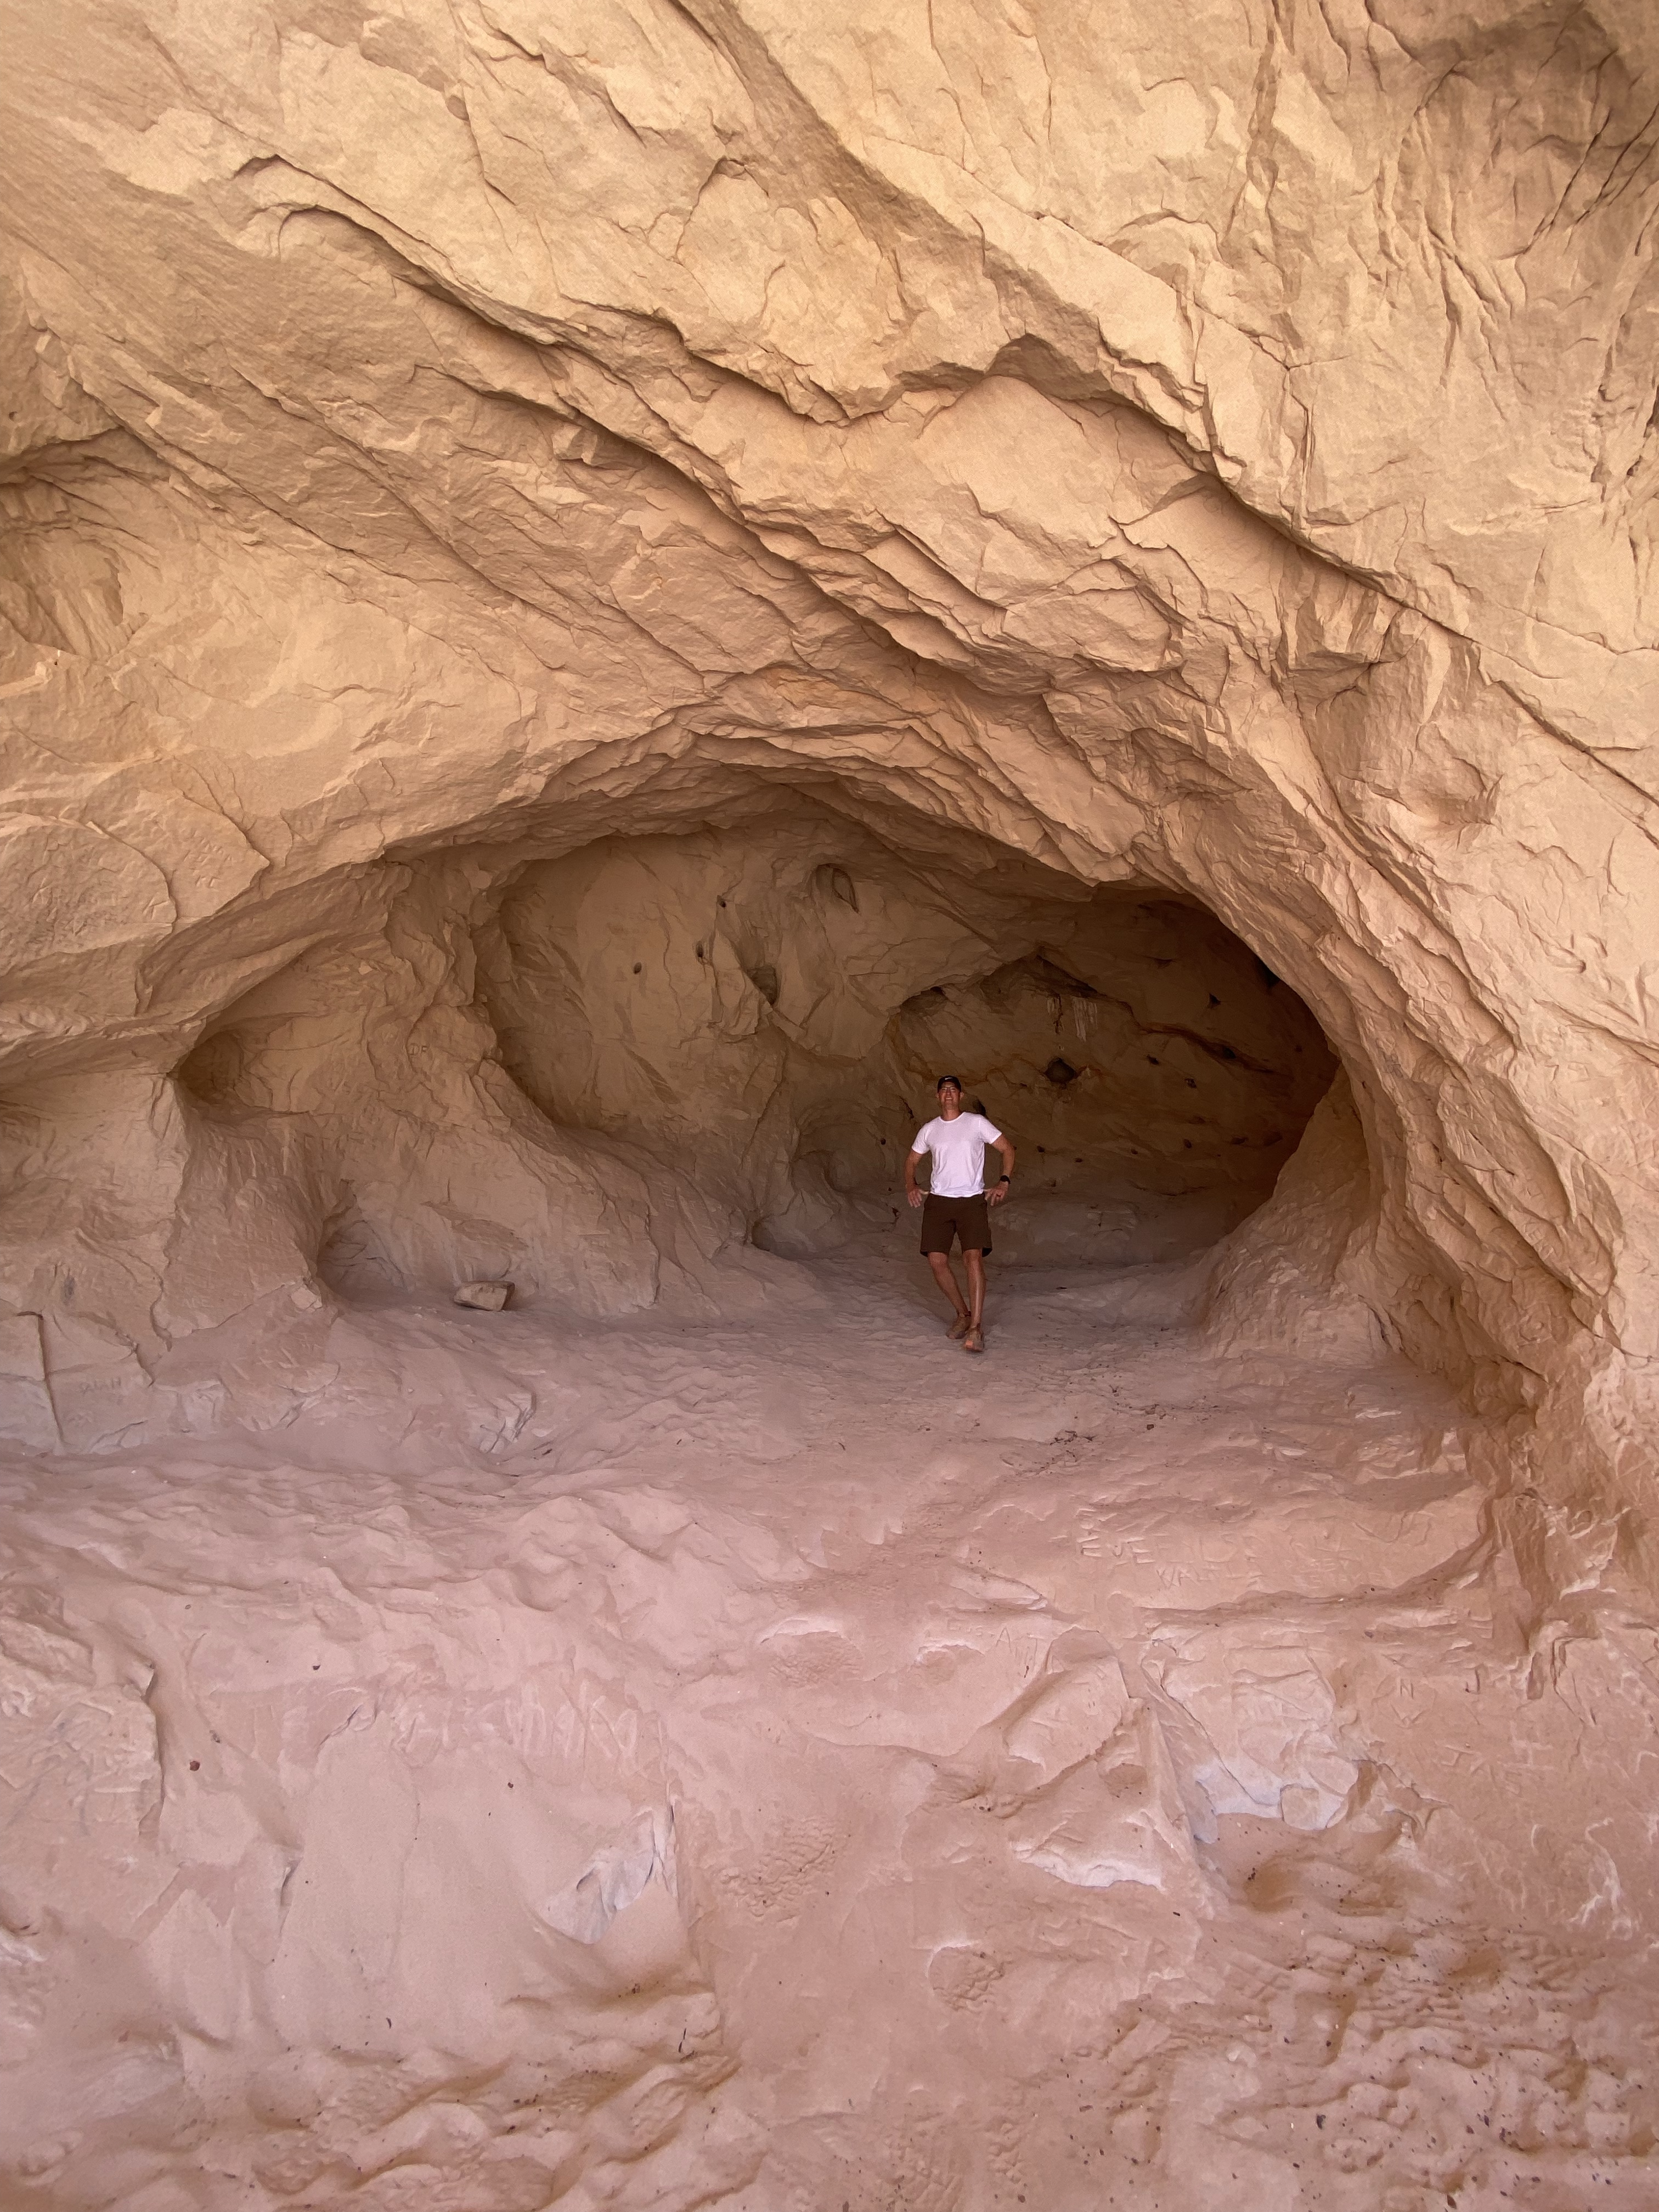
After checking out the popular Sand Caves, we did drive down the side road to visit the other sand caves the locals told us about. They were hard to get to as the trails are not very clear but we made it. The views were amazing. Our local friends told us we would see remnants of an old Disney movie that was filmed there, The Apple Dumpling Gang. Sure enough, we saw the old tracks and weathered set props on the side of the mountain.
Tip: travel with an open mind and talk to the locals. We have always taken this approach when we travel and love to take the advice of the locals which has always lead us to hidden gems.
Next stop: Downtown Kanab. Kanab is a popular destination for those who are visiting Zion National Park and Bryce Canyon National Park. In fact, my parents stayed in Kanab and drove into Zion on their trip. It’s only about a 30 minute drive to Zion. We could have easily spent more time in Kanab as there are so many things to do. Most popular attractions are Coral Pink Sand Dunes State Park, Buckskin Gulch (UTV or 4-wheel drive vehicle required to get there), Little Hollywood Museum, Toadstool Hoodoos, Old Prairie Ghost Town, and Moqui Cave. Check out the best 10 trails and hikes in Kanab on Alltrails.
We stopped at Wild Thyme Cafe for lunch and enjoyed the outdoor dining area. It’s a small batch kitchen where everything is made from scratch. We would recommend eating here, although it was a pricier lunch spot.
Walking distance from Wild Thyme Cafe, I stopped in Asana Juice after lunch to get something for the road. We met the owner and she helped me pick out a fresh juice. There were so many other options on the menu ranging from juices, smoothies, açaí bowls, fresh salads, toast, seasonal soups and protein bites.
As much as we were enjoying our leisure day, we were anxious to get to Under Canvas and to see if it lived up to all the hype. Spoiler alert, it did.
Kanab, UT > Under Canvas Lake Powell – Approximately a 55 minute drive.
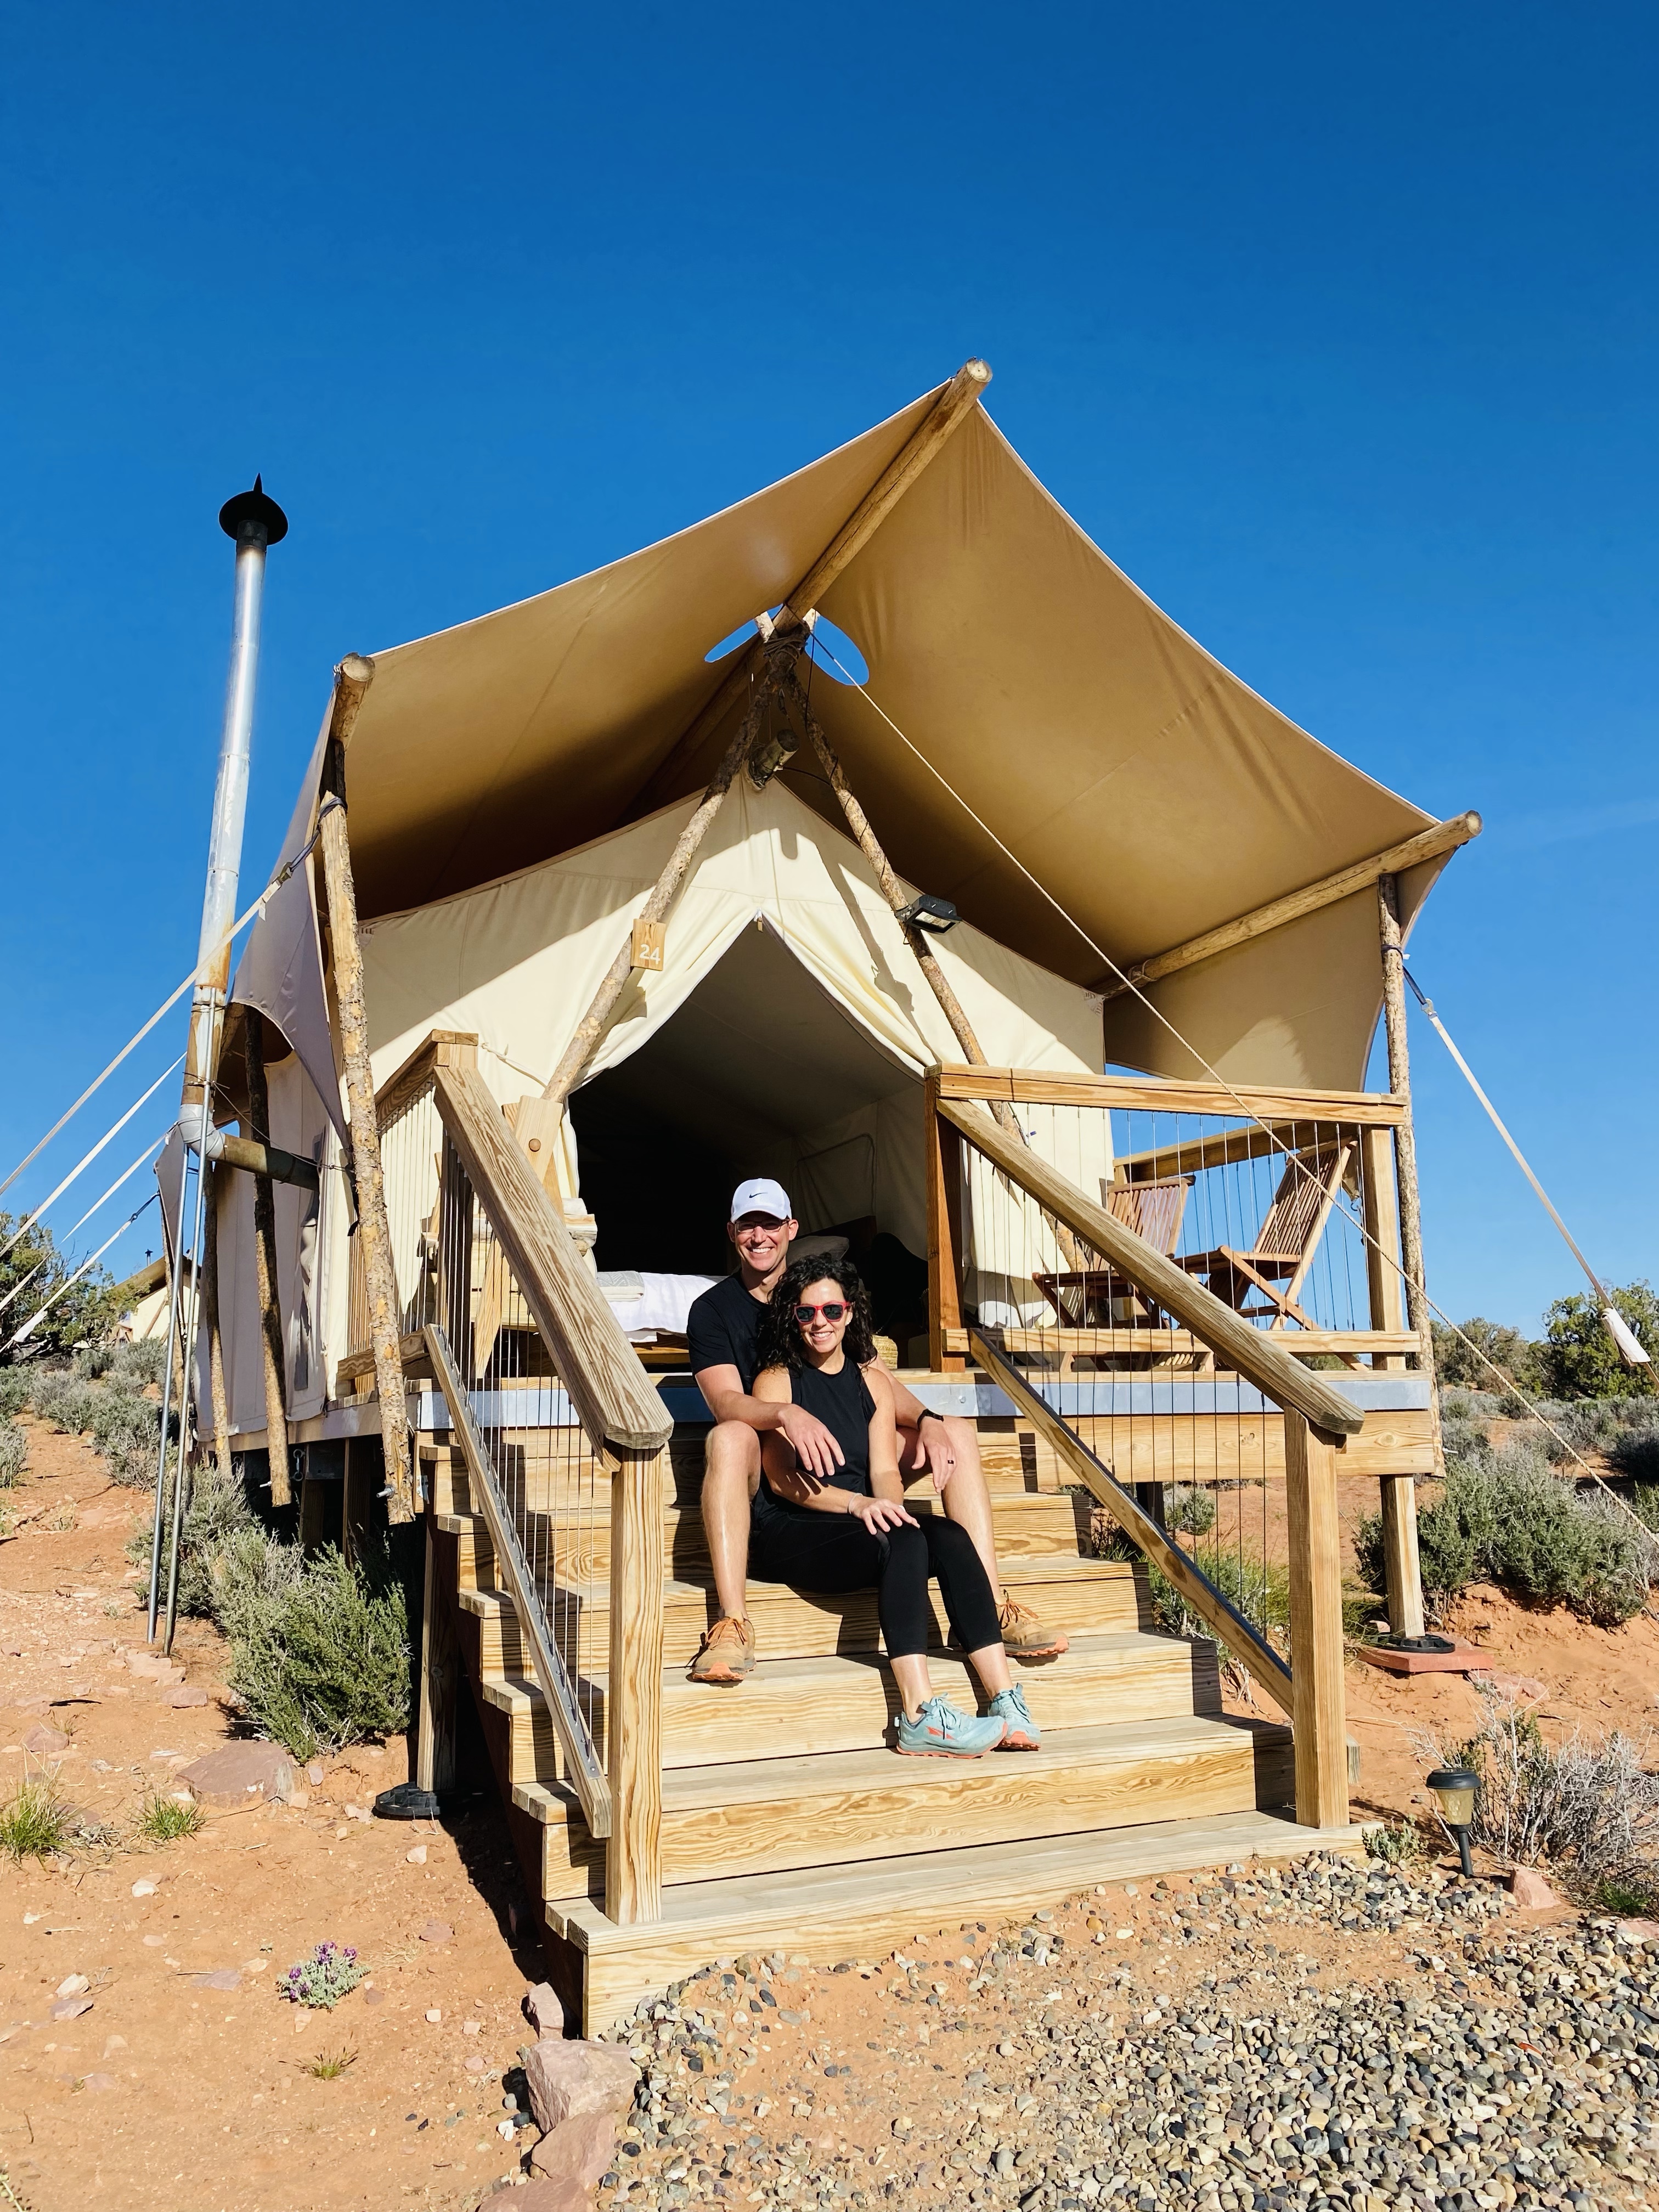
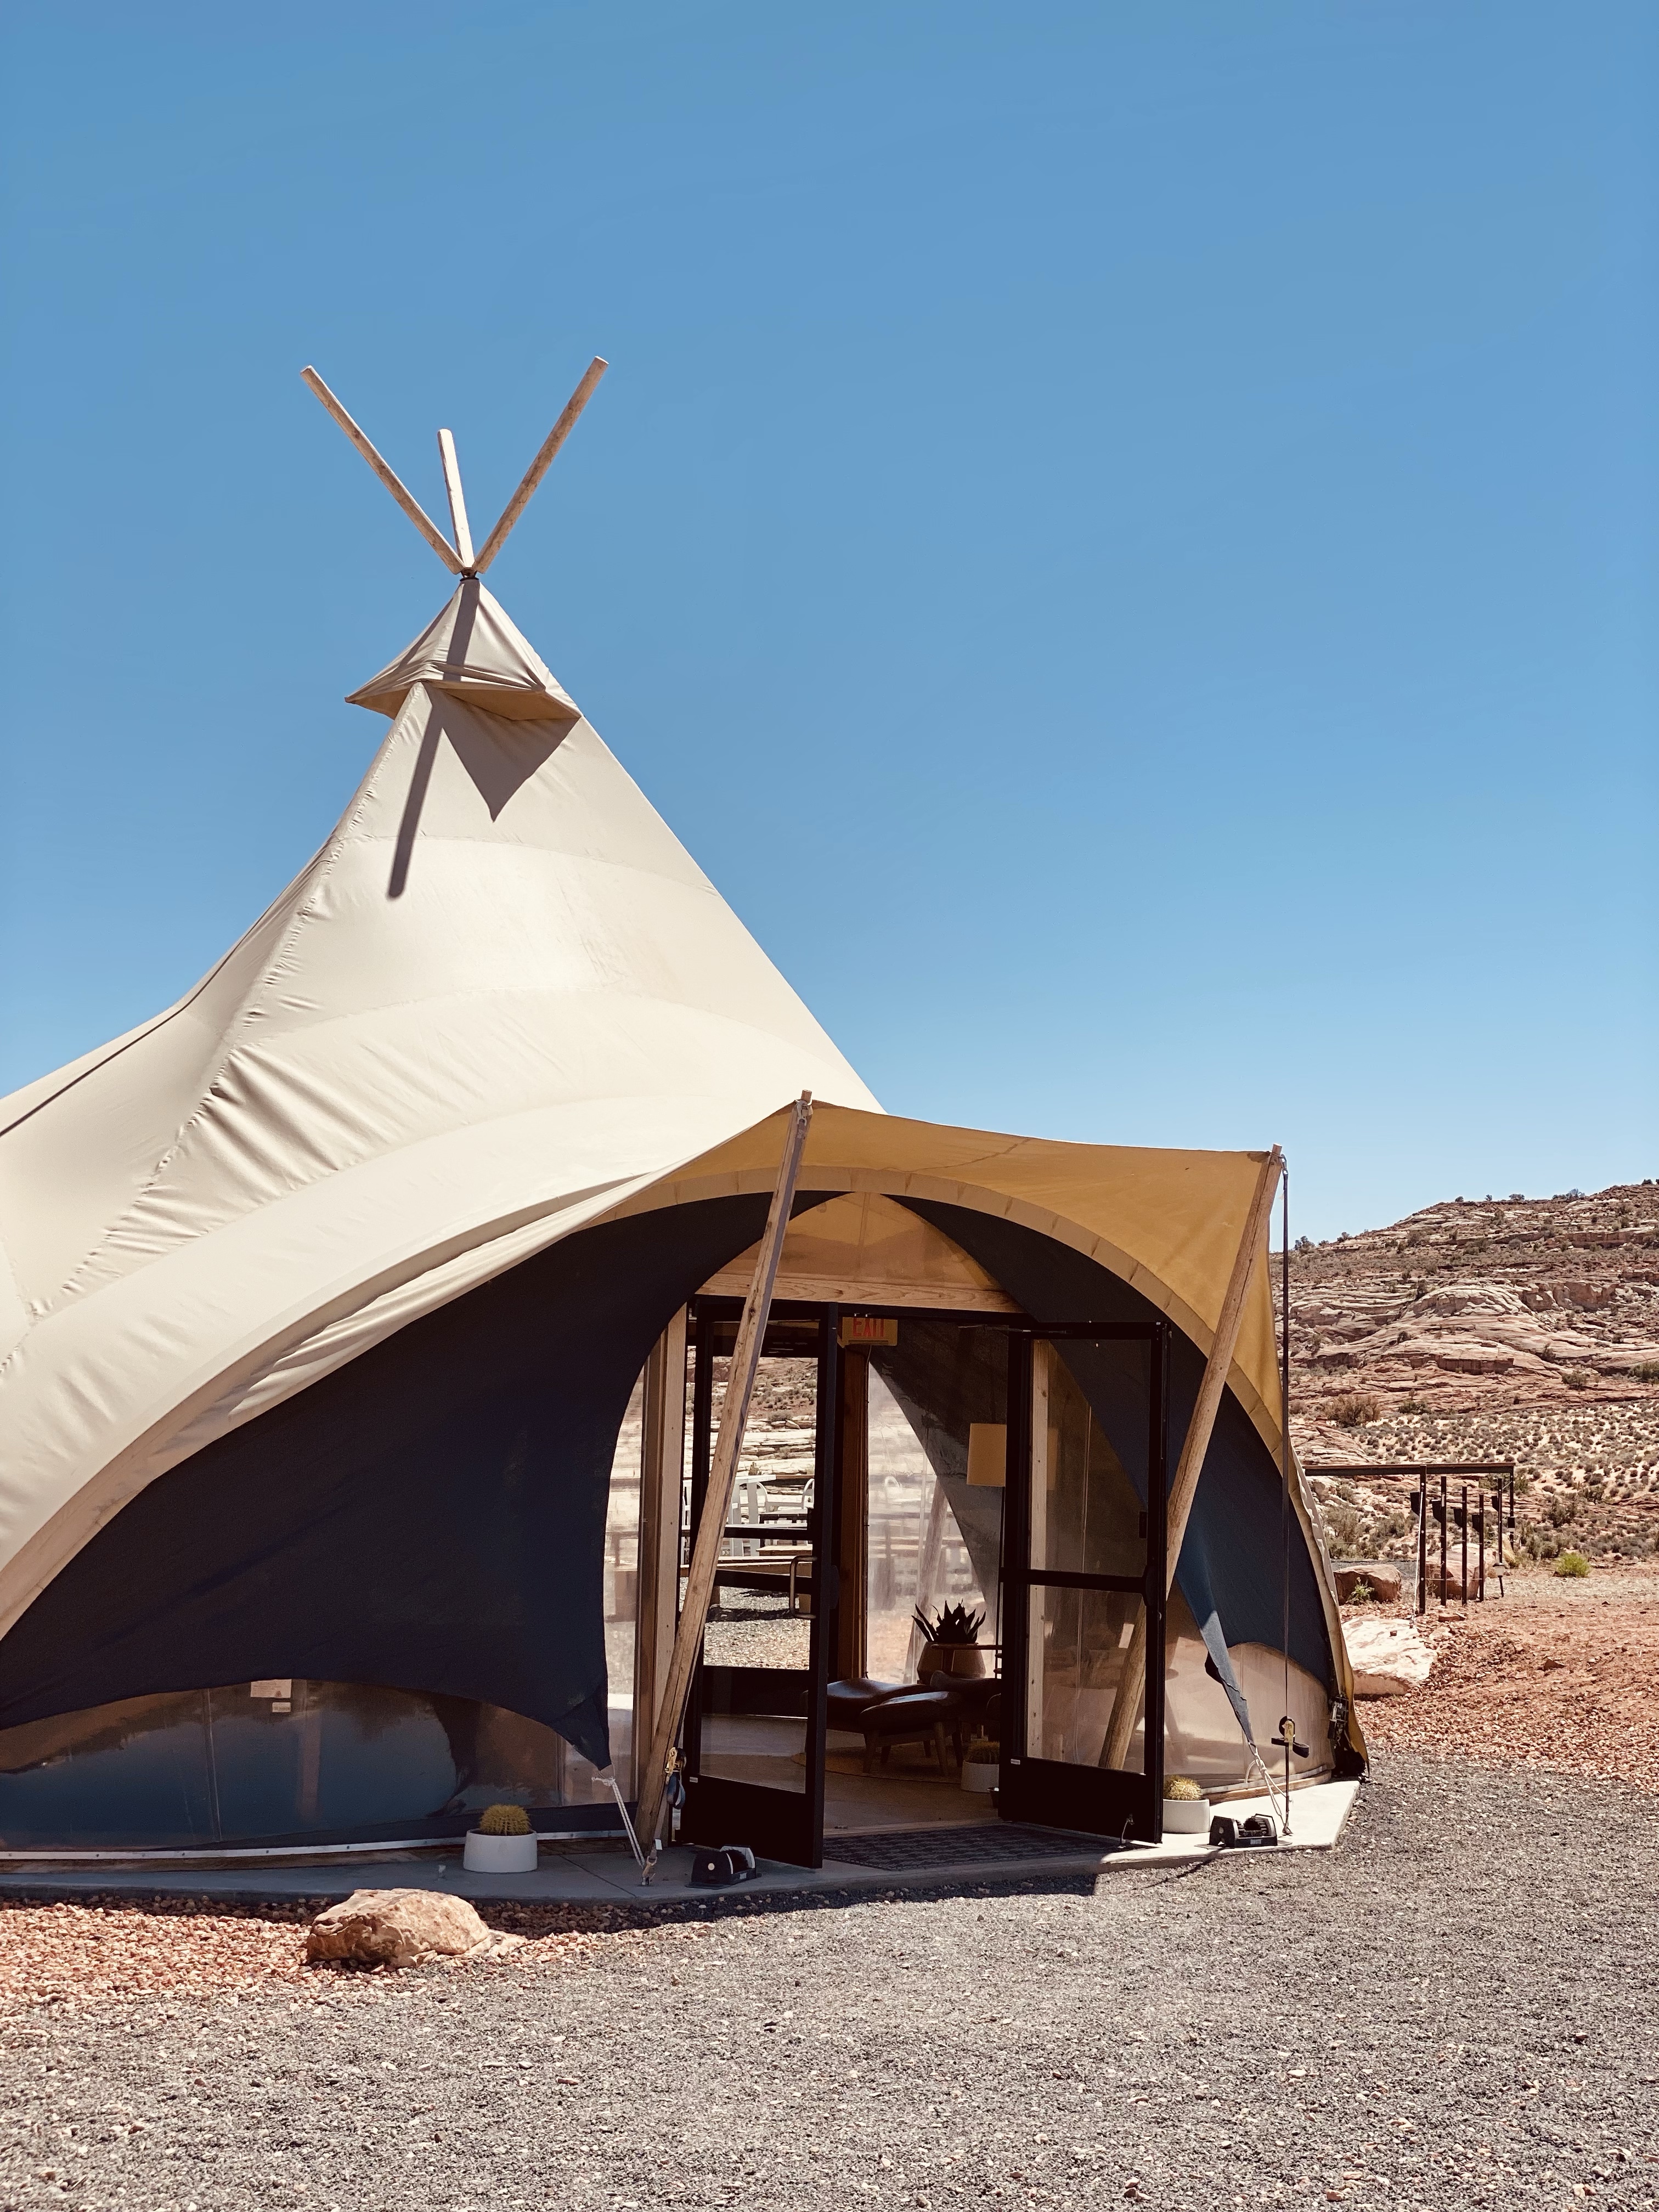
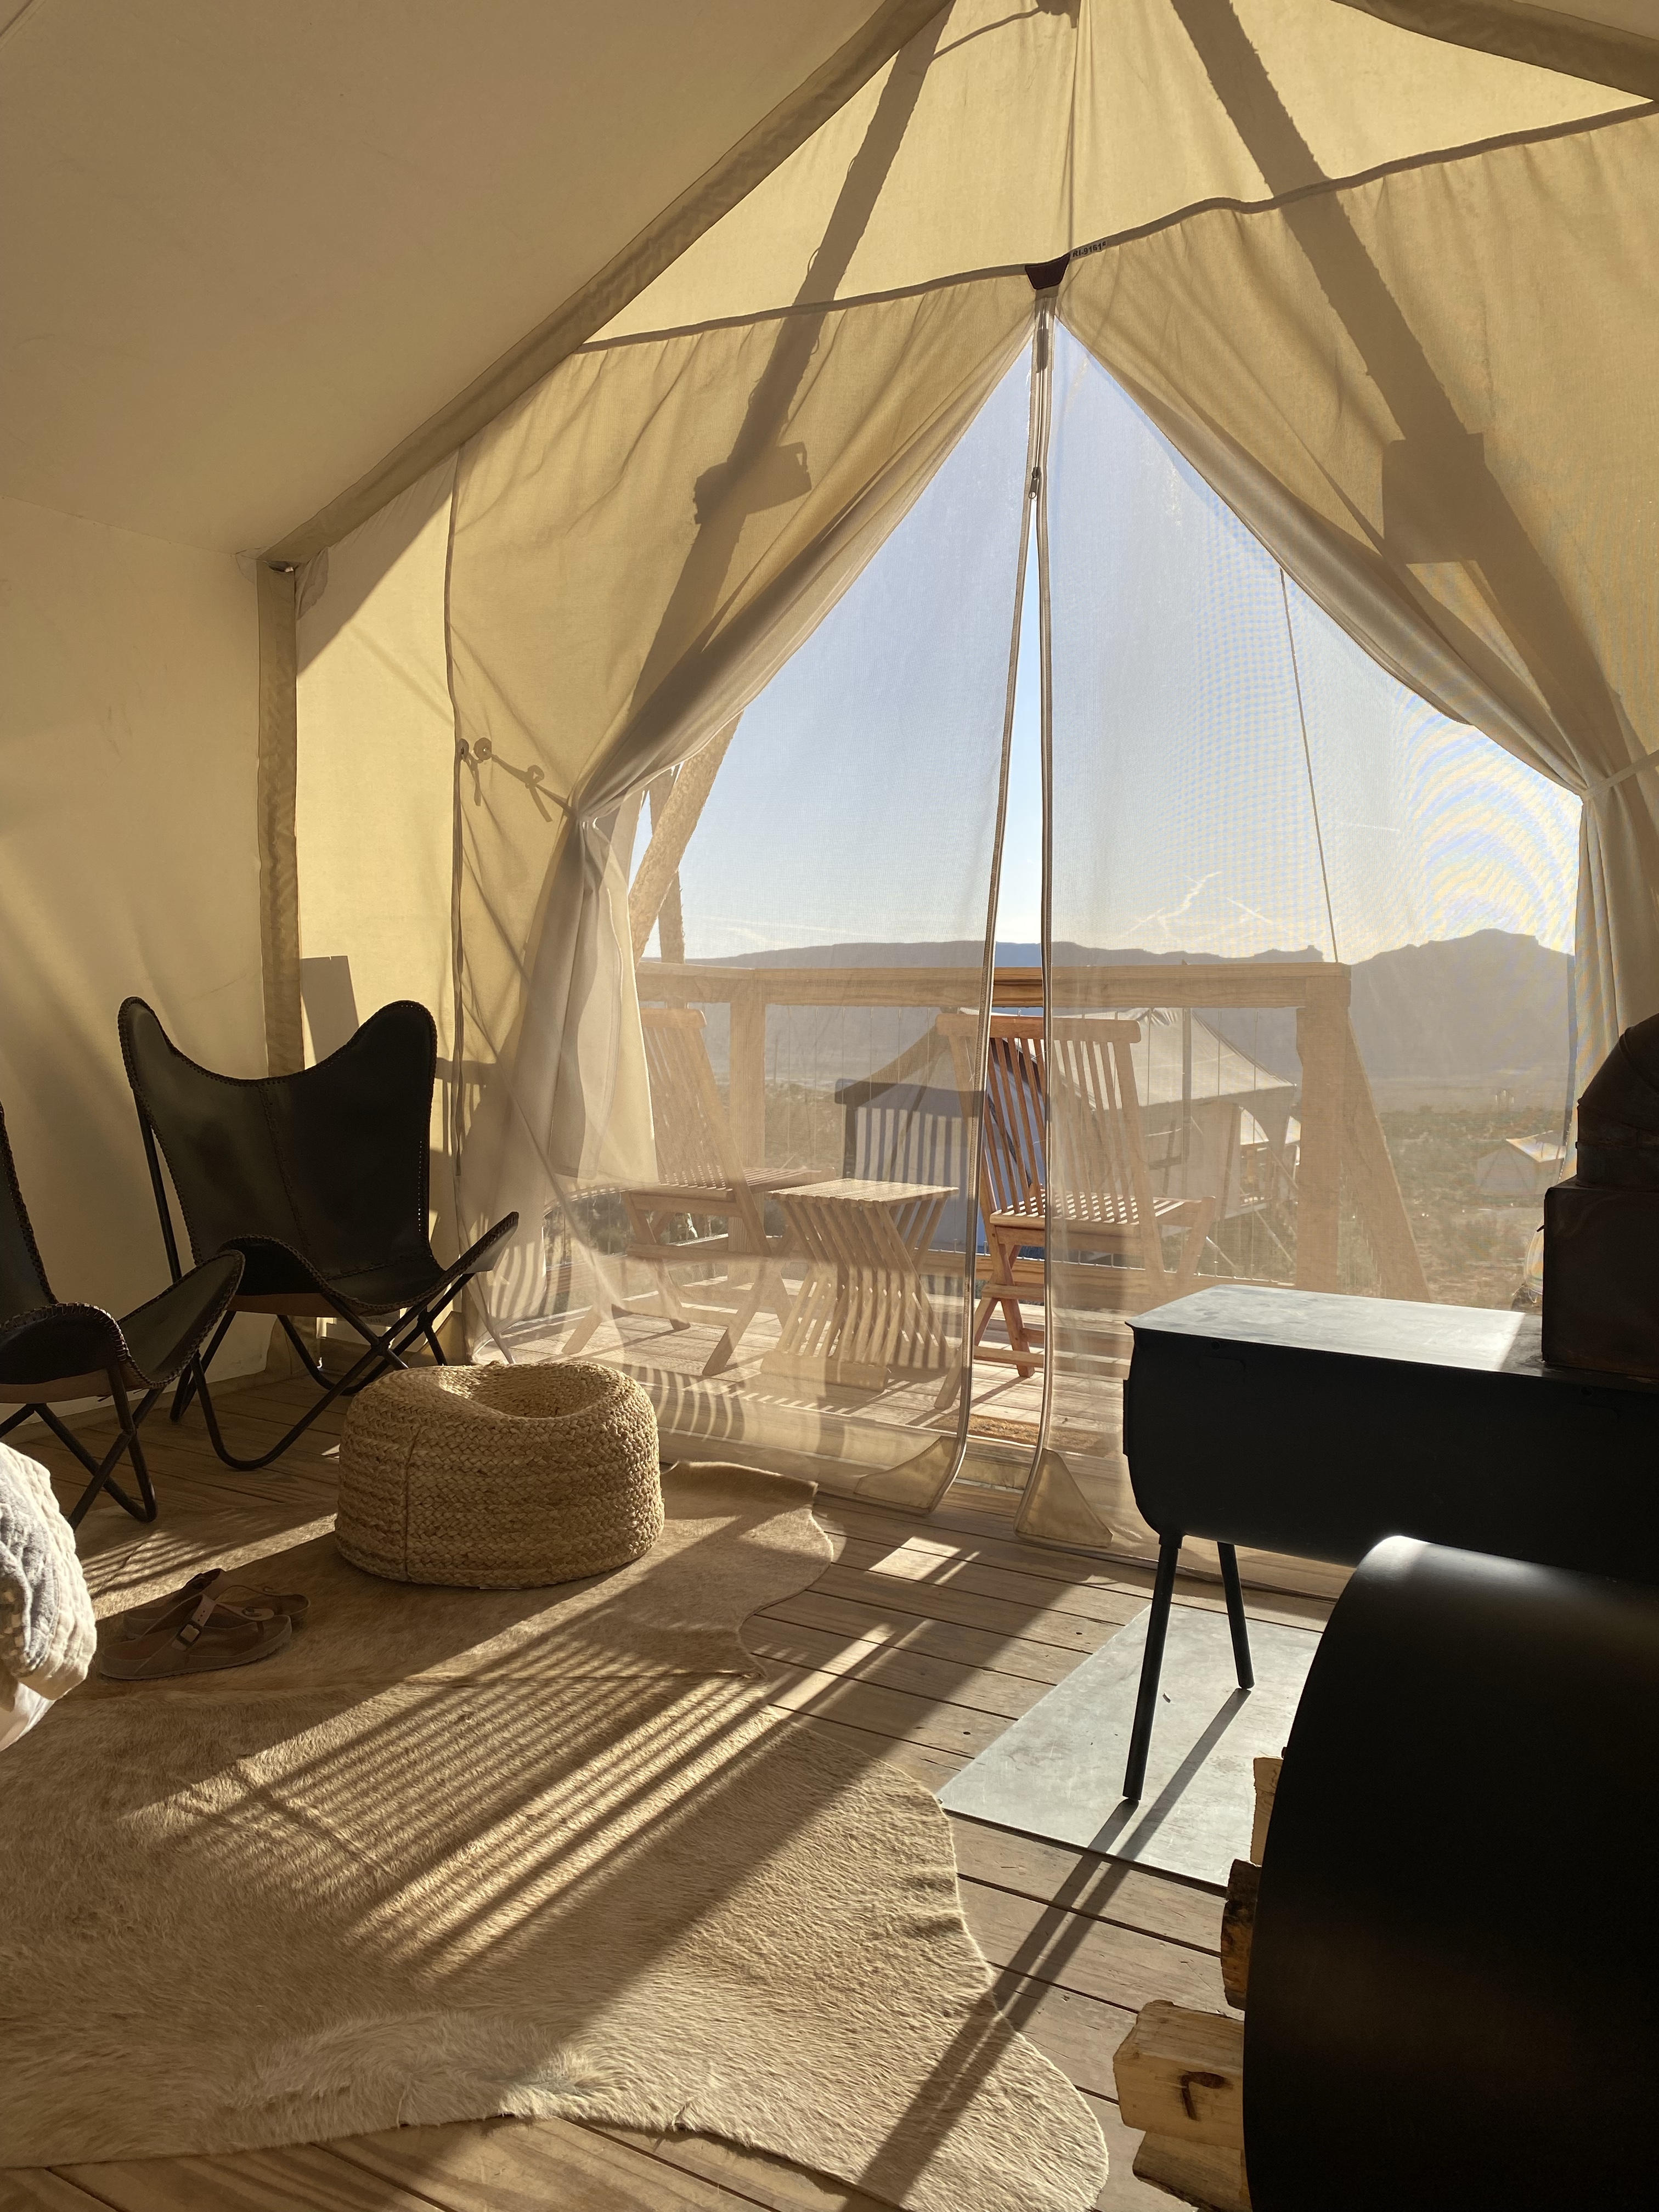
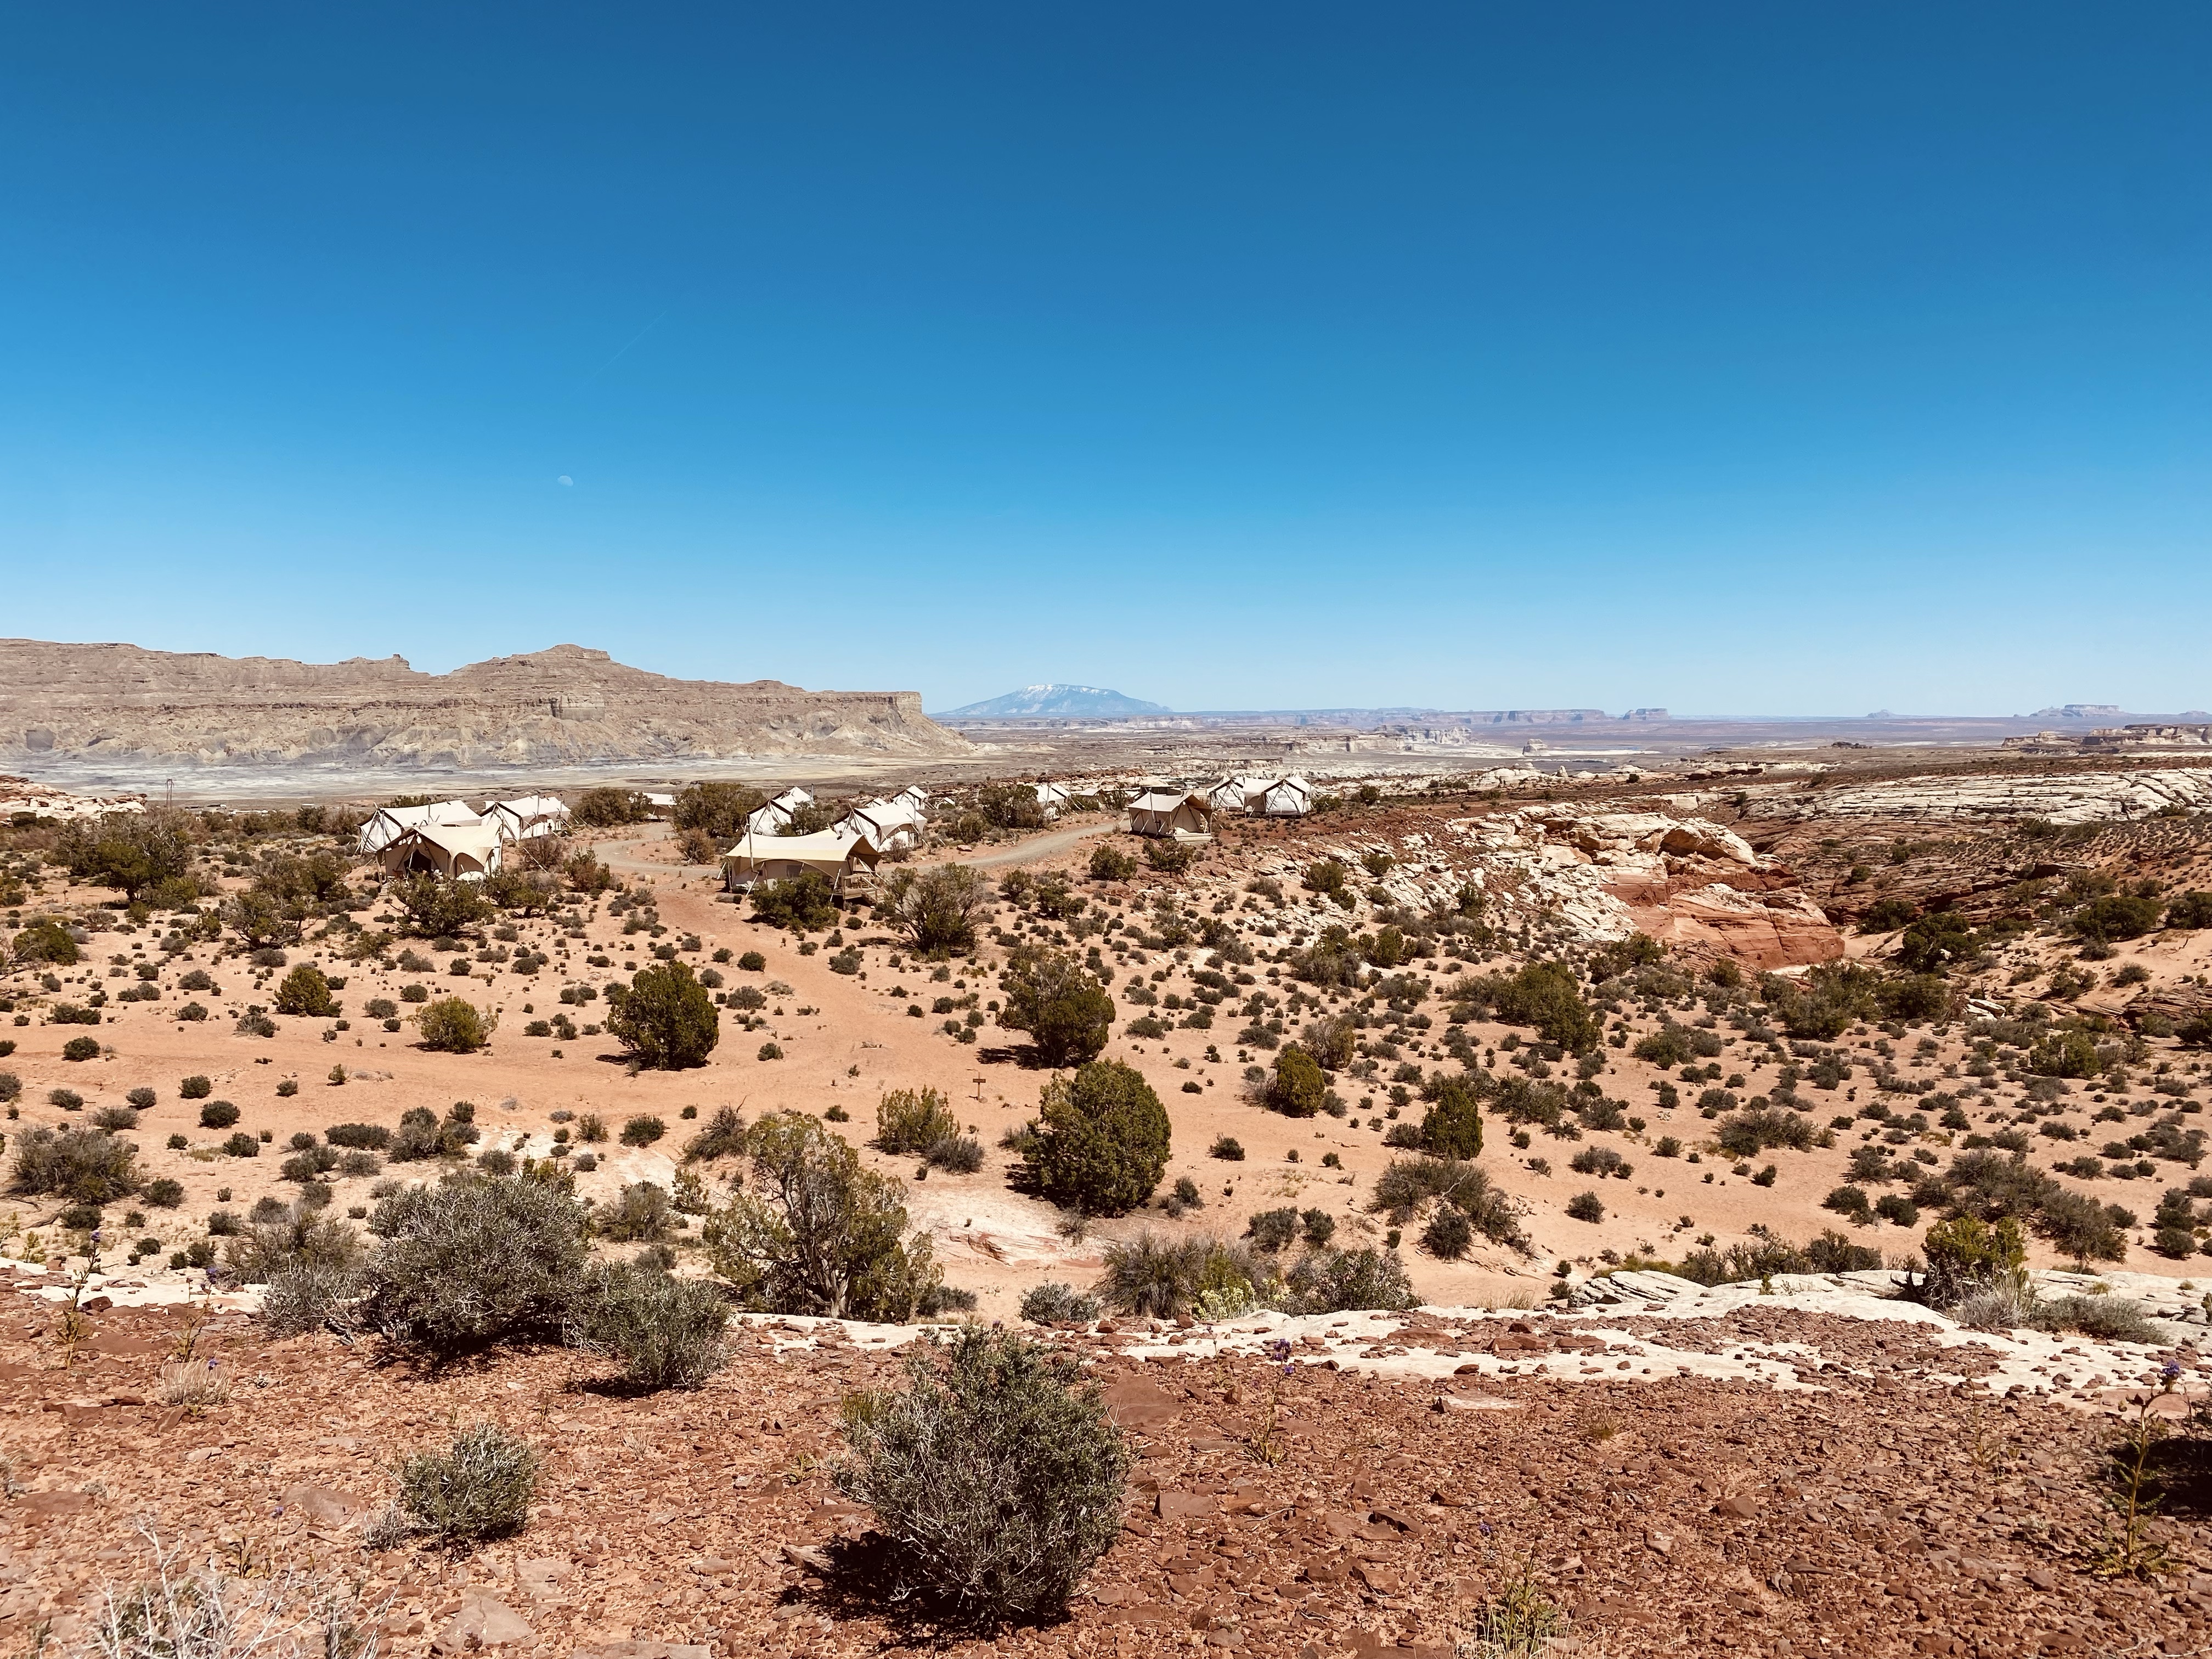
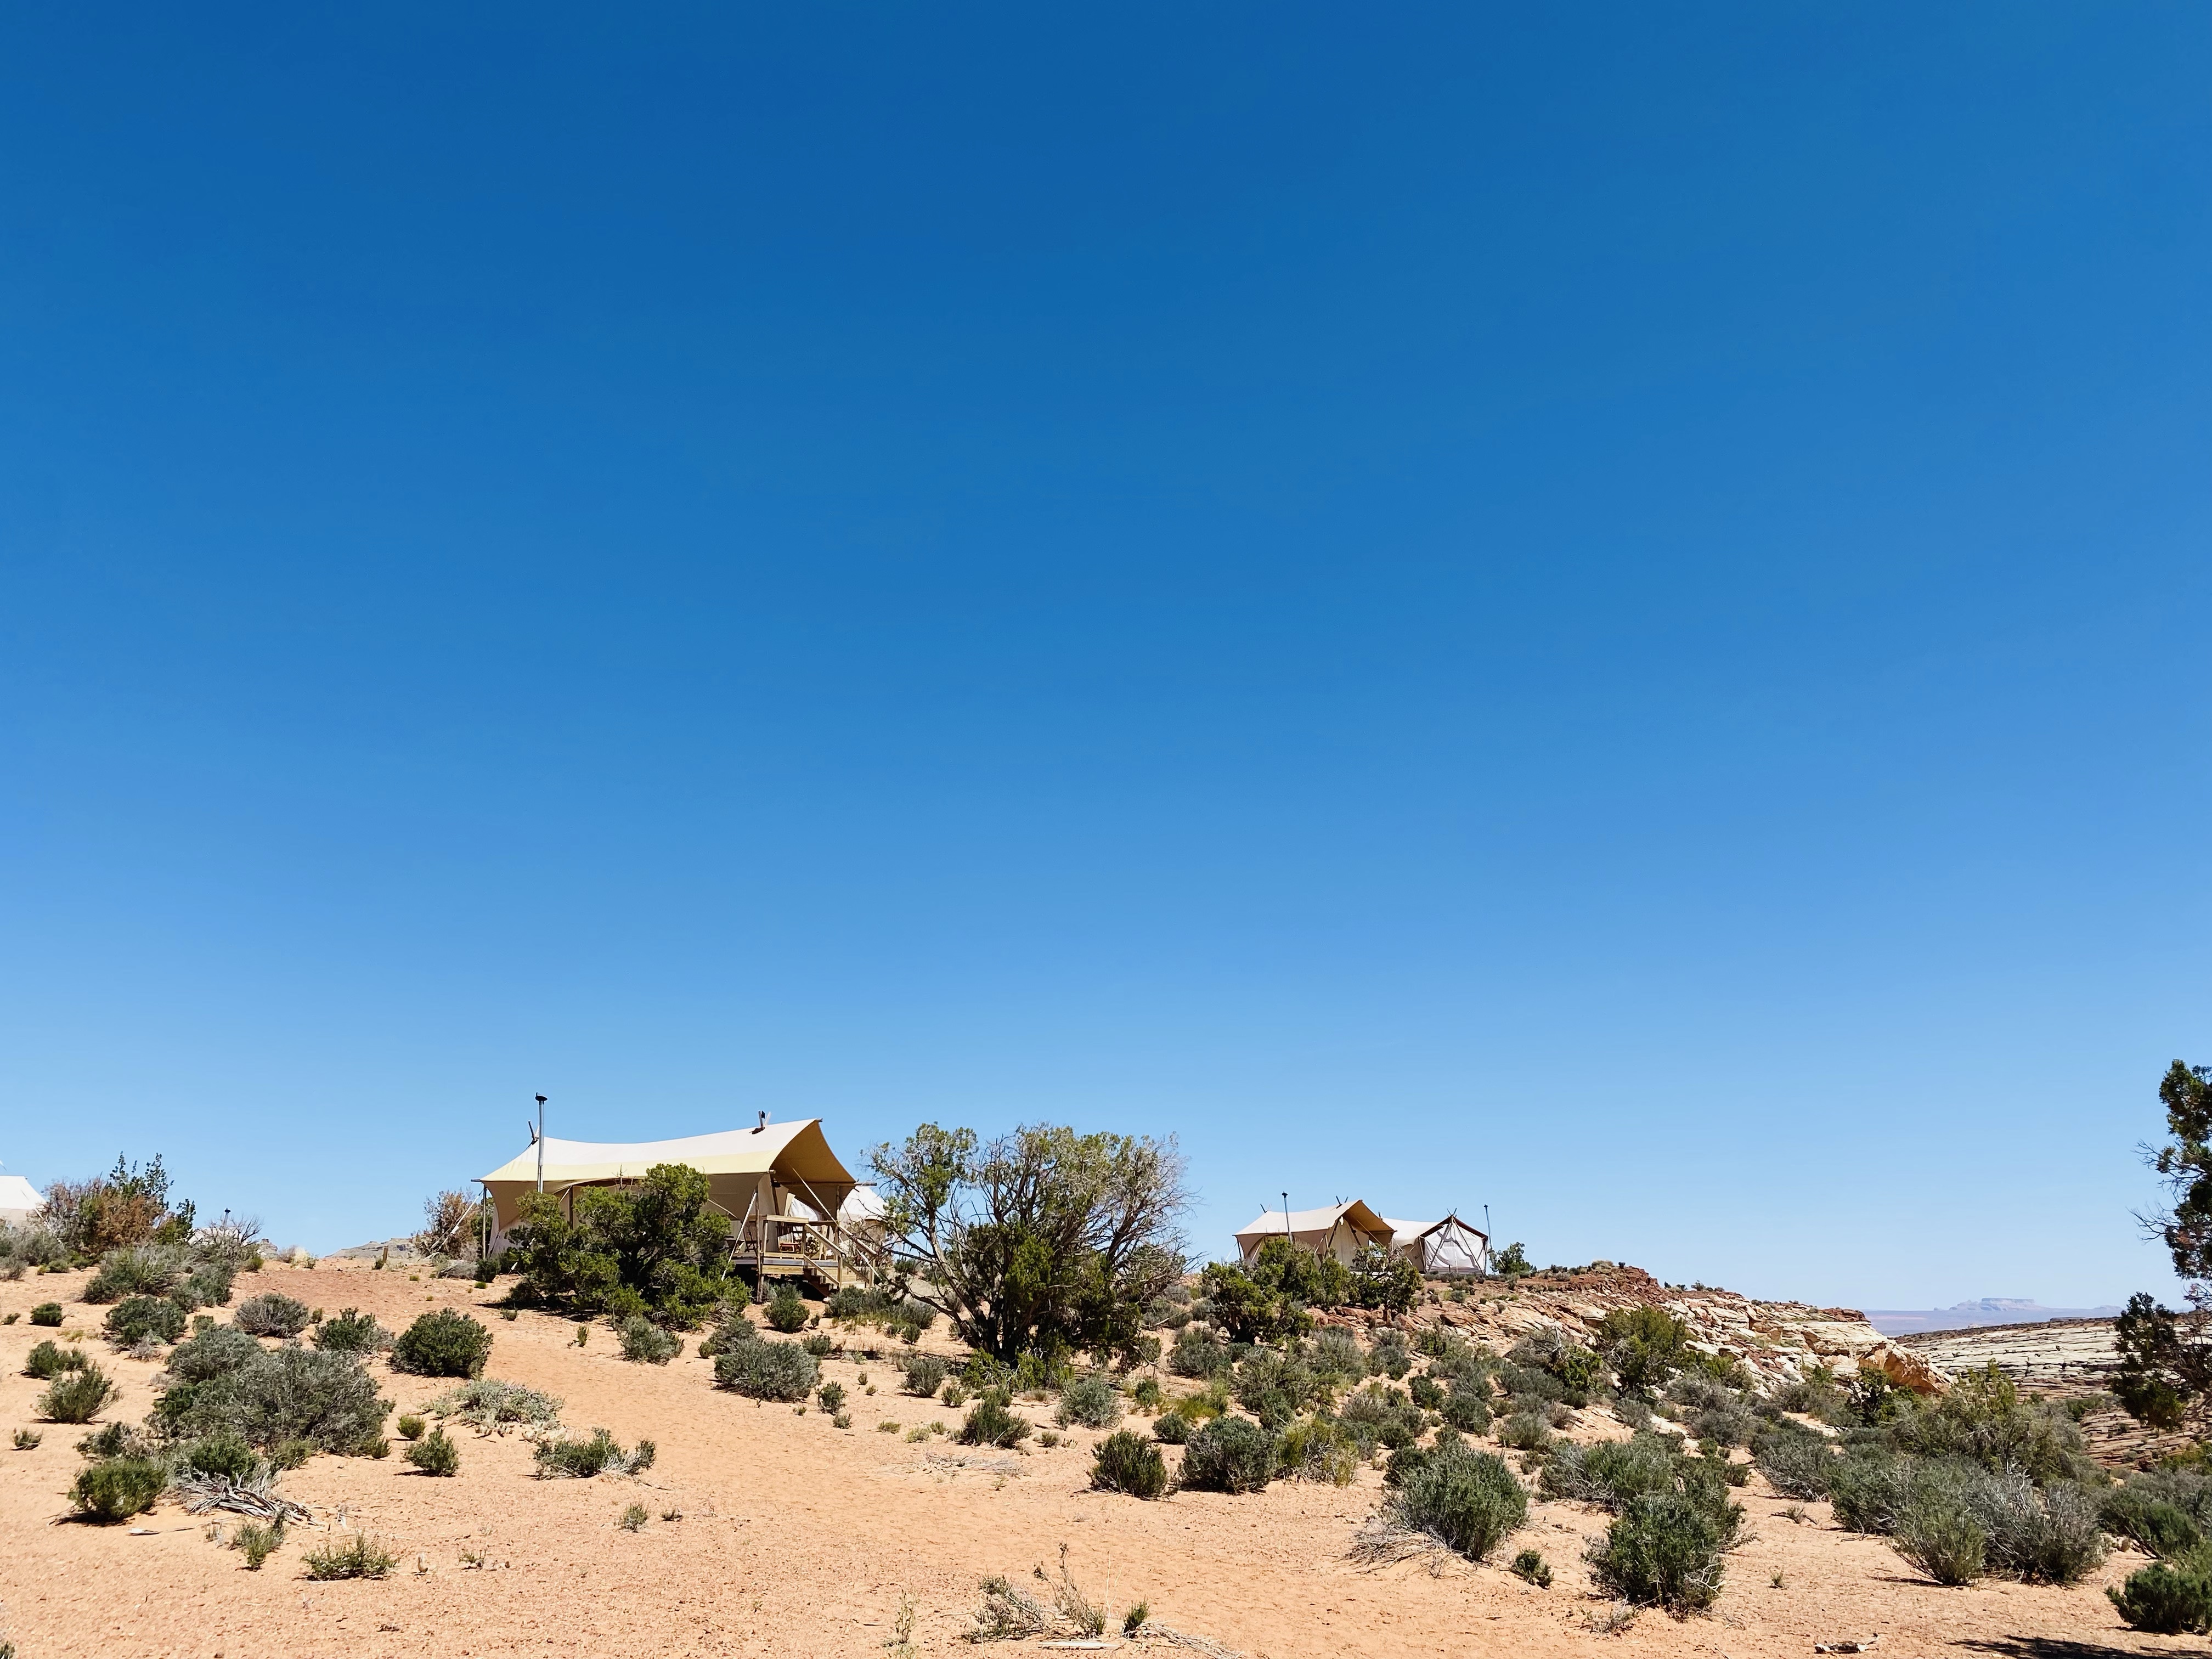
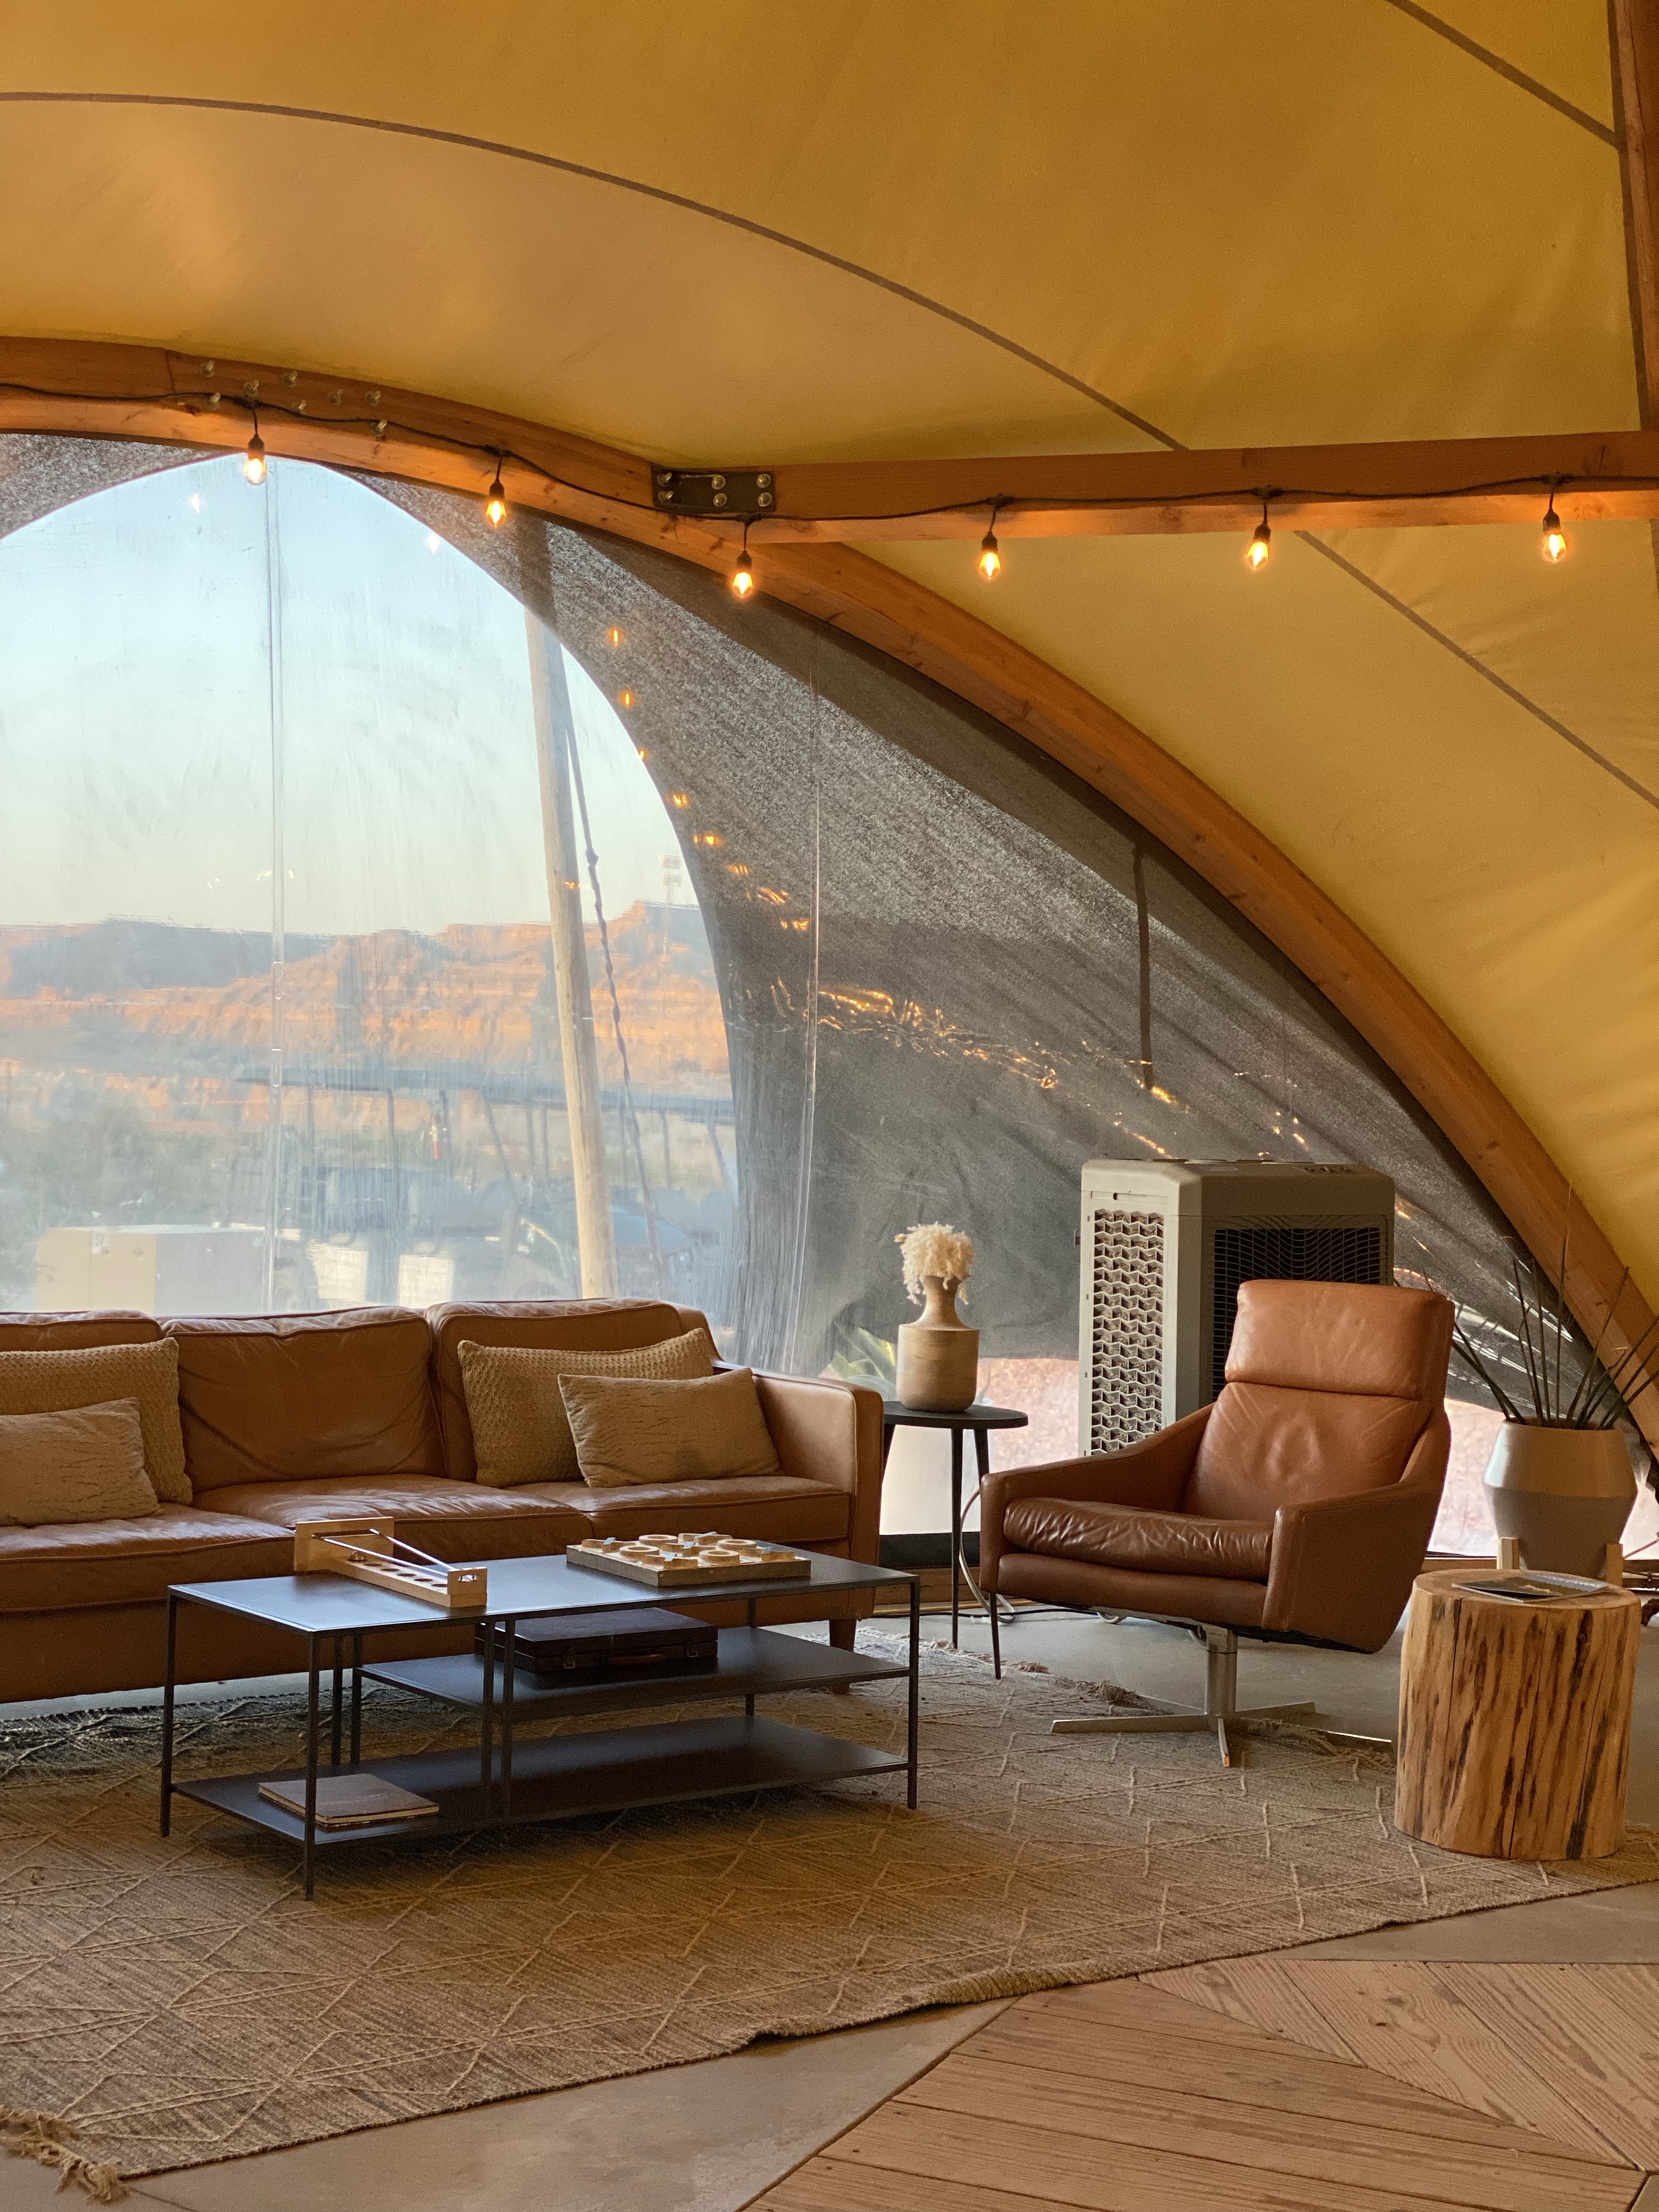
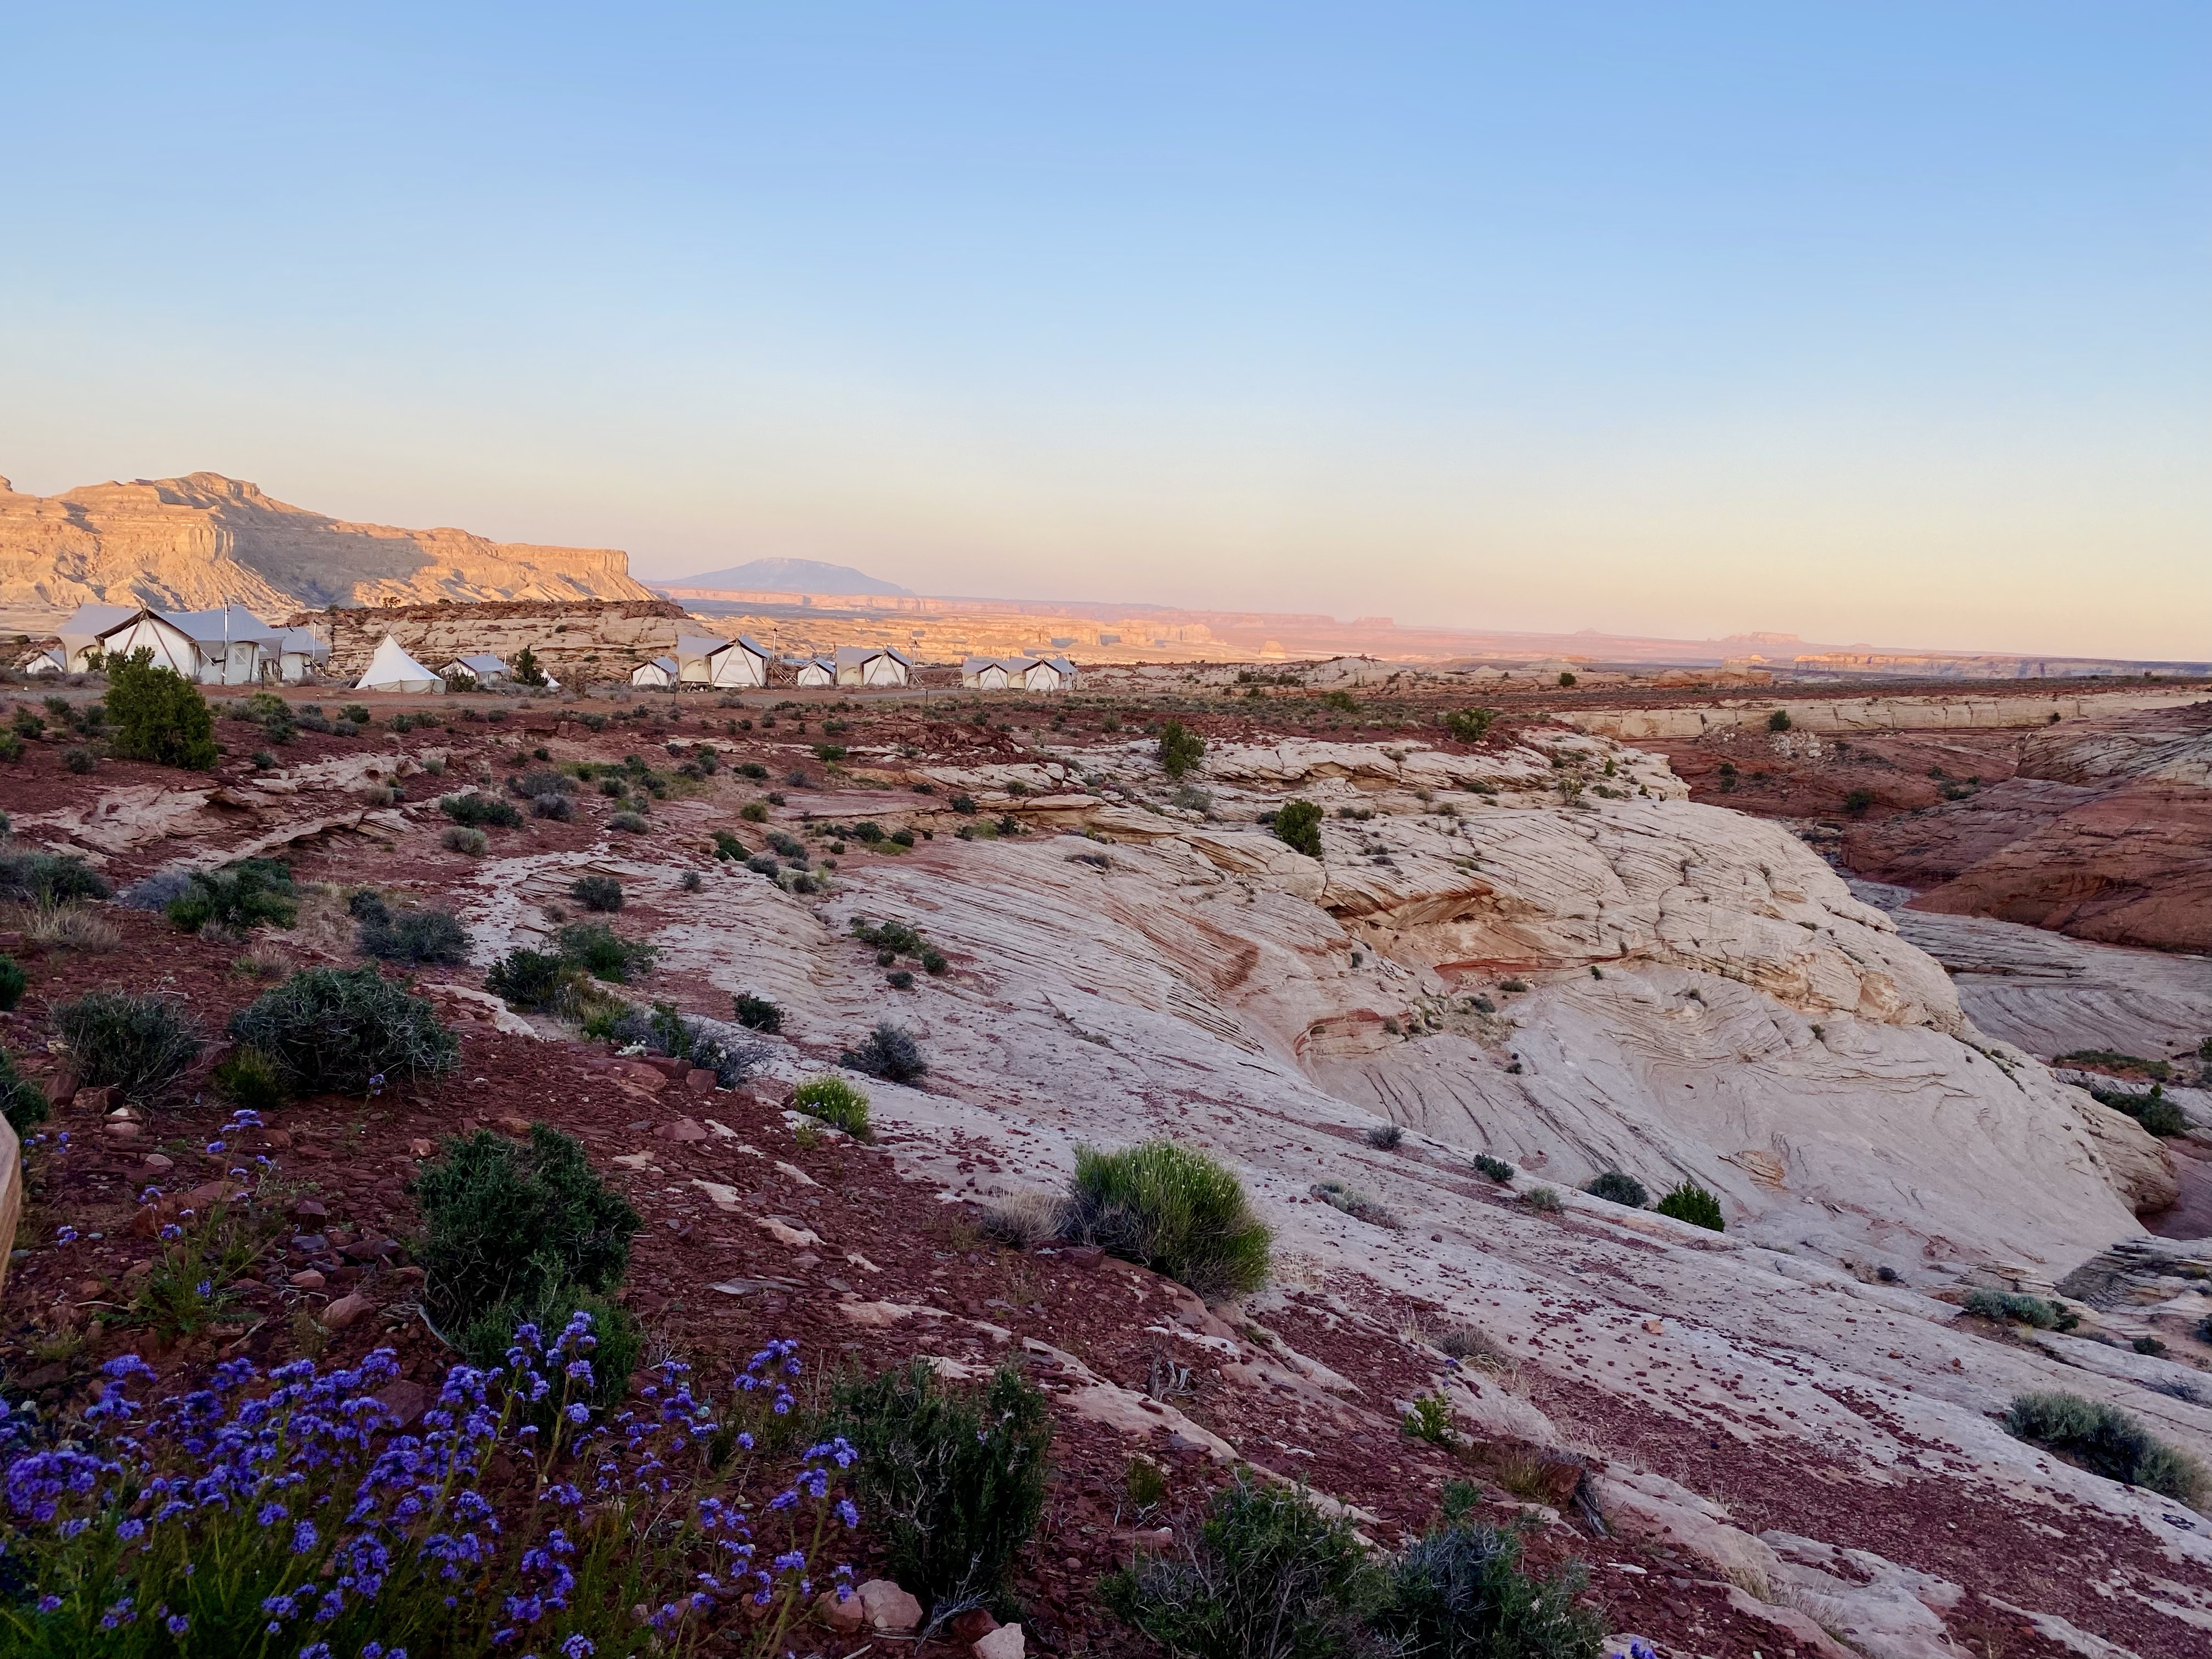
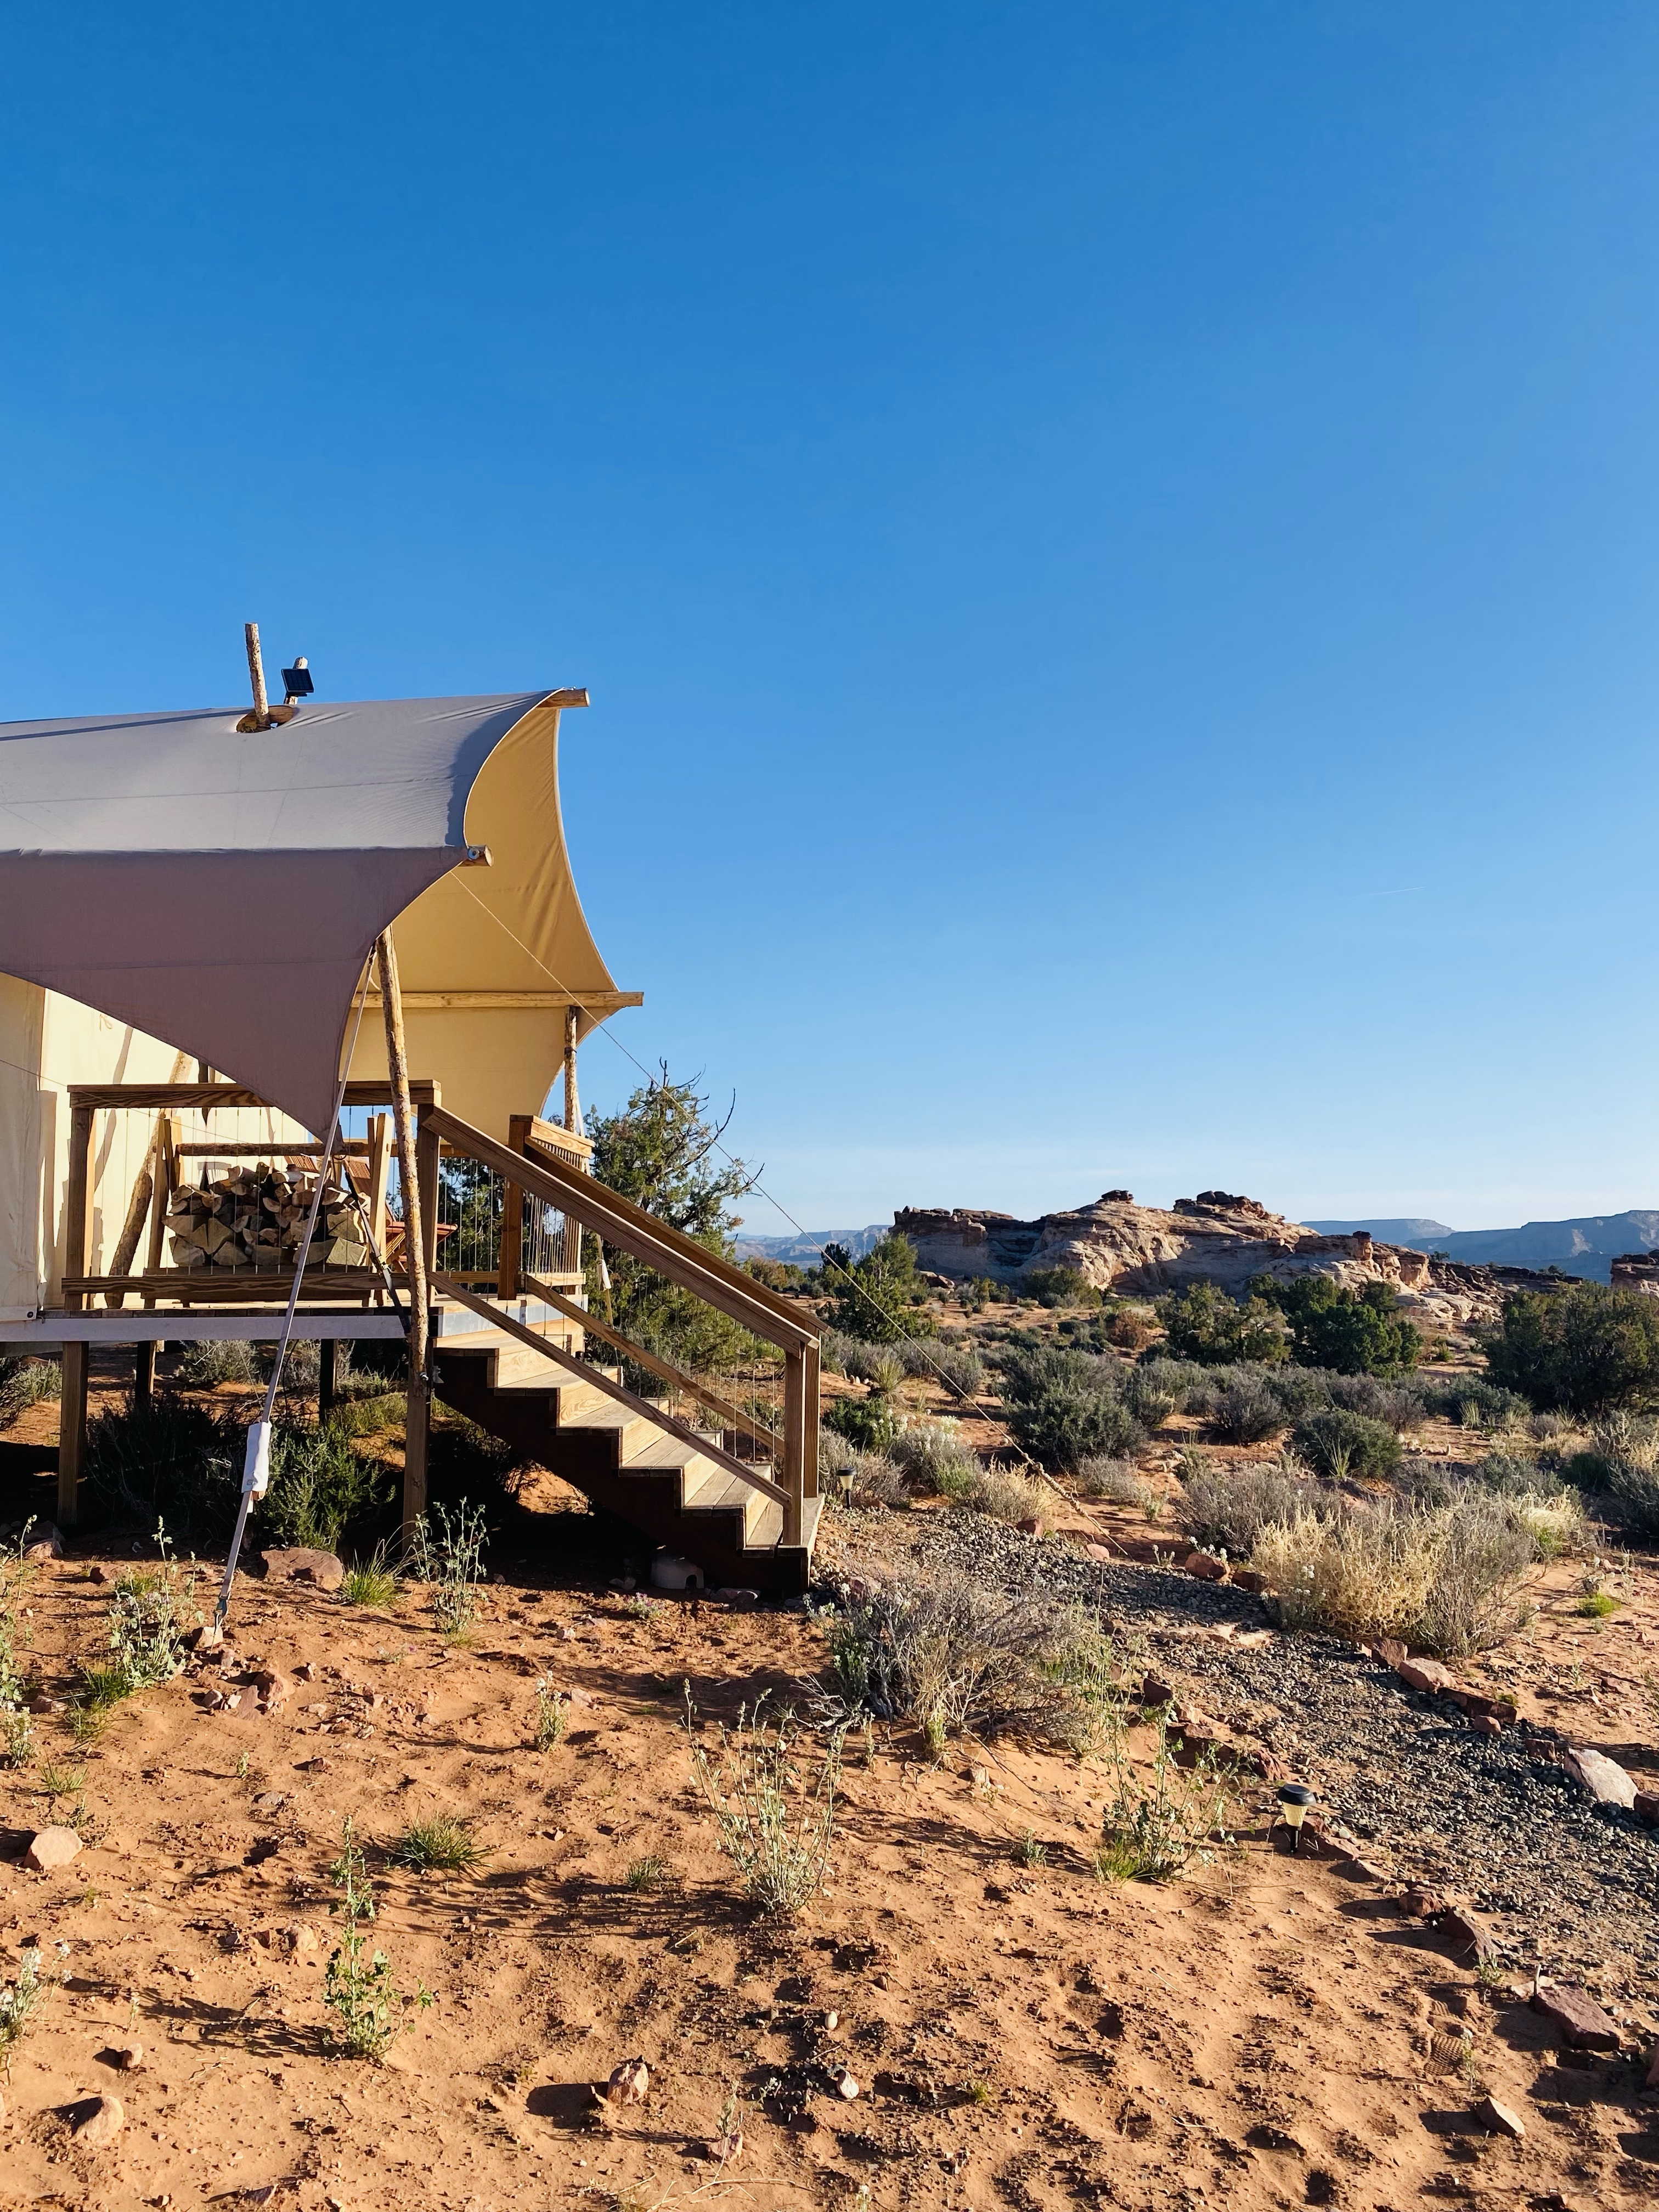
We arrived and immediately saw the allure for the glamping experience UnderCanvas is known for.
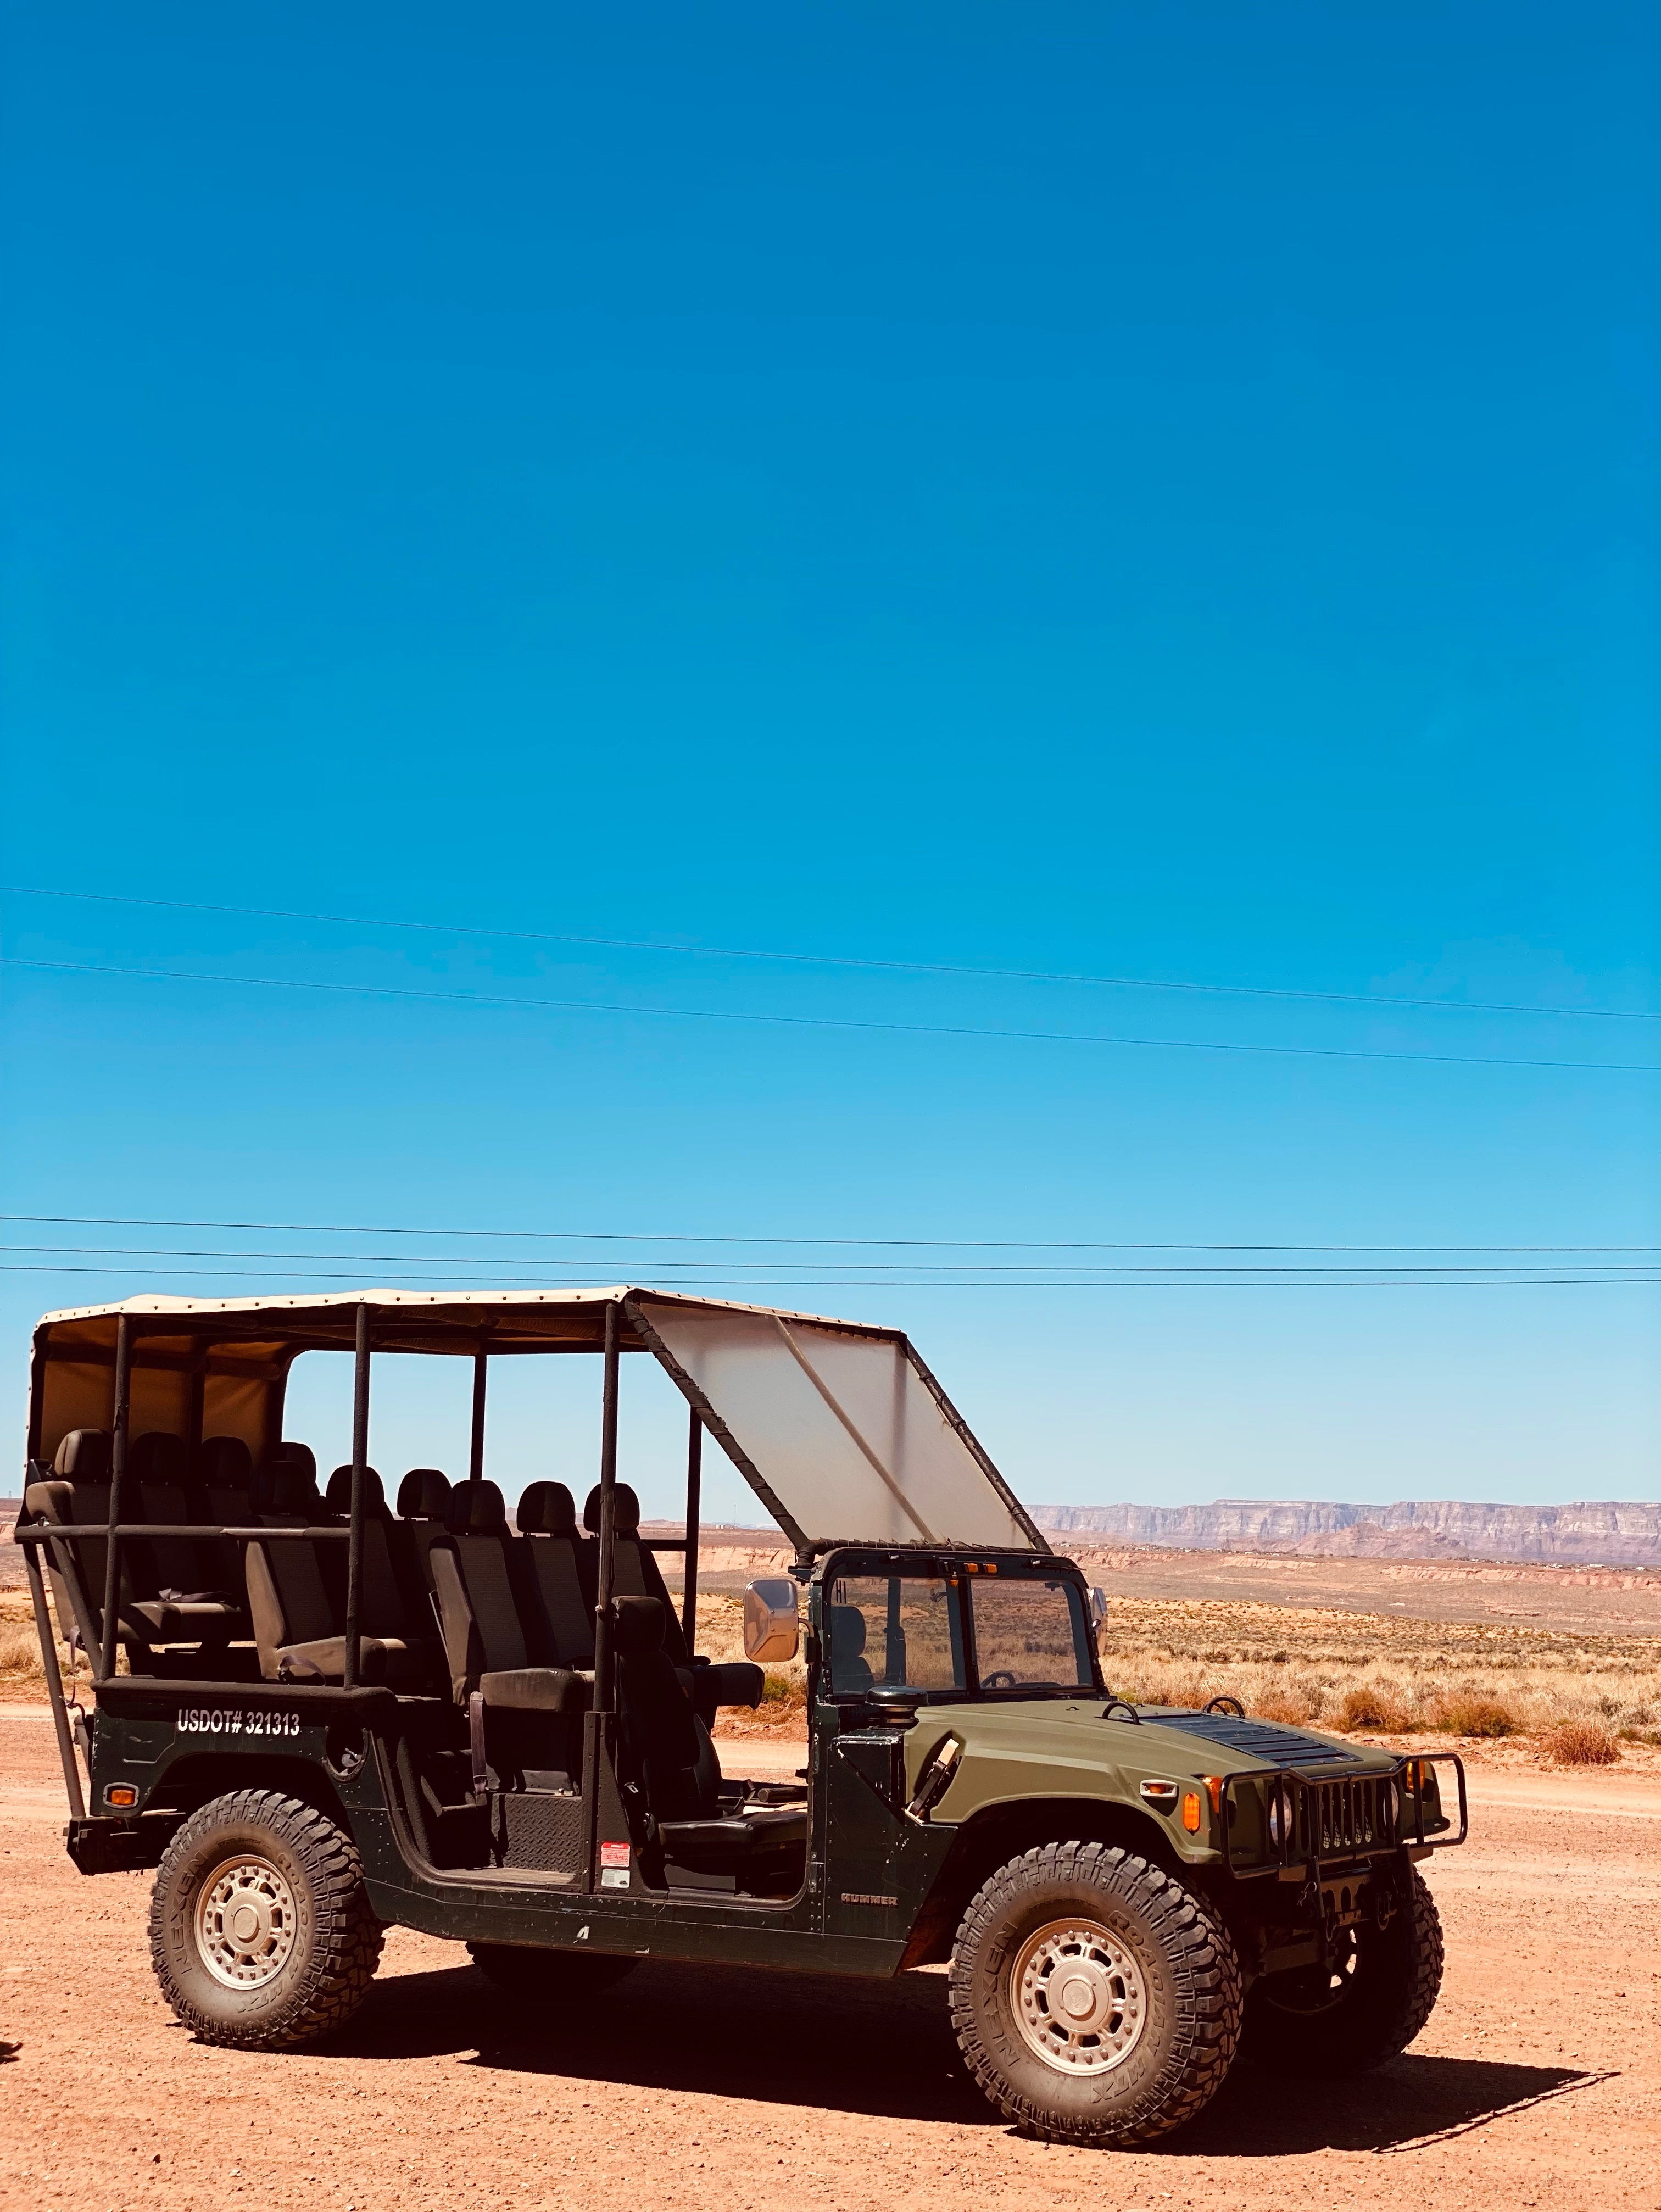
There are designated parking spaces for your vehicles. From there, they load up your luggage on a golf cart and a staff member drives you to your tent. They have handicap accessible tents as well if that’s an accommodation you need.
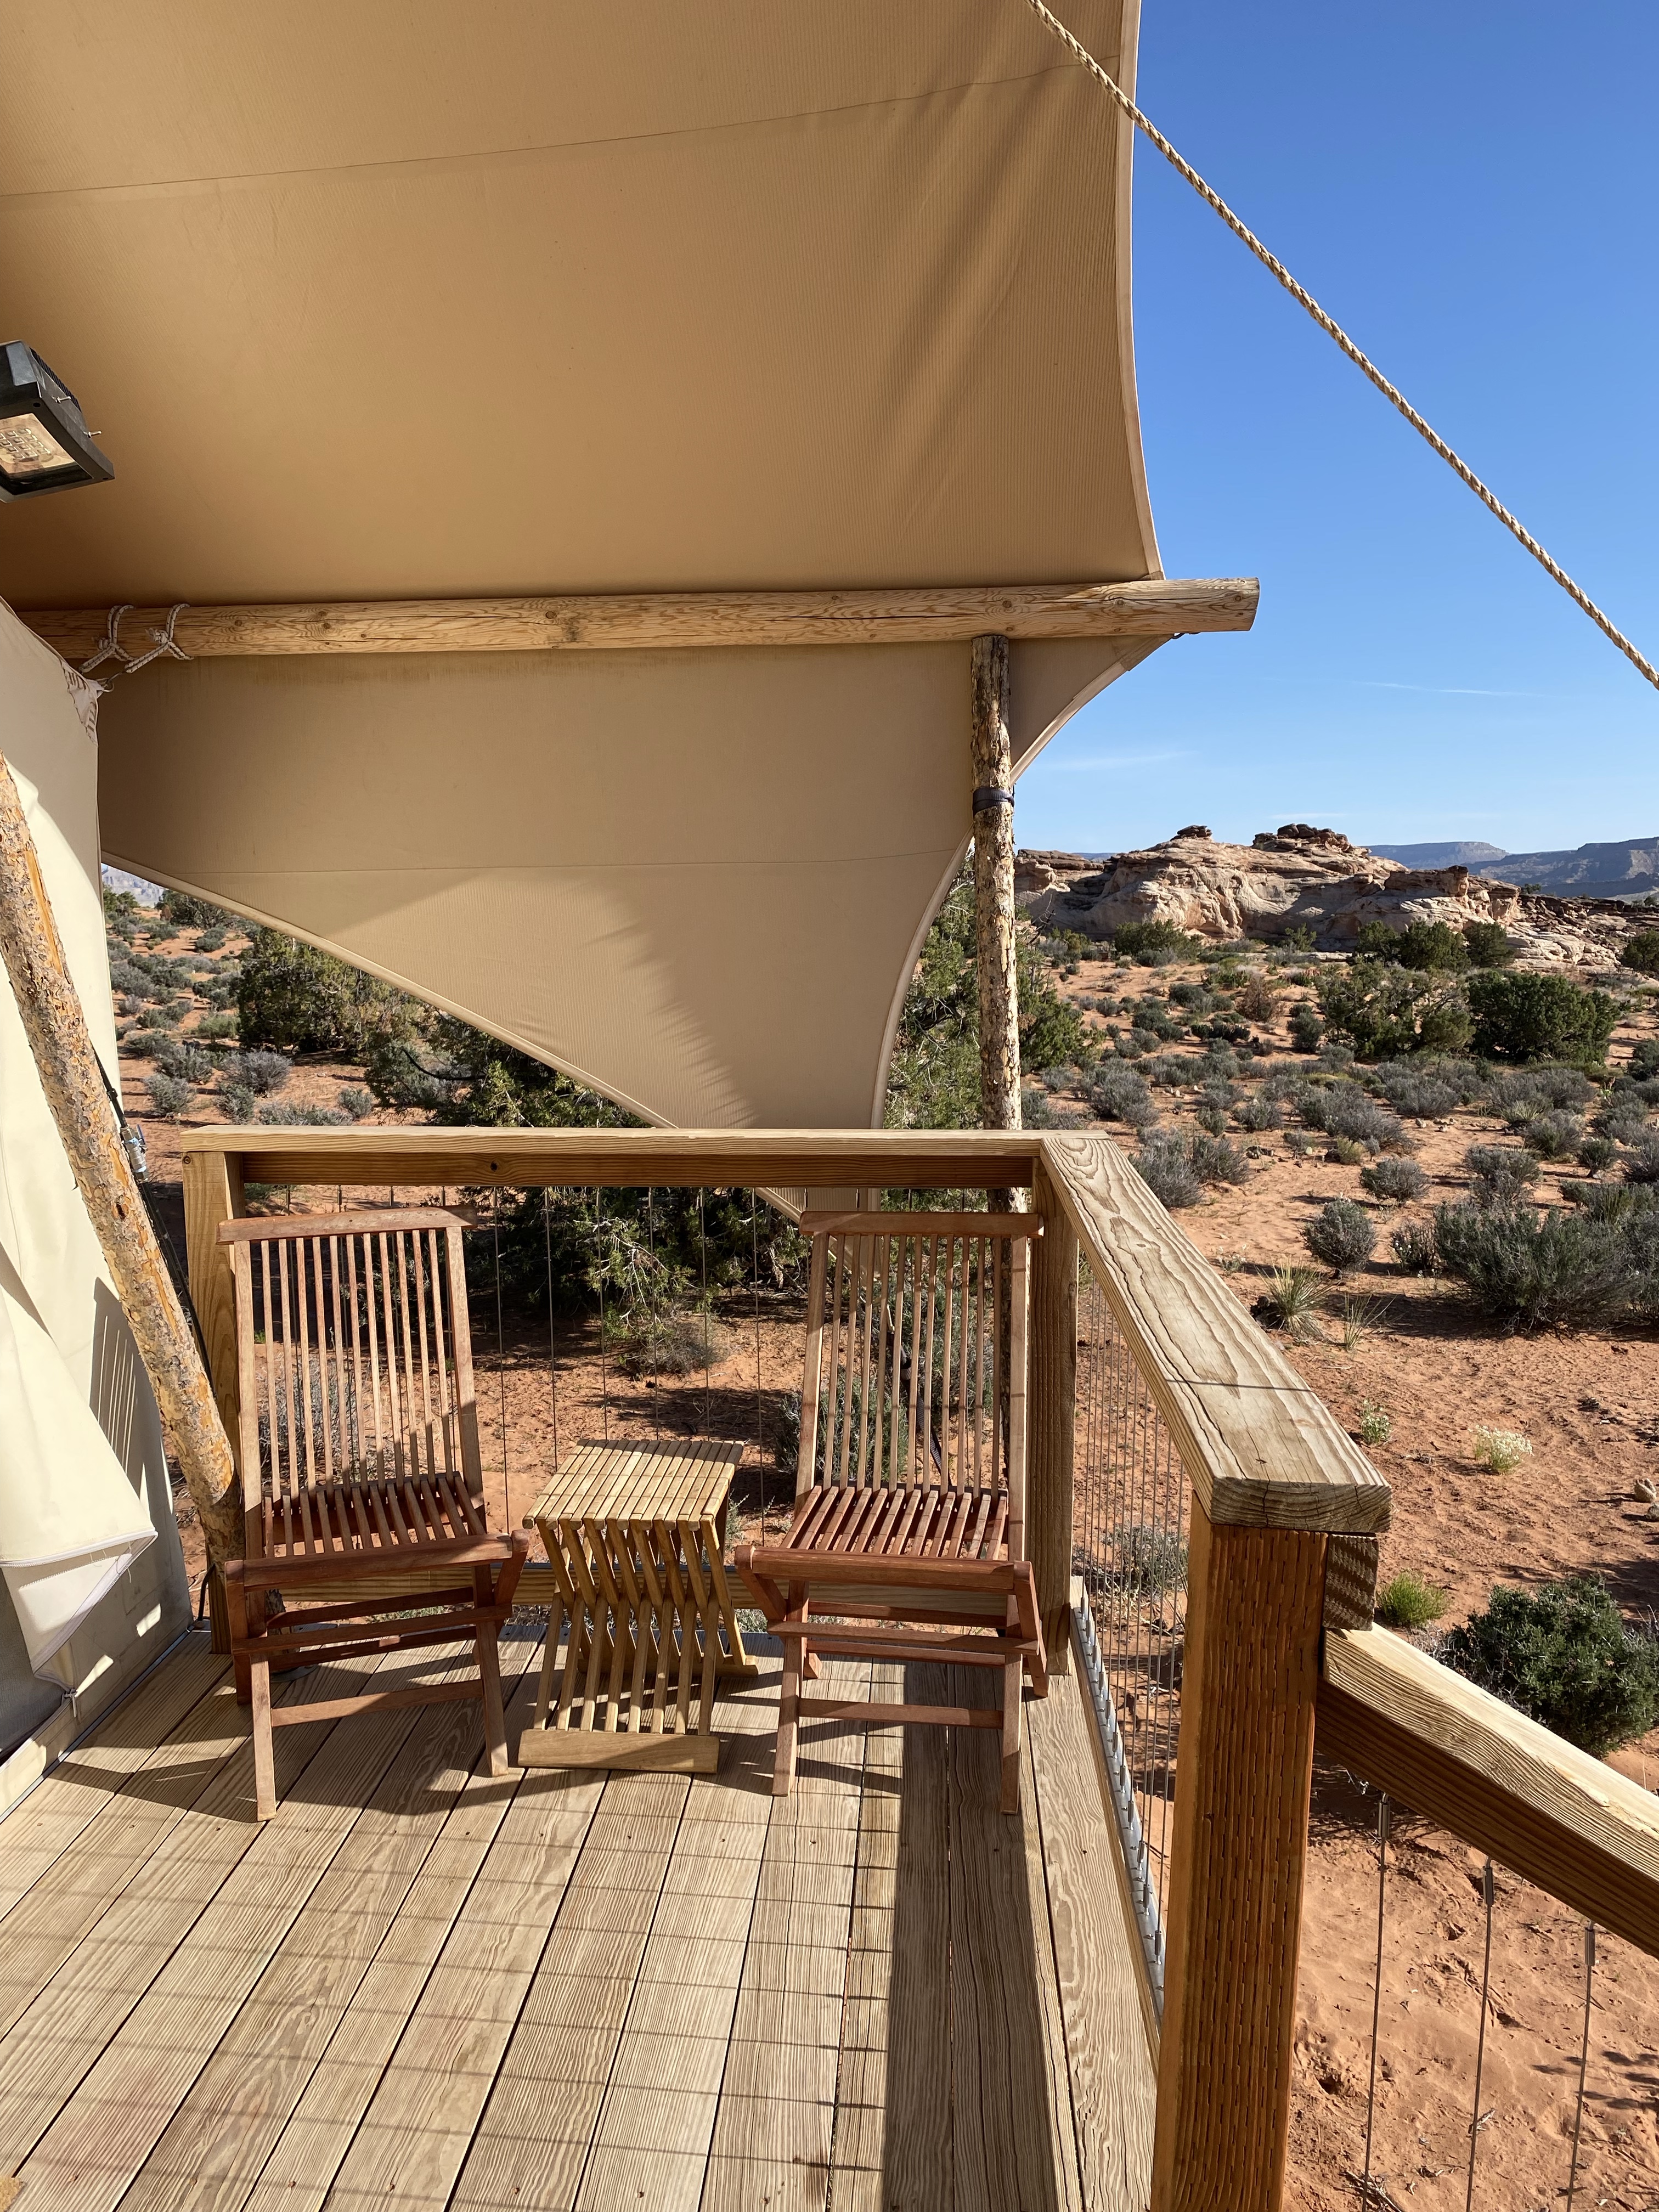
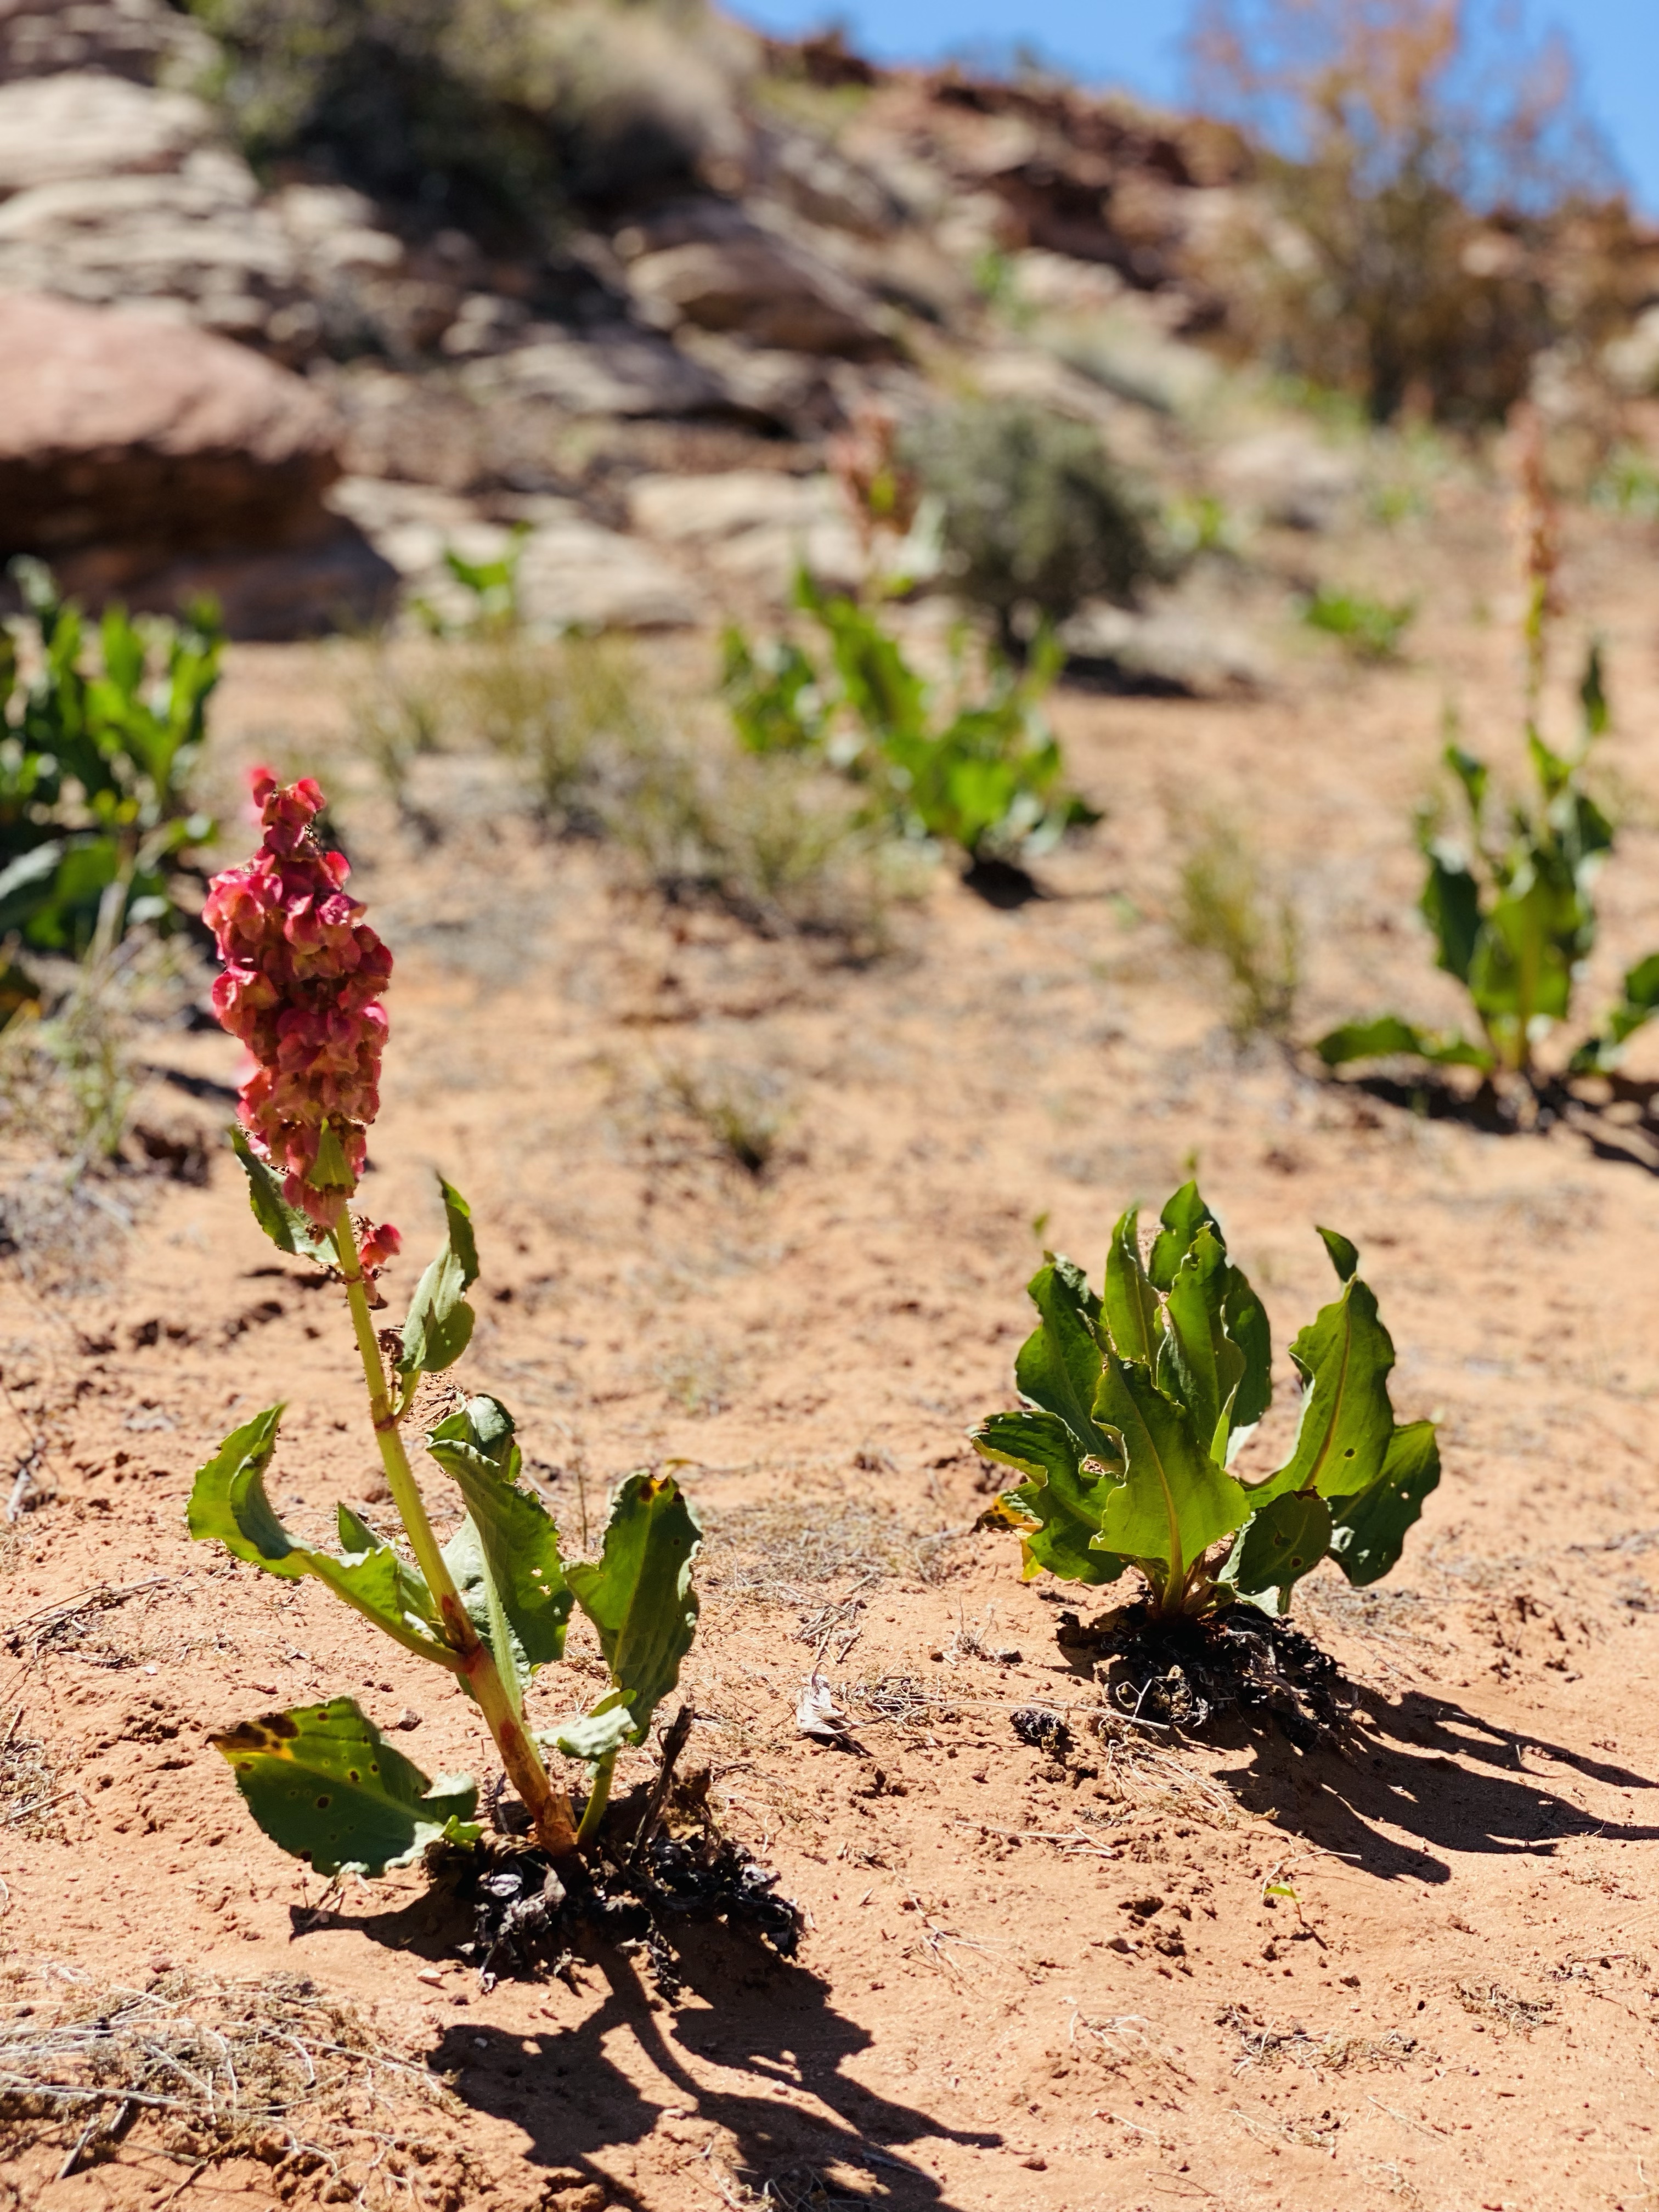
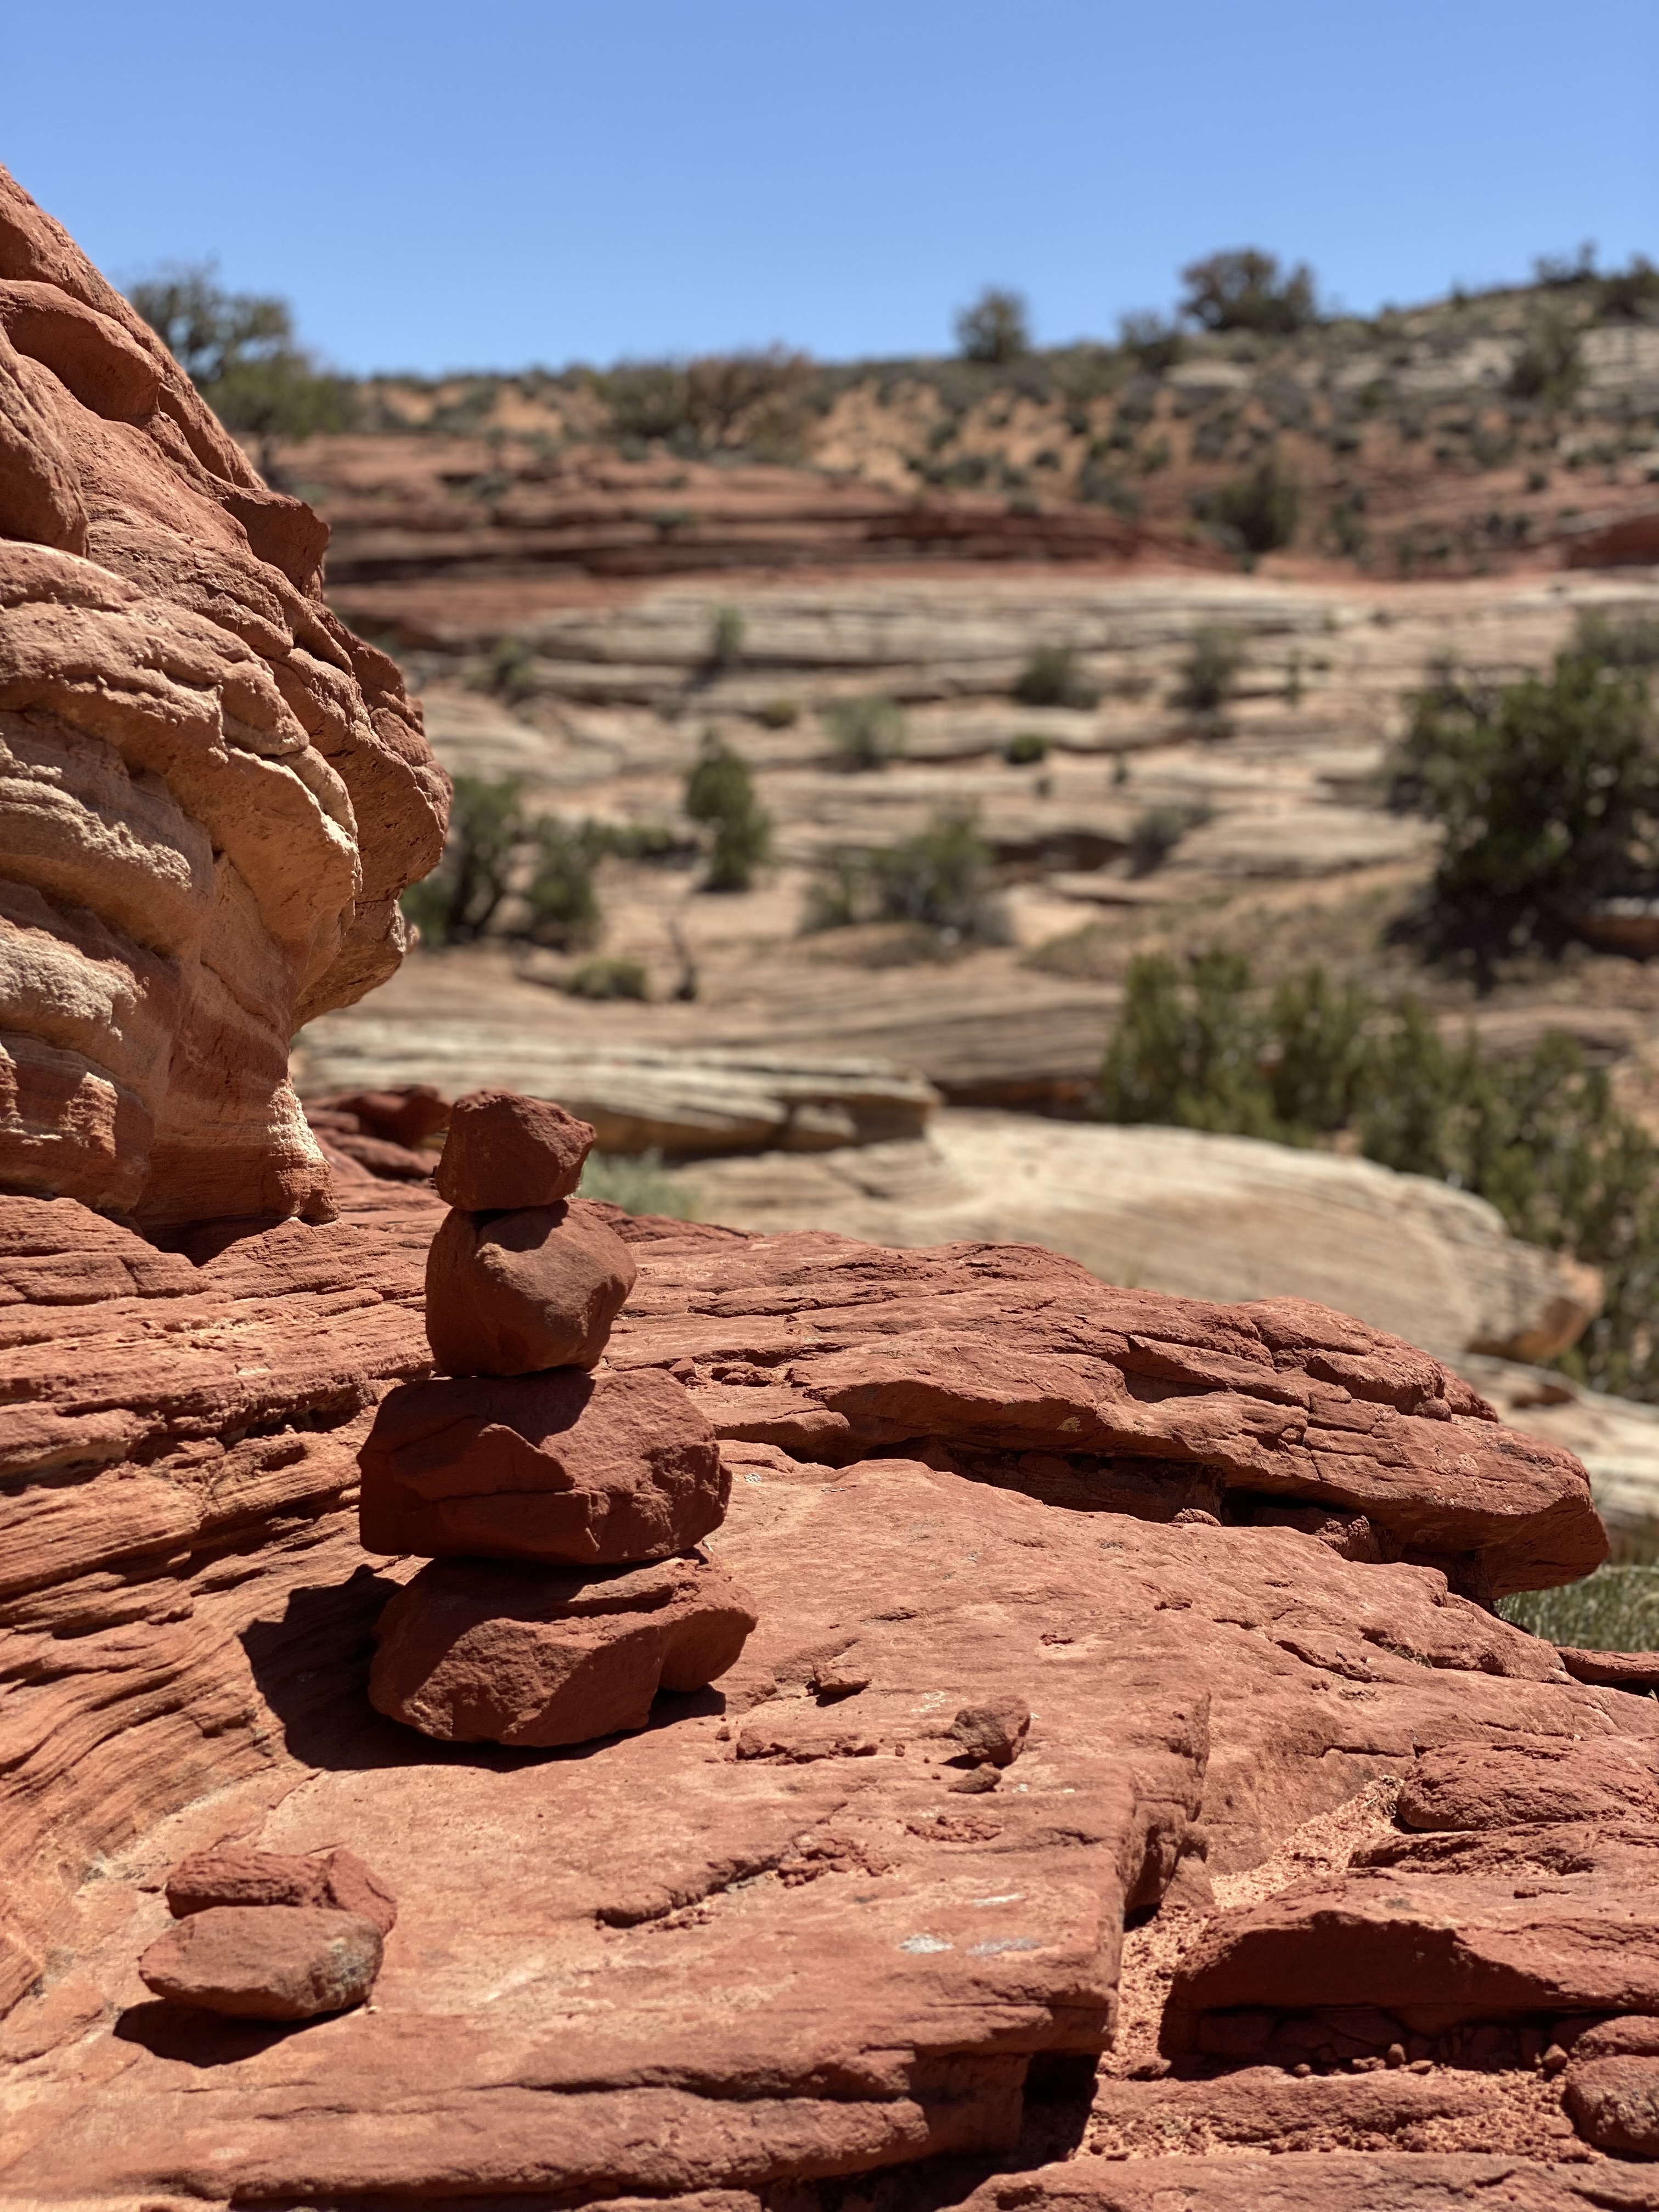
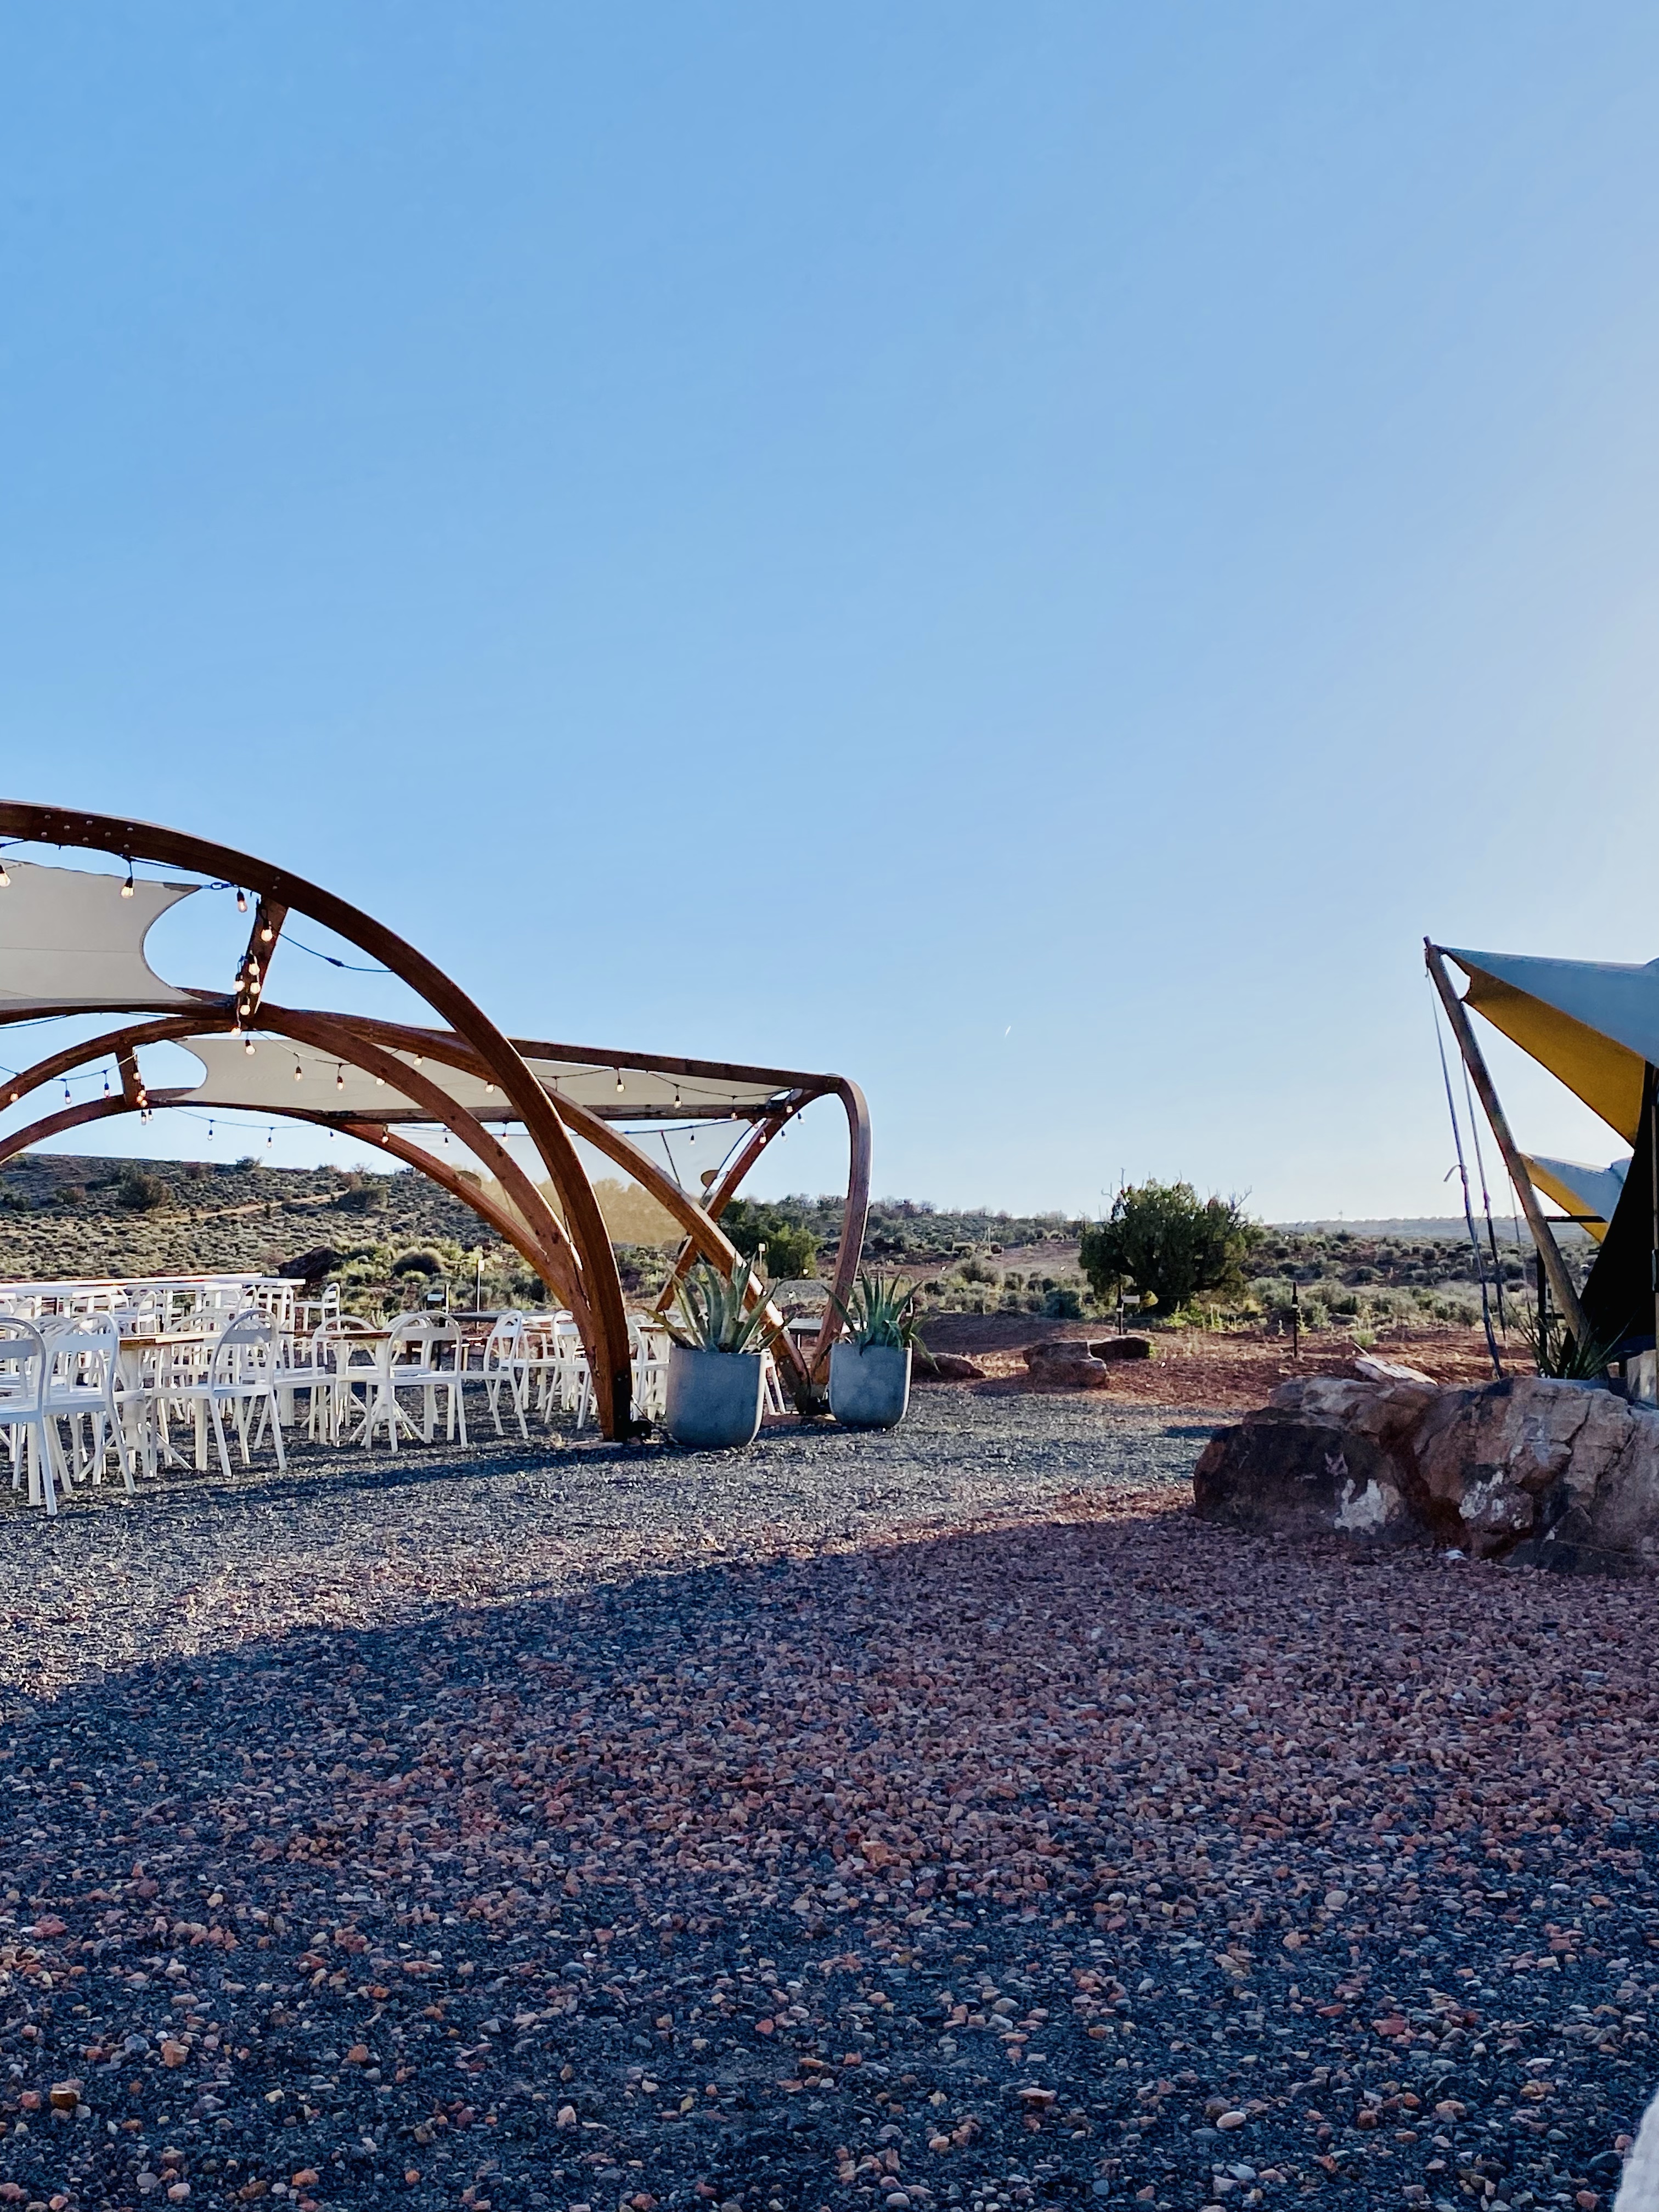
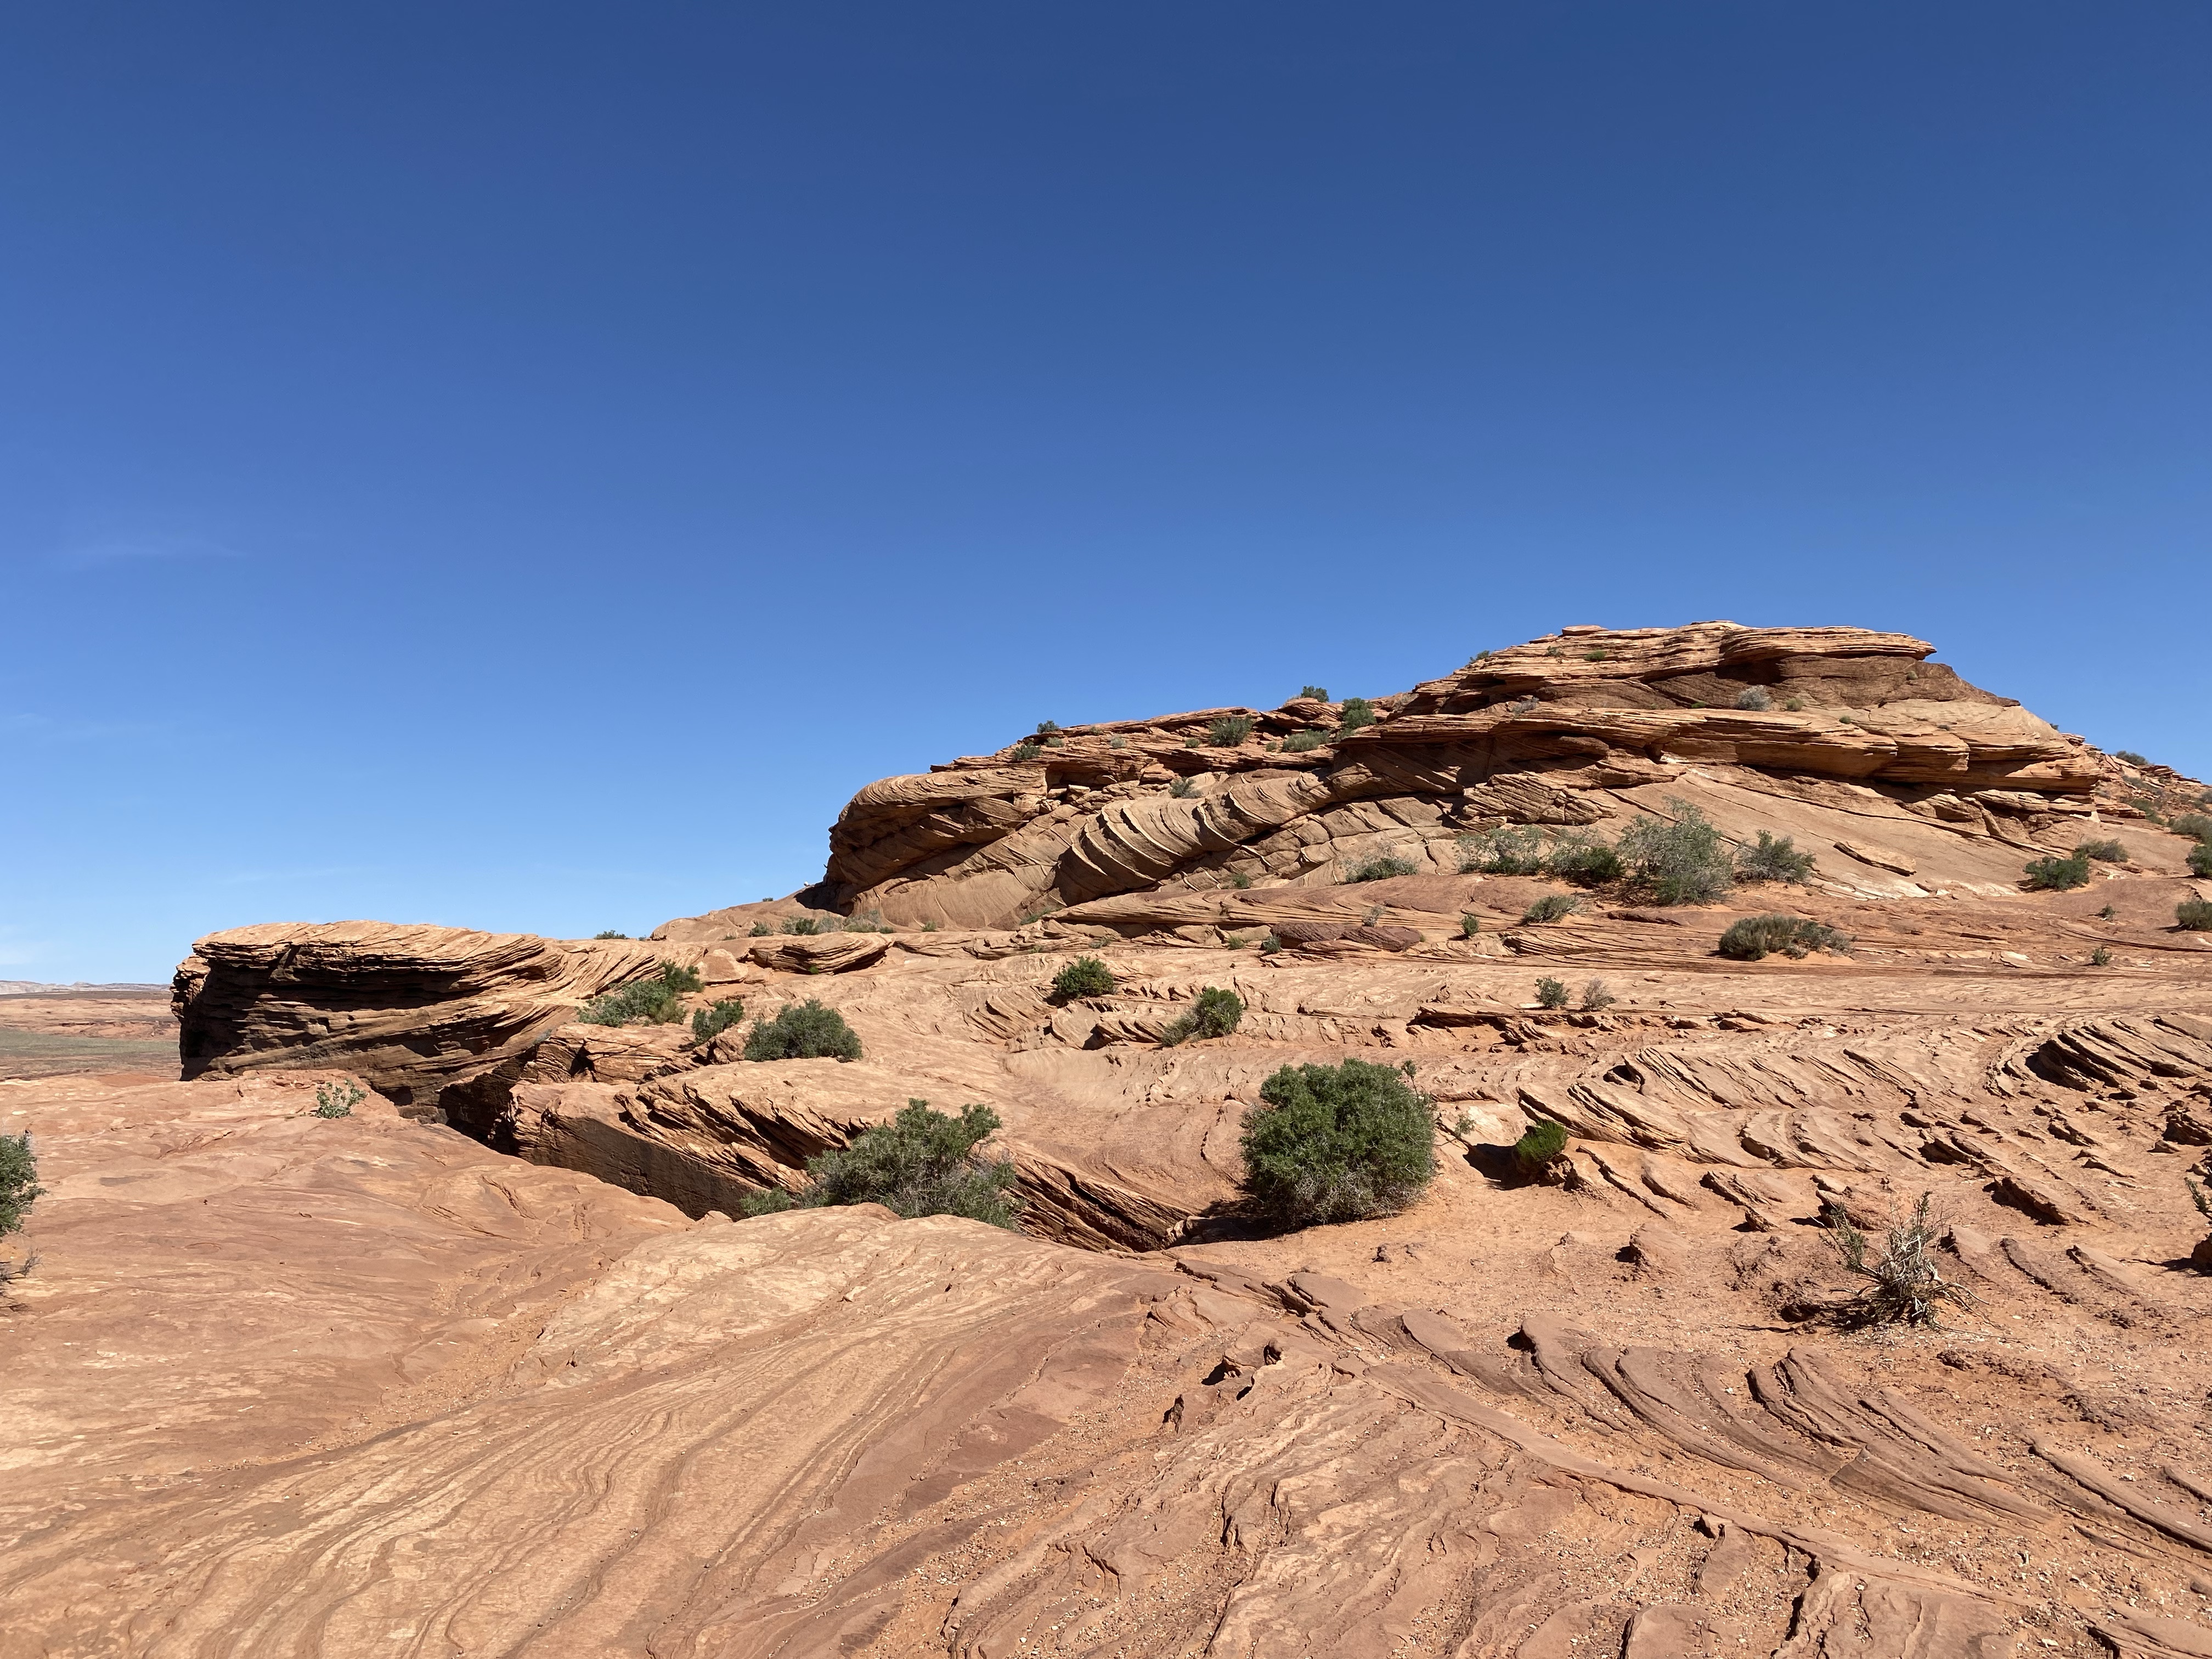
This particular location has it’s own slot canyon and area to hike and explore. After we checked in, we set out to explore the property.
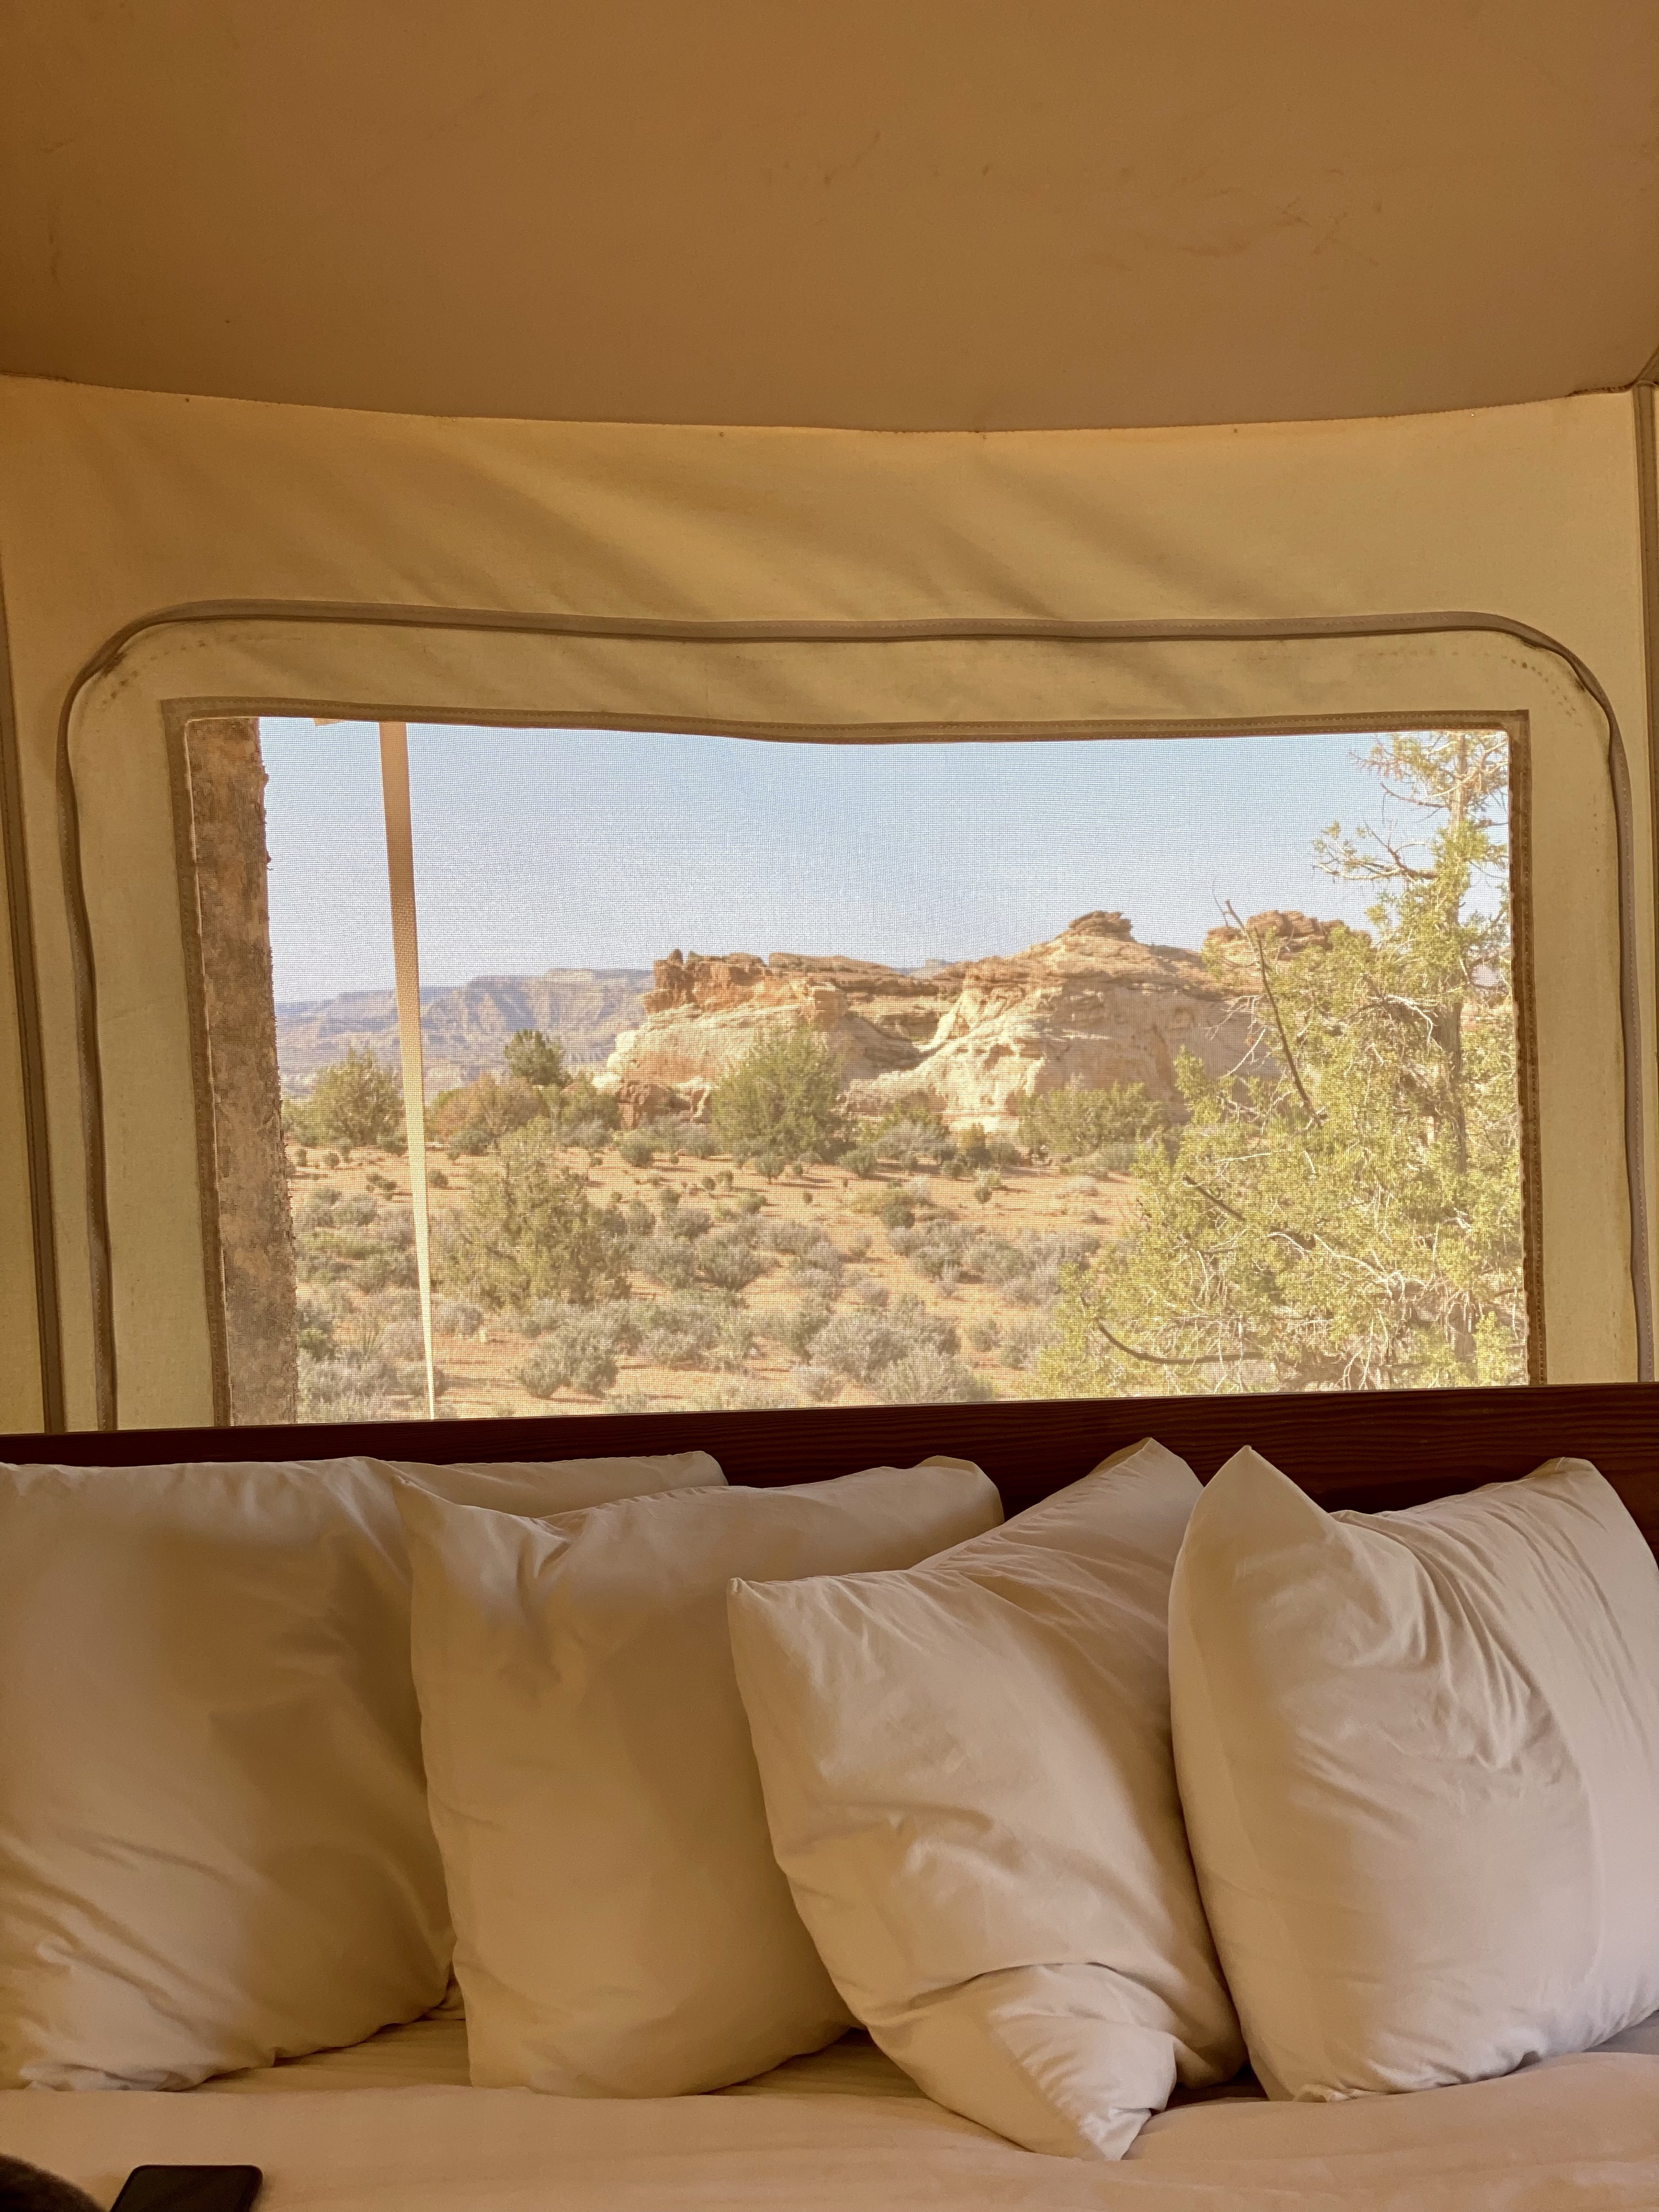
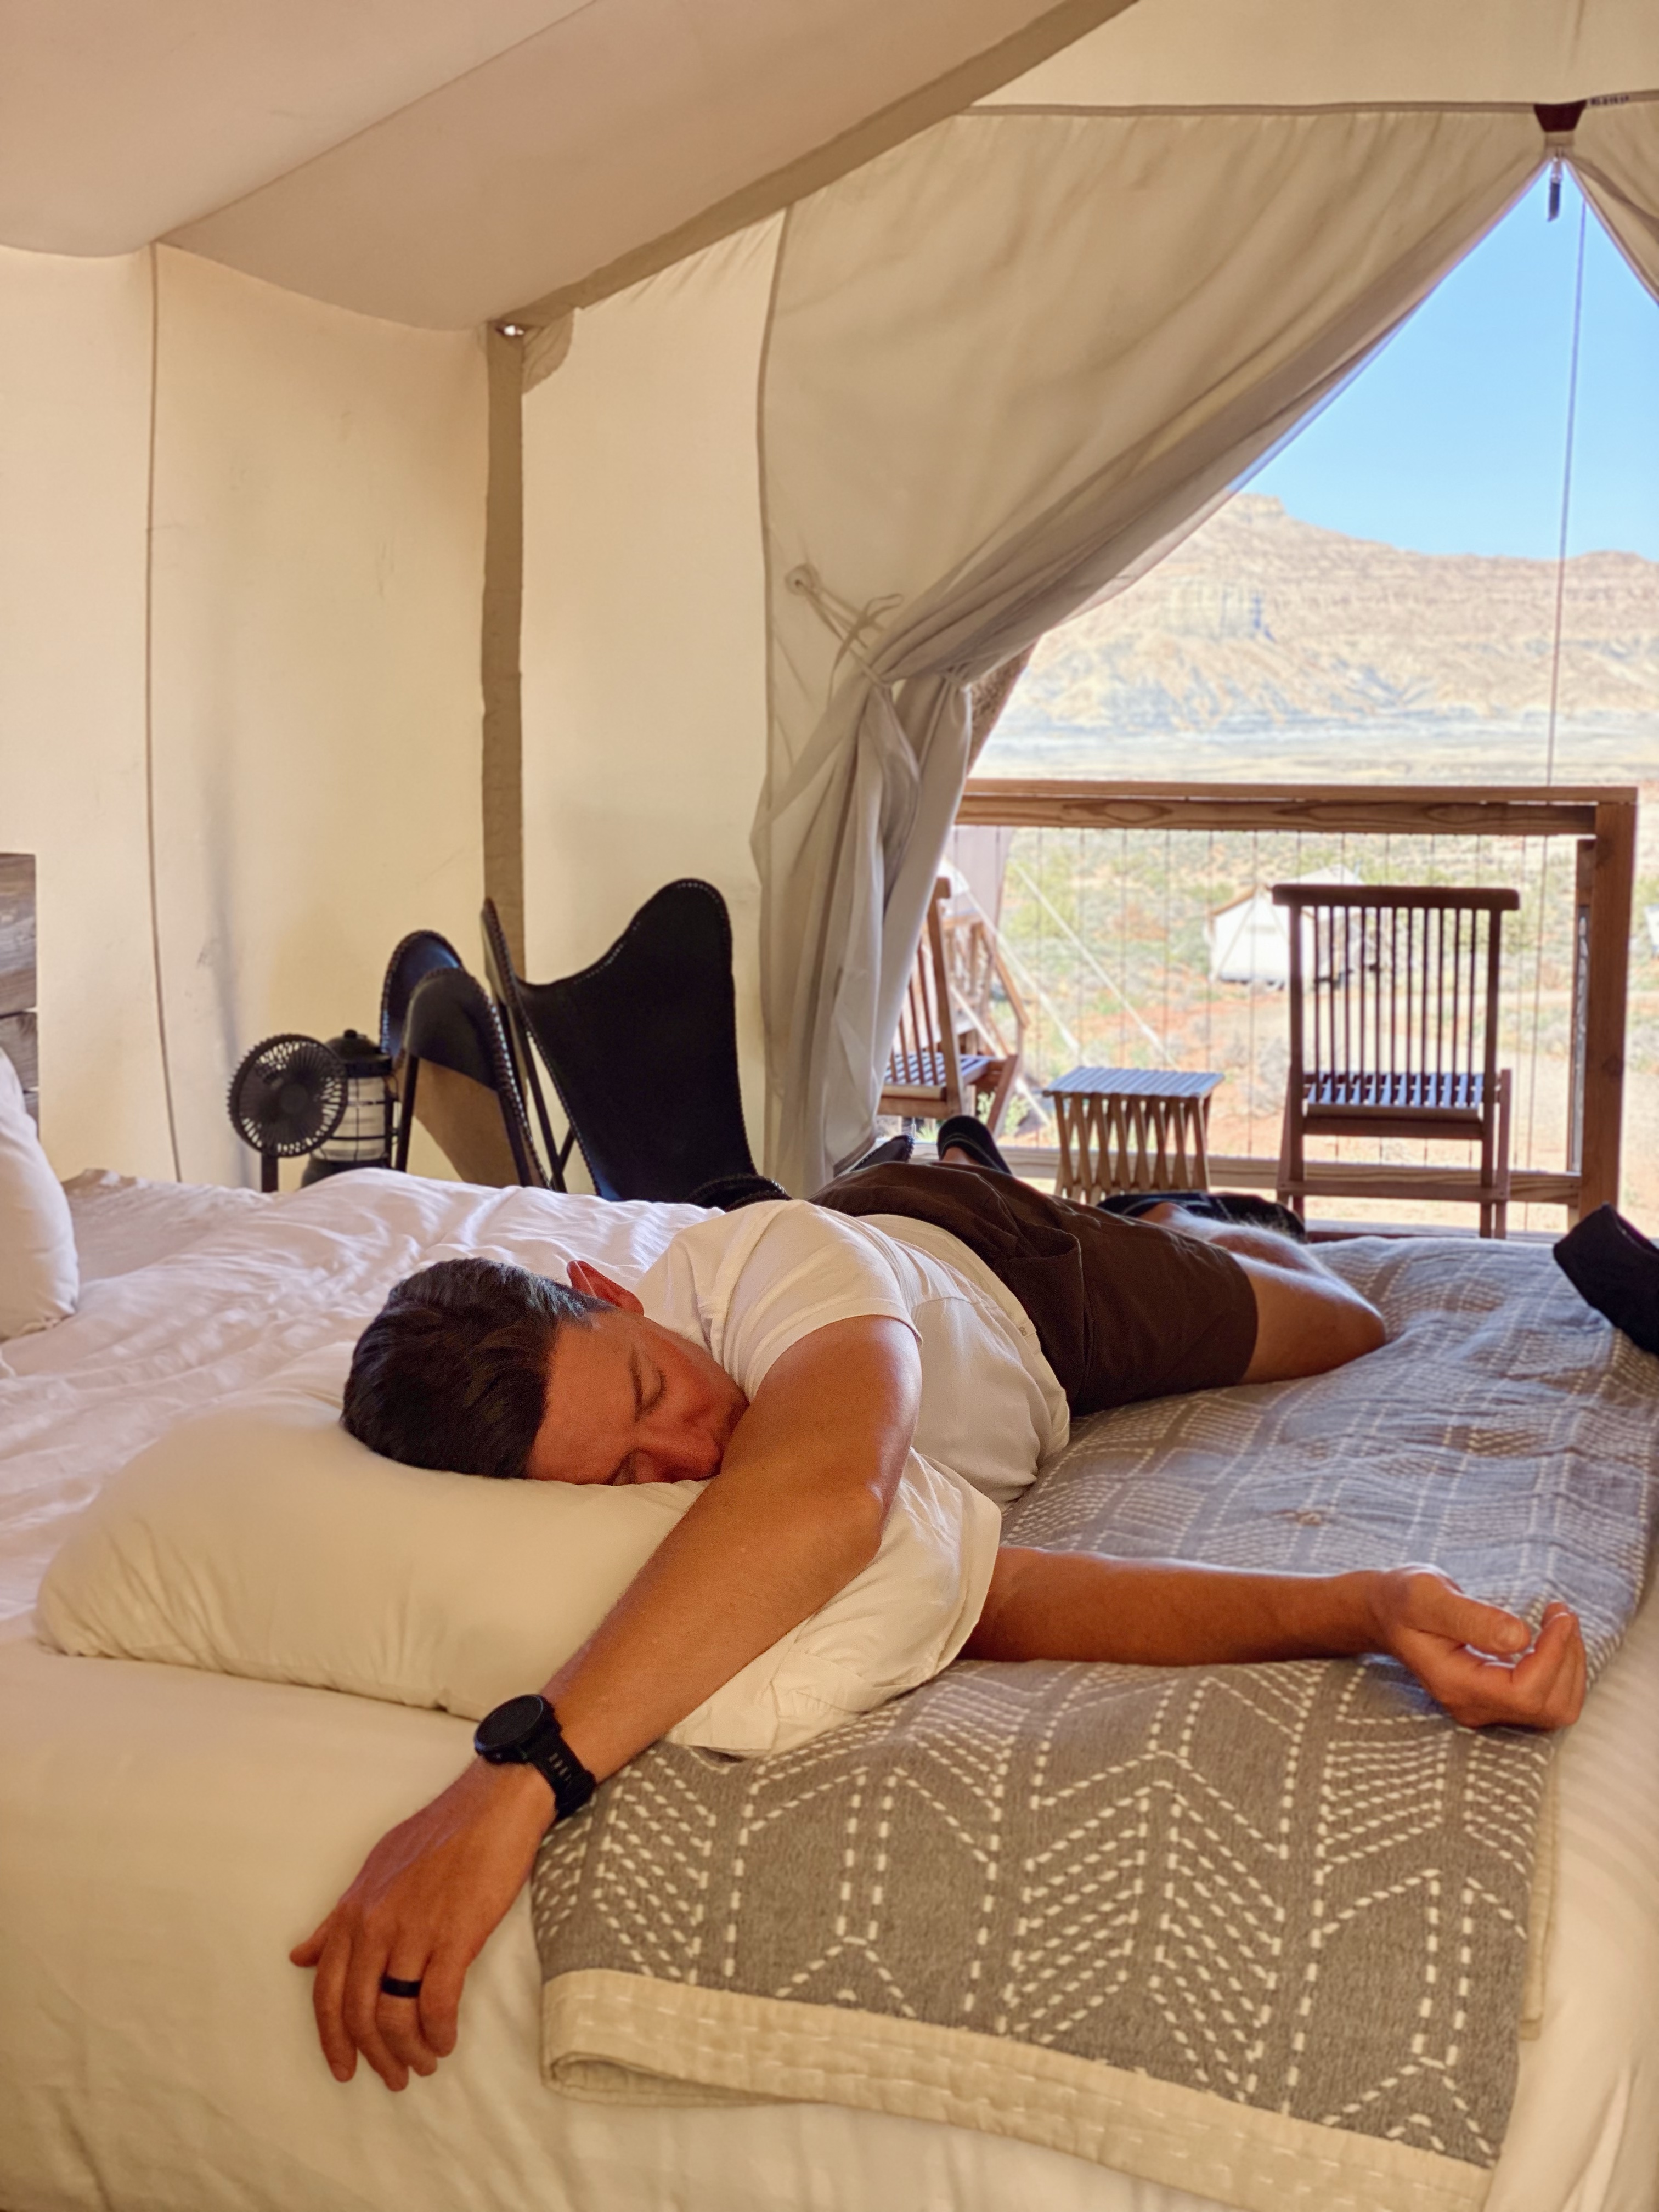
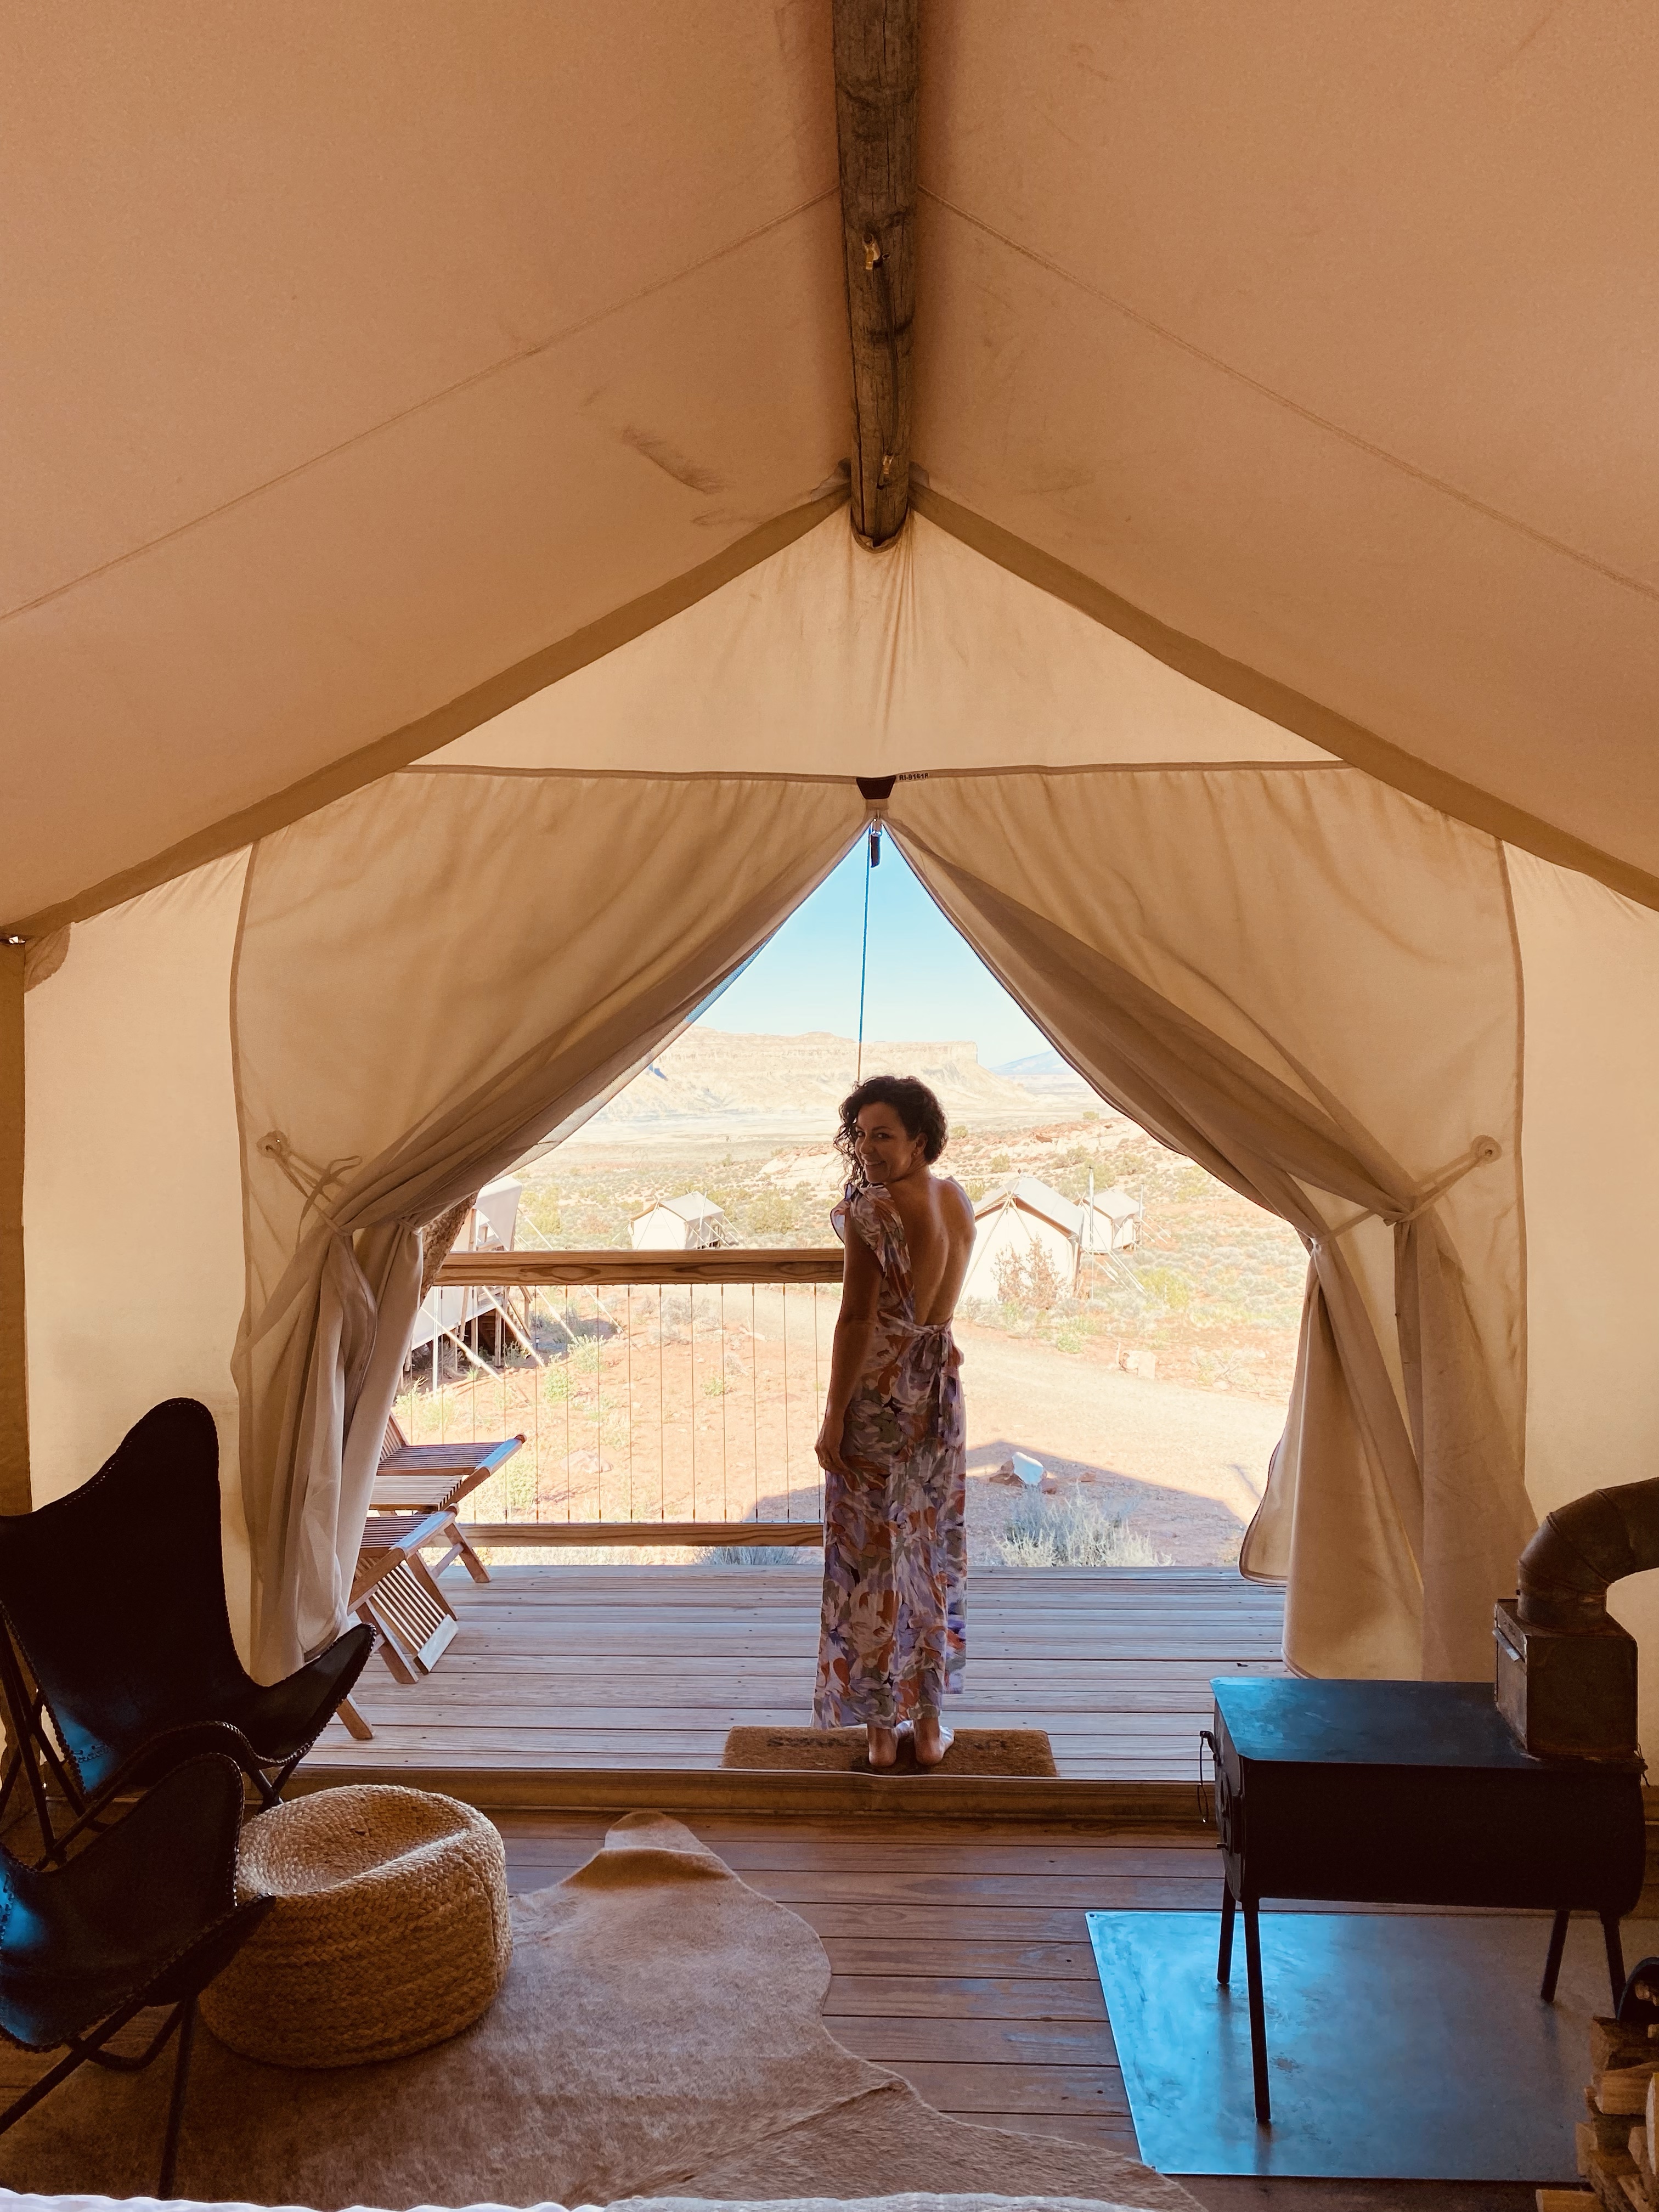
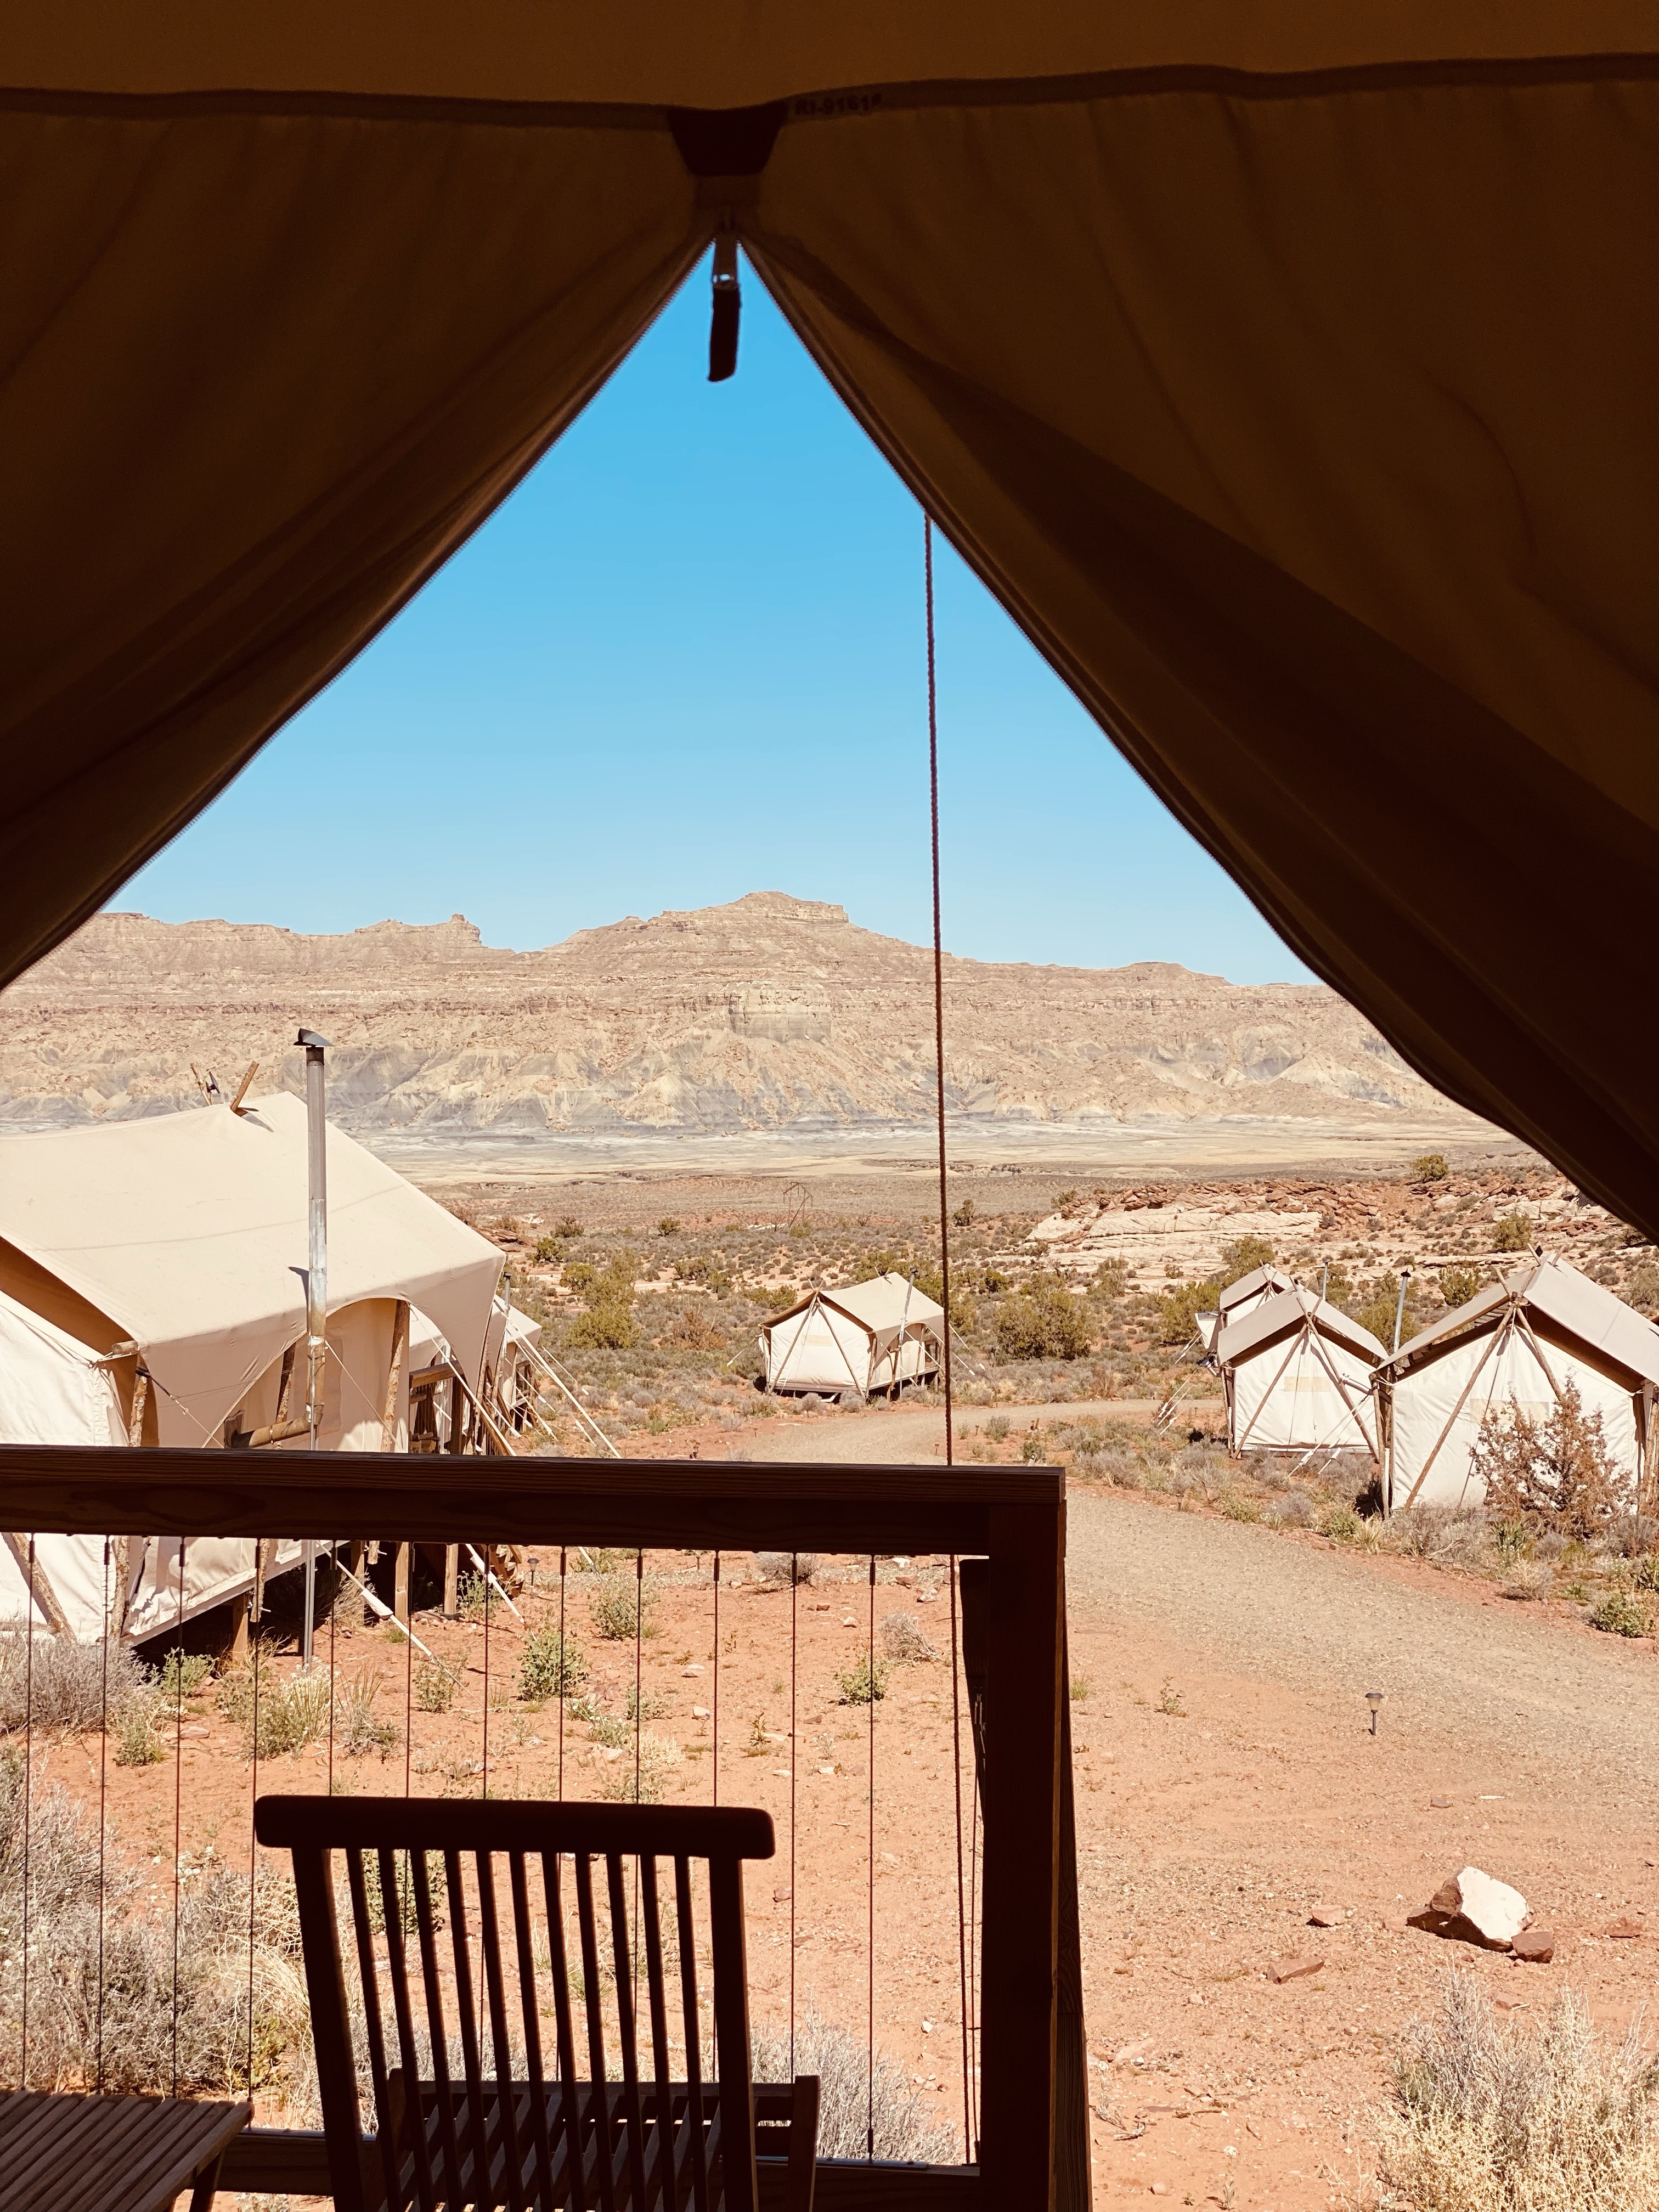
On this particular day we felt like we needed a nap before dinner. We made our way back to our tent and had the best breezy nap with only the screens zipped.
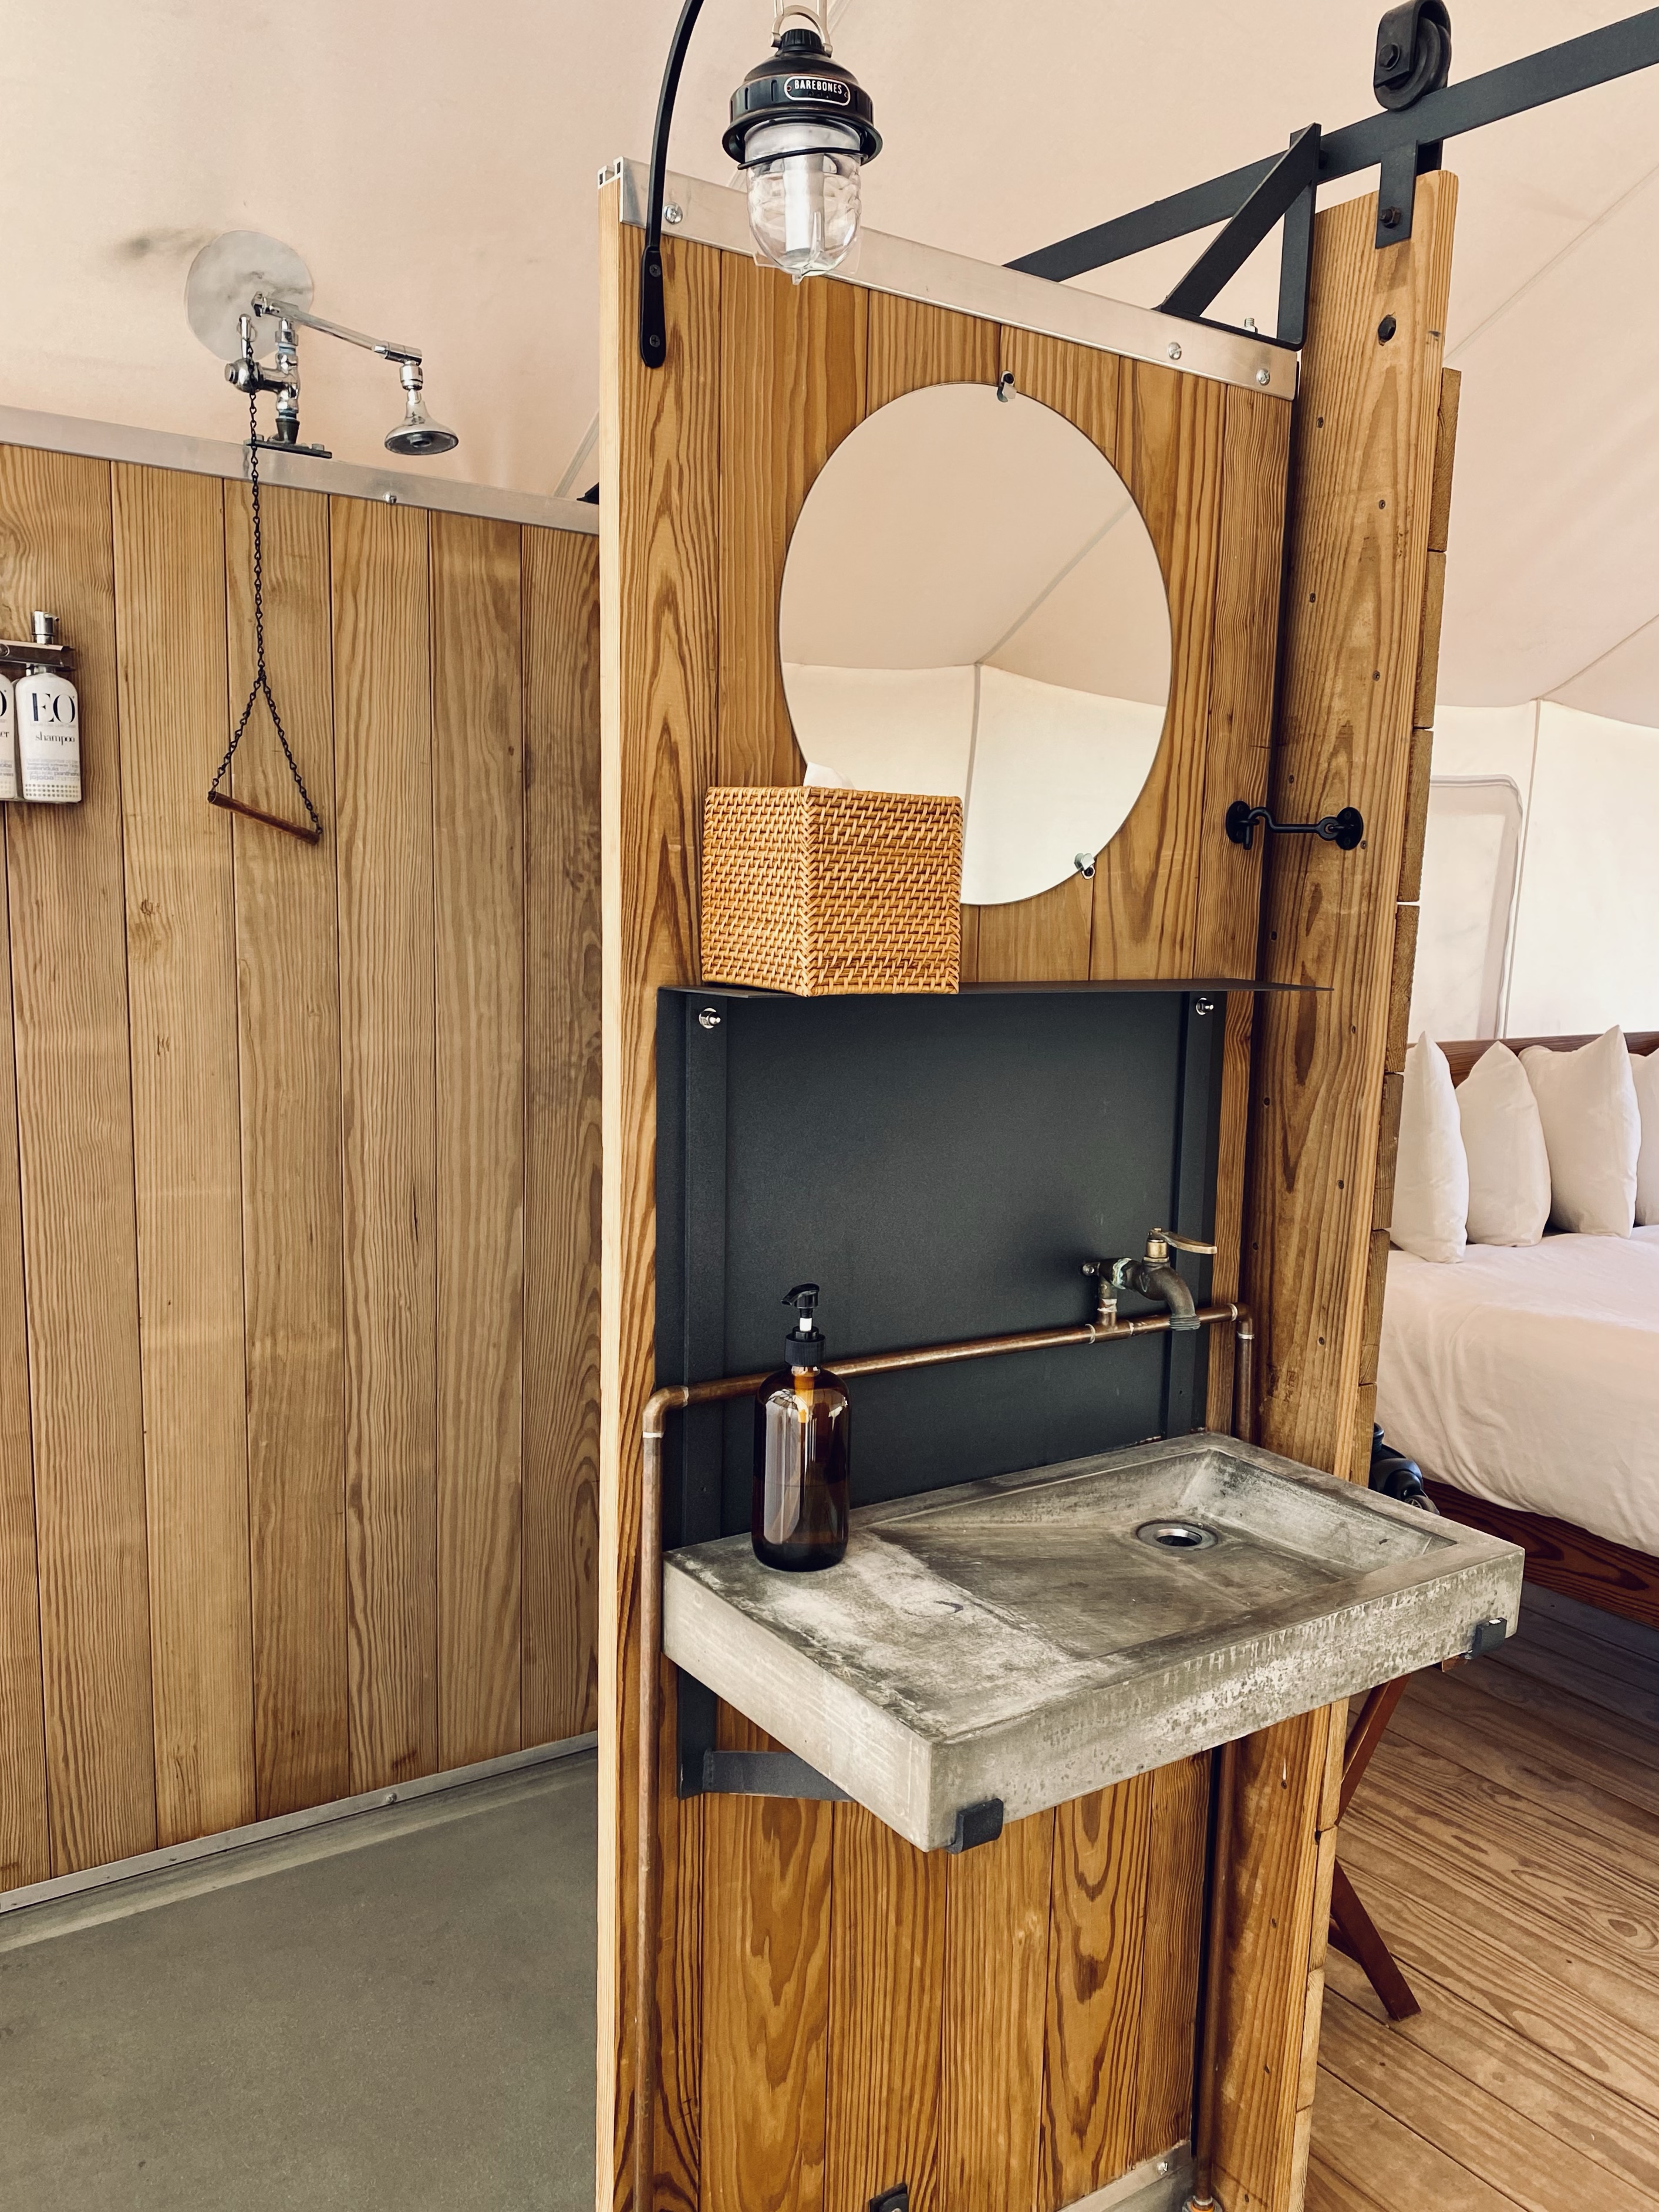
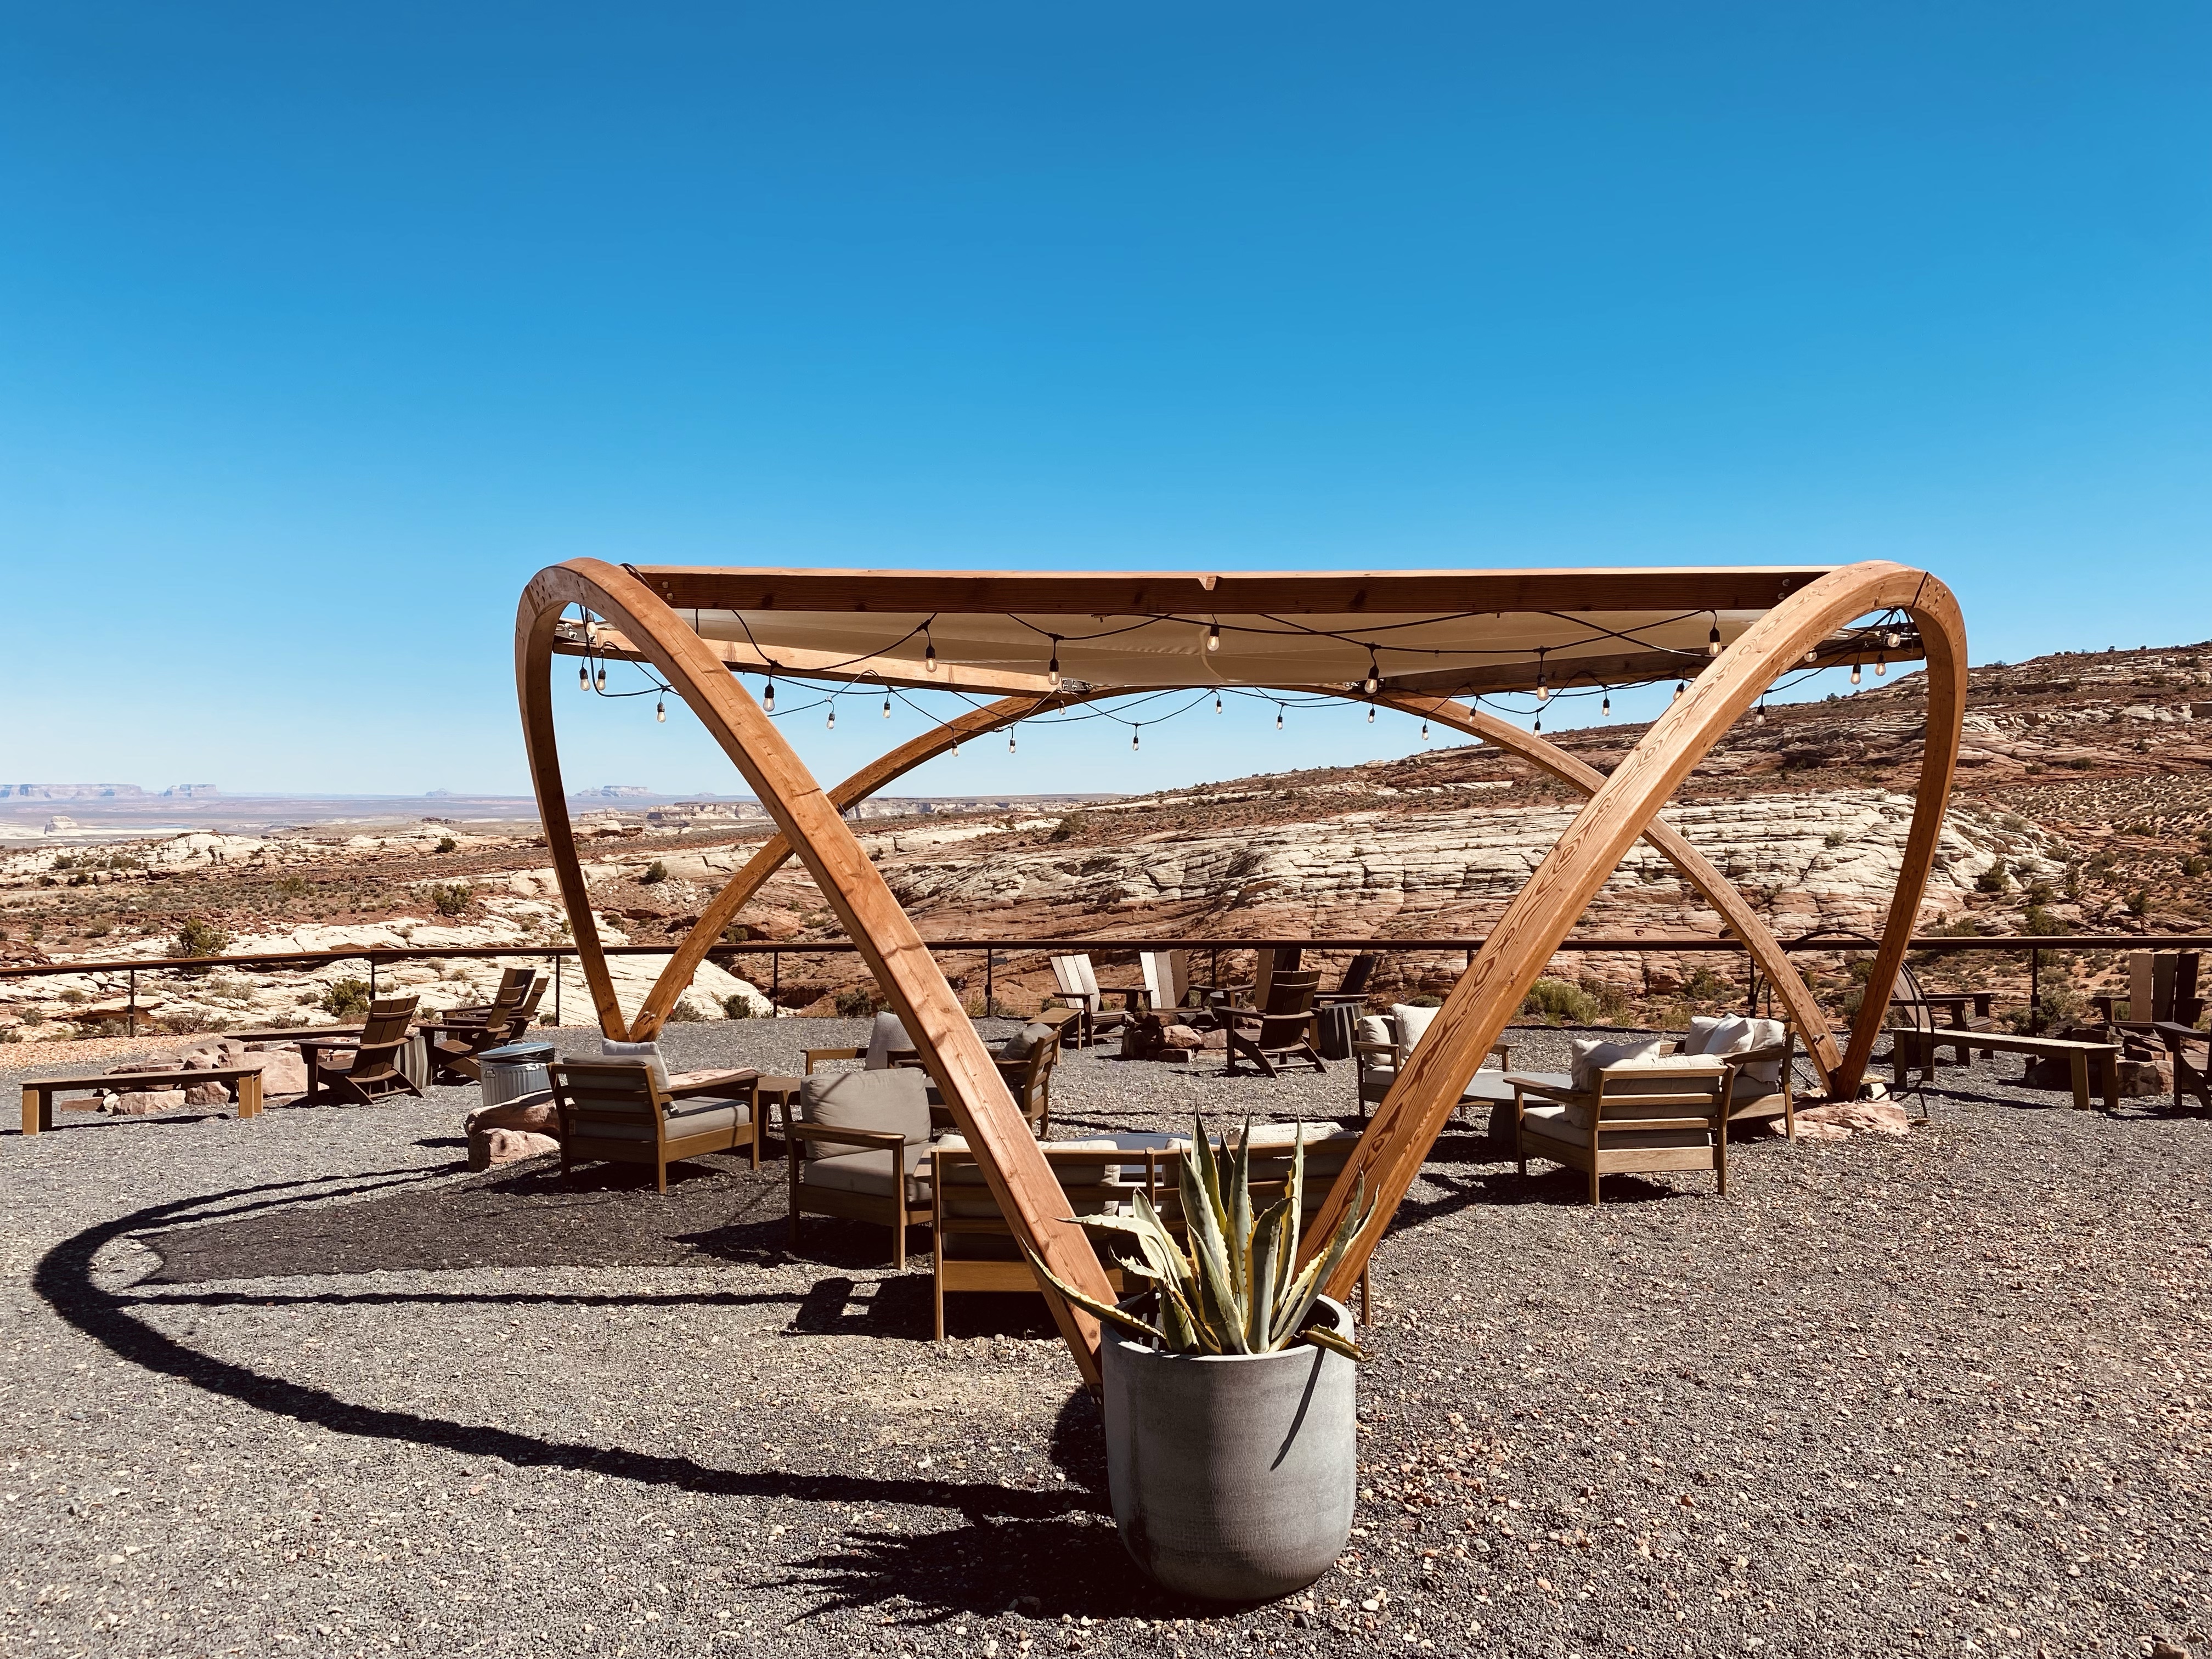
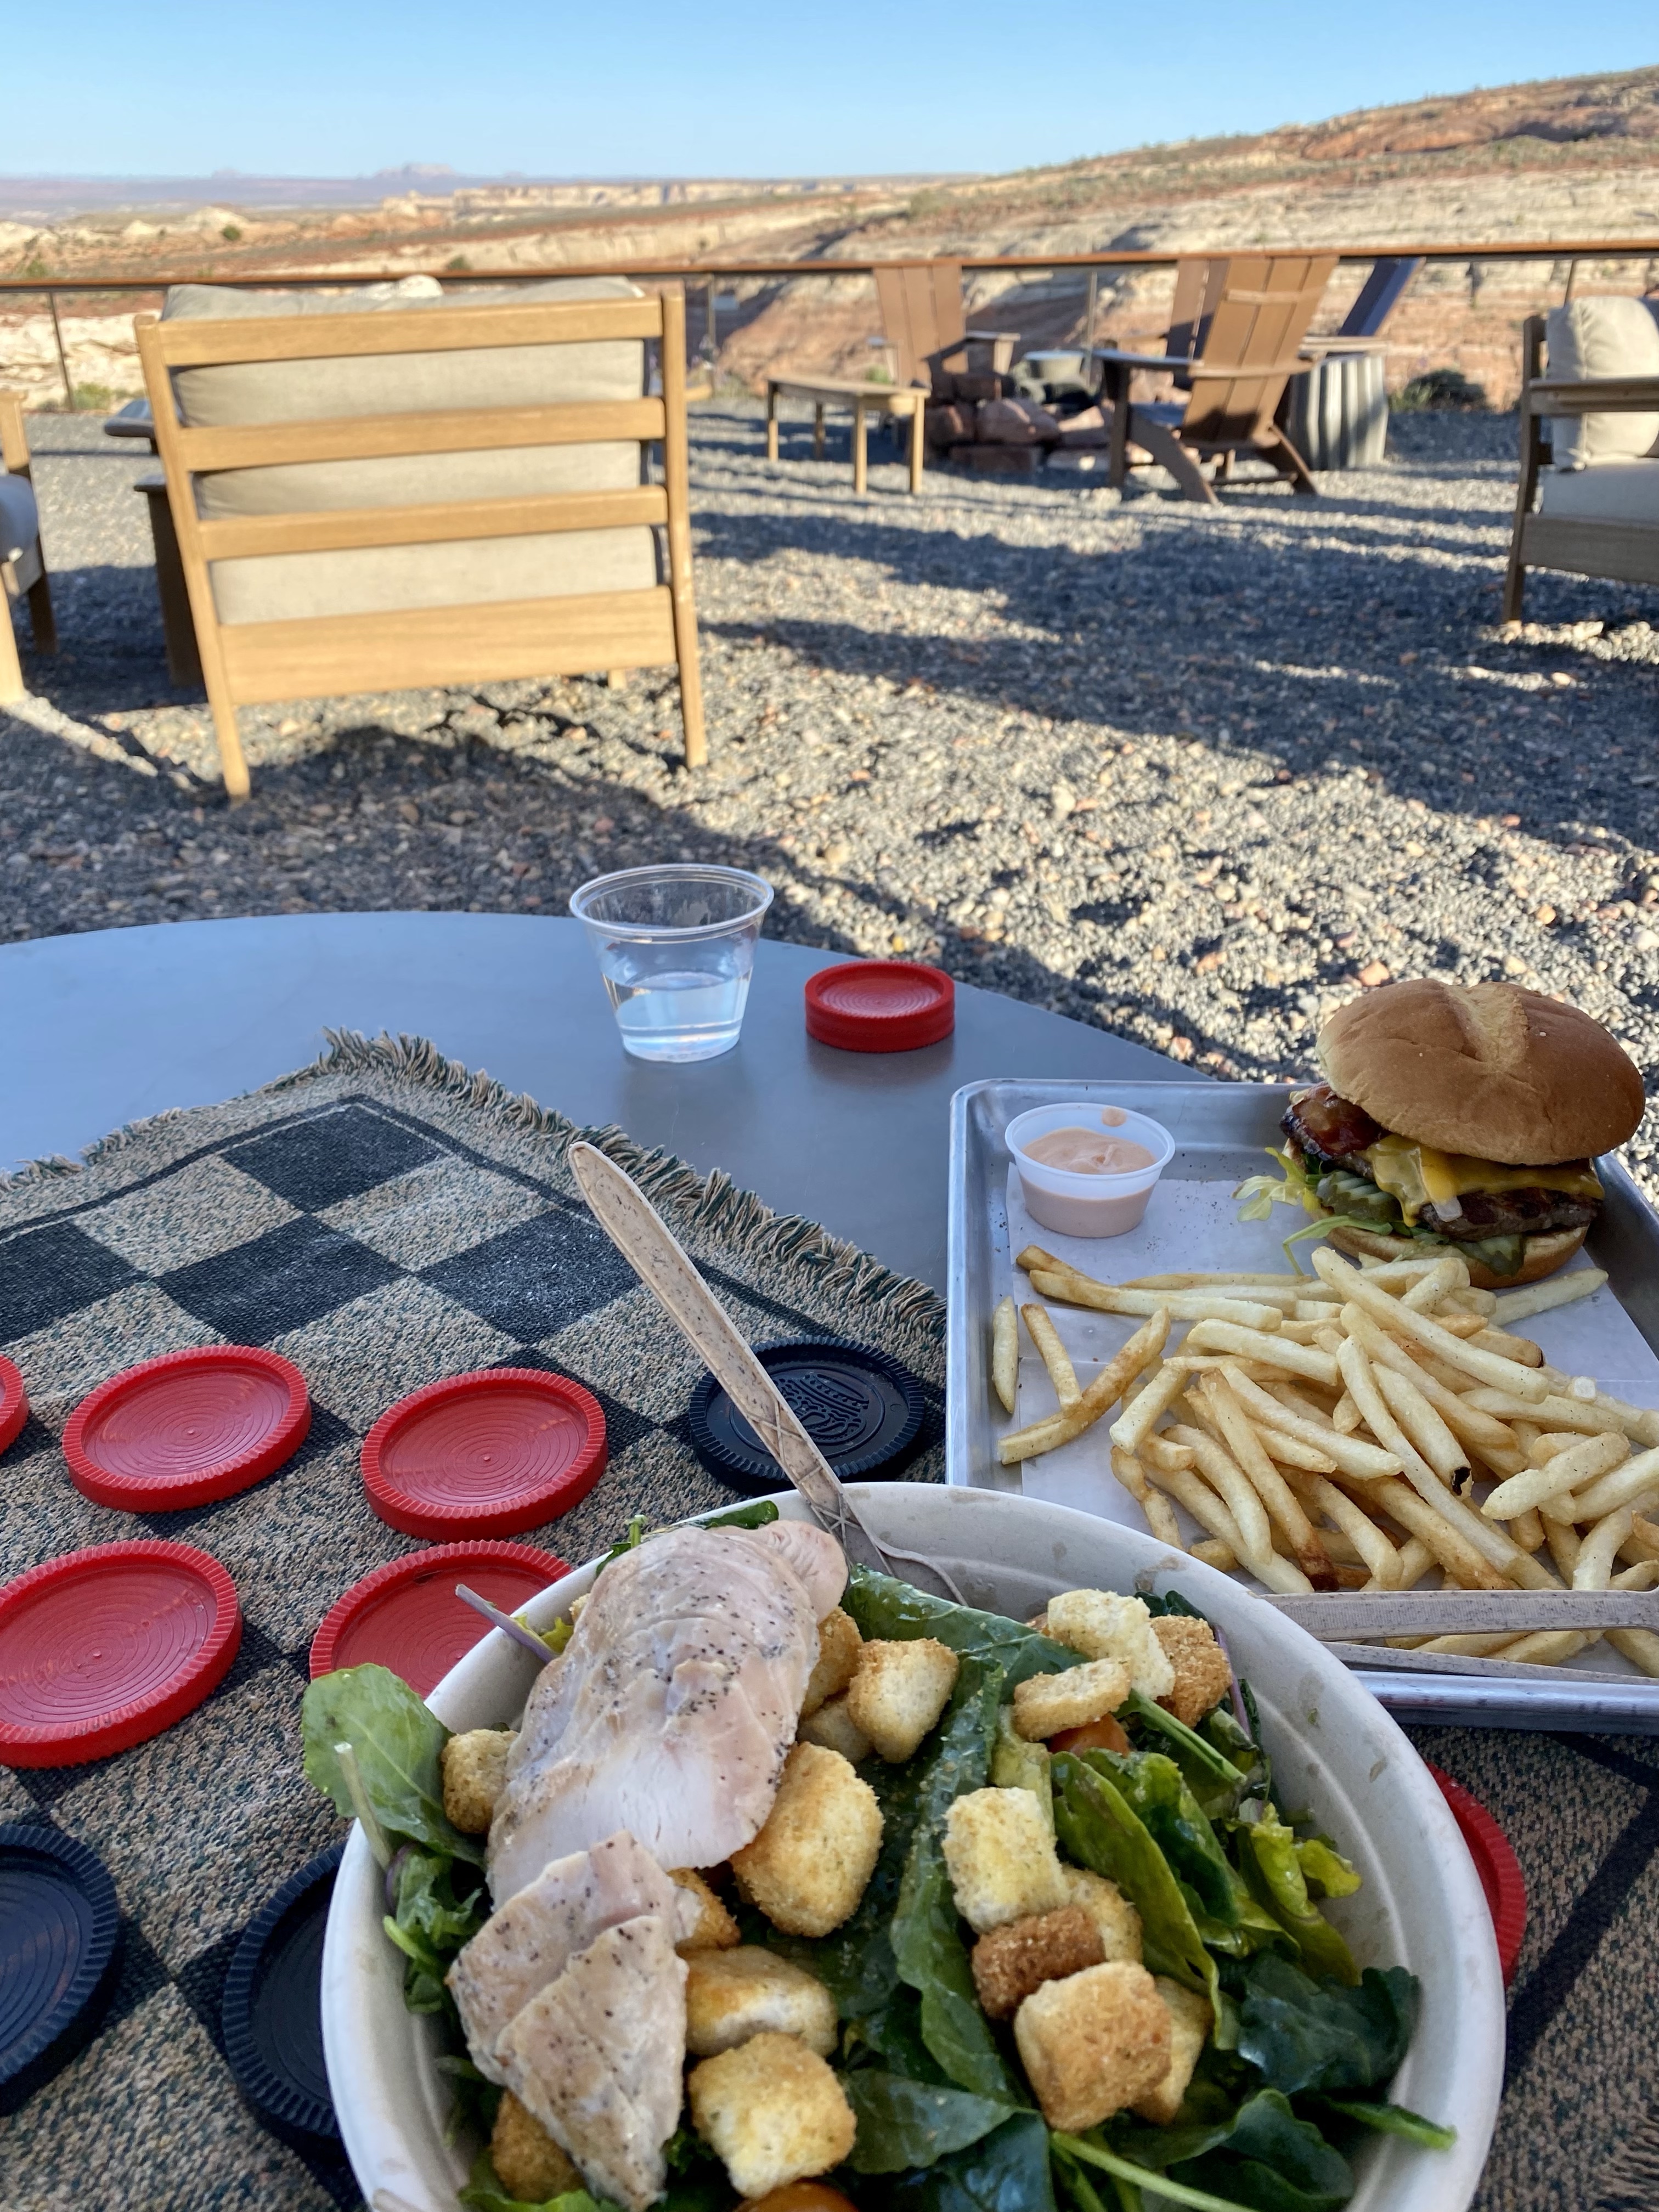
Under Canvas has a restaurant on property, they offer complimentary s’more kits at night, and will provide warm blankets to you while sitting by the fire pits. Their common areas were designed to encourage you to meet and talk with others, which we loved. We had the best time getting to know other couples visiting.
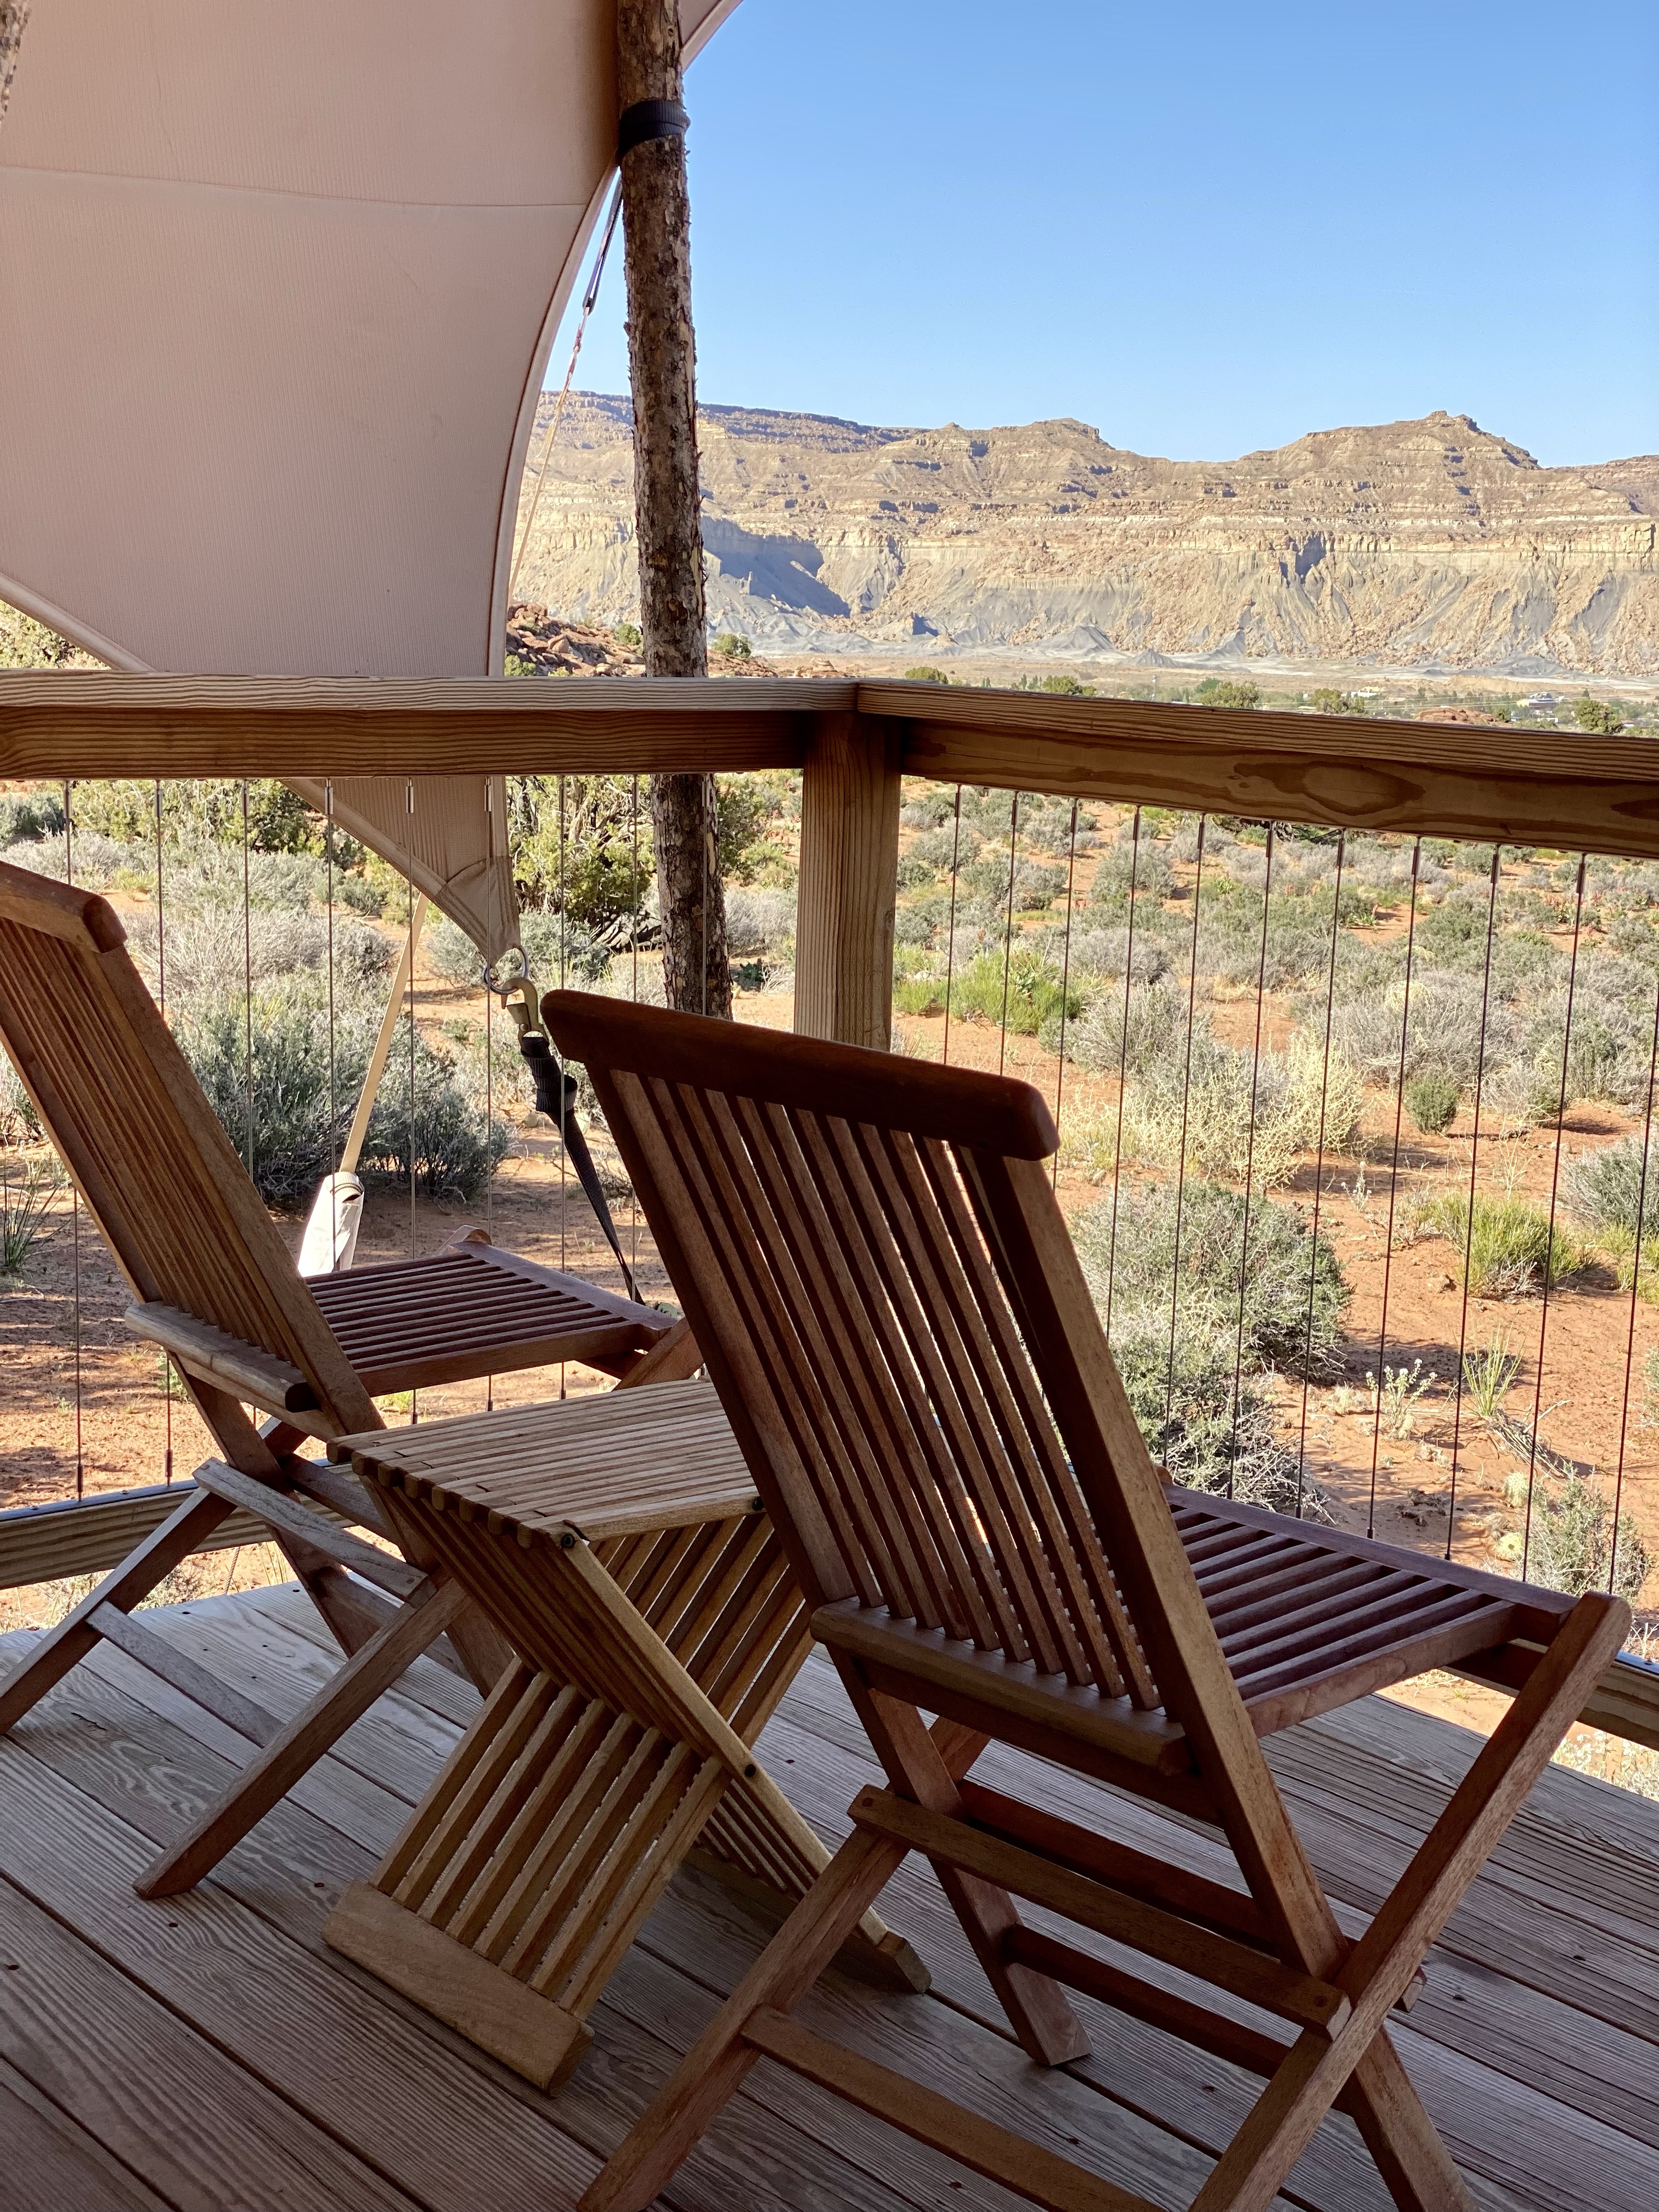
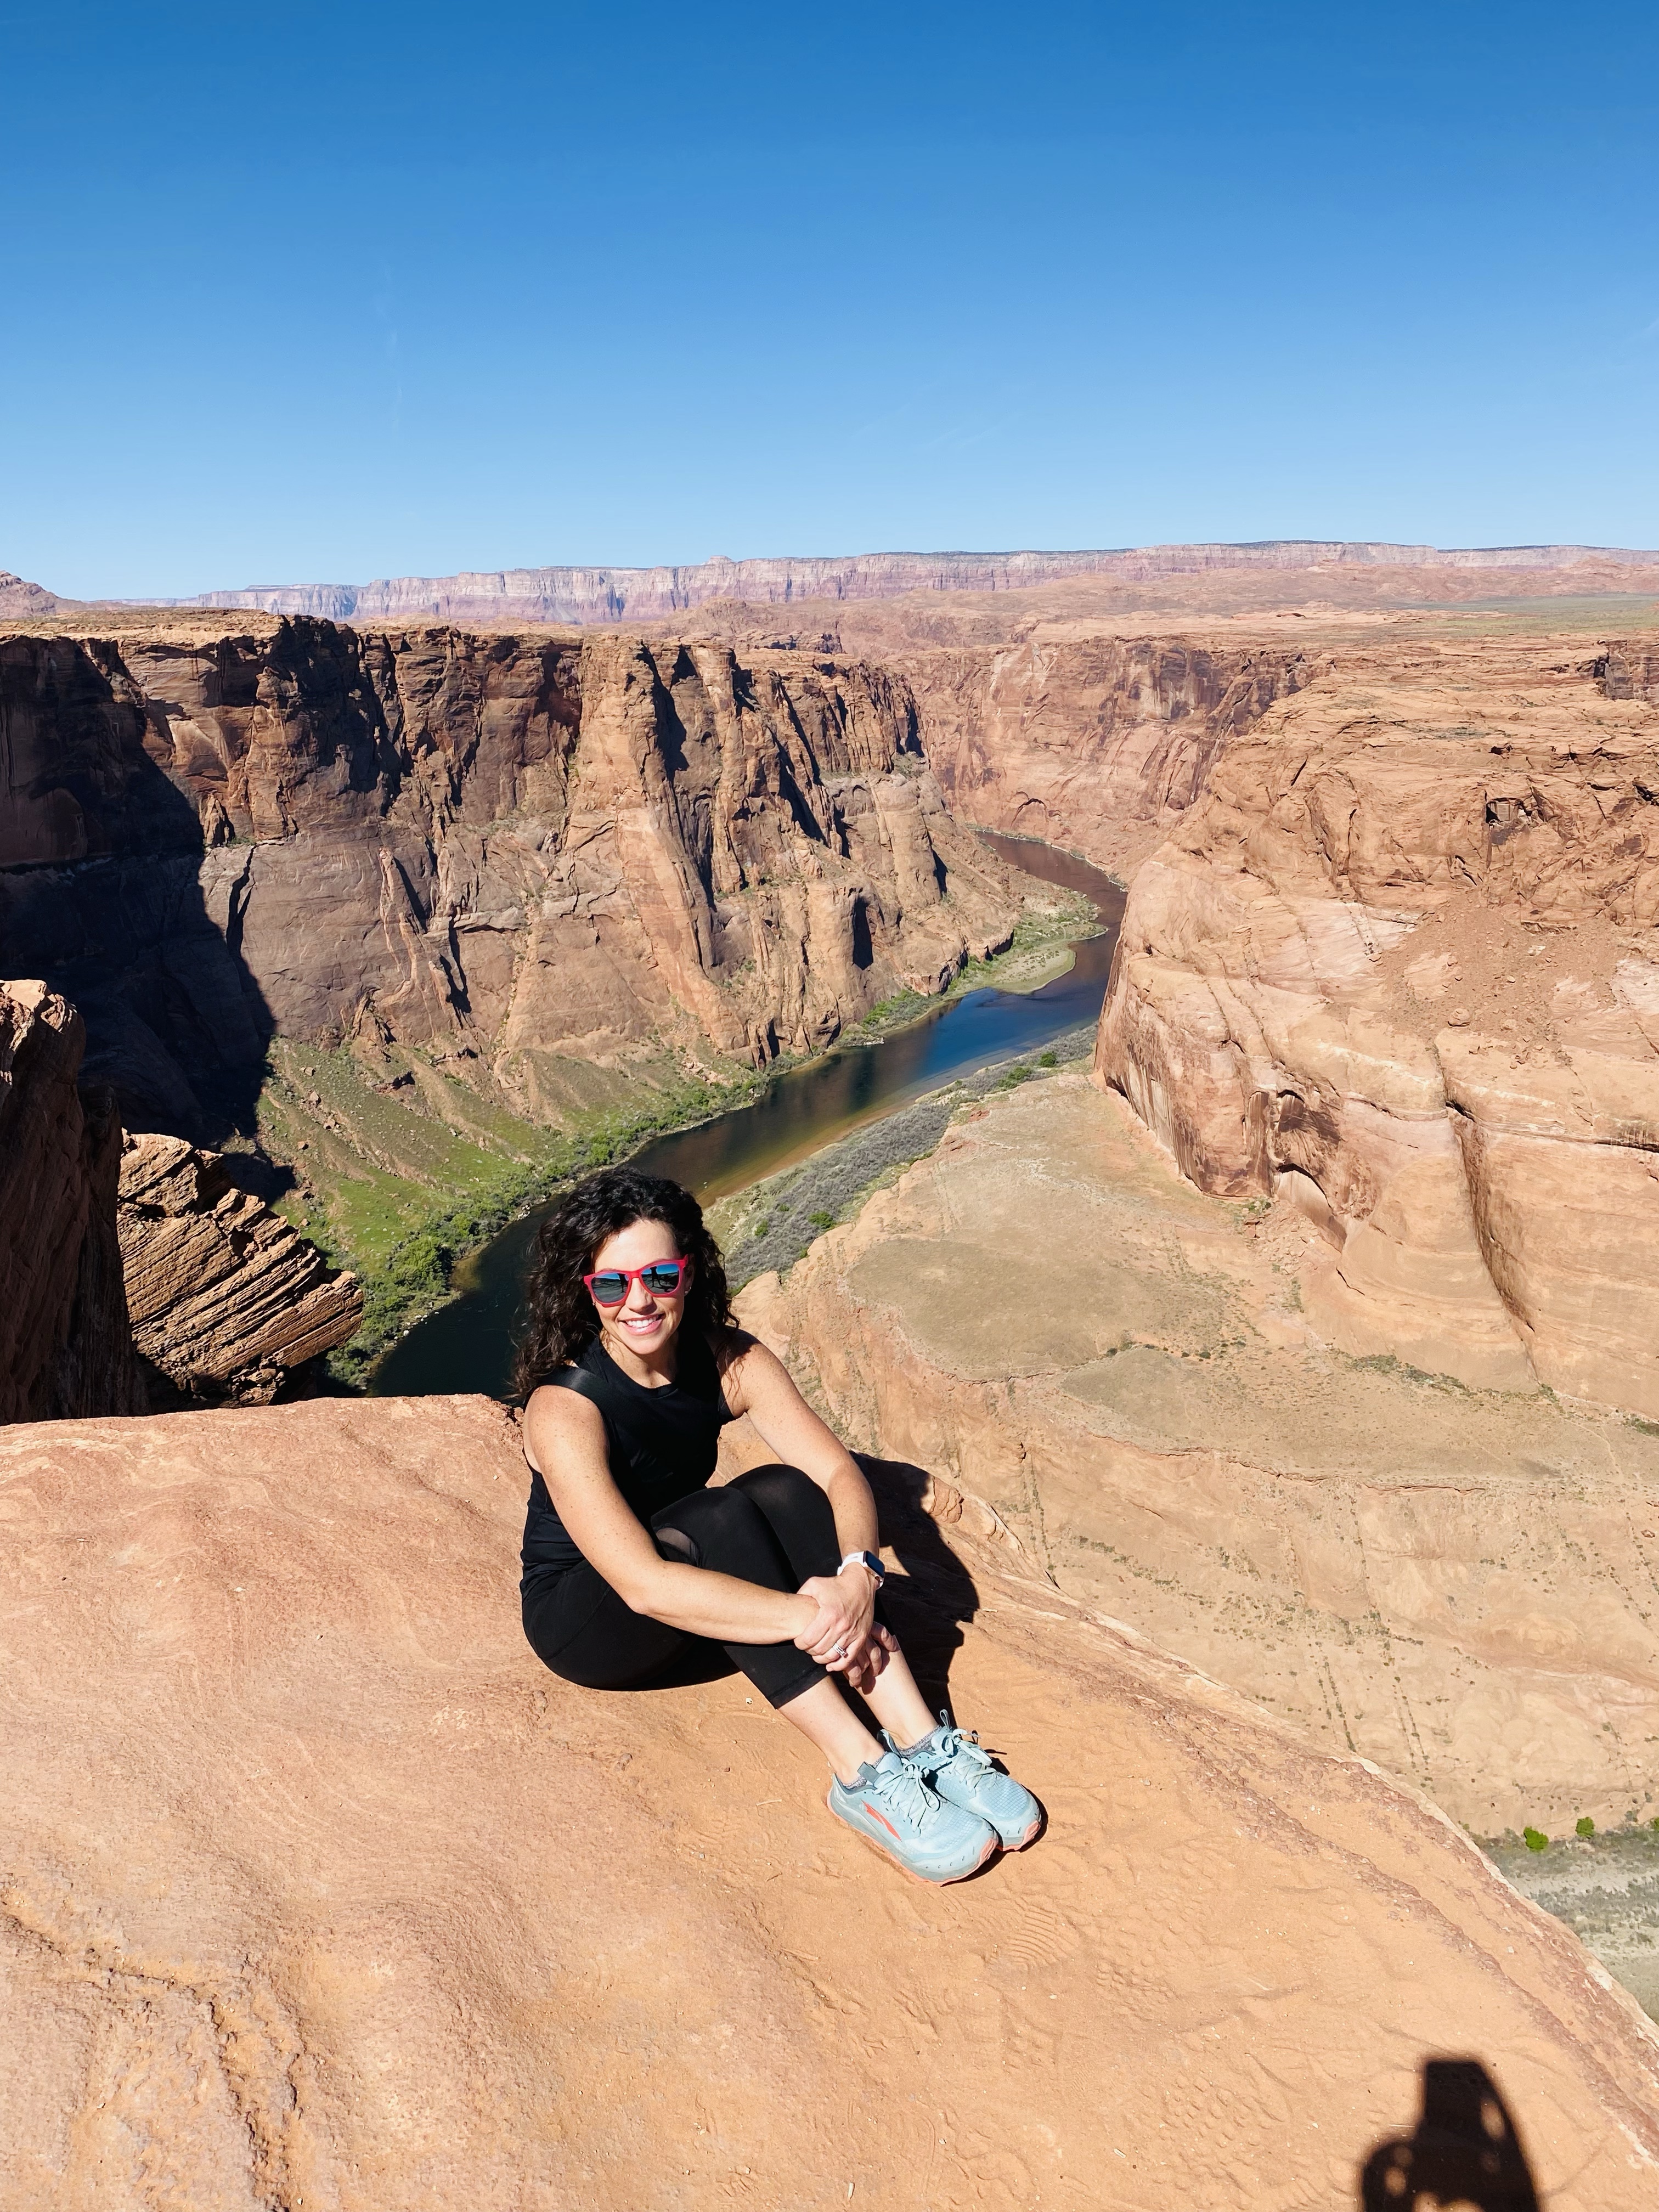
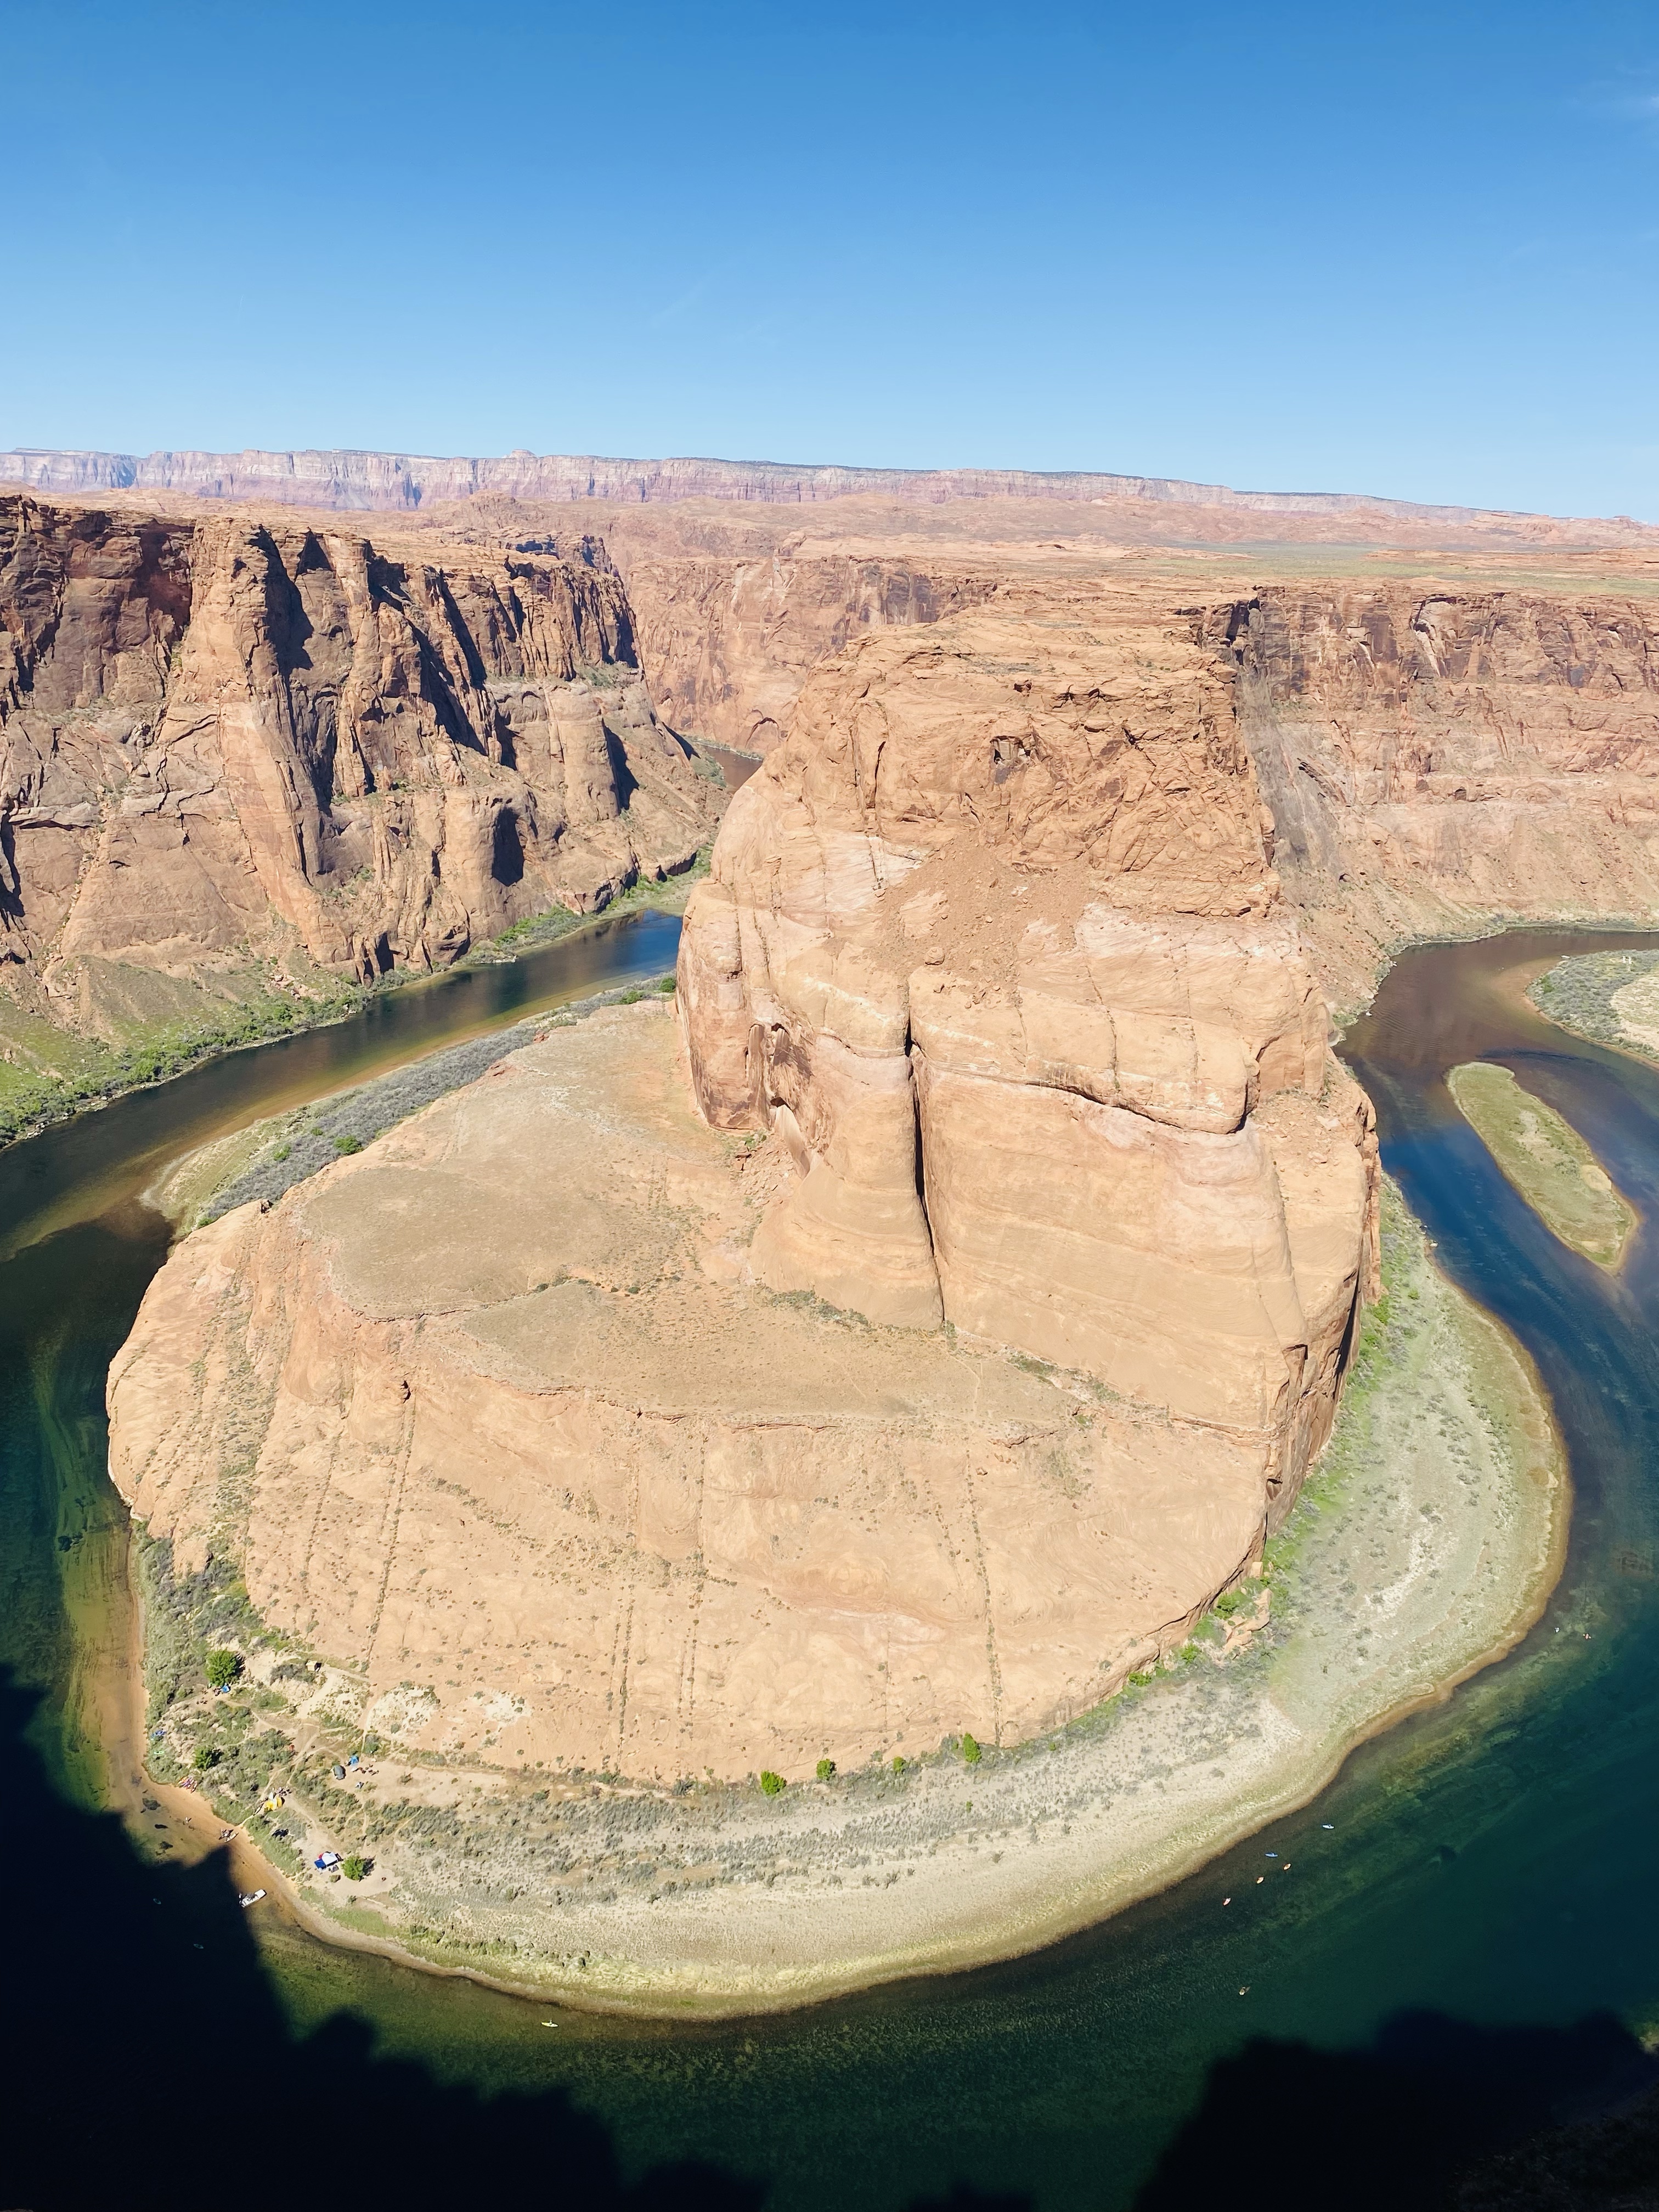
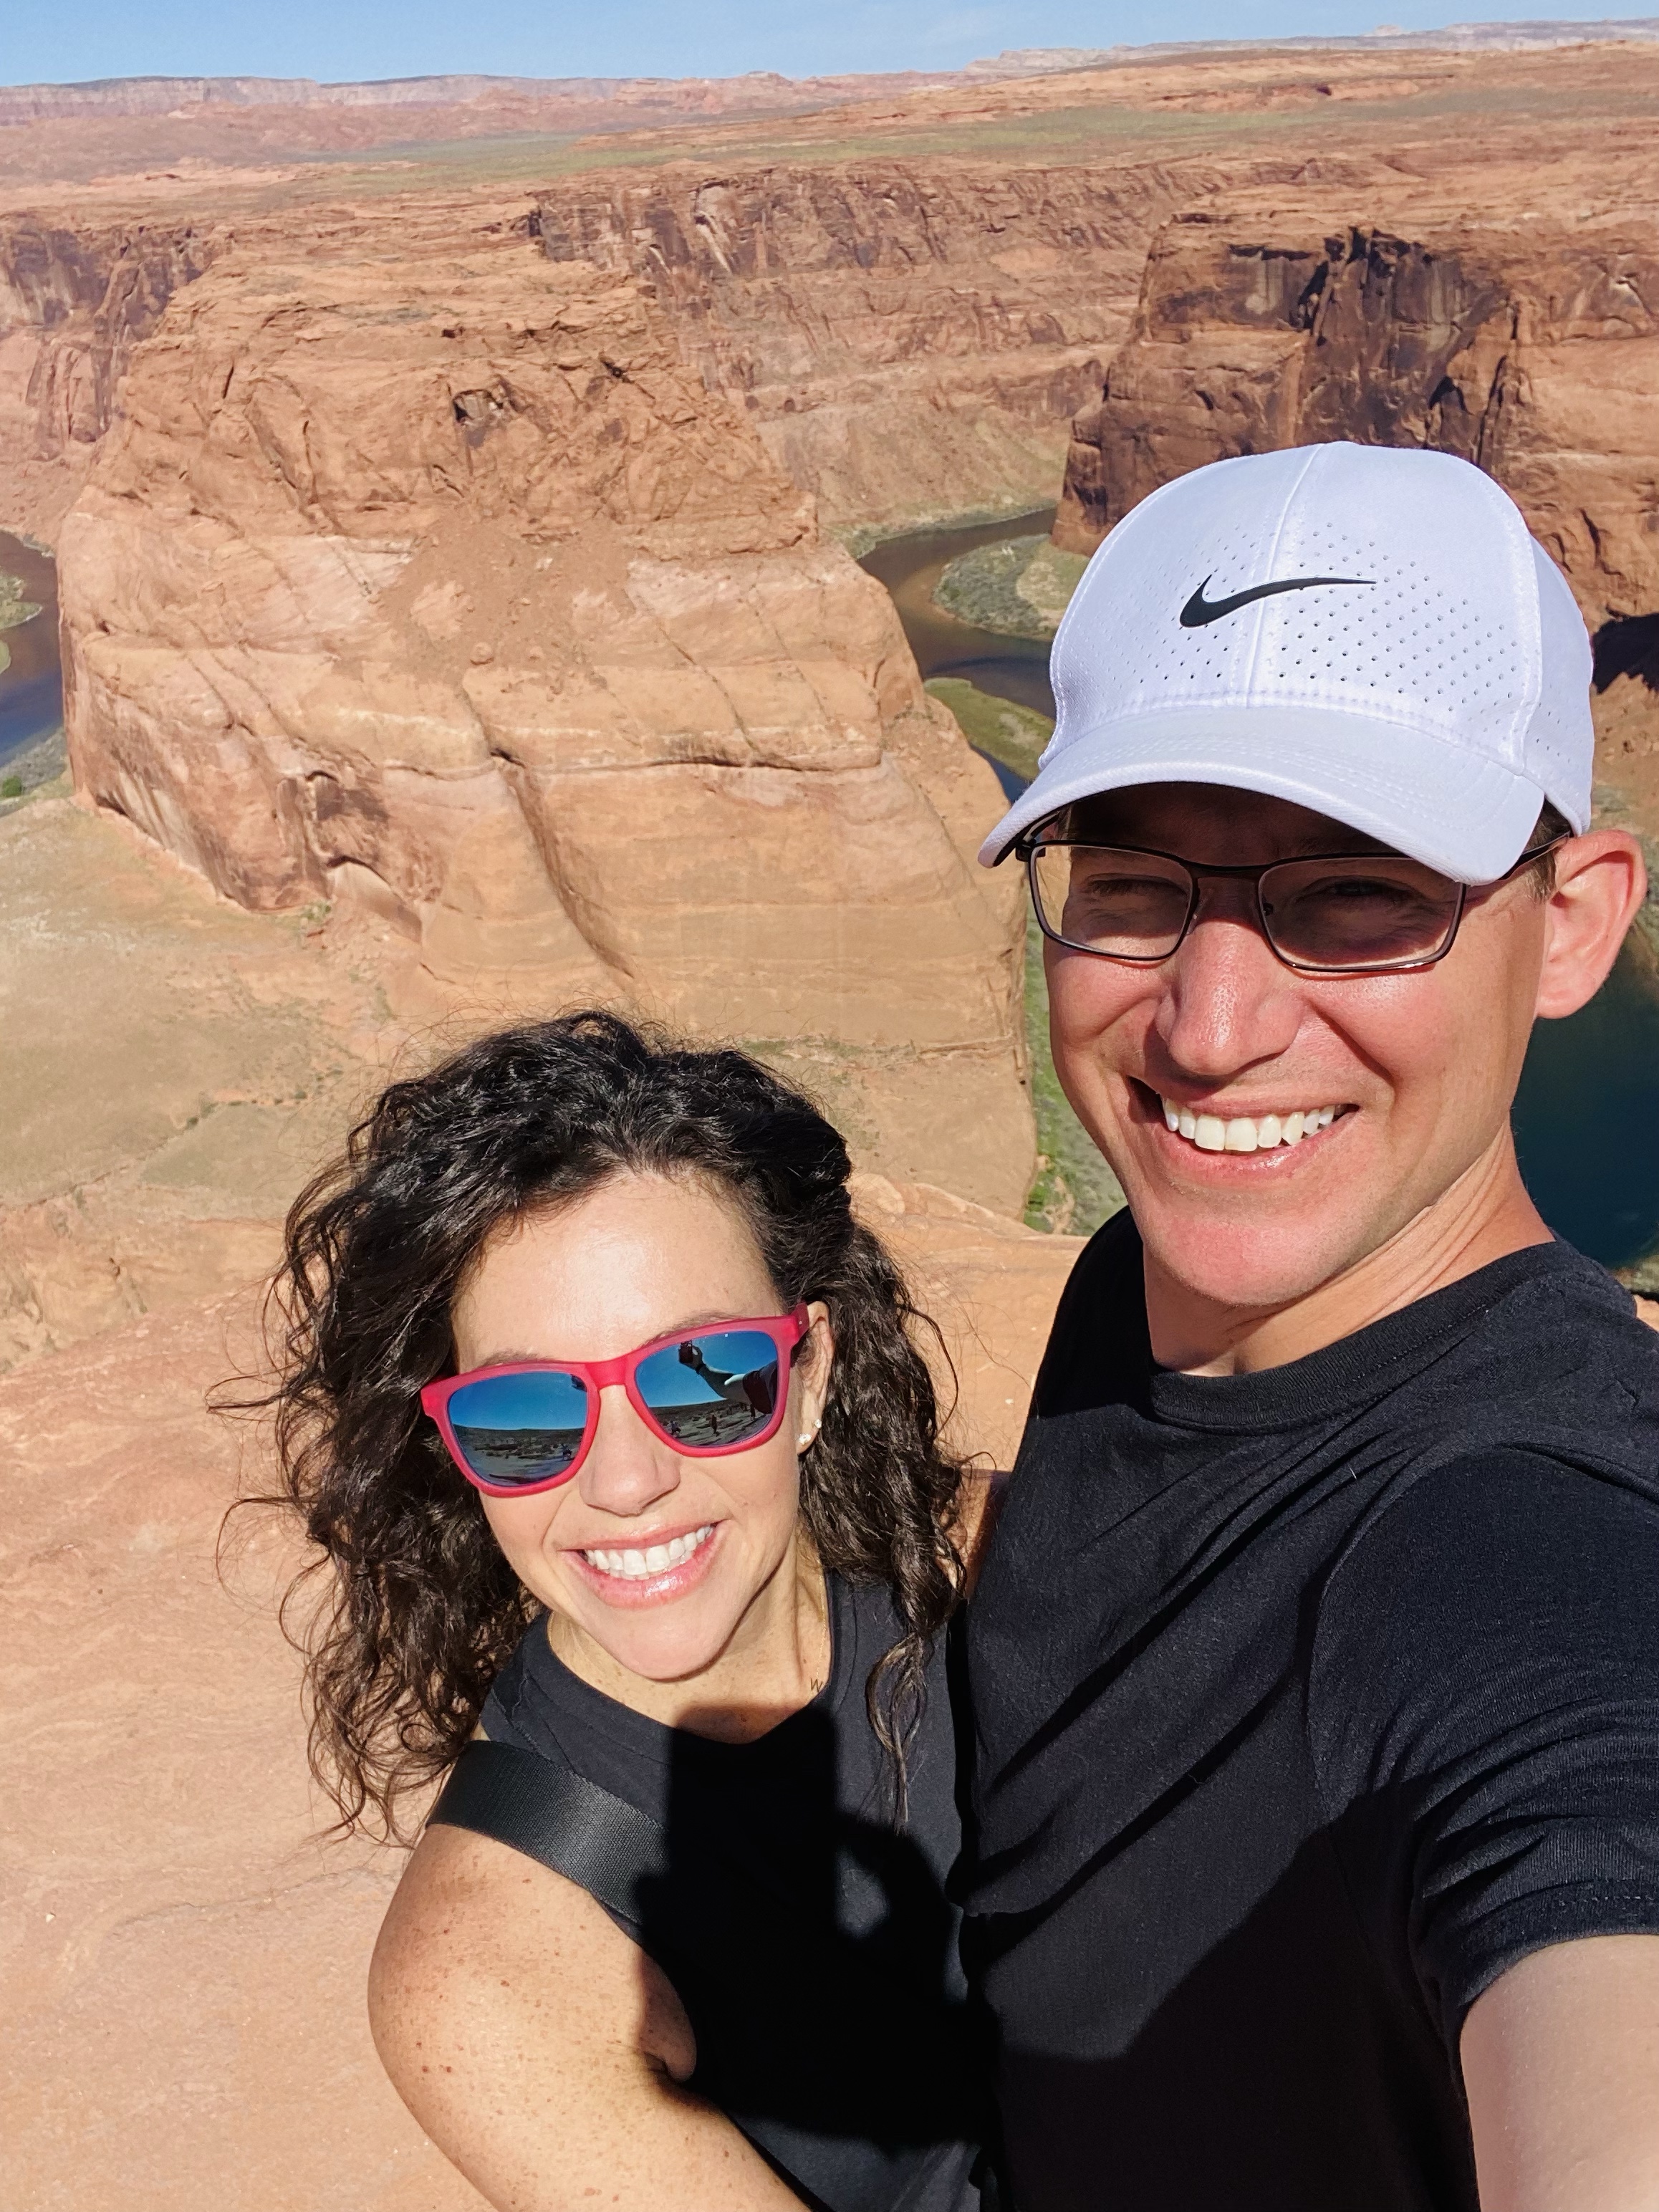
Horseshoe bend is a popular area to watch the sunset at night but we decided to stay on property and saw a beautiful sunset over the canyons.
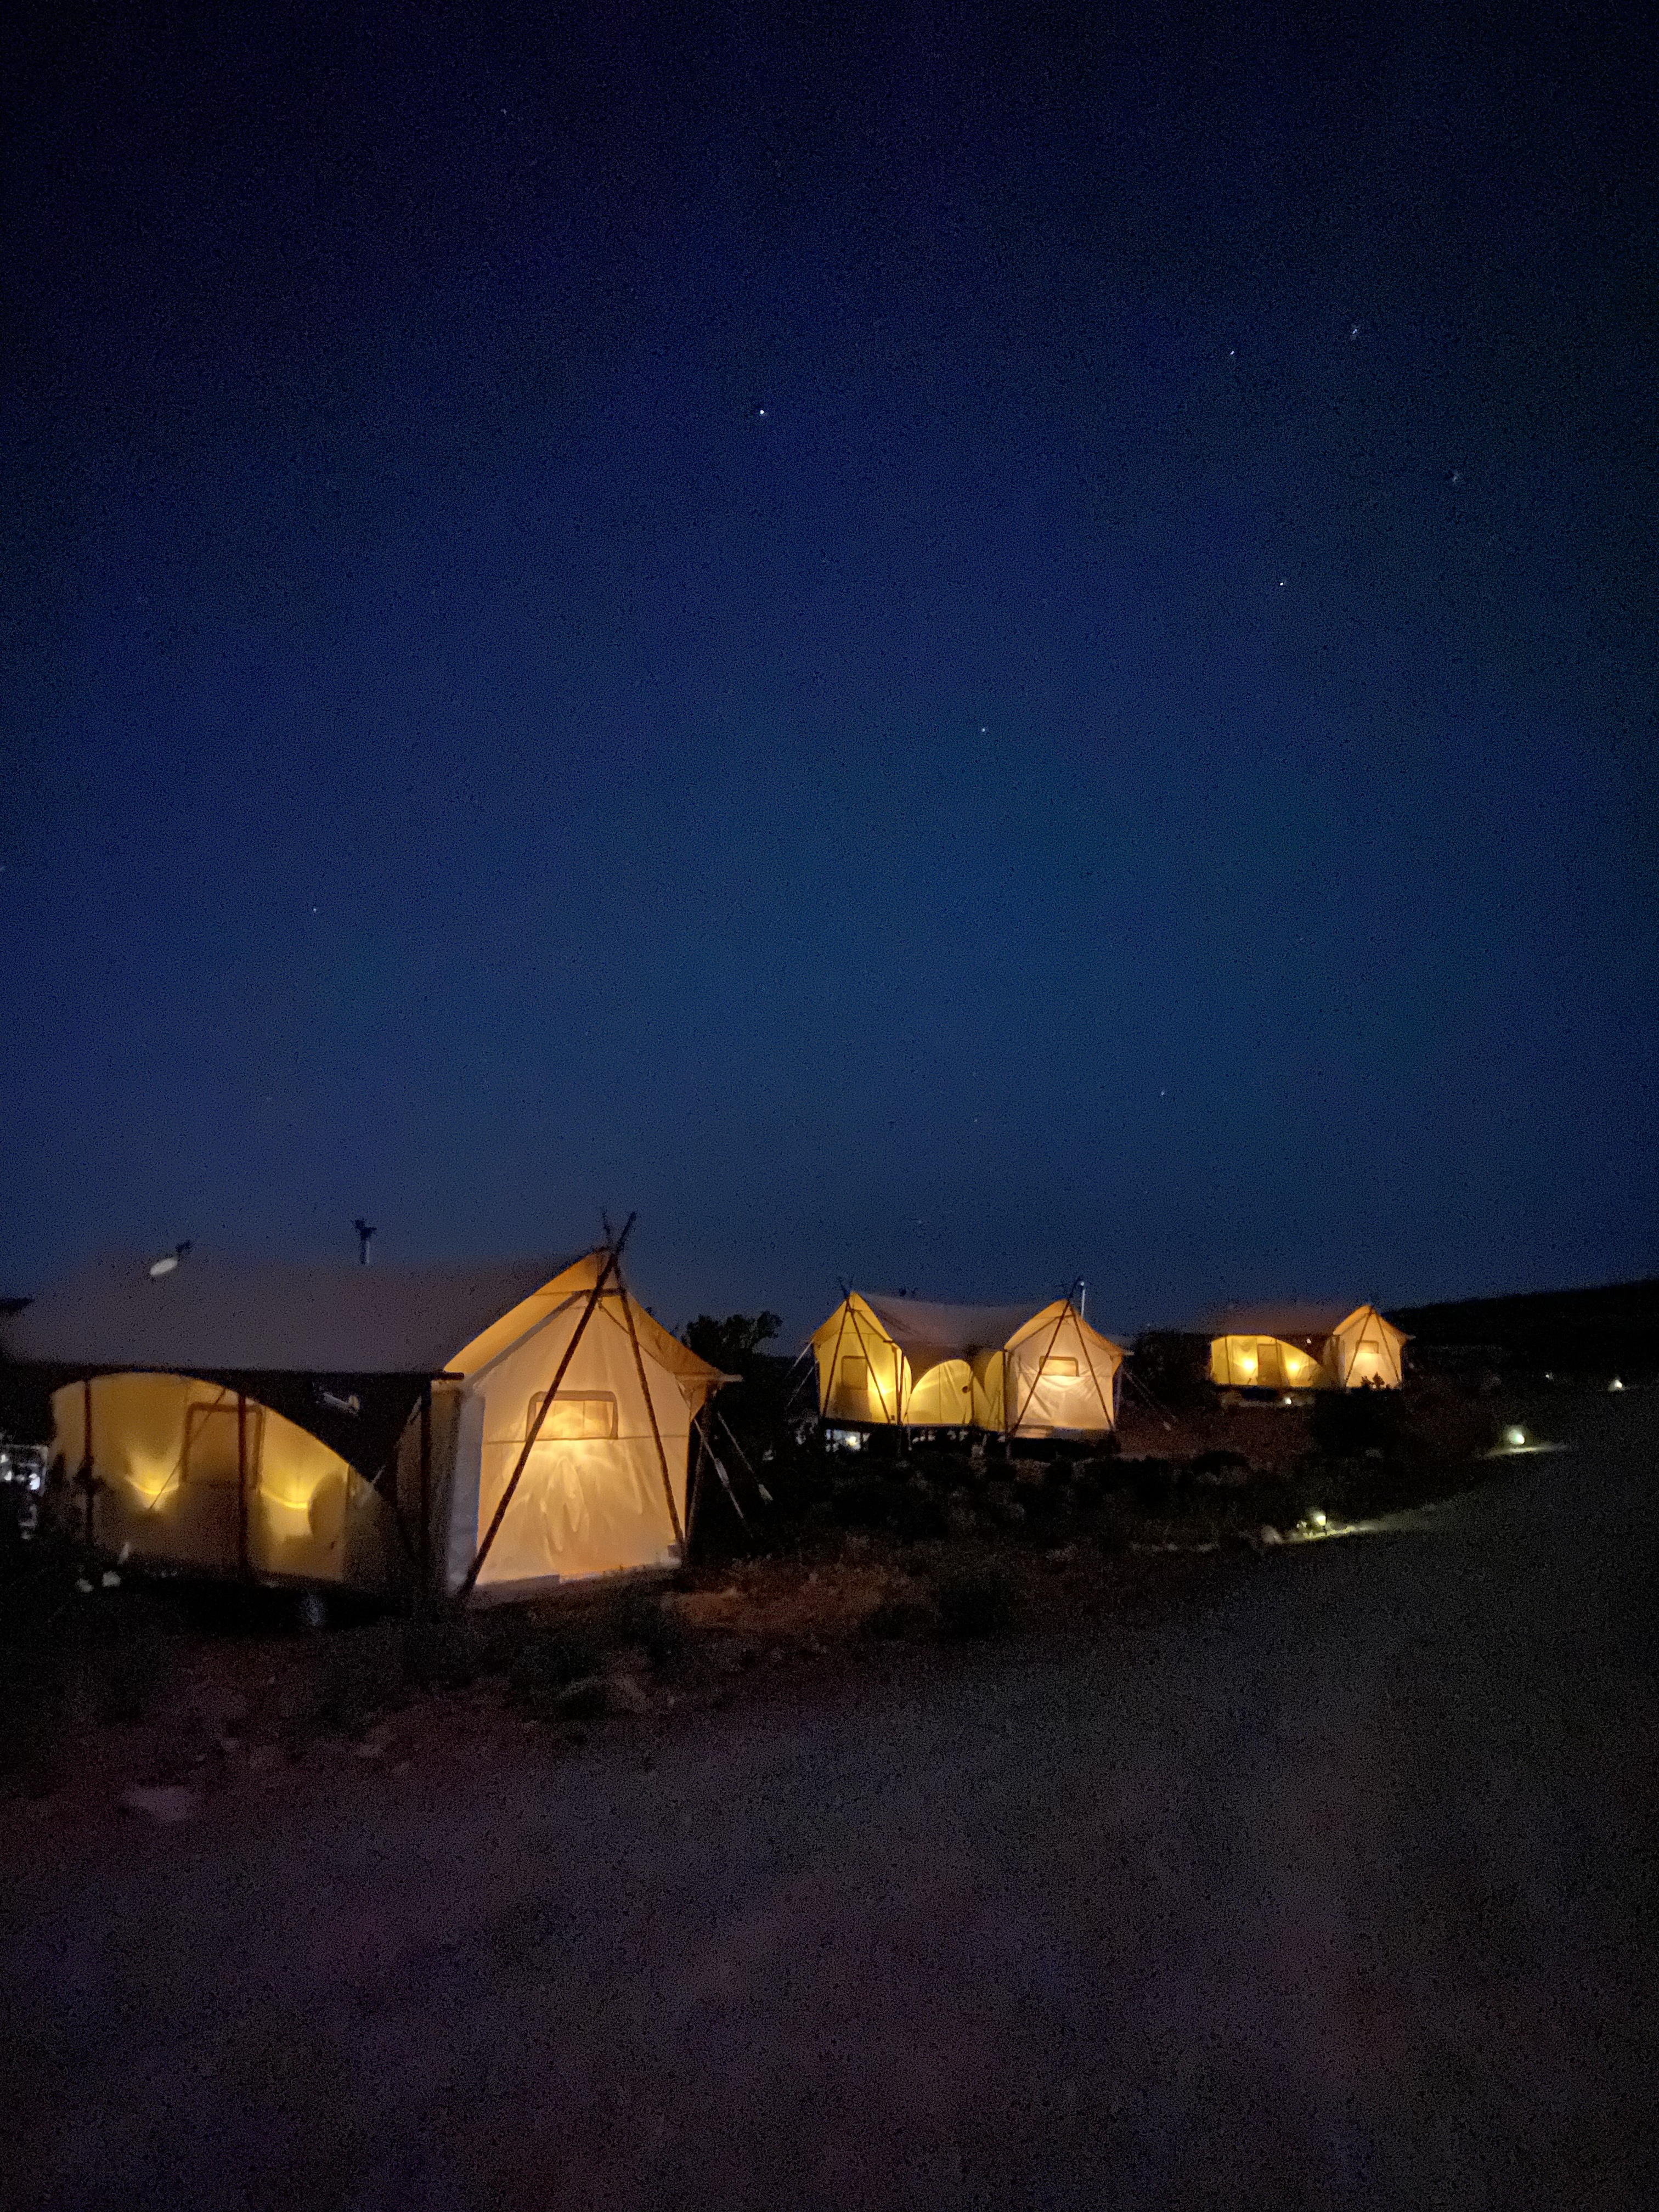
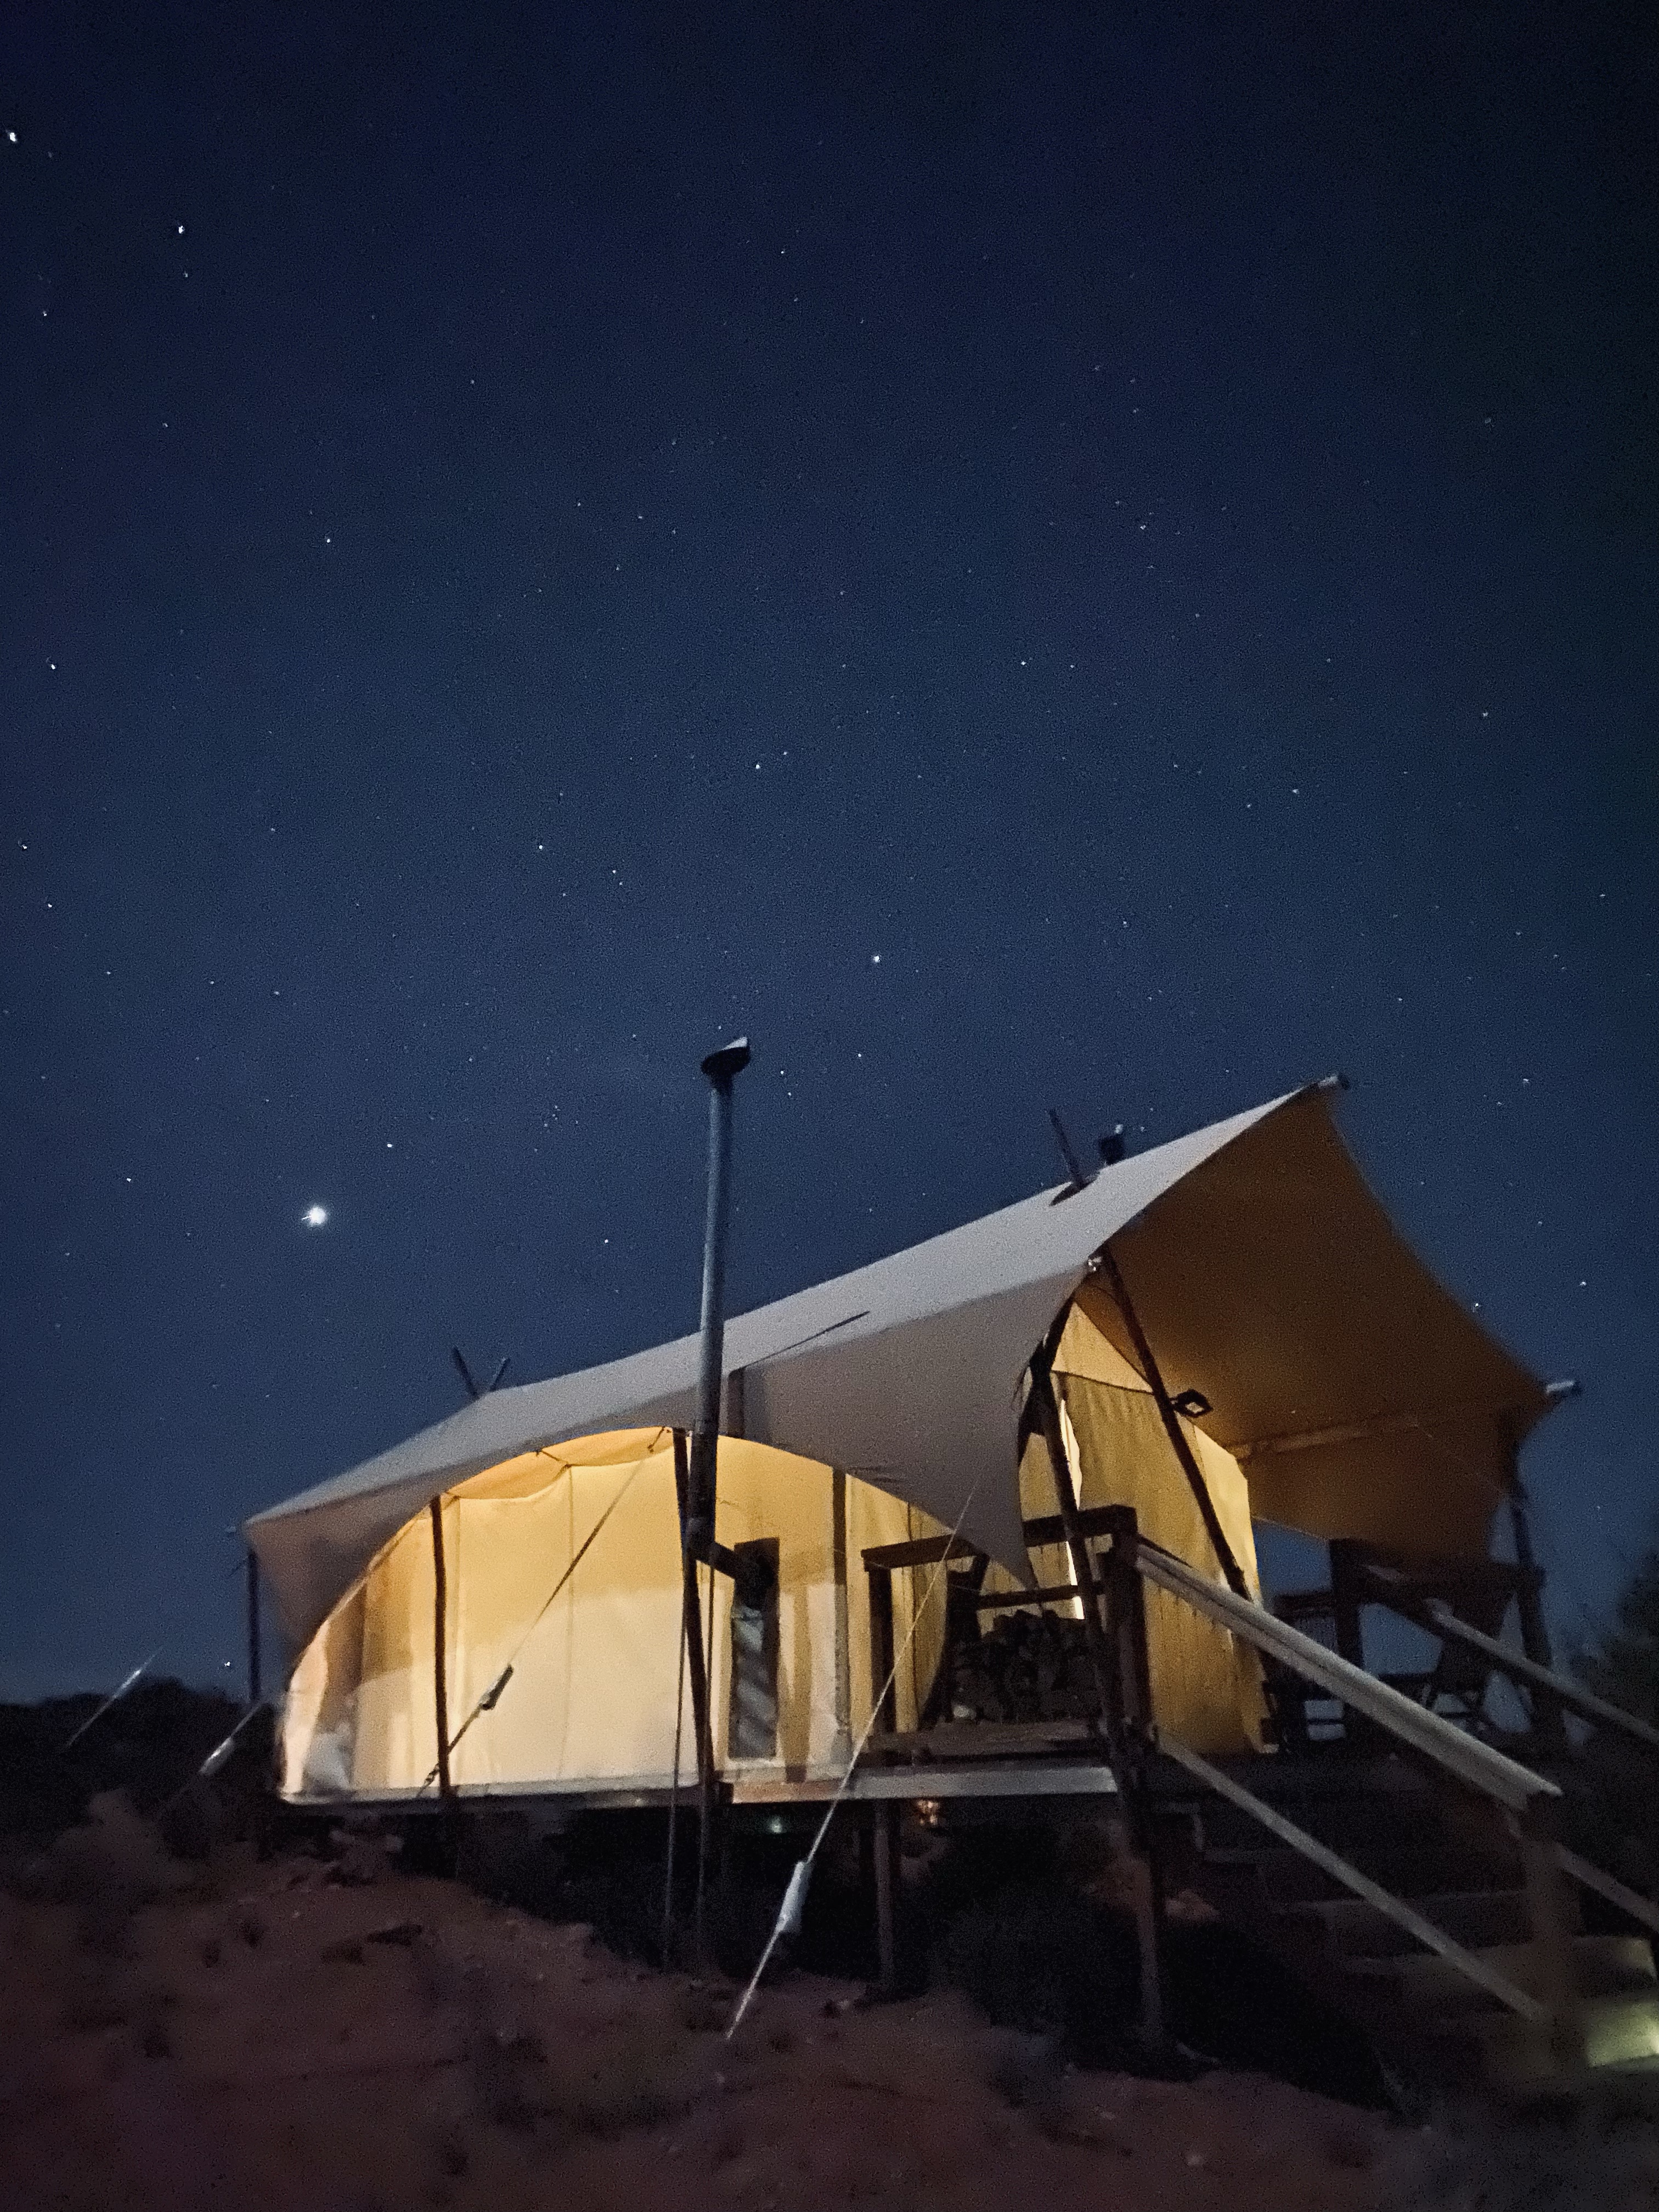
The night got cool enough to light the wood burning fireplace in our tent. We kept it on long enough to cut the chill in the room while we stargazed from the porch. On the dates we were at Under Canvas it was shortly after a new moon so a few planets were visible.
I grew up camping with my family and it was often in lieu of hotel stays. Our time at Under Canvas was both nostalgic and also nothing like the camping I was accustomed to. Adam is not a big fan of camping but our experience at Under Canvas was one he loved and was grateful I booked. It also lead him to looking up all of their locations across the country to investigate for a future trip.
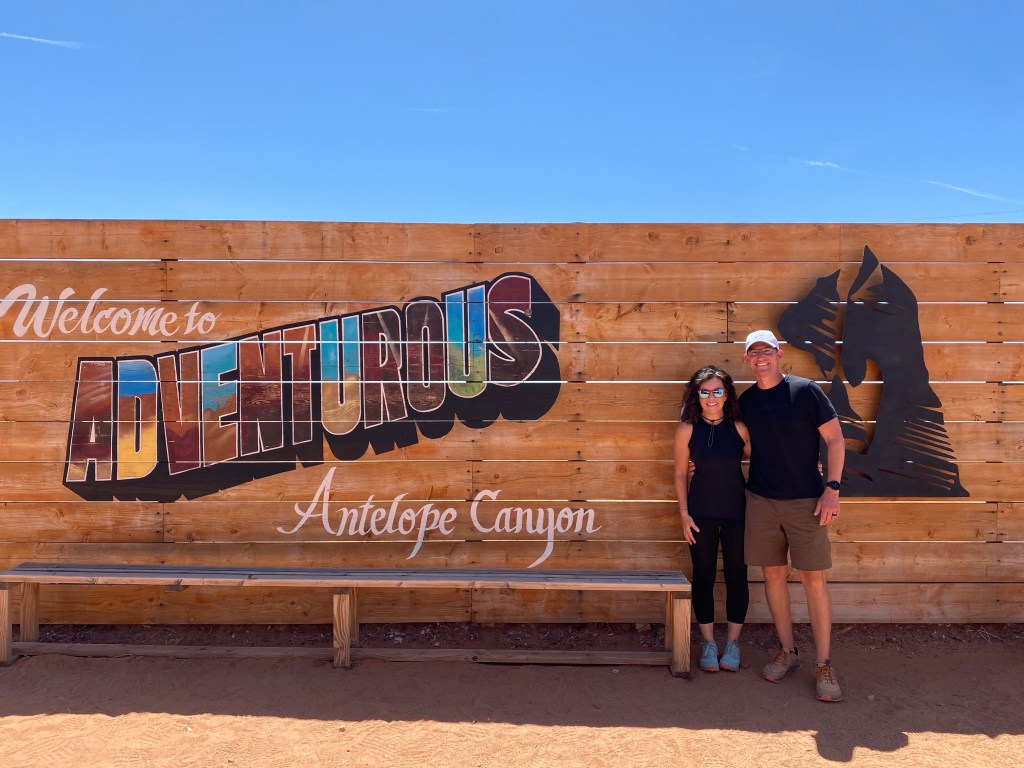
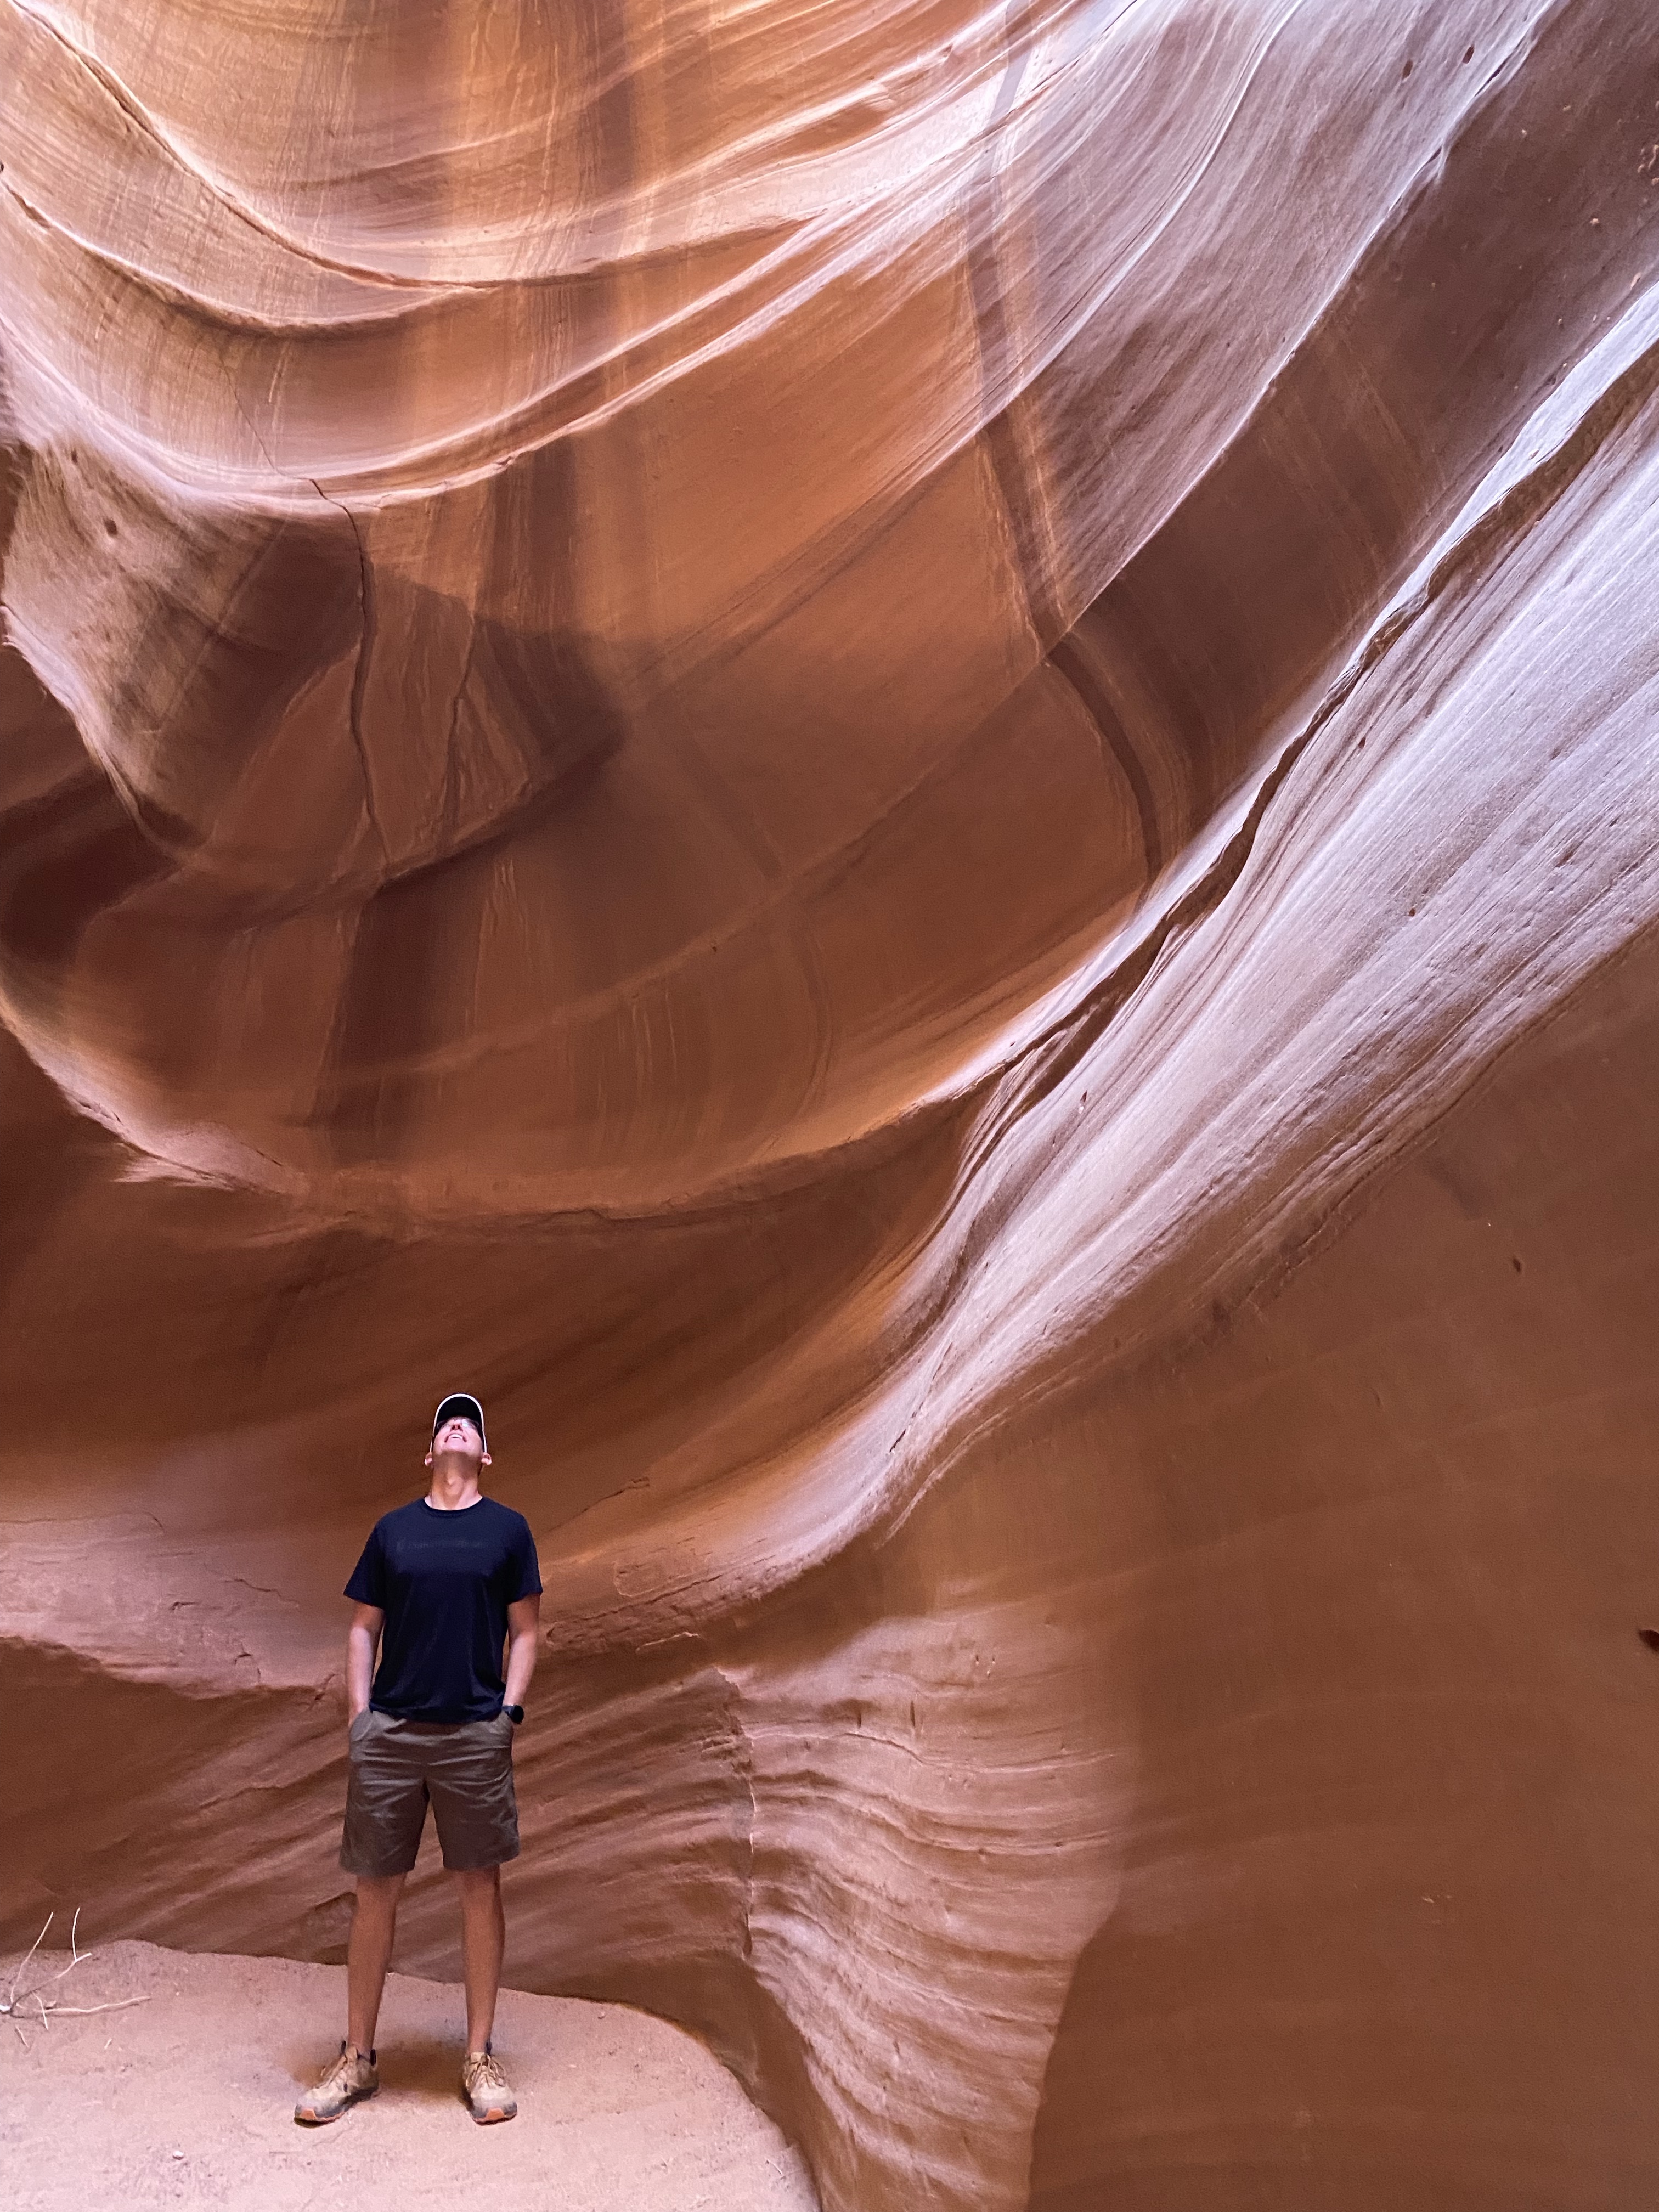
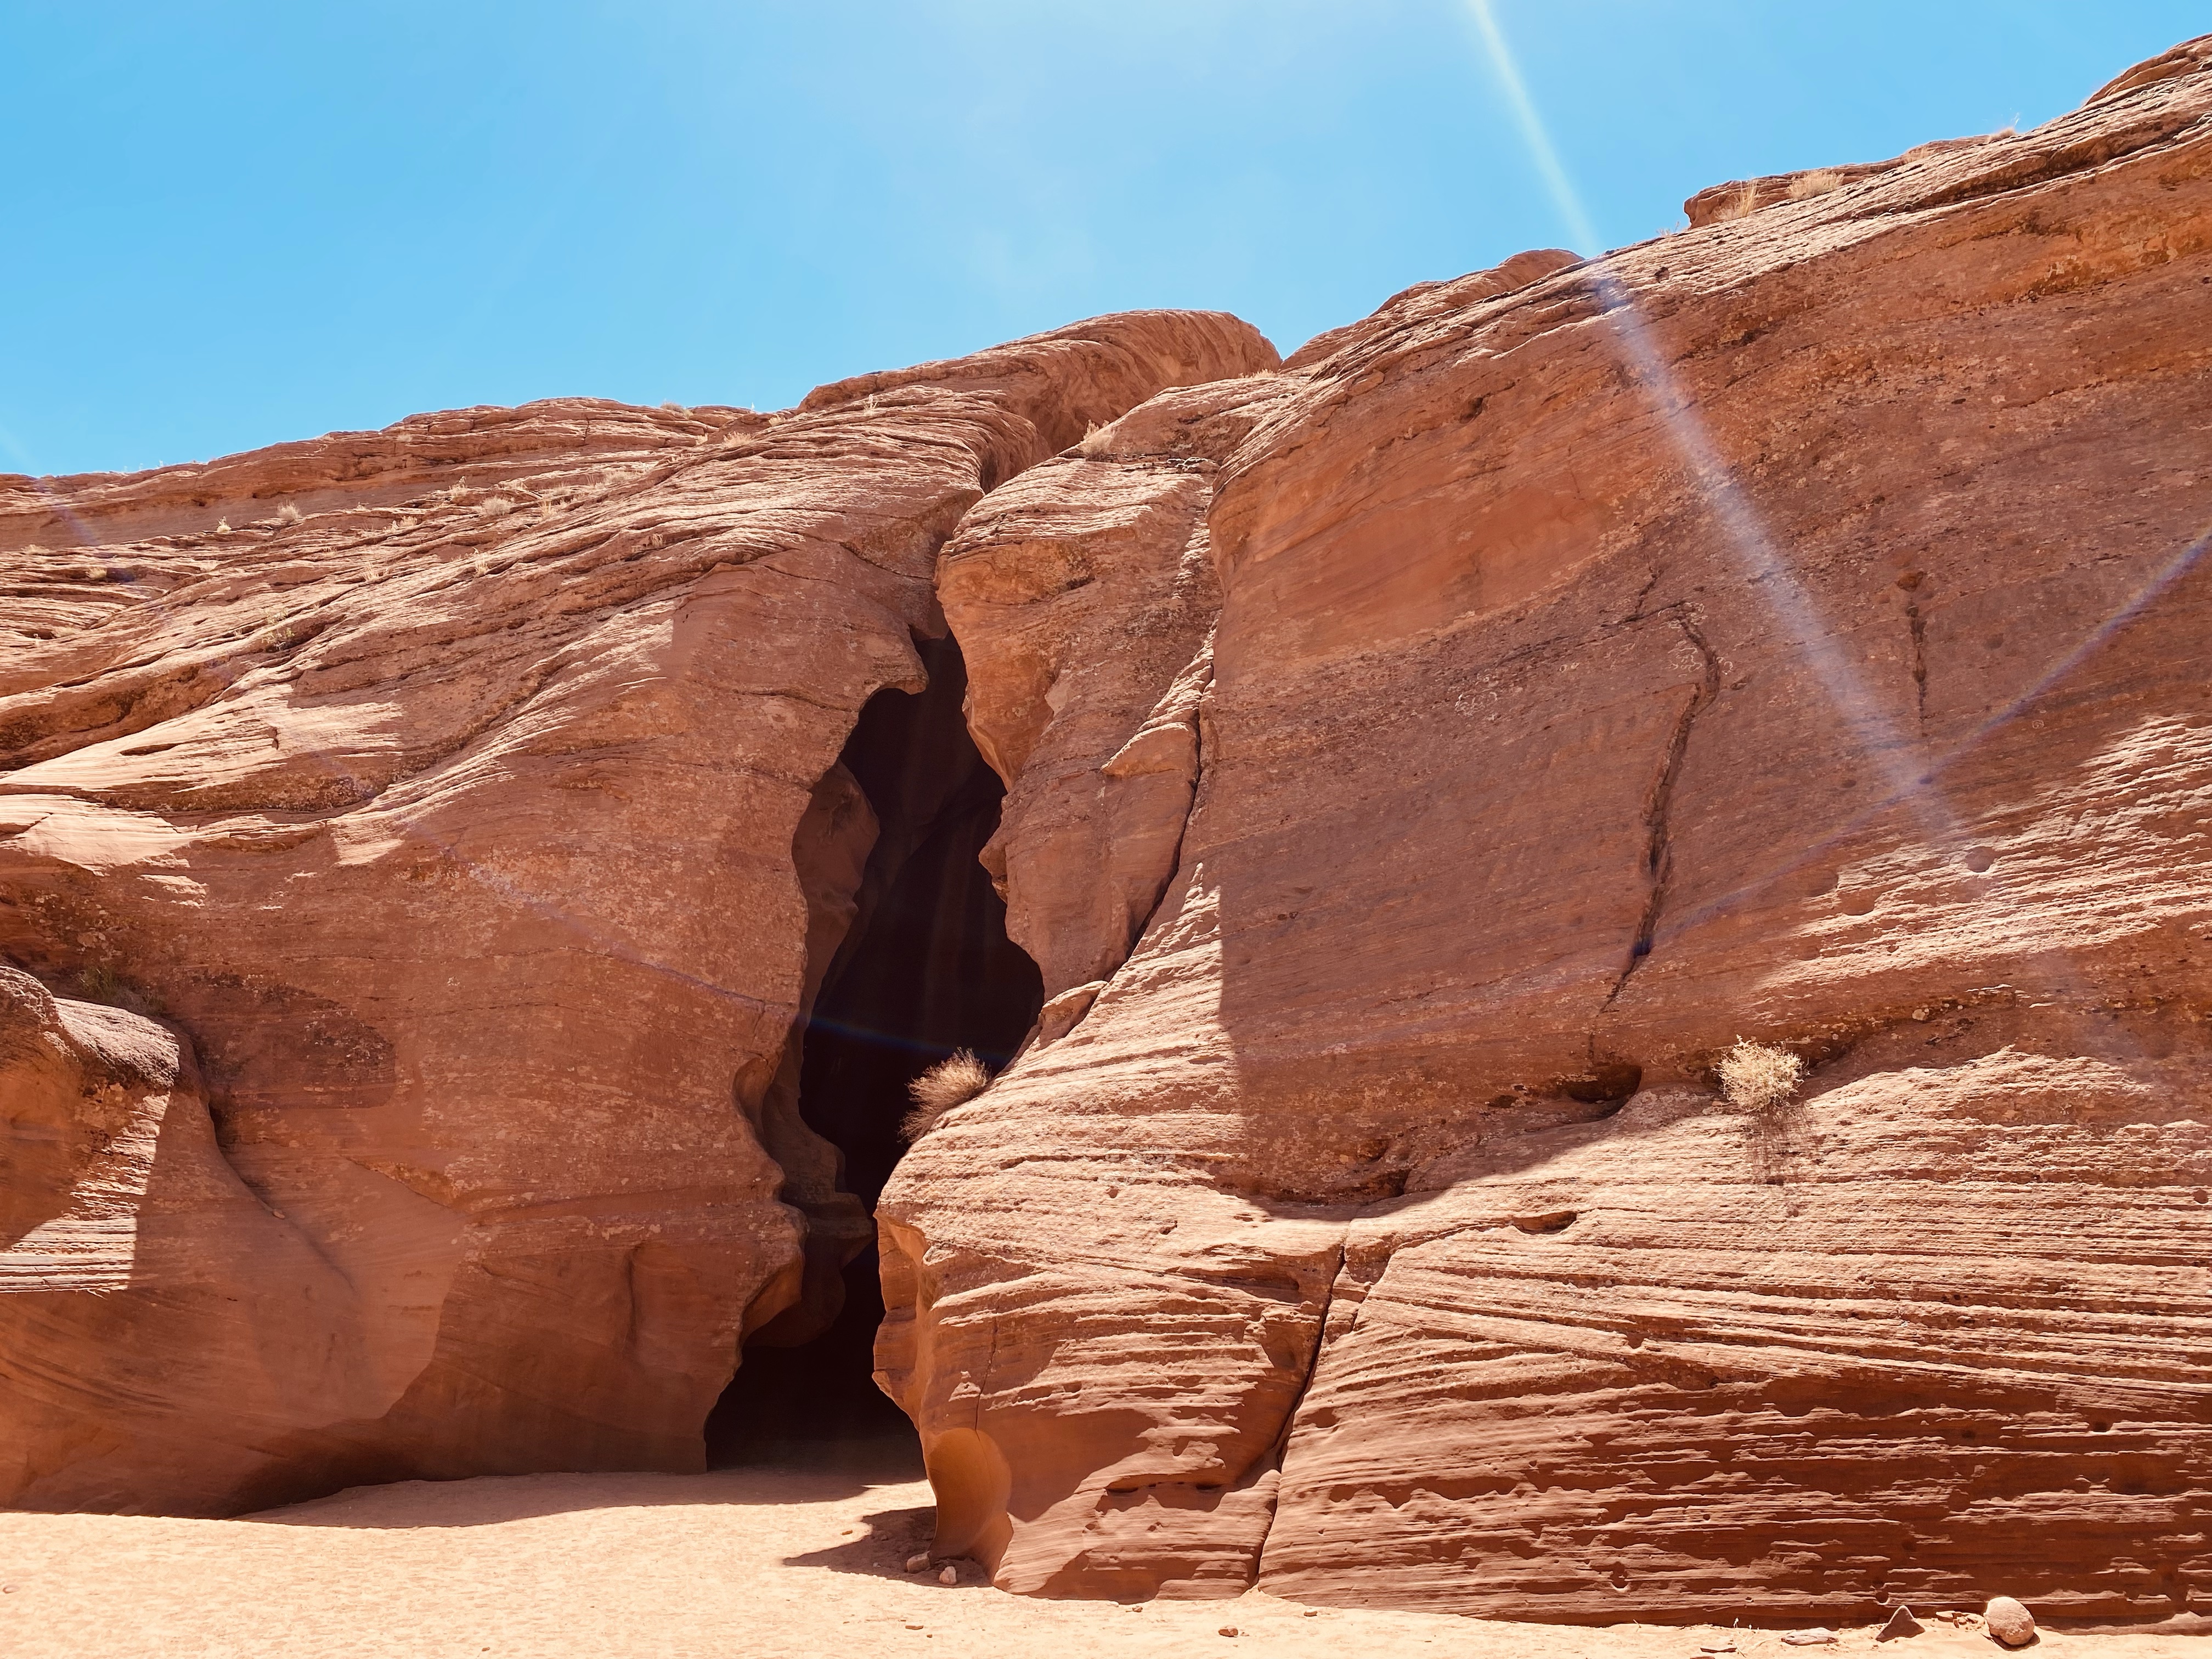
Checkout was mid-morning which allowed us to have a slower morning. Sad to leave our perfect little glamping rental, we had more places to visit and a scheduled tour at the Upper Antelope Canyons.
One important thing to note about our tour time is that we actually had an extra hour with the time change from UT to Arizona. We also booked one of the more popular times as the light in the canyons is ideal.
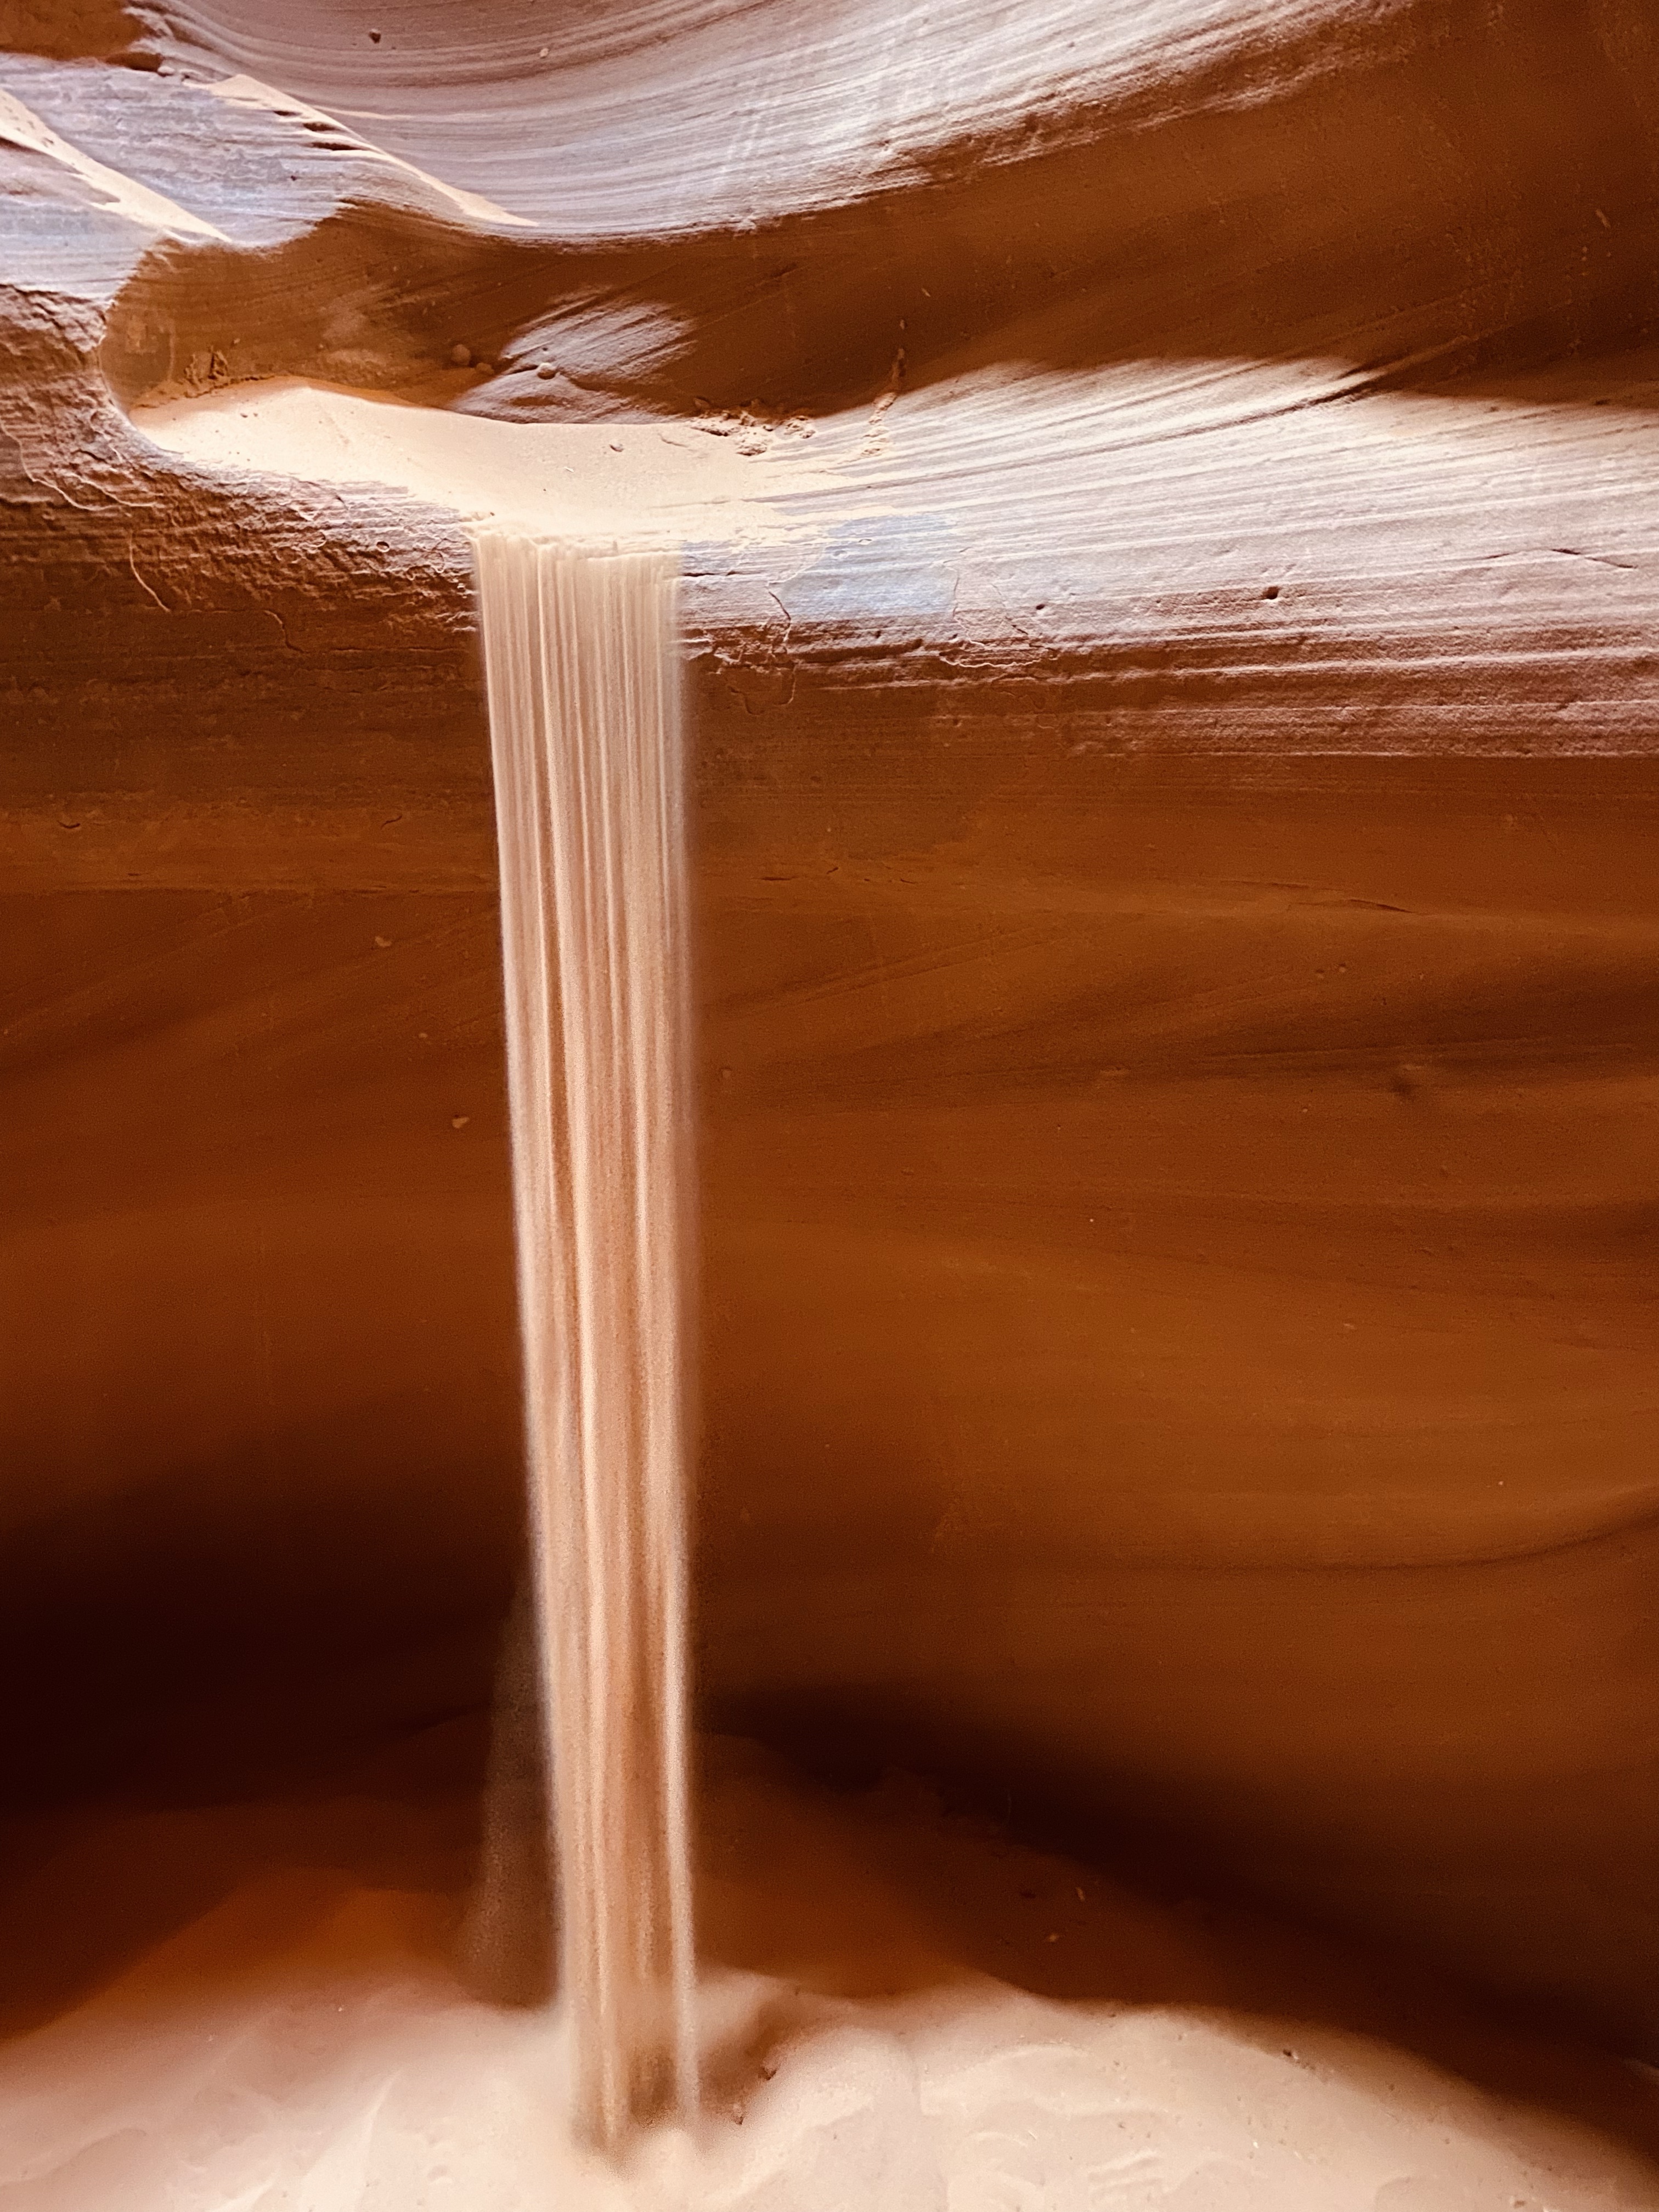
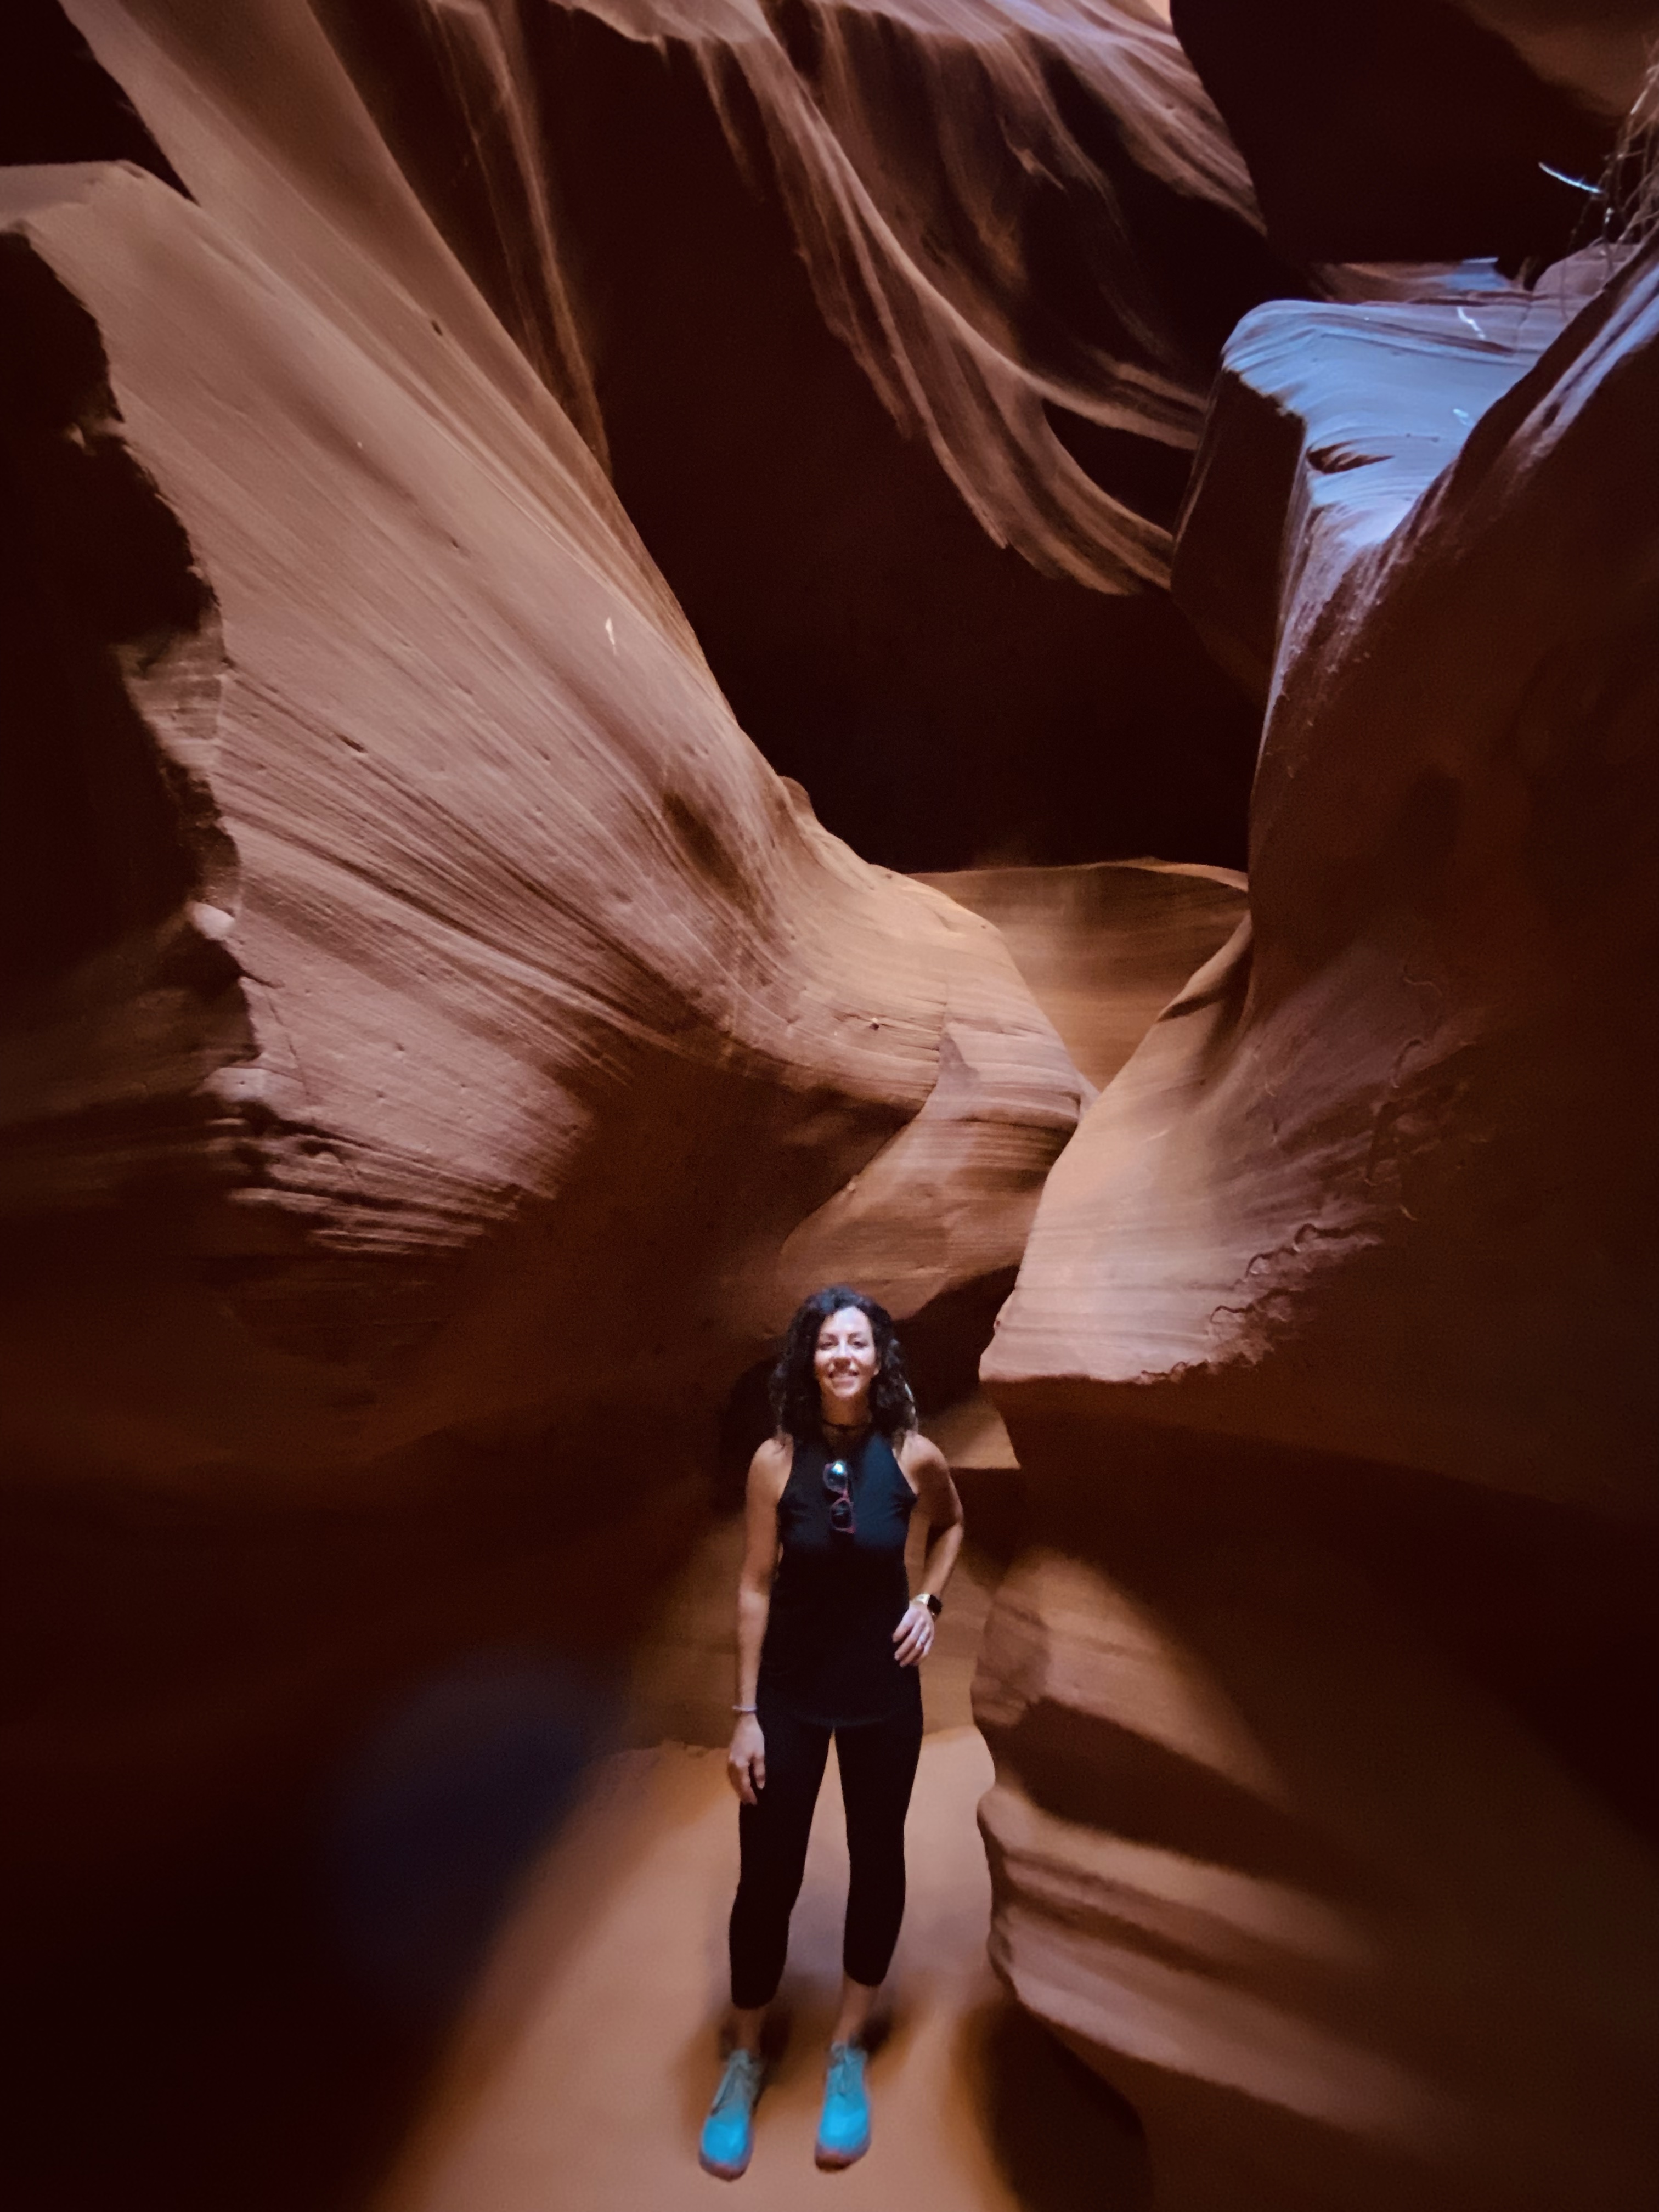
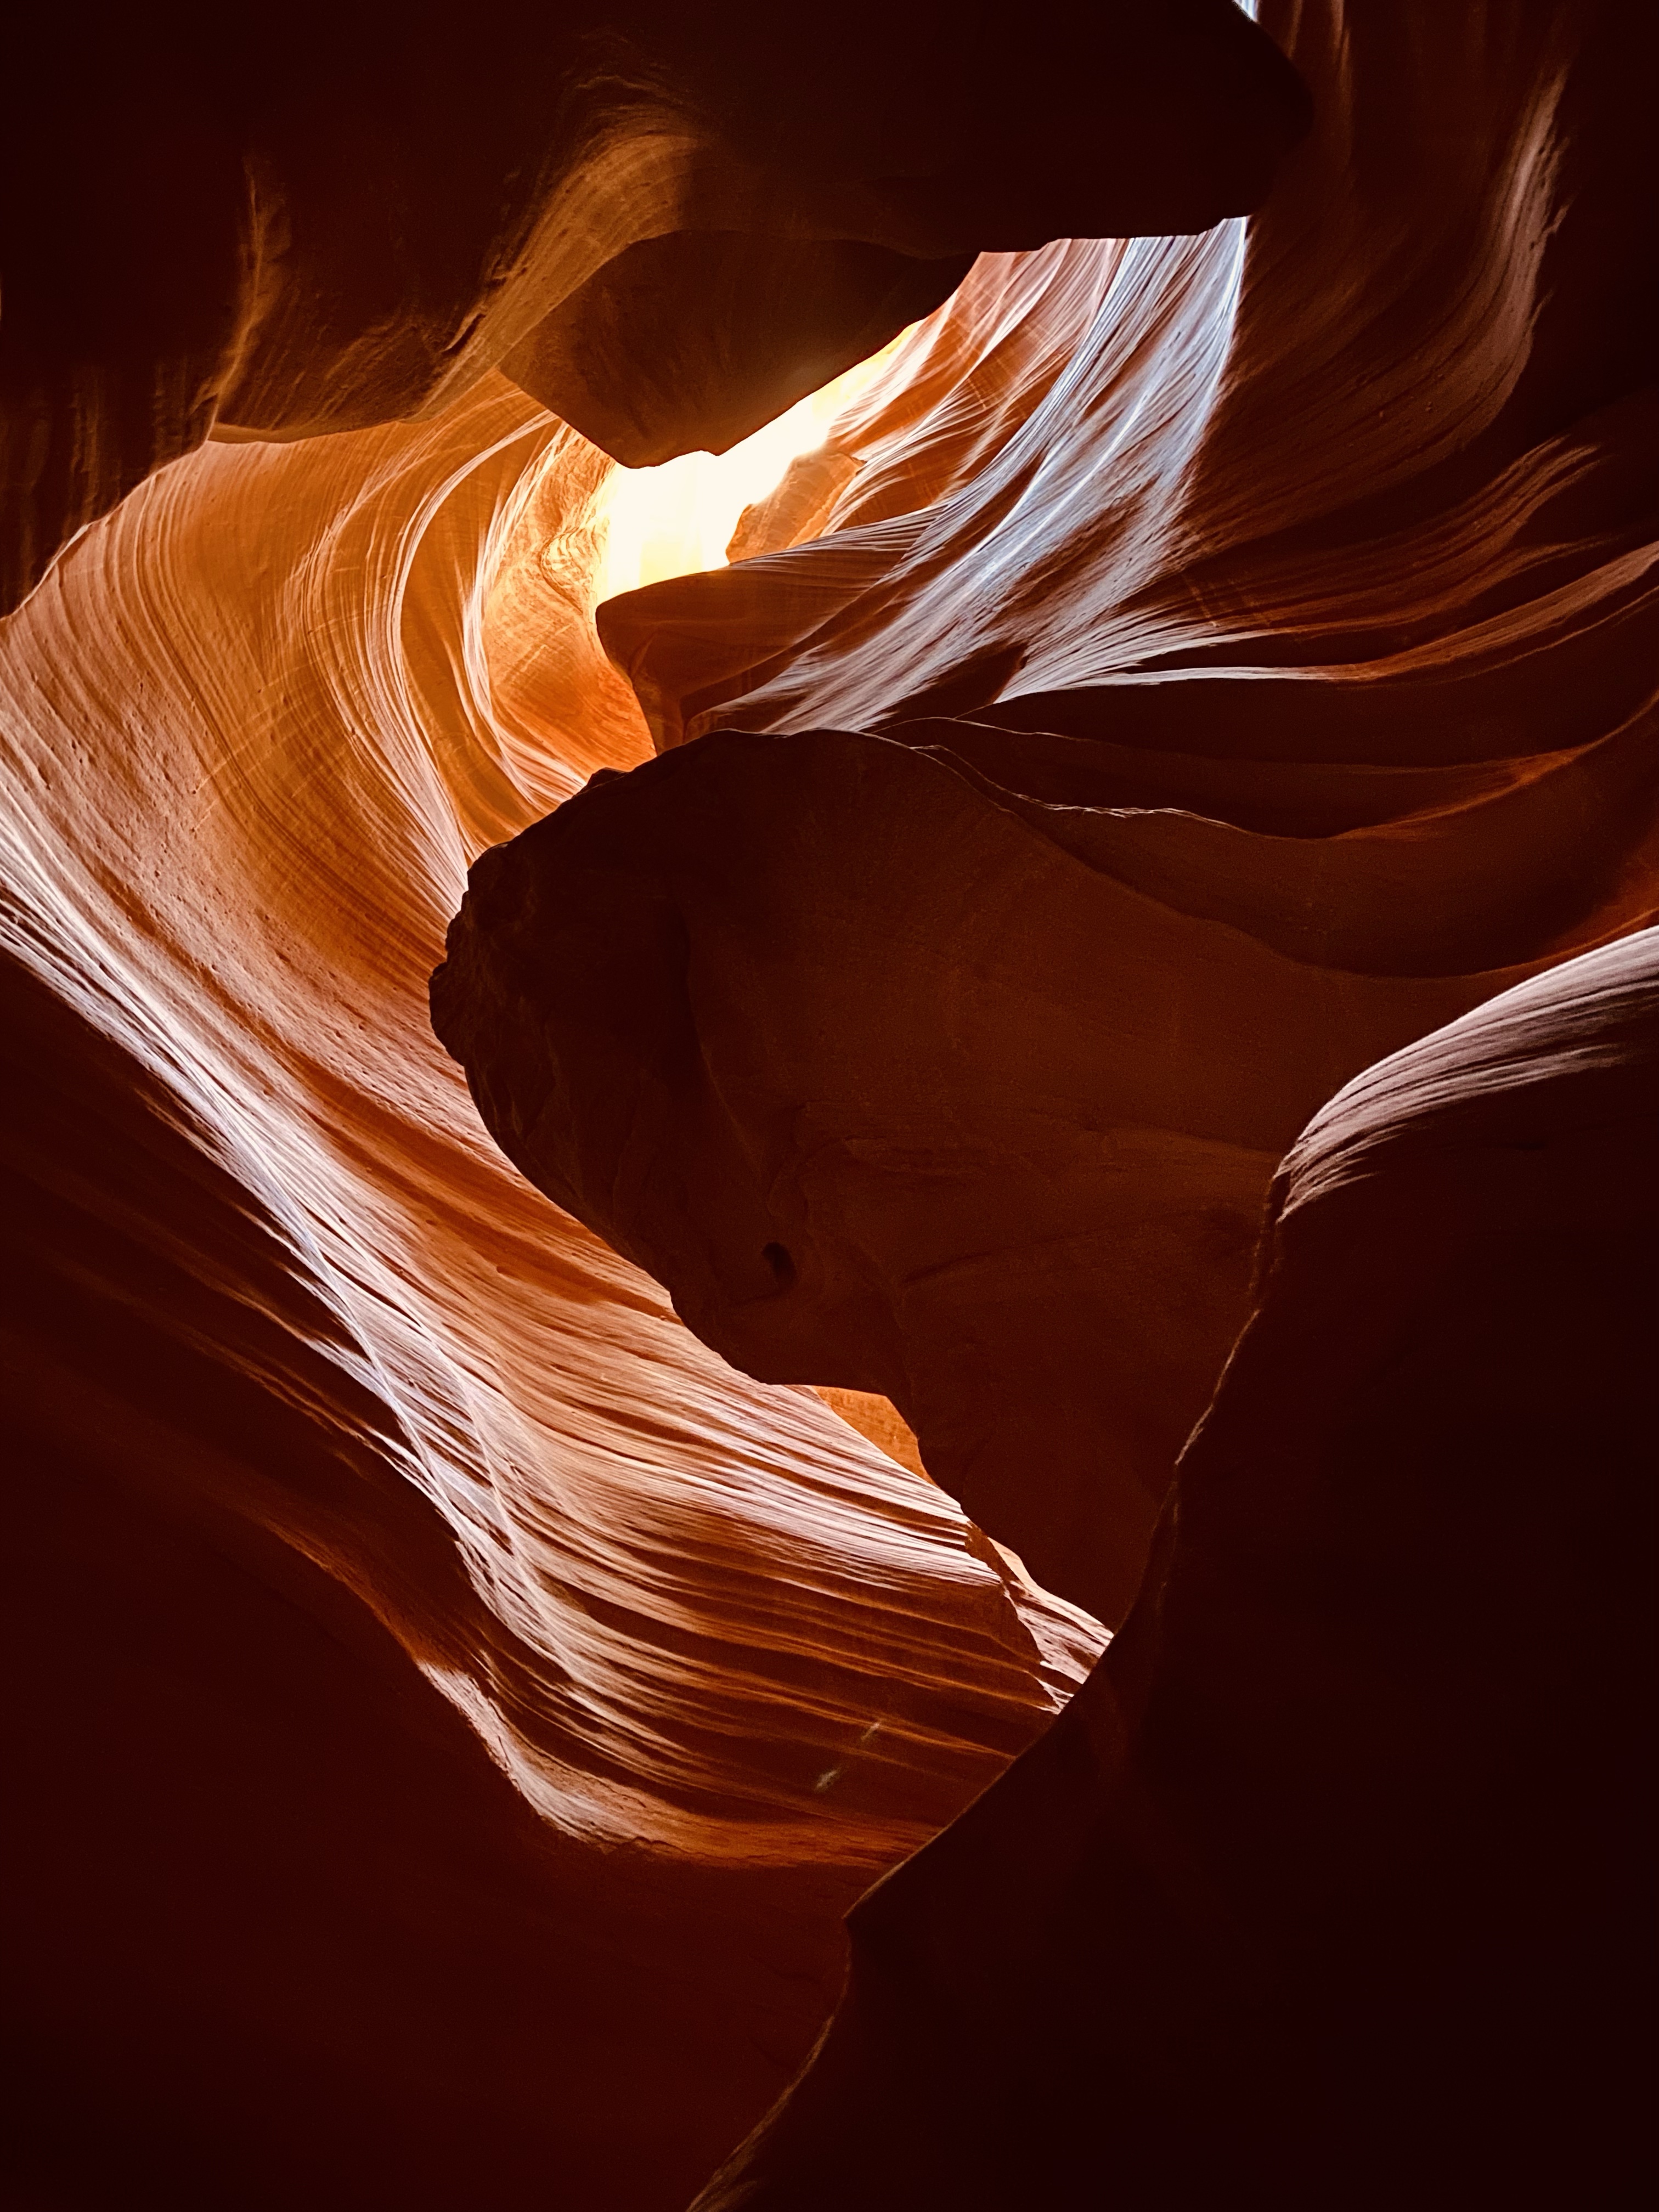
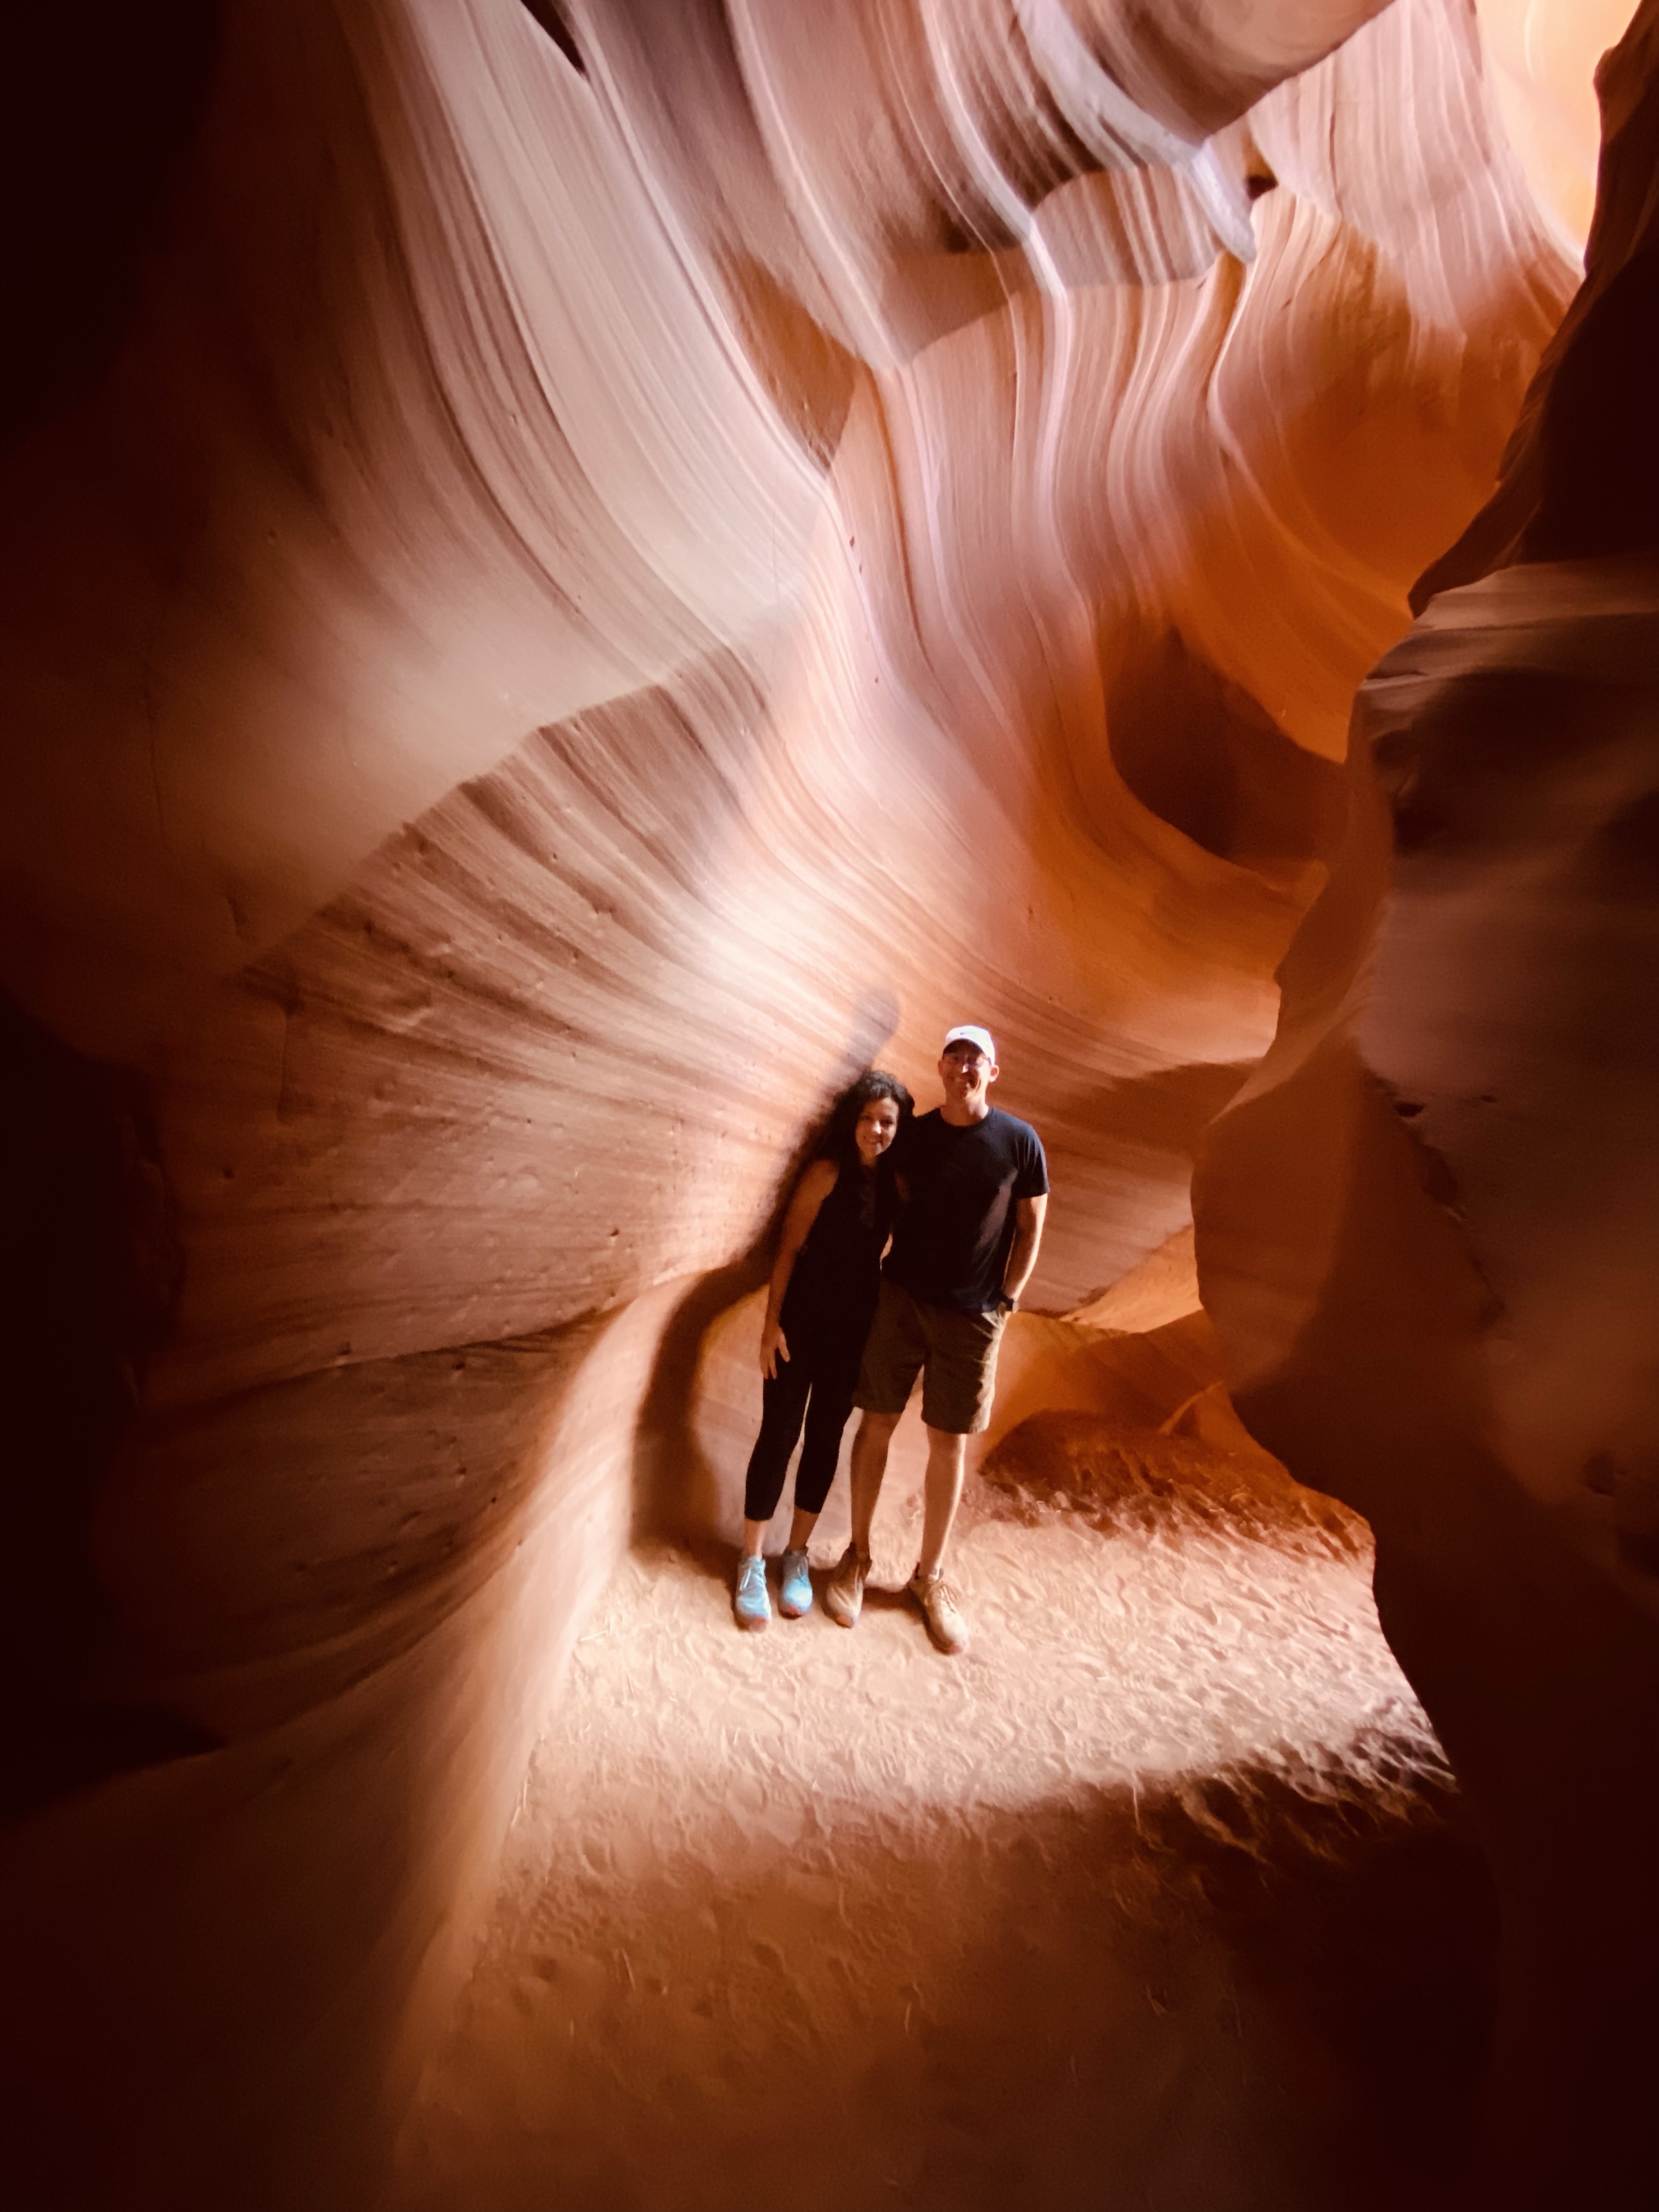
We had the best experience and were in awe of the amazing beauty behind the canyon entrance. From the outside, you’d never guess the slot canyons were inside, shape shifting formations that have been given names by visitors. Your guide will point them all out to you on the tour.
Below are some of the highlights for us:
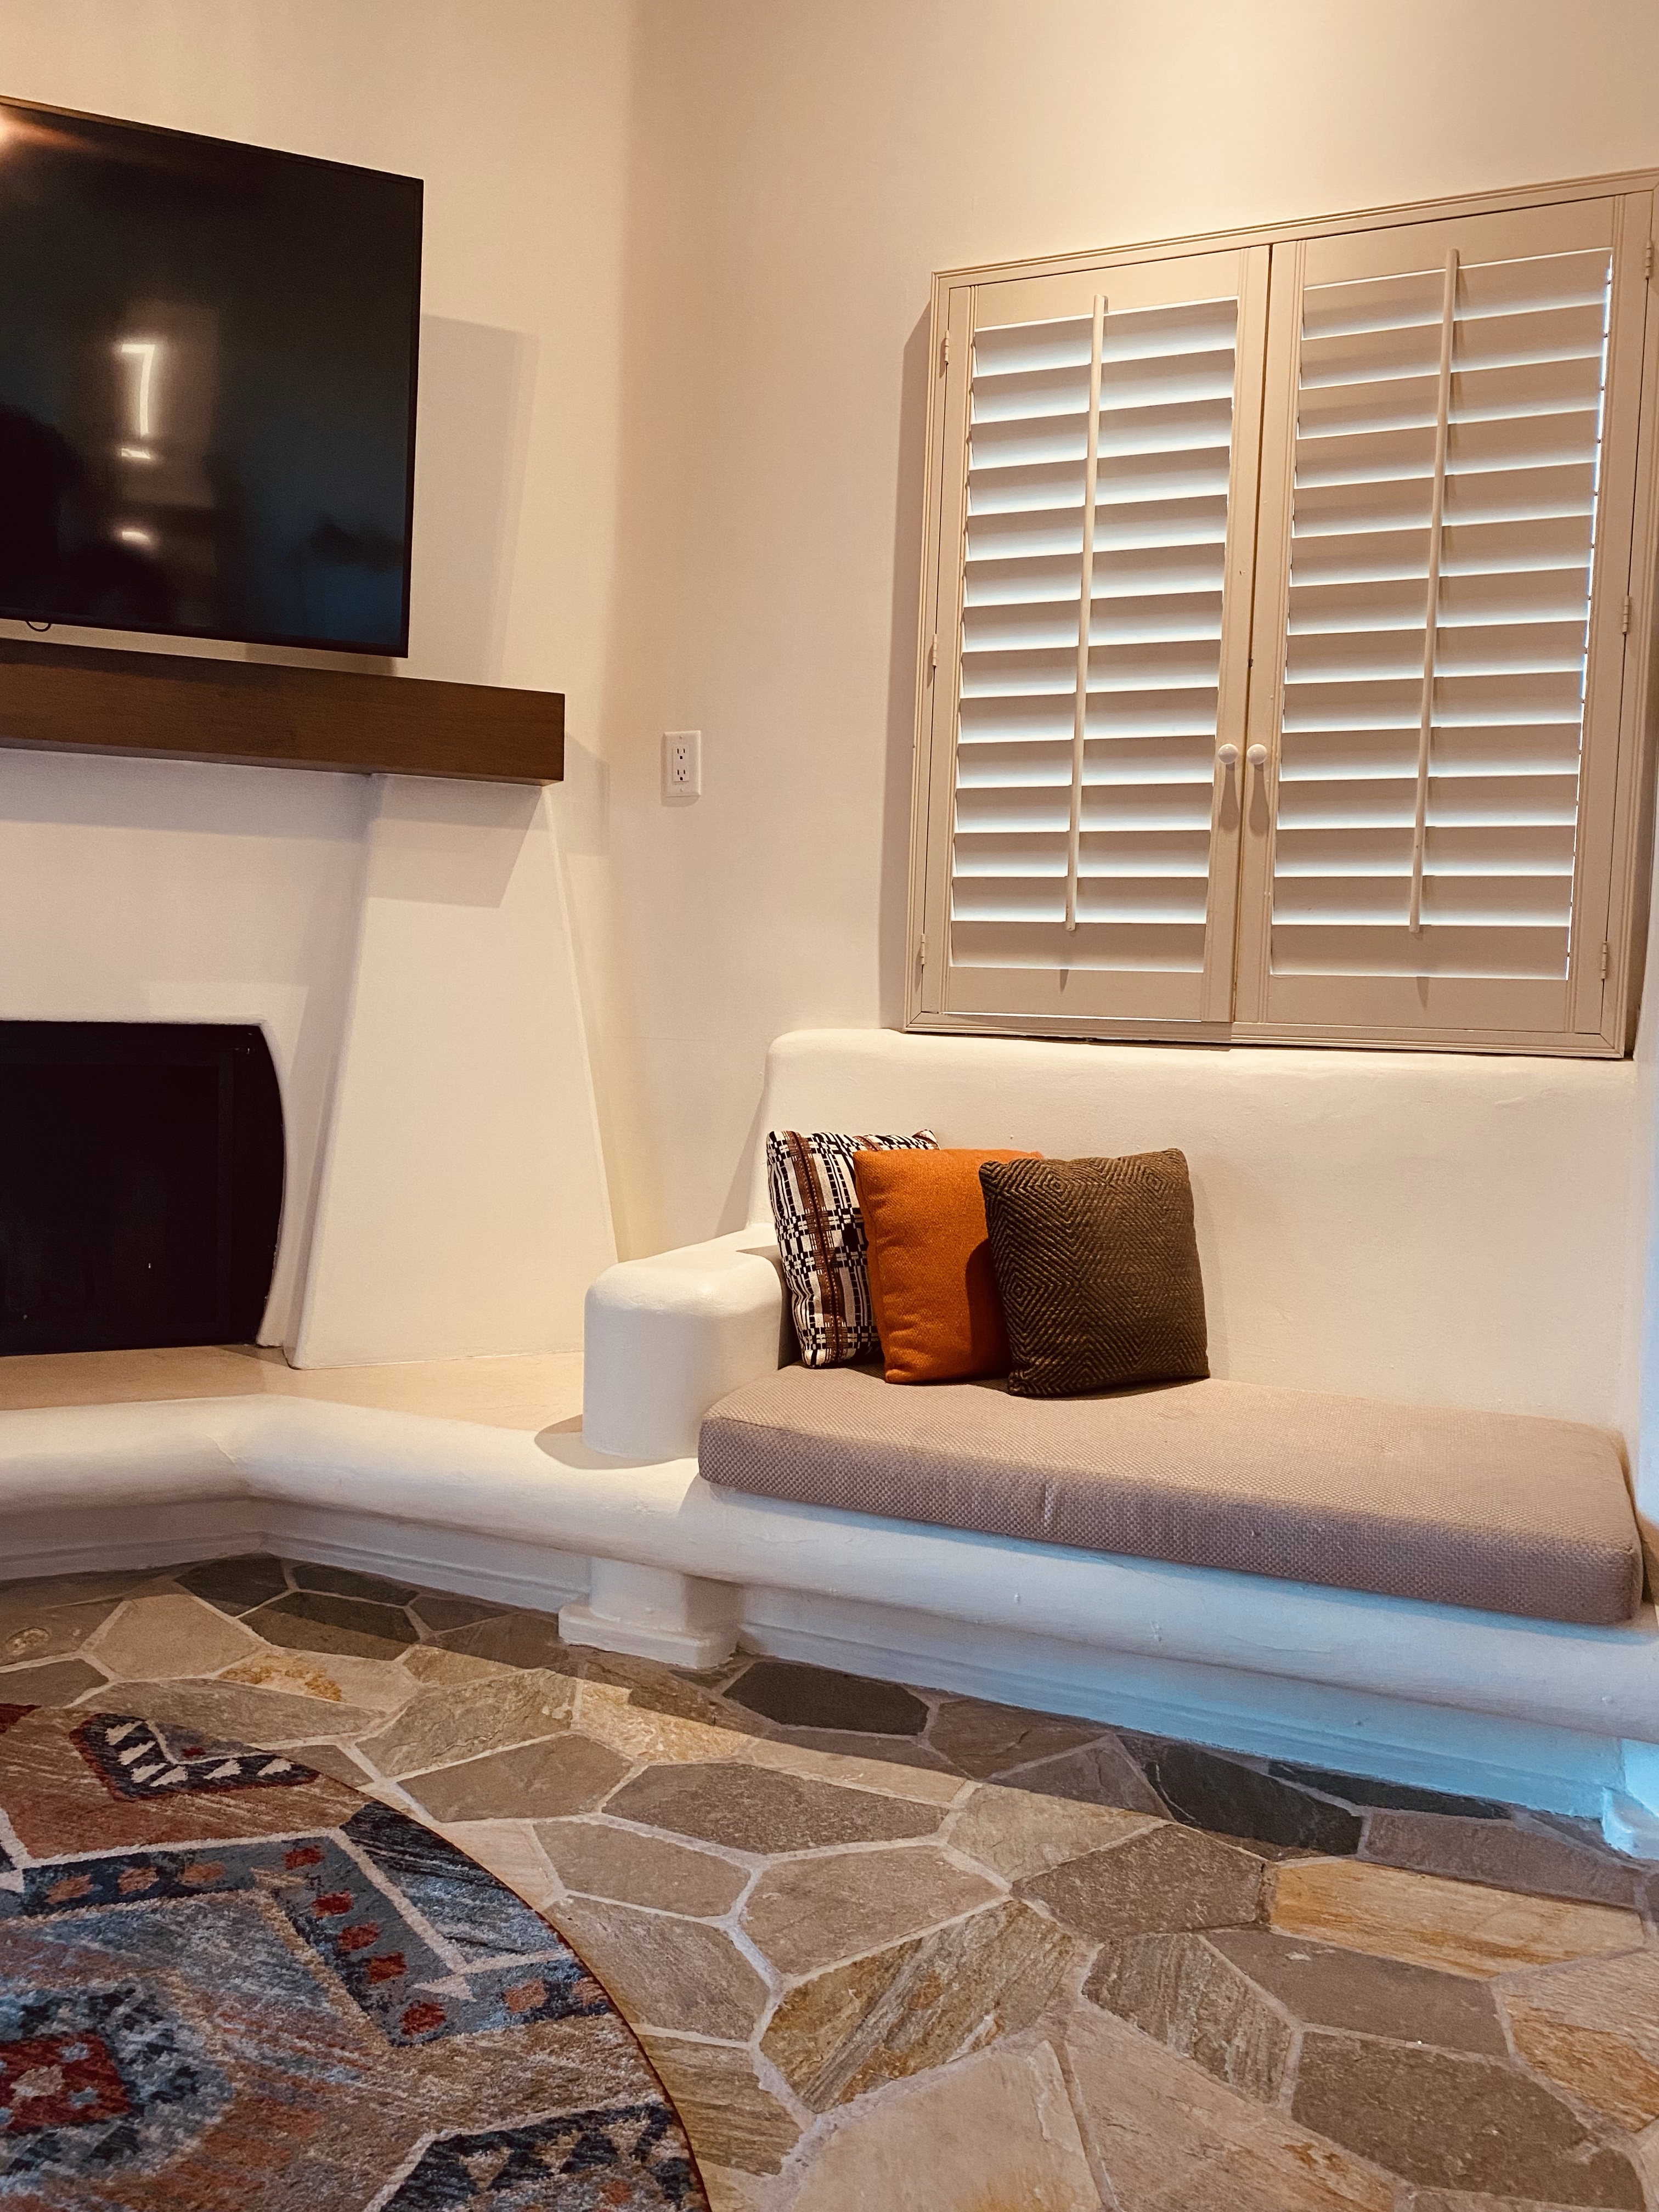
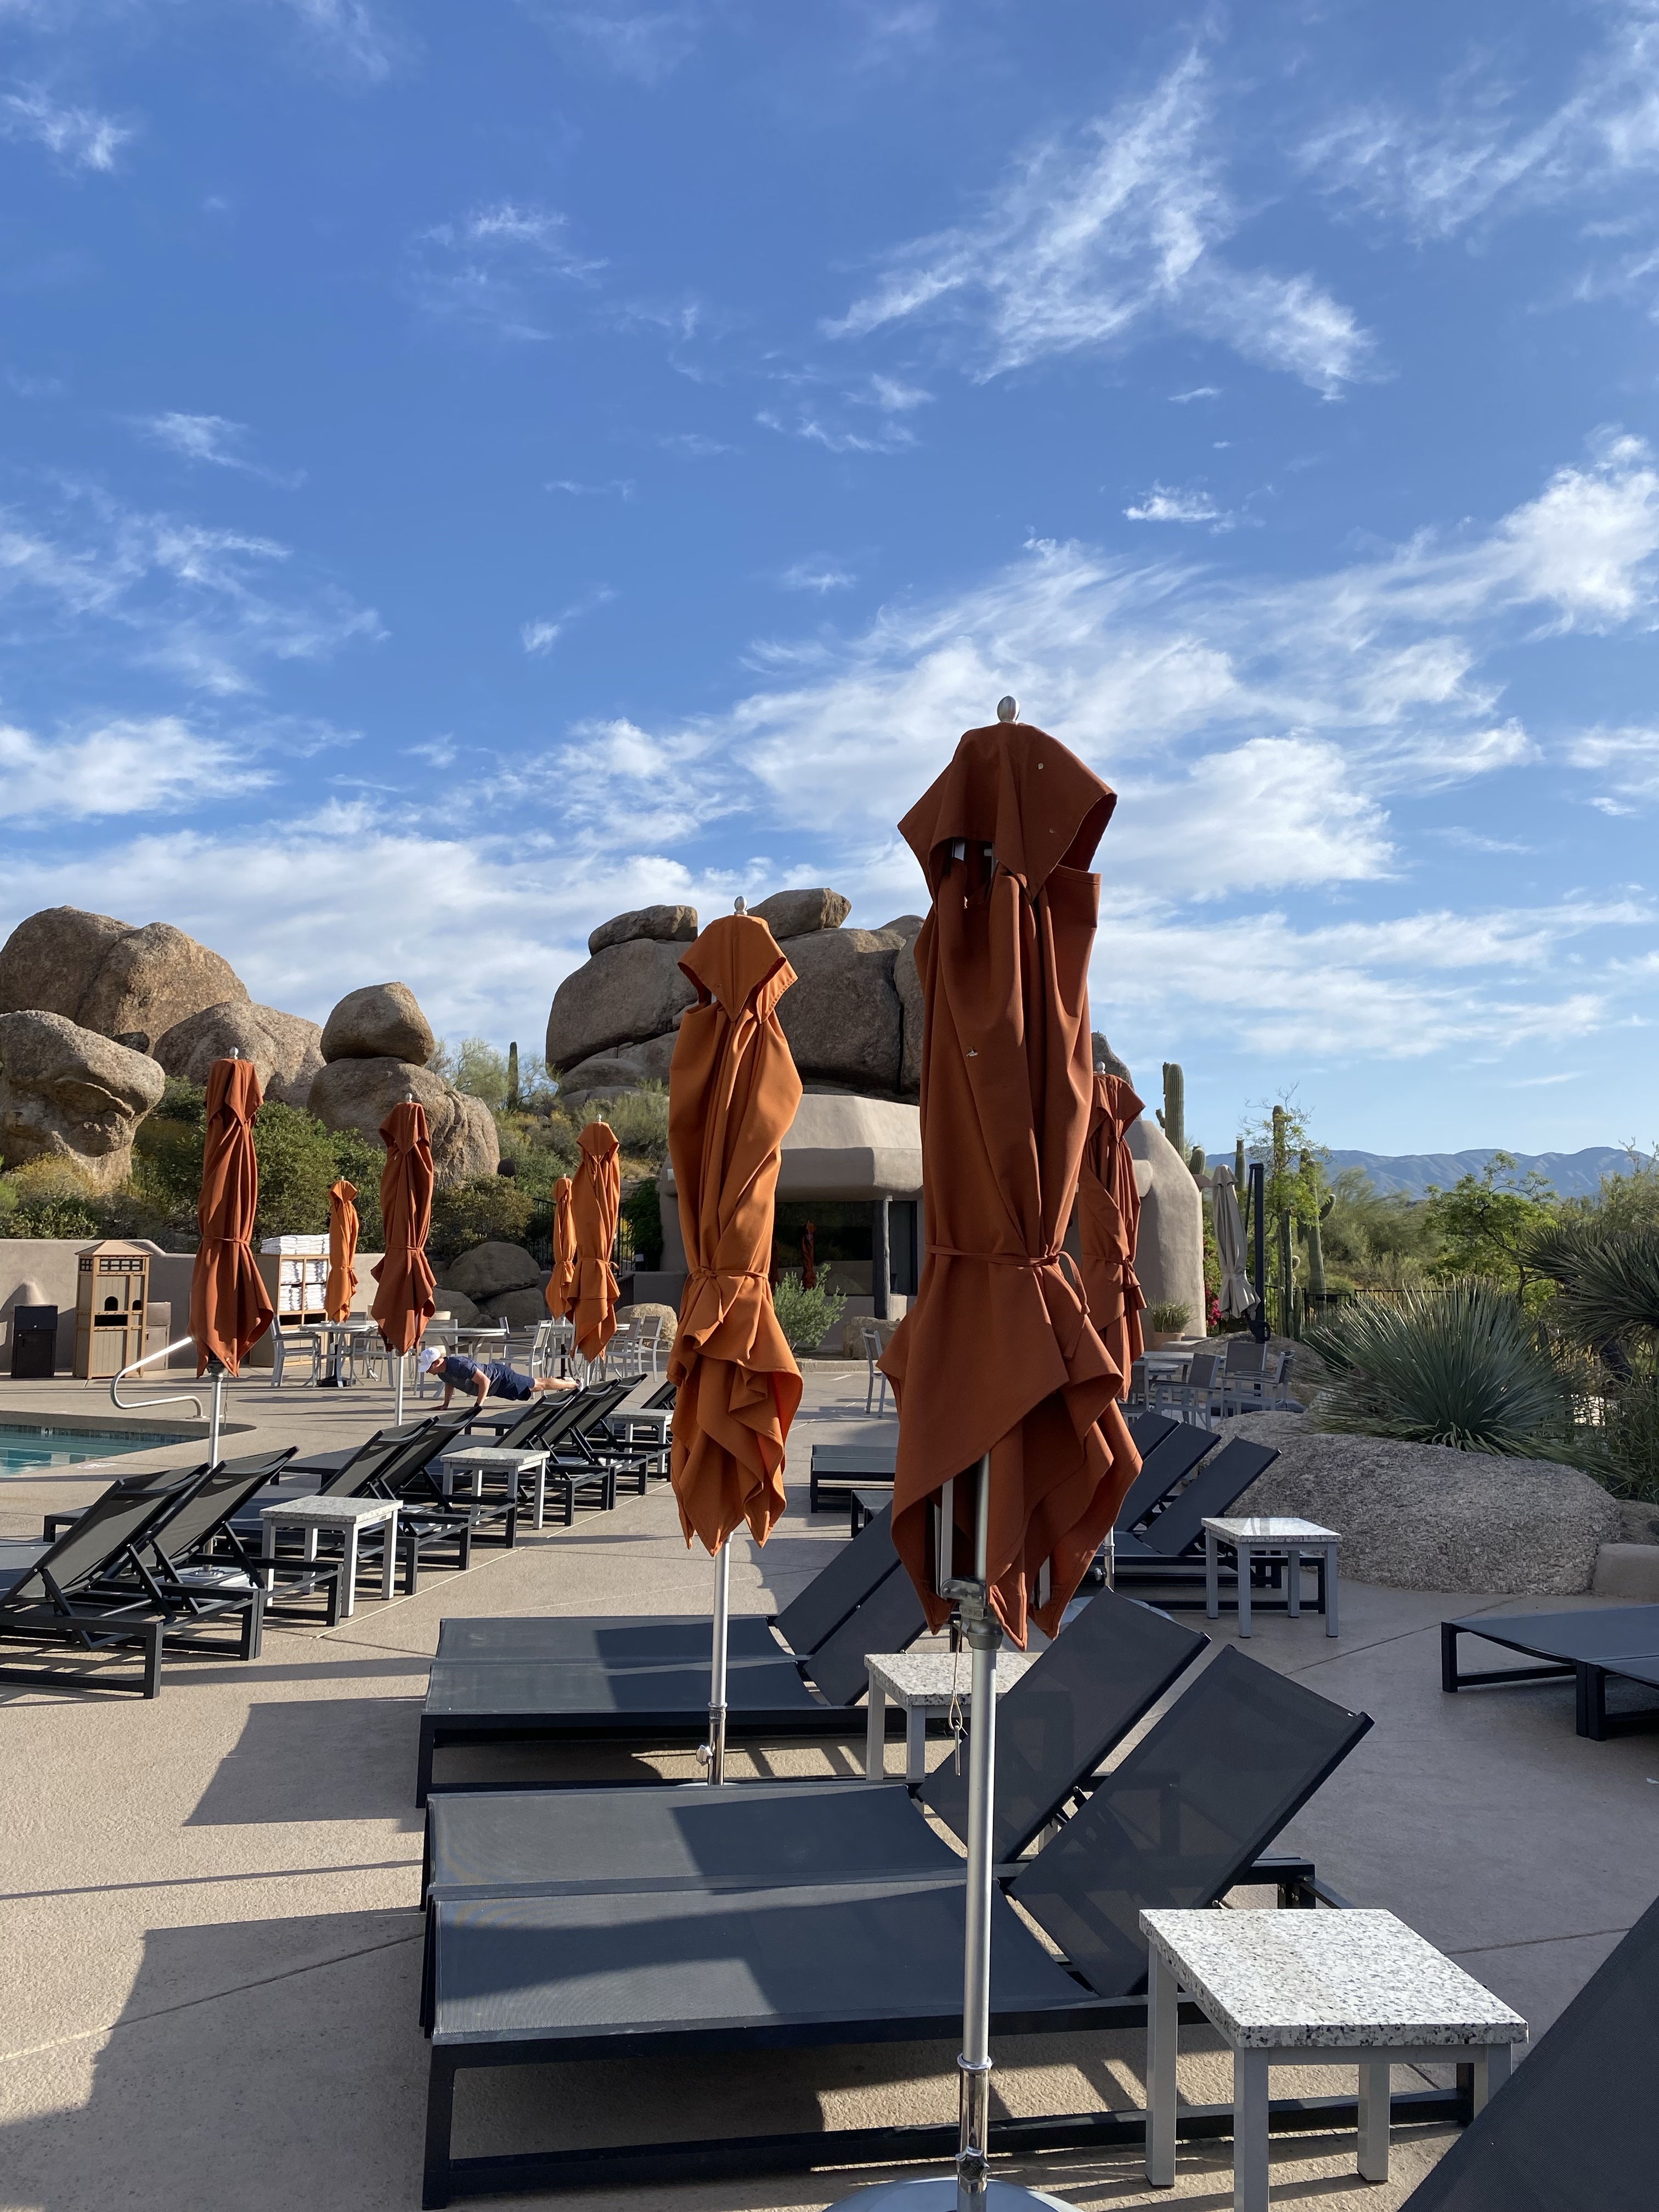
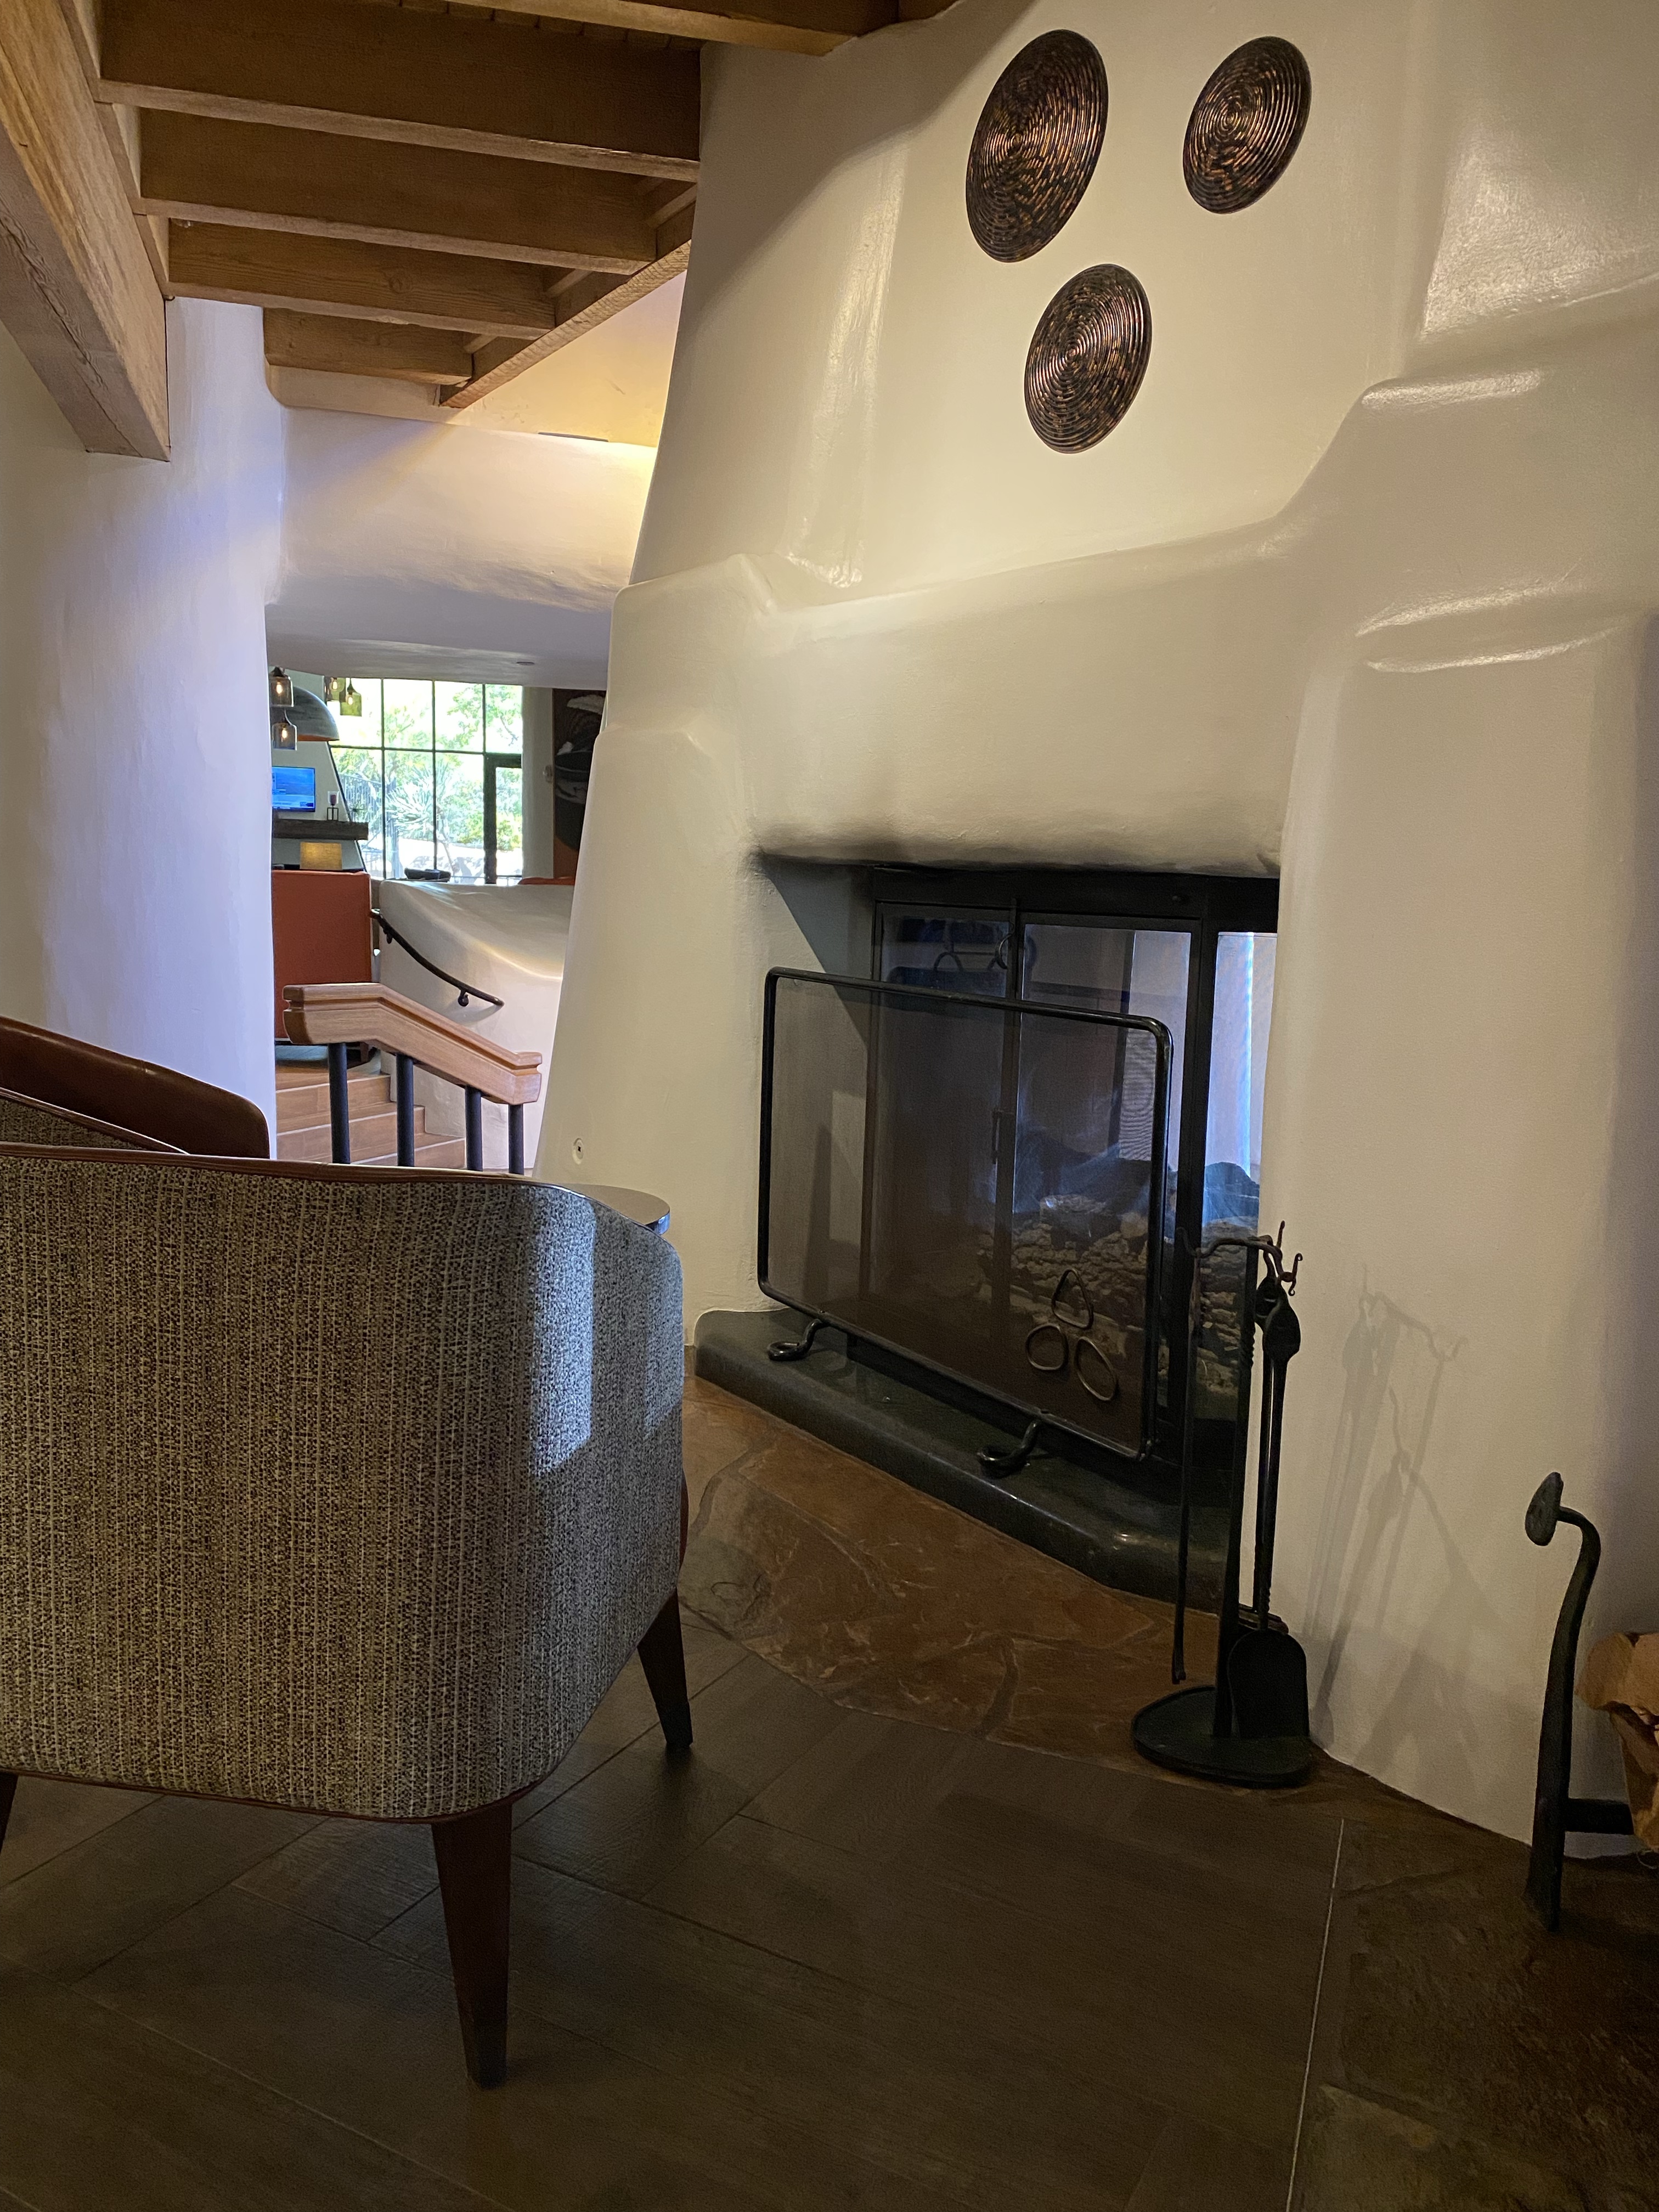
Our week was full of adventure, long hikes, great food and amazing experiences. When planning the trip, I knew we would both love time to relax poolside, possibly book a spa appointment or play golf so we added a 2 night stay in Scottsdale, Arizona at The Boulders Resort & Spa. We love the Scottsdale and Phoenix area and always welcome the opportunity to go back. I booked our stay though a 3rd party site and got a really great deal plus Adam had points with Hilton that we applied making our stay very reasonable.
Our room was a little chateau with beautiful views of the foliage and surrounding areas.
The property had a hilly and scenic nature path that we ran daily before spending the remaining hours of our days poolside.
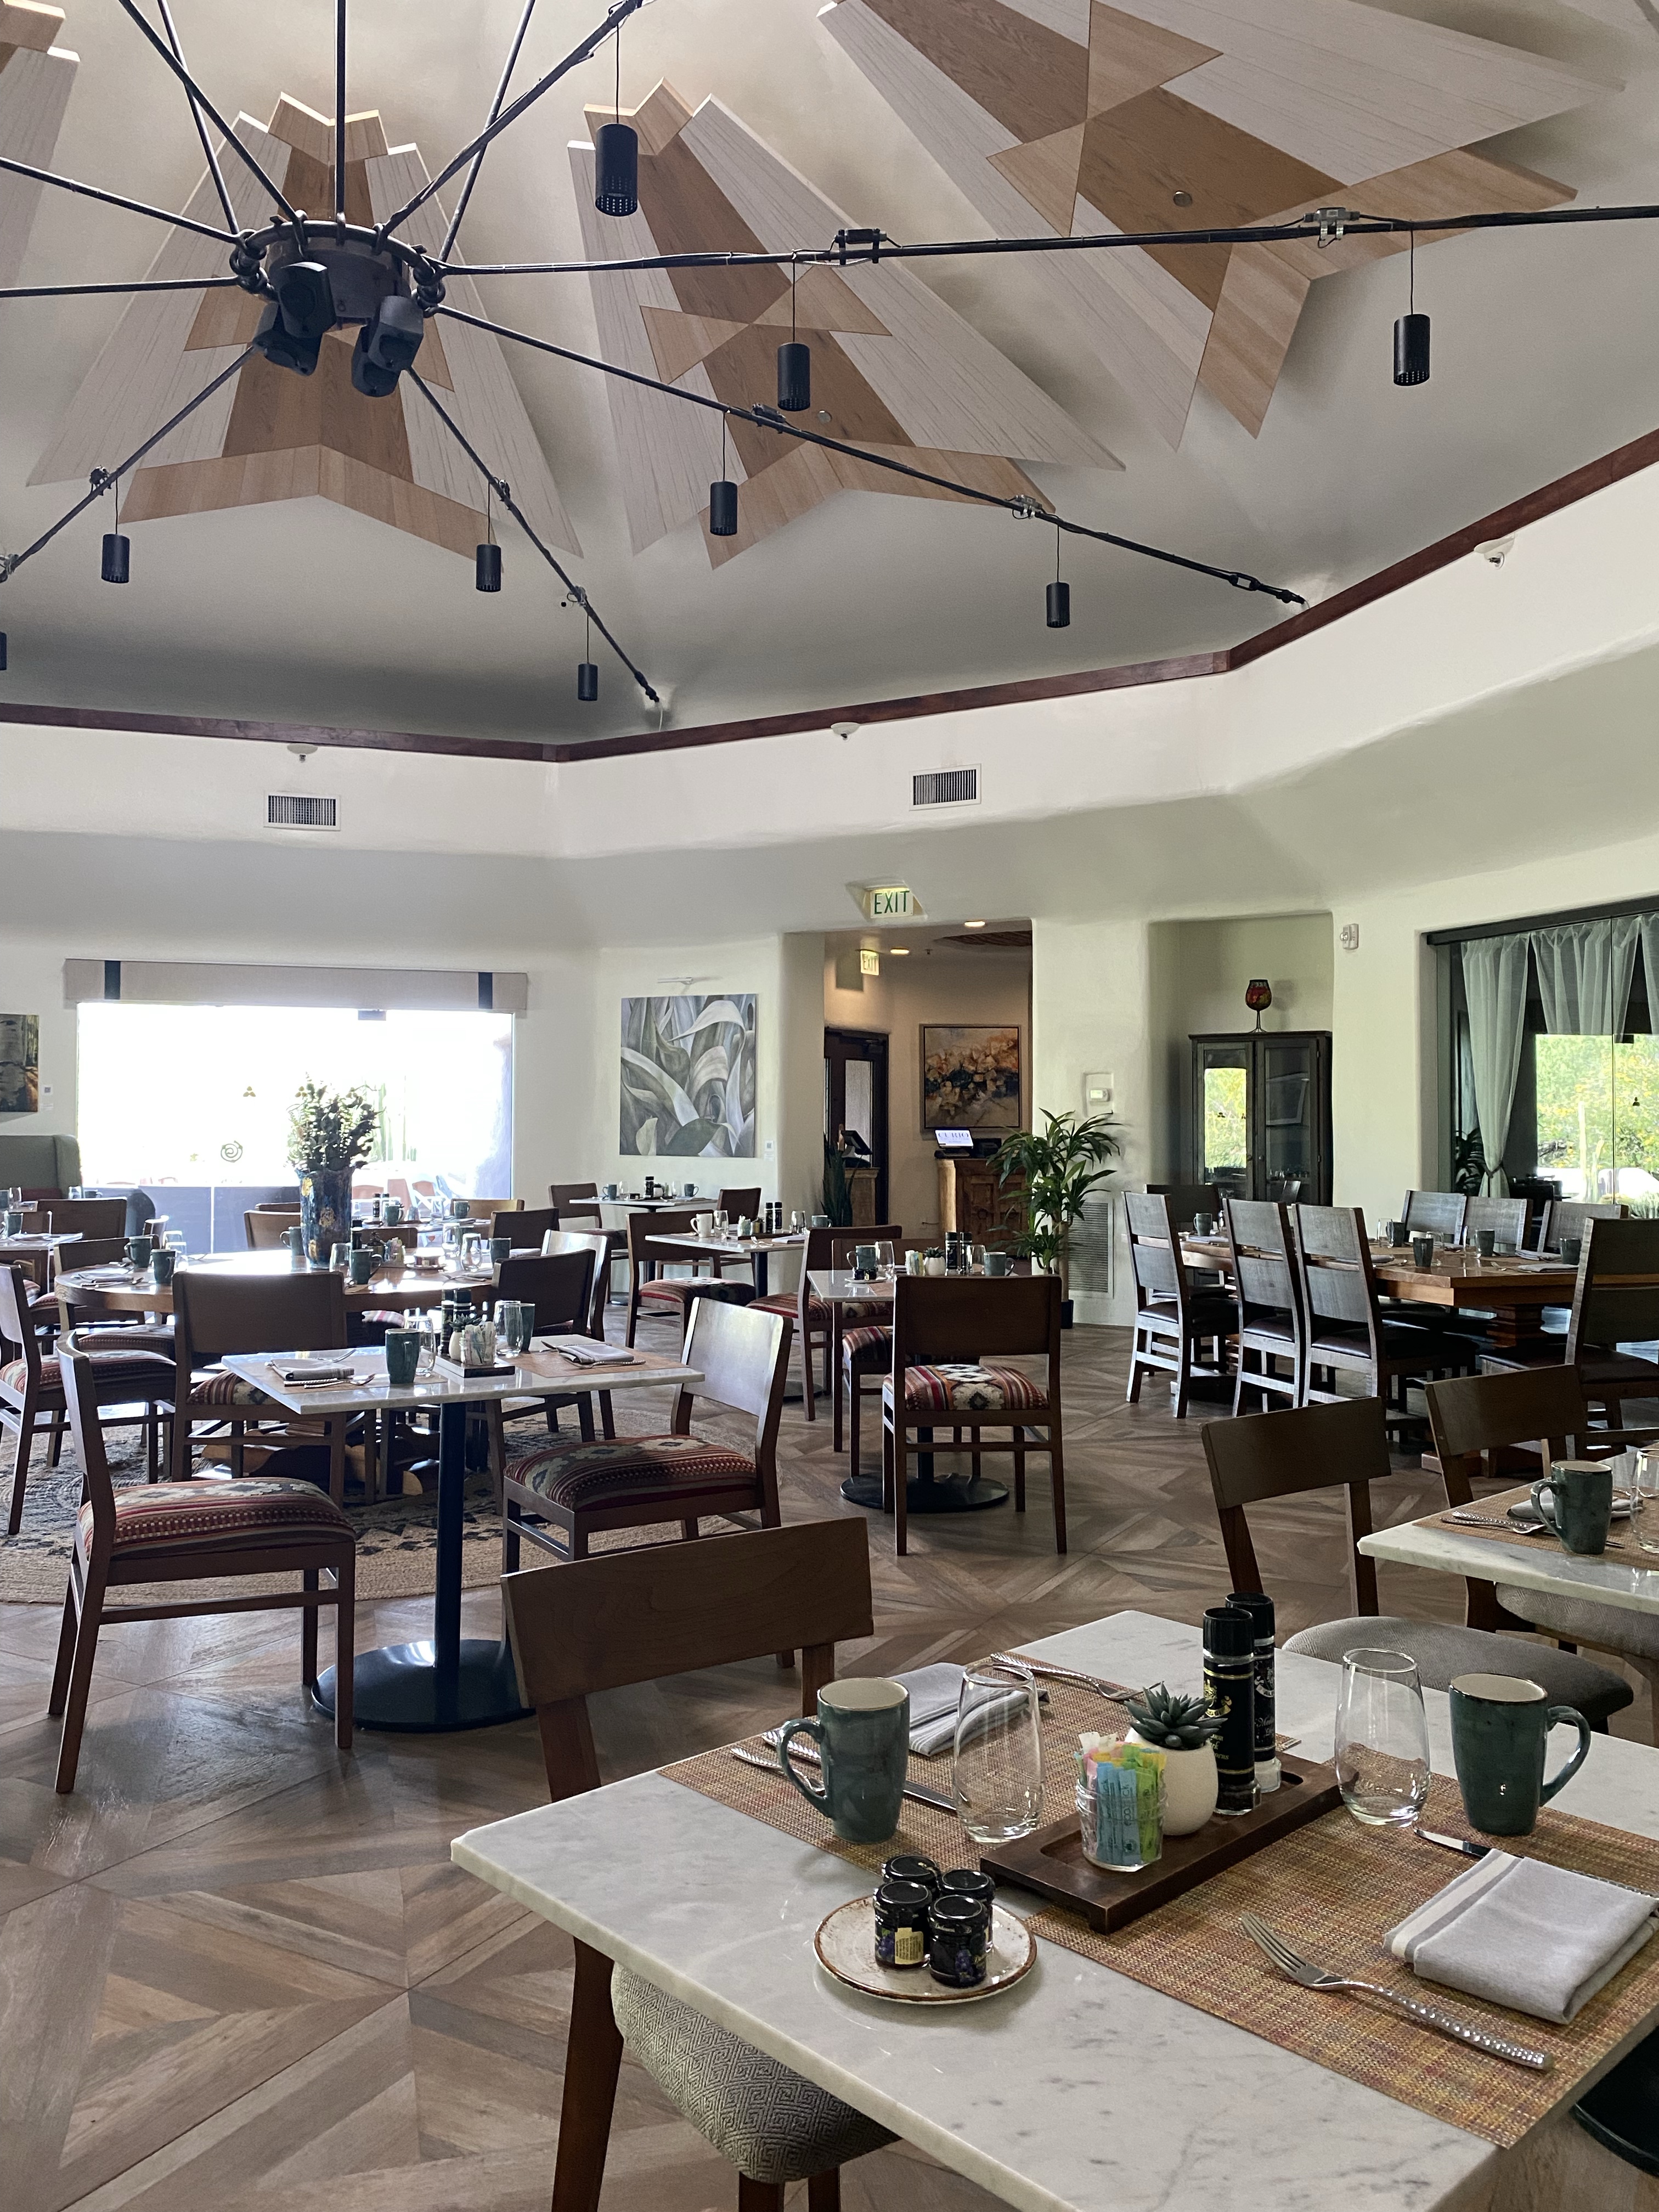
The first night, we made reservations at The Spotted Donkey Cantina which our resort shuttled us to and from via golf cart.
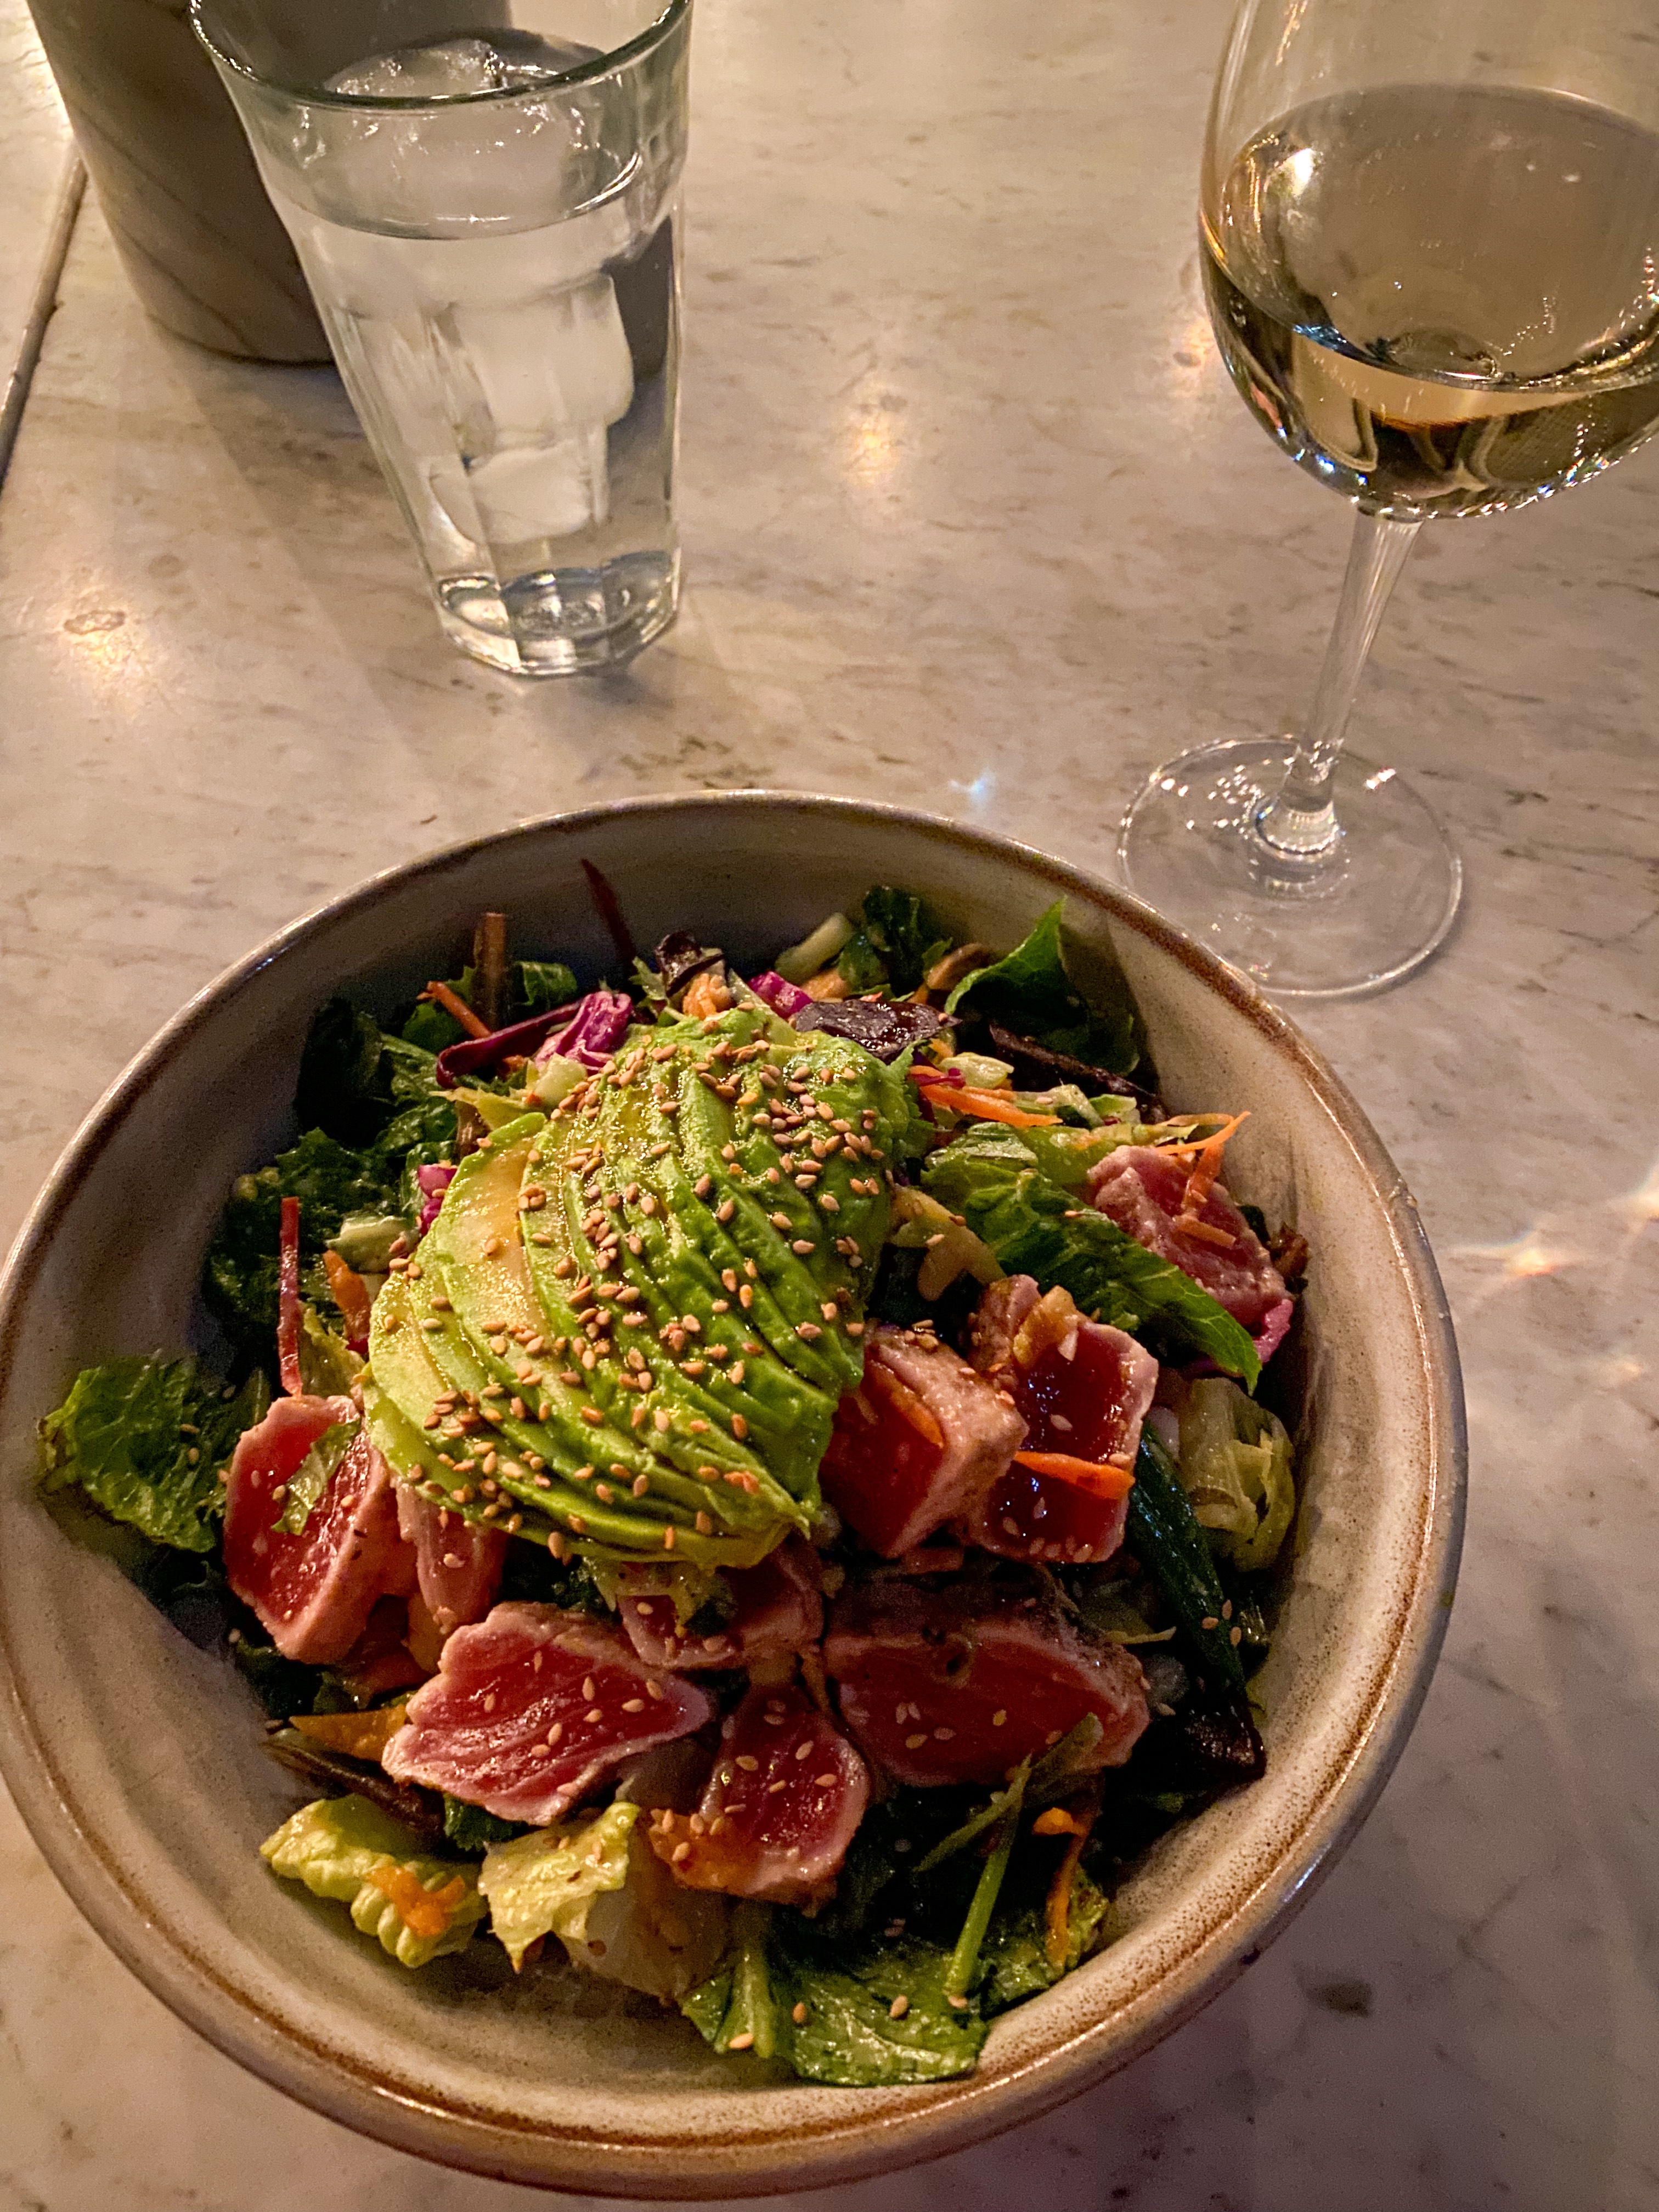
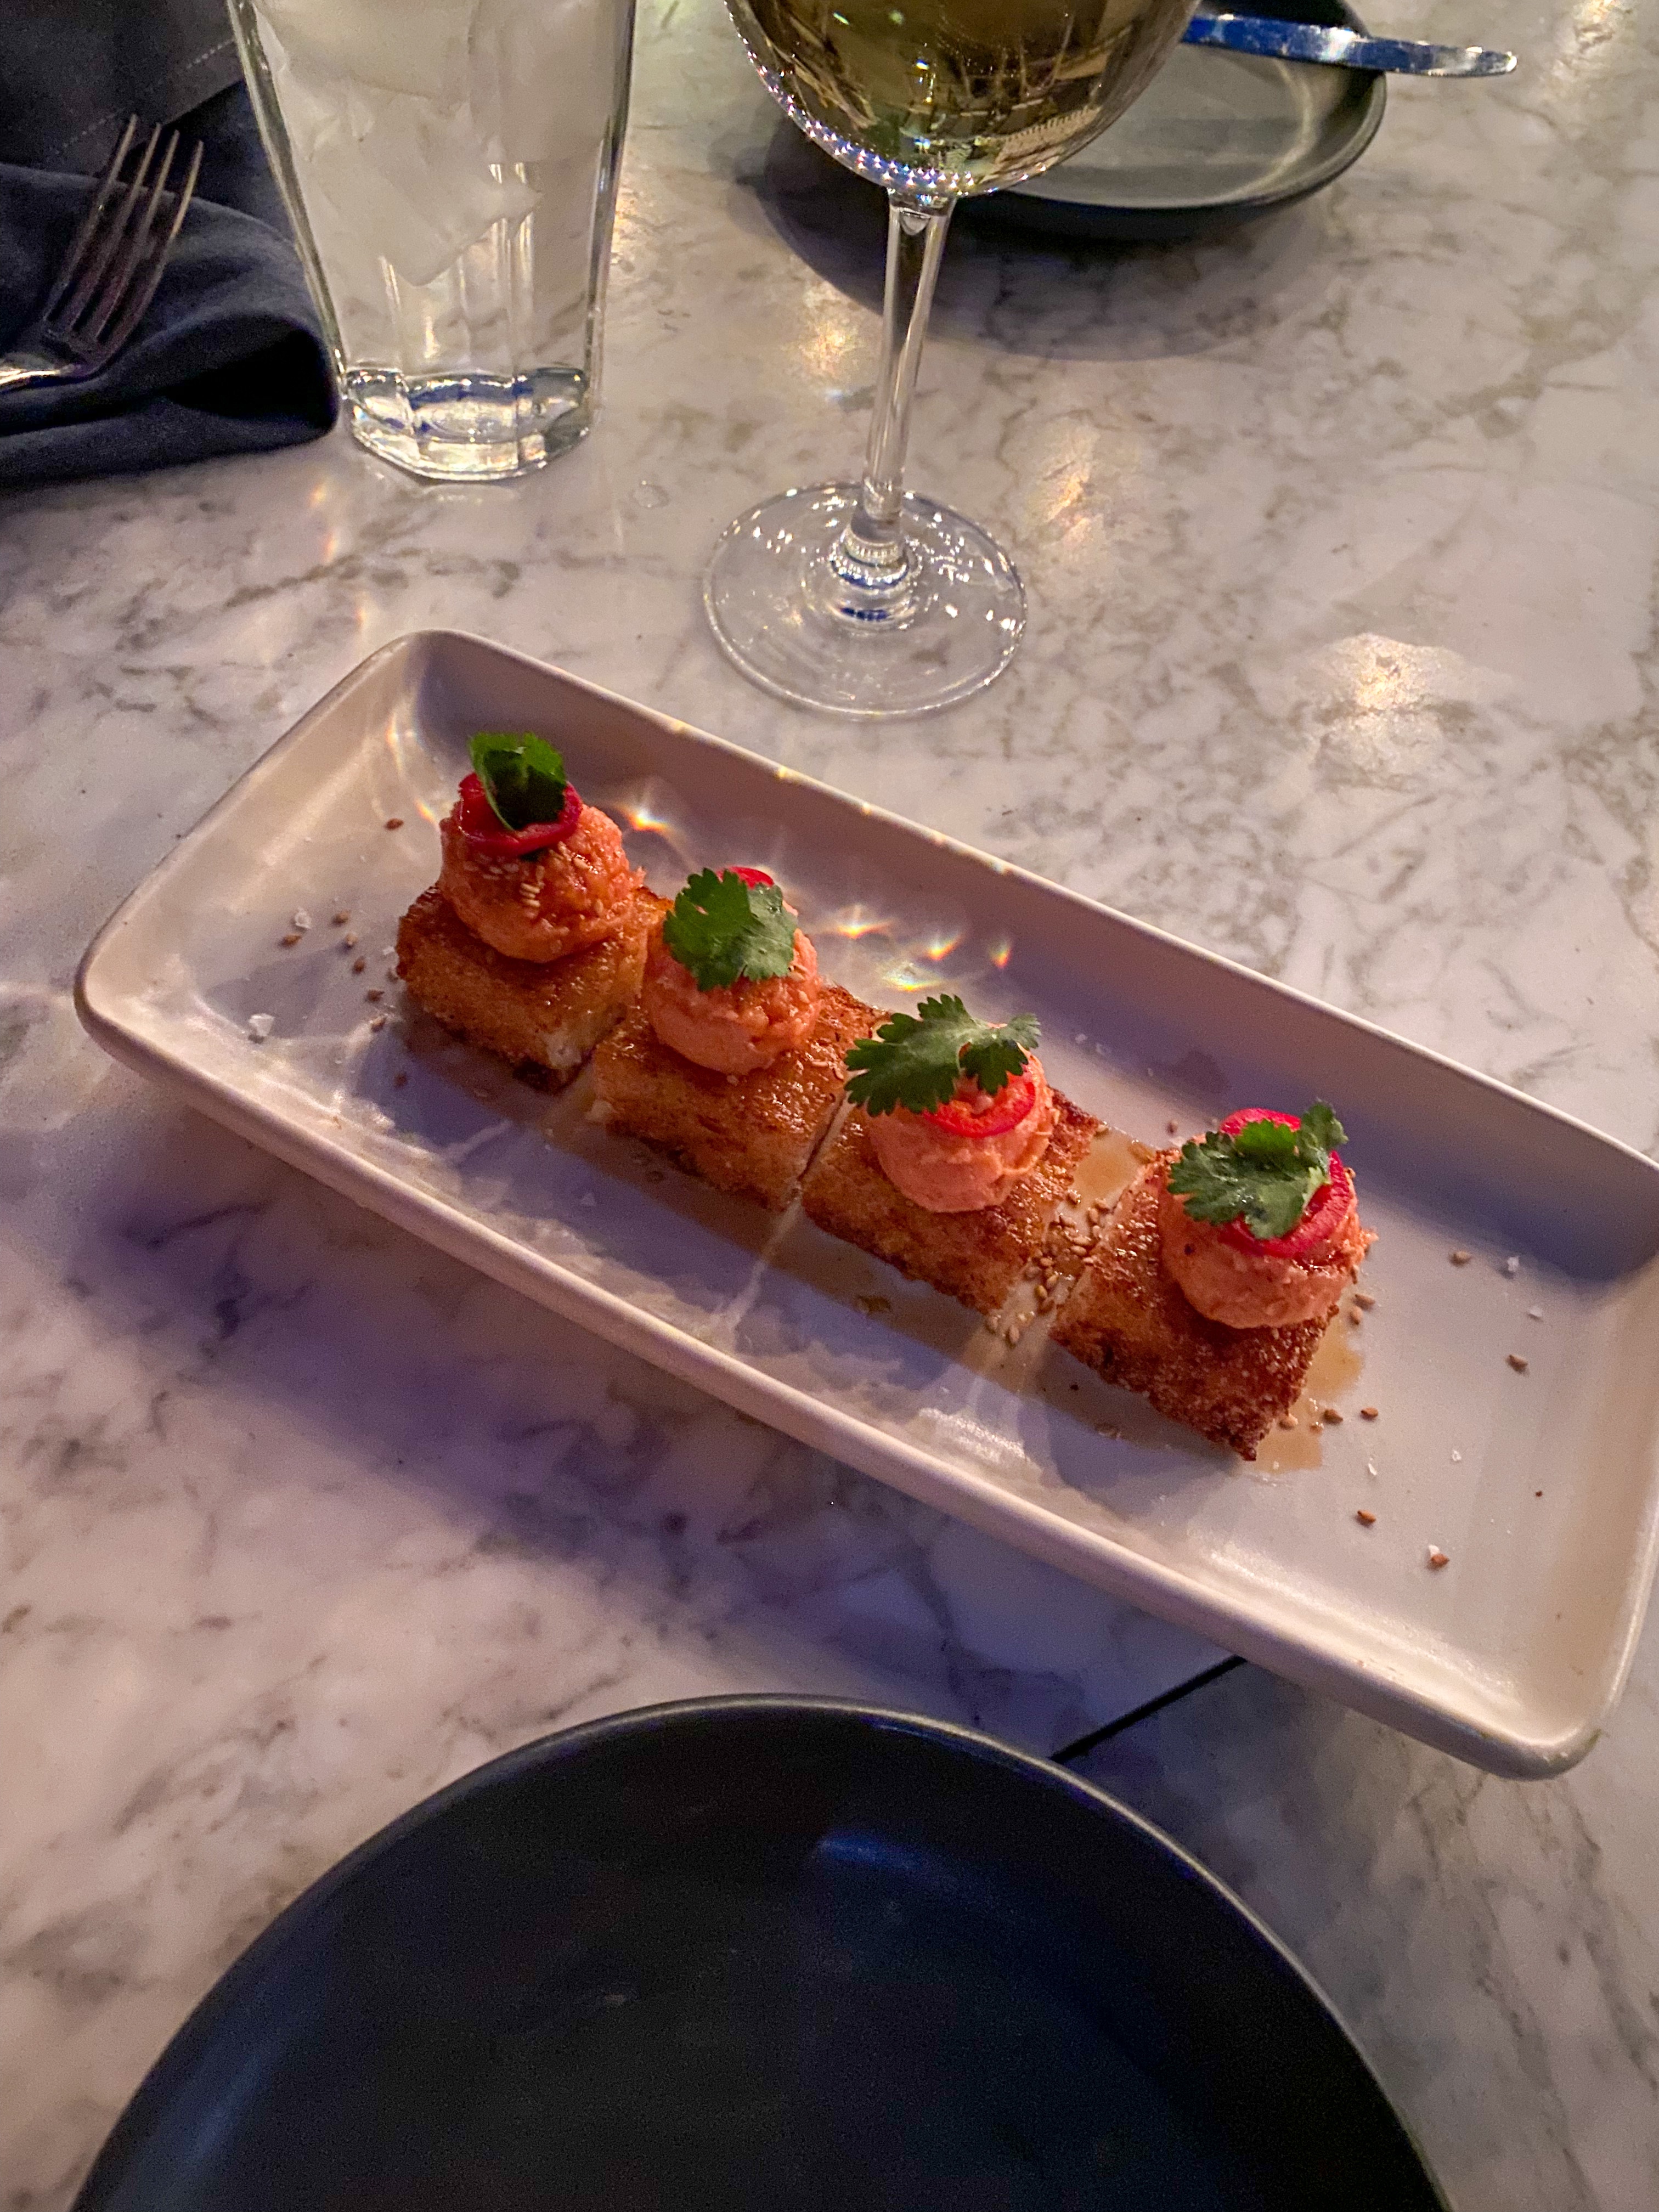
On our second night, we went to The Henry in Phoenix that had been recommended to us by friends who’d recently been. It was a meal we both still talk about. The ambiance was also idealic.
Look at this outdoor space.
I was happy to discover they have multiple locations in the US and am hopeful someone will open a location near us in NC in the future. If you’re reading this, maybe it’s a sign it could be you.
Our return flight out of Phoenix was around 2PM which gave us another leisure morning before a long travel day back to RDU.
Our Southwest adventure was a trip we will remember forever and one in which we talk about taking the boys to when they are older and physically able to hike longer trails day after day. We were also reminded of how much we love traveling, just the two of us. Before kids, this was always a priority. Traveling as a couple and as a family are equally as important experiences.
Advice: book the trip. Don’t wait. Experience new adventures. You will recharge and gain new perspectives for this beautiful world we live in.
Here’s a brief look back on the destinations we visited:
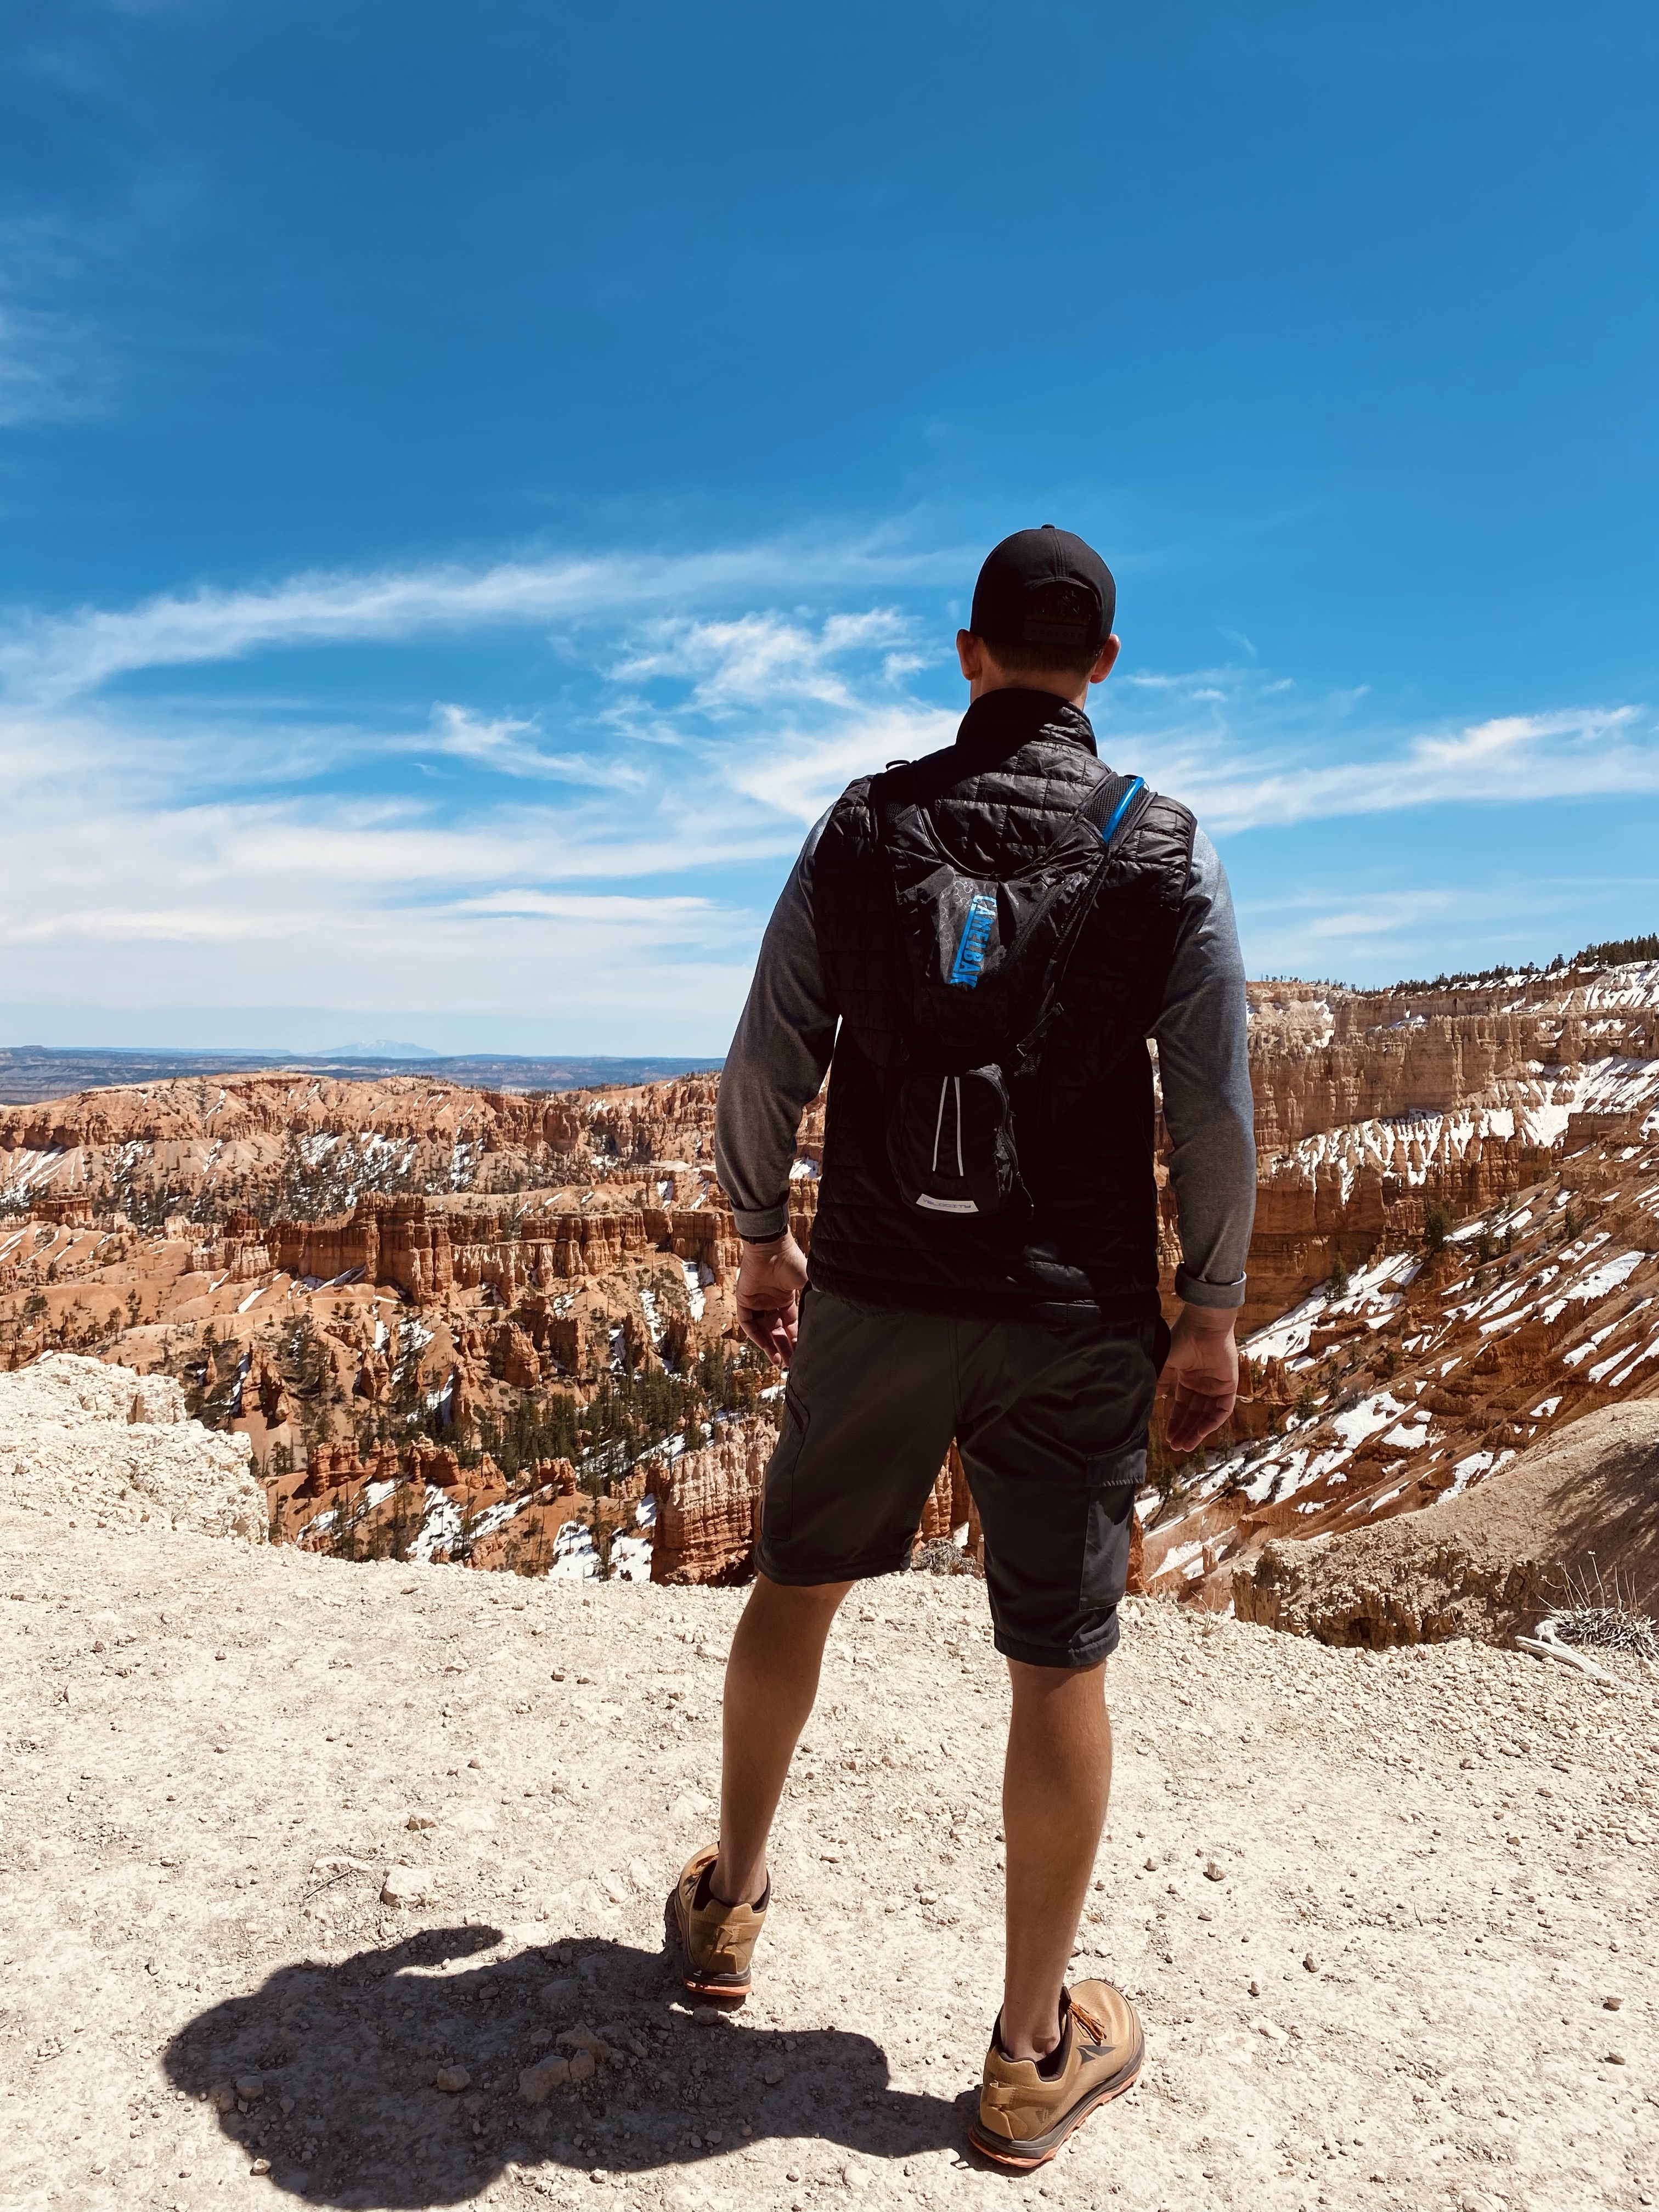
Many ask which National Park was our favorite between Zion and Bryce. If I’m being honest, I cannot choose either. They are both uniquely special and beautiful in different ways. Here’s a look back on our two days at Bryce National Park. If you missed the post on Zion, click HERE.
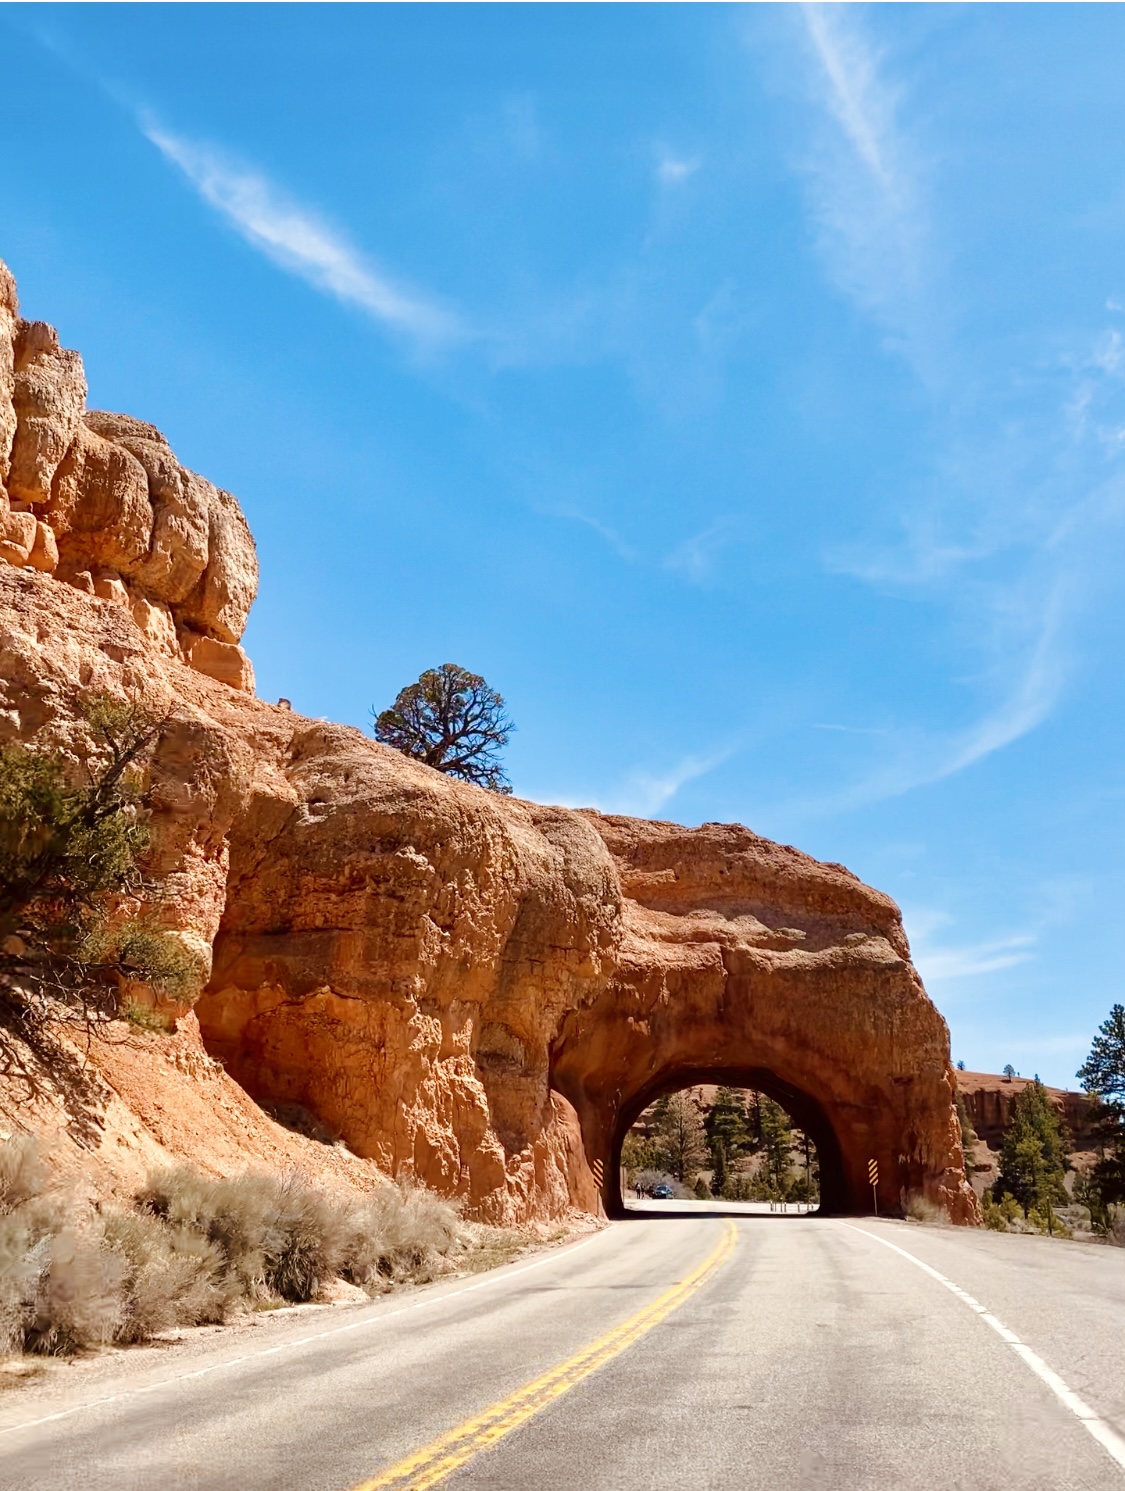
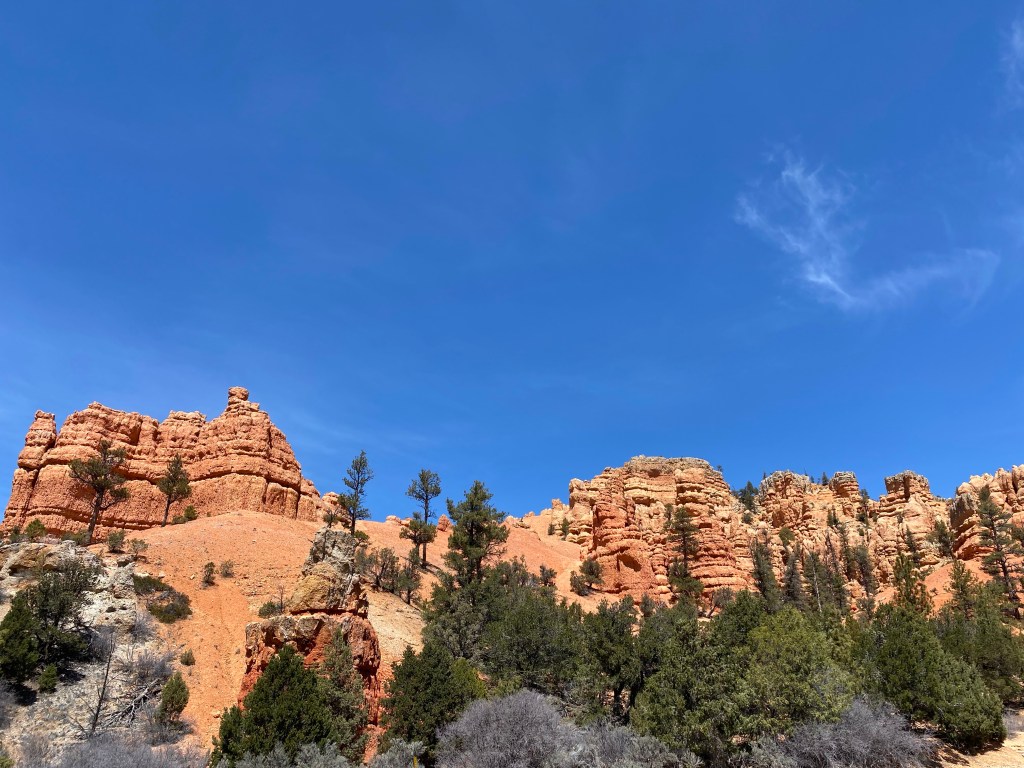
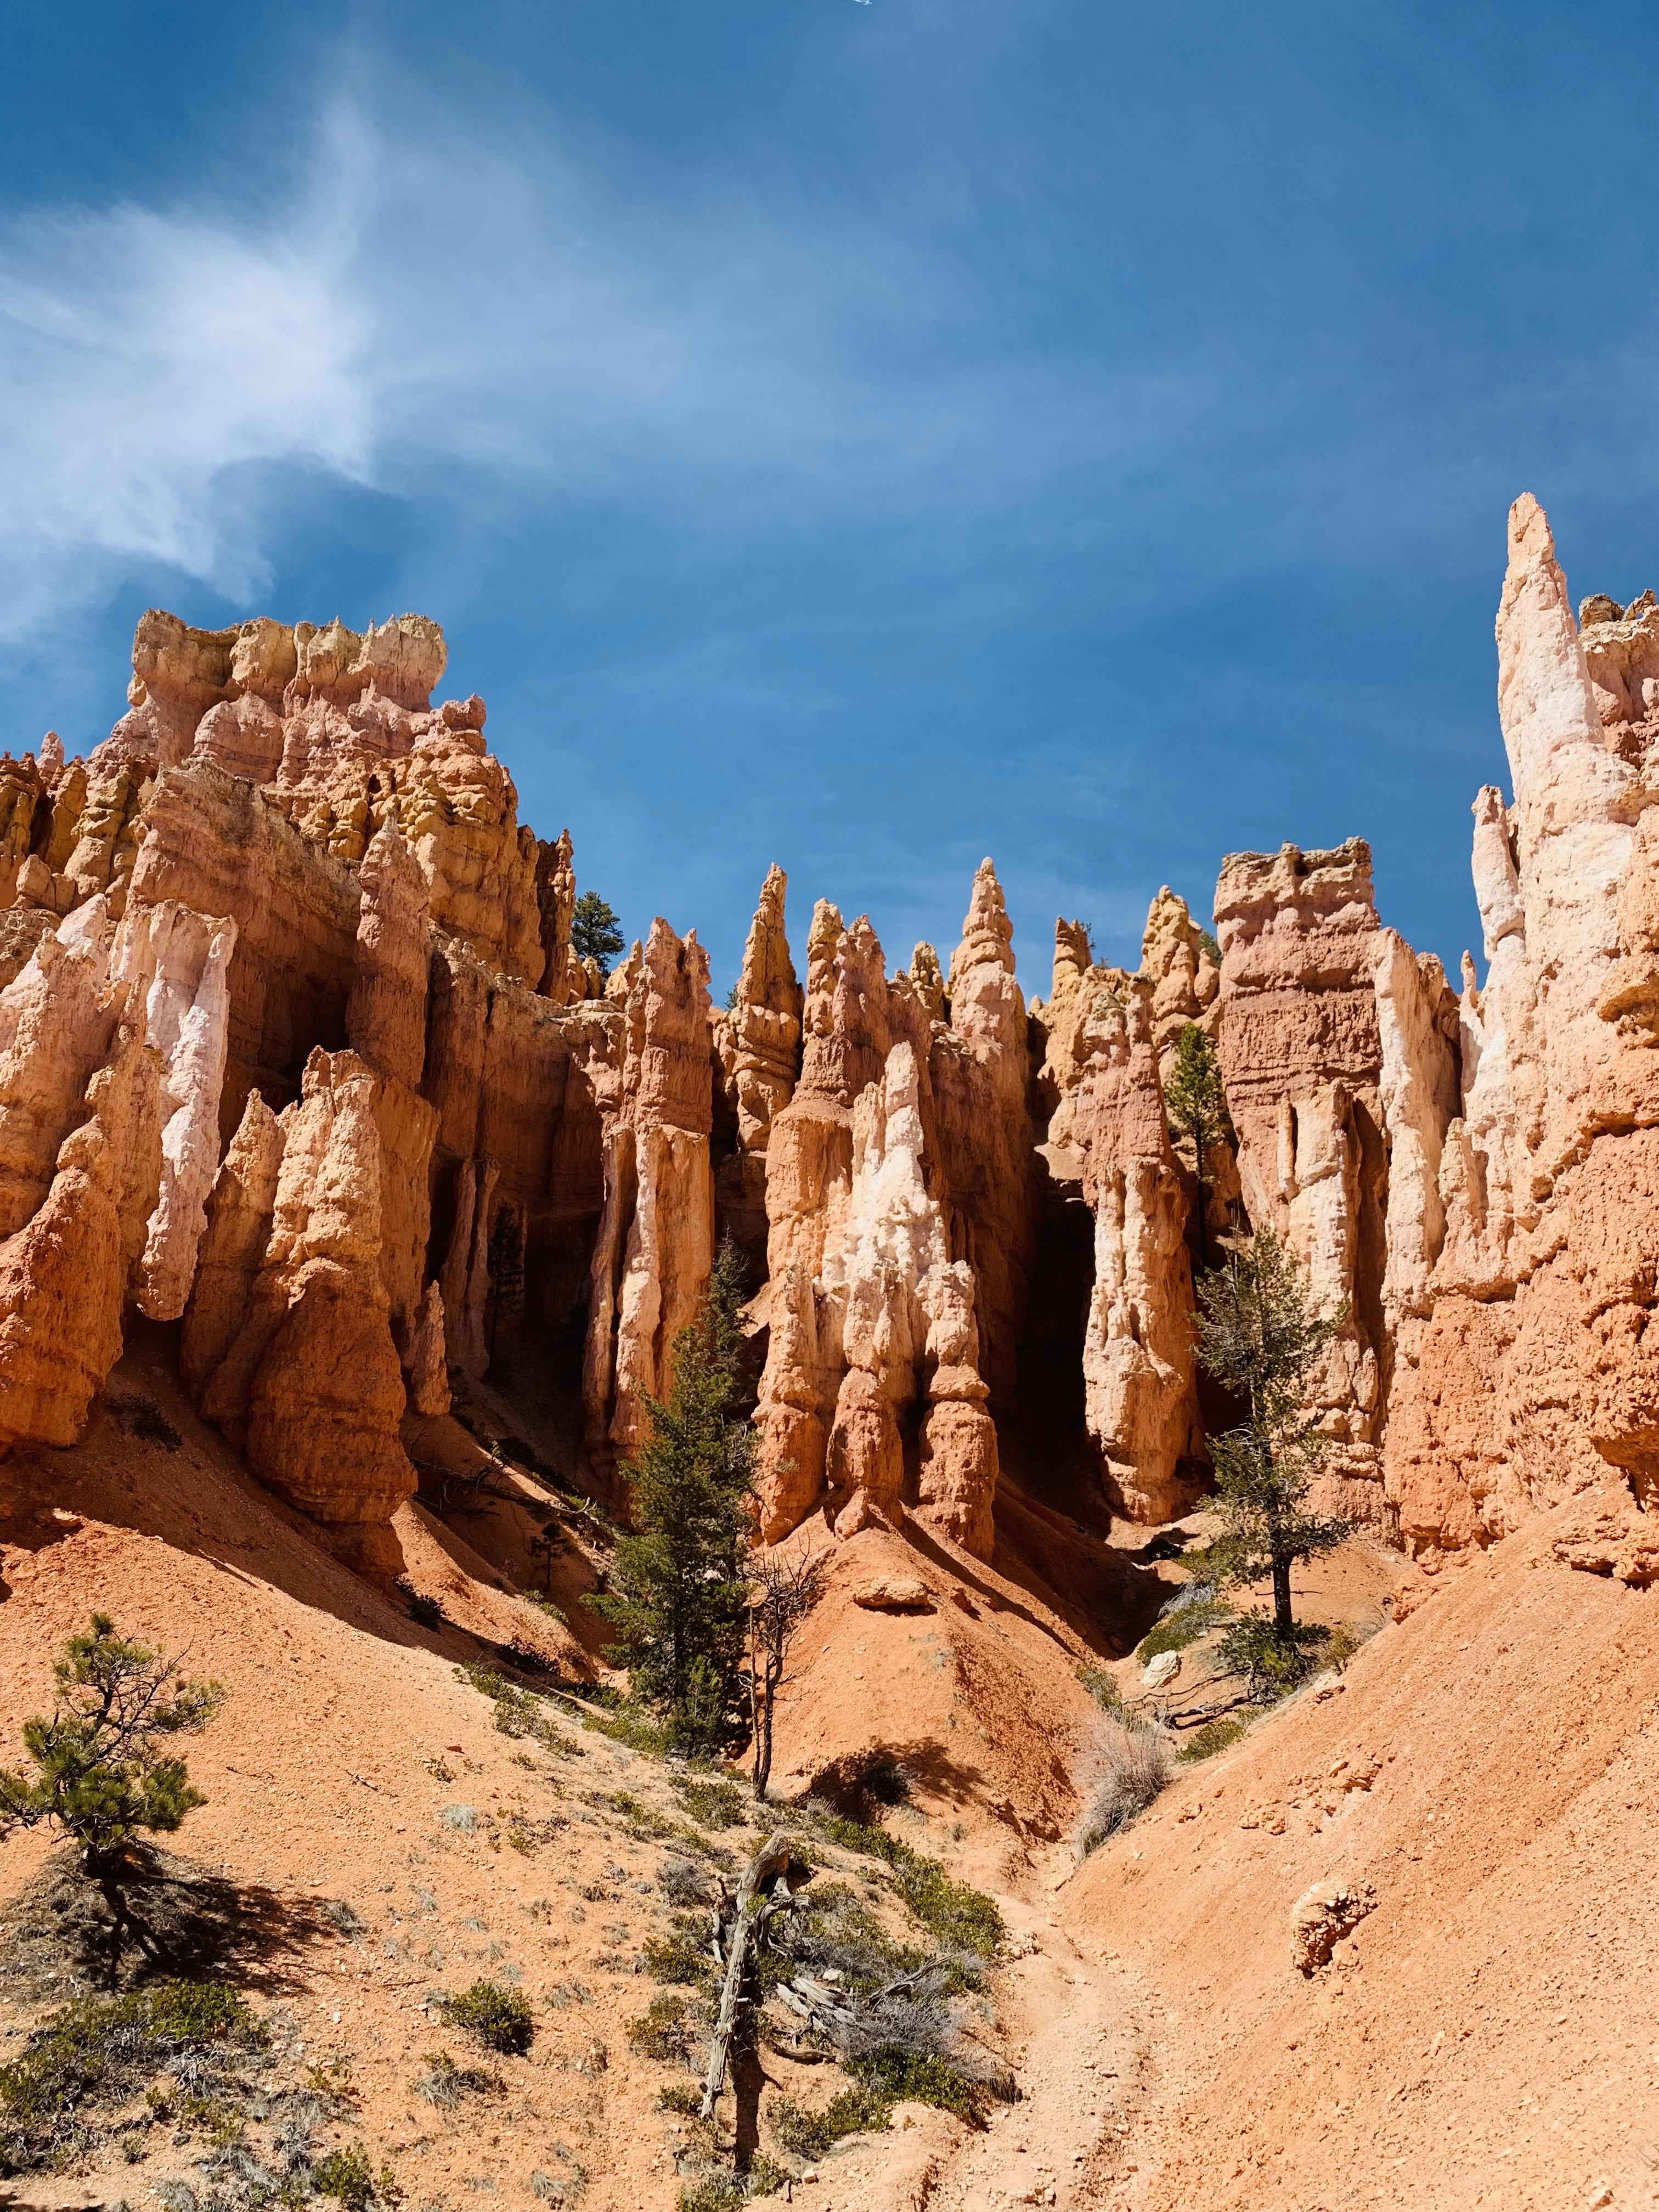
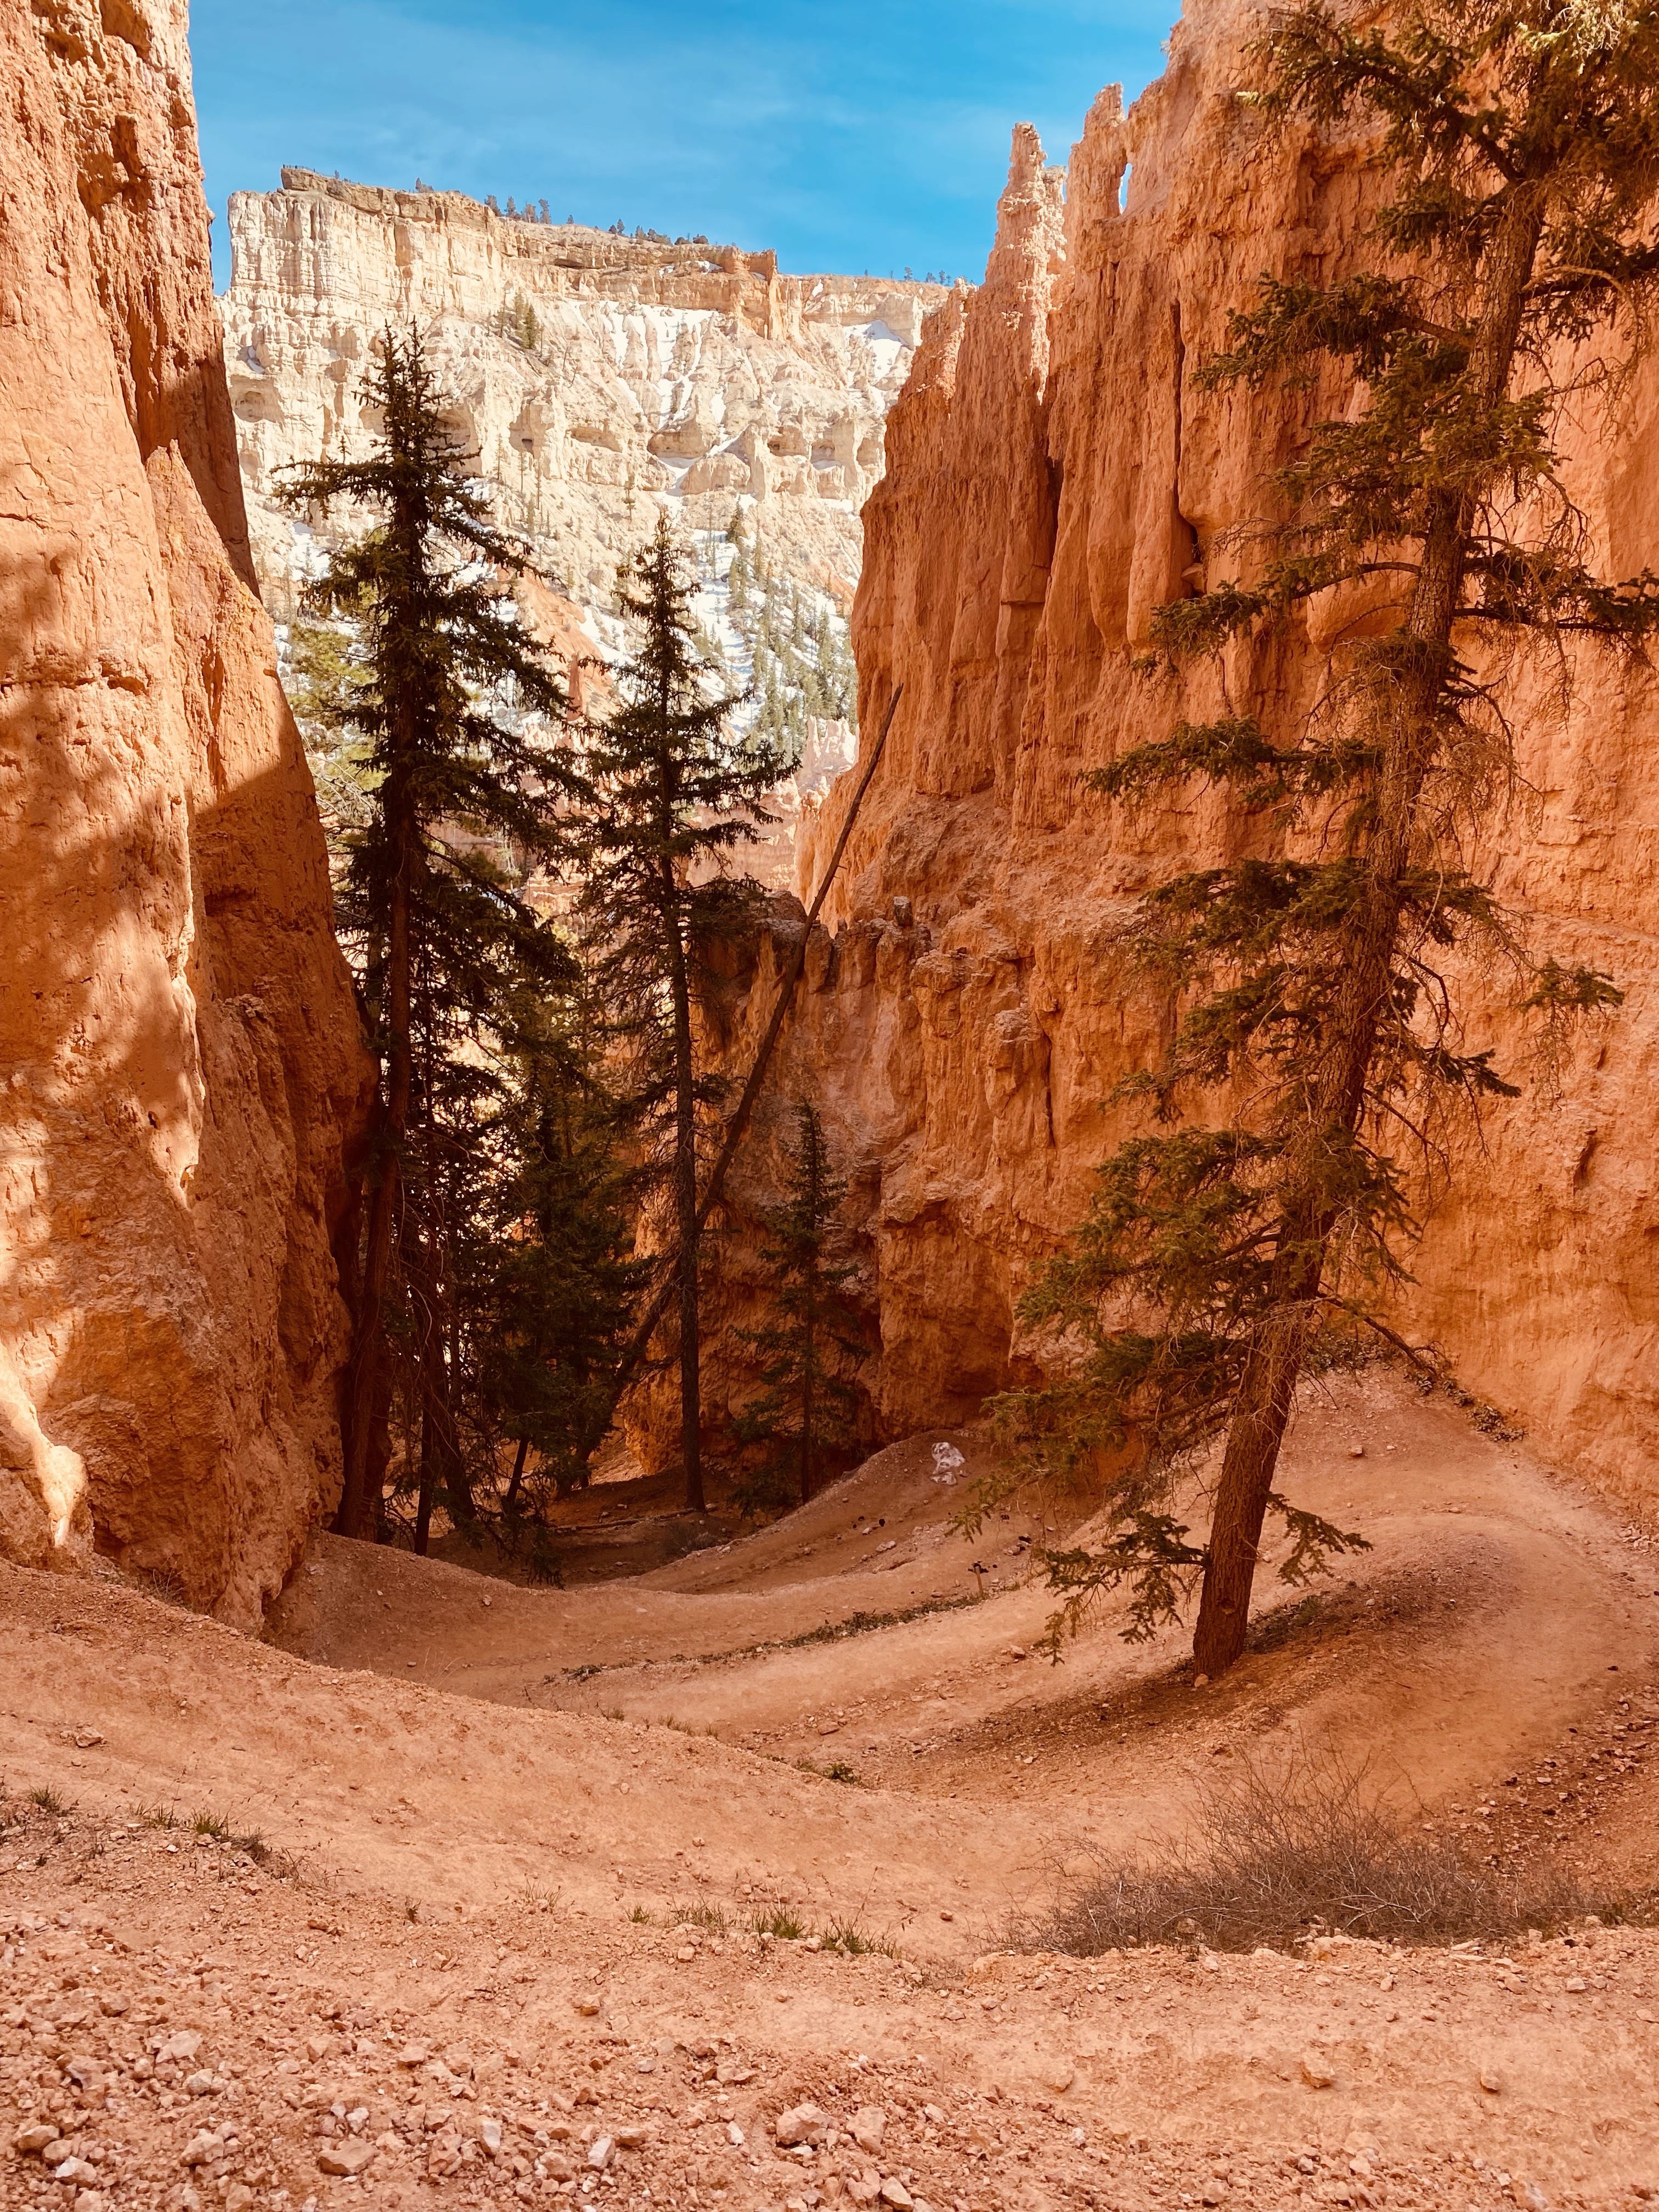
The drive from Zion National Park to Bryce National Park was only about an hour and 20 minutes at most. When we got closer to Bryce National Park, we were still in awe of how beautiful the Mt. Carmel Highway and scenic route was but little did we know, we’d continue to have those speechless moments when we saw hoodoos for the first time. I mentioned in the Zion post that we applied for the Coyote Buttes lottery when we were in the GEO range along the route from Zion to Bryce. See that post (toward the end) for more specifics if you hope to visit The Wave. You could also do this if your trip has you visiting Bryce Canyon before Zion.
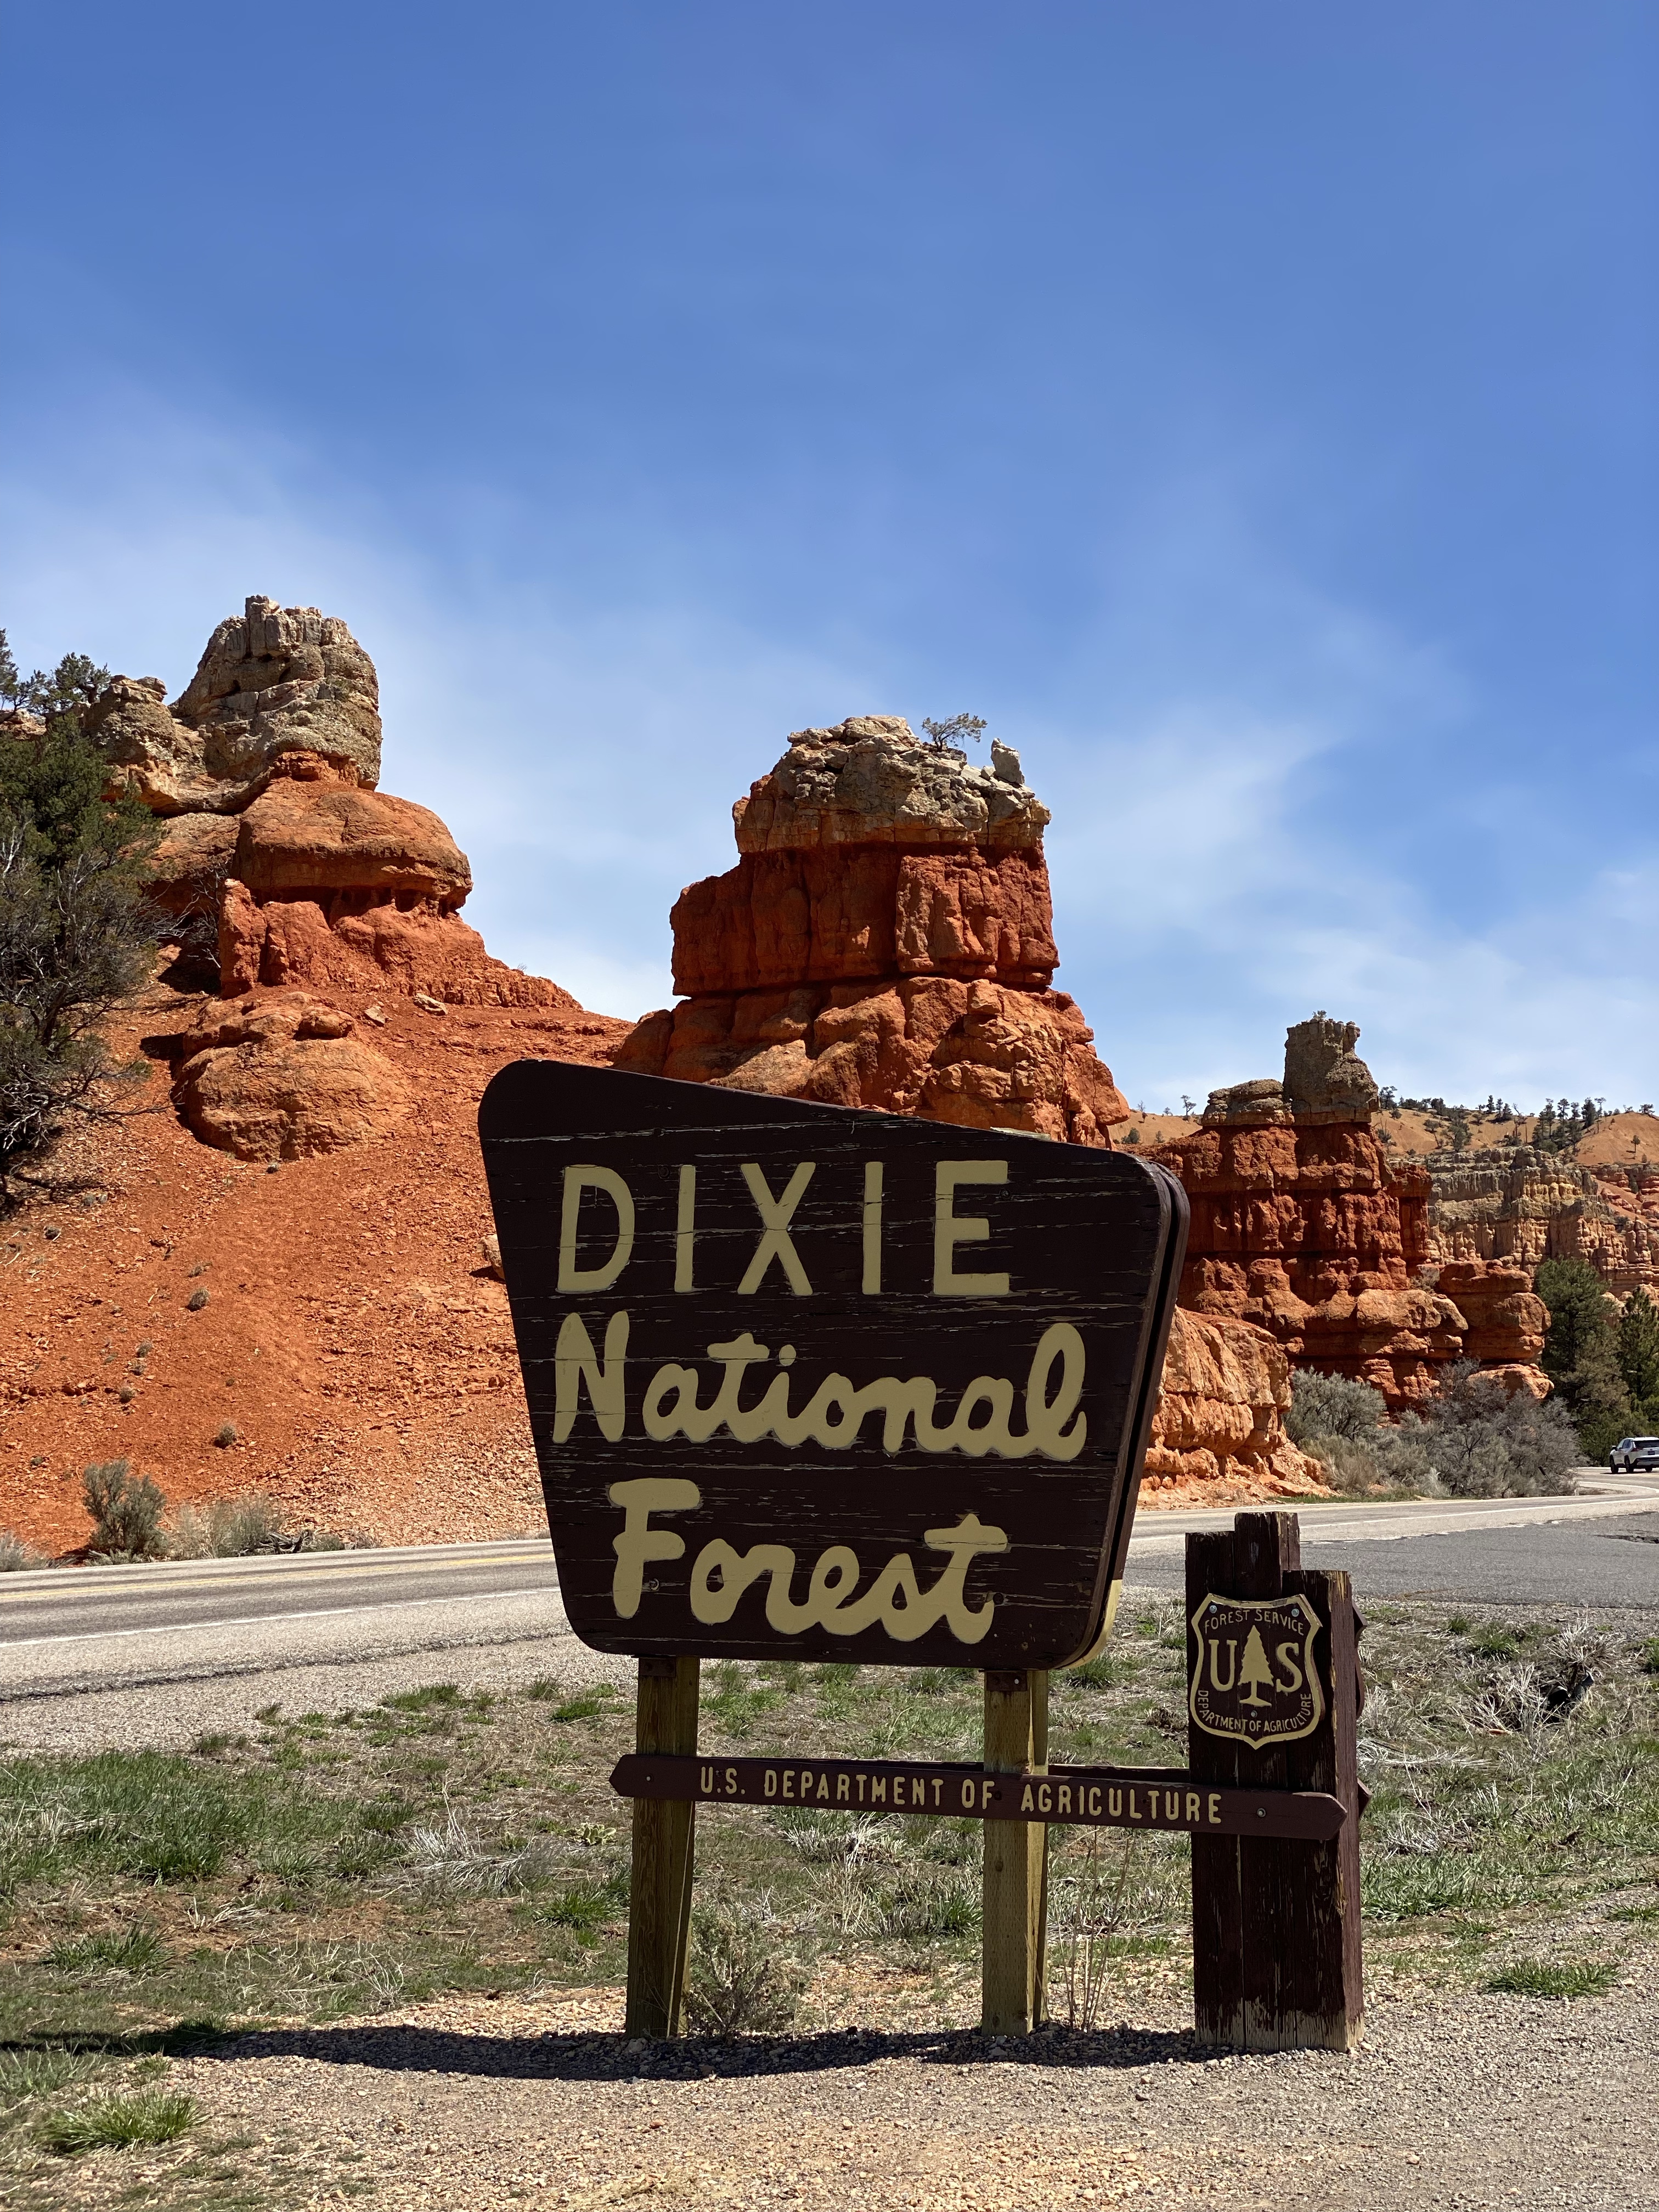
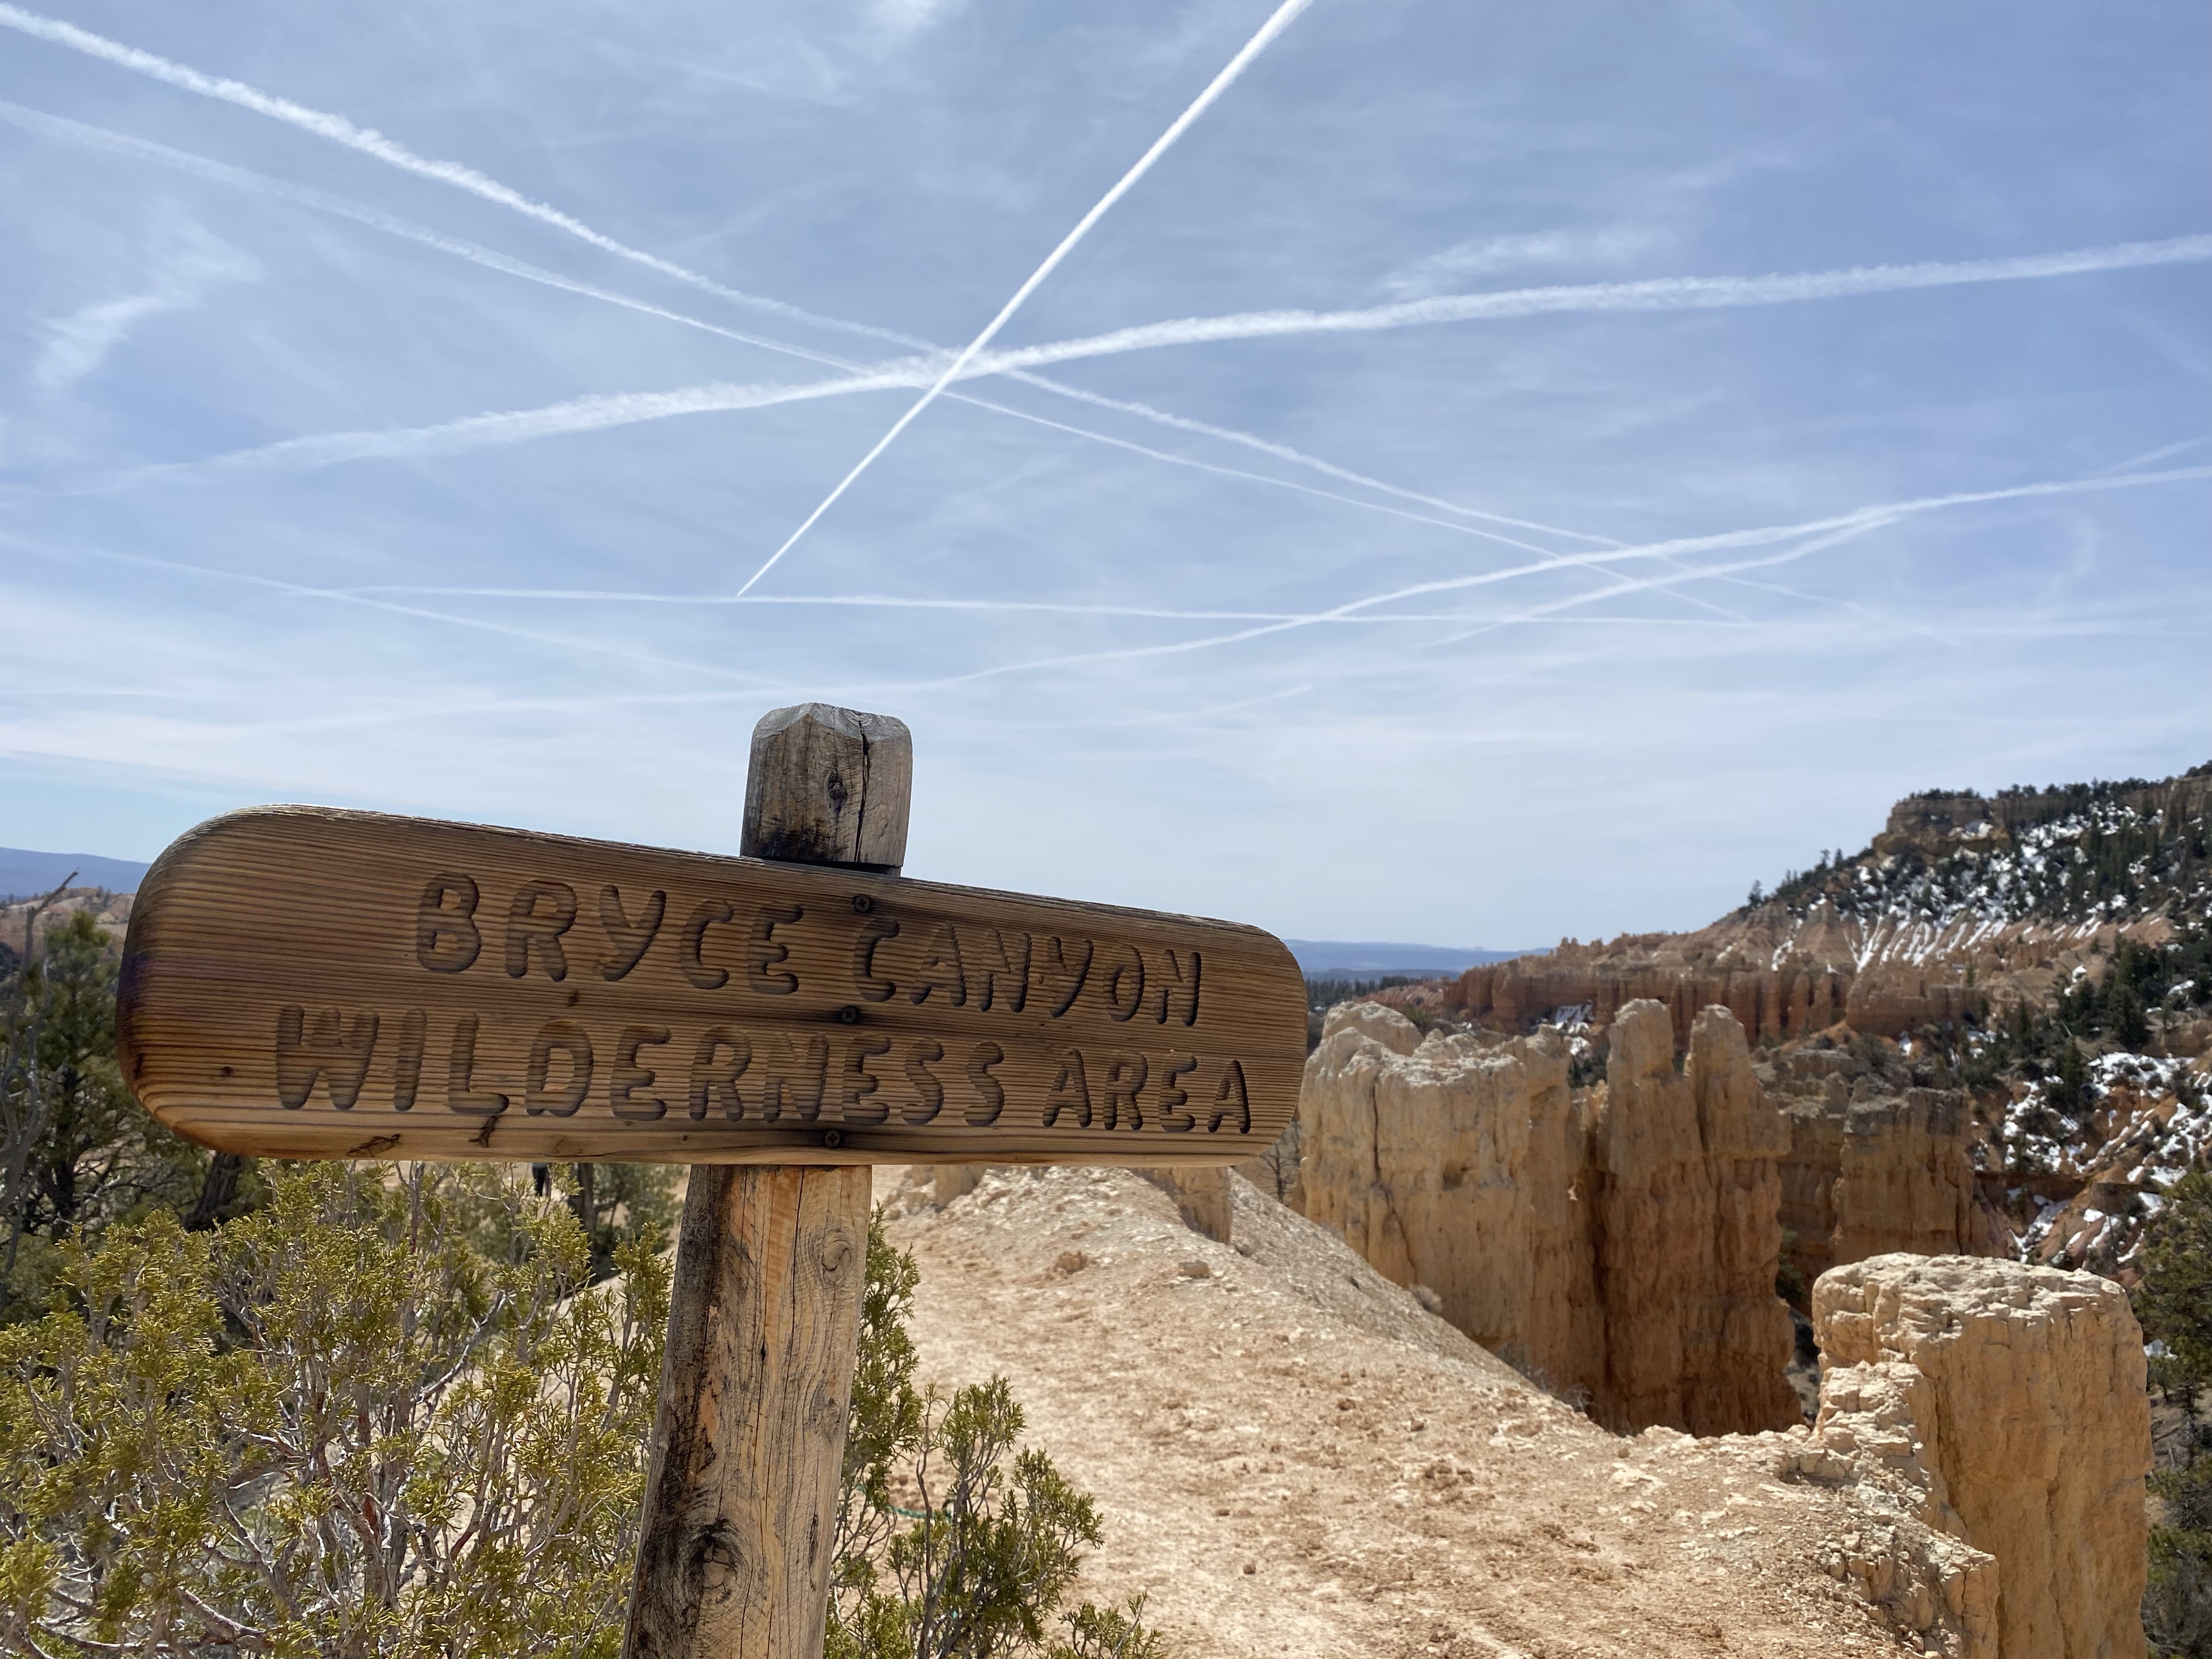
Before entering Bryce National Park, you will drive through Dixie National Forest. This was the beginning of many moments when we were left, yet again, in awe of the sights surrounding us.
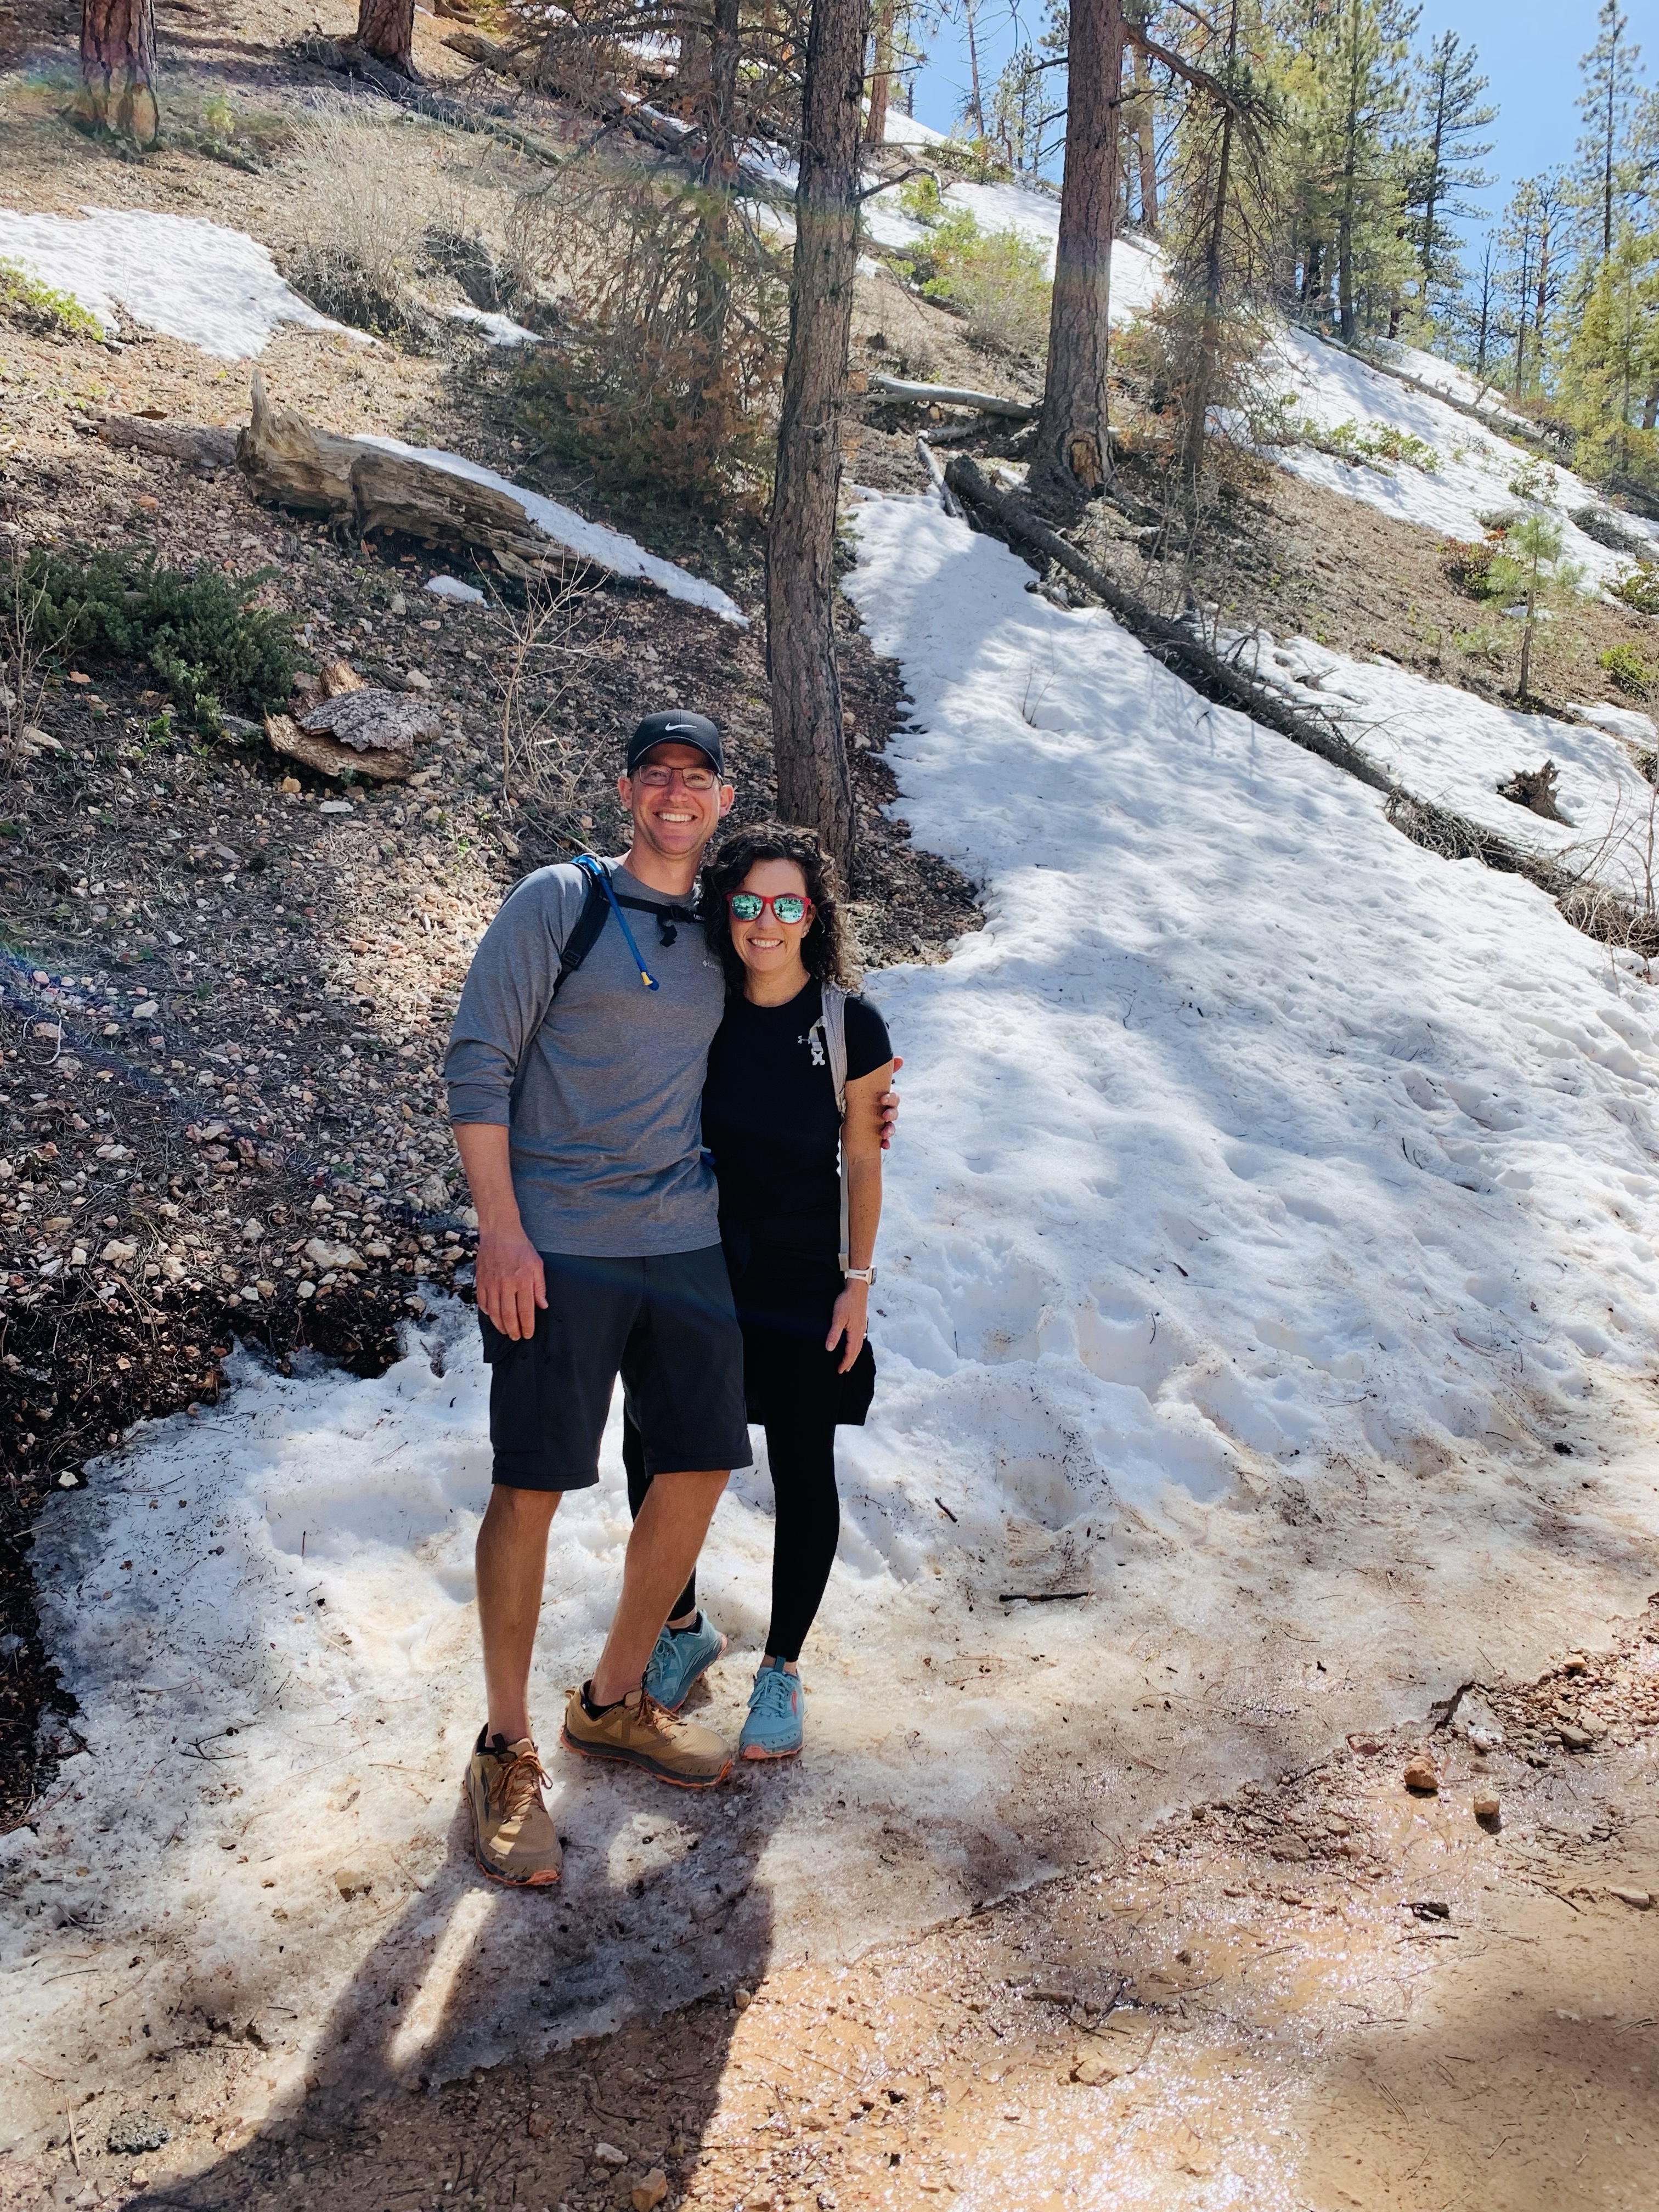
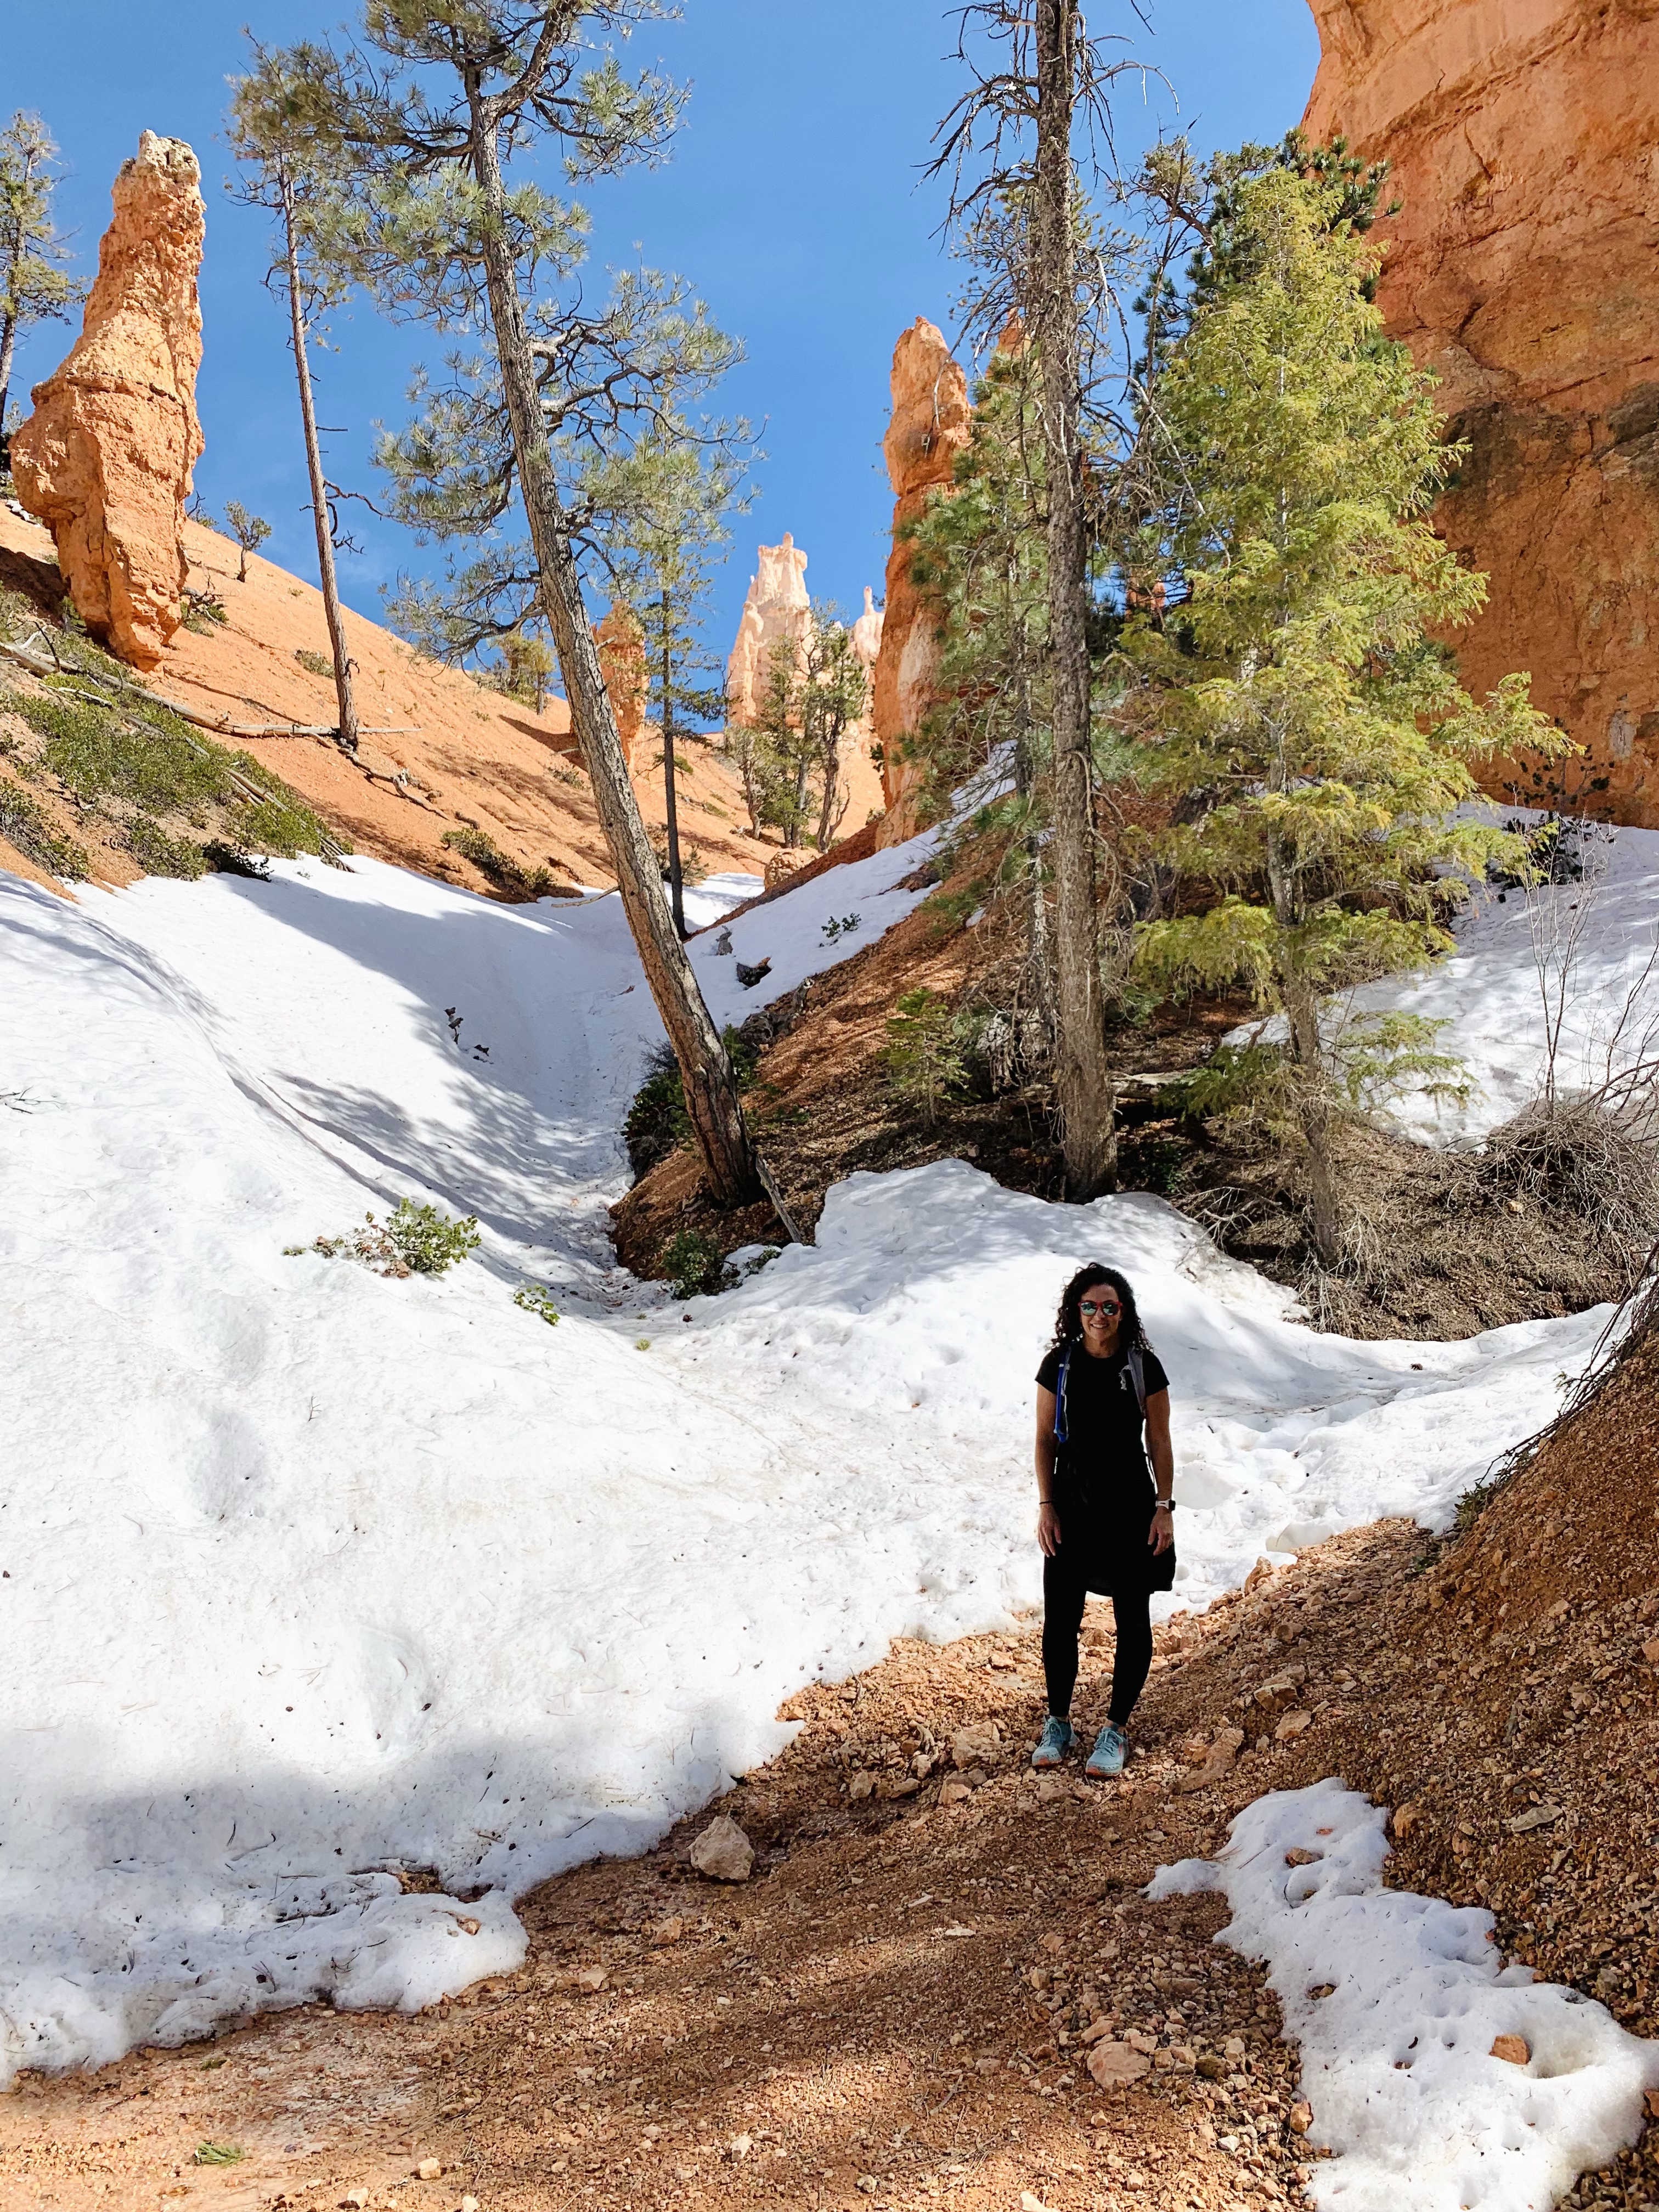
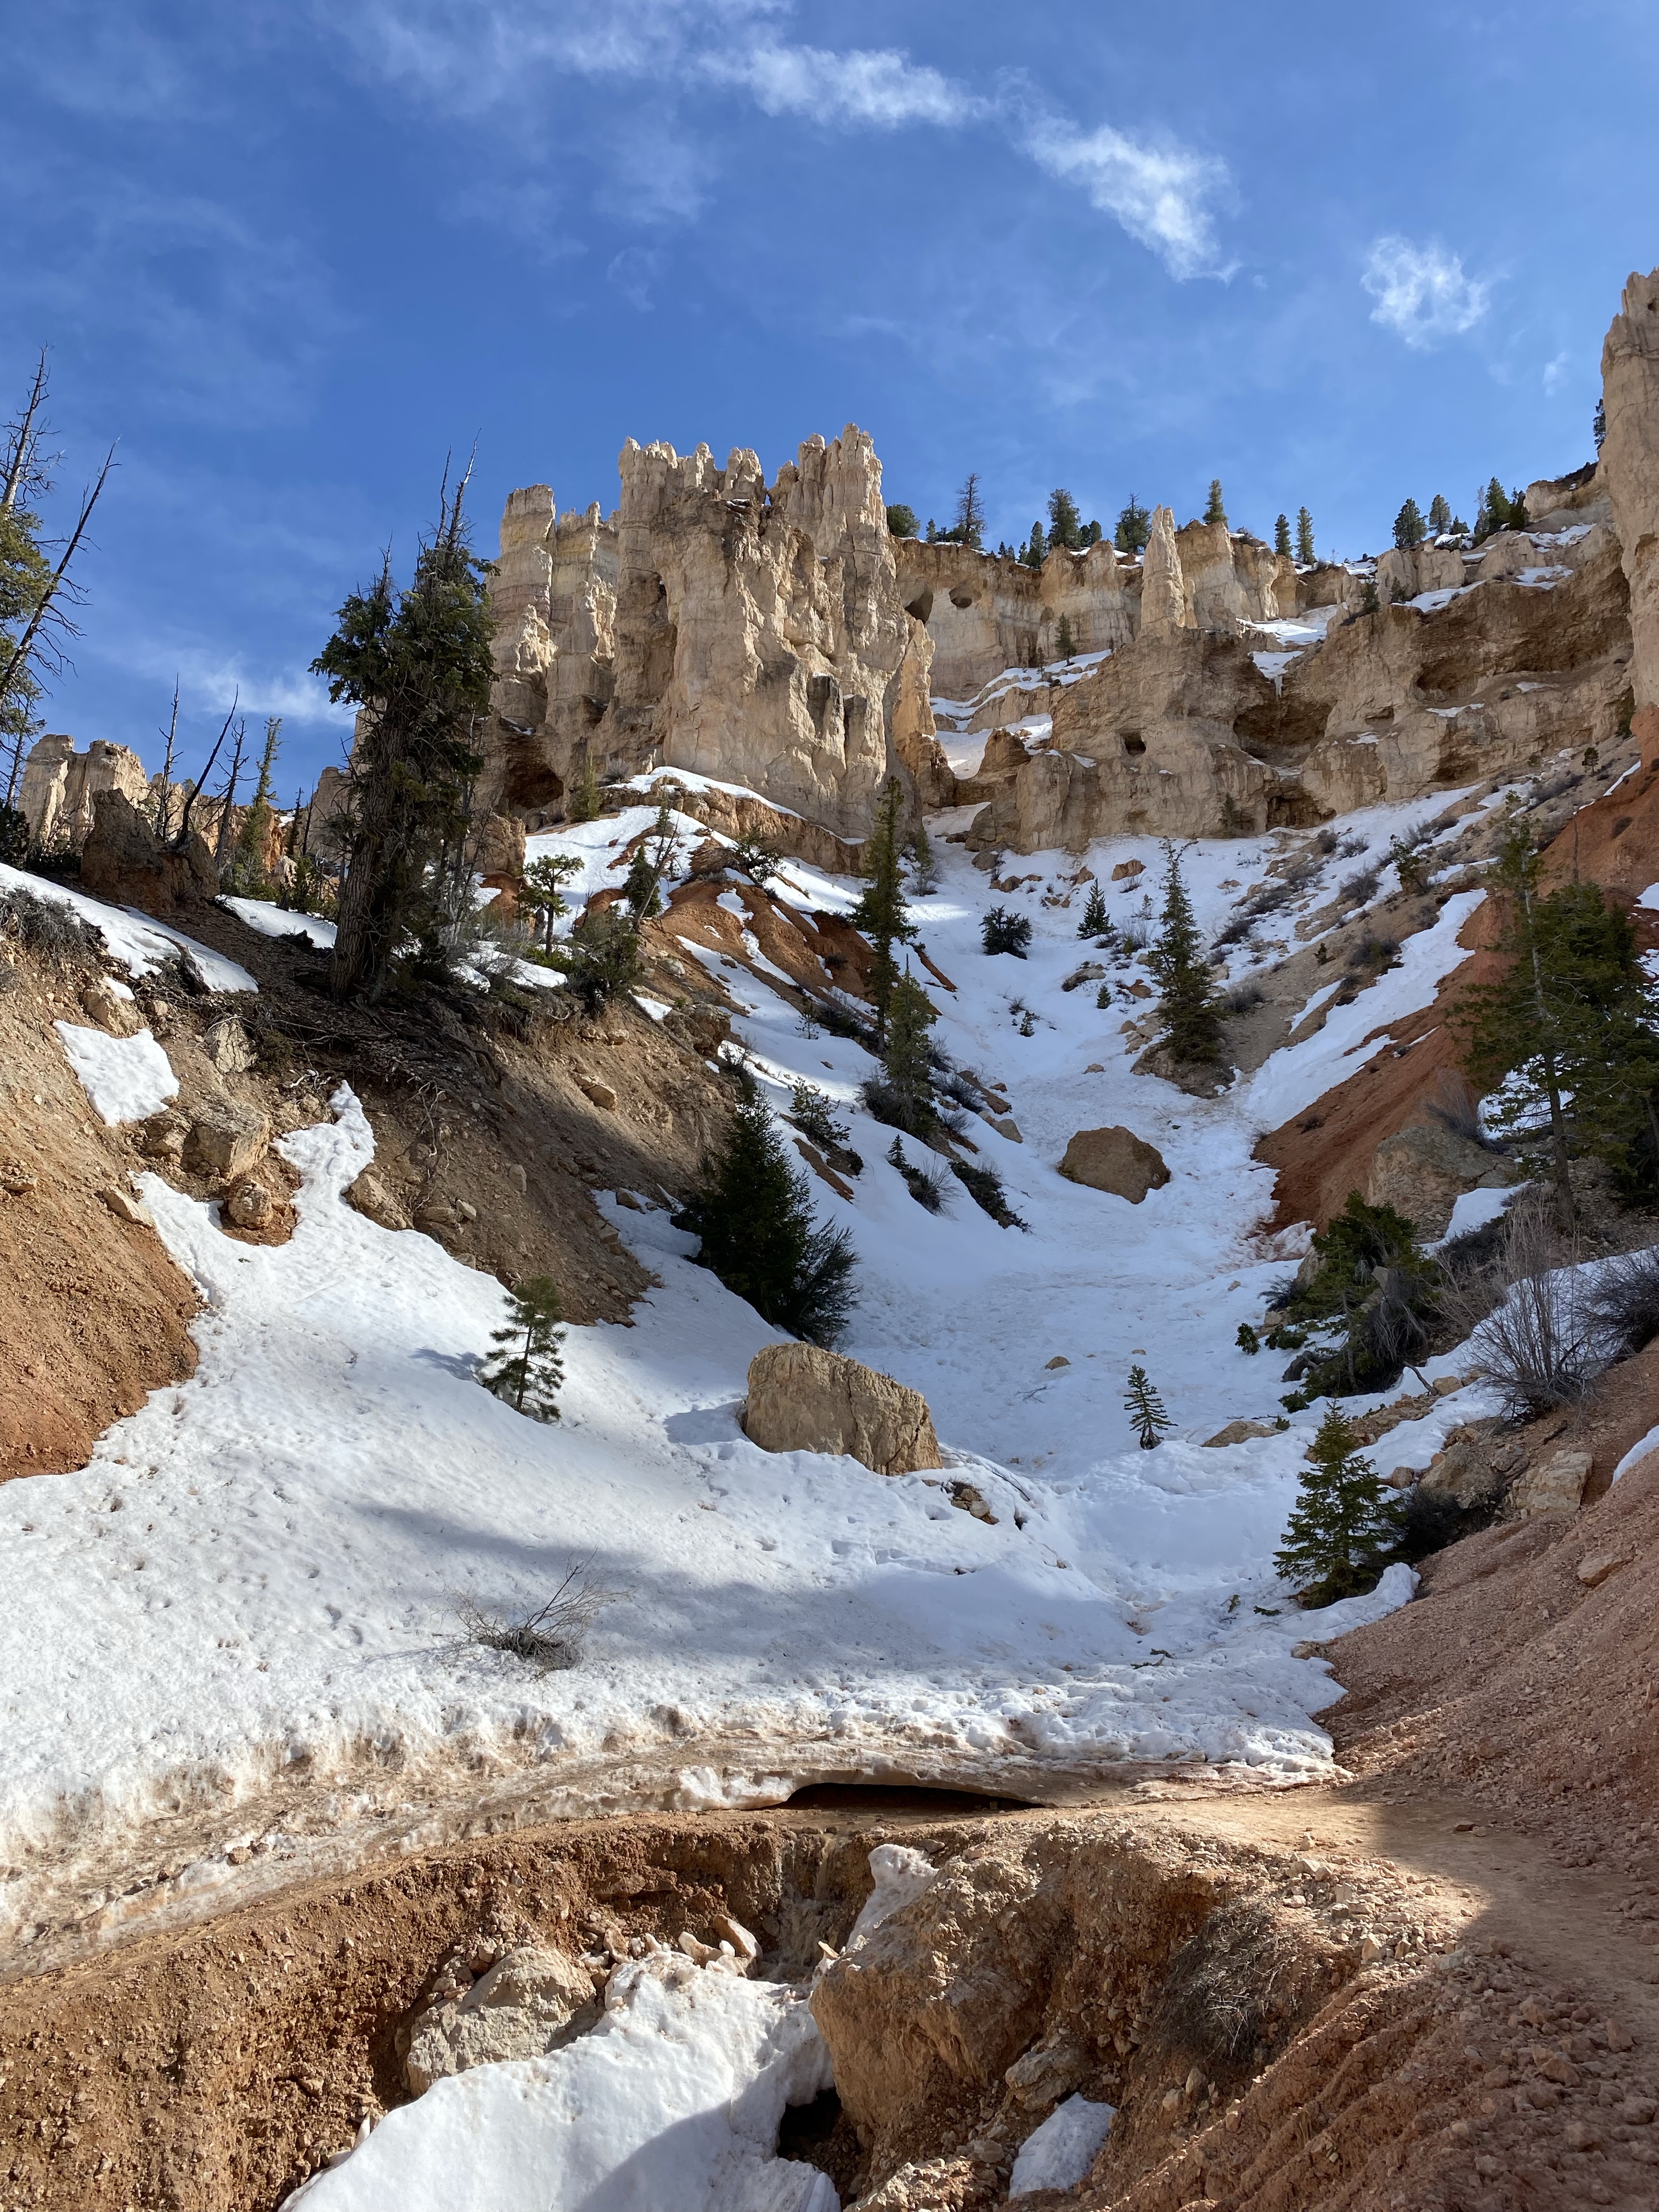
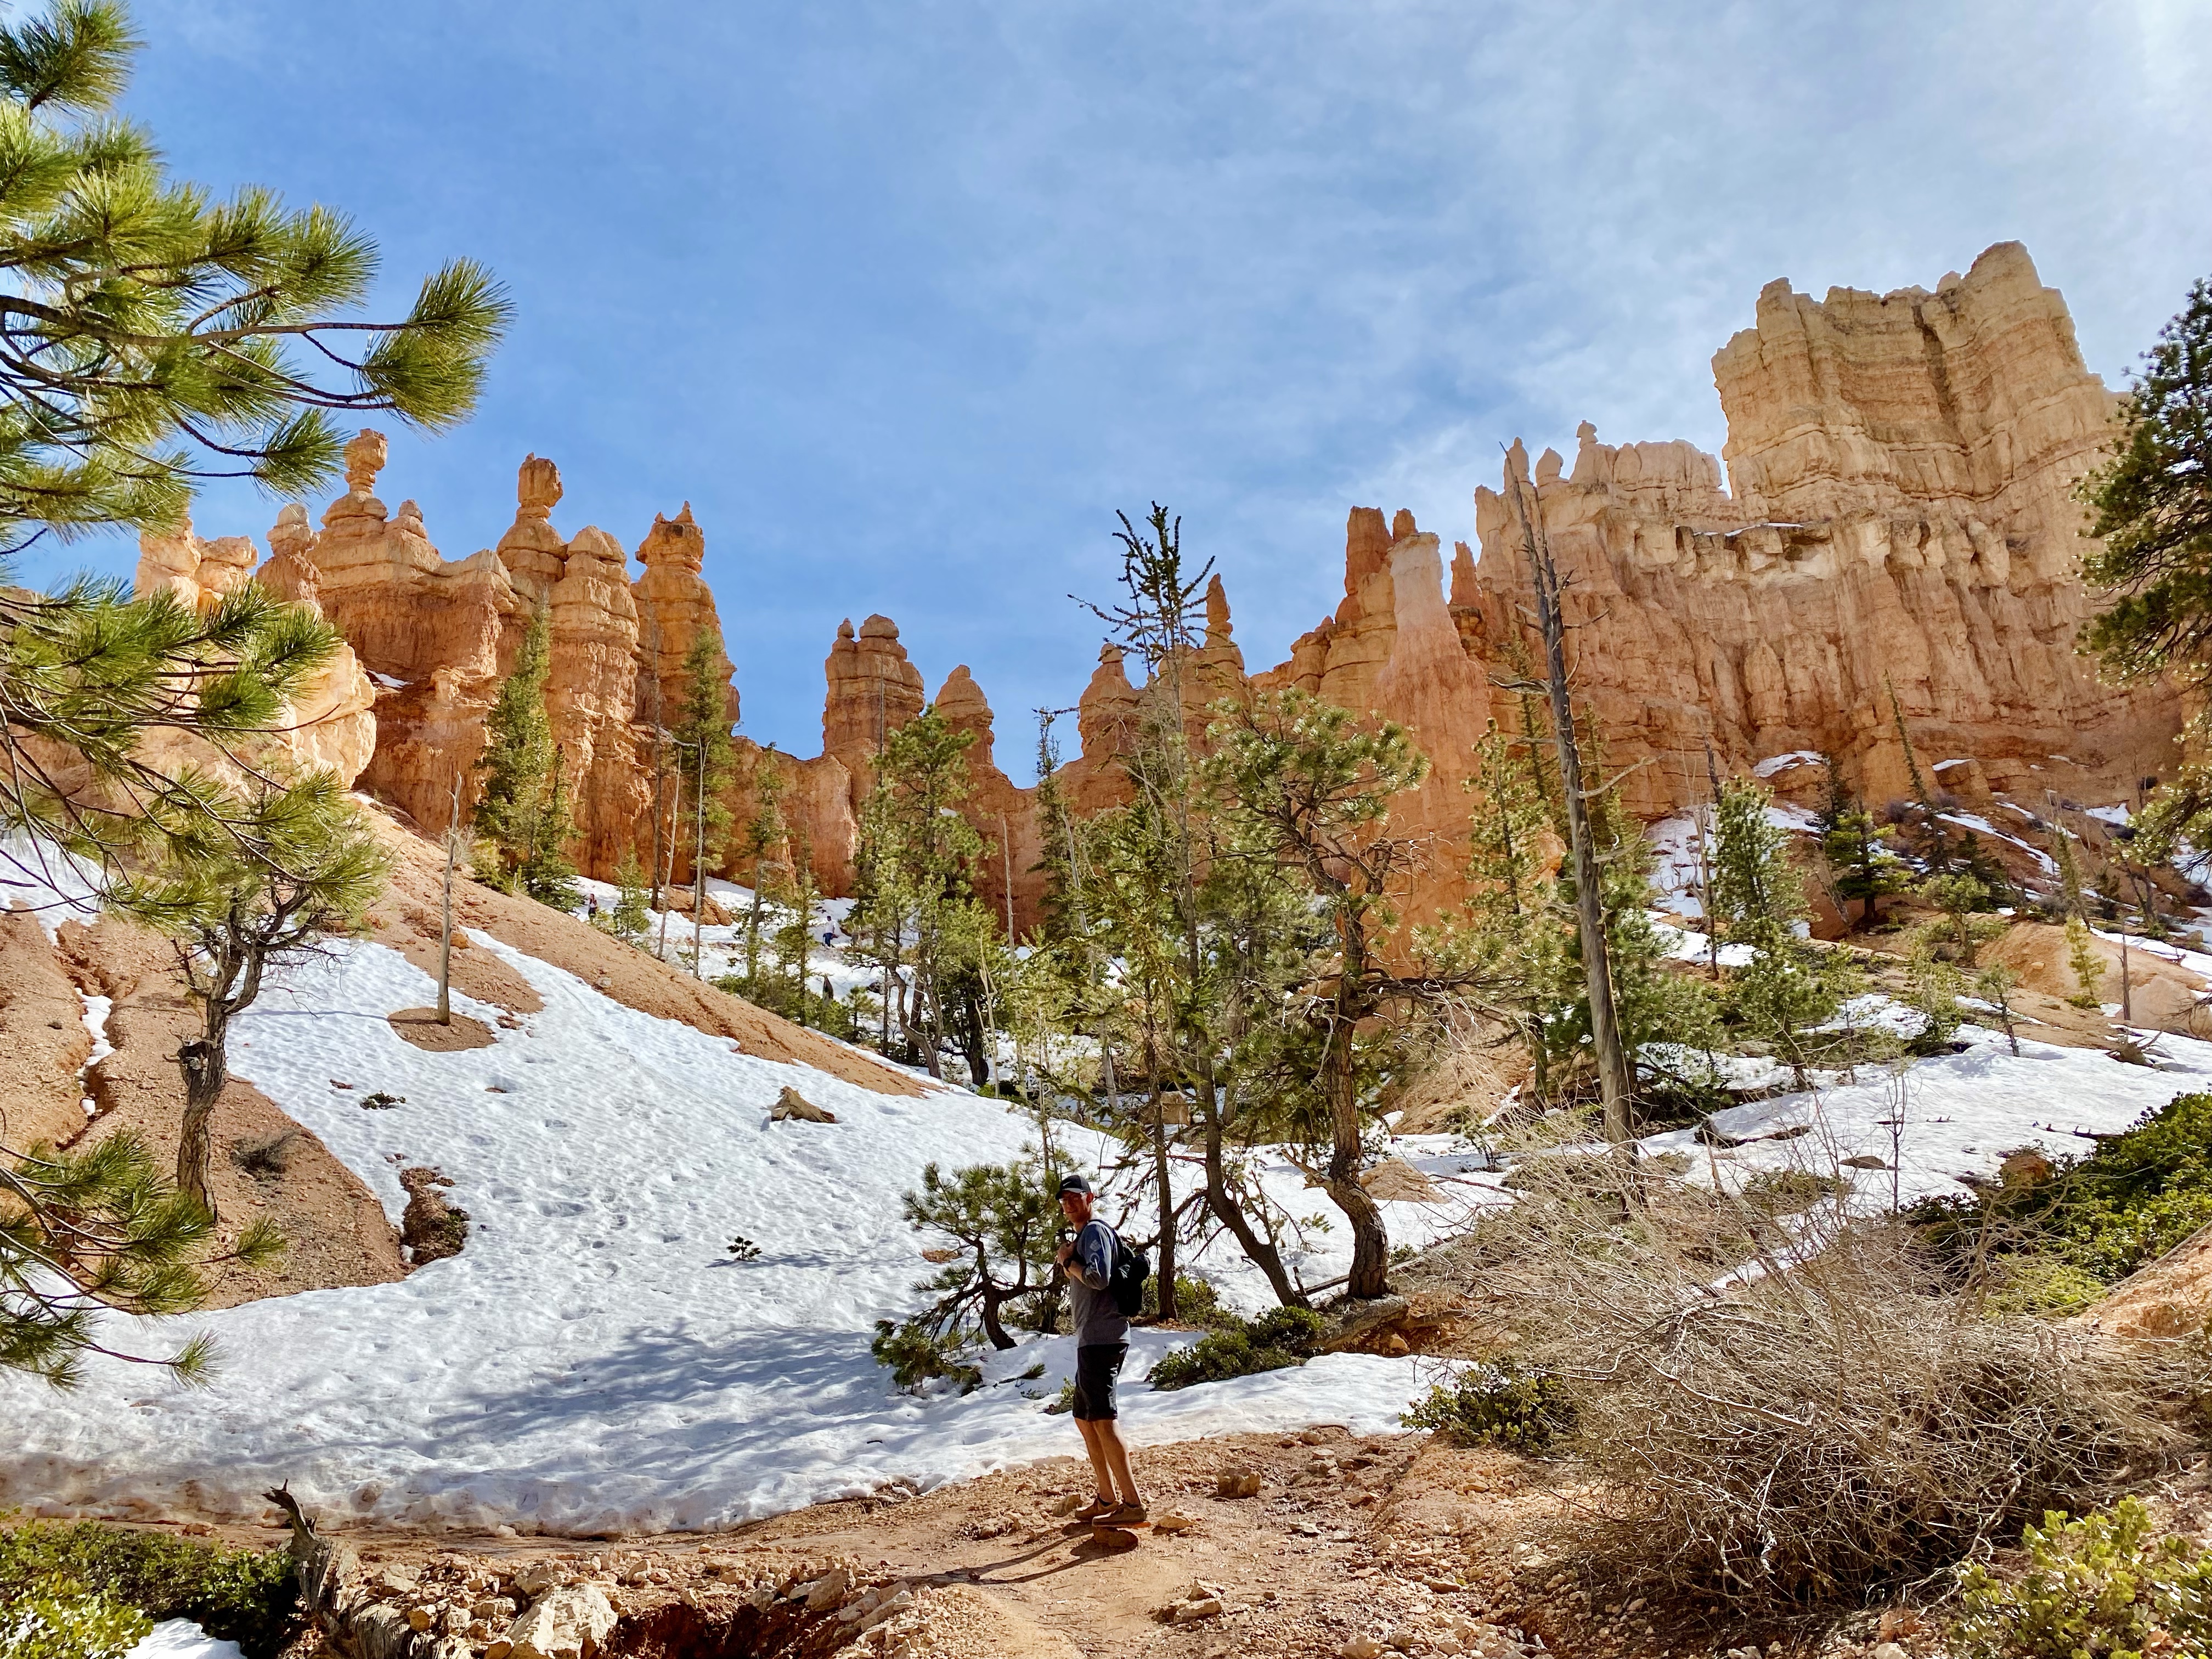
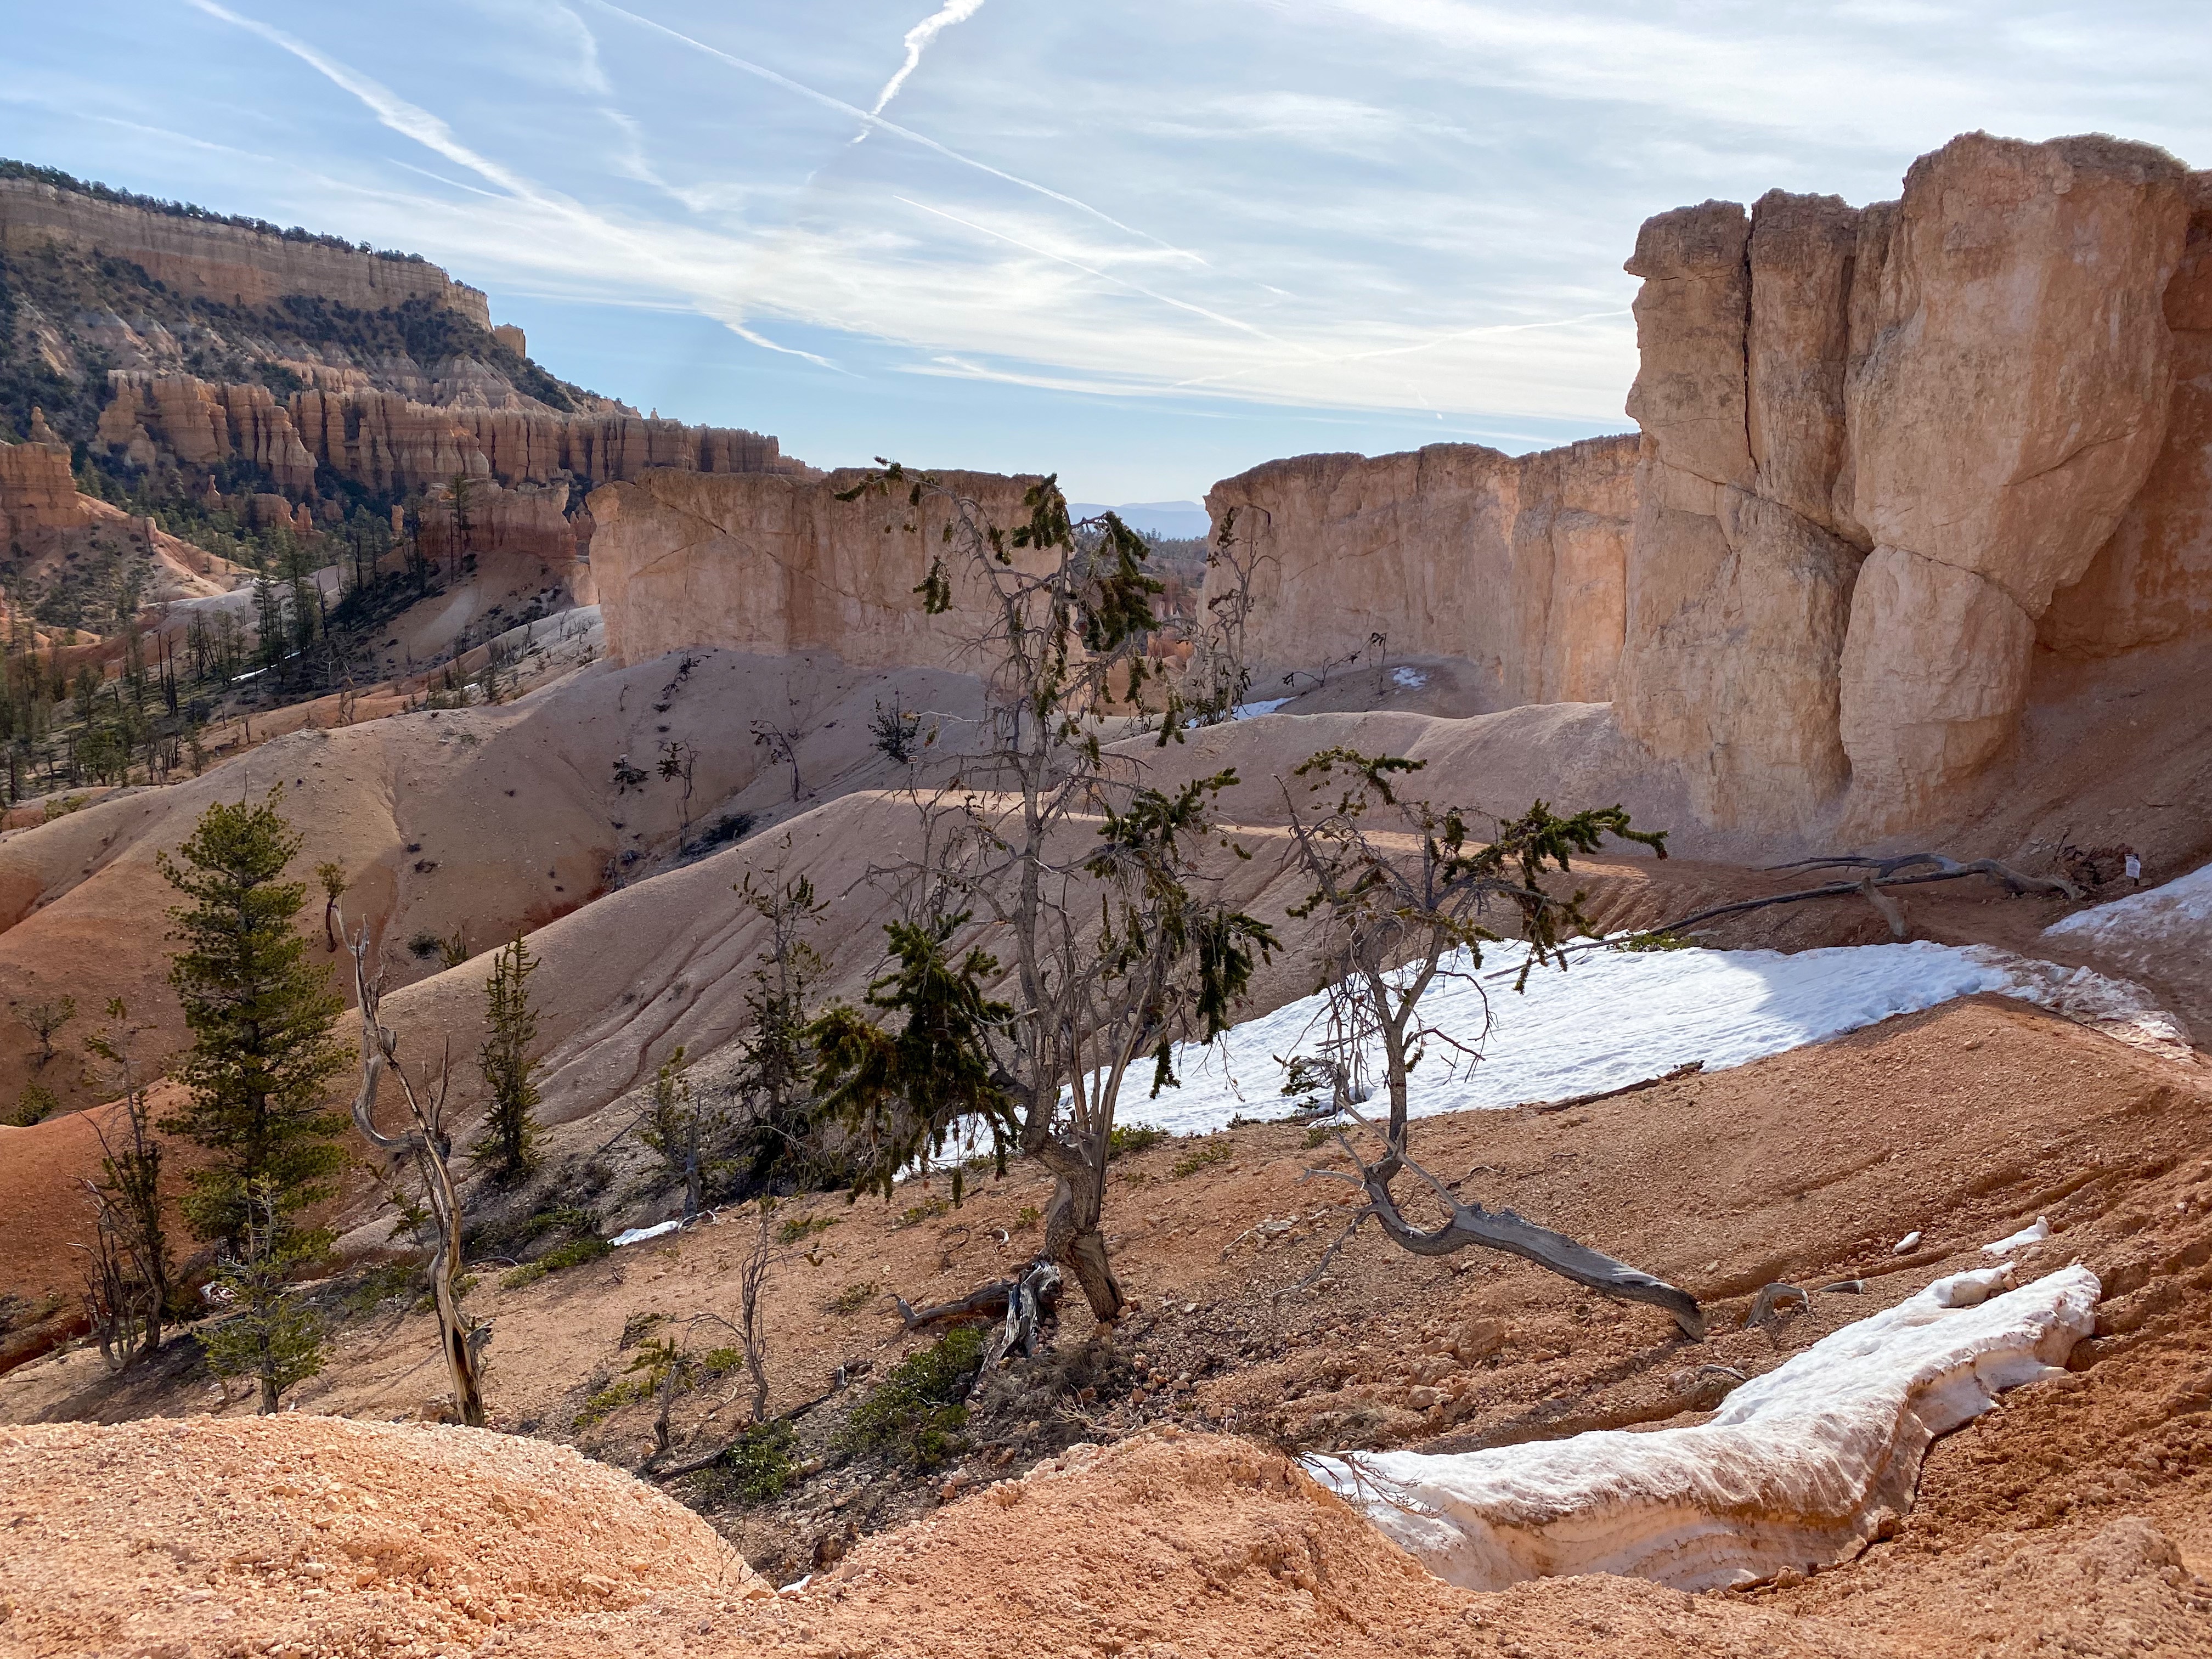
So much of Utah experienced more snow accumulation this Spring compared to the averages in years past. Lucky for us (because we don’t get much snow in our area of North Carolina), we saw a good amount of snow which had not melted as we approached Bryce National Park.
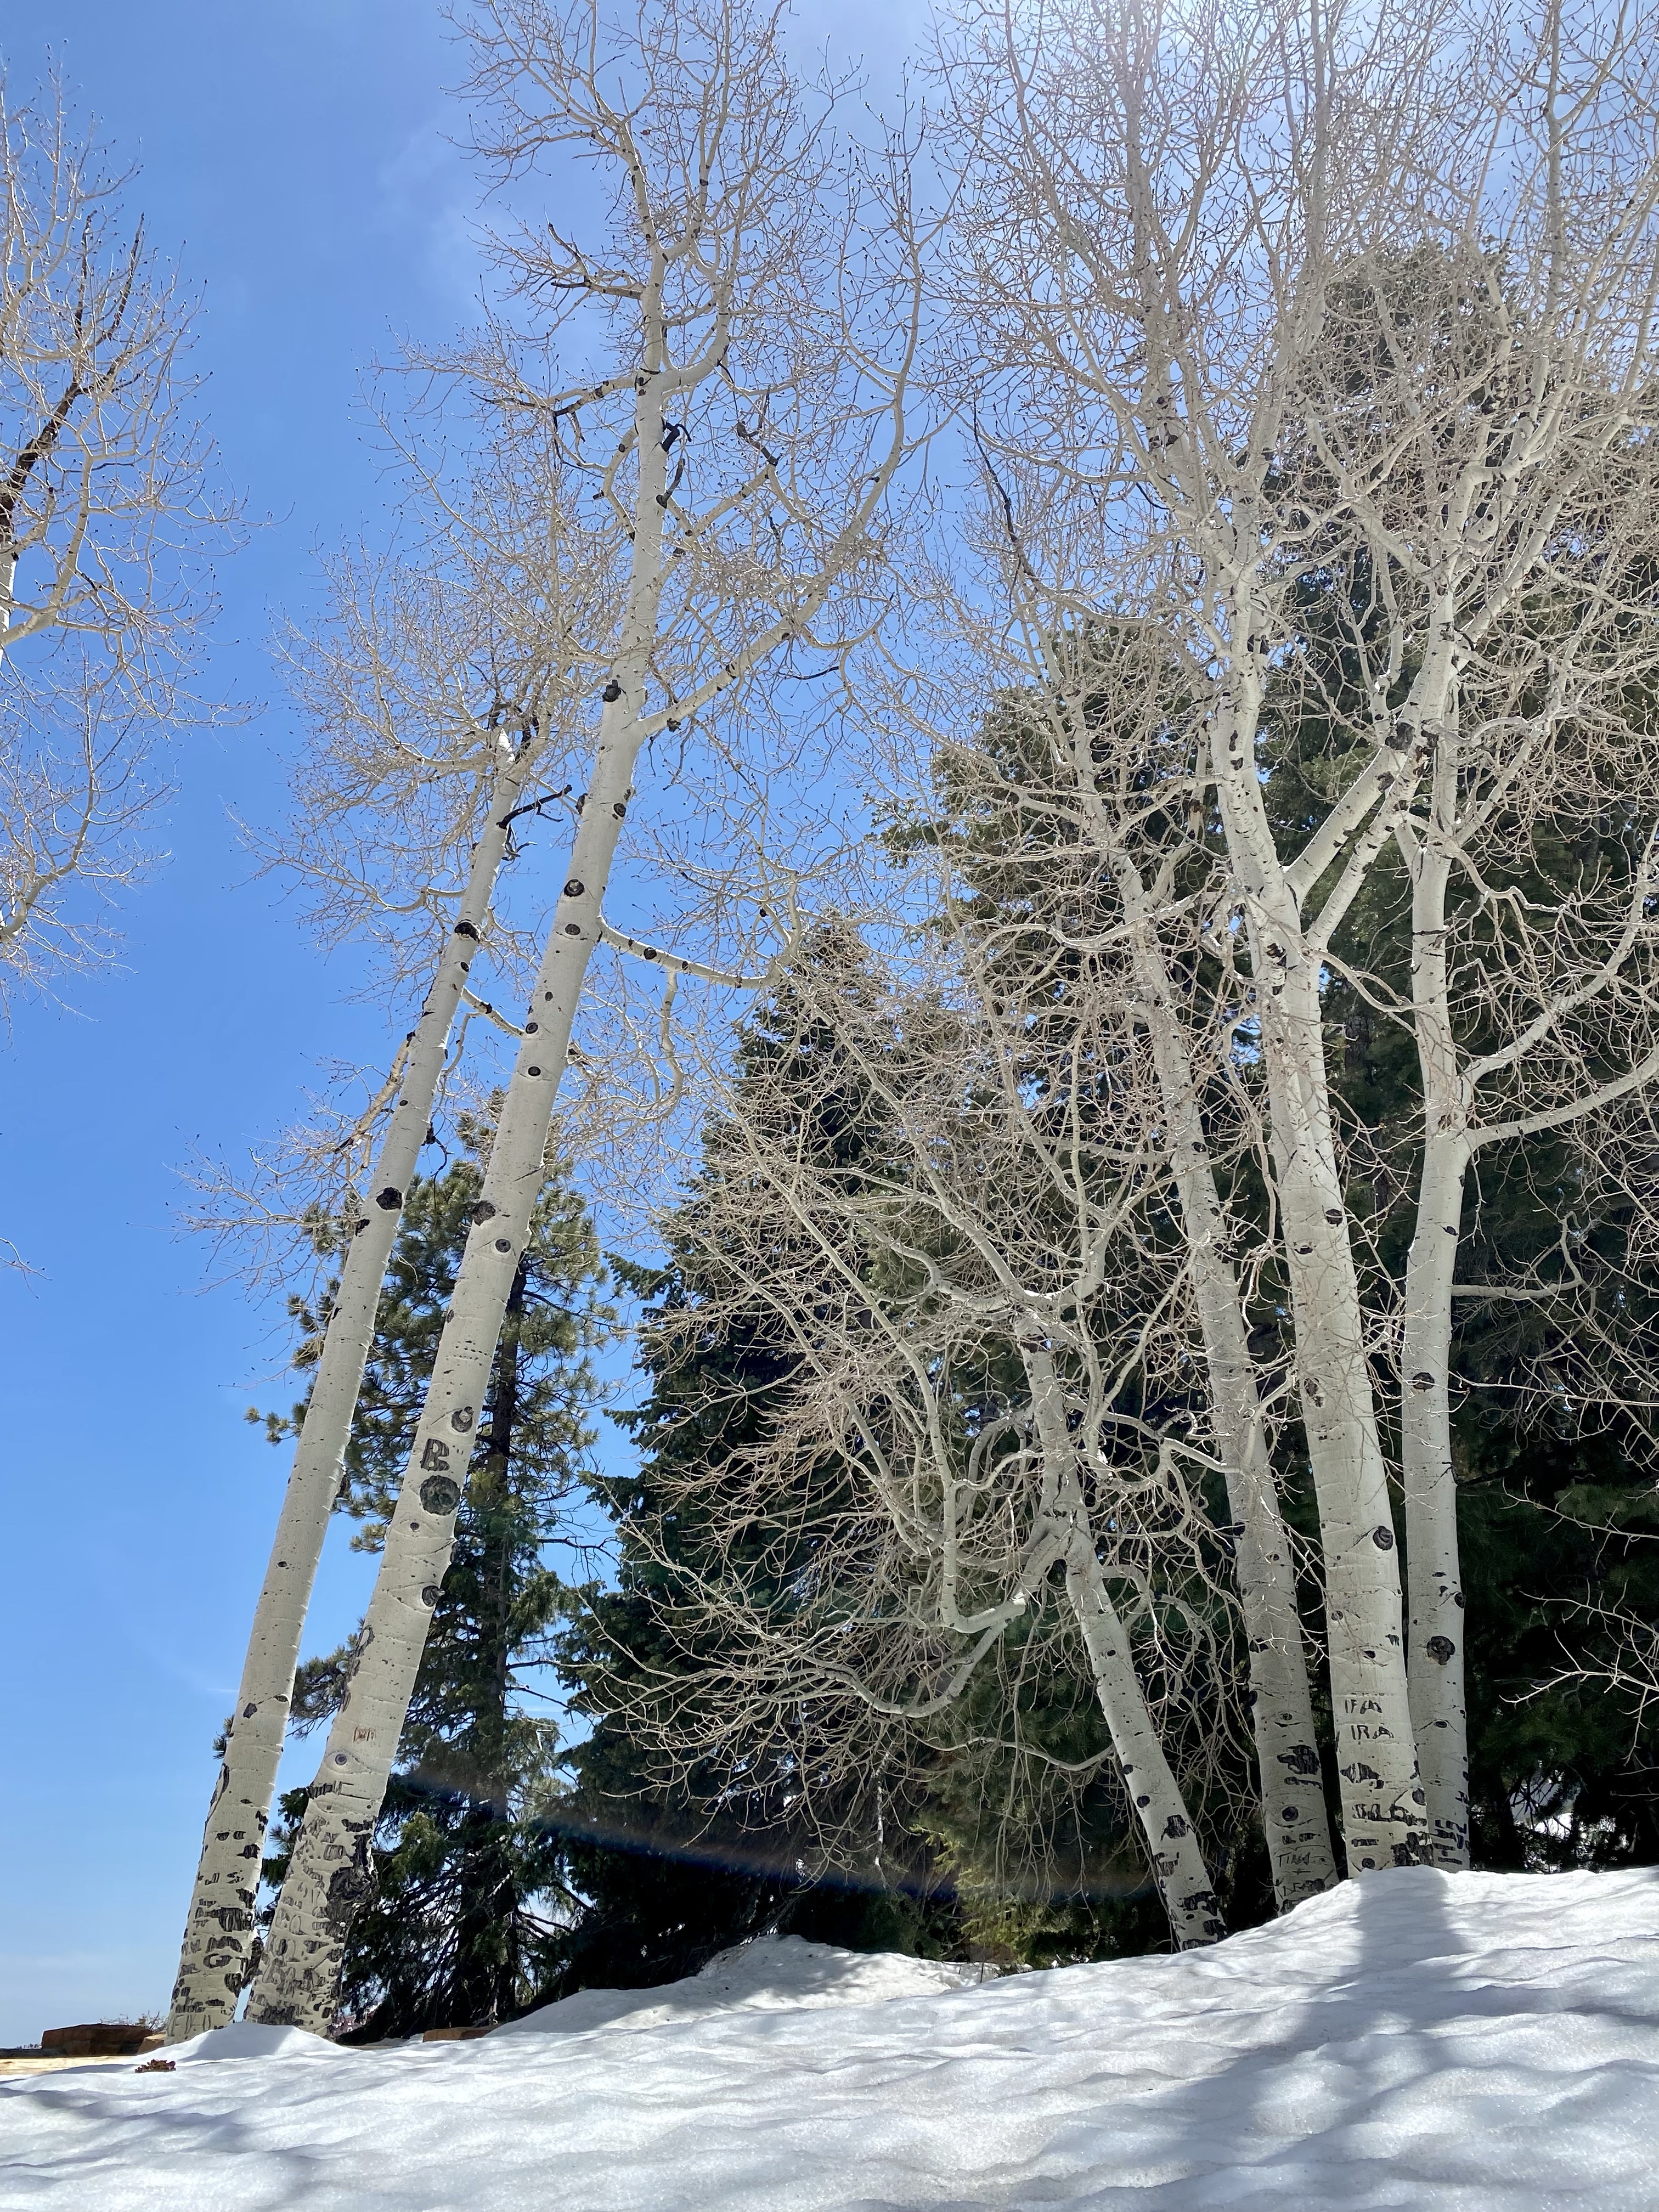
This made for a unique viewpoint and contrast of the hoodoos in Bryce with the snow that had not yet melted in contrast with the orange and tan hoodoo landscape. Seeing so much snow was fun for us. I also loved seeing my favorite type of Birch tree, the Paper White, nestled in the snow. It was quit picturesque.
Day I: Arrived in Bryce Canyon National Park by 12:30
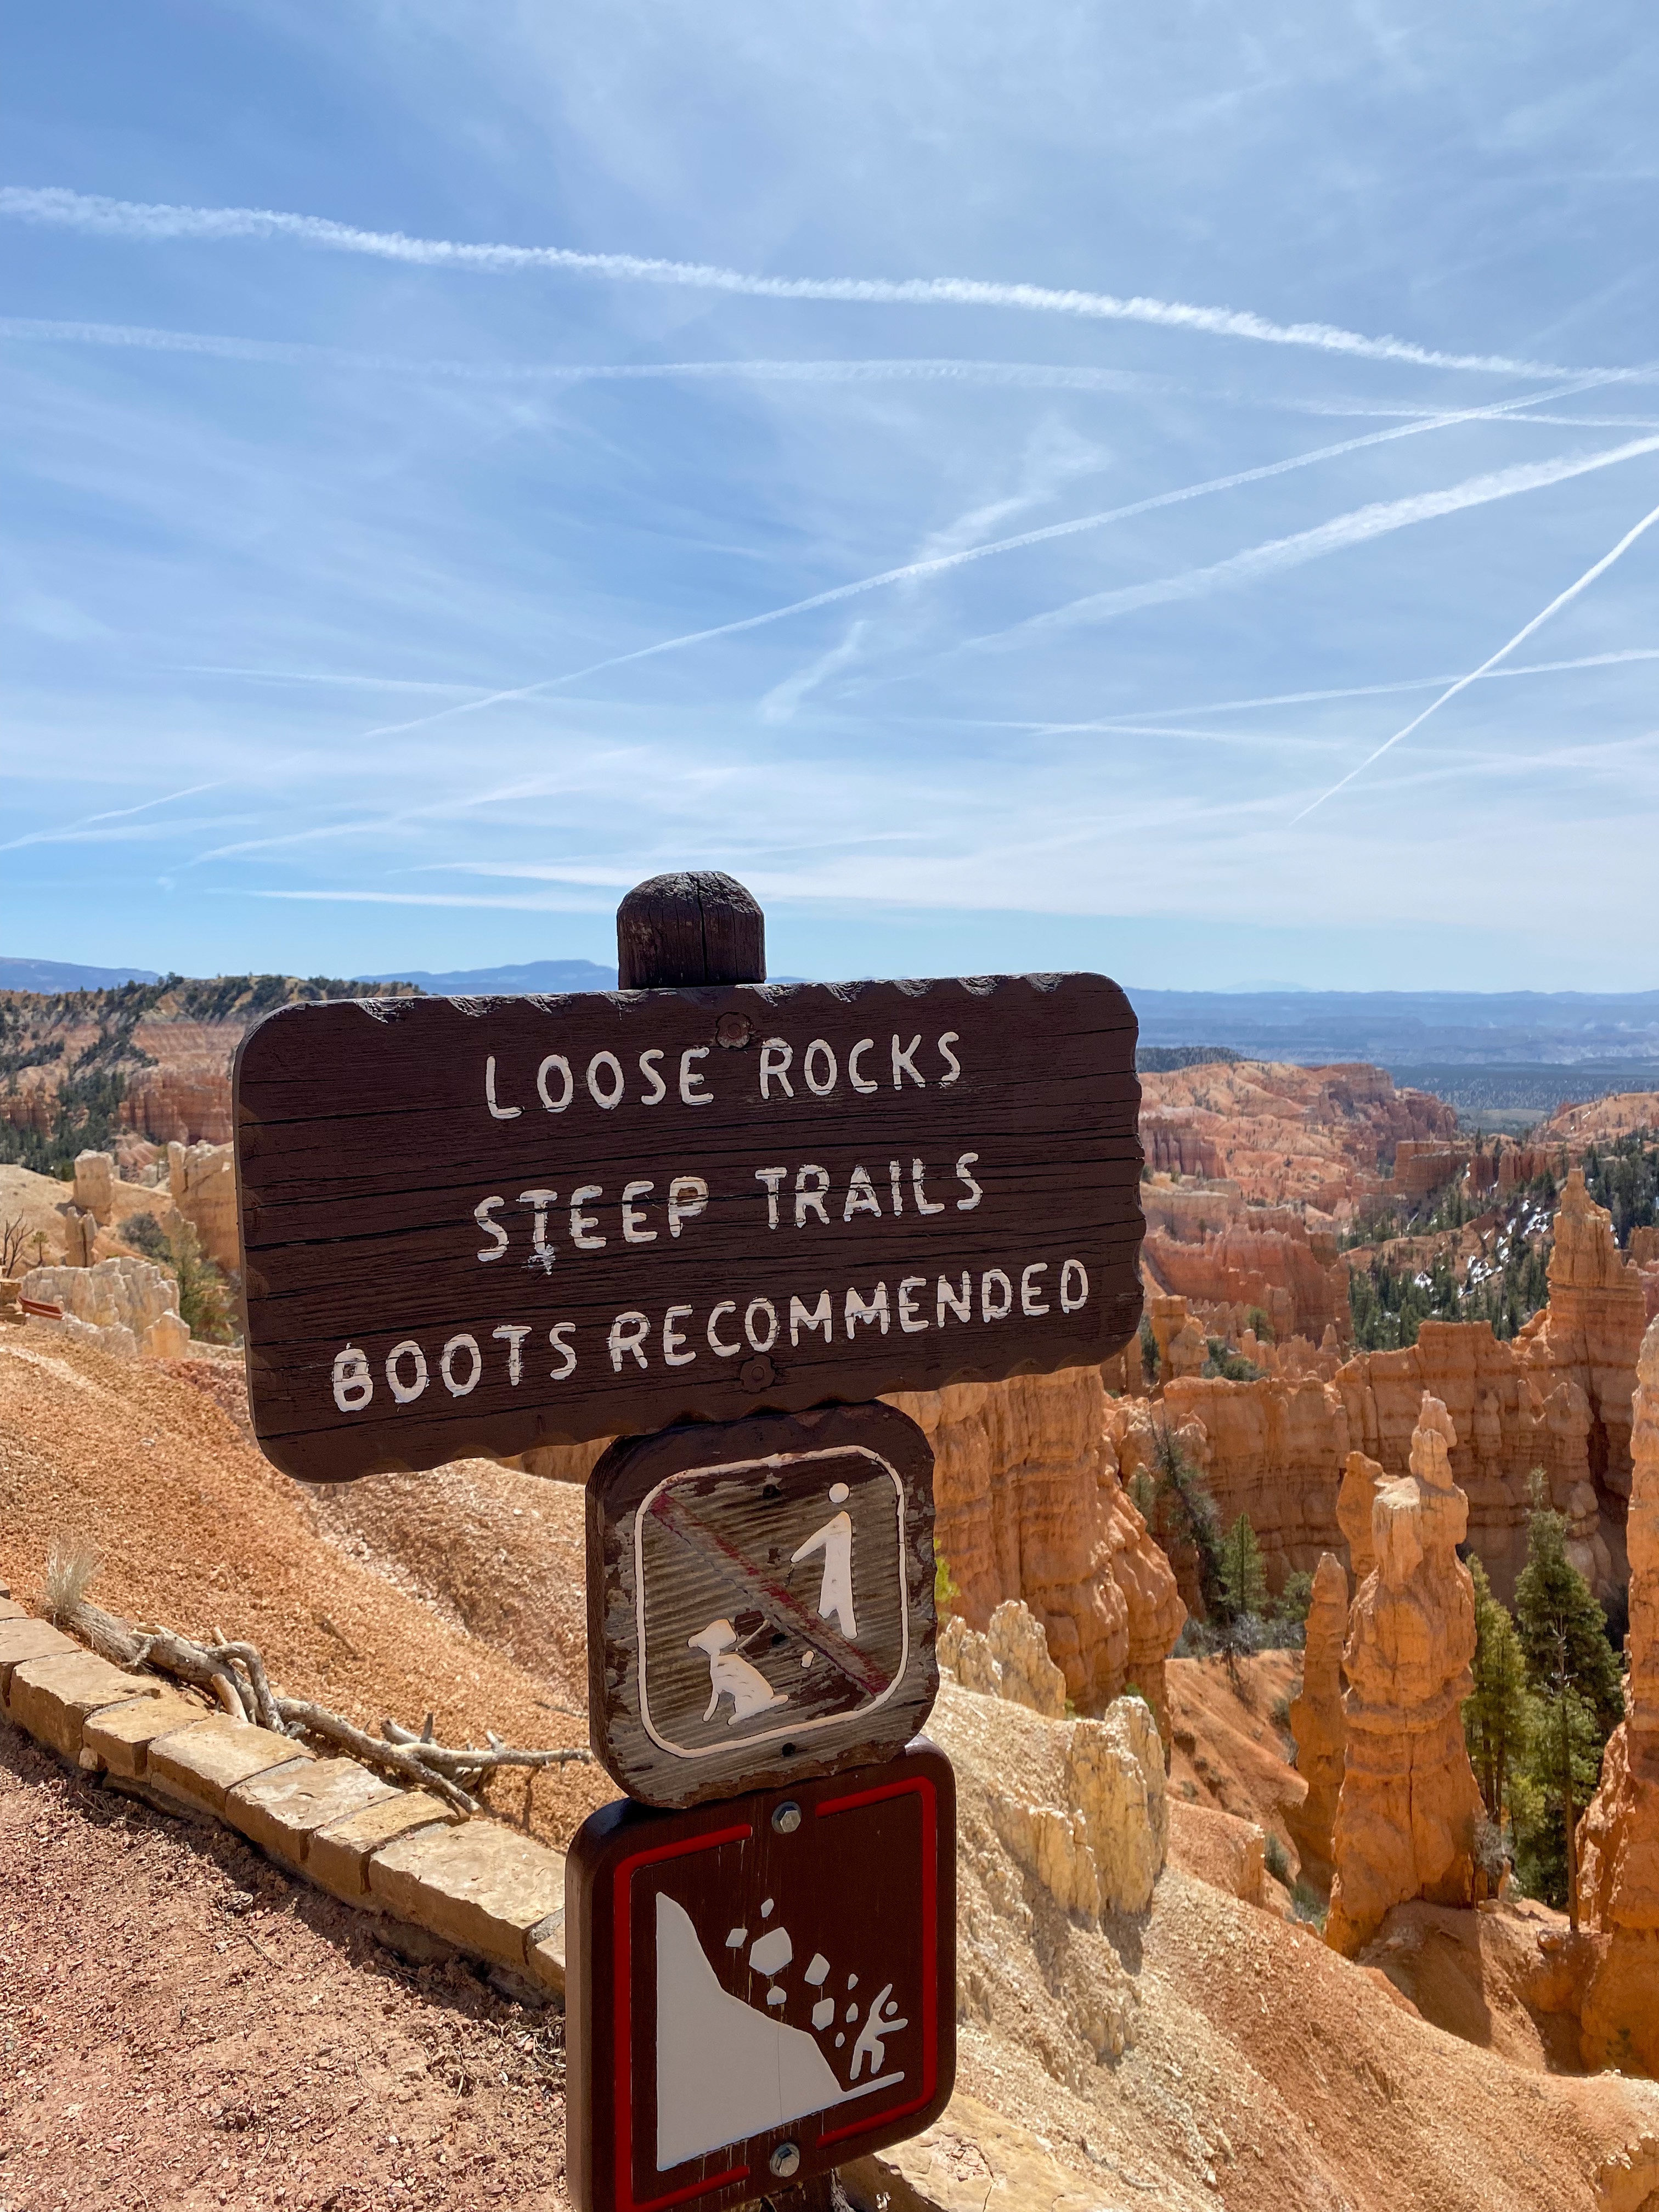
We entered the park and went straight to the visitor center to look around and get confirmation on trail closures which are posted on a board daily. We also wanted to talk to a Park Ranger to confirm which hikes would be best to tackle the two days we were there even though we had pretty much decided what we thought was best.
Hike goal for the day: Peekaboo Loop Trail (5.5 Miles), Queen’s Garden Trail, Part of the Navajo Loop trail that was still open, Two Bridges Trail, and part of the West Rim Trail, and that leads you to the start of the first trail. This was approximately a 13 Mile total hike day.
You can view the trail map and descriptions of hikes HERE.
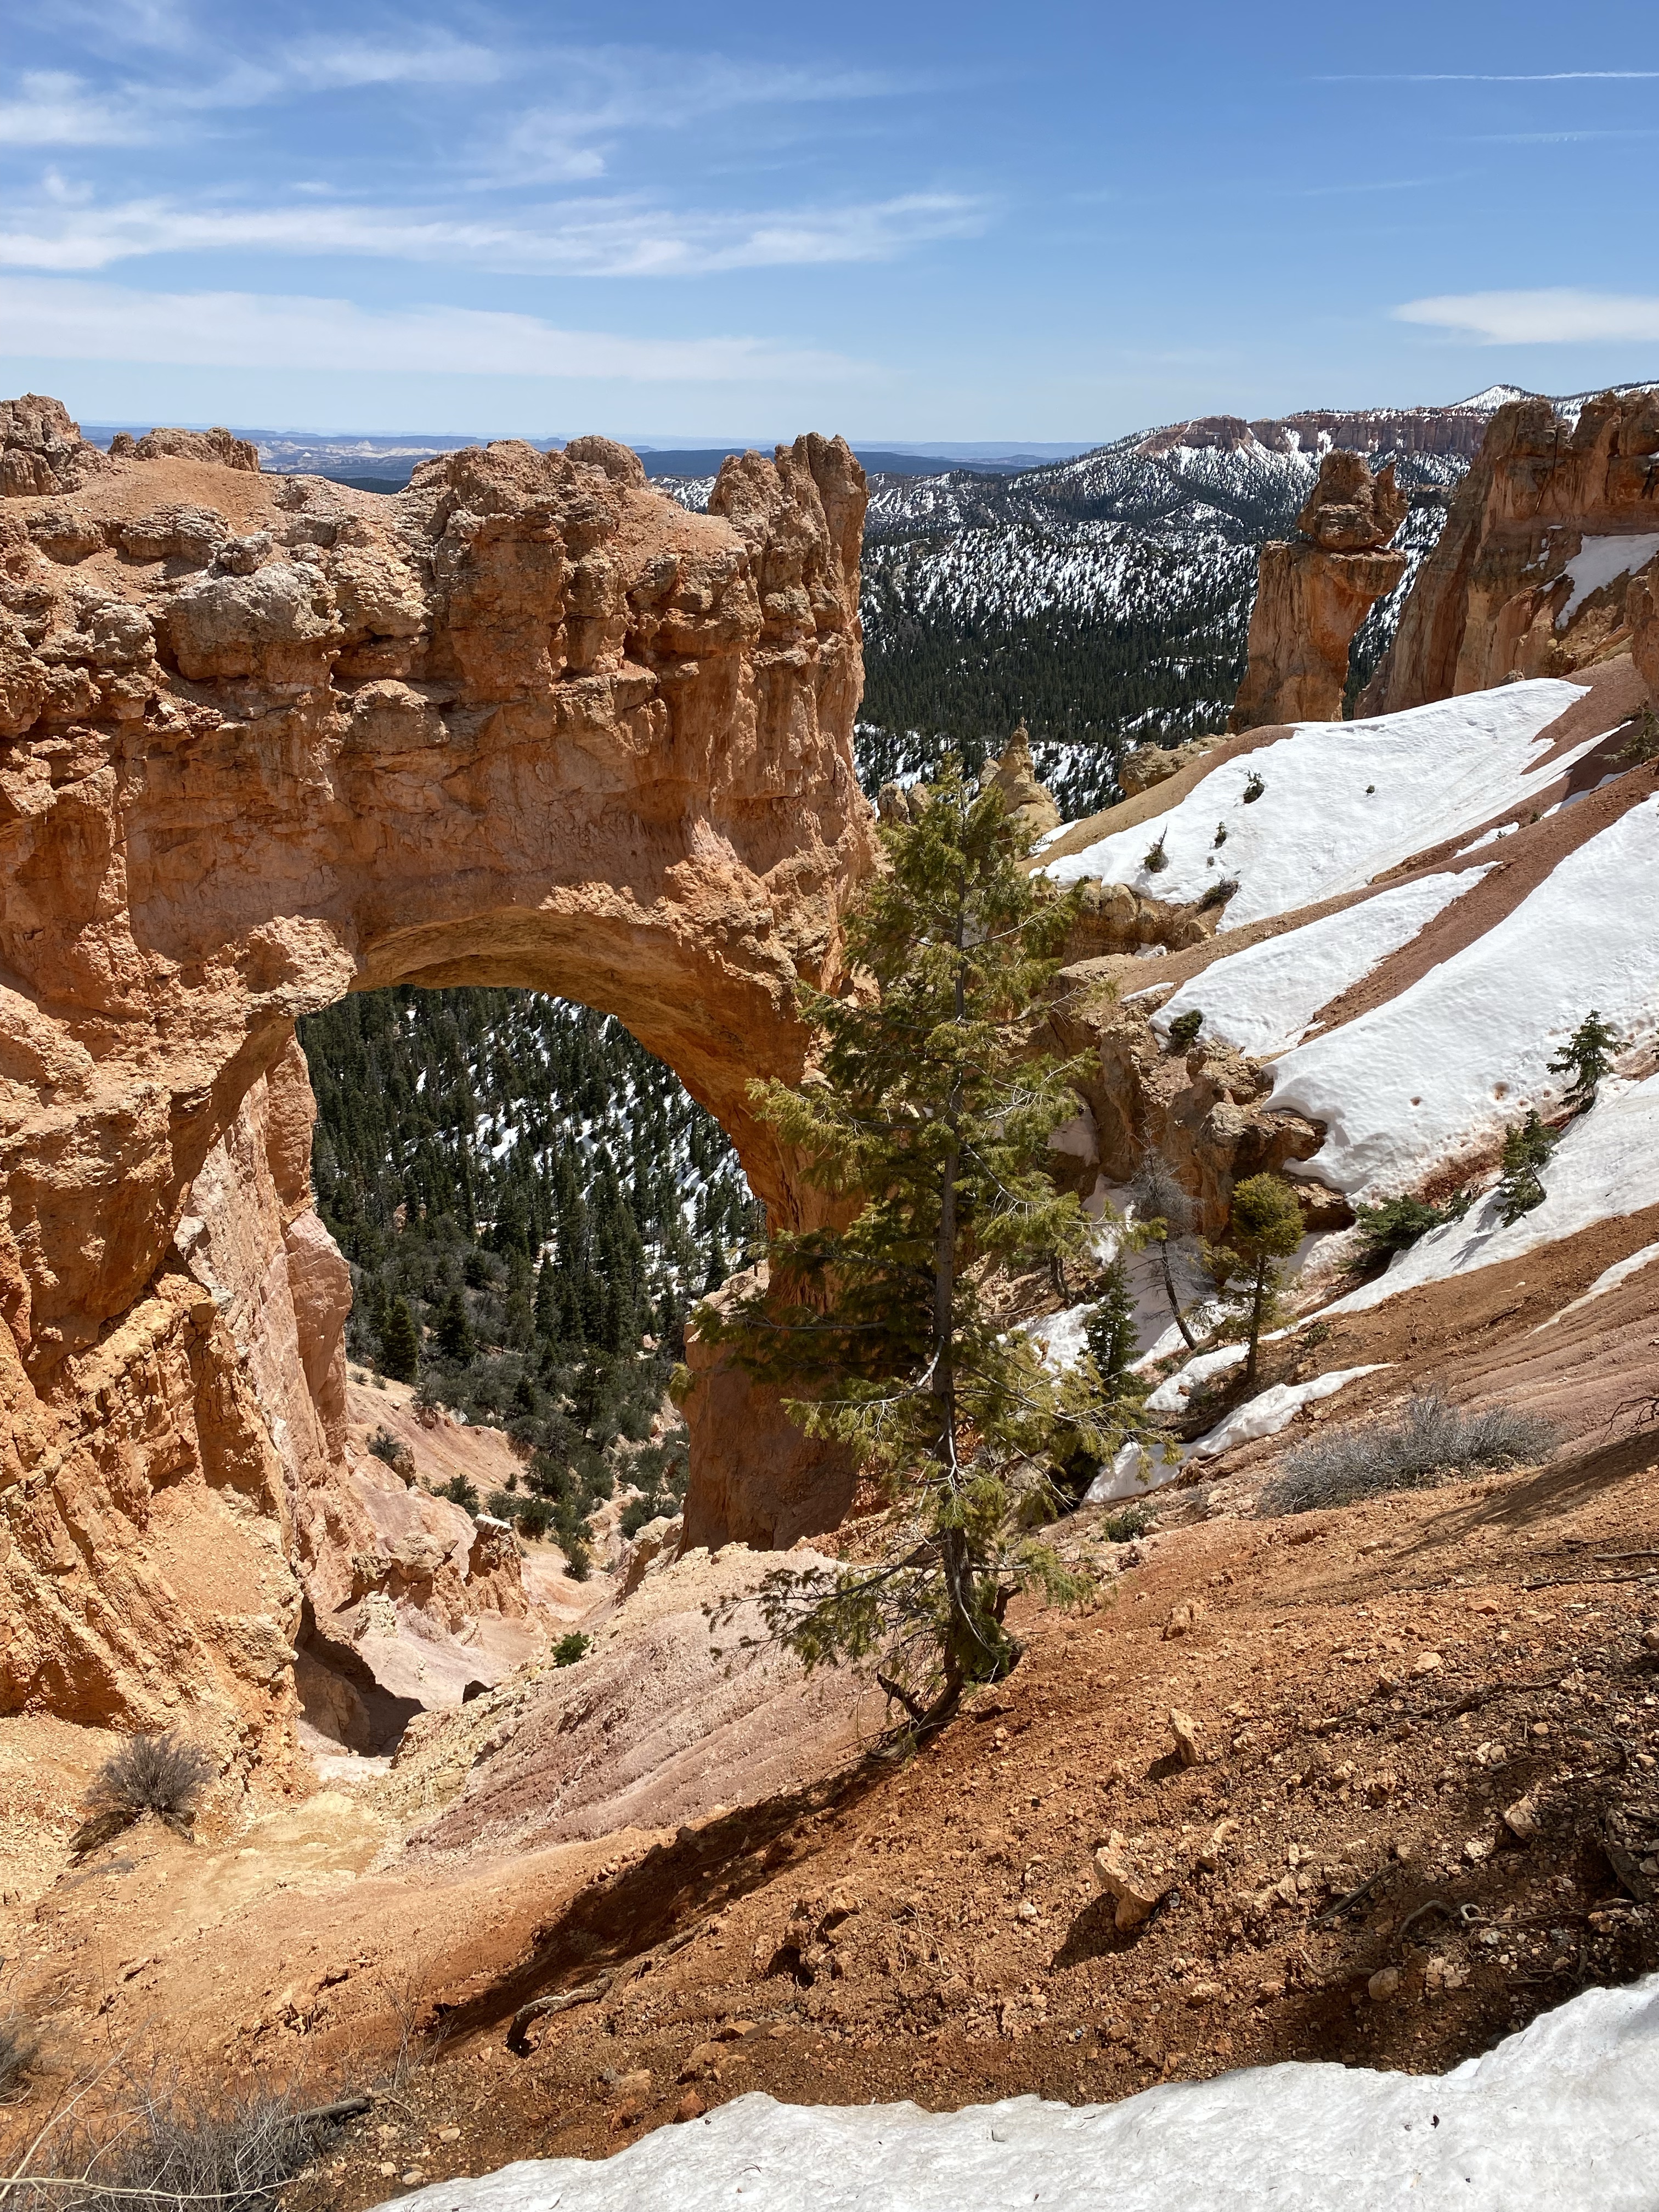
First, we decided to drive to the furthest point on the scenic area route that we wanted to see and then backtrack to park and begin our hike. This also gave us the opportunity to get our bearings of the park and possible lots with more parking.
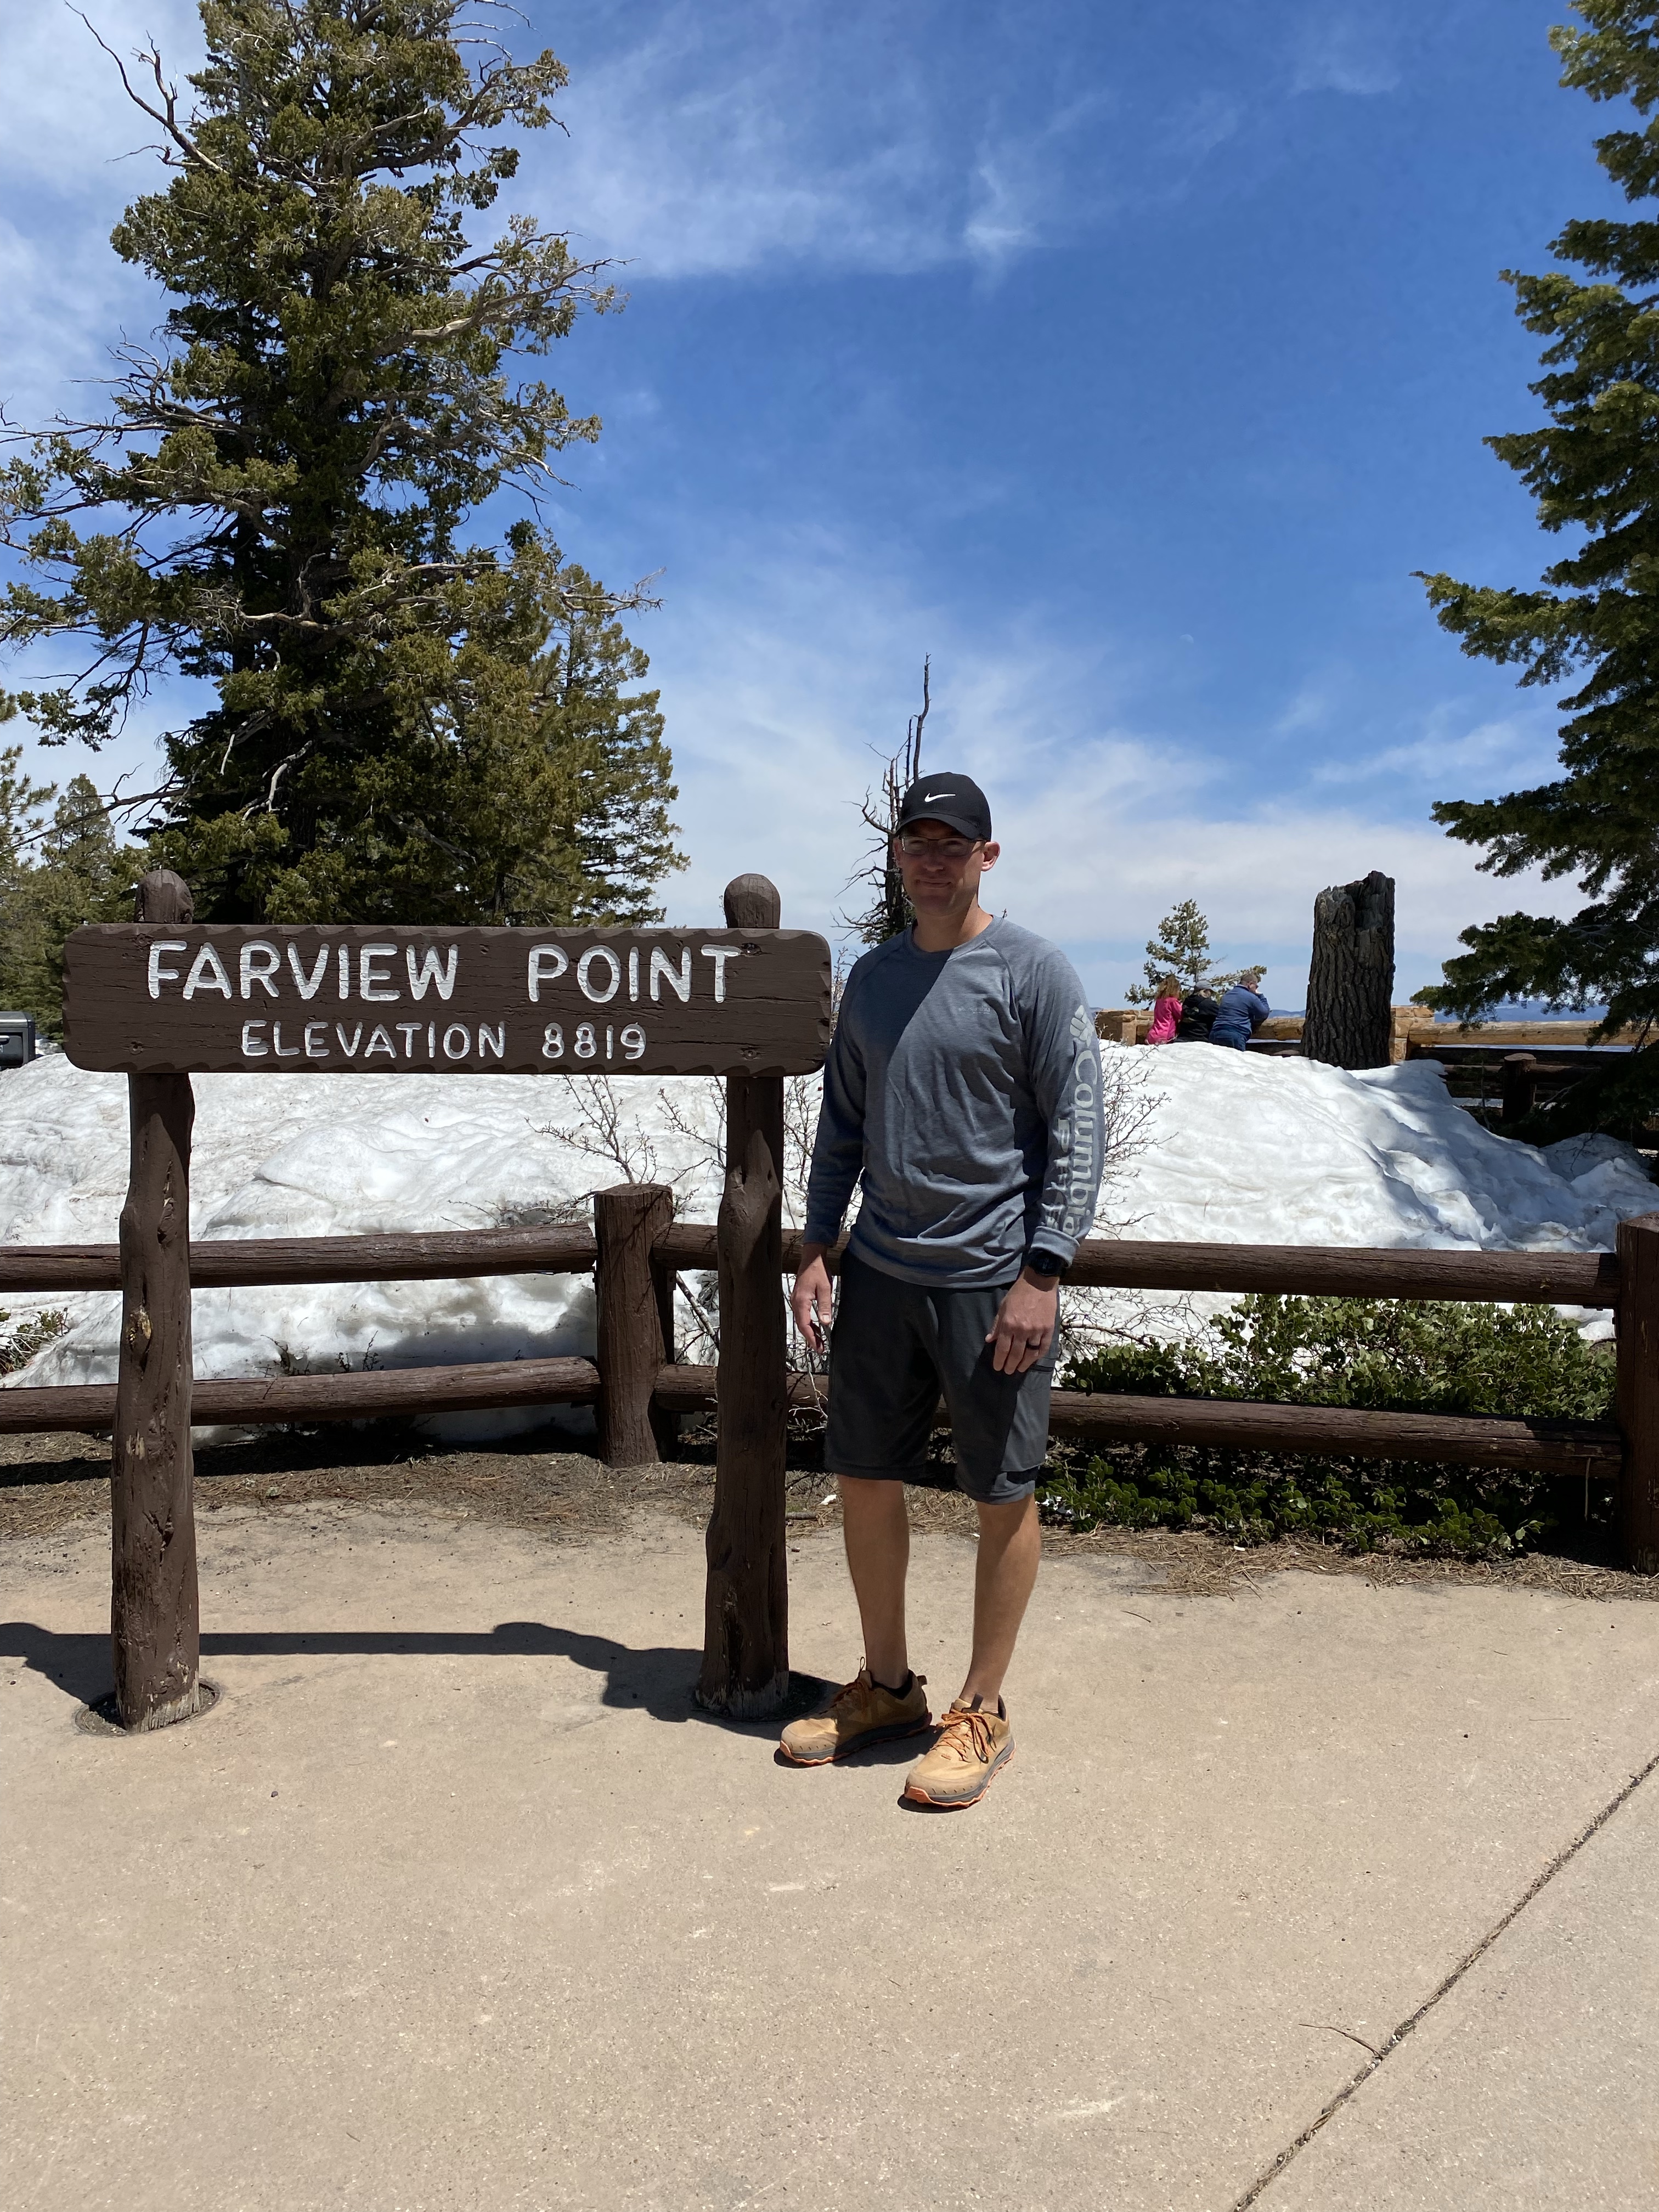
Natural Bridge and Fairview Point were our first two scenic stops. They are located approximately 12 miles from the visitor center.
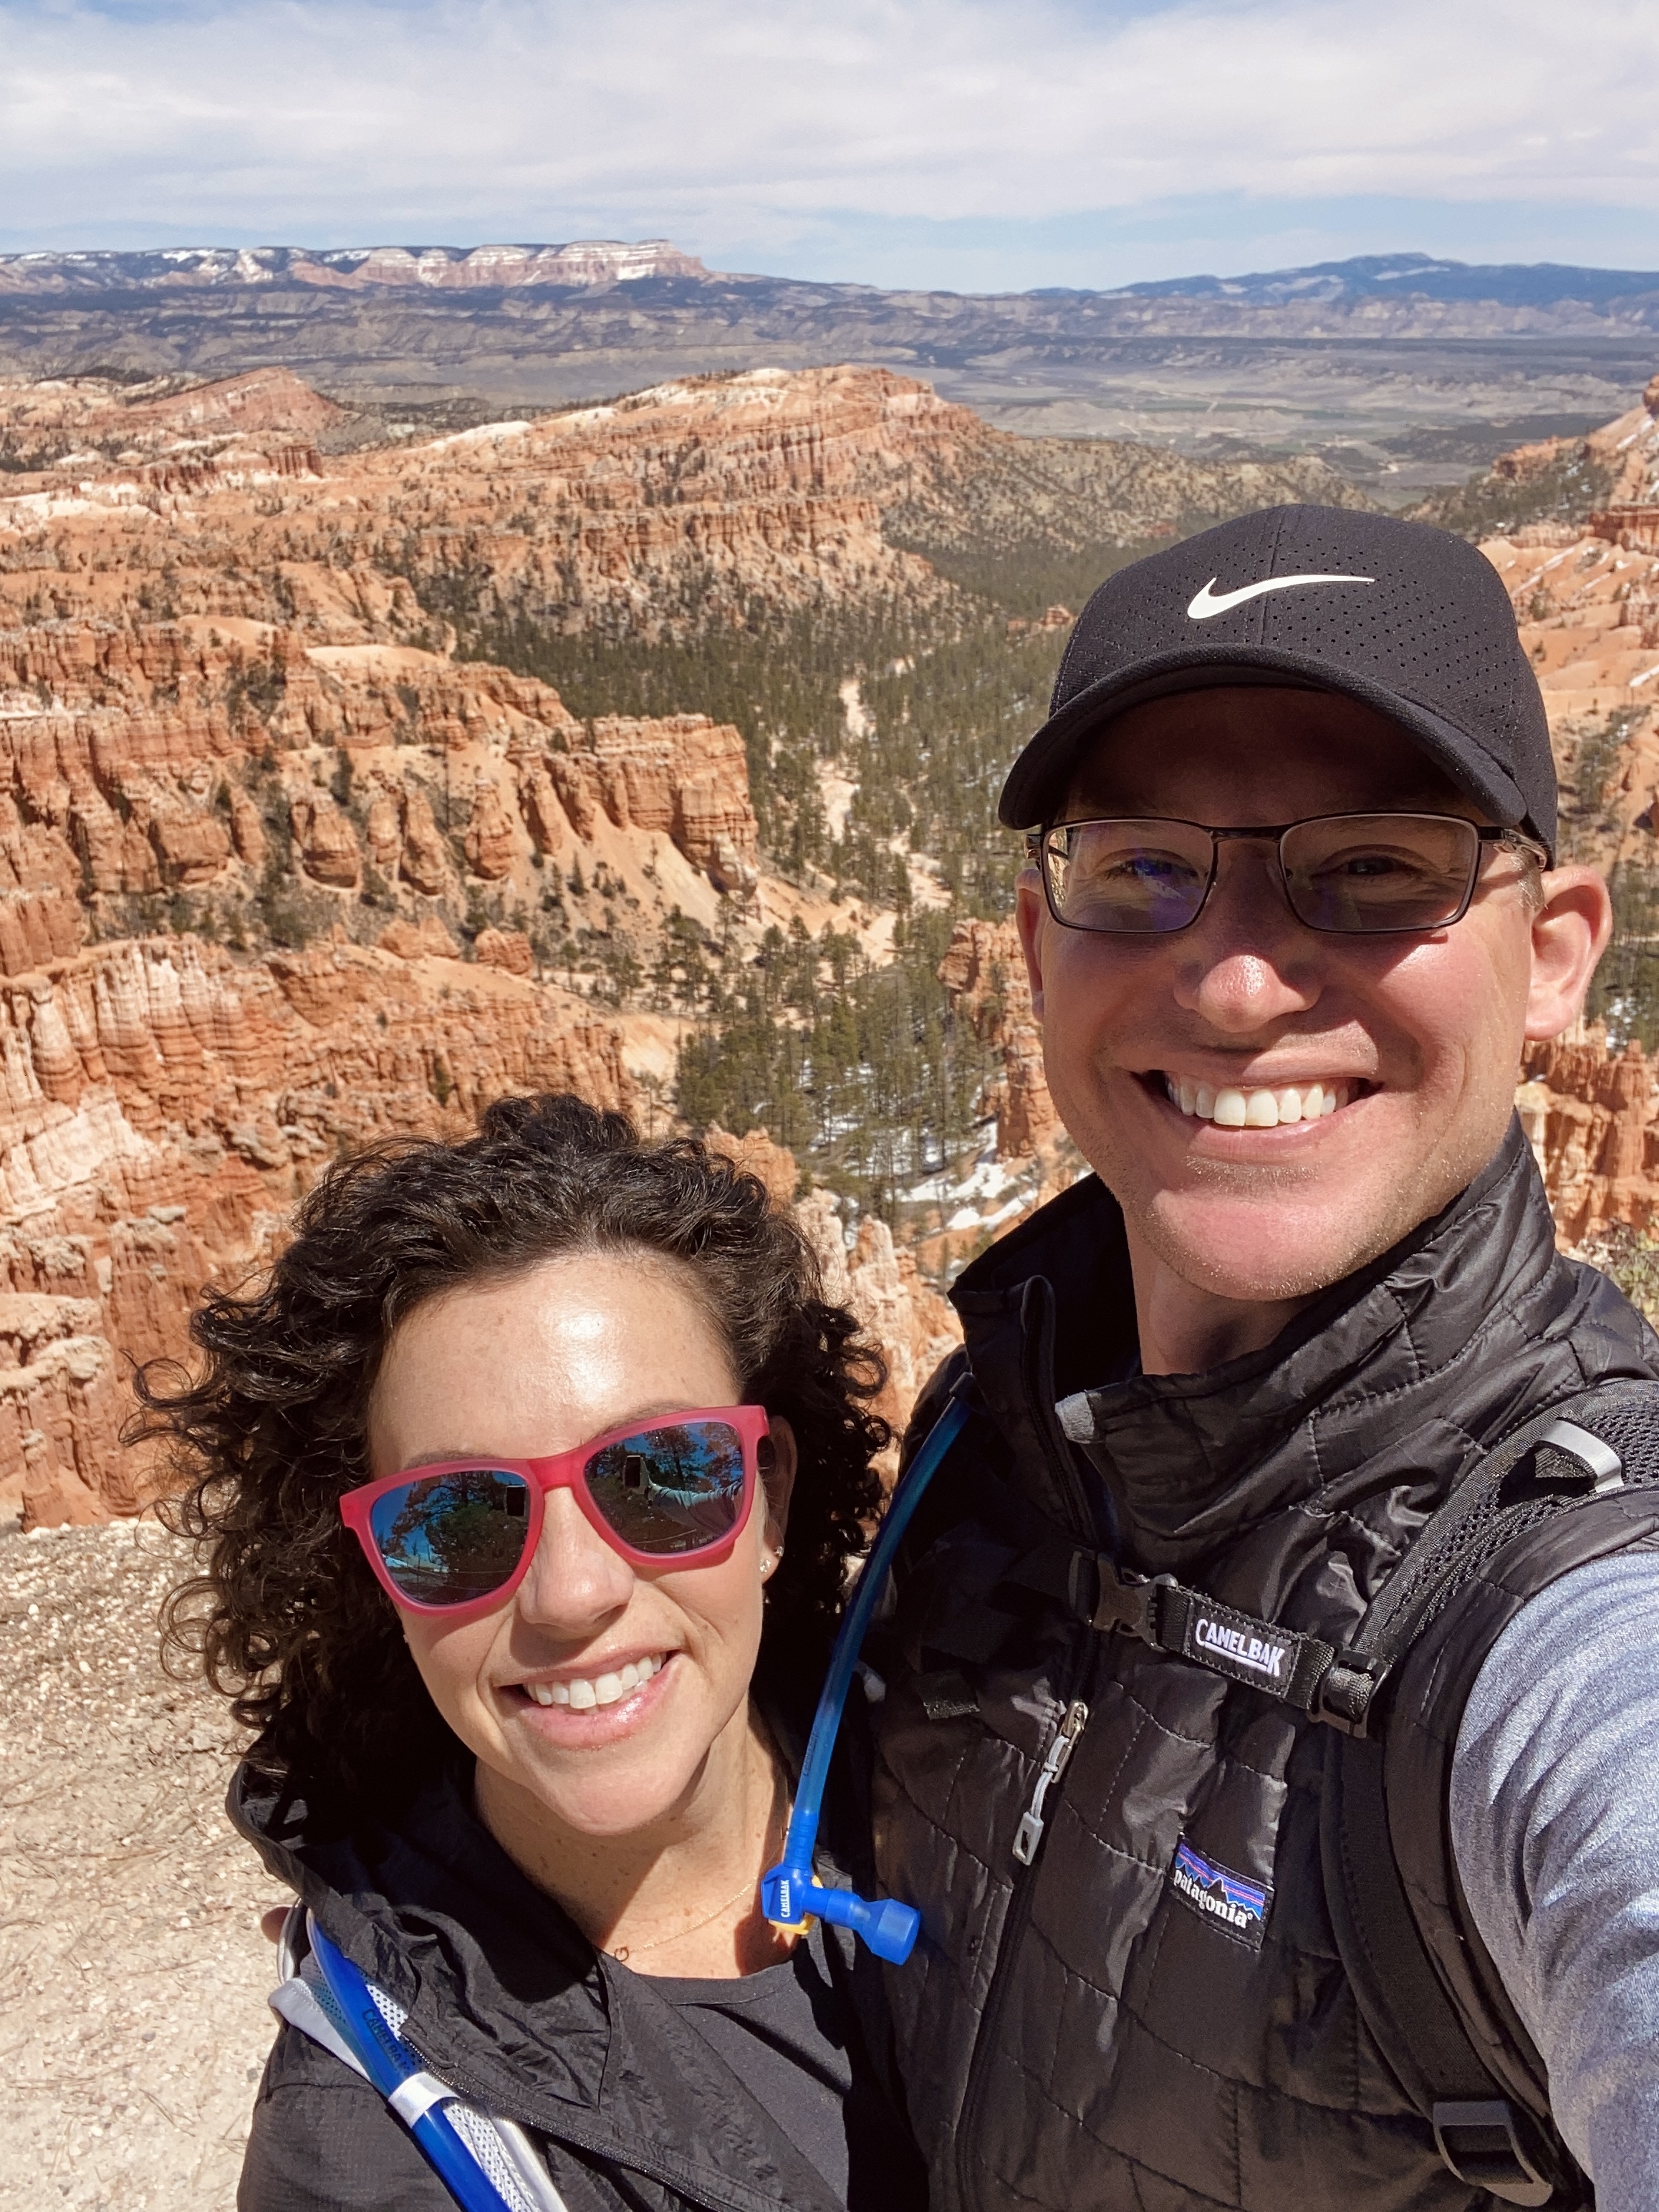
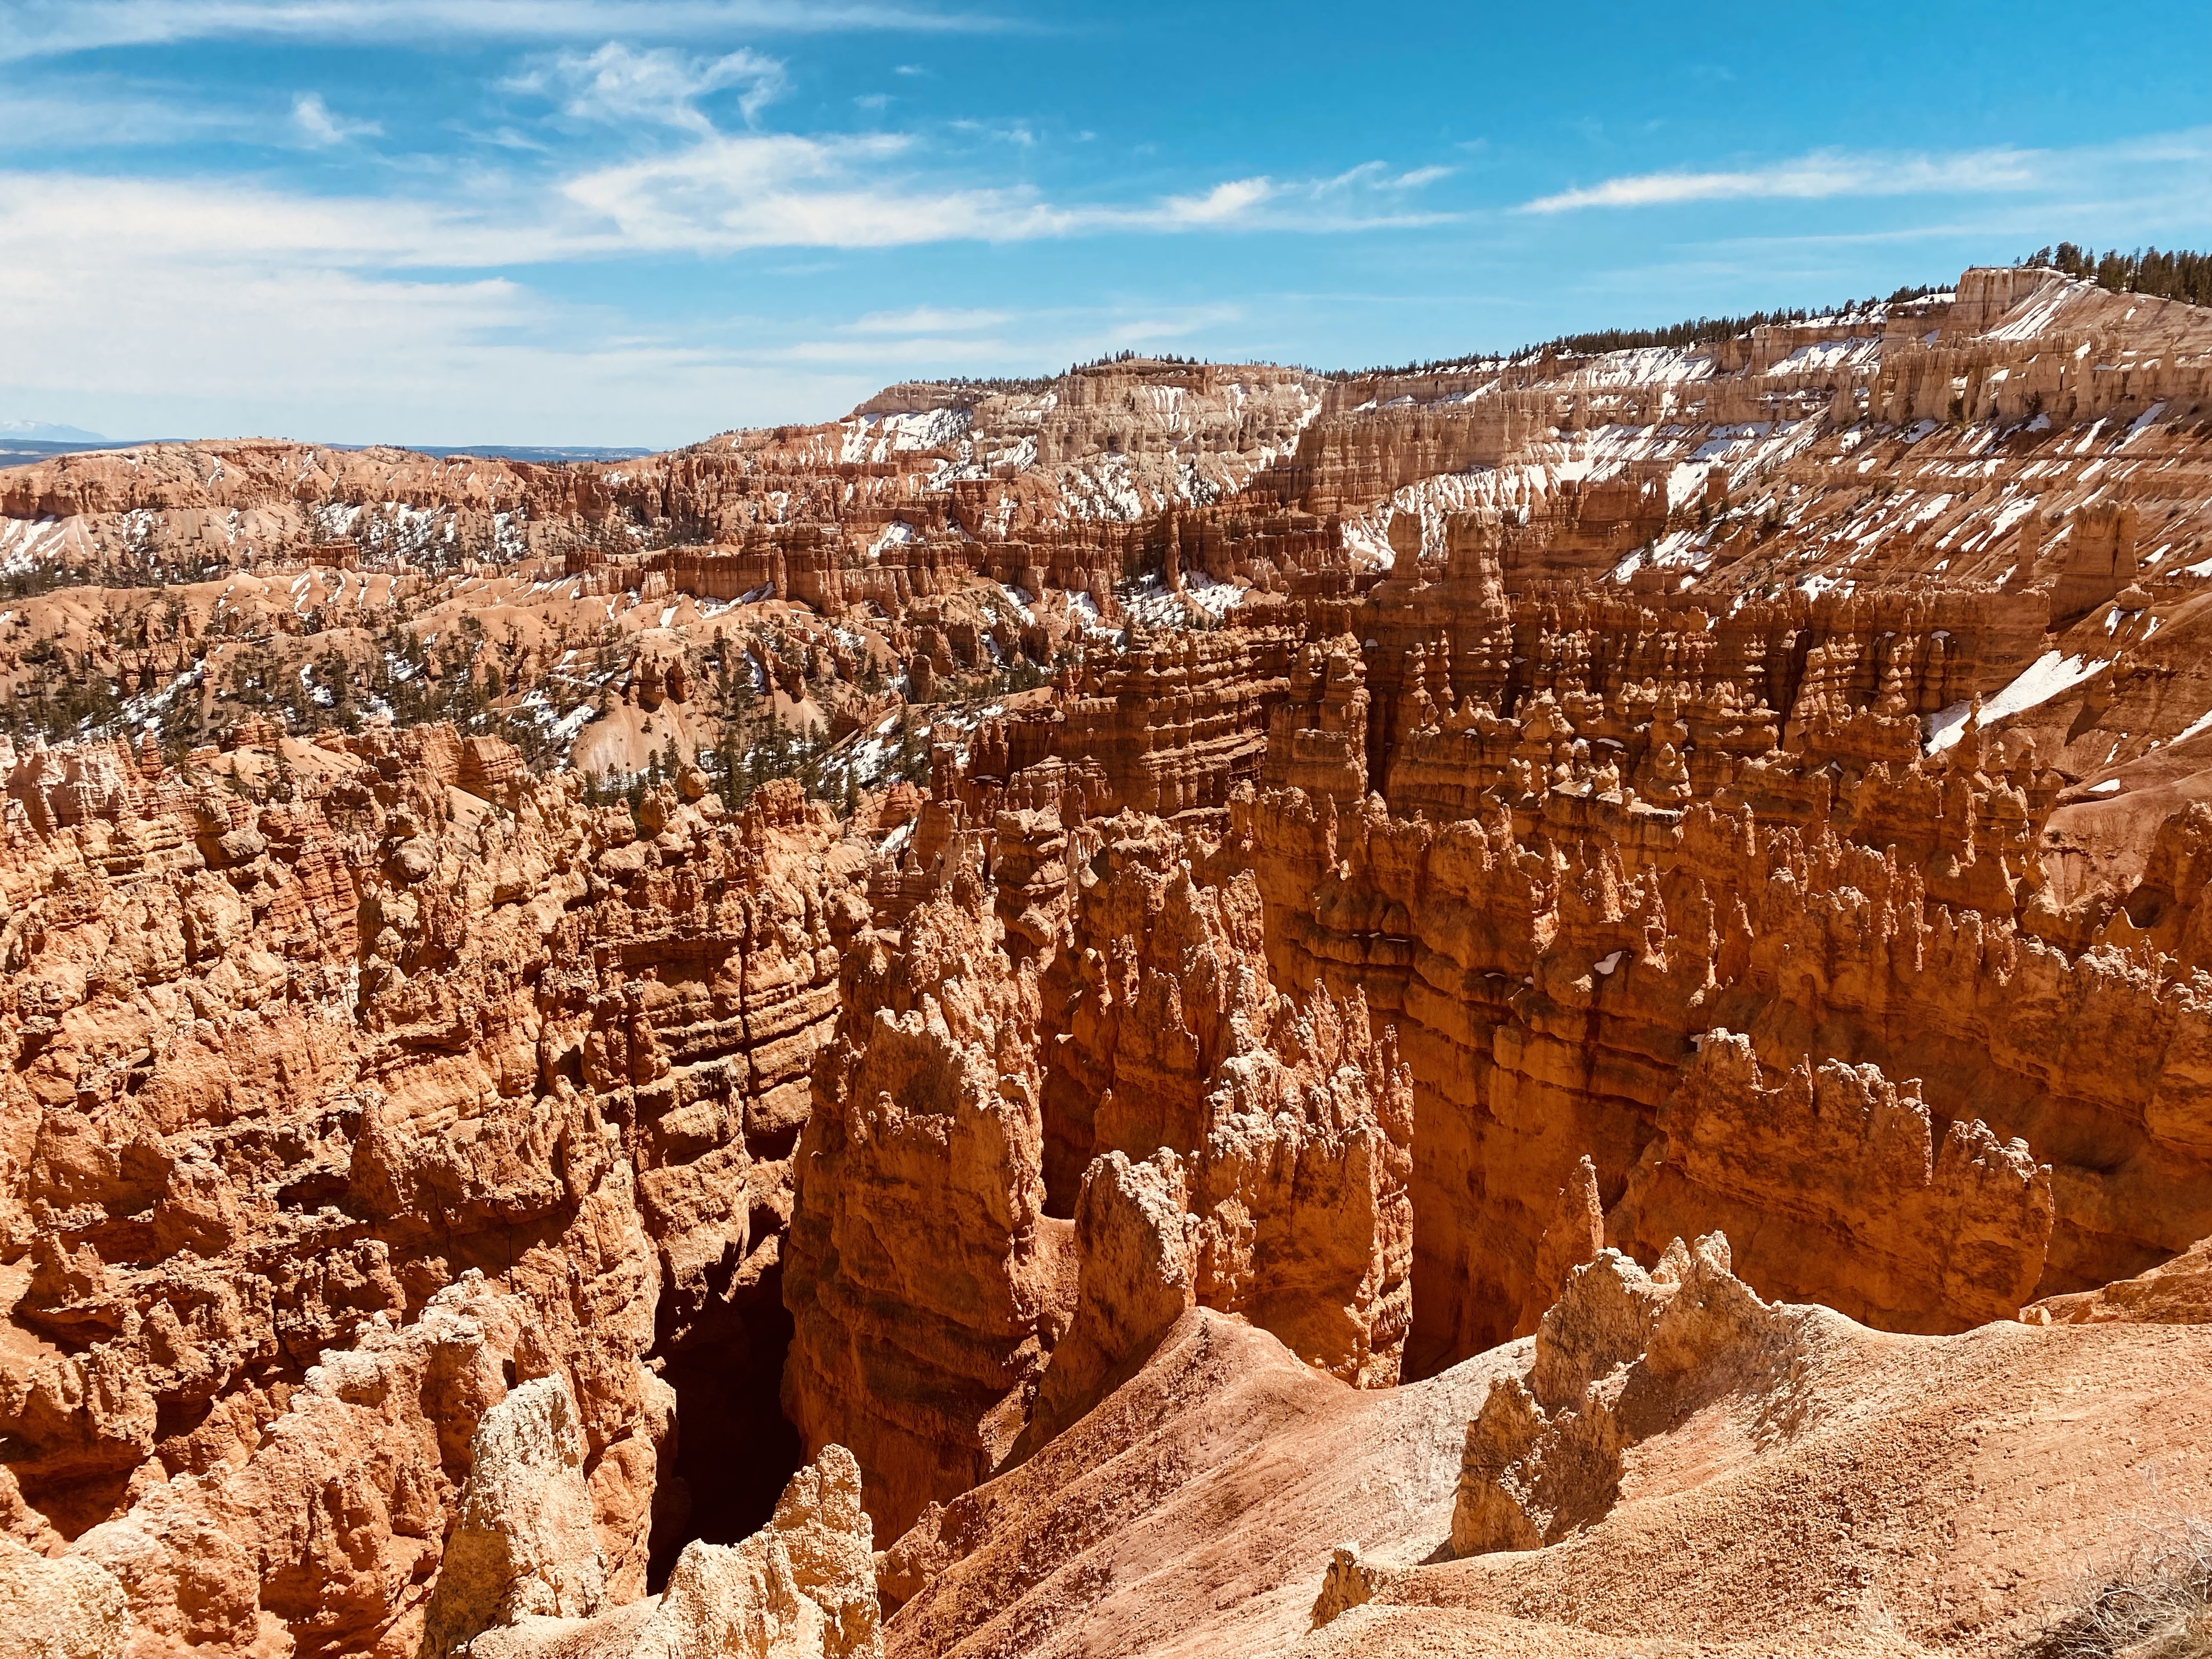
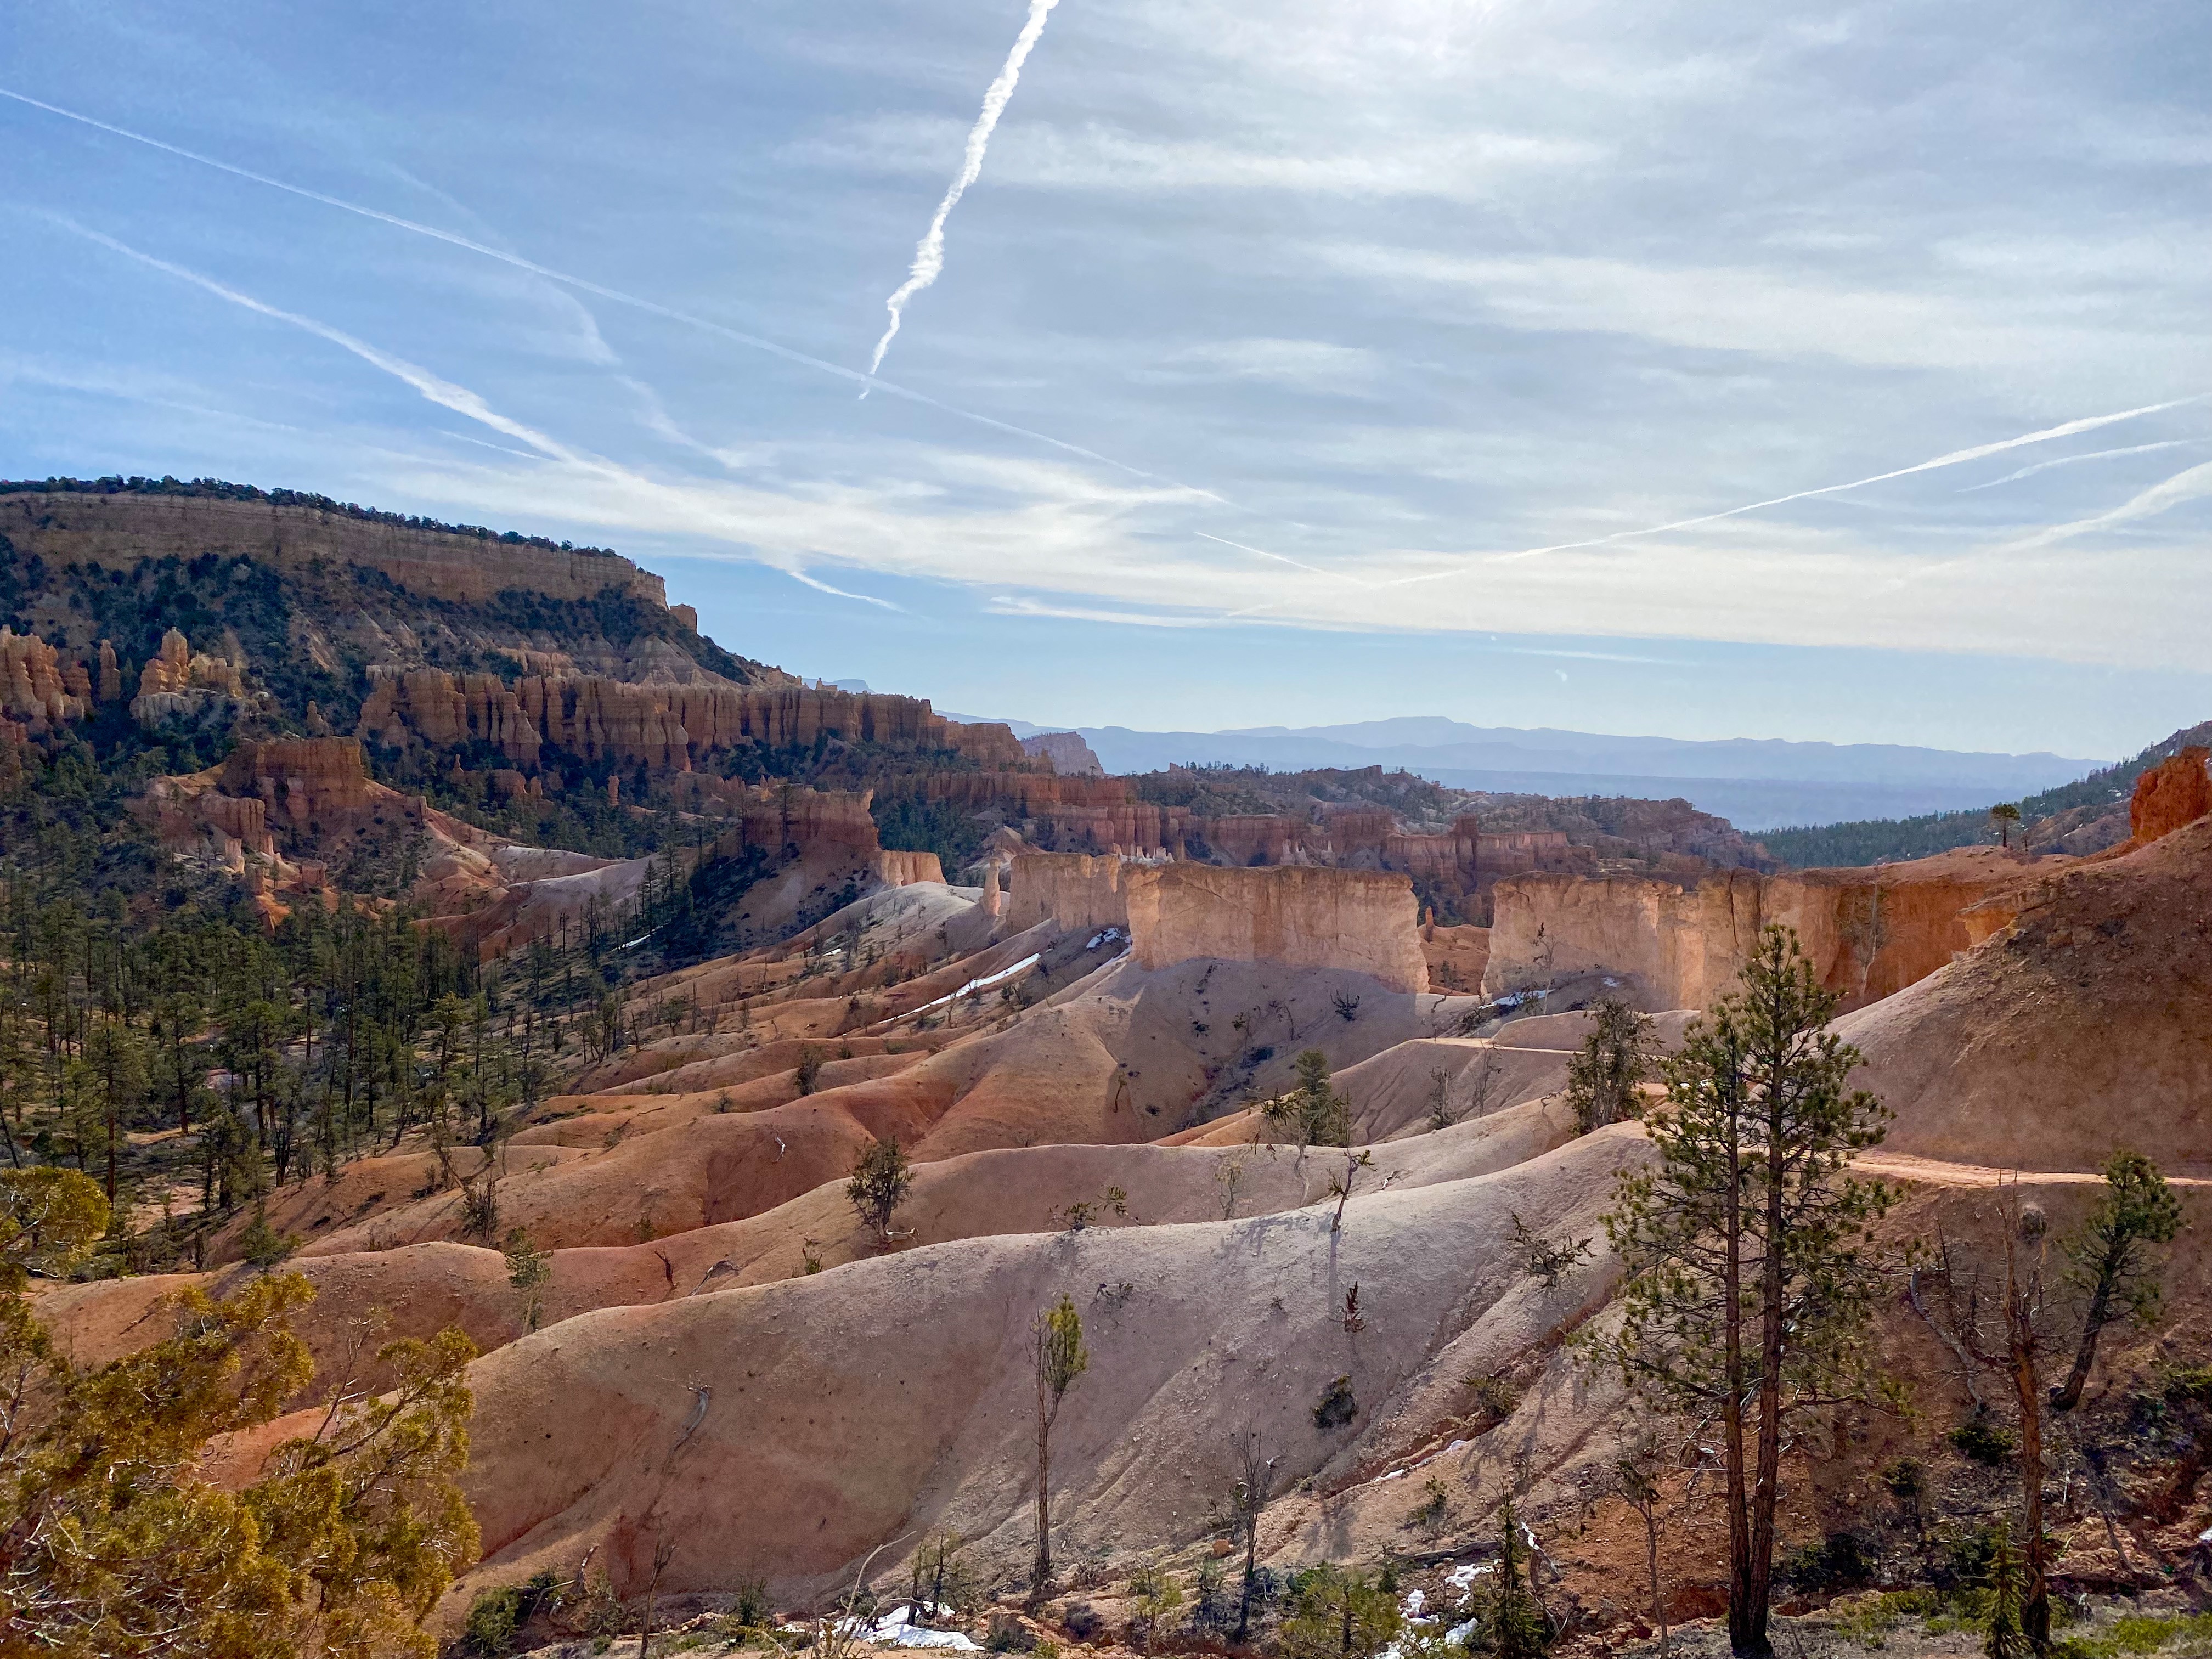
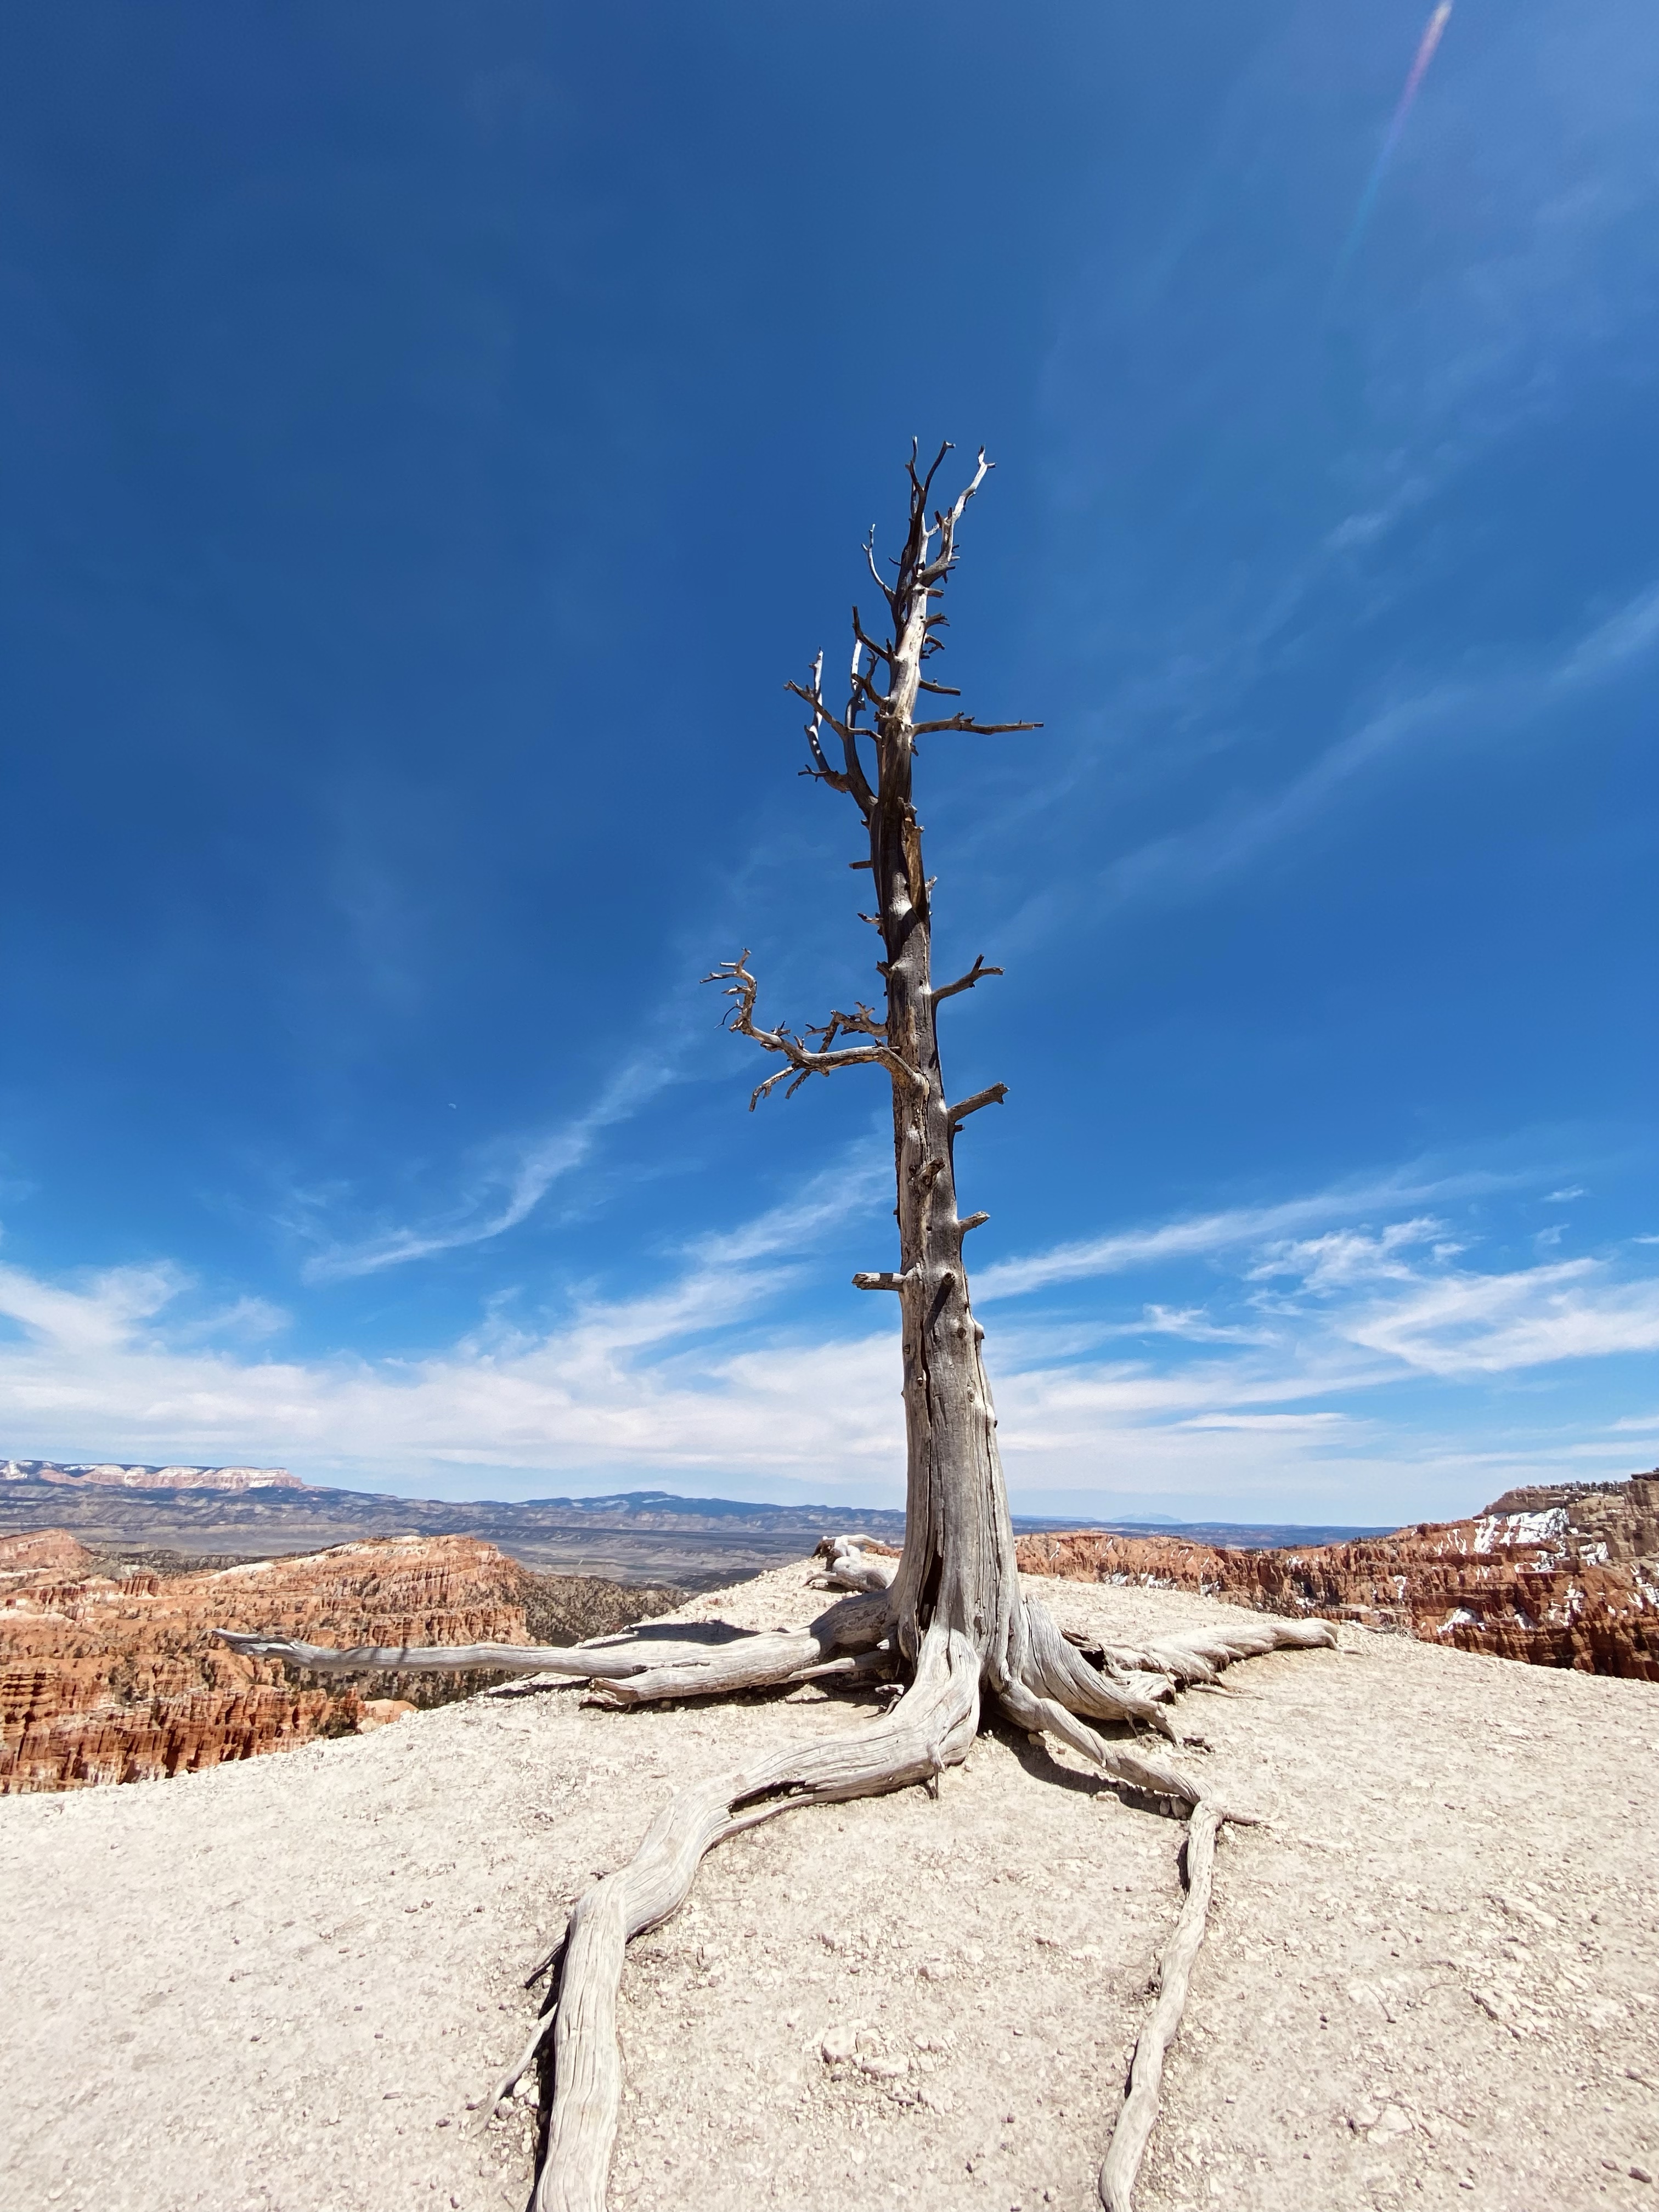
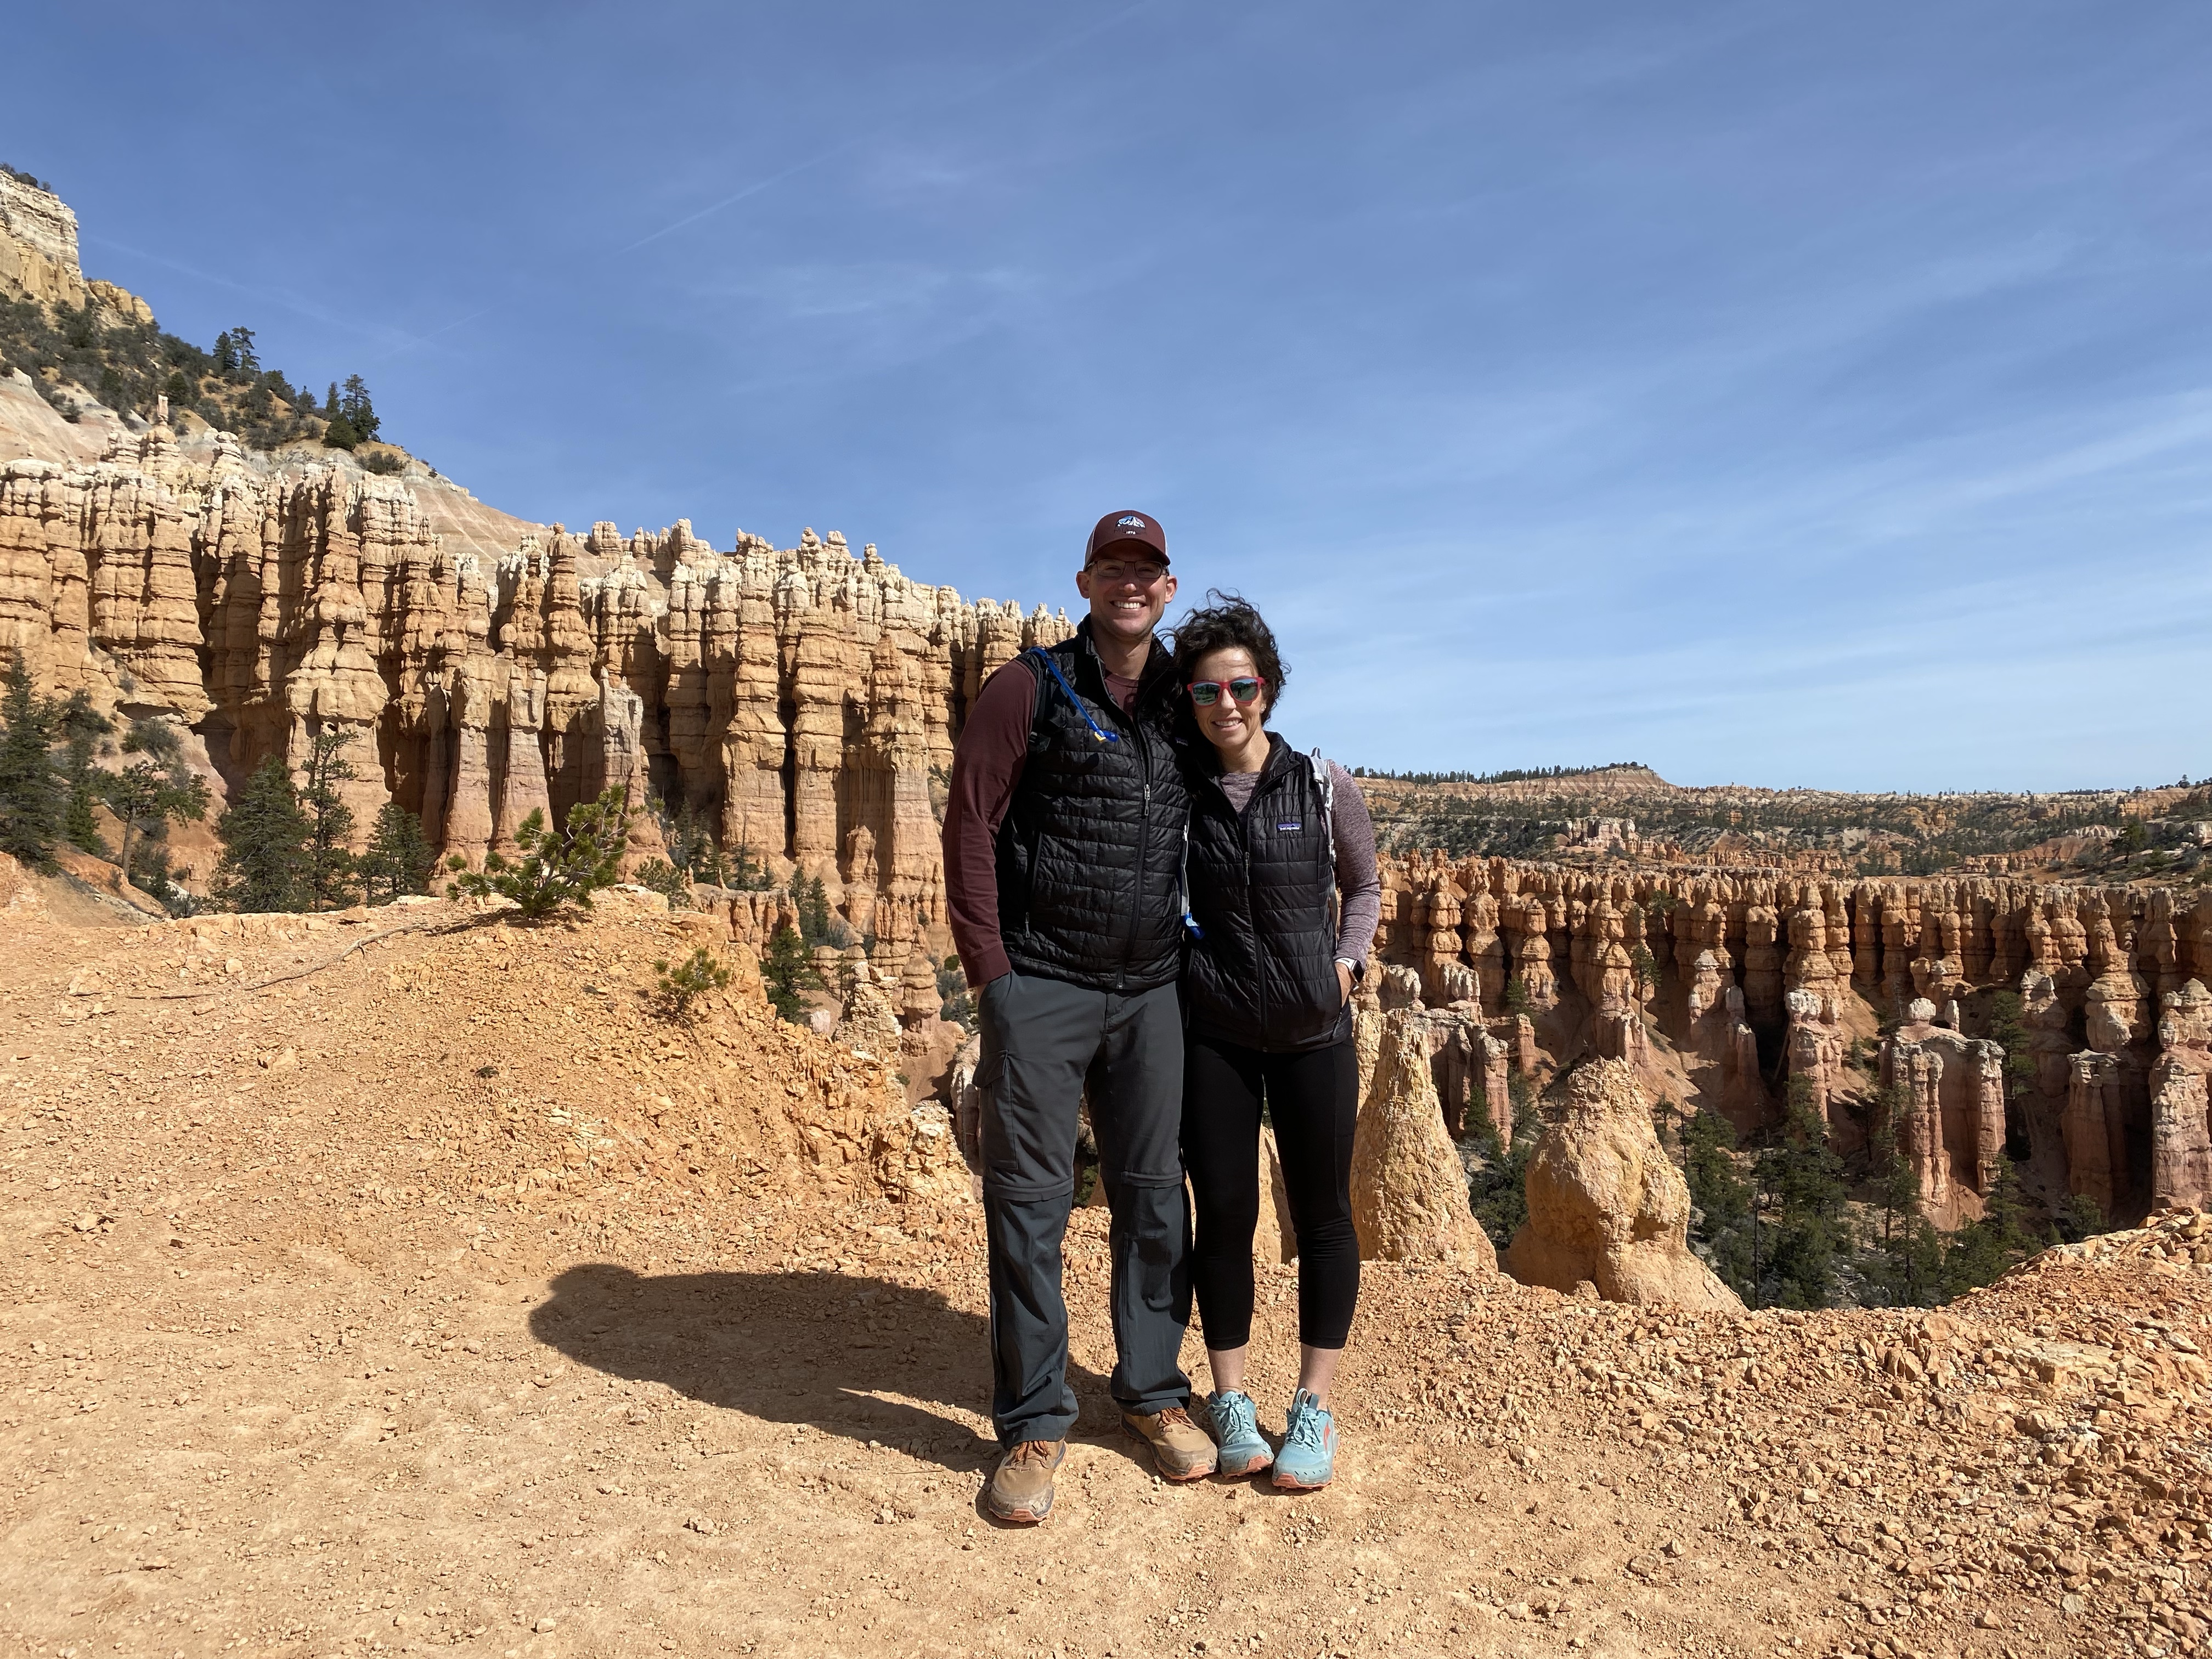
We decided to park at Inspiration Point which was a higher elevation overlooking the amphitheater. The views are incredible. Pictures cannot do justice of the scale of the amphitheater. Note, you will walk on the Rim Trail along the edge of the amphitheater until you reach the Queen’s Garden Trail entrance. This is mostly downhill so keep that in mind as the hike from this point to return is an out and back.
We weren’t able to hike the Navajo Loop Trail because of the melted snow that washed away most of the trail. We were still able to see the popular area from both the top and the base of the Navajo Trail. The switchbacks on the Navajo Trail are a popular highlight for many hikers but you will also experience views and hiking switchbacks on both the Queen’s Garden Trail and Peekaboo Loop Trail.
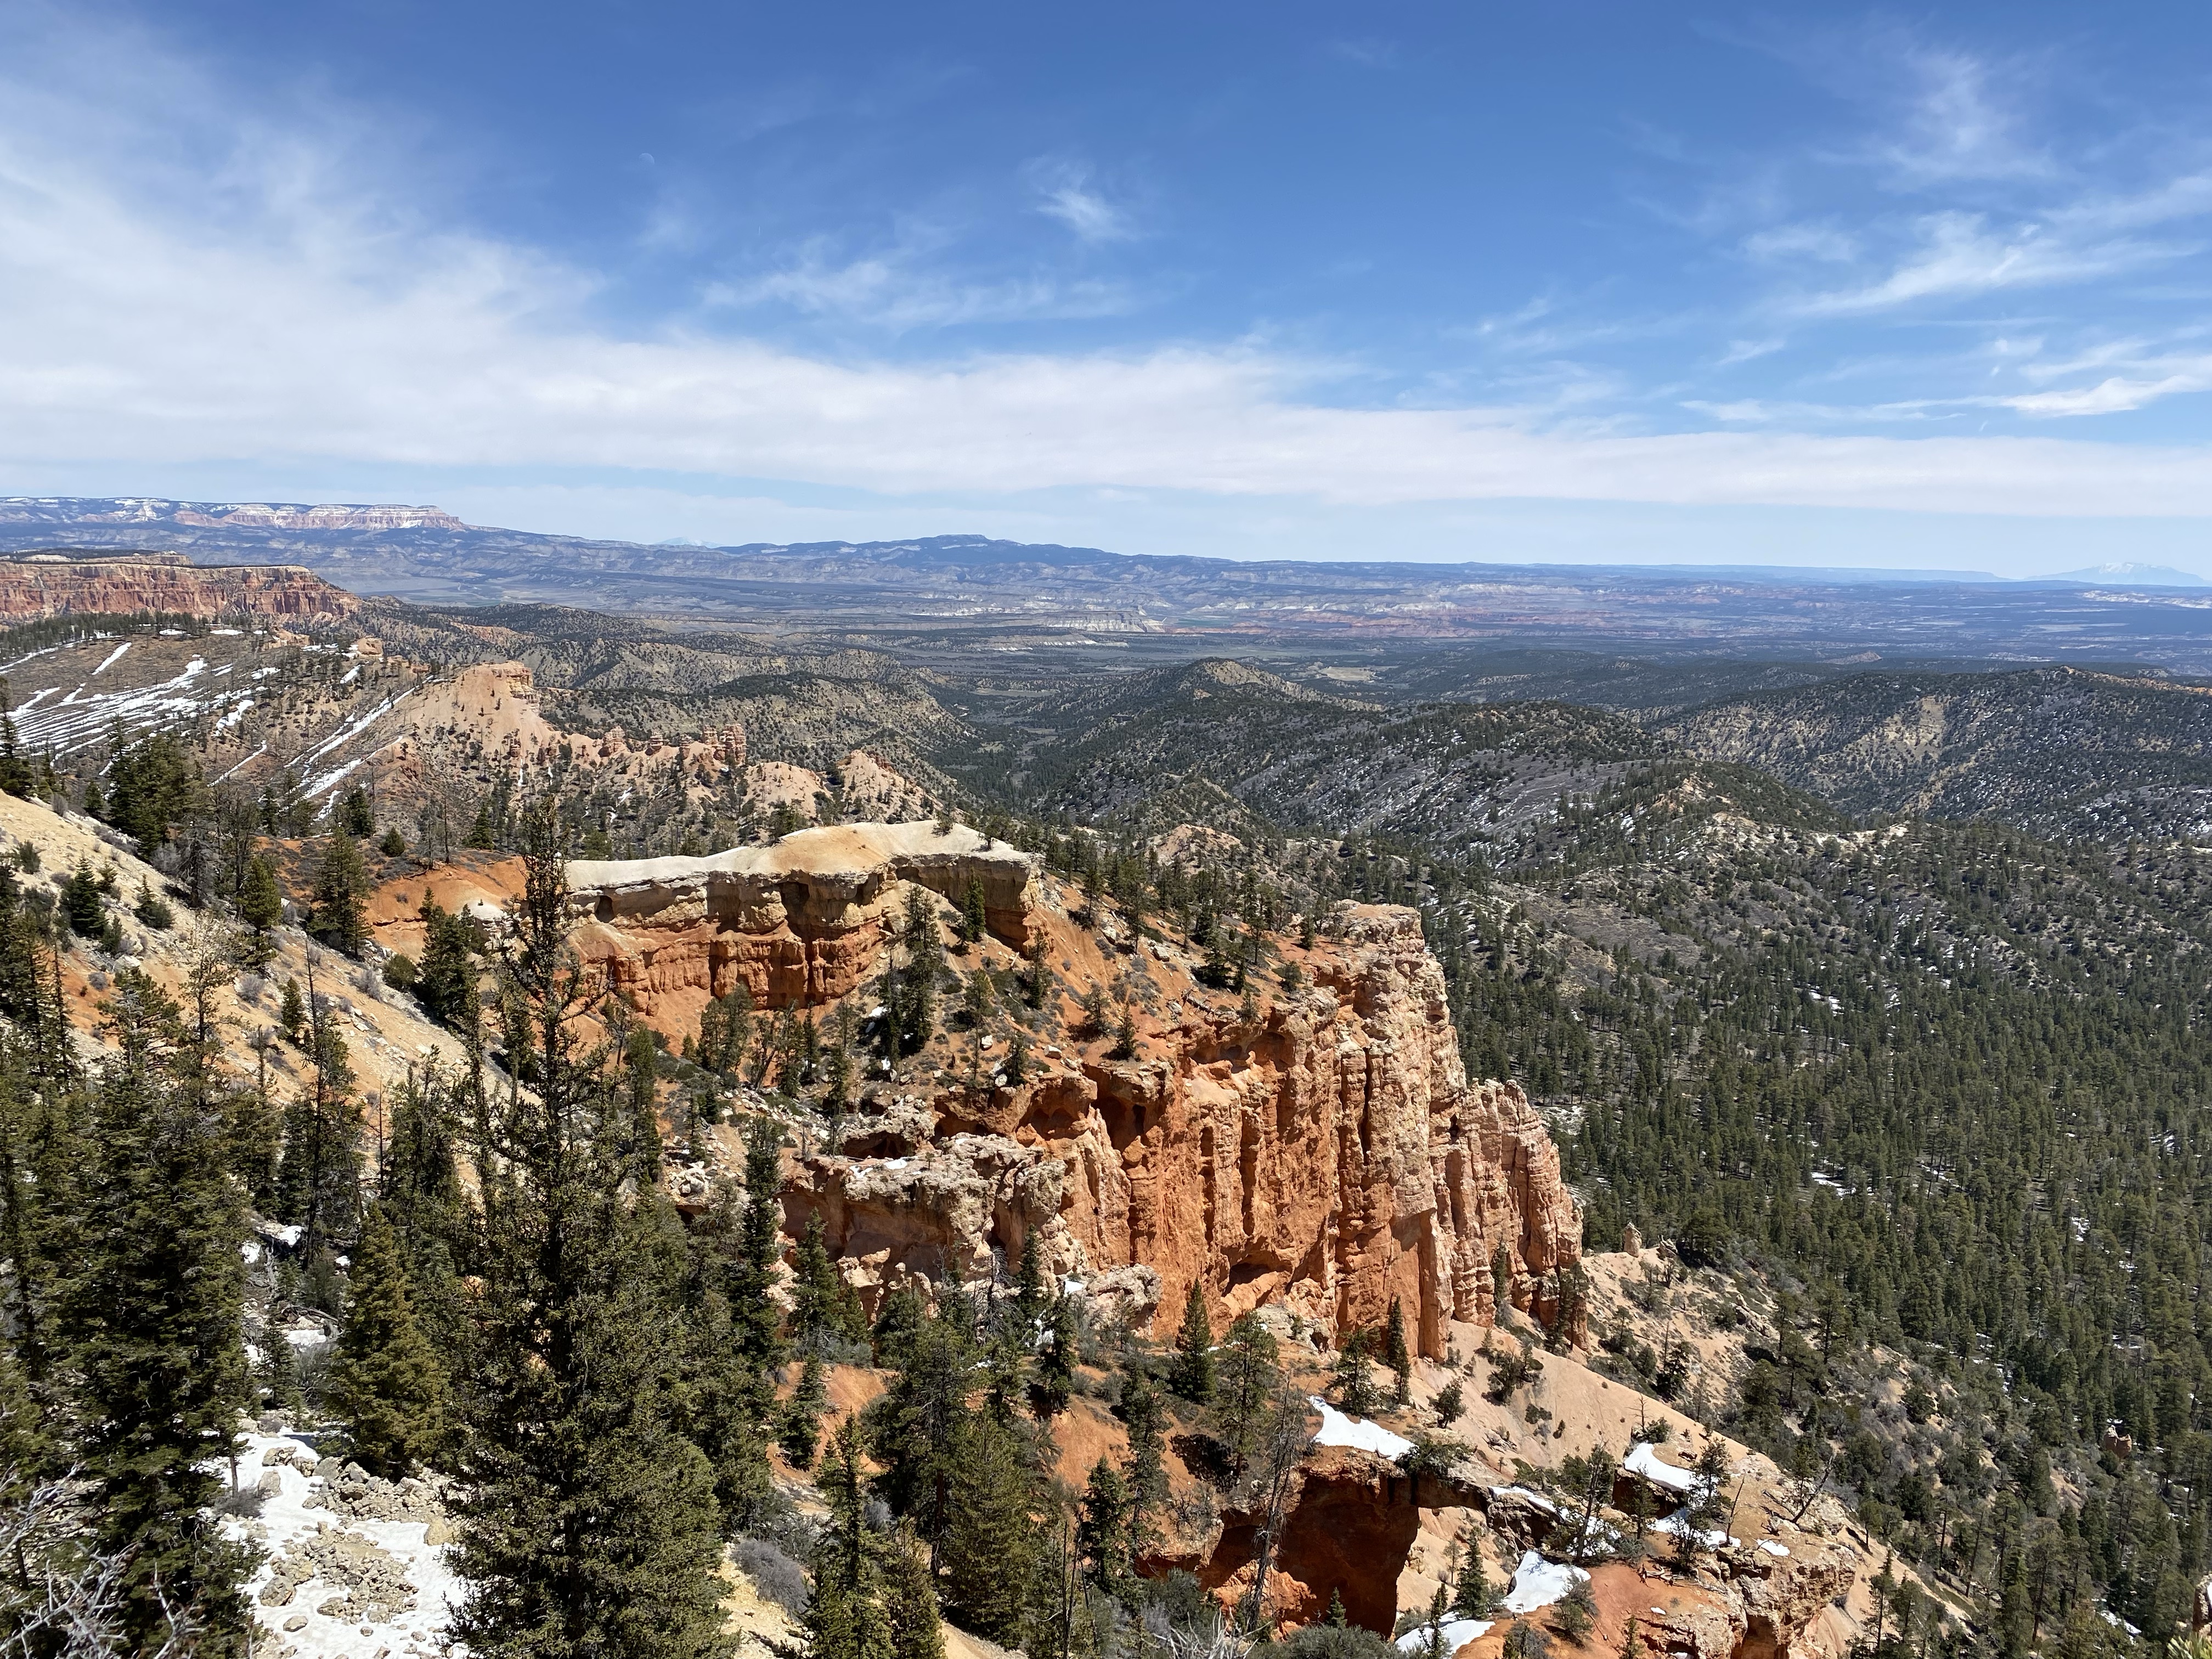
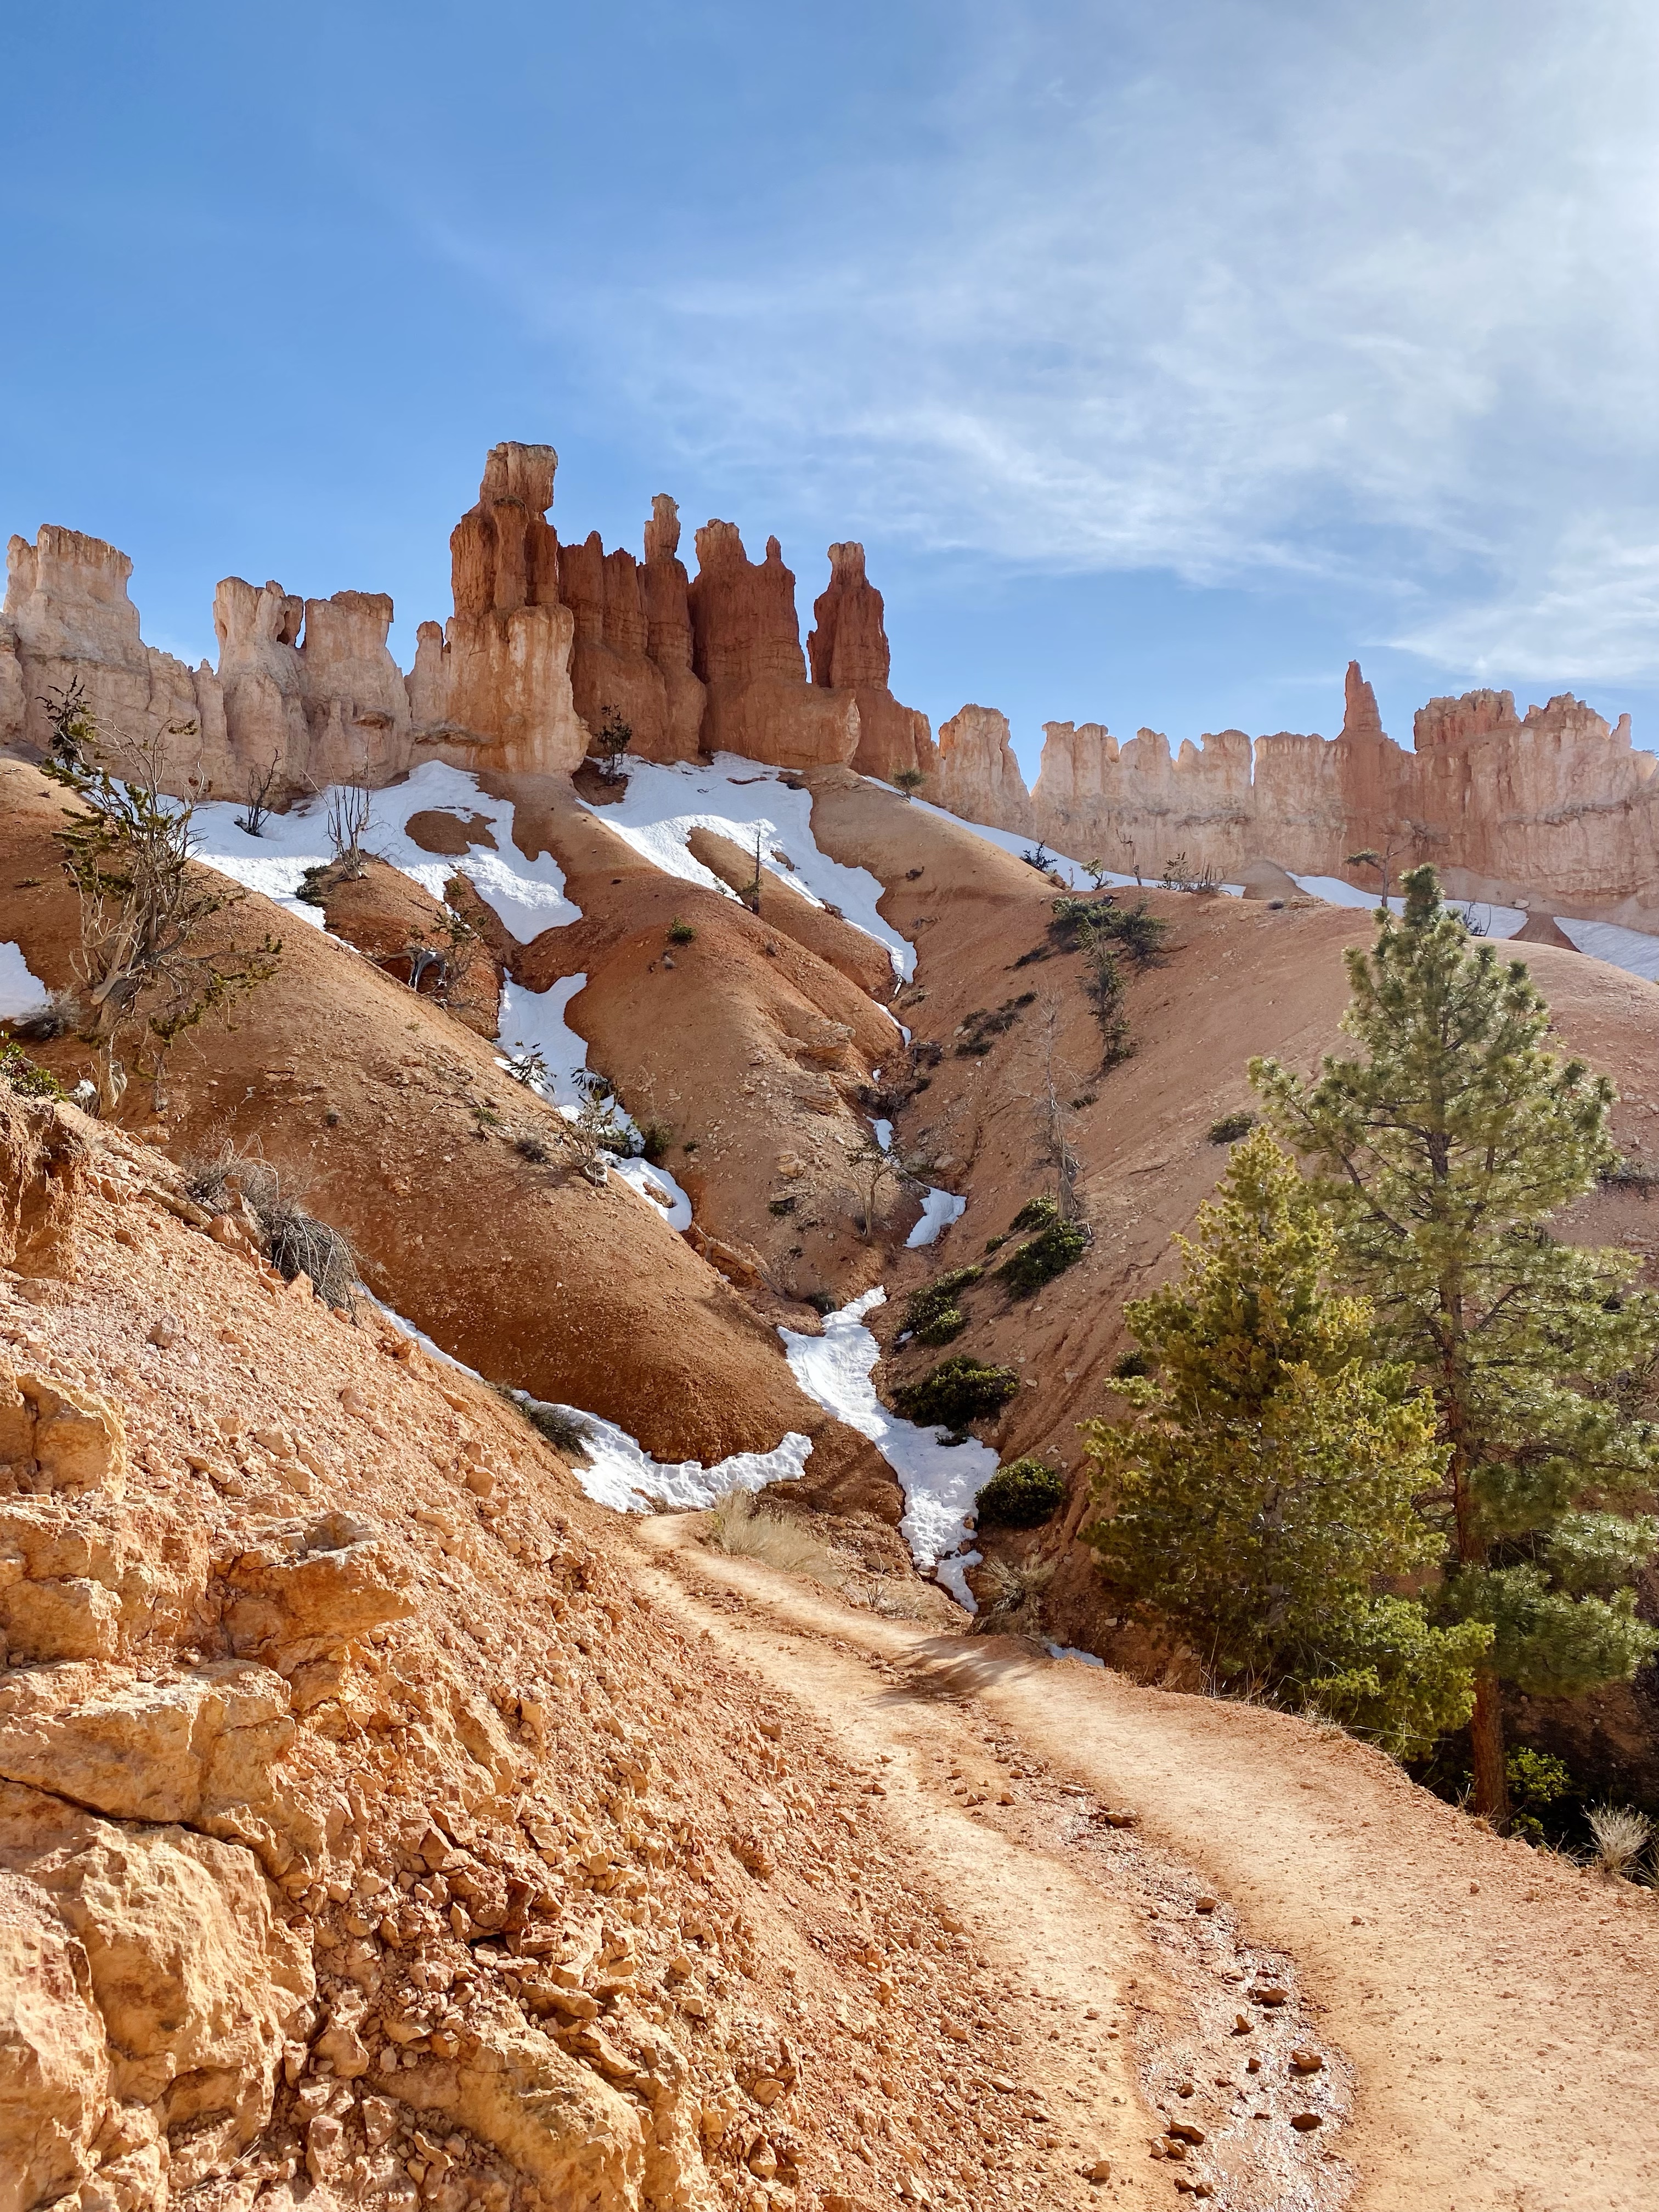
Bonus: Peekaboo Loop is a longer hike and considered strenuous. We felt the difficulty while hiking it as you ascend and descend a lot. We hiked the trail in a counterclockwise direction which, as I’m looking back on the park map now, it was recommended to hike clockwise. Given our experience and the views we had, I’d actually recommend hiking counterclockwise as we did.
See why from these views:
We’re so glad we pushed ourselves to hike one of the longer trails in Bryce on the first day and highly recommend it. Because there are so many places to stop and viewpoints to take pictures of along the way, you’ll have moments of rest throughout the hike.
You will also look forward to getting back to your car to sit at the end. Our leg muscles started twitched the moment we stopped and sat.
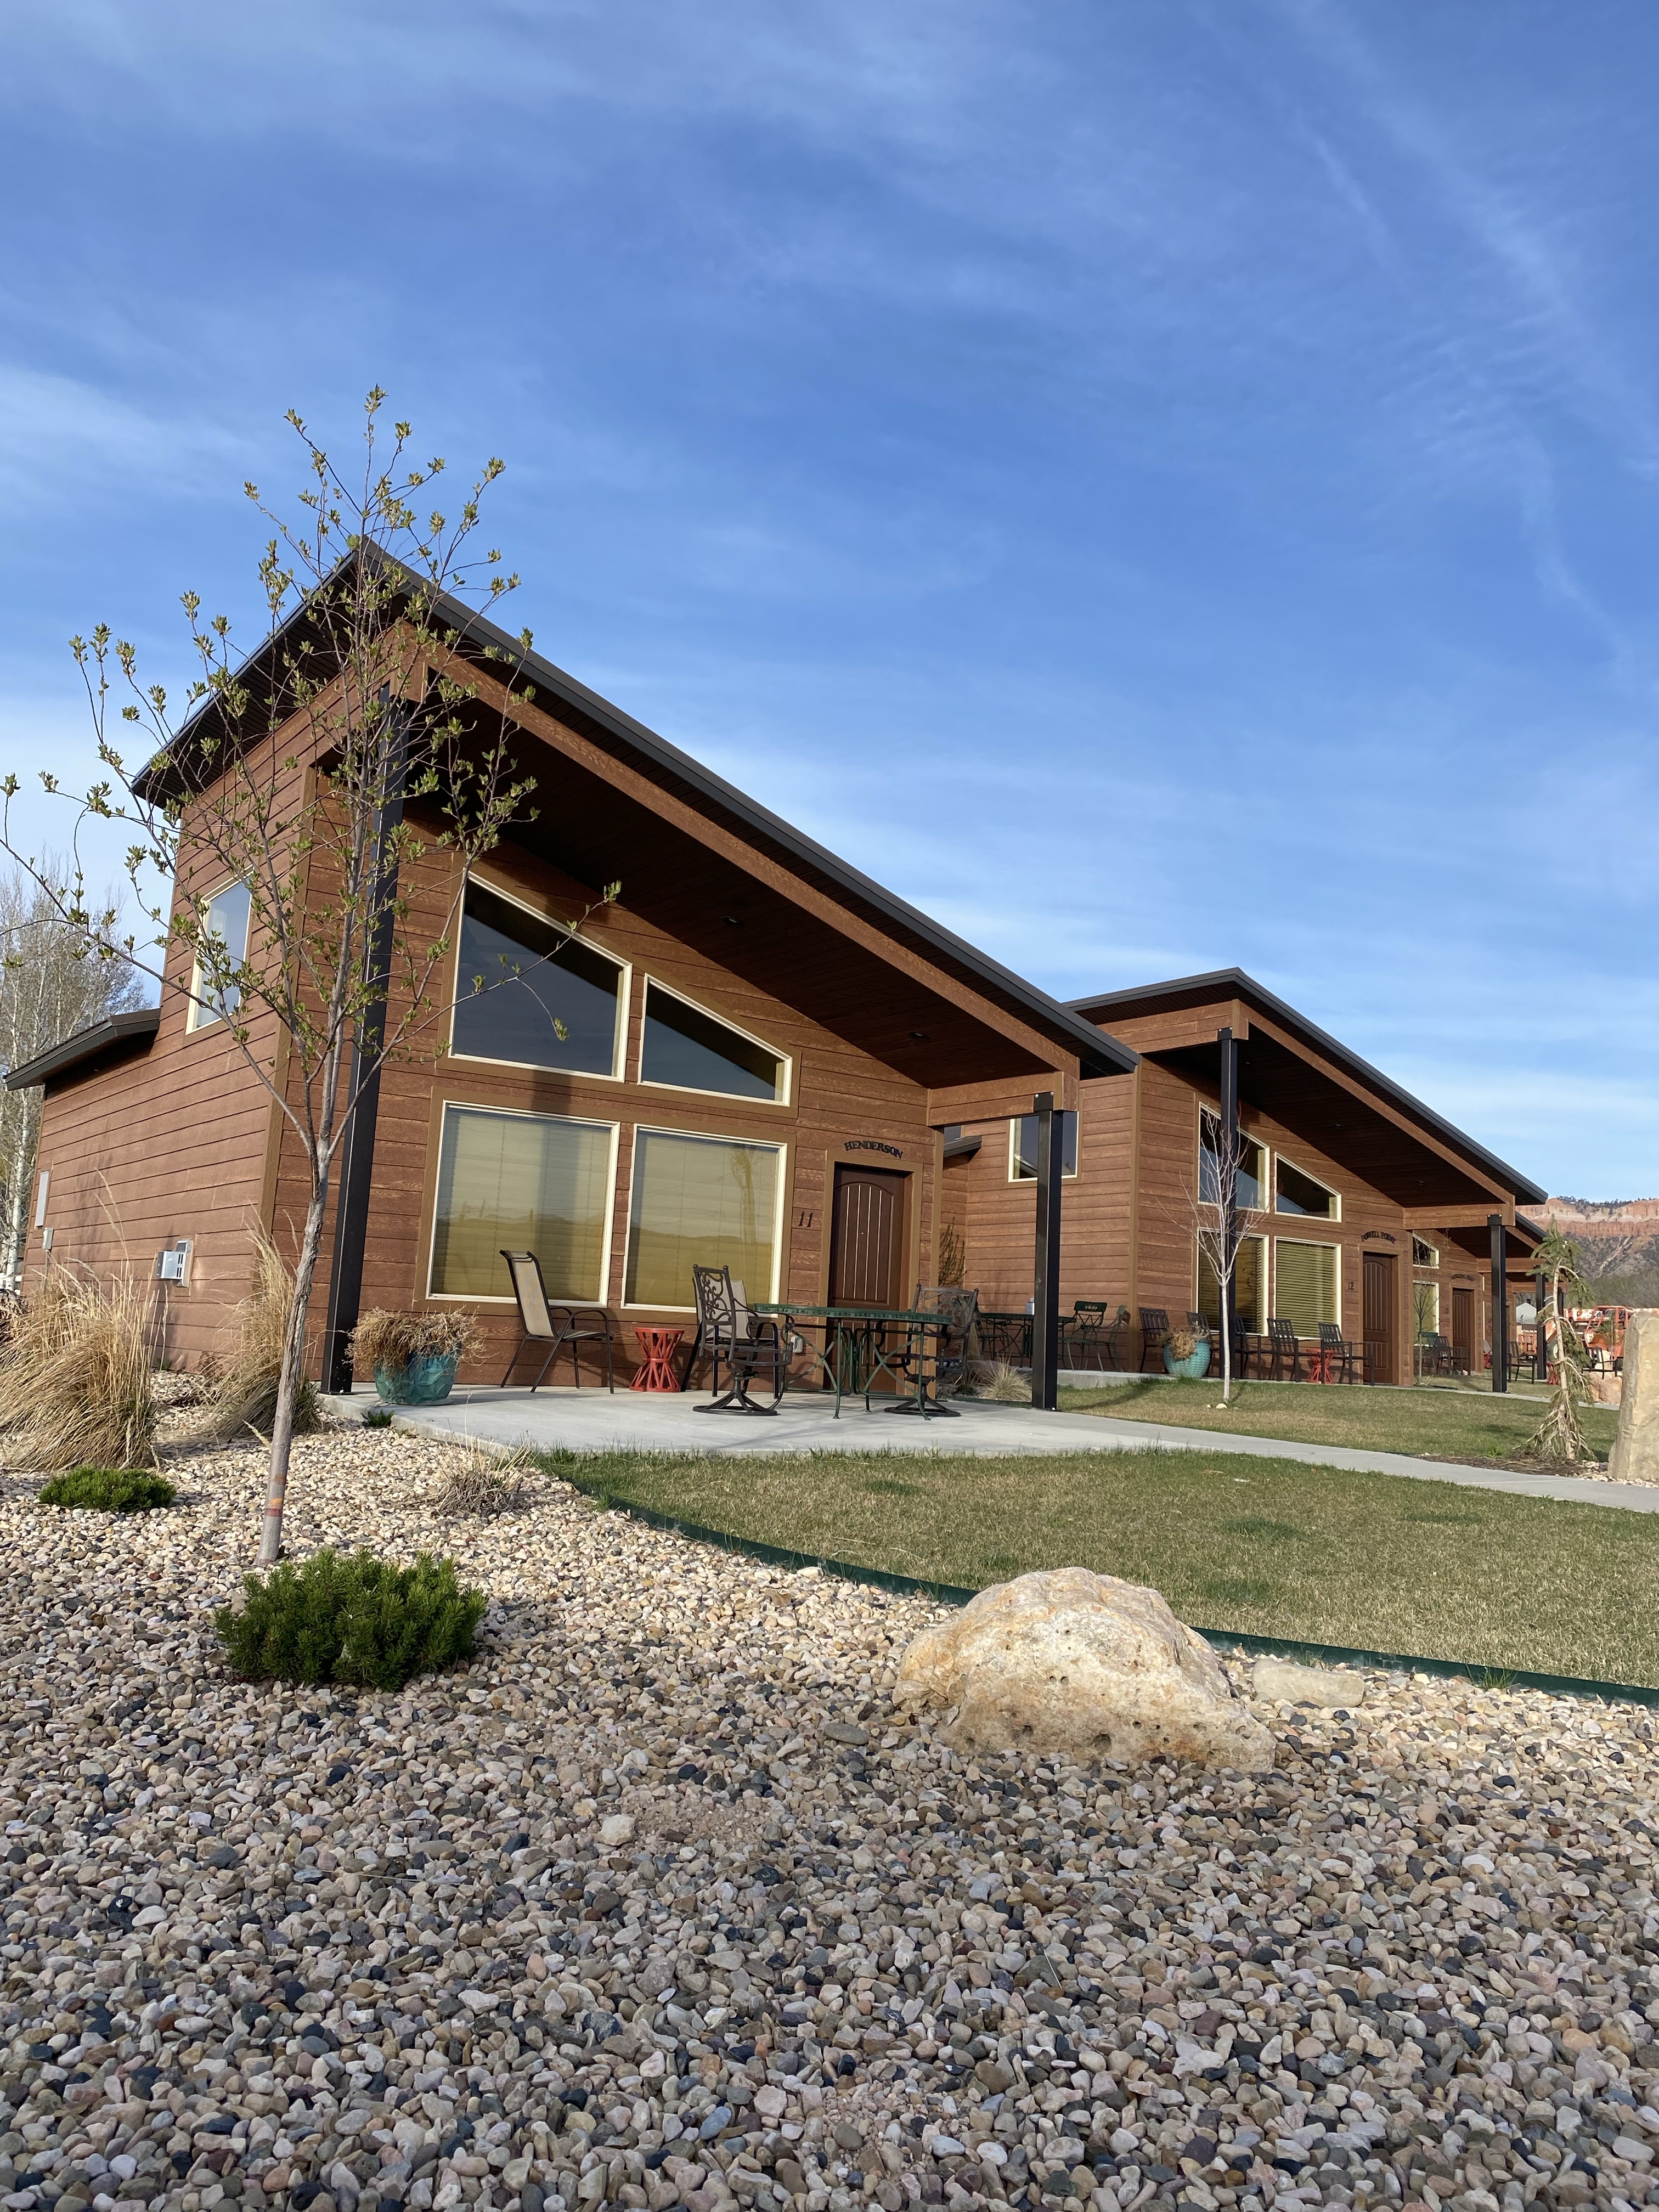
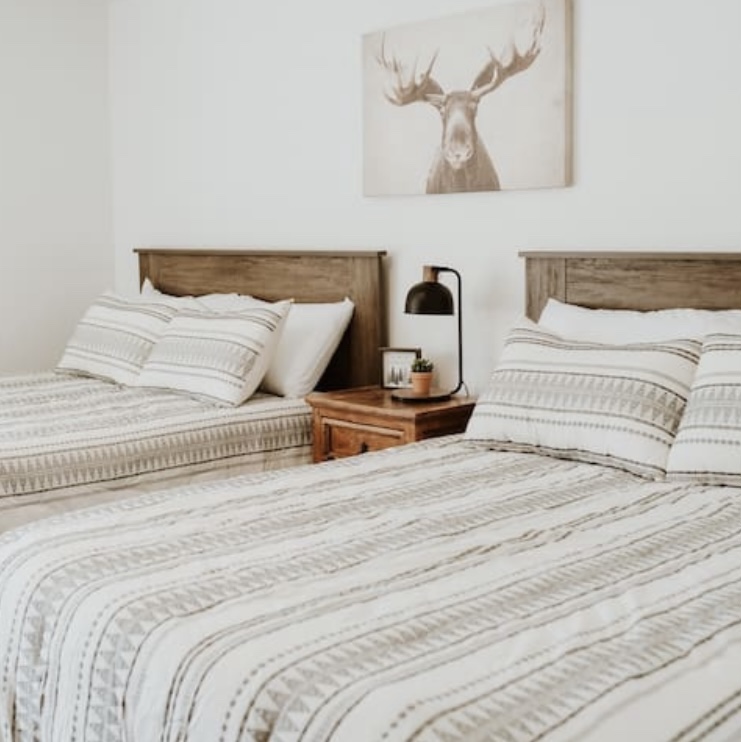
From here, we checked into our AirBnB in Tropic, UT which is only about a 20 minute drive. It’s a very small town with only a couple options for dining. The first night we ate at Rustler’s Restaurant. We barely made it before they closed but they happily served us. Adam ordered a Ribeye with sides and I ordered a grilled chicken Caesar salad. When you are as hungry as we were, it was an exceptional meal, particularly the fresh baked bread loaf they brought to the table.
We identified the only location we’d be able to get coffee in town first thing the next morning and made our way back to our AirBnB.
Headed to morning coffee in Tropic, UTImages from AirBnB listing.
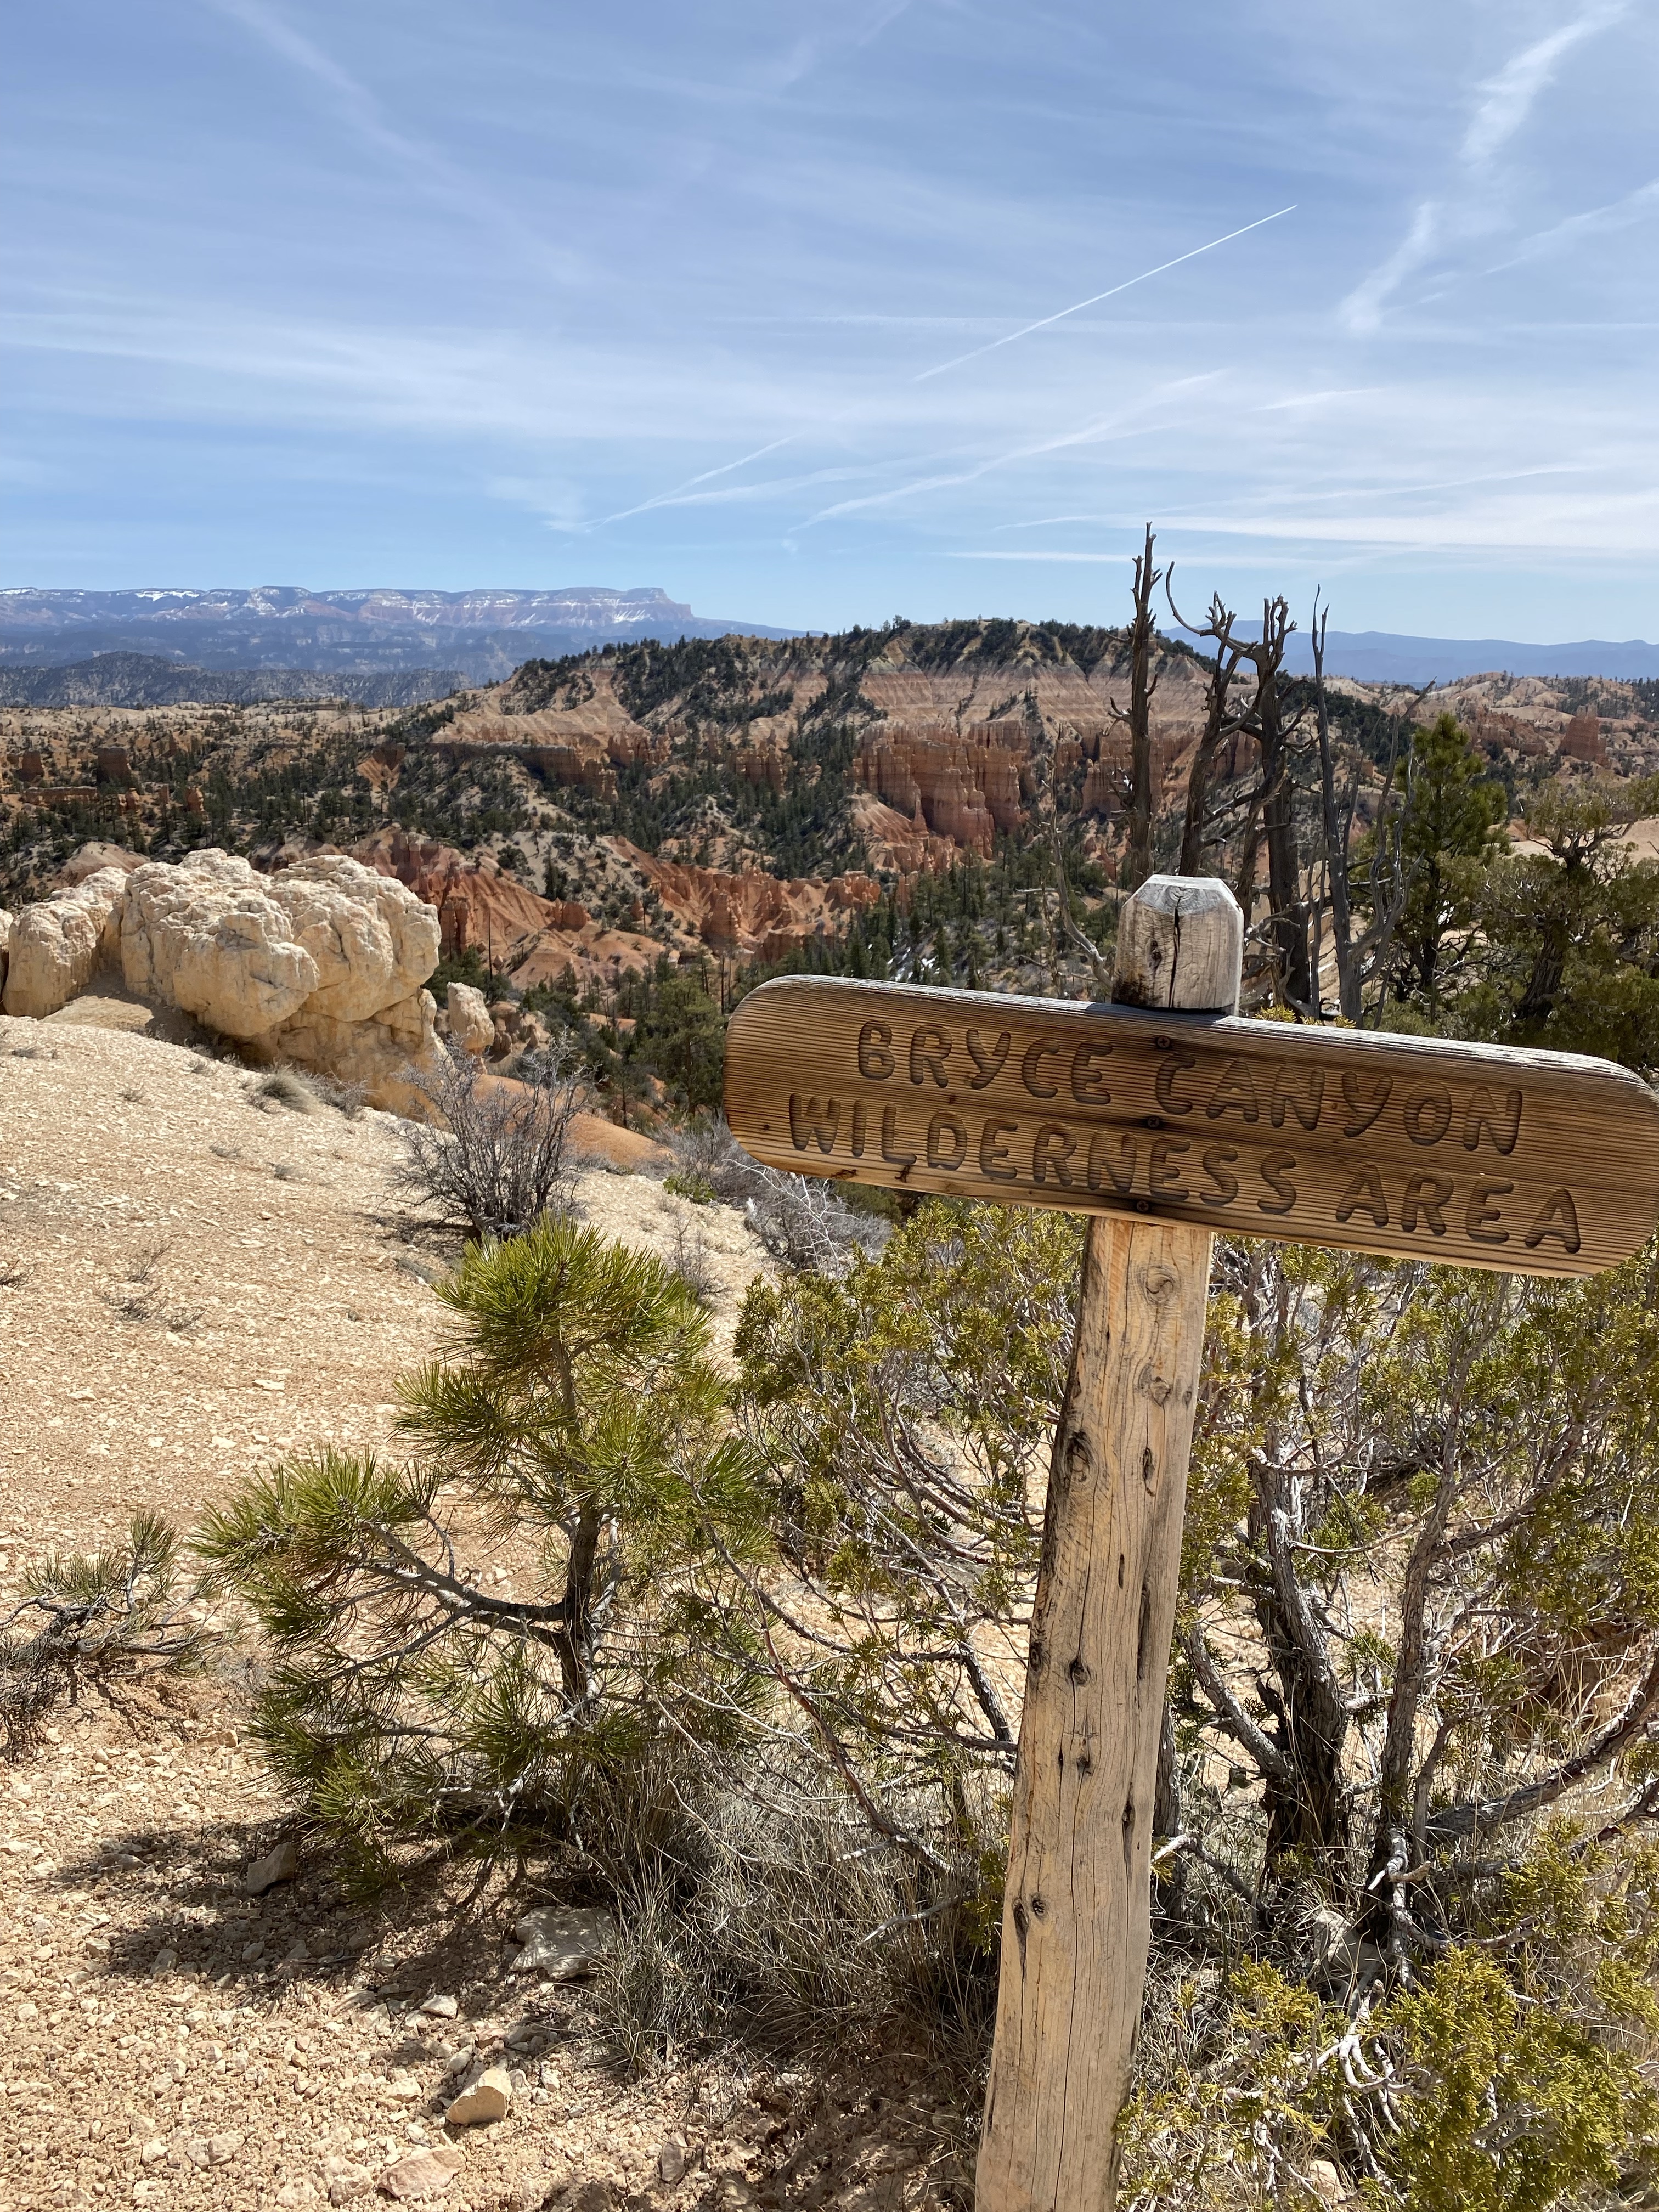
Day 2: Fairyland Loop Trail (8 Miles), plus The West Rim Trail out and back, totaling a 10 mile hike day.
We heated up oatmeal and leftover egg white and veggie omelets from our Zion hotel, I made lunches and packed snacks in our Camelbaks for the day and we headed for coffee at Bryce Canyon Coffee Co.
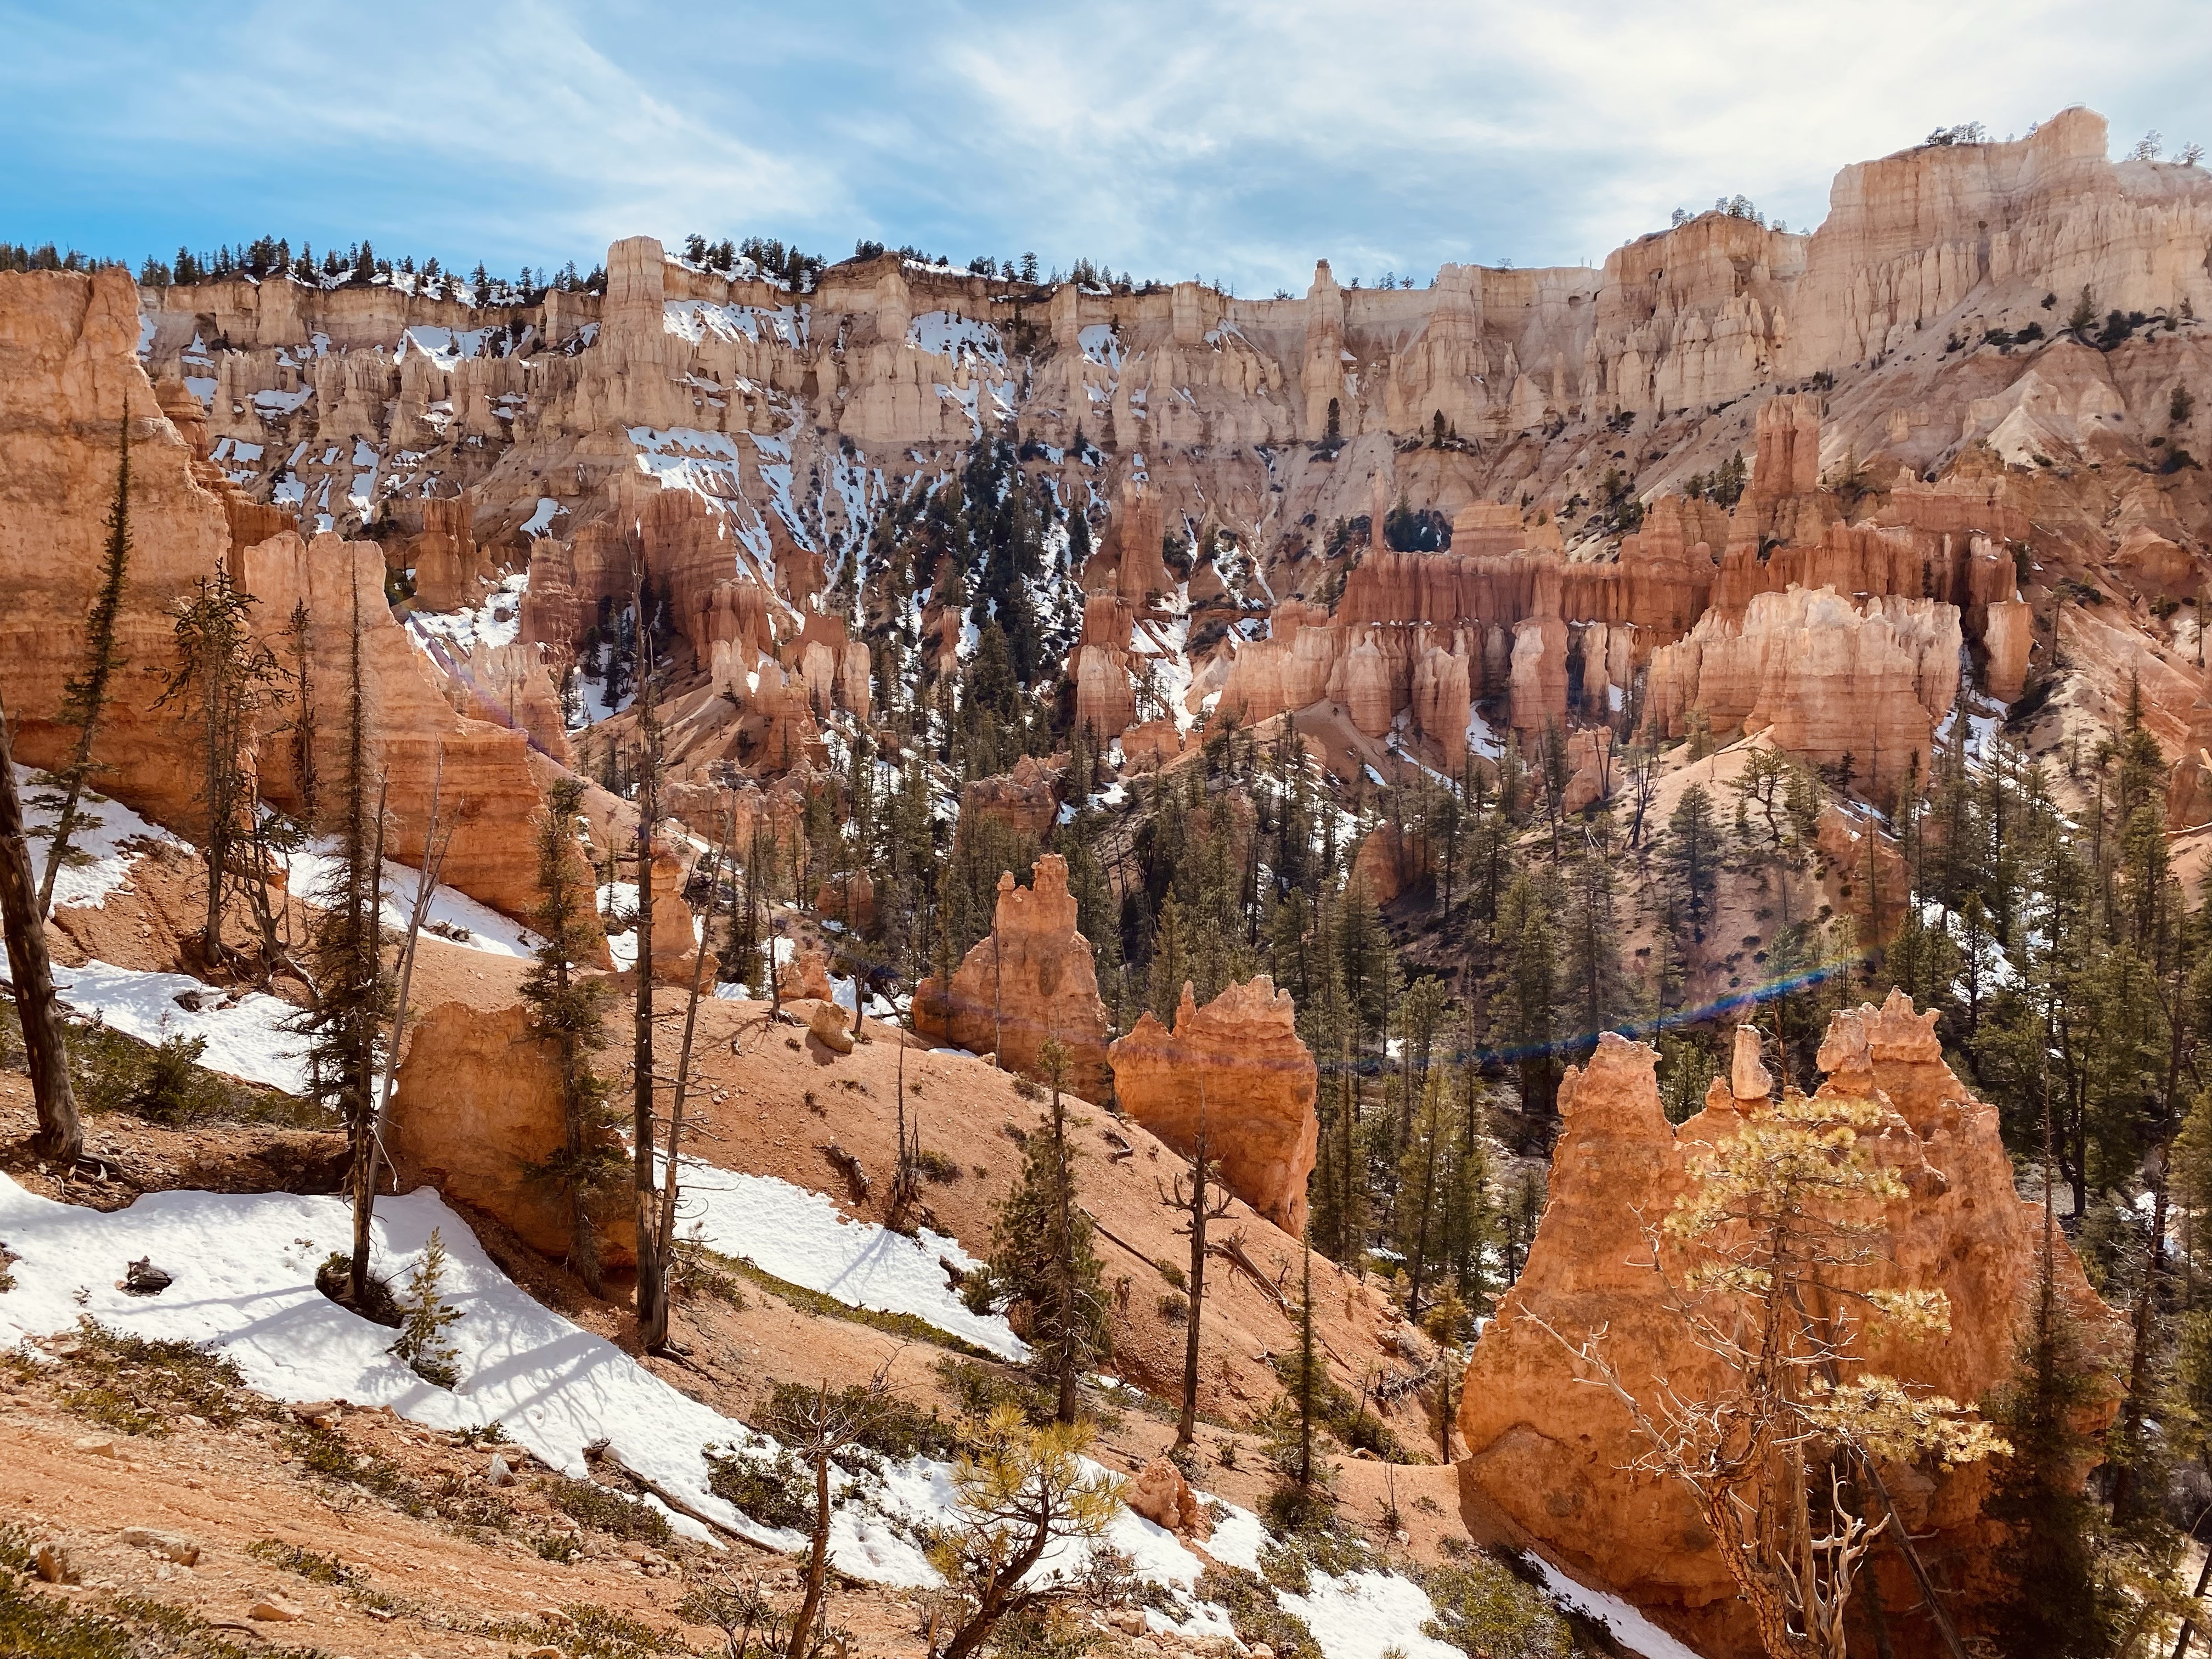
We decided to park at Sunset Point, hiked part of the Rim Trail until we reached Fairyland Point. There was a lot of areas on the furthest part of the Rim Trail that had muck and deep muddy areas. We passed a few people whose entires shoes looked like clay but realized they intentionally walked straight through those areas instead of making a path around them. You do you.
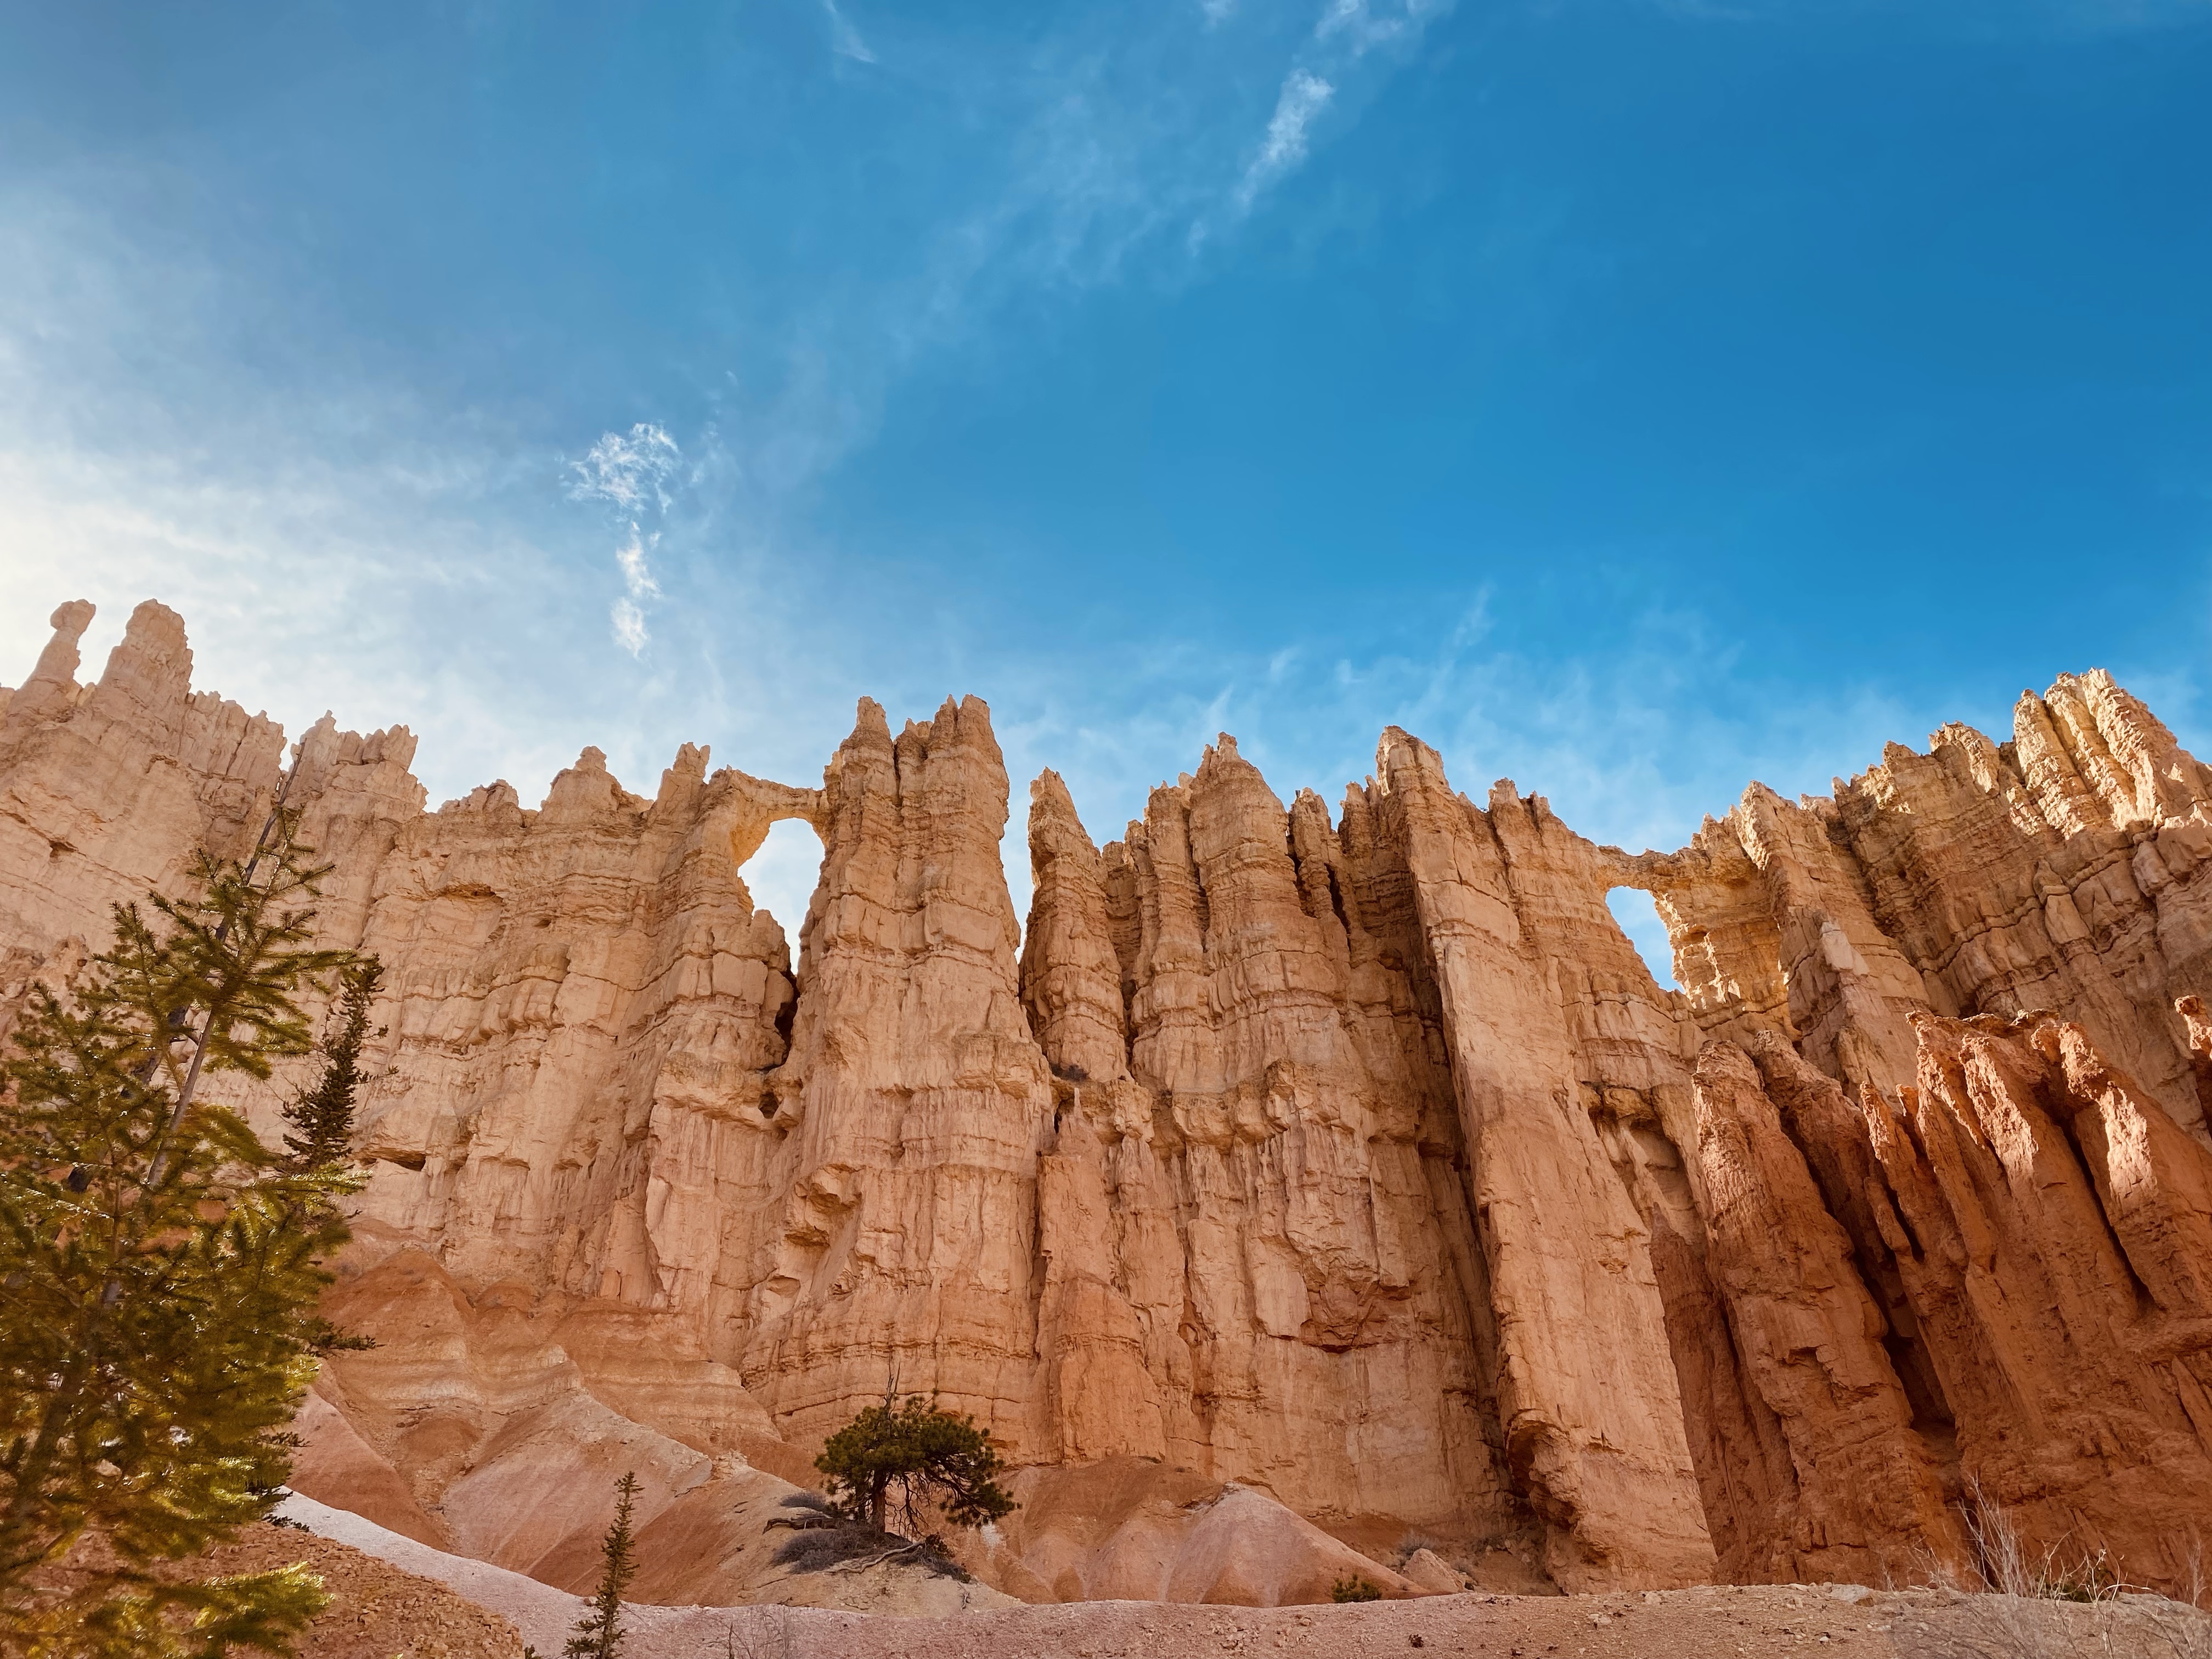
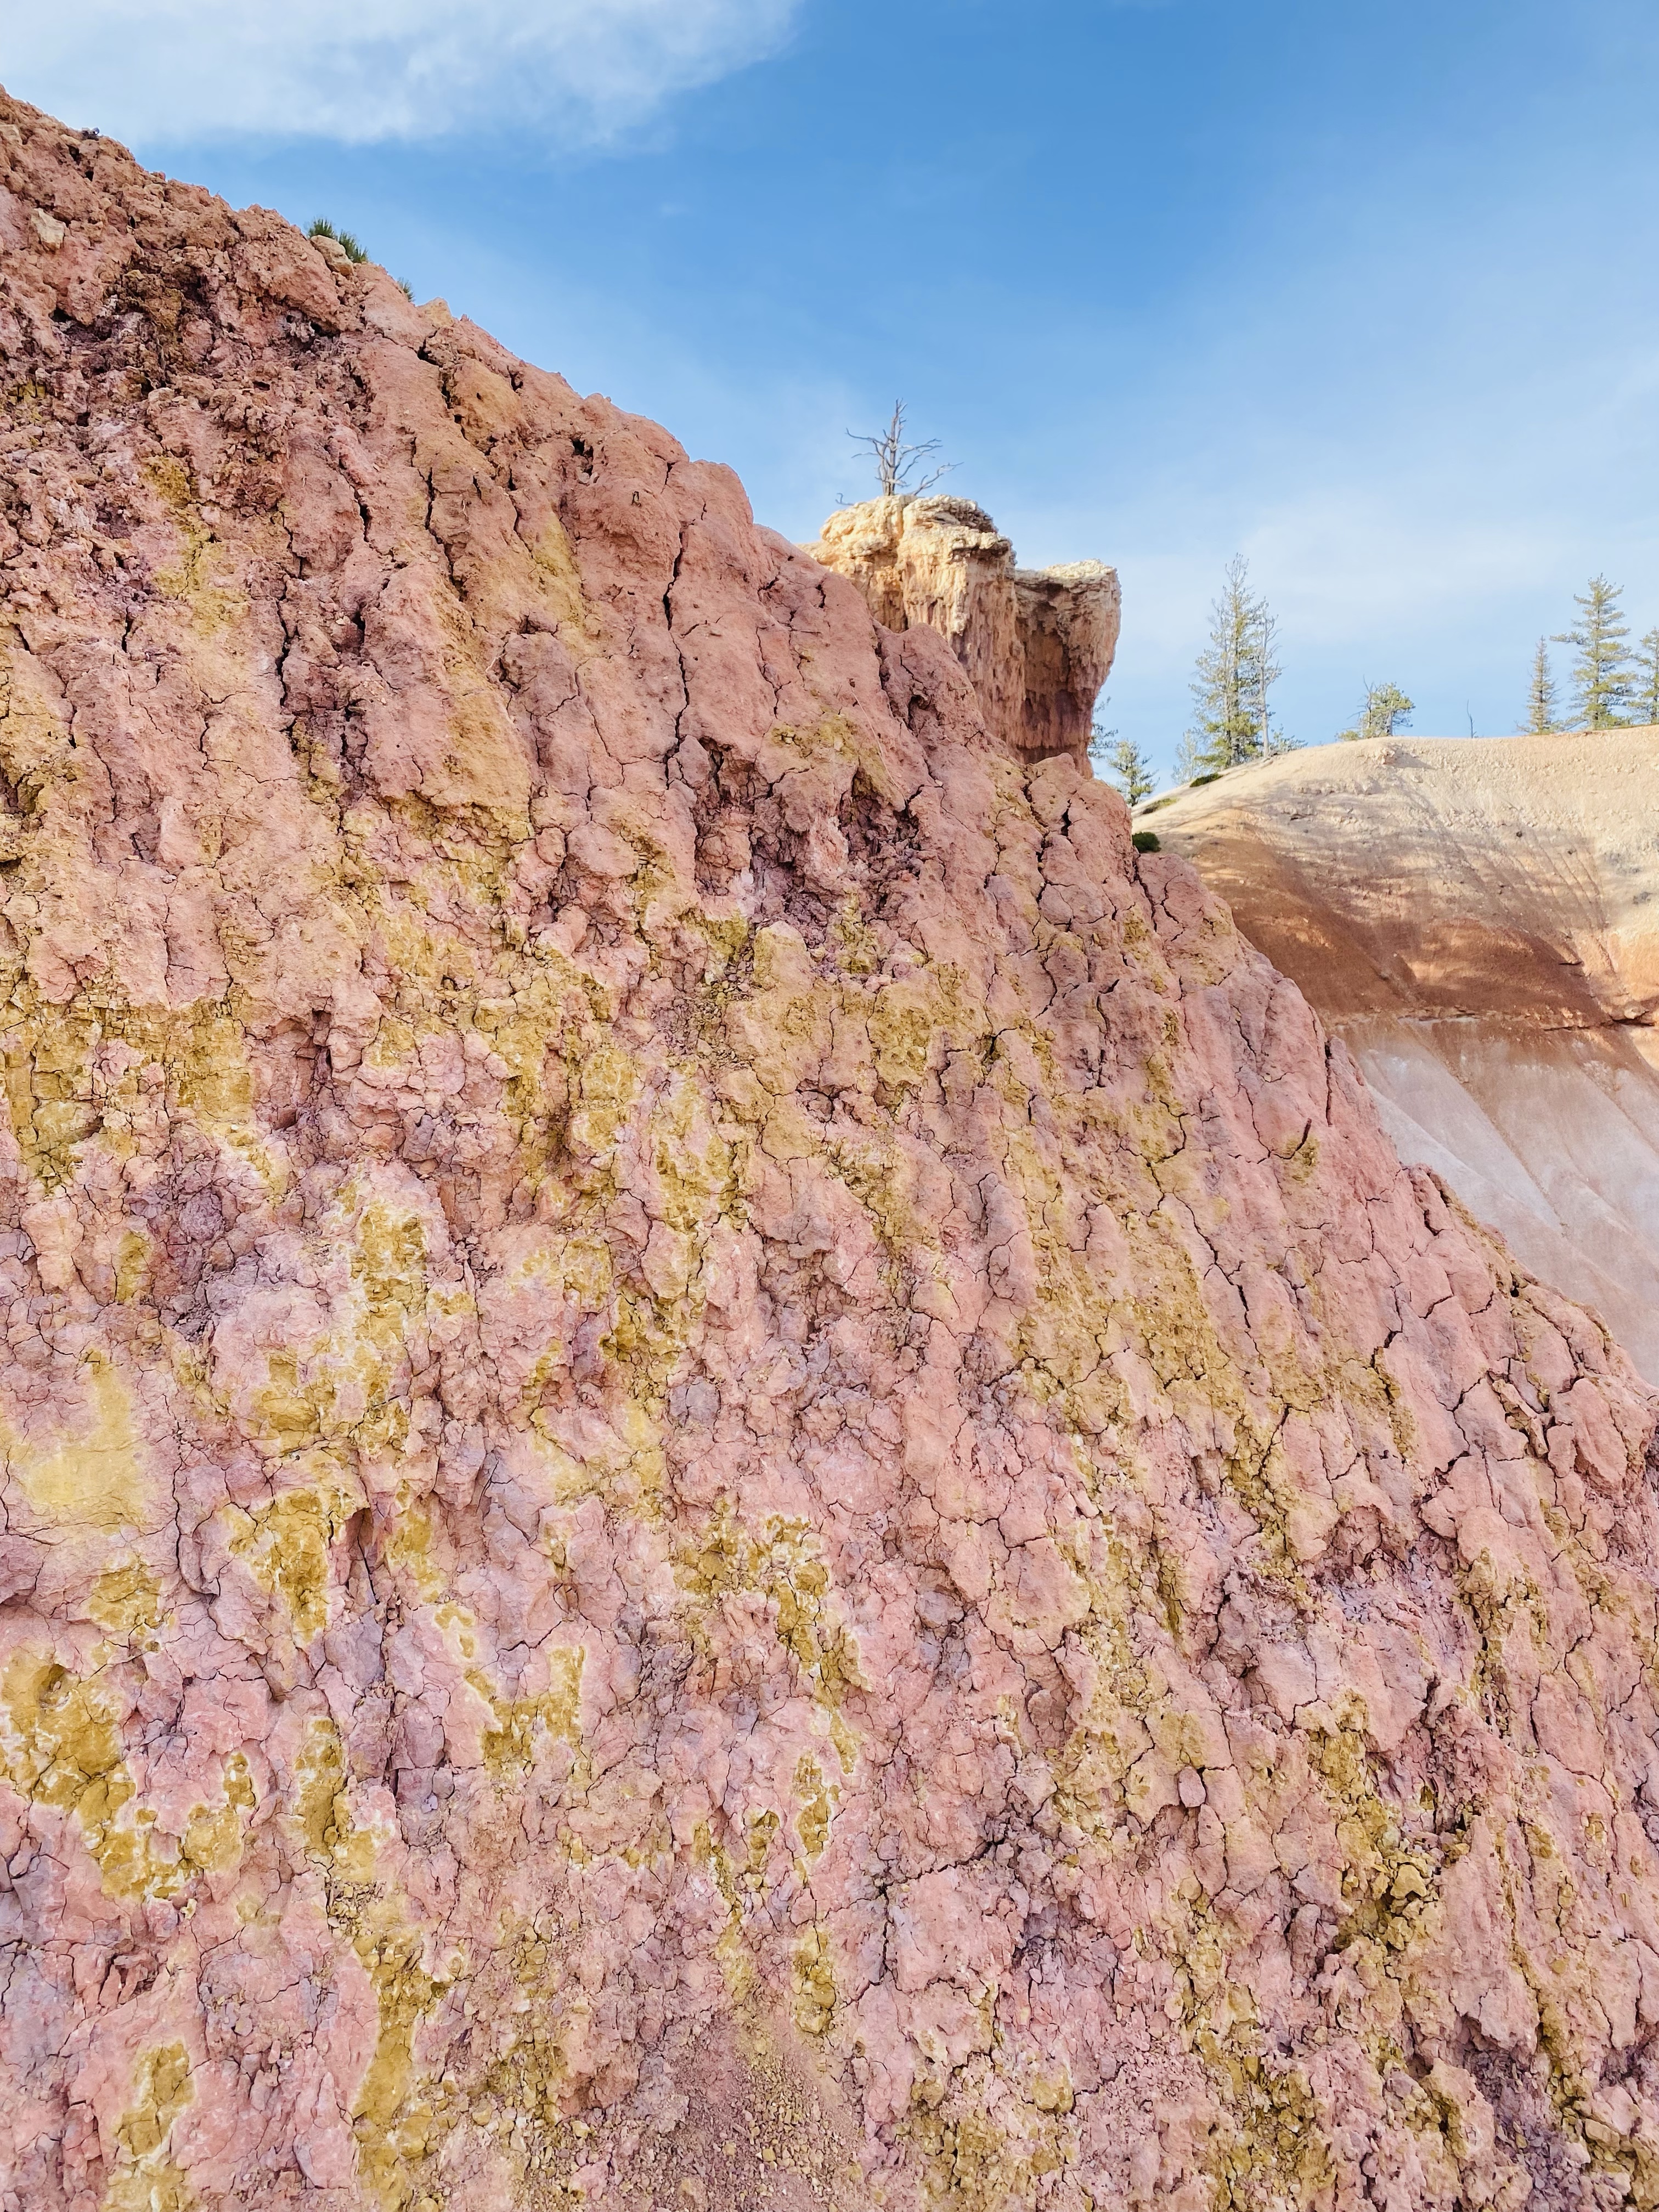
Fairlyland was widley different from the first day hiking in Bryce. The color of the hoodoos for one, was much lighter and almost a sandlike color. We also had more open trails with wide open views and weren’t down in the amphitheater looking up as we had the day prior.
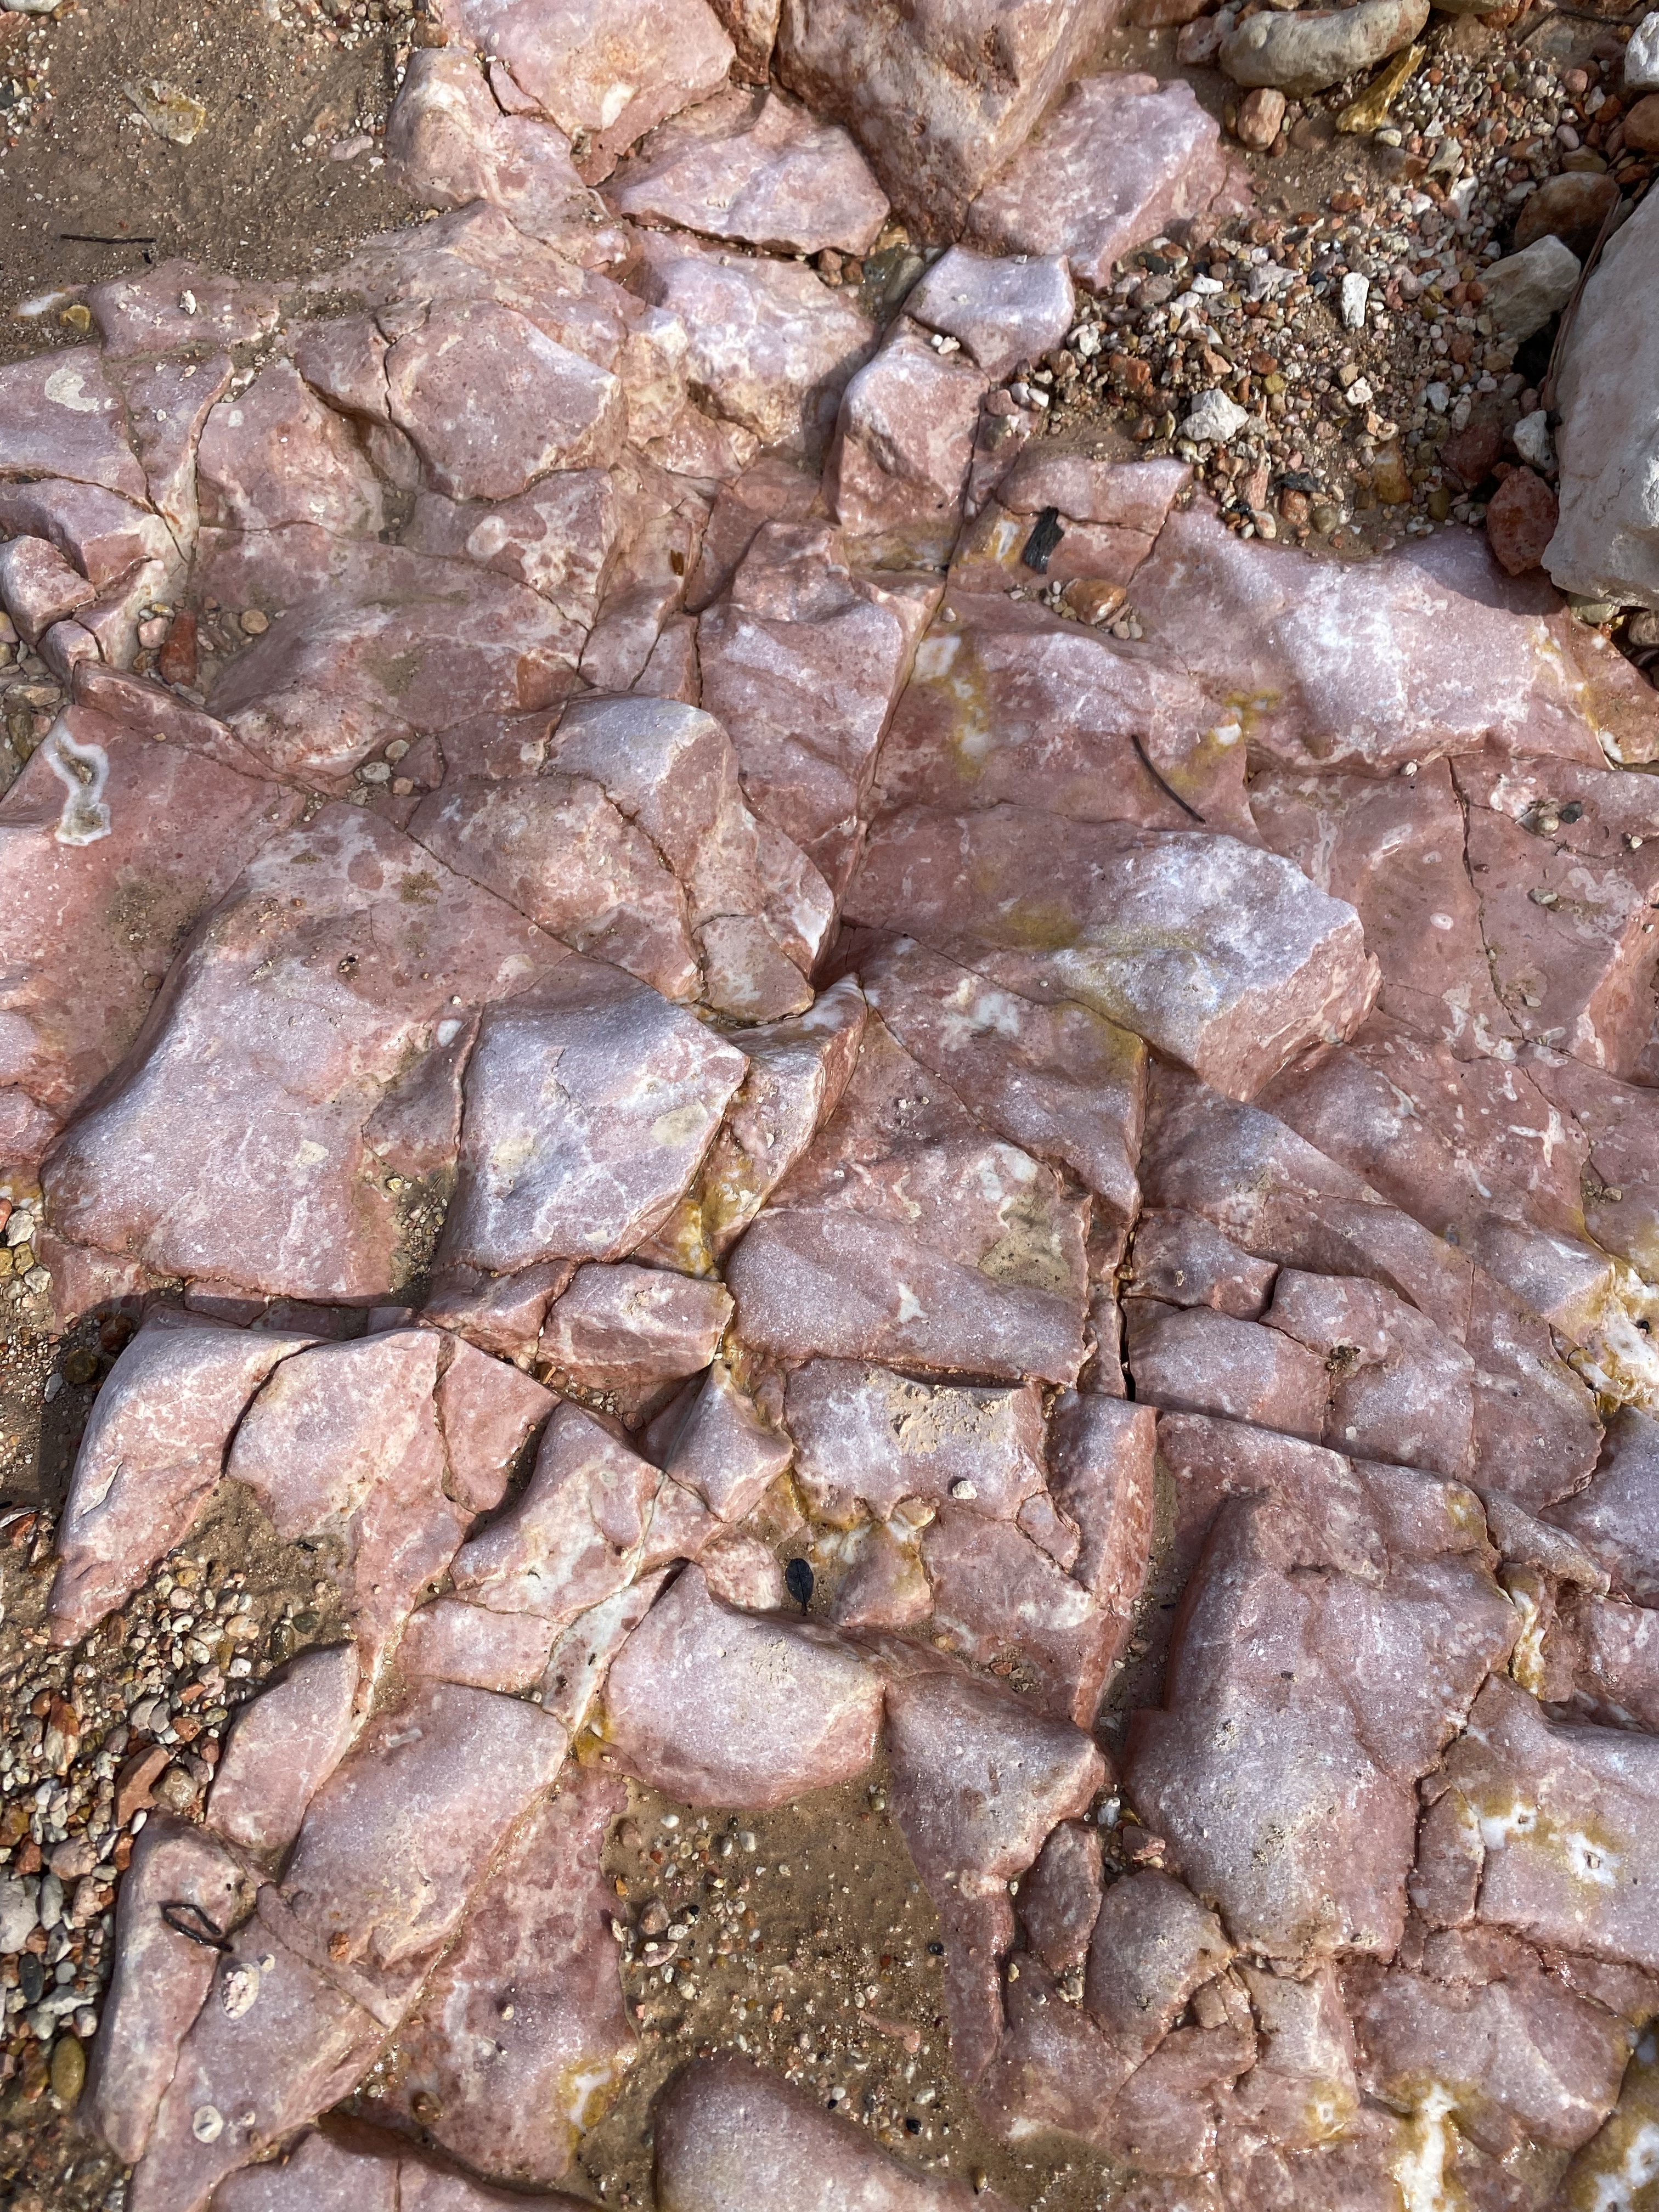
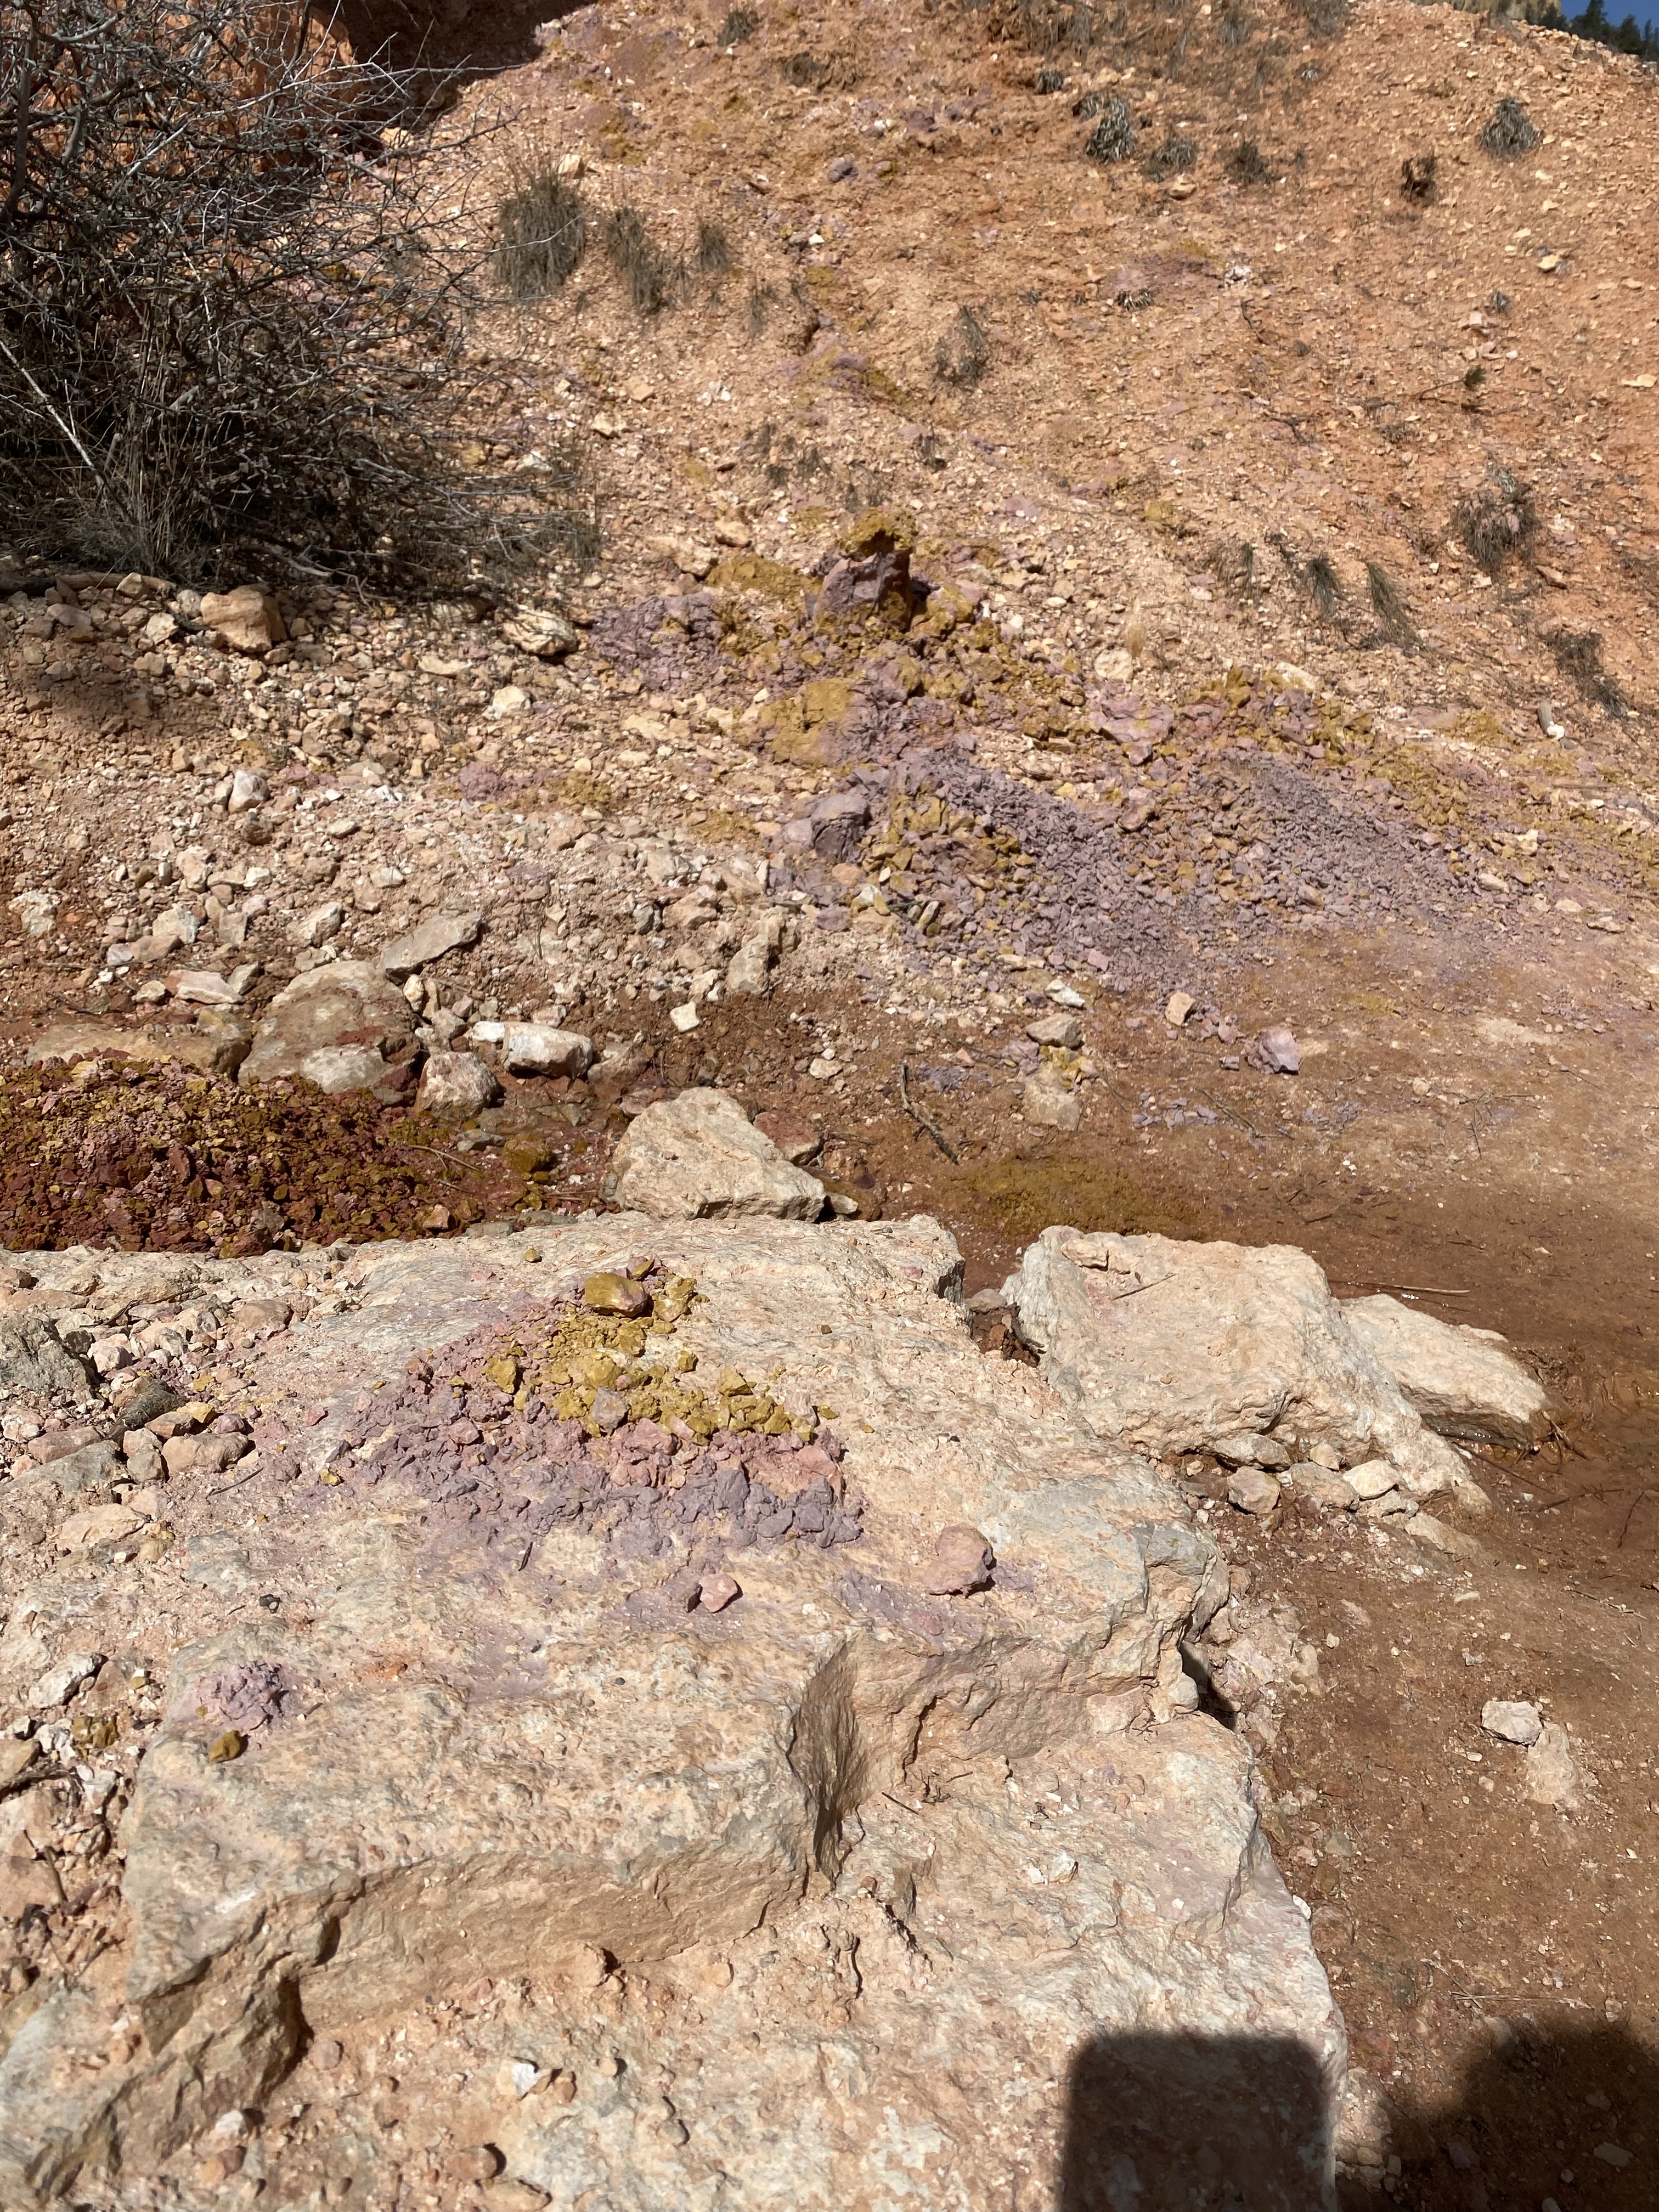
We crossed one creek area that had the most beautiful pink rocks.
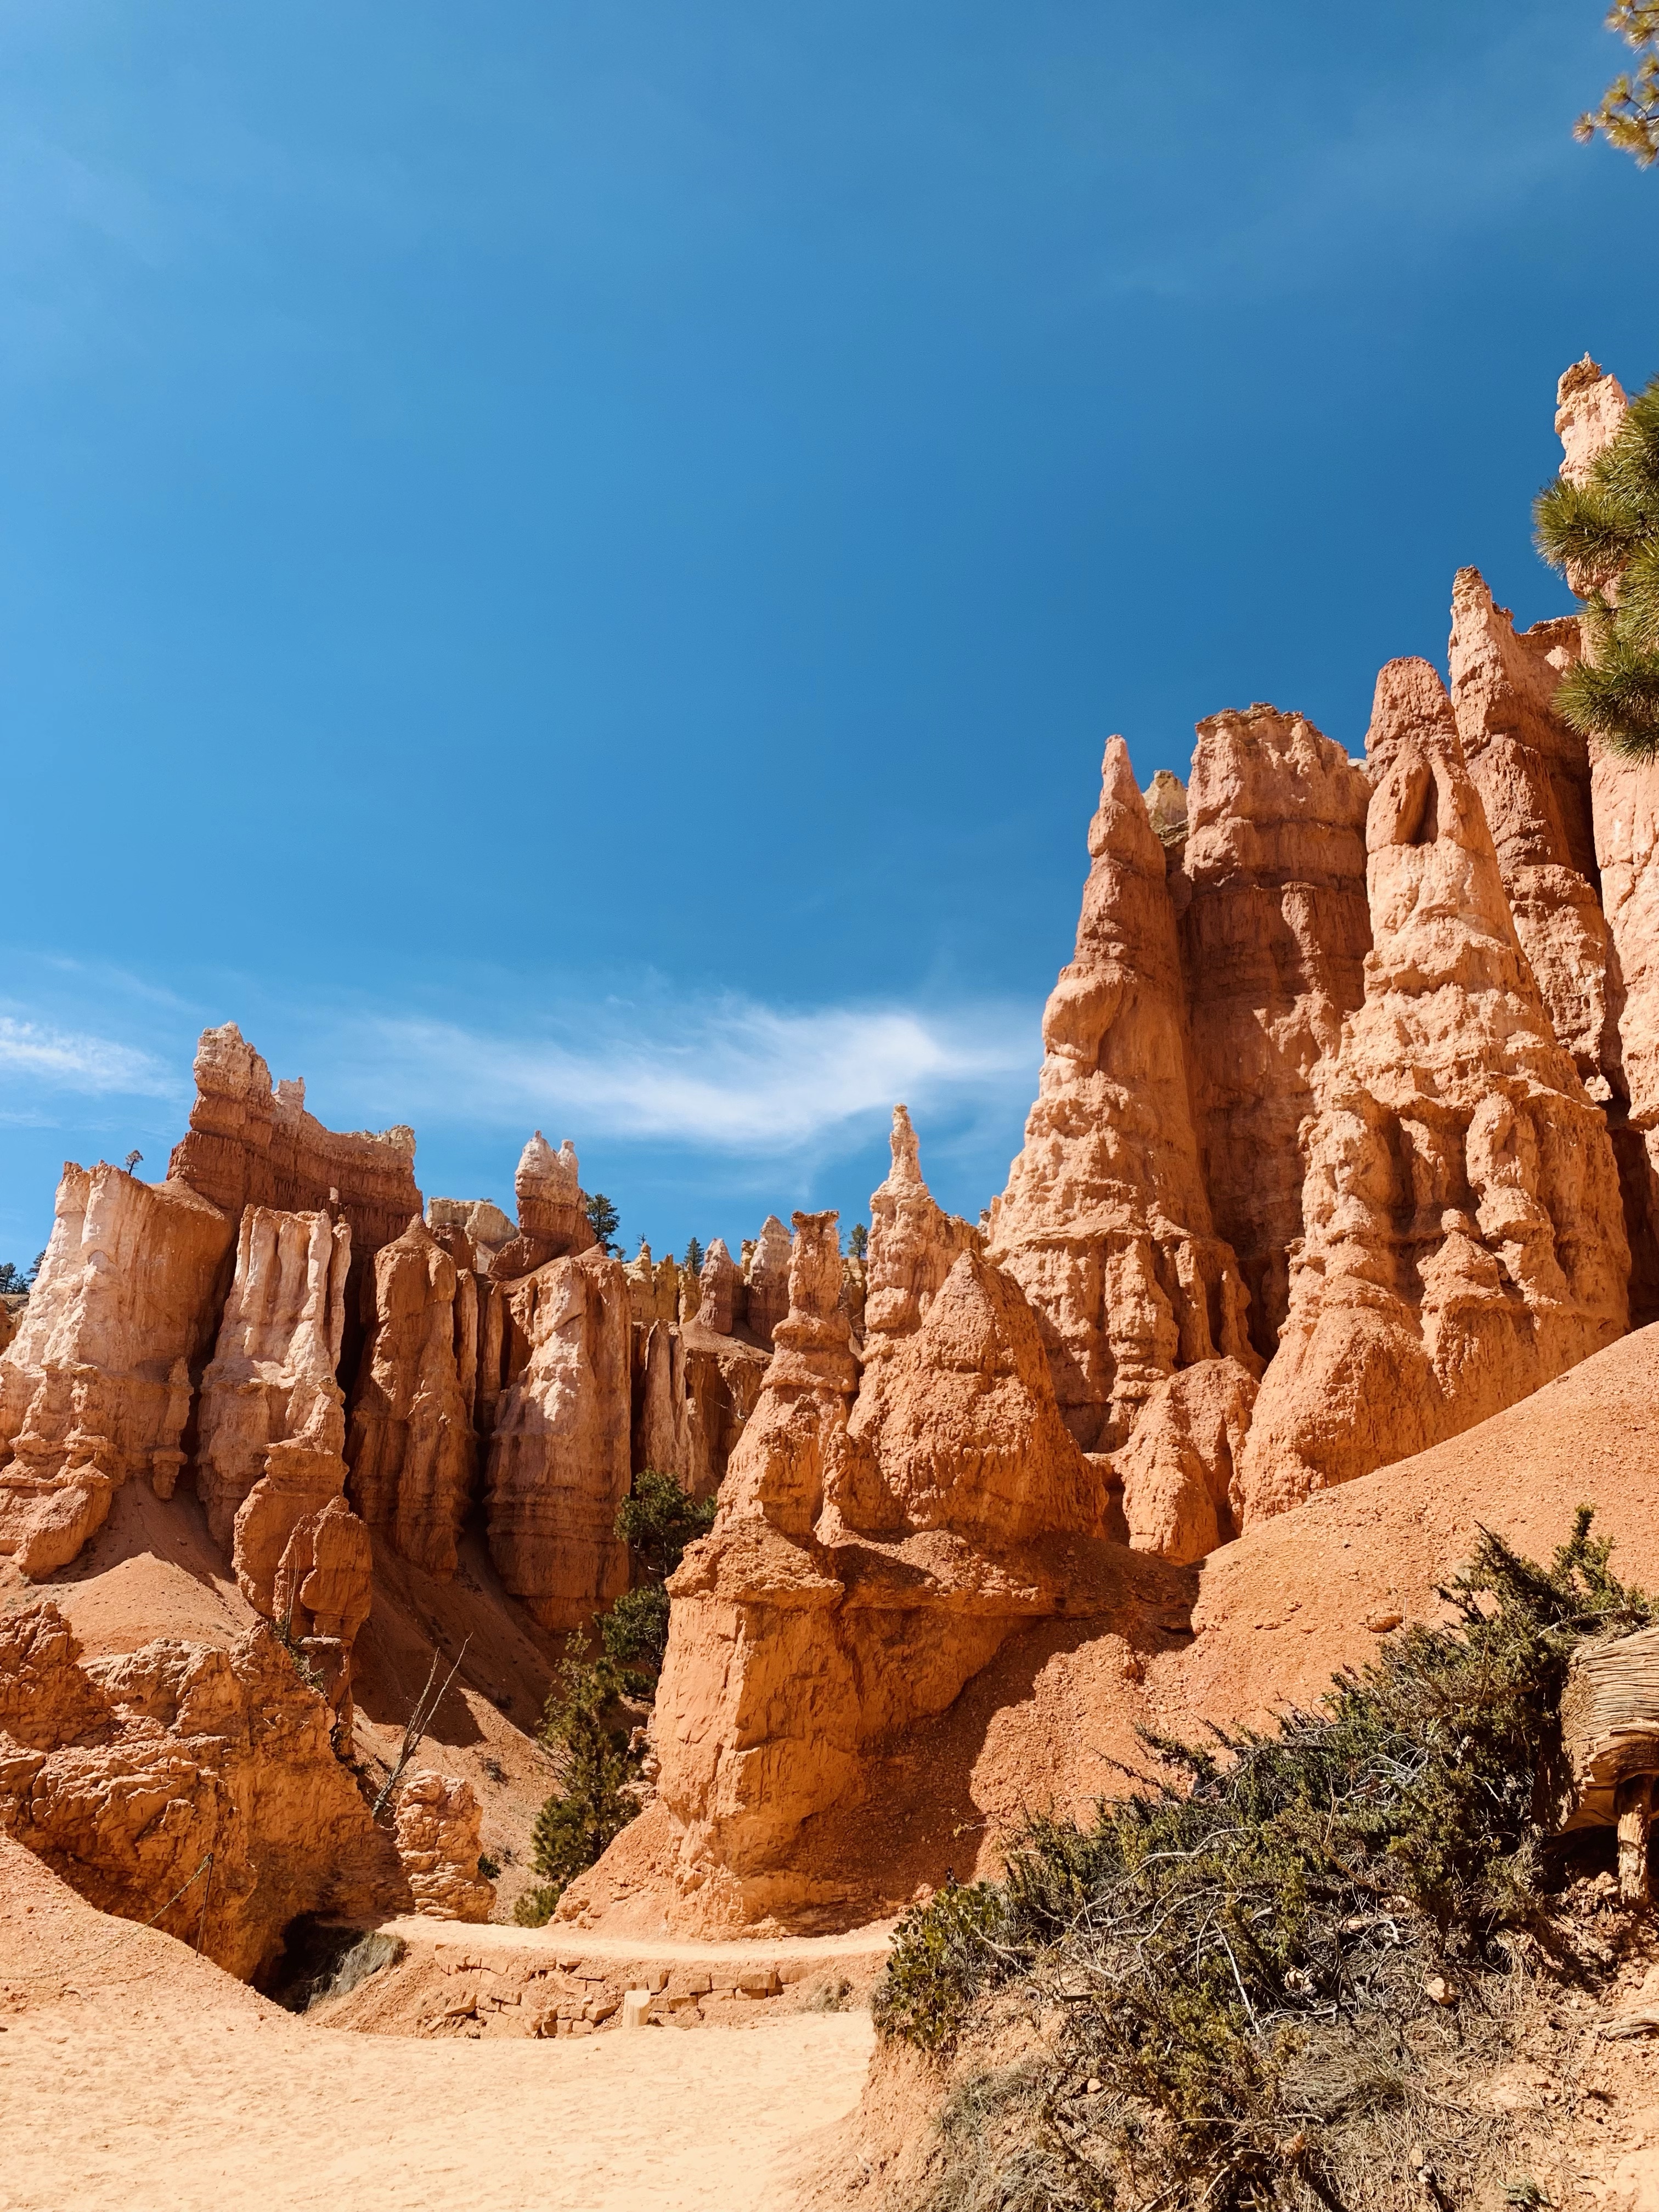
The coloring from the rocks and variations you see in the hoodoos are because of their mineral composition.
Do you know how the hoodoos come to be? They started out as a wall and over time, you will see a “window” form. As time continues, the top of the window breaks away leaving you will the individual hoodoos. If you want to read more on the history, this is a great source.
We felt this hike was much easier compared to Peekaboo Loop however, it’s much longer. It’s still considered strenuous on the trail descriptions.
We hiked relatively quickly and were done by lunch. We ended up eating our picnic lunch at Sunrise point and checking out the Bryce Canyon Lodge. There weren’t any available accomodations when we were booking our trip but I’d recommend looking into this when you’re planning in advance.
My mom had told us The Lodge had a restaurant that she remembered seeing when they visited and suggested we check it out. We looked at the menu, confirmed when they opened for dinner, toured the gift shop then headed to our AirBnB to regroup, rest and shower.
After a quick power nap, we decided to venture into another neighboring town that my parents stayed in, Panguitch. At this point, we were in search of finding another coffee shop in hops we’d make it to dinner.
The Flying Goat Cafe was our first stop in town. We walked to a couple restaurants down the street to check out their menus but decided pretty quickly that The Lodge was were we wanted to have dinner and planned to watch the sunset from Sunset Point overlooking Bryce Amphitheater.
Panguitch has a super cute downtown area with shops, restaurants and a couple Bed in Breakfasts, one of which my parents stayed on their trip the year prior. We ventured into two antique stores and had the best time looking at all of the vintage items. We shared memories with each other each time we saw something that reminded us of a grandparent, family member or a specific memory from our childhood. It was the perfect slow afternoon.
We made our way back to The Lodge for dinner as the restaurant doesn’t take reservations and seating is available on a first-come-first-served basis. Be sure to look at their menus!
Our meal was one of the best we’d had on the trip. Highly recommend it when you’re visiting Bryce. Don’t worry about being dressed up either. We saw a mixture of everything, people still in hiking attire (us included), and those who were dressed in casual dinnerware.
Two long hiking days in Bryce, we felt like we’d seen it all. We were ready for out next adventure, staying at Under Canvas in Page, AZ, visiting Antelope Canyon, Horseshoe Bend and more. We had a couple of stops planned along the way to Page which I’ll share in the next blogpost.
Our time at Under Canvas was unlike anything we’d ever done and was EVERYTHING we needed. Here is a peak at what I’ll share next.
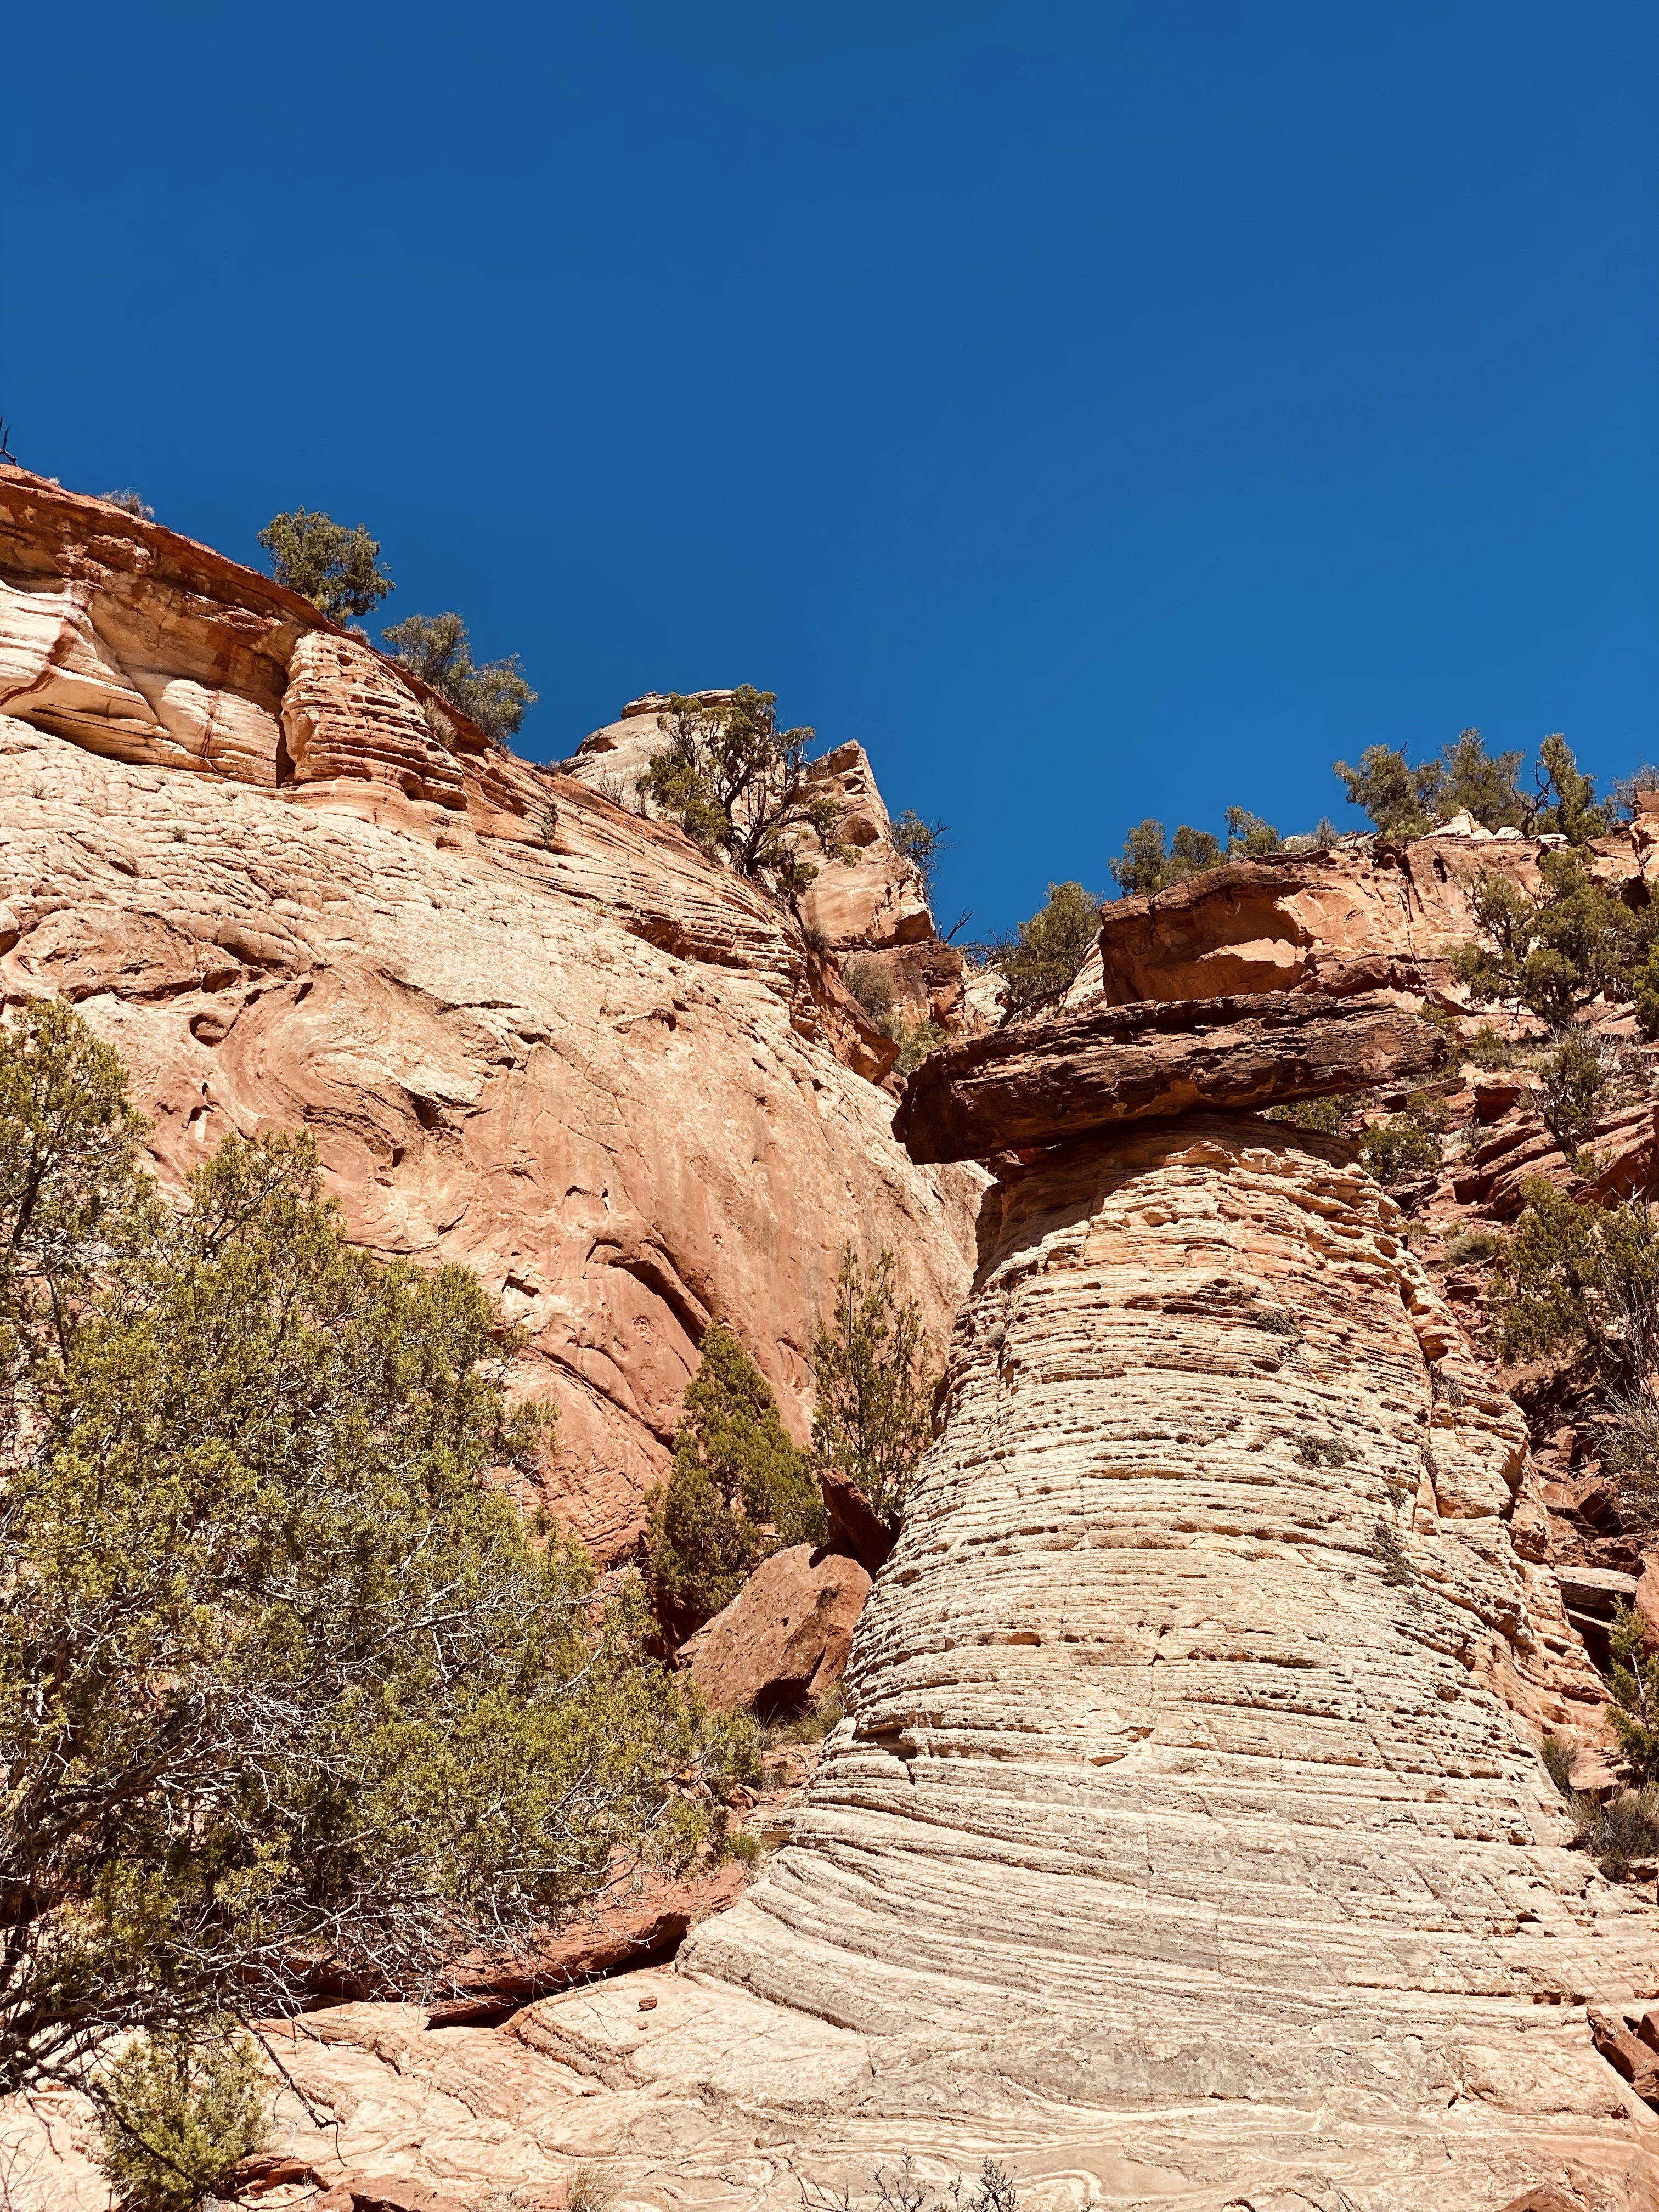
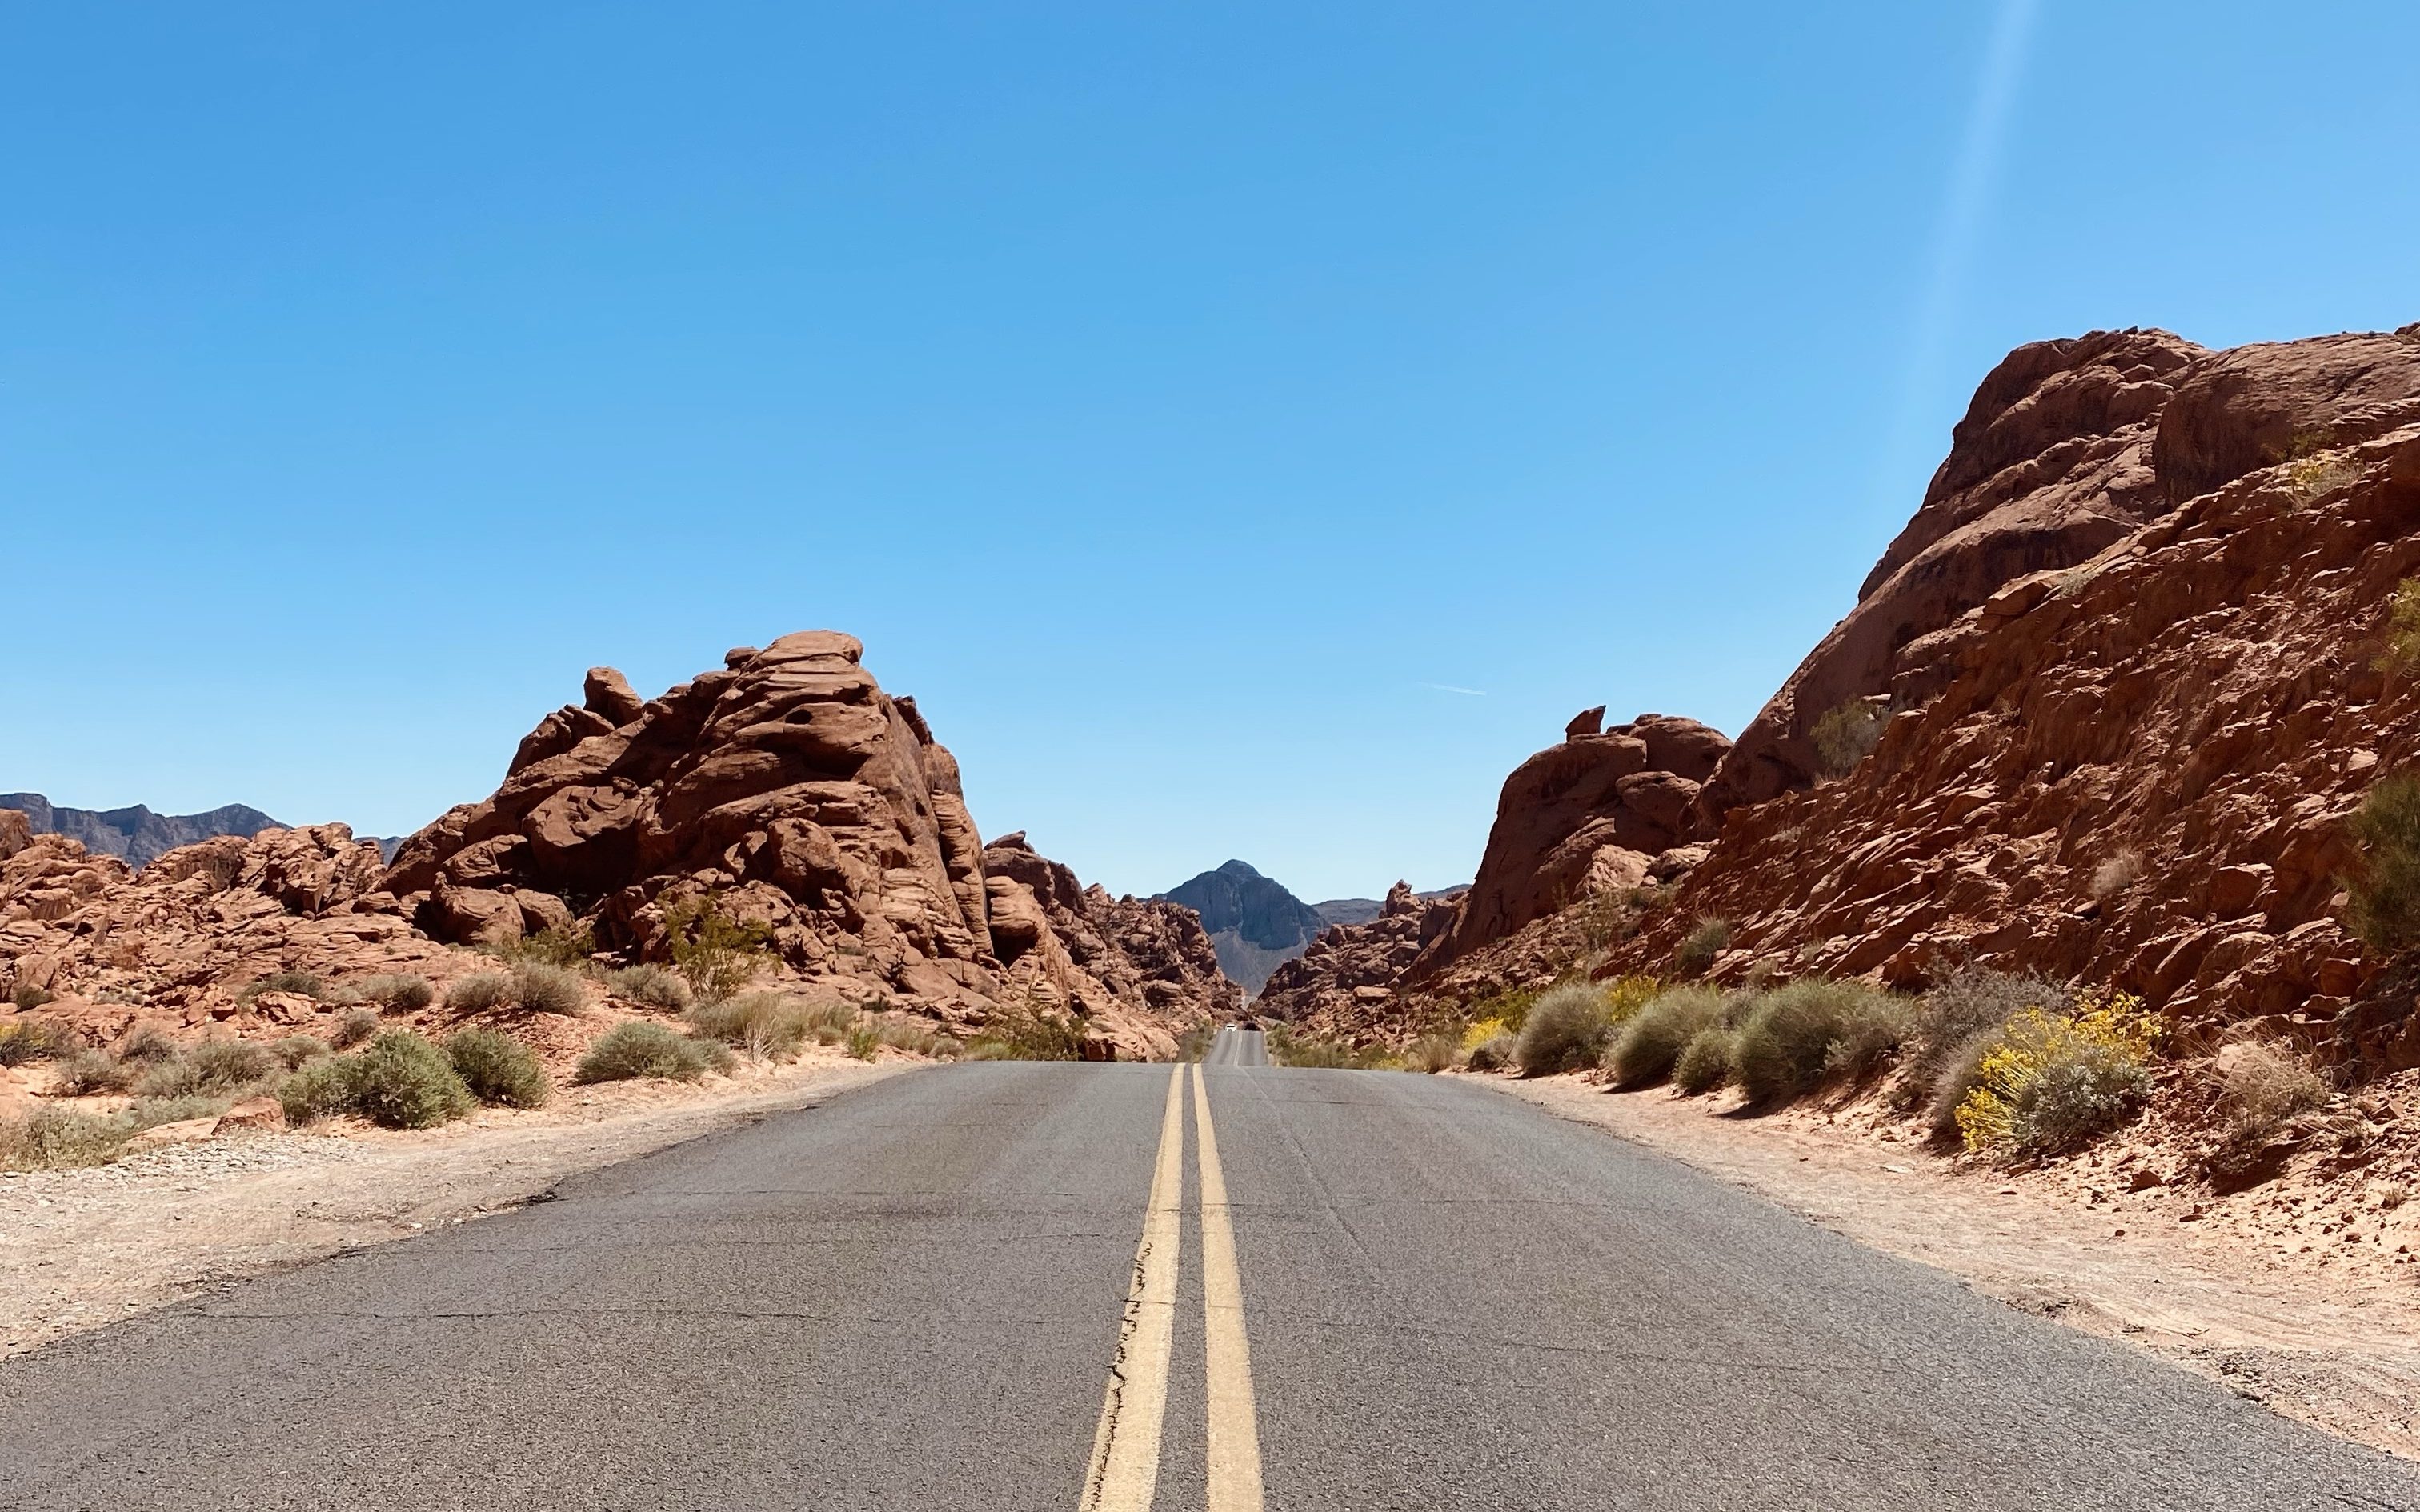
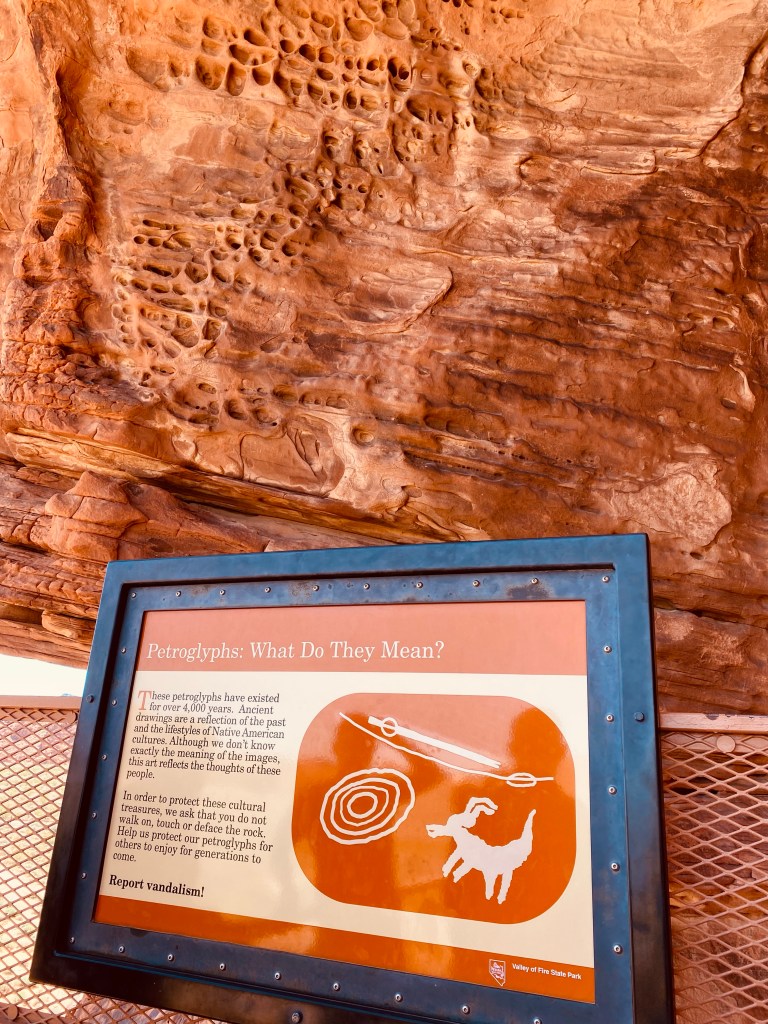
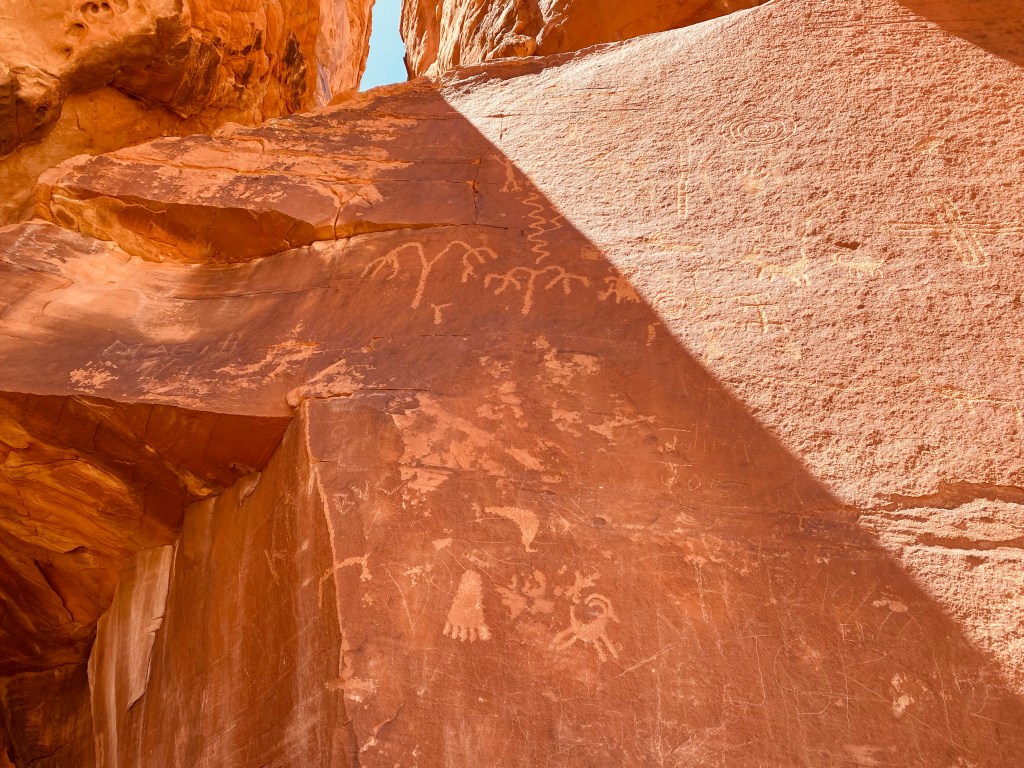
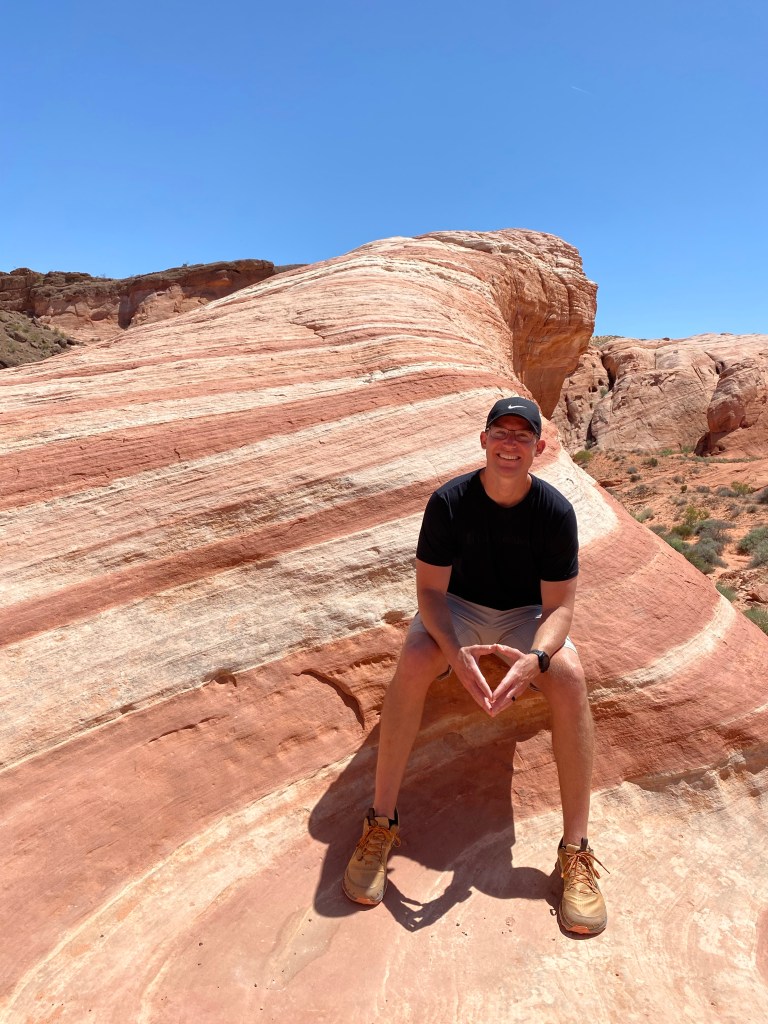
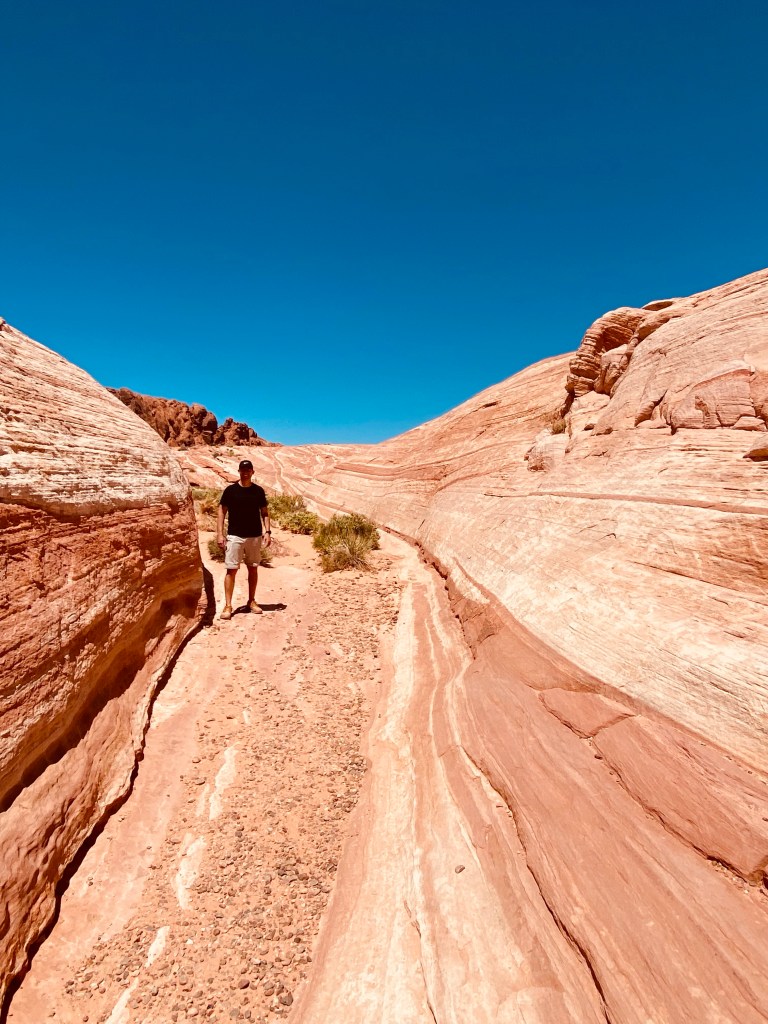
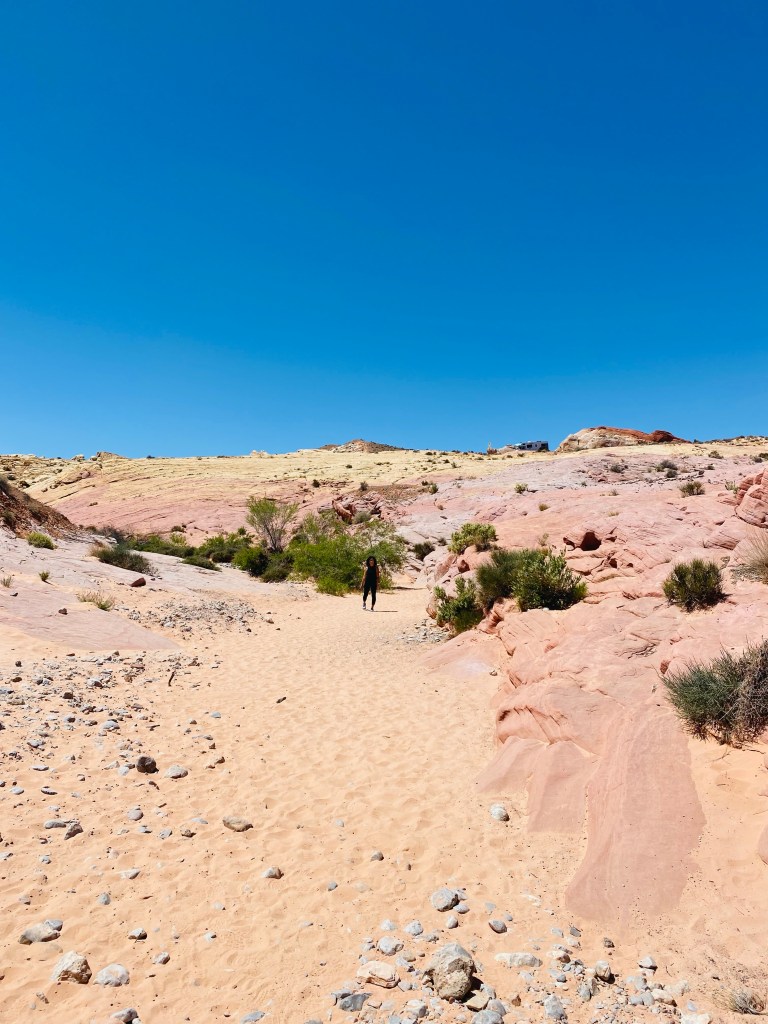
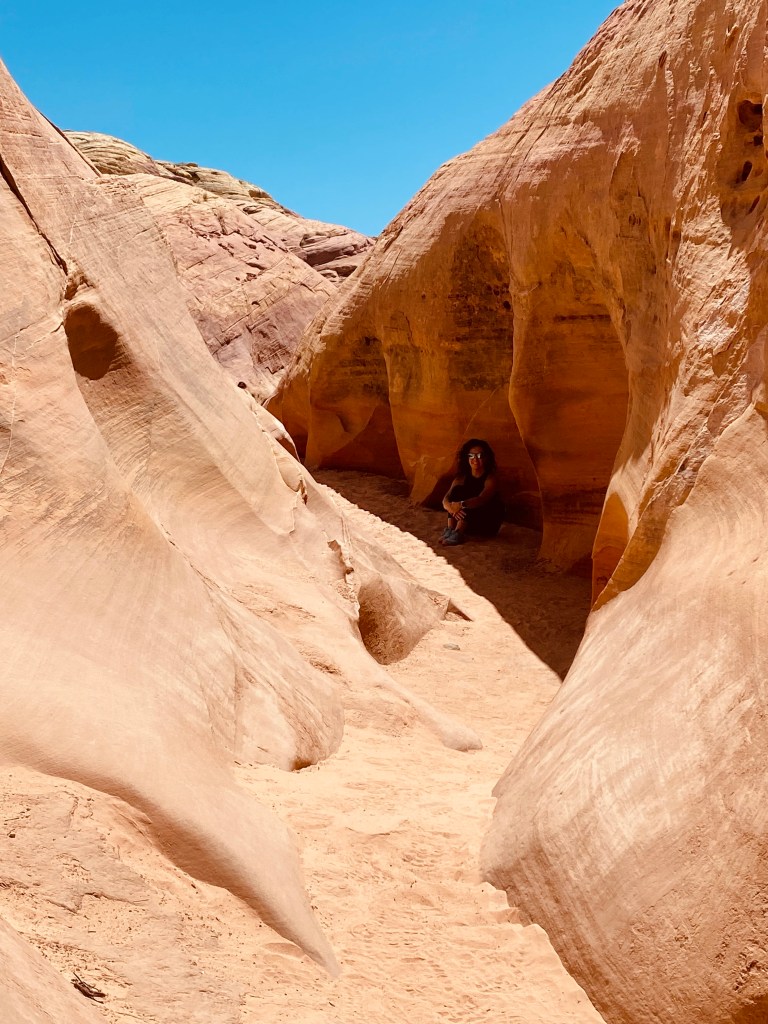
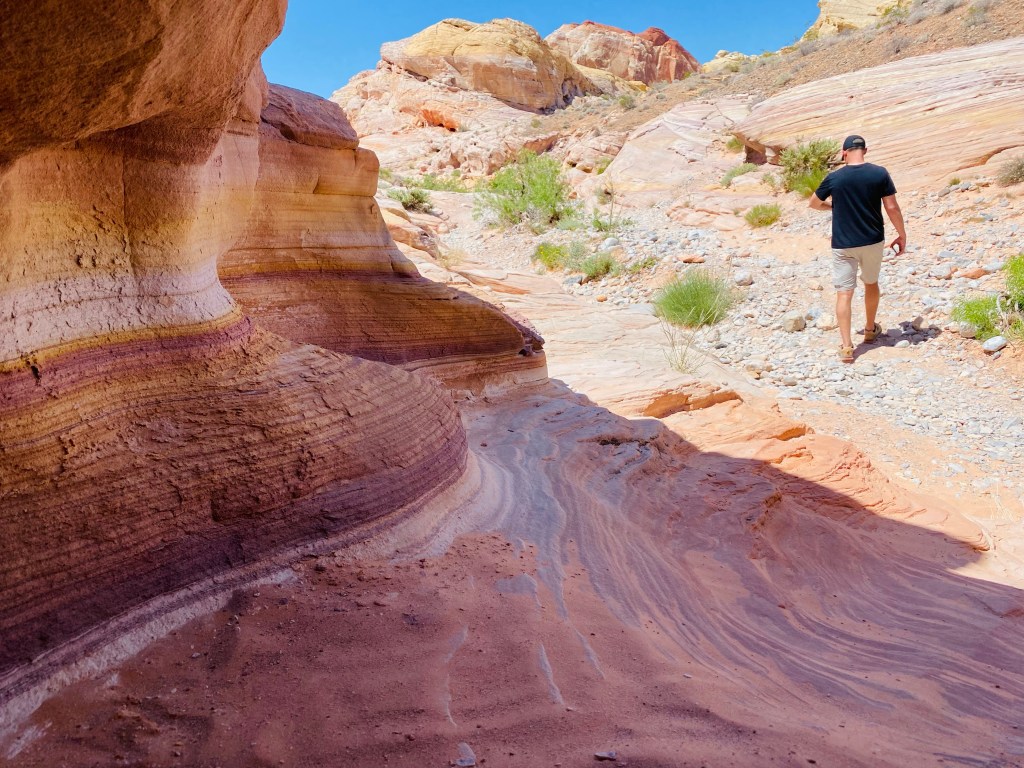
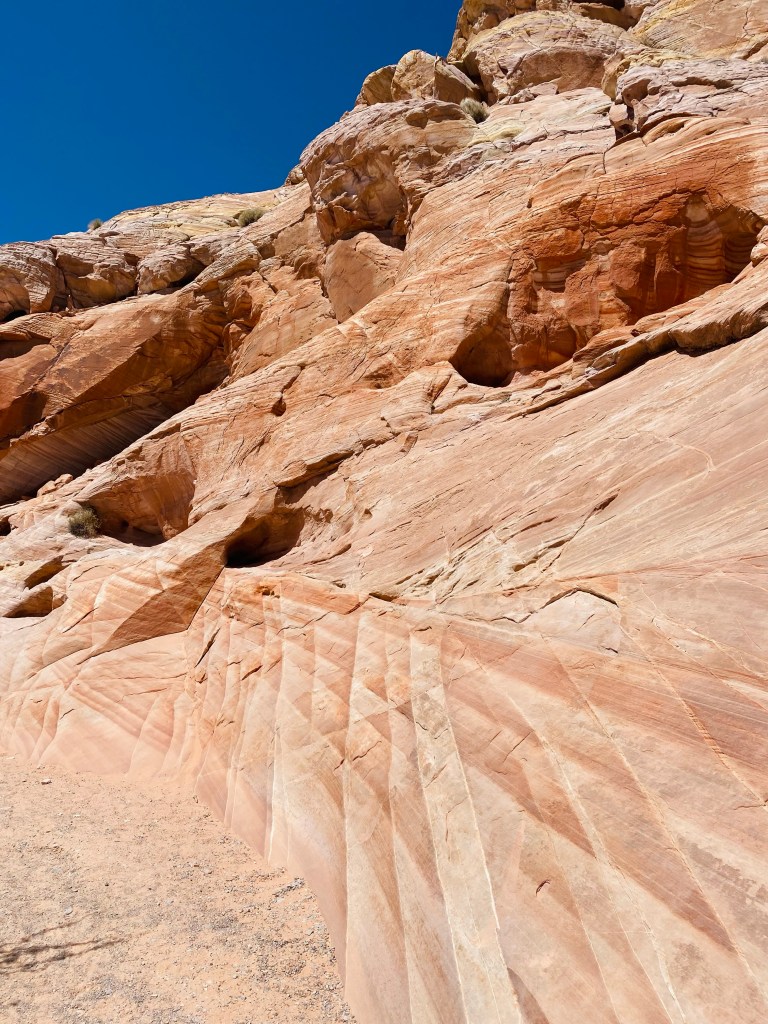
We spent more time in Valley of Fire State Park exploring than we anticipated but ultimately, we made our own schedule and didn’t rush through seeing all that we wanted to on our way from LAS to Zion National Park.
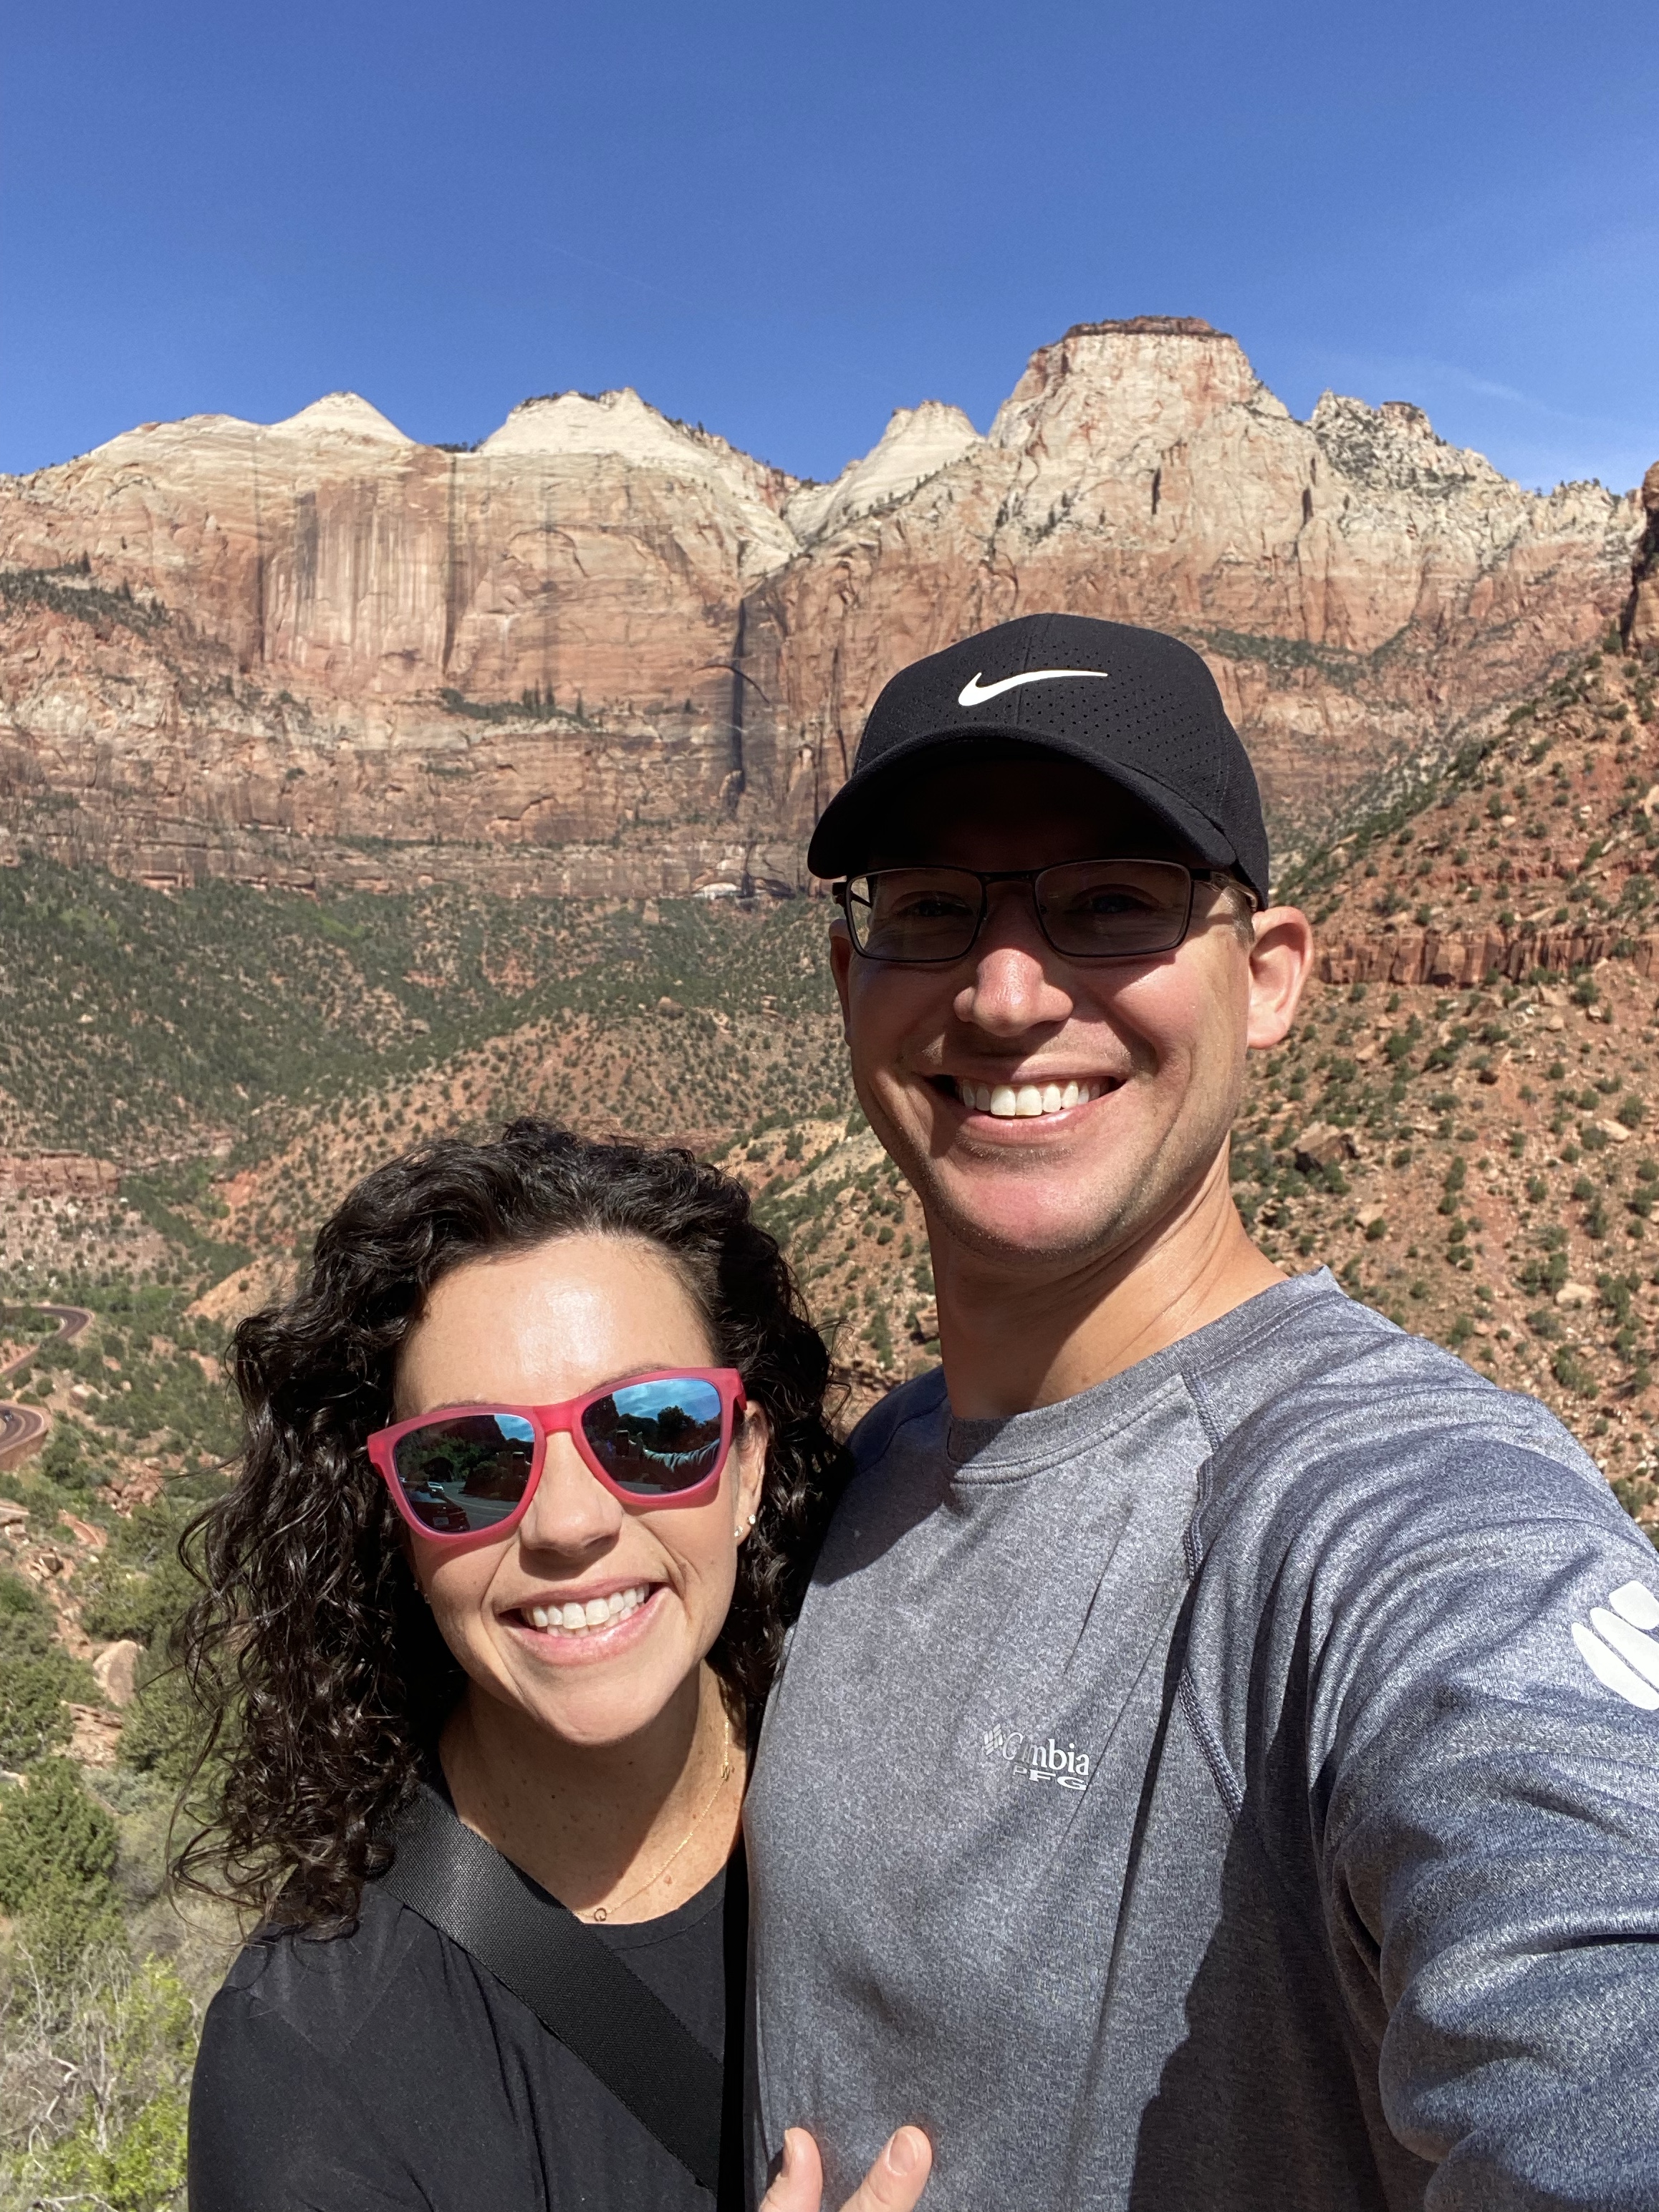
Day 1: Afternoon/Evening in Zion after arrival
After leaving Valley of Fire State Park, we drove to Springdale, UT which is a quaint town near the South entrance of Zion National Park.
It was around 4PM when we arrived to our hotel, Holiday Inn Express, which included a free (and healthy) continental breakfast every morning. For example, egg white and veggie omelets, fresh fruit choices, greek yogurts, oatmeal, DIY Waffles and pancakes, turkey sausage, freshly brewed coffee and a filtered water station to fill up your camelbaks and water bottles for a day full of hiking.
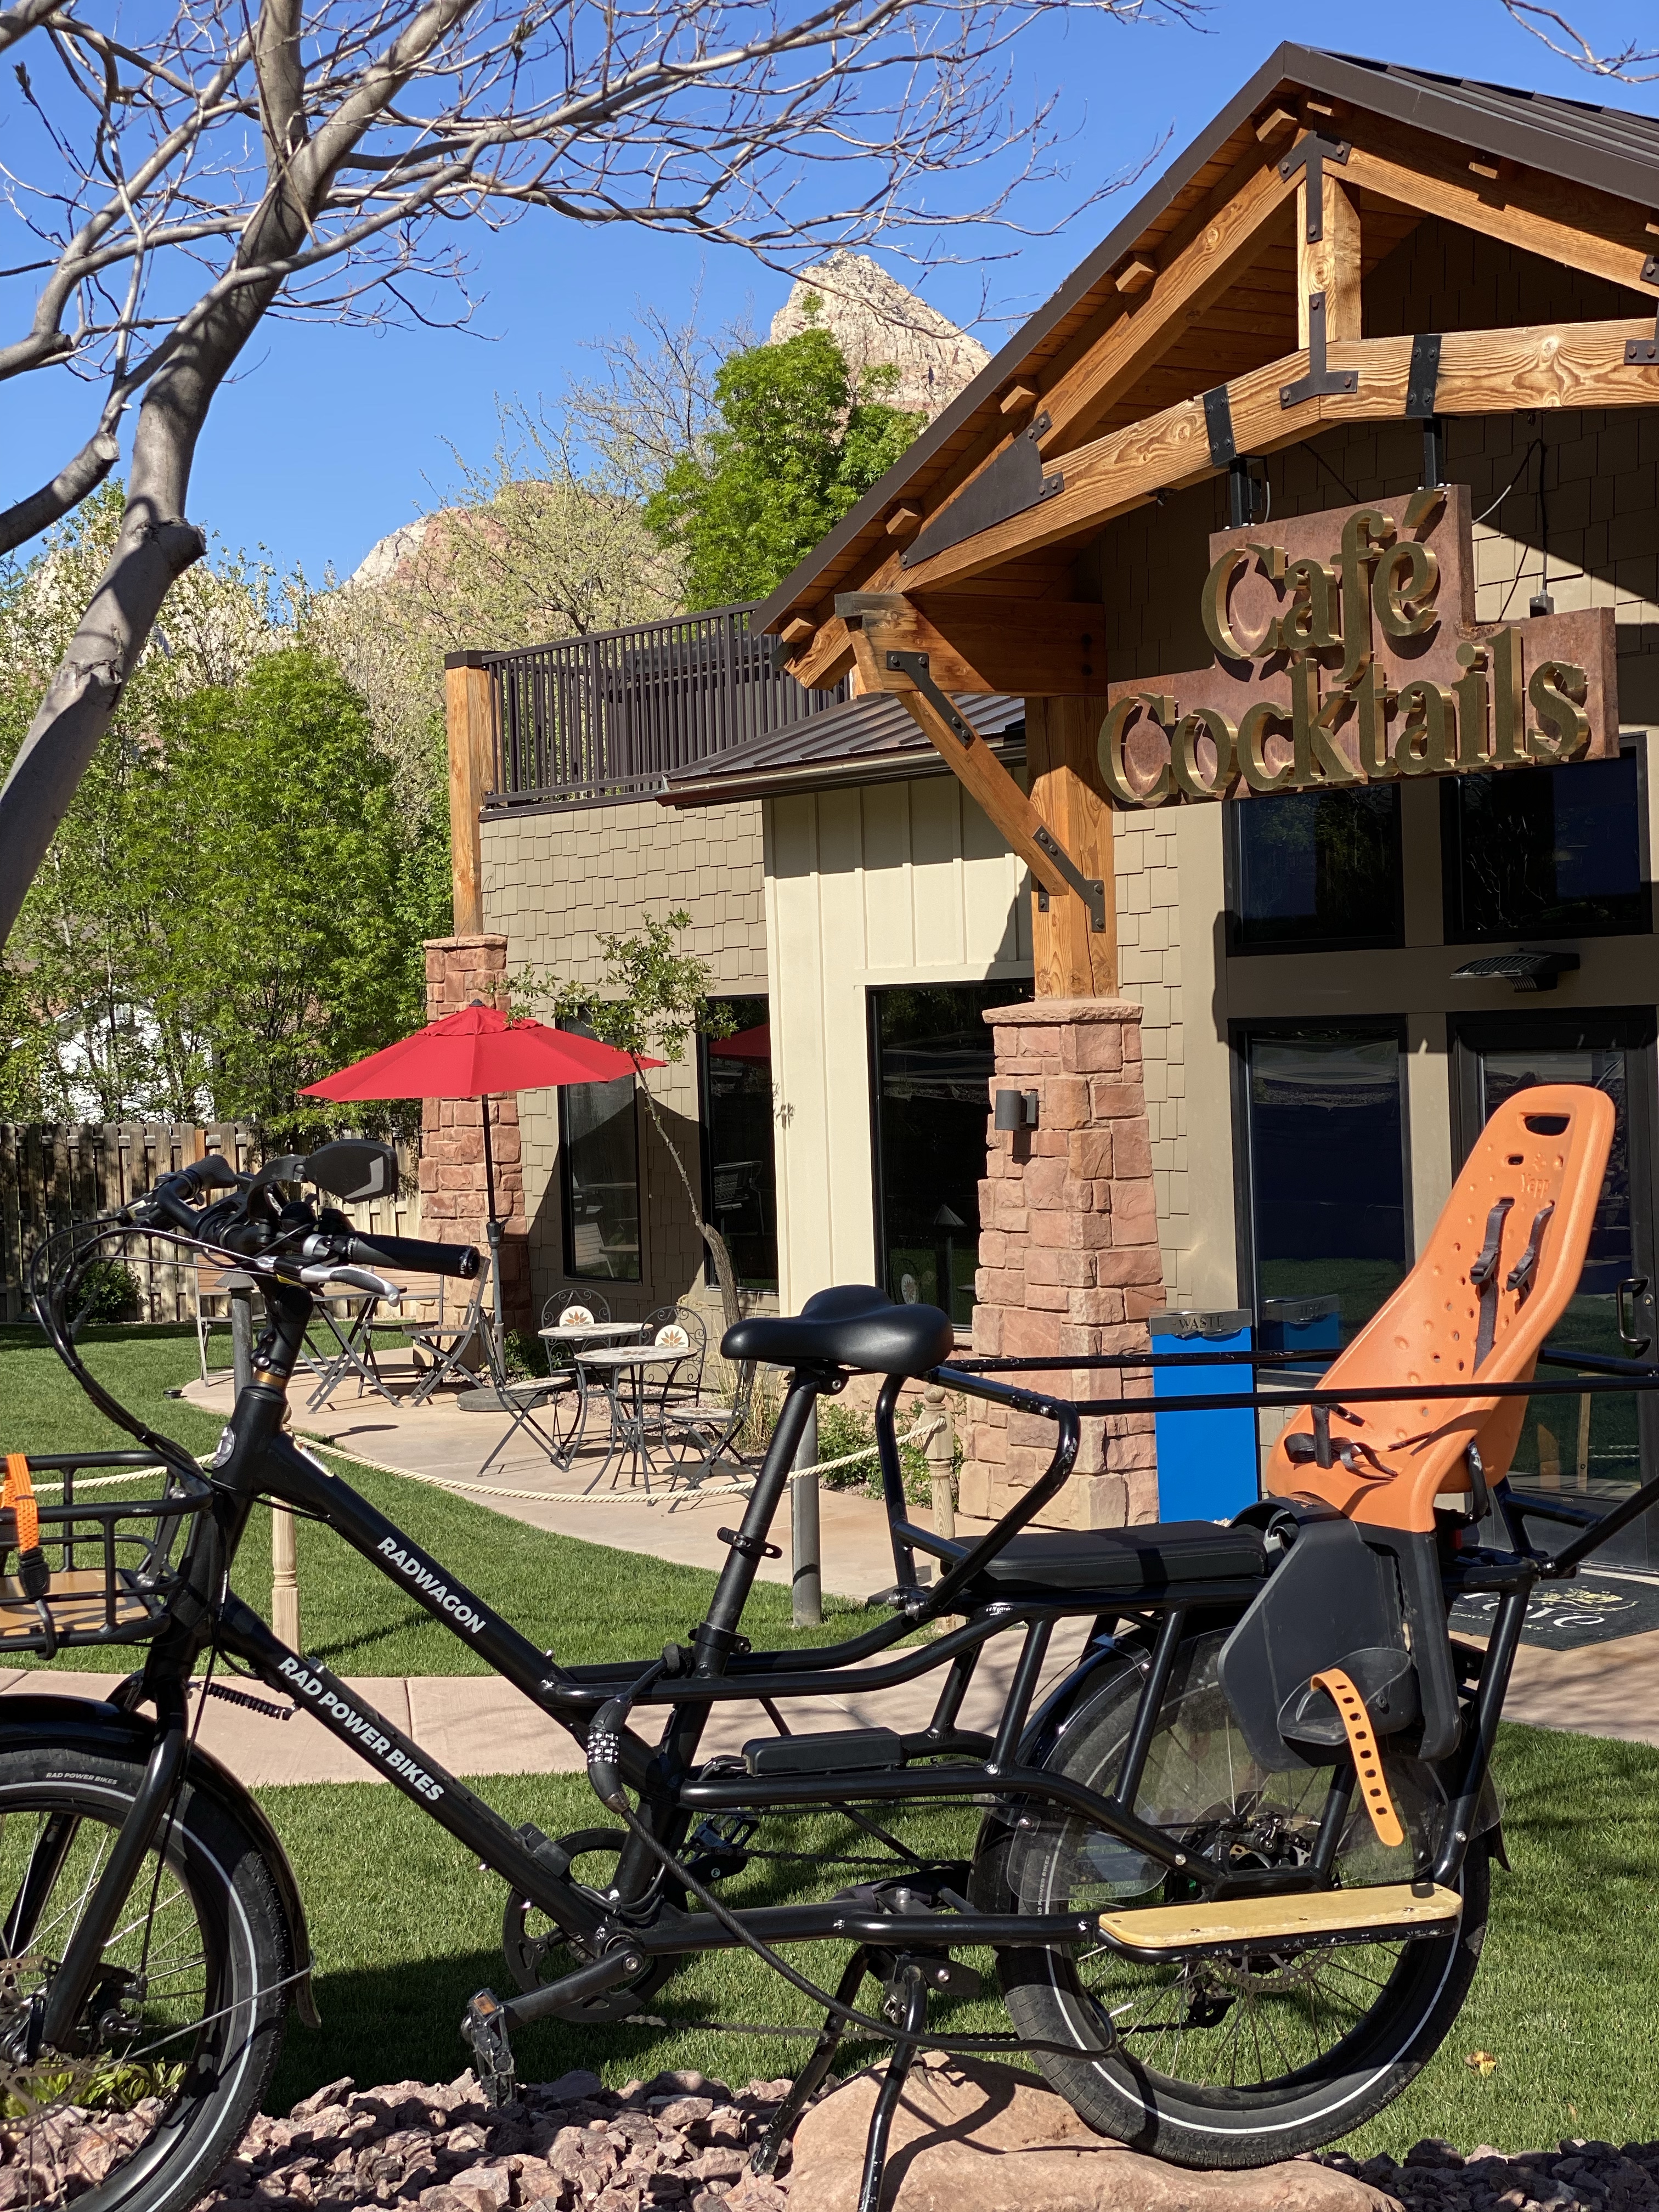
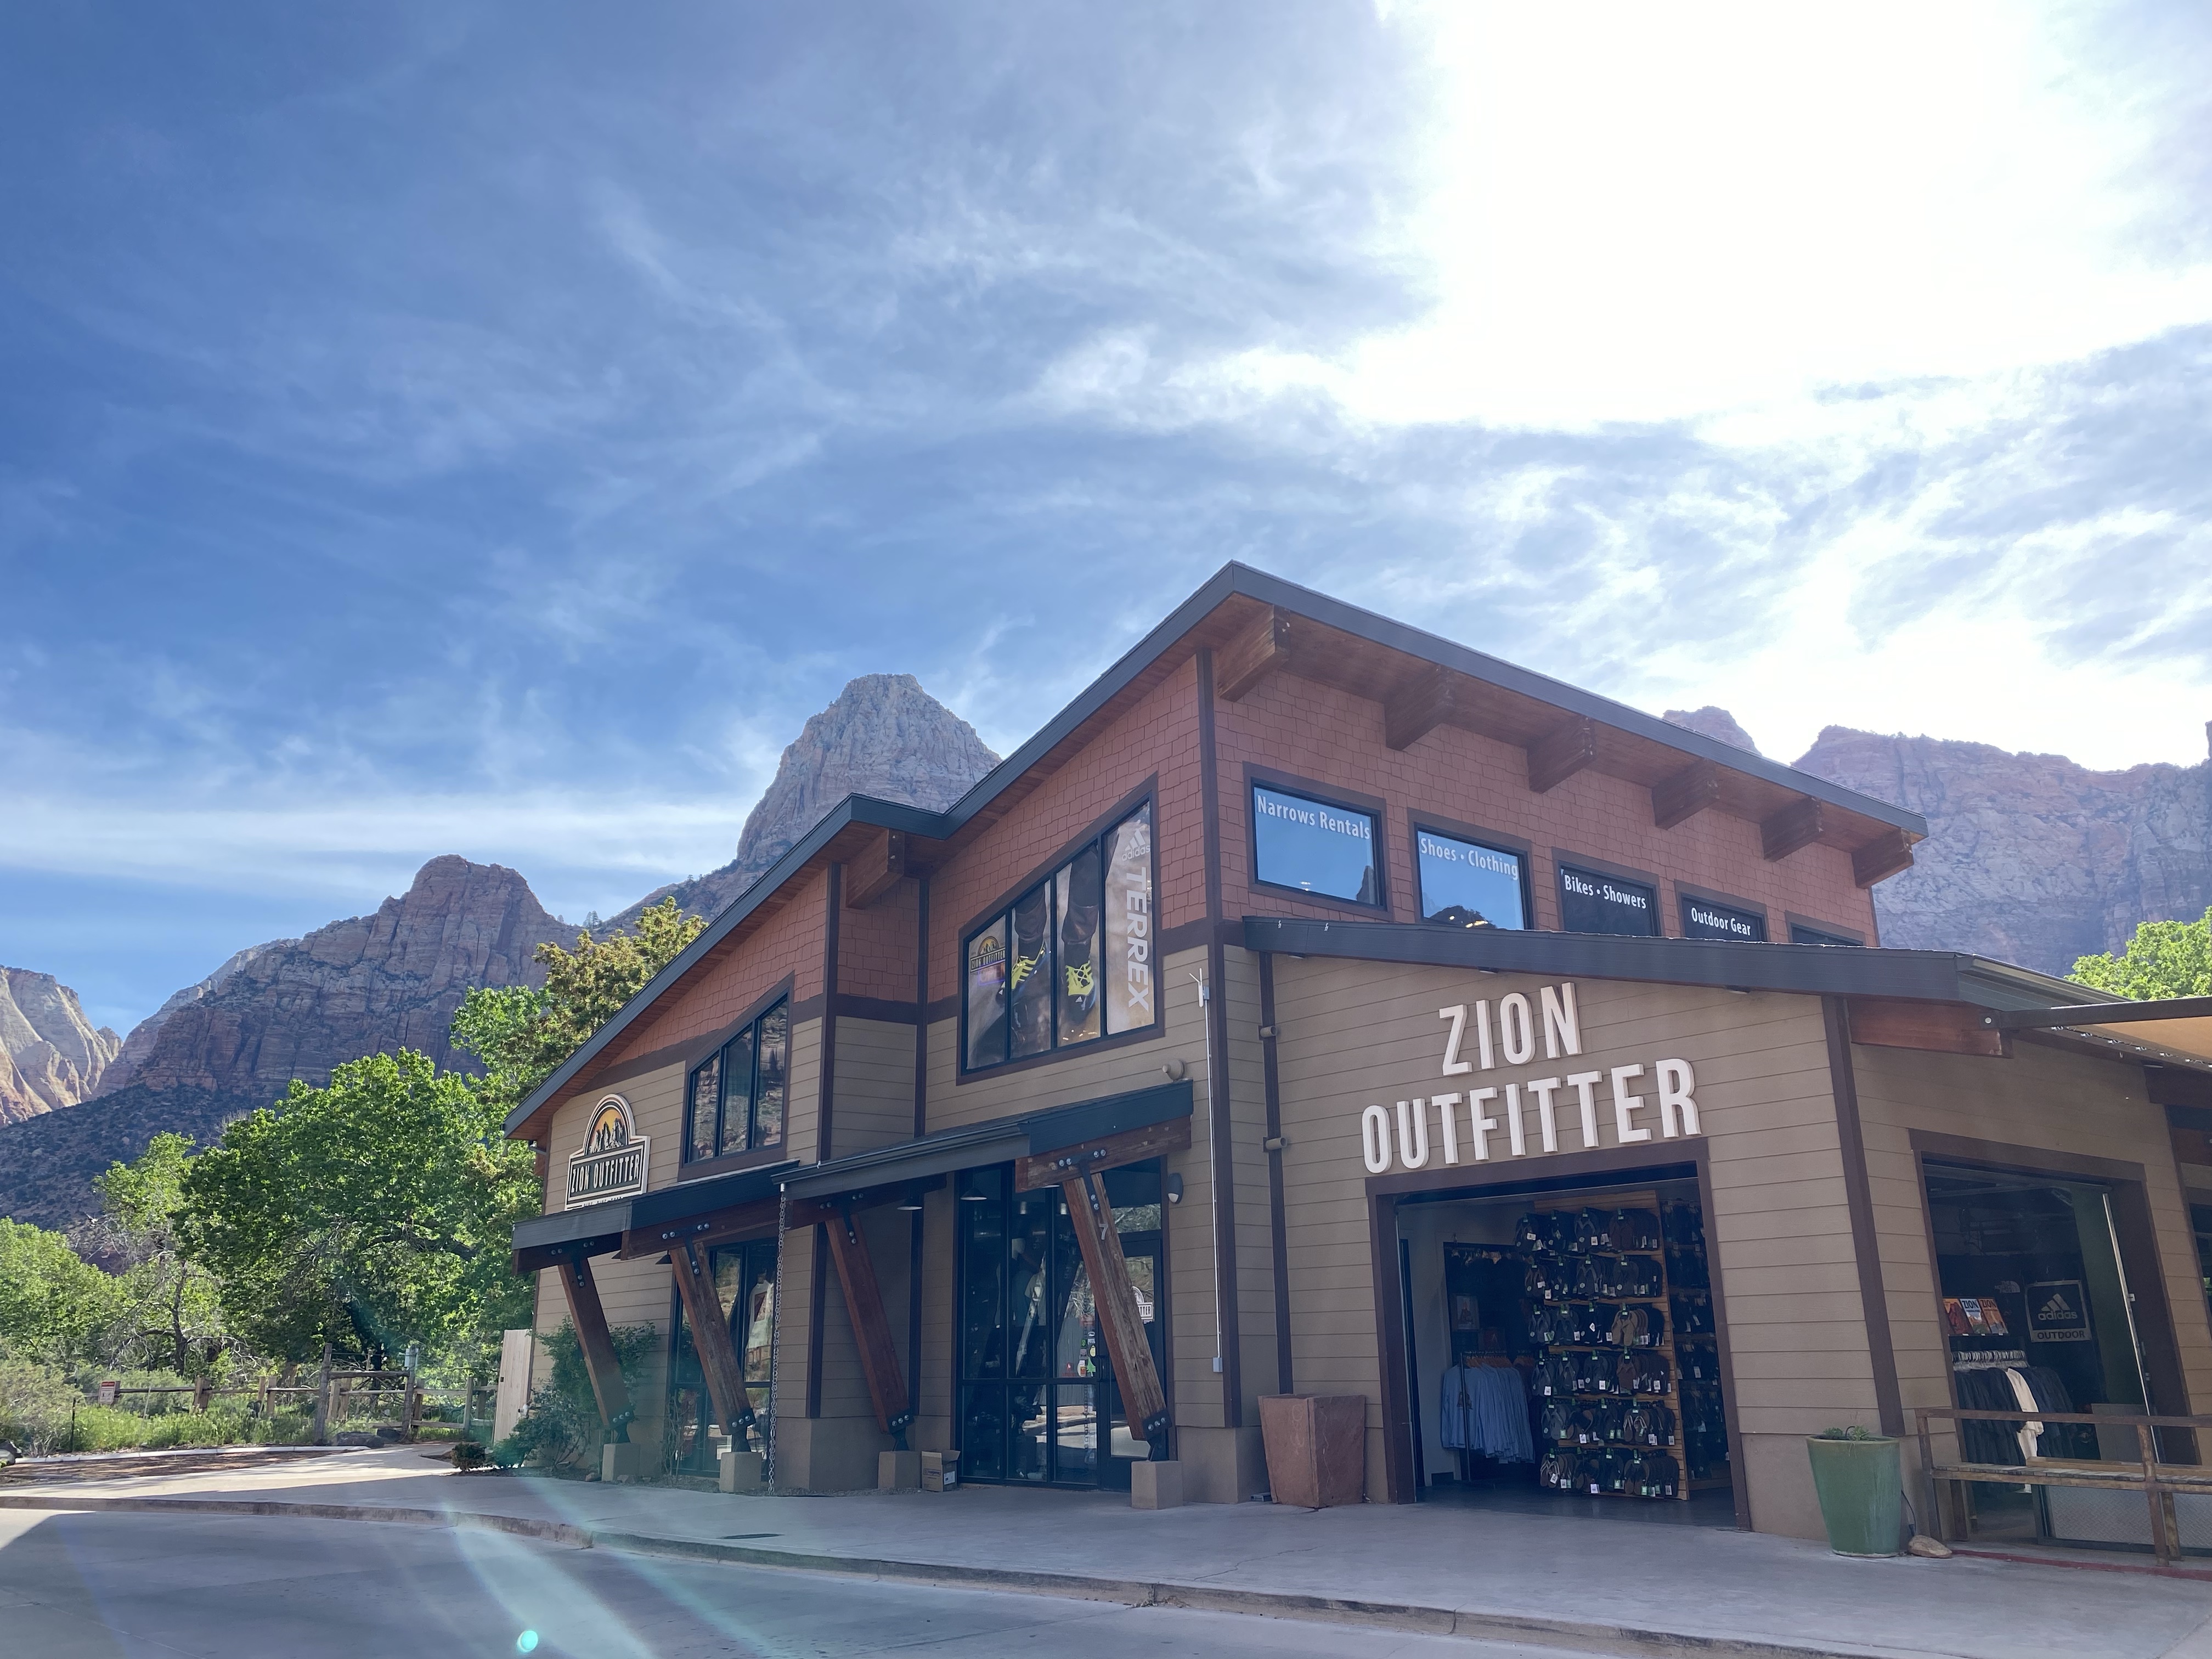
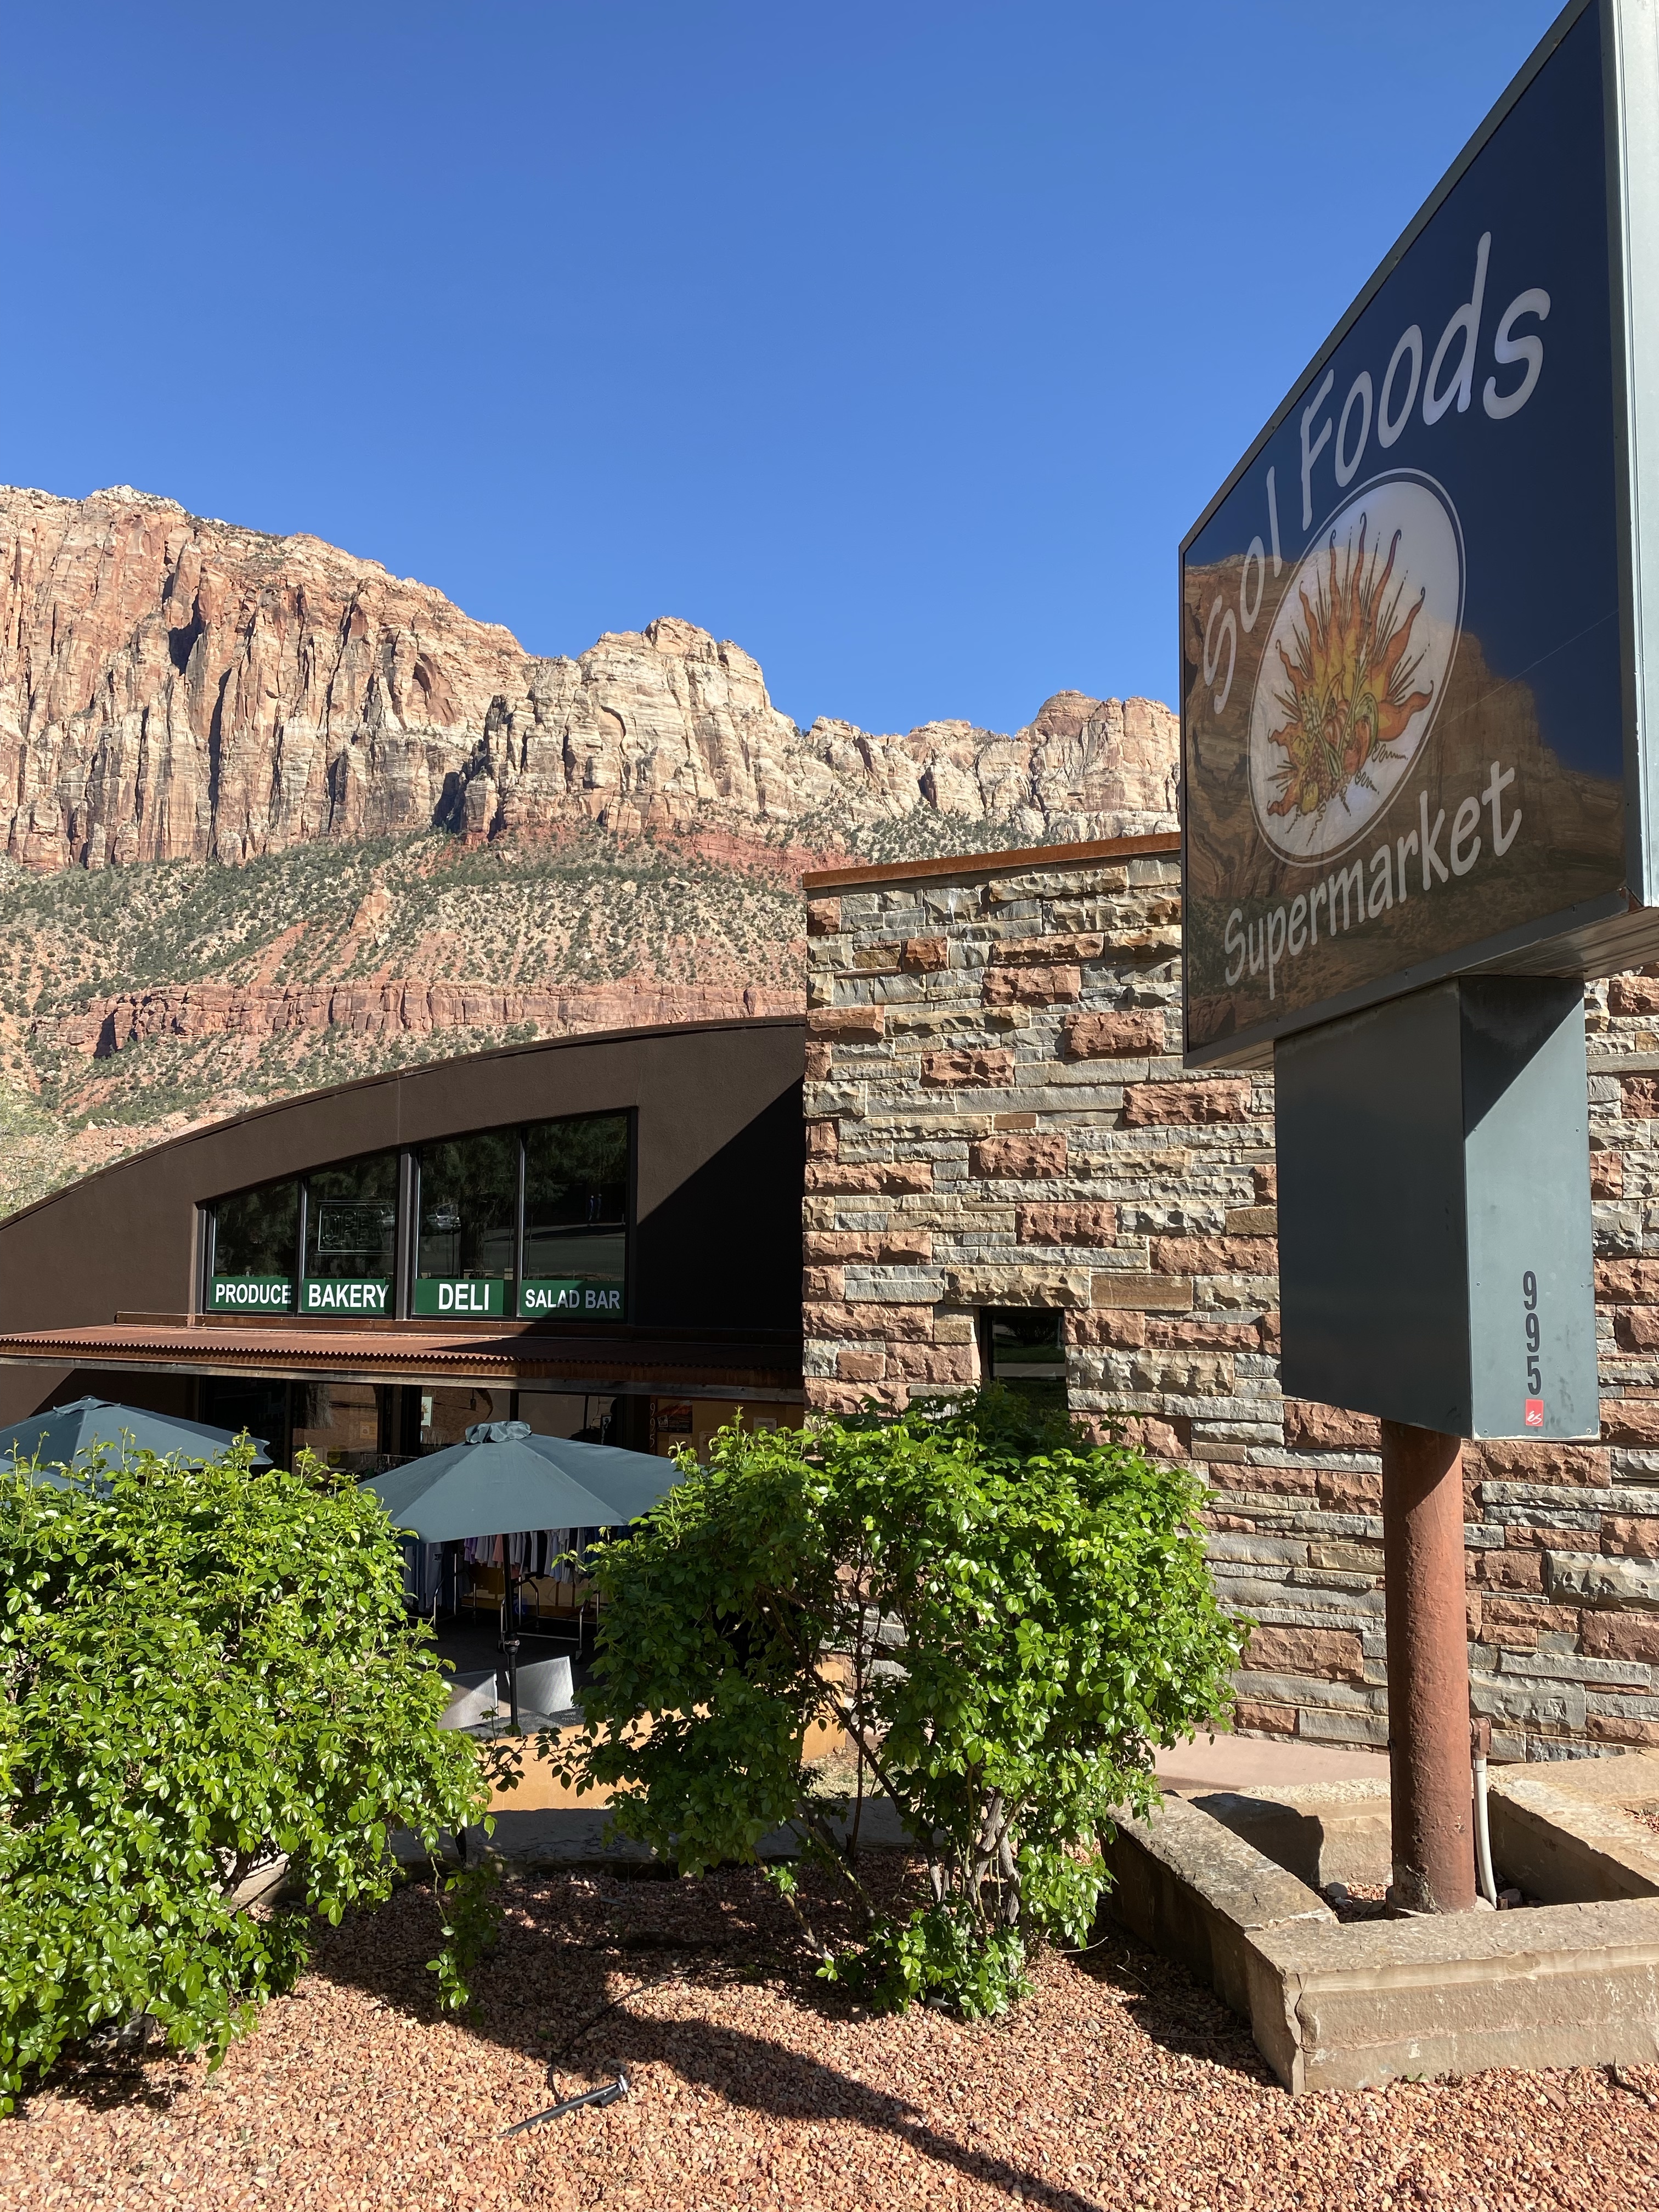
Springdale has a lot to offer including a complimentary shuttle service, shopping, restaurants, coffee shops, a brewery on the Virgin River and a greenway to walk/run or ride e-bikes.
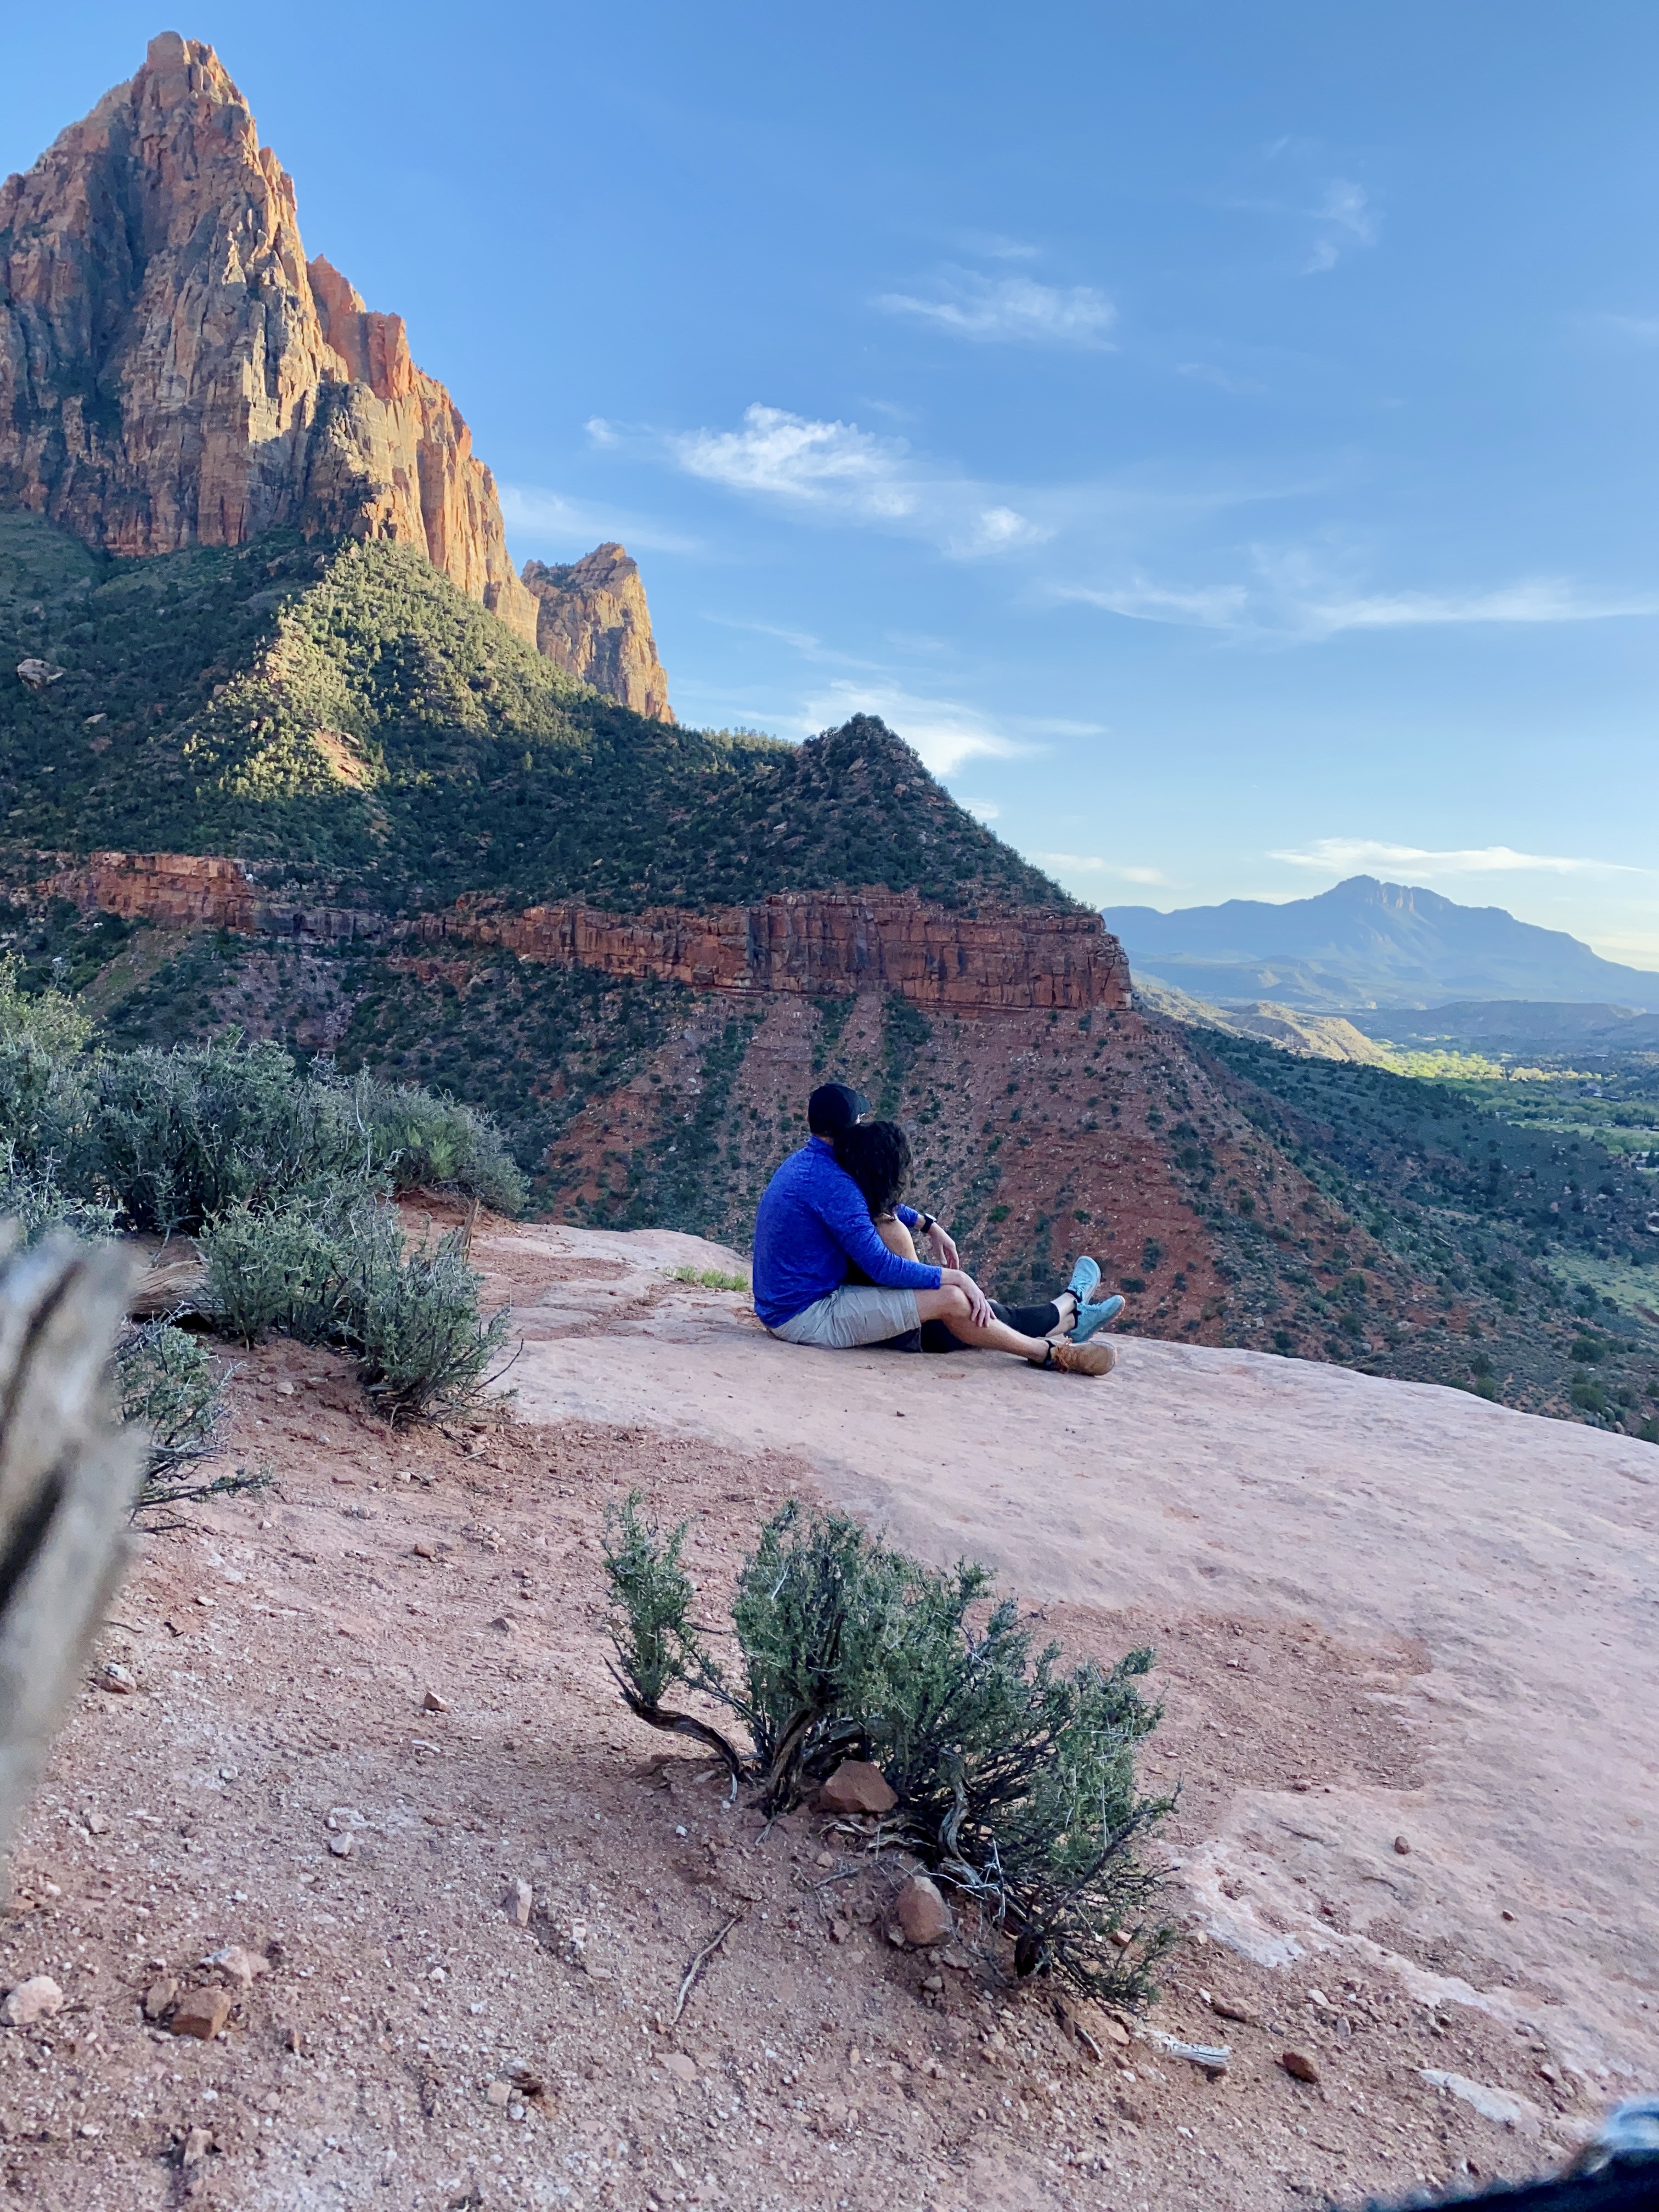
After settling in to our hotel room, quickly walking the property grounds outside and resting for a little while, we were anxious to head out and hike one of the shorter trails that had promising views overlooking the town of Springdale.
A quick 5 minute drive to the South Entrance of Zion National Park, we handed over our National Park pass to be scanned, the ranger offered us a map (you will want this as it includes all of the trails, discriptions/difficulties and what stop you’ll need to get off for the shuttles to access each), and parked at the Visitor Center.
Watchman Trail – 3.4 Miles roundtrip. My watch calculated it was a bit further than that at 3.75 Miles which may have been because we did a smaller scenic route once we were at the top (definately do this…you will have better views) and we walked part of the Pa’rus Trail along the Virgin River which connects you to Watchman Trail.
We started this hike around 6:15PM and knew we needed to hustle before we lost daylight as the sun dropped behind the mountains. It probably only took about 45 minutes to get to the top and left us with plenty of time to take in the beautiful views.
We only passed a handful of people on the trail which was so peaceful. Having 3 boys at home that are all talkative from sun up to sun down, one of the first things we noticed while hiking either late evening or early mornings was the noticeable quiet all around.
We decided on a dinner spot, The Spotted Dog, and ended up having one of the best meals of our entire trip. Please go and ask for Freddy if he’s working. He was our amazing server and lead us to our dinner choices but more importantly, we had a wonderful time talking to him about his life and what lead him there, how much growth that has happened in the area in just a few years, and how it’s impacting locals.
Refueled with good food & a delicious cocktail, we were more than ready for a solid nights rest.
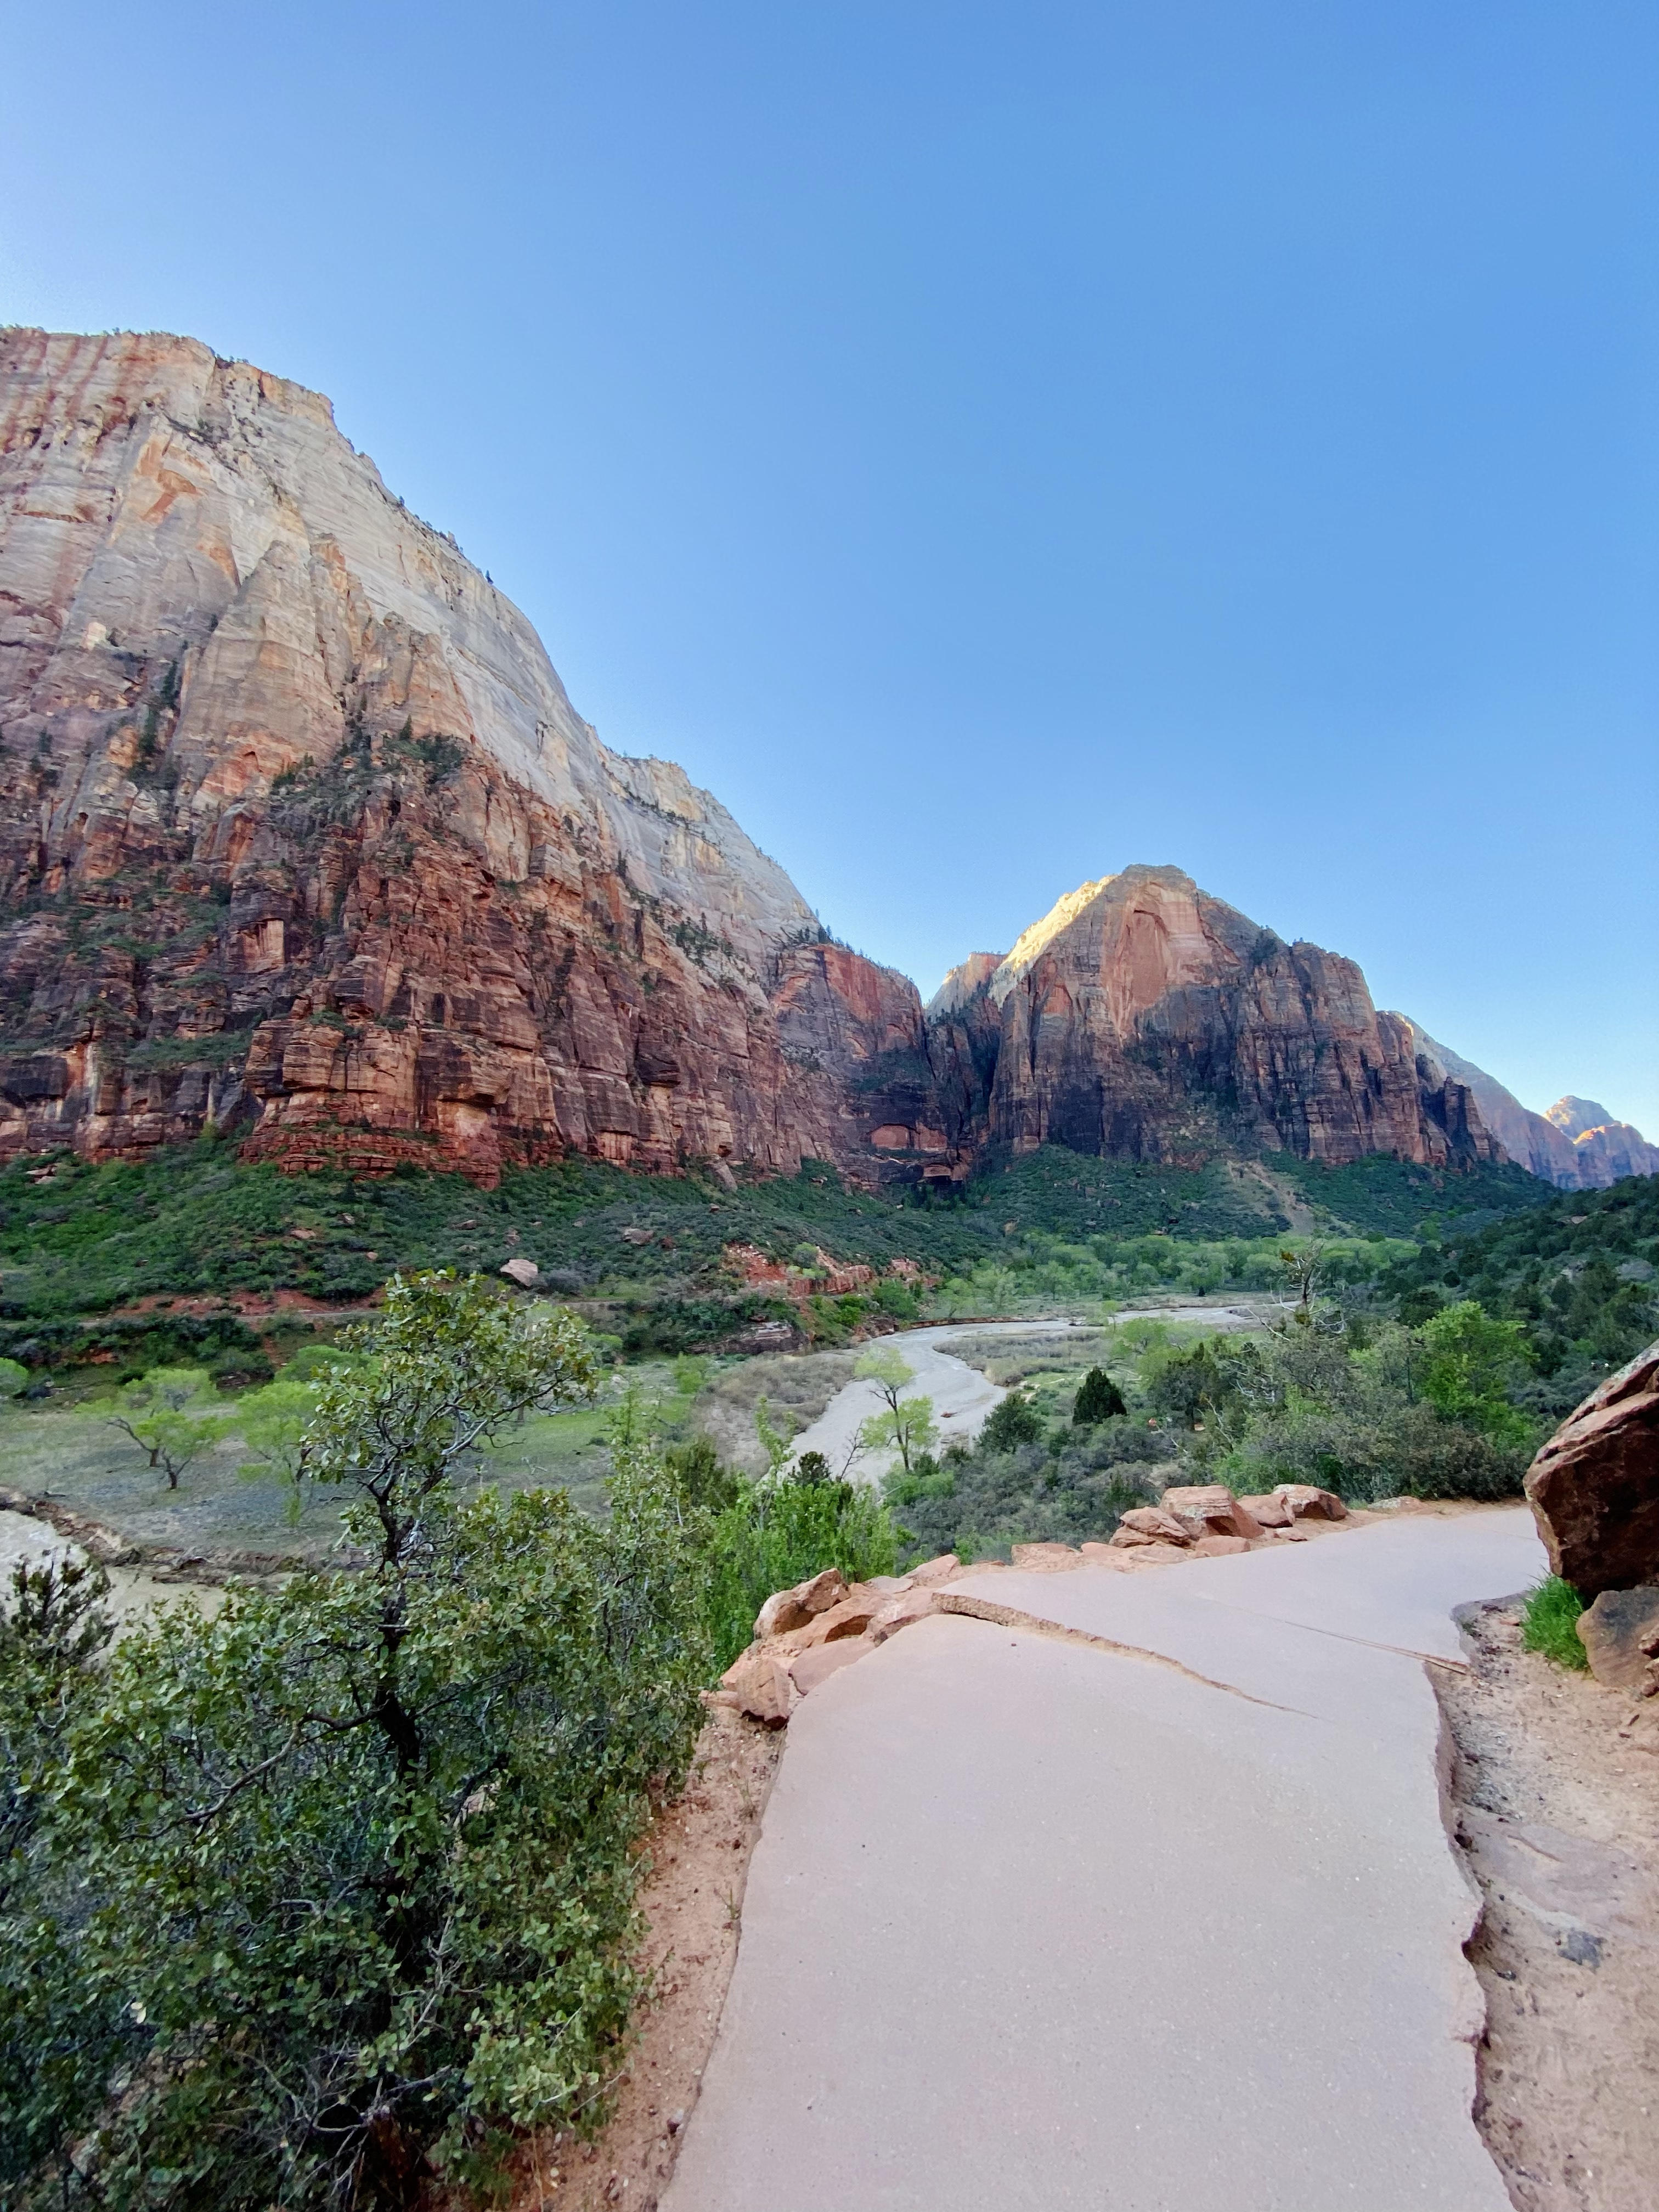
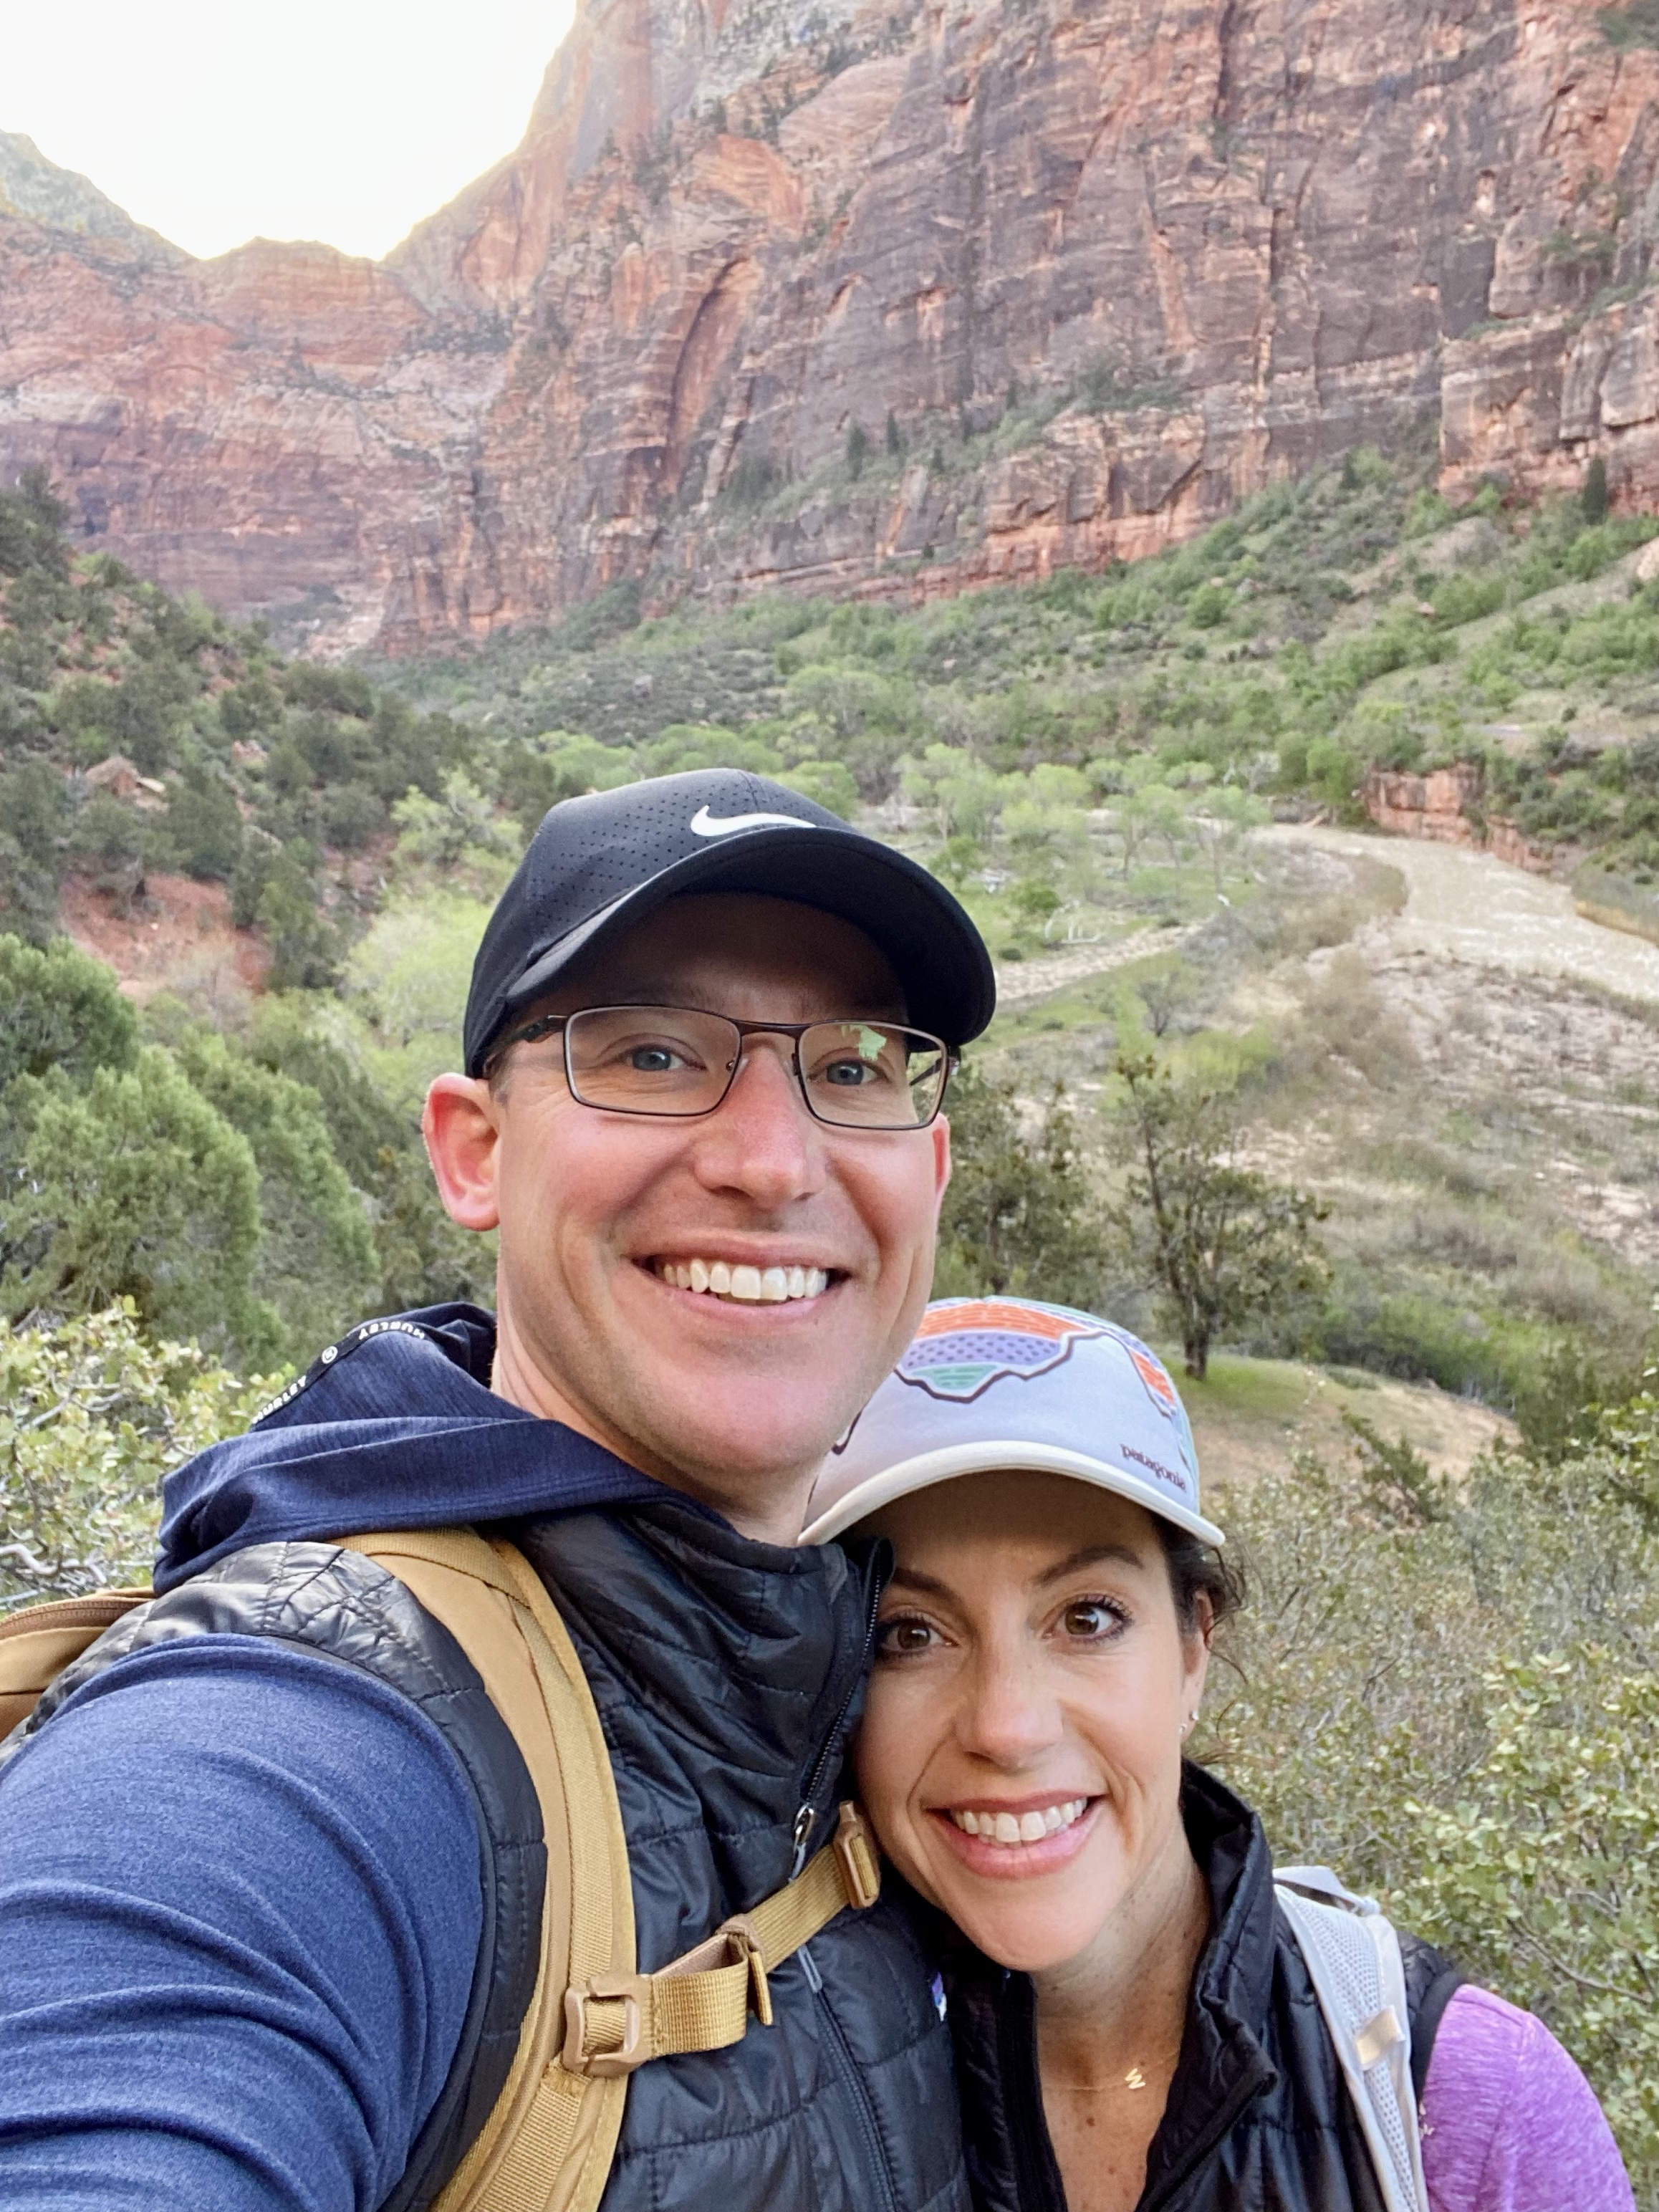
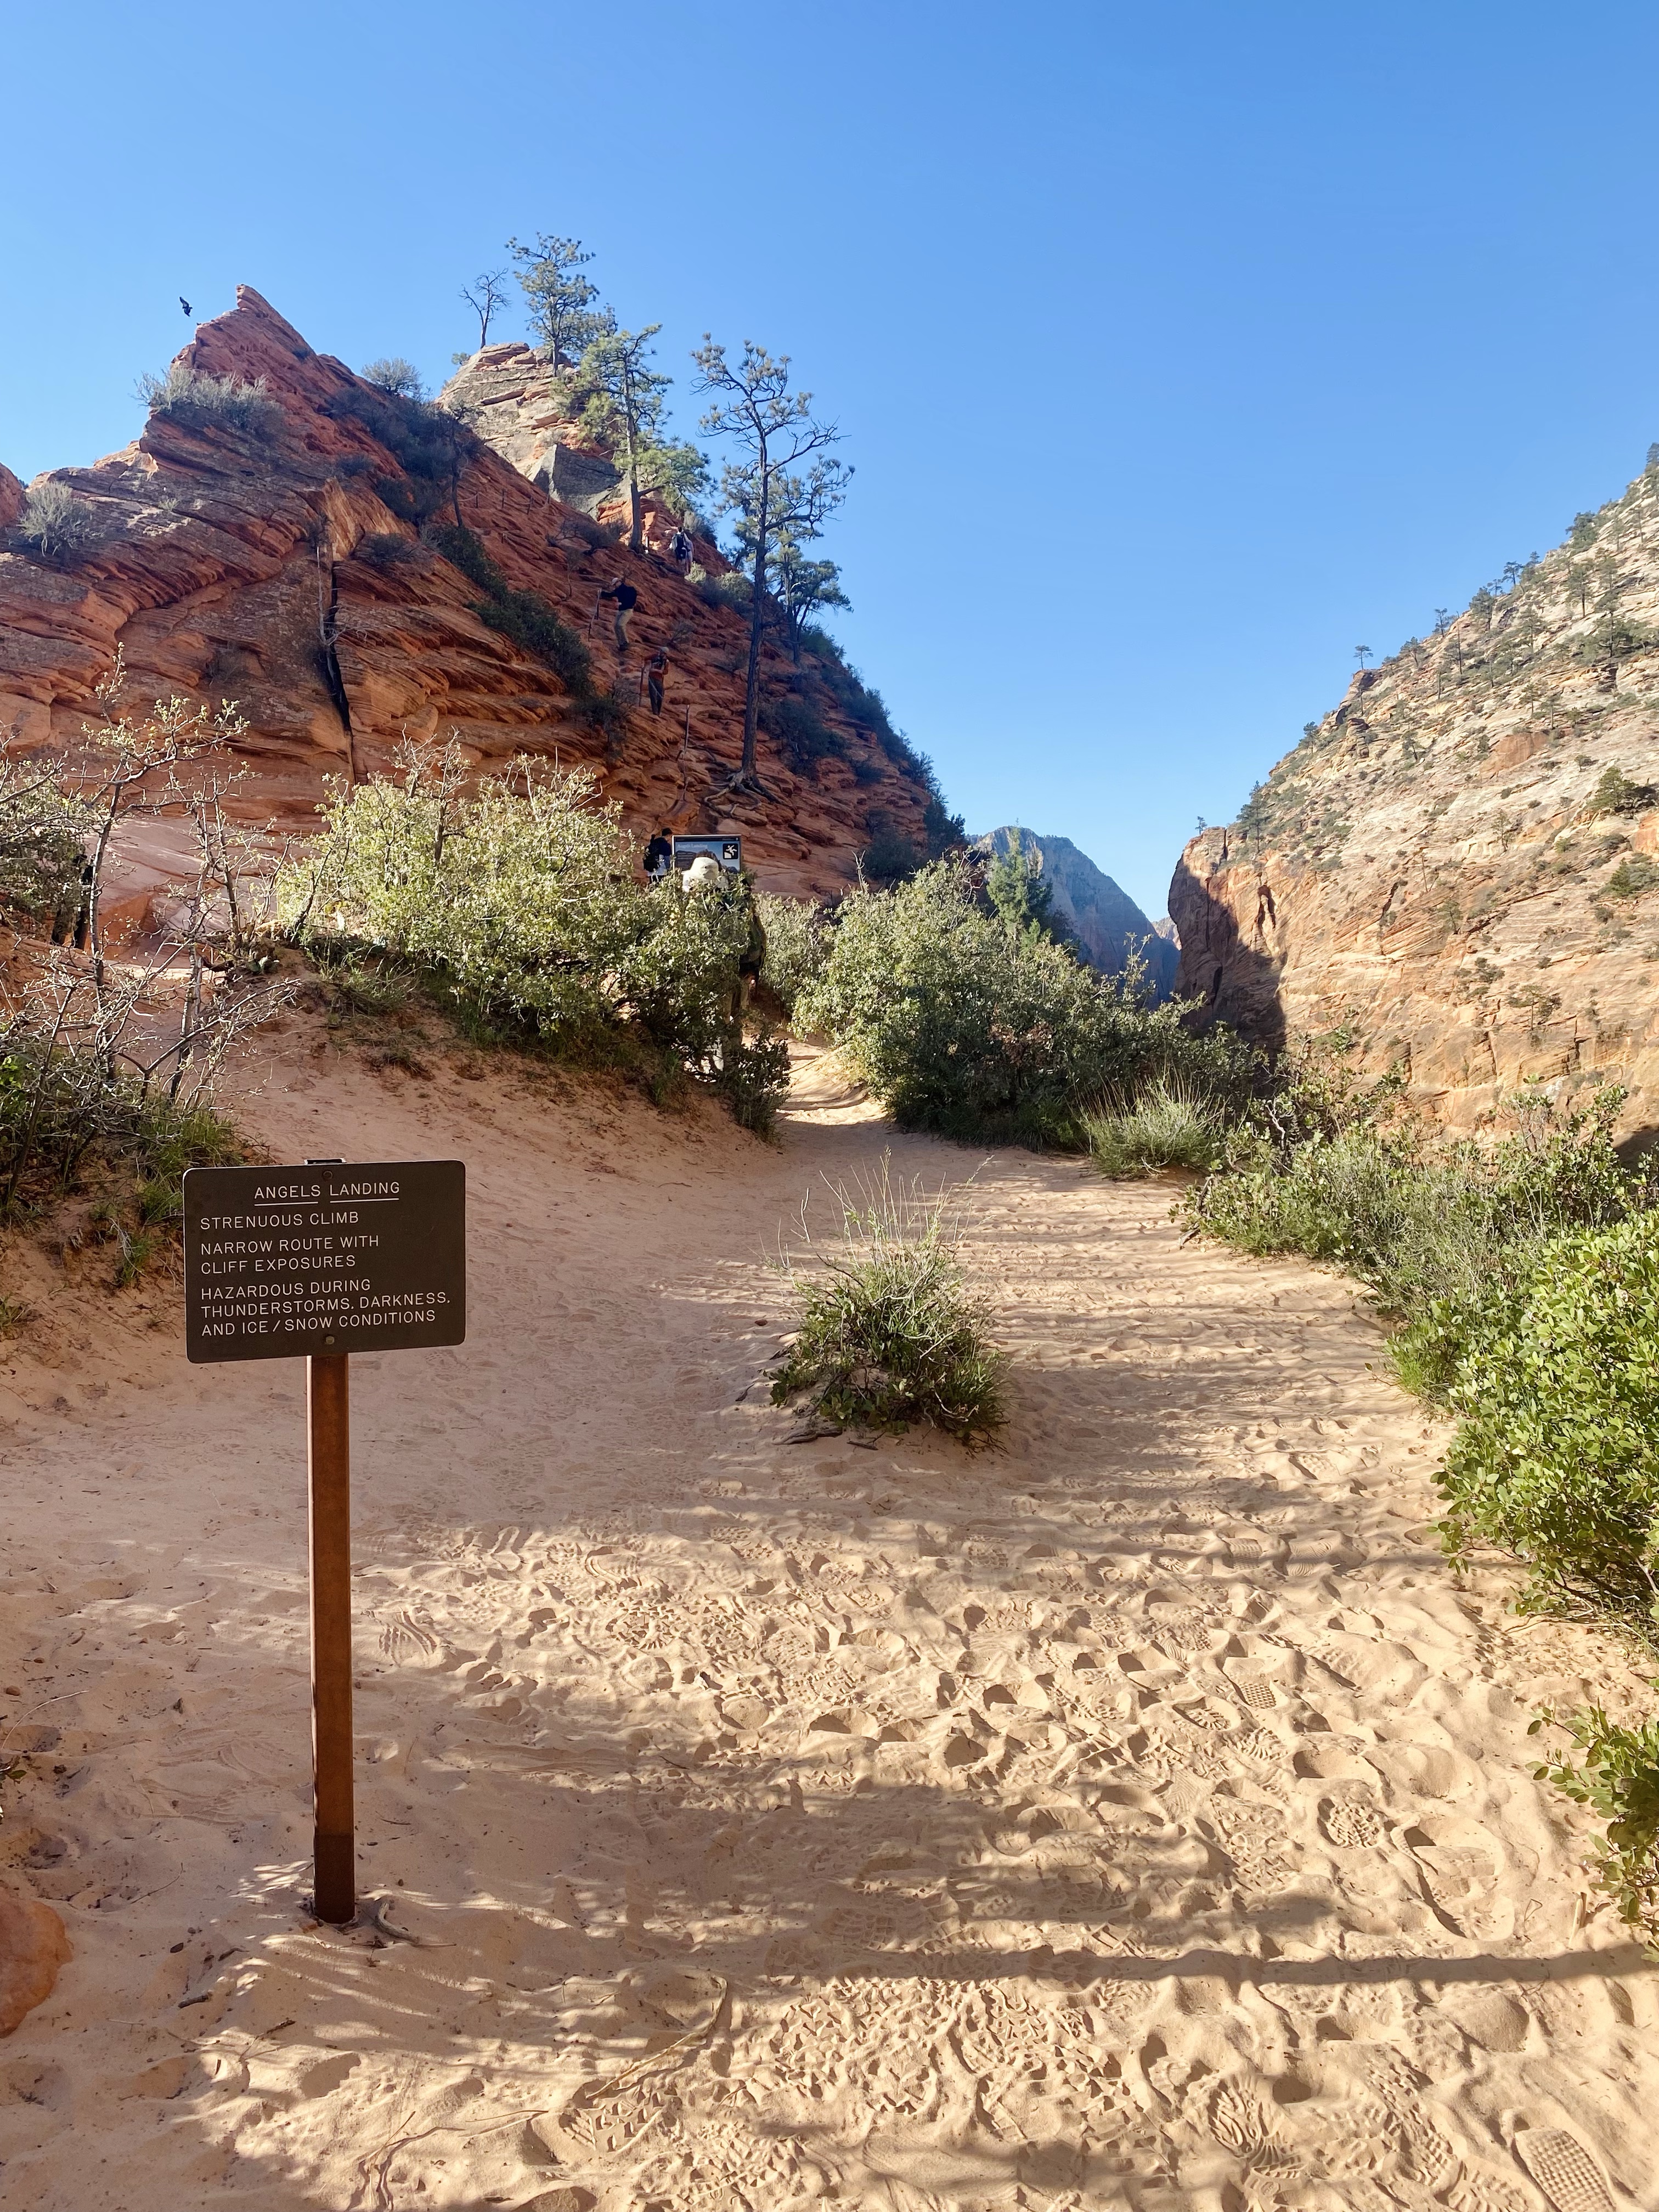
Day 2: Up and at ’em – Breakfast eaten by 6:30 and in the car to snag a parking spot at the visitor center to catch the first shuttle in Zion departing at 7AM. Our day’s objective was to see Angels Landing before the crowds.
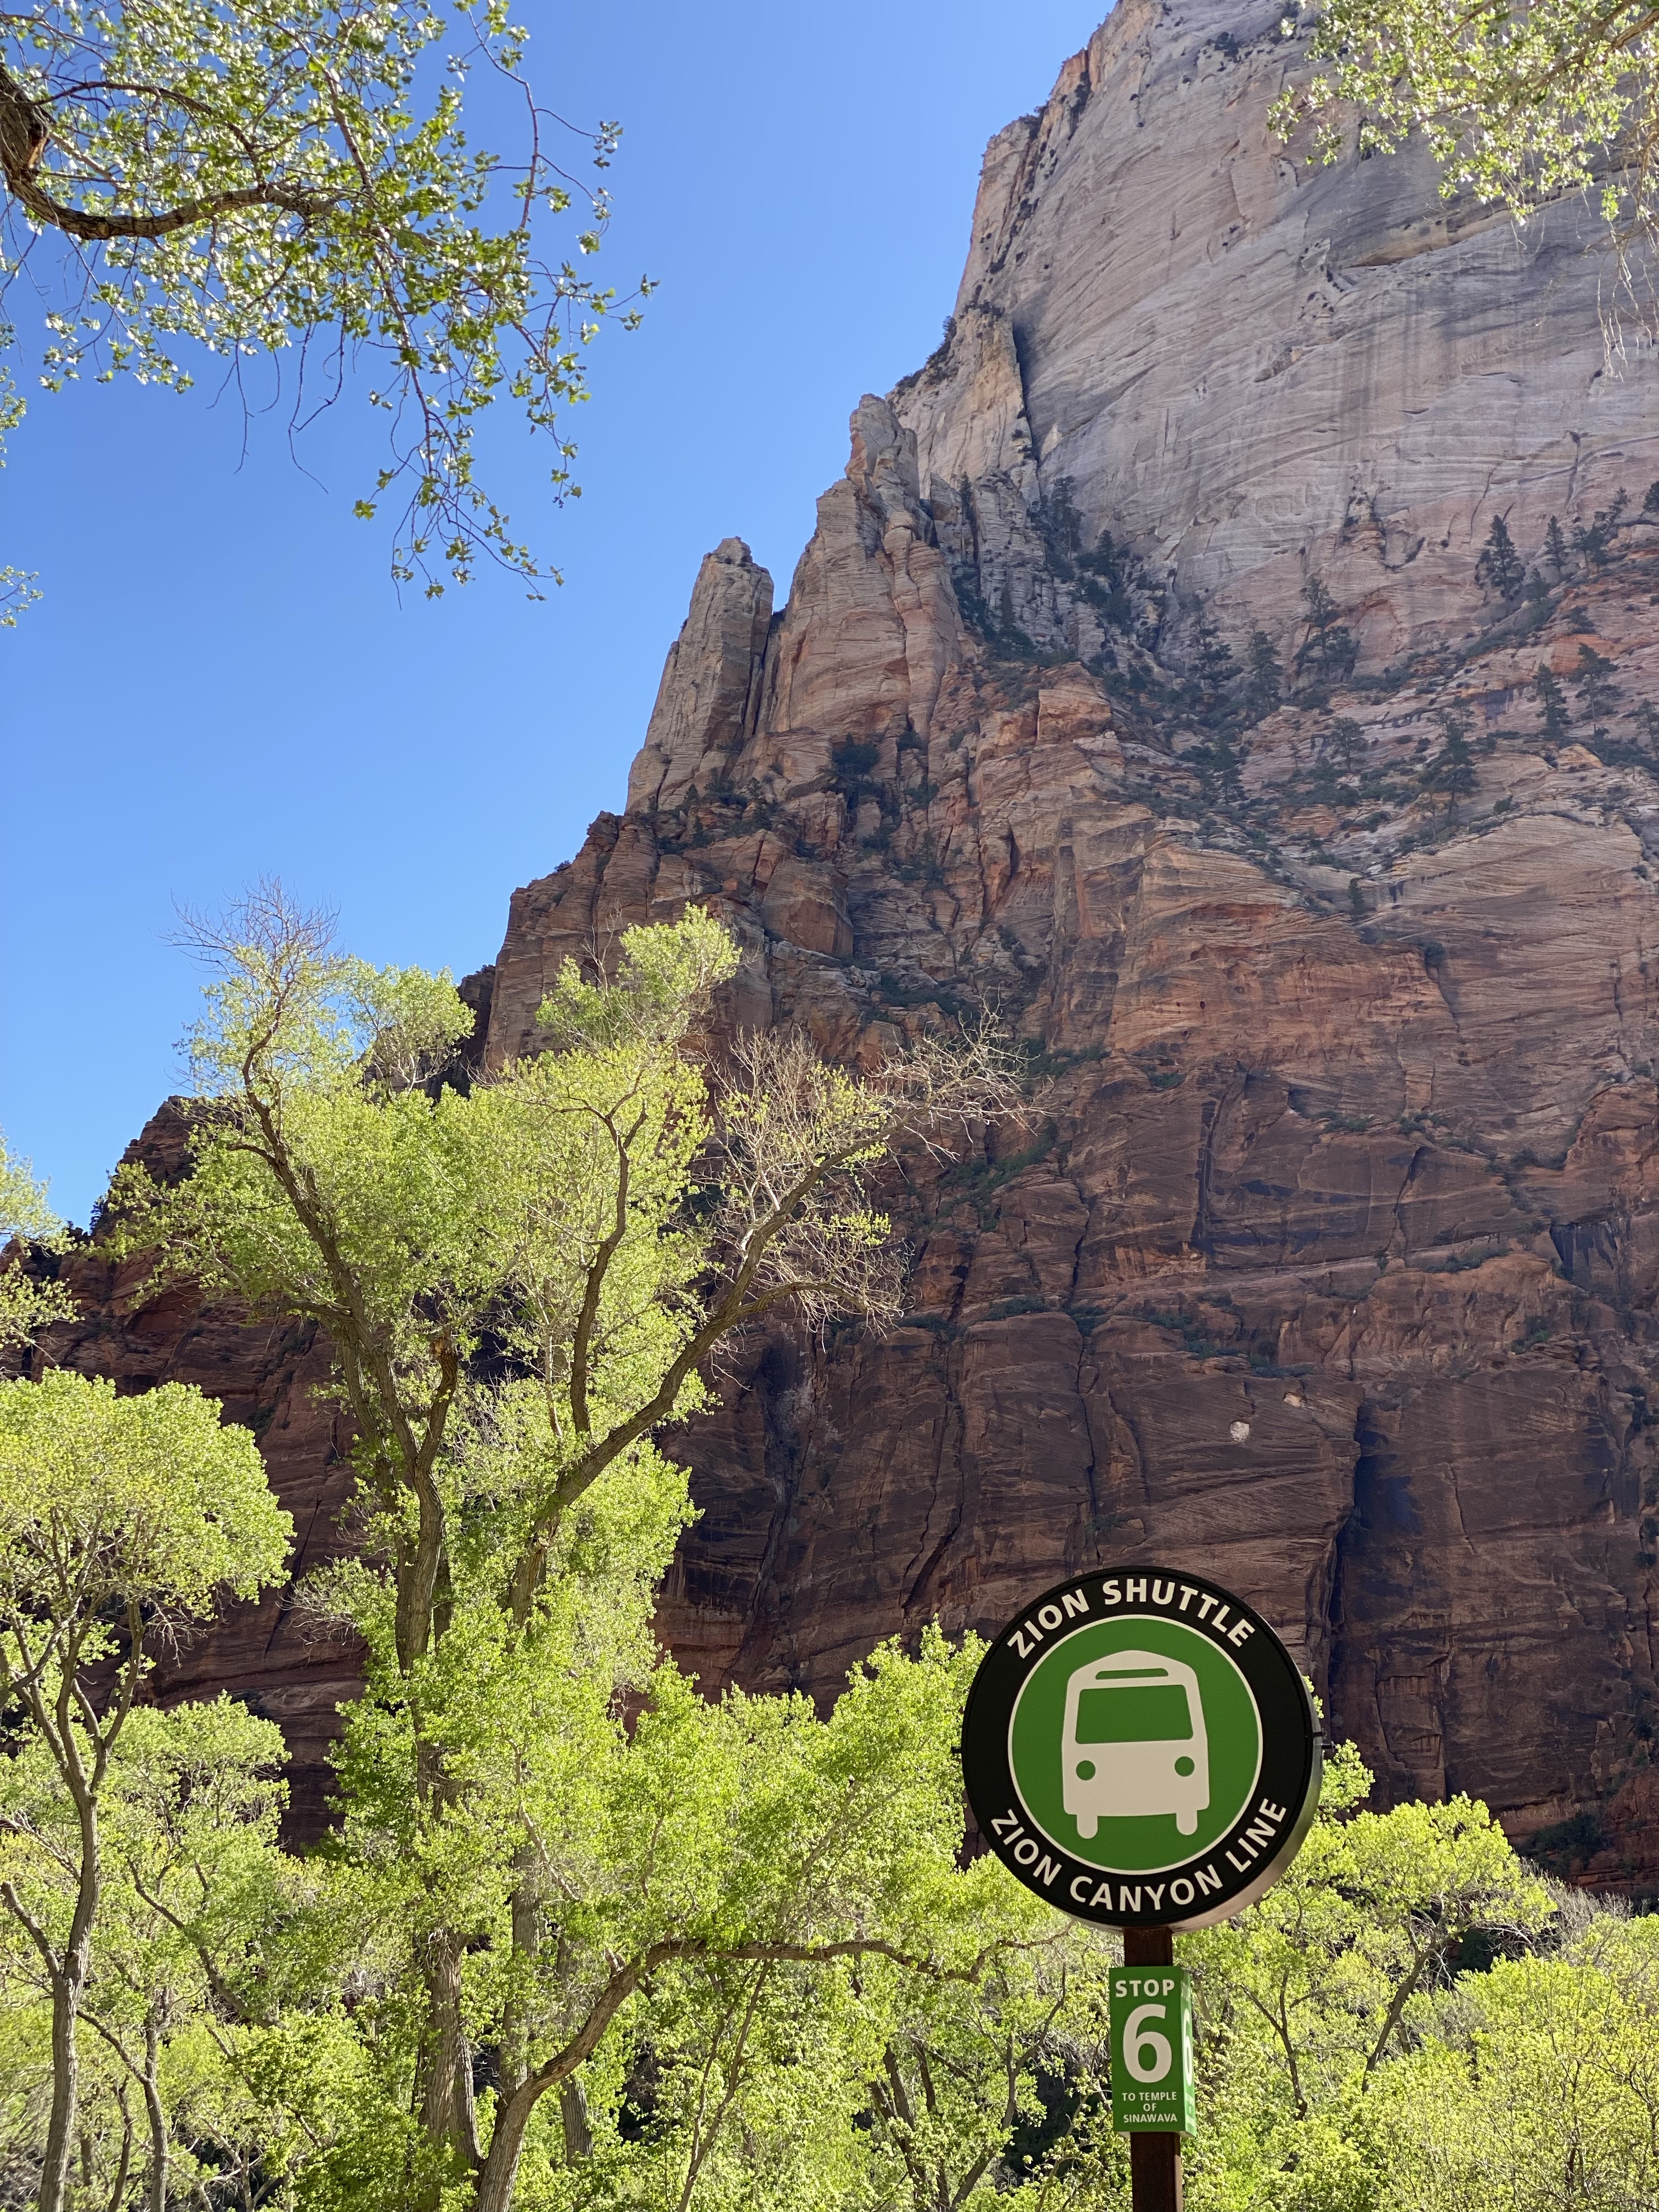
Take the Zion Shuttle – Zion Canyon Line to Stop 6, The Grotto
Begin hike toward Angel’s Landing taking The Grotto Trail (1 Mile) to the West Rim trail which leads to Scout Lookout (4.2 Miles roundtrip) and Angel’s Landing (another .5 miles).
*Note* A permit is required to hike past Scout Landing and continue to Angels Landing. (Apply Here) Also keep in mind the difficulty and nature of the remaining .5 mile hike to Angels Landing. The most difficult part of the hike (for those afraid of heights) is the half mile out onto the ridge and back. Sheer drop-offs extend downward on both sides of the path in places. Some rock scrambling is also necessary. You will also have to hold onto the chain railing.
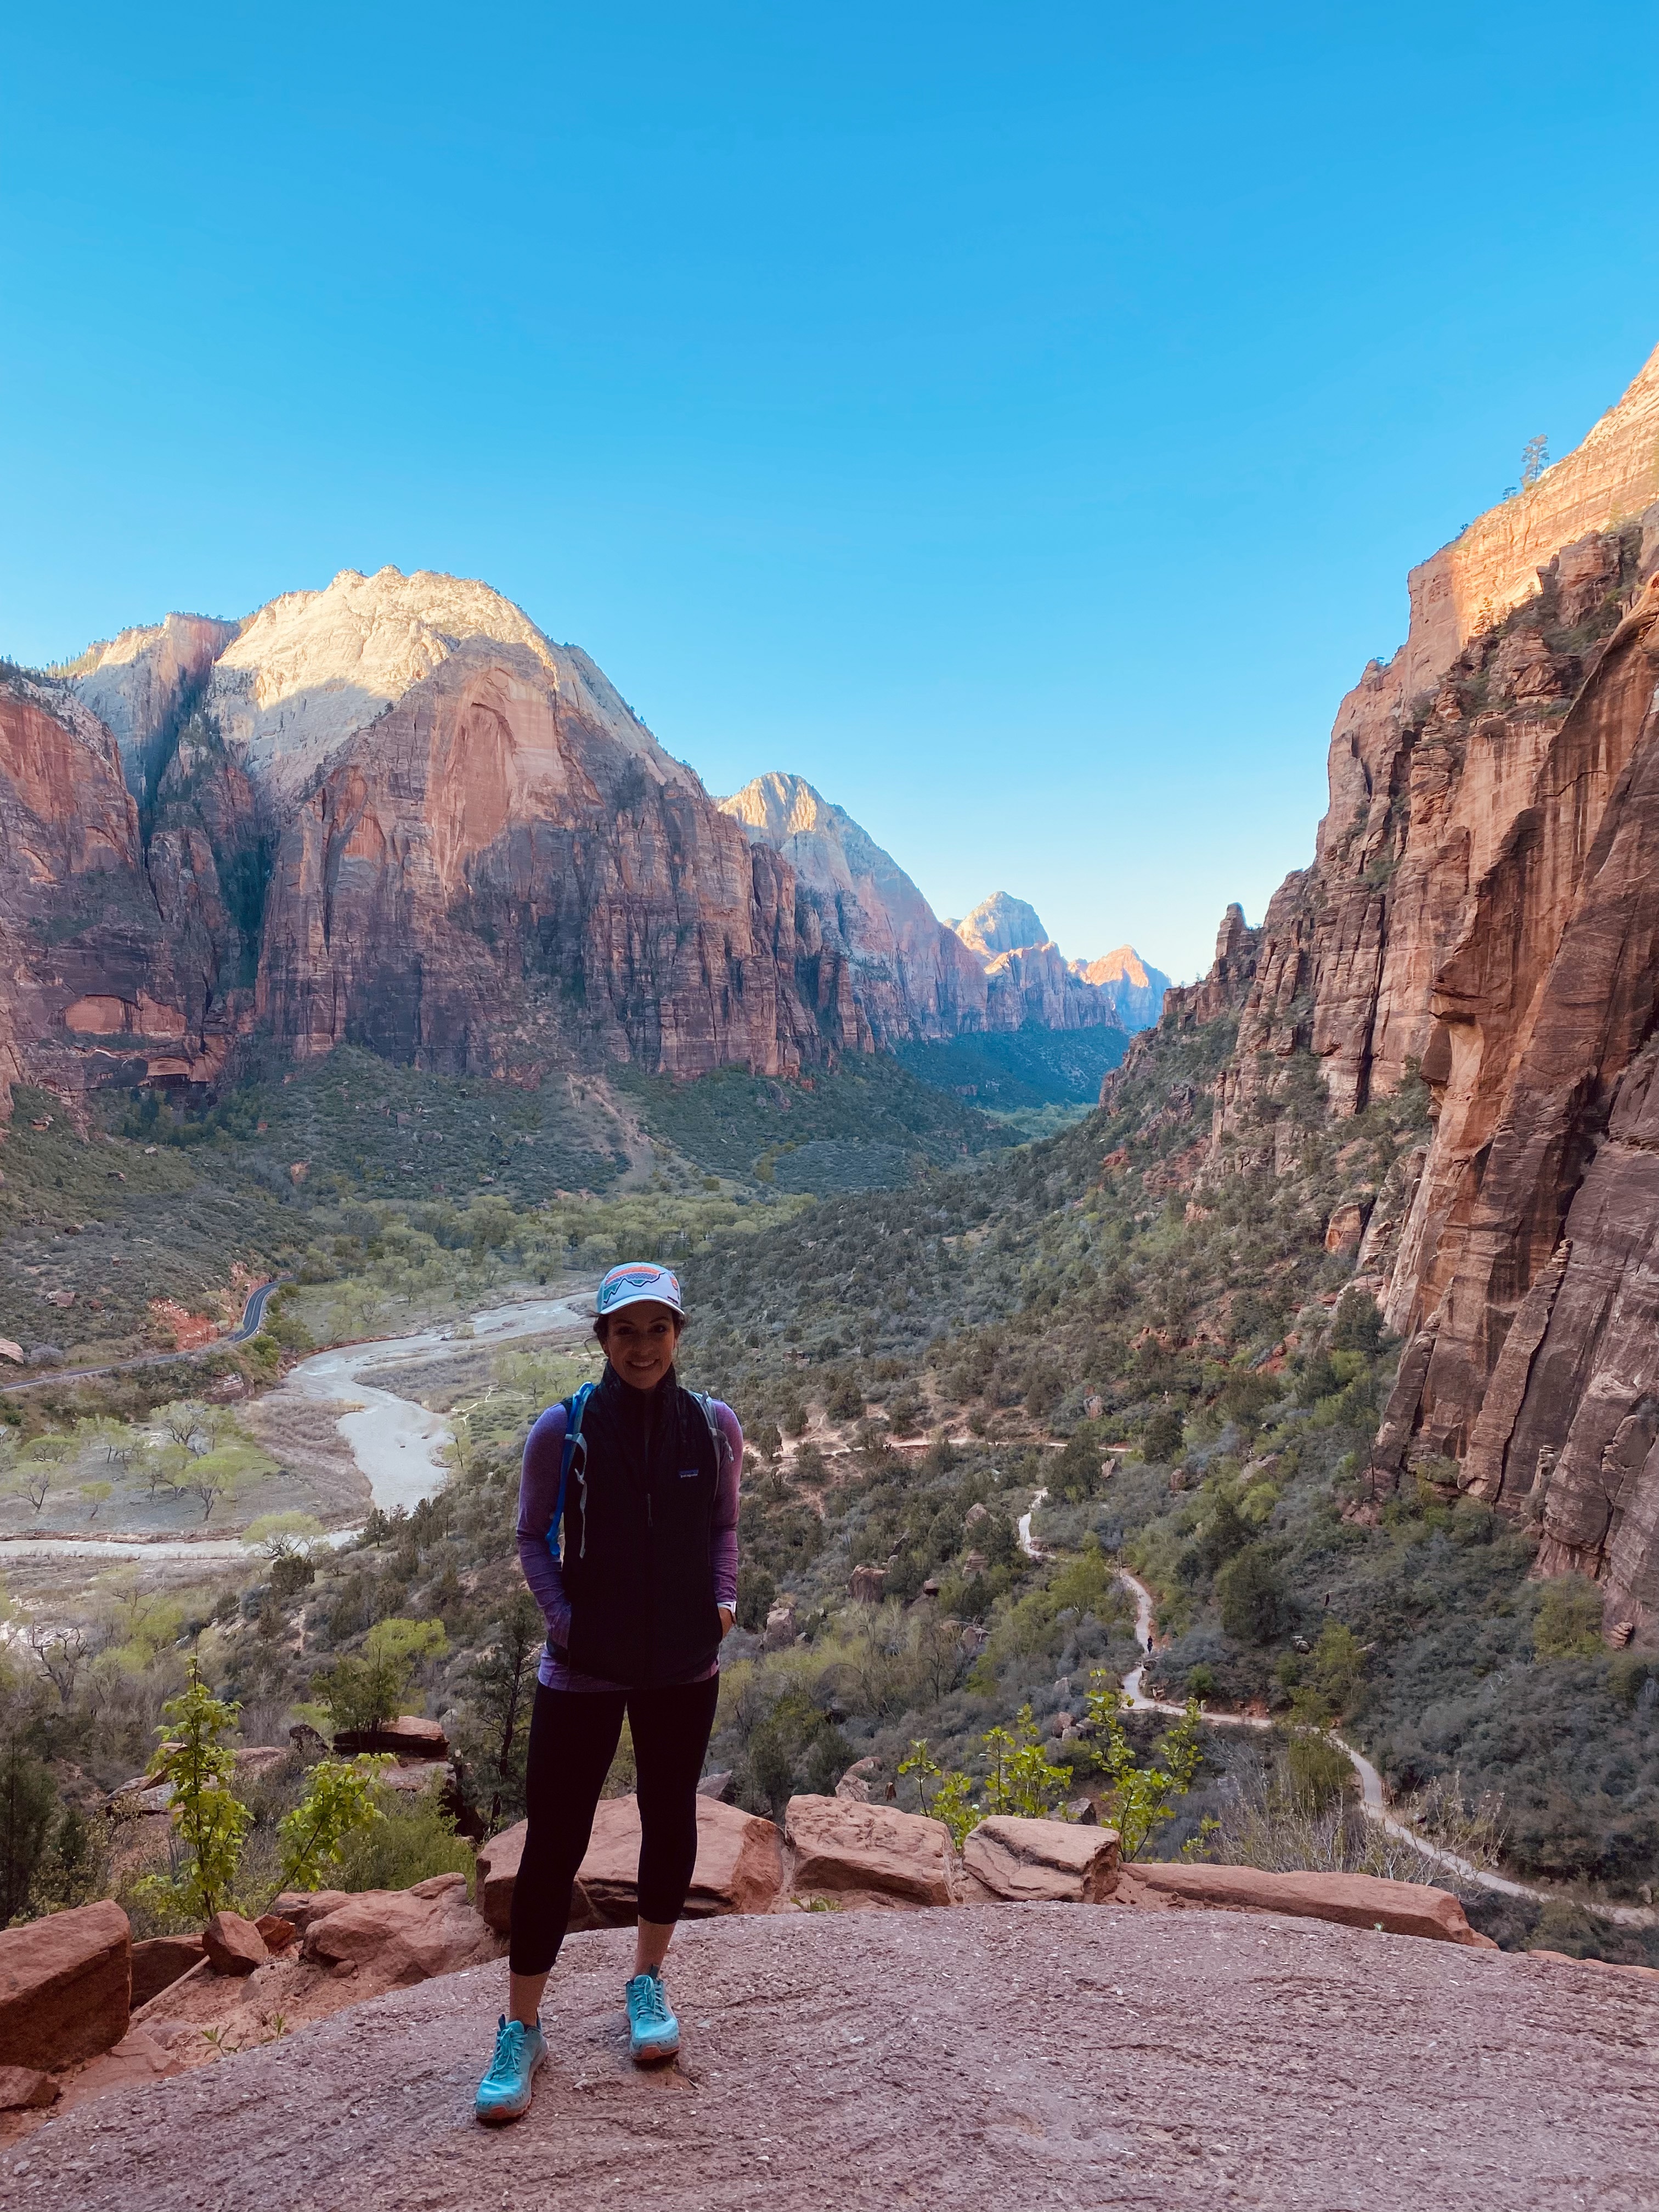
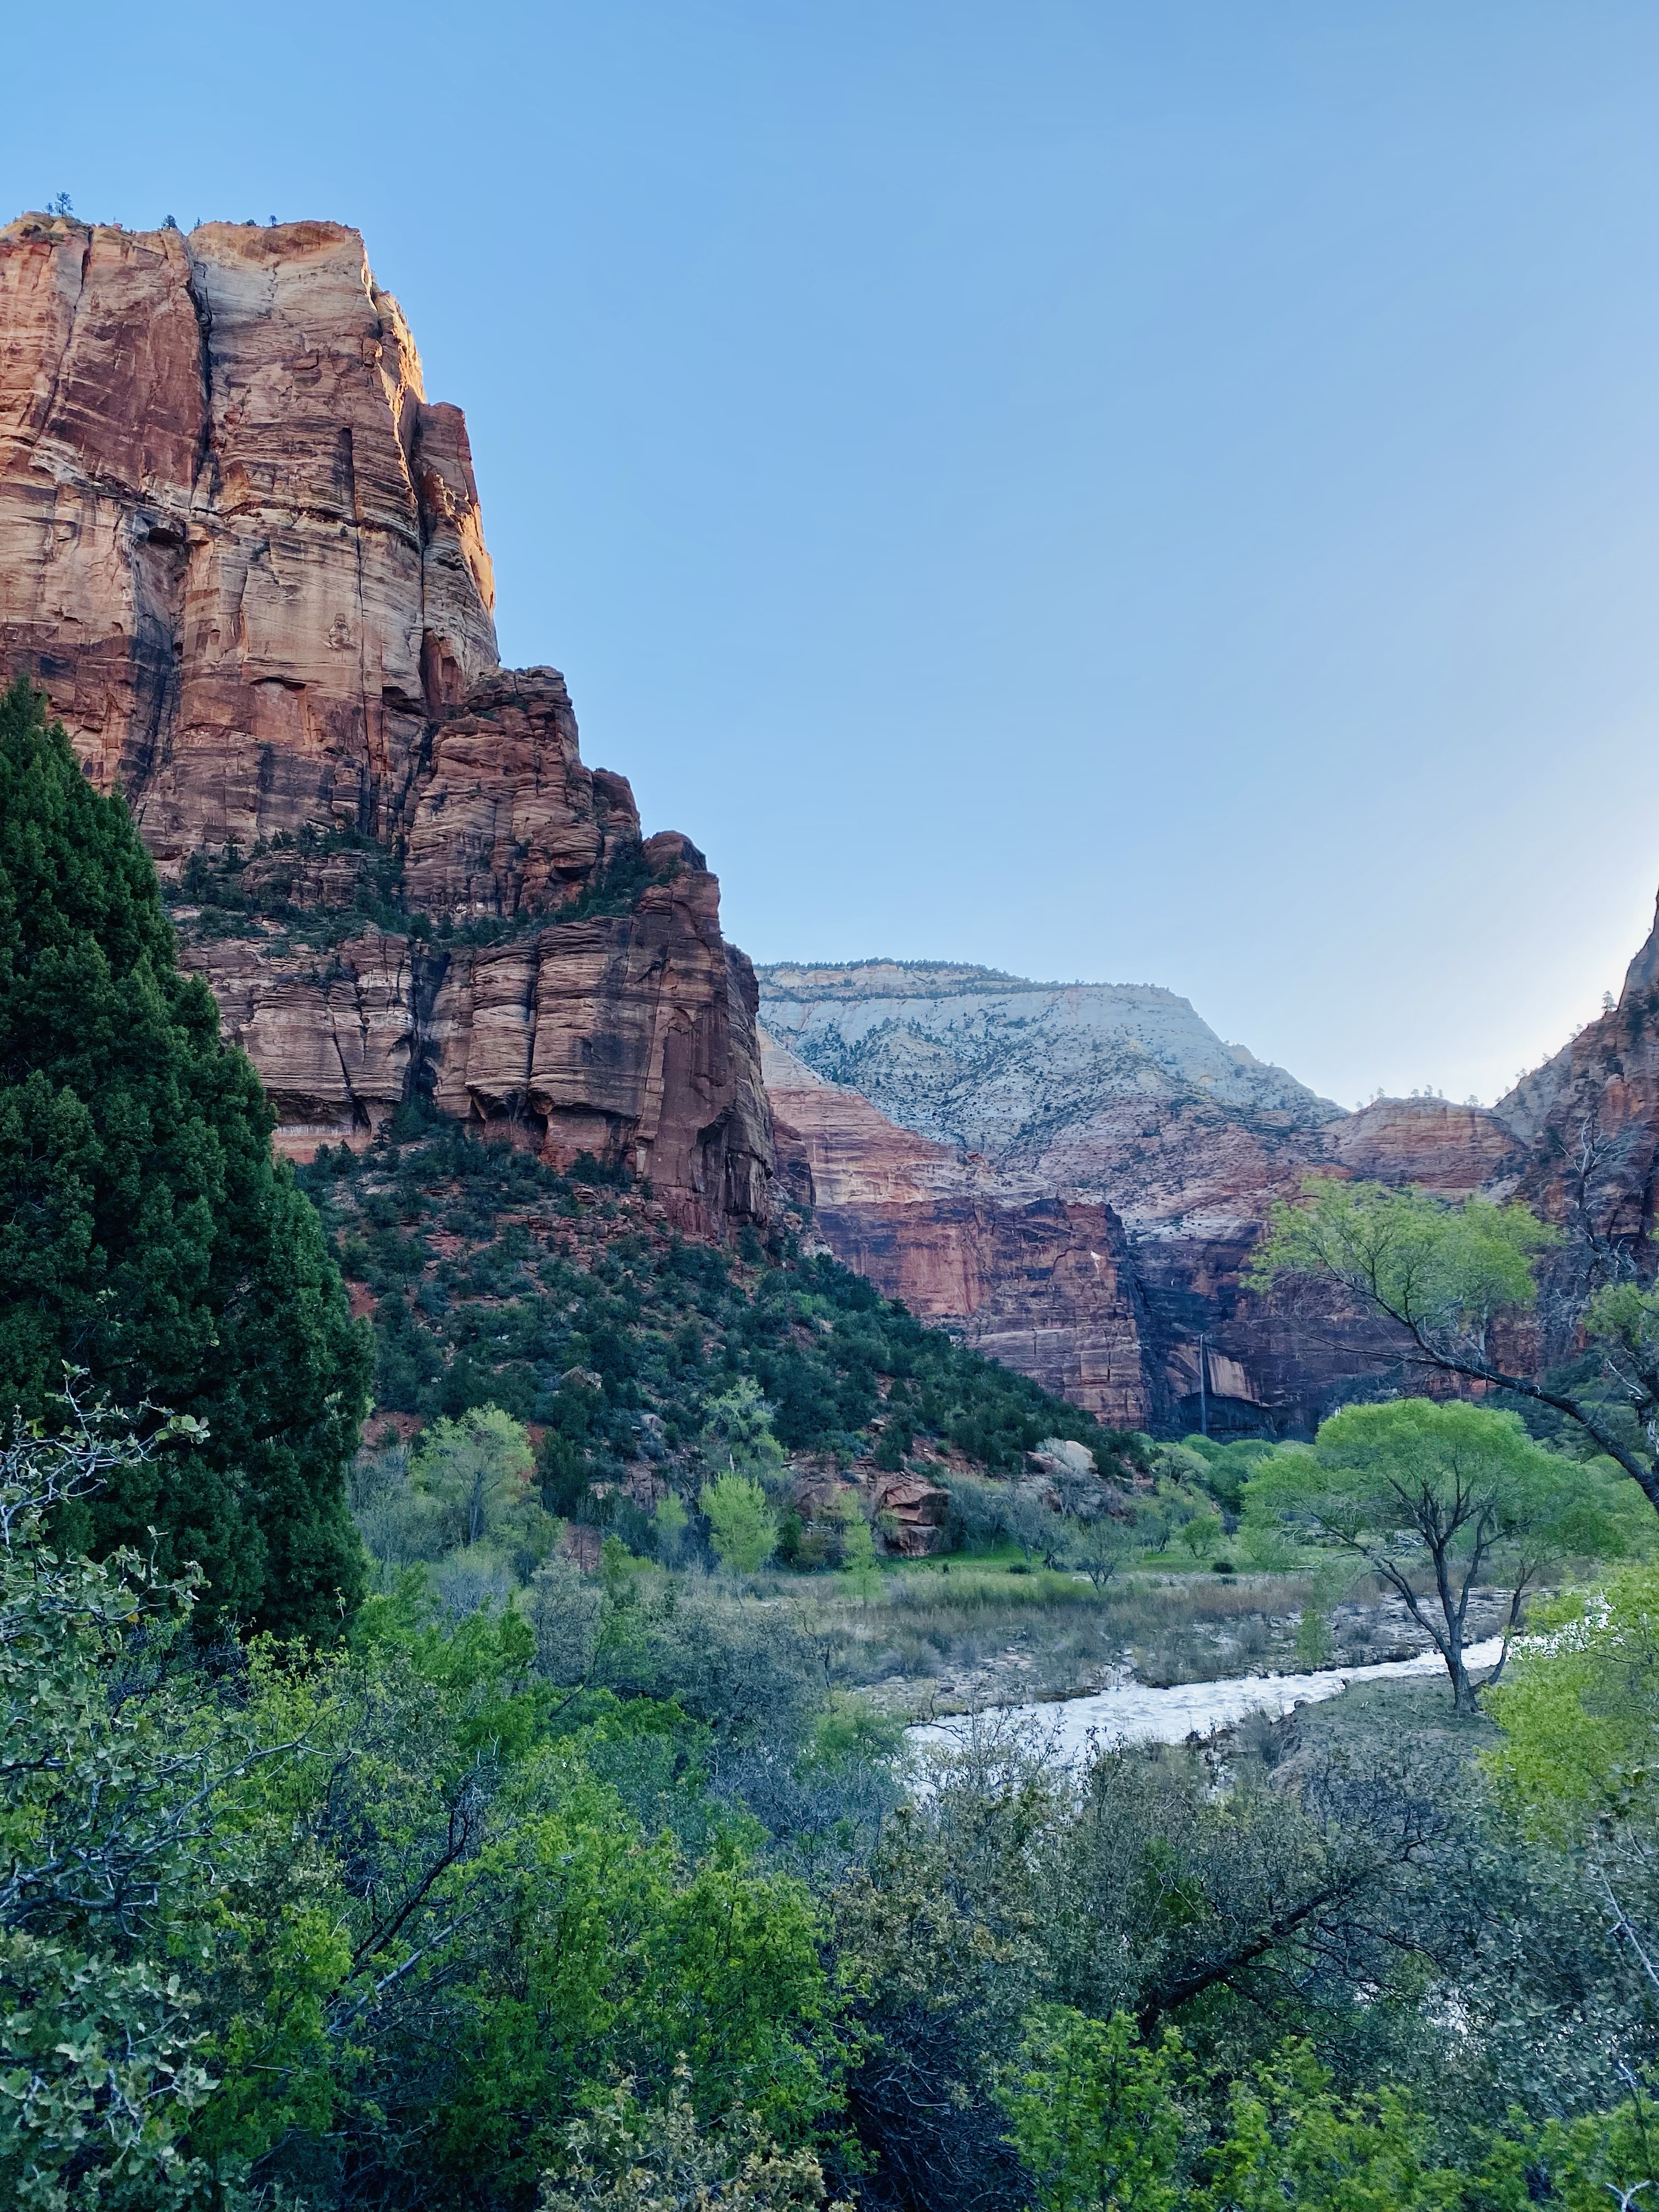
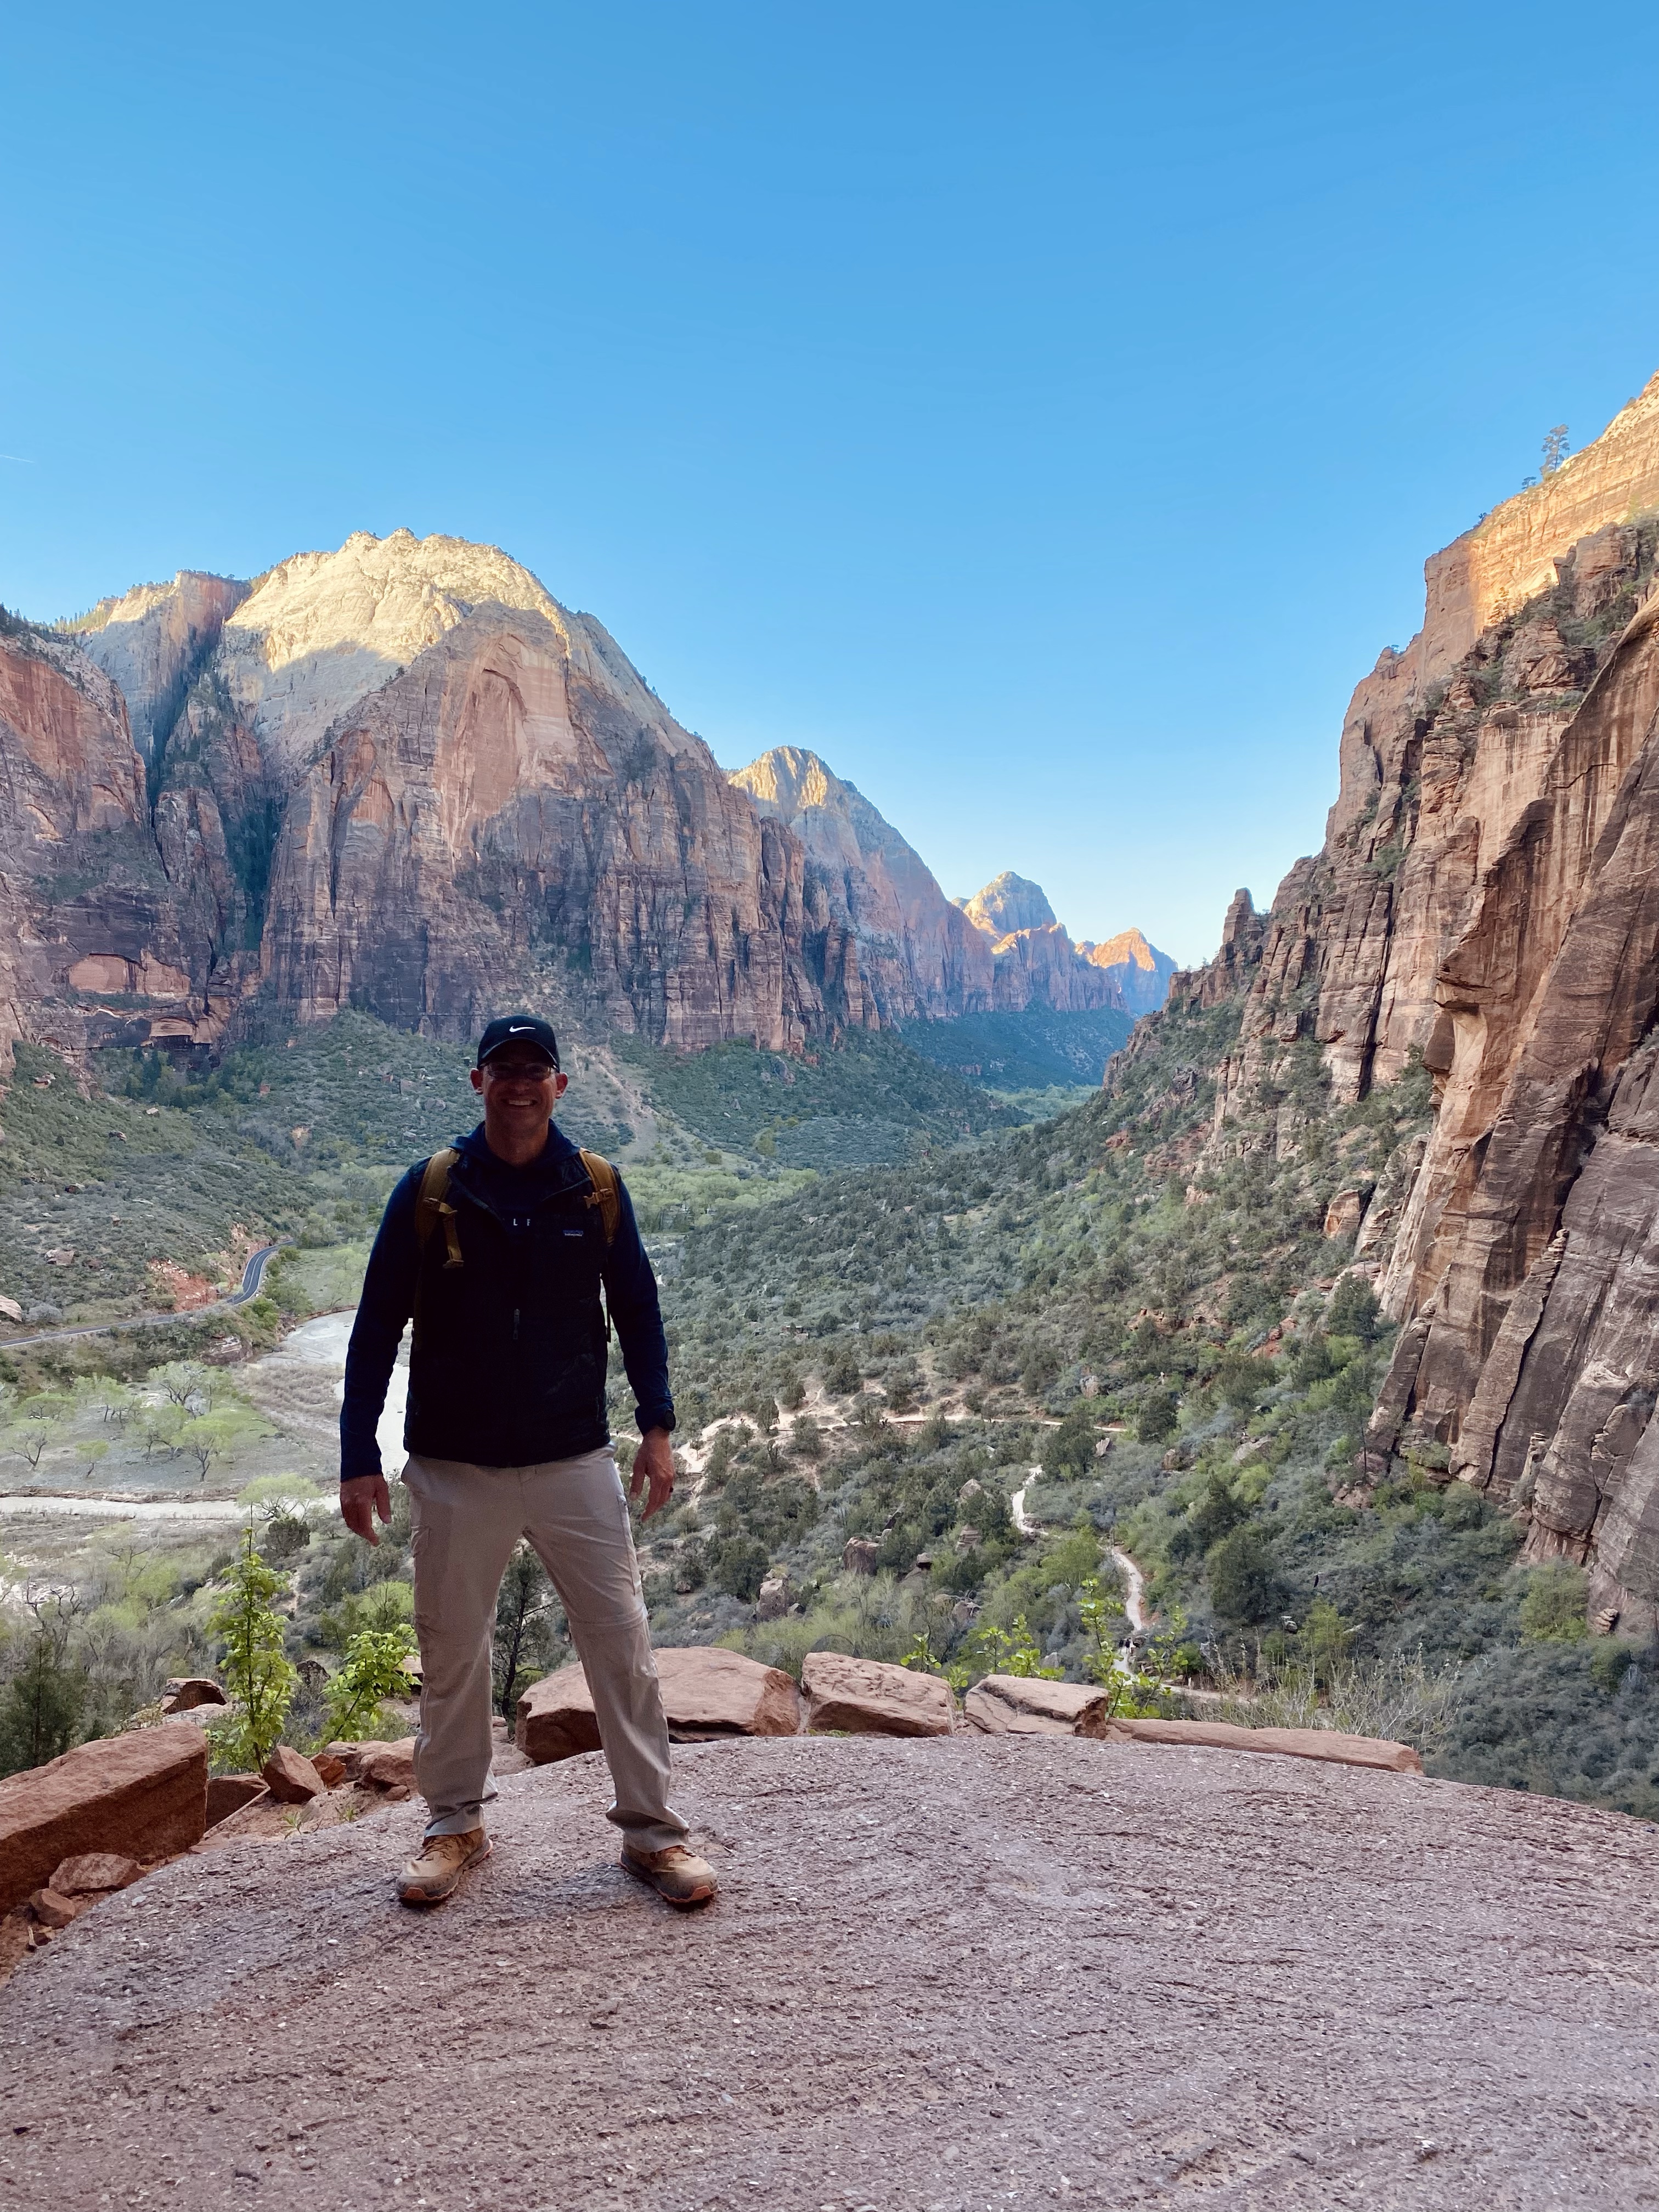
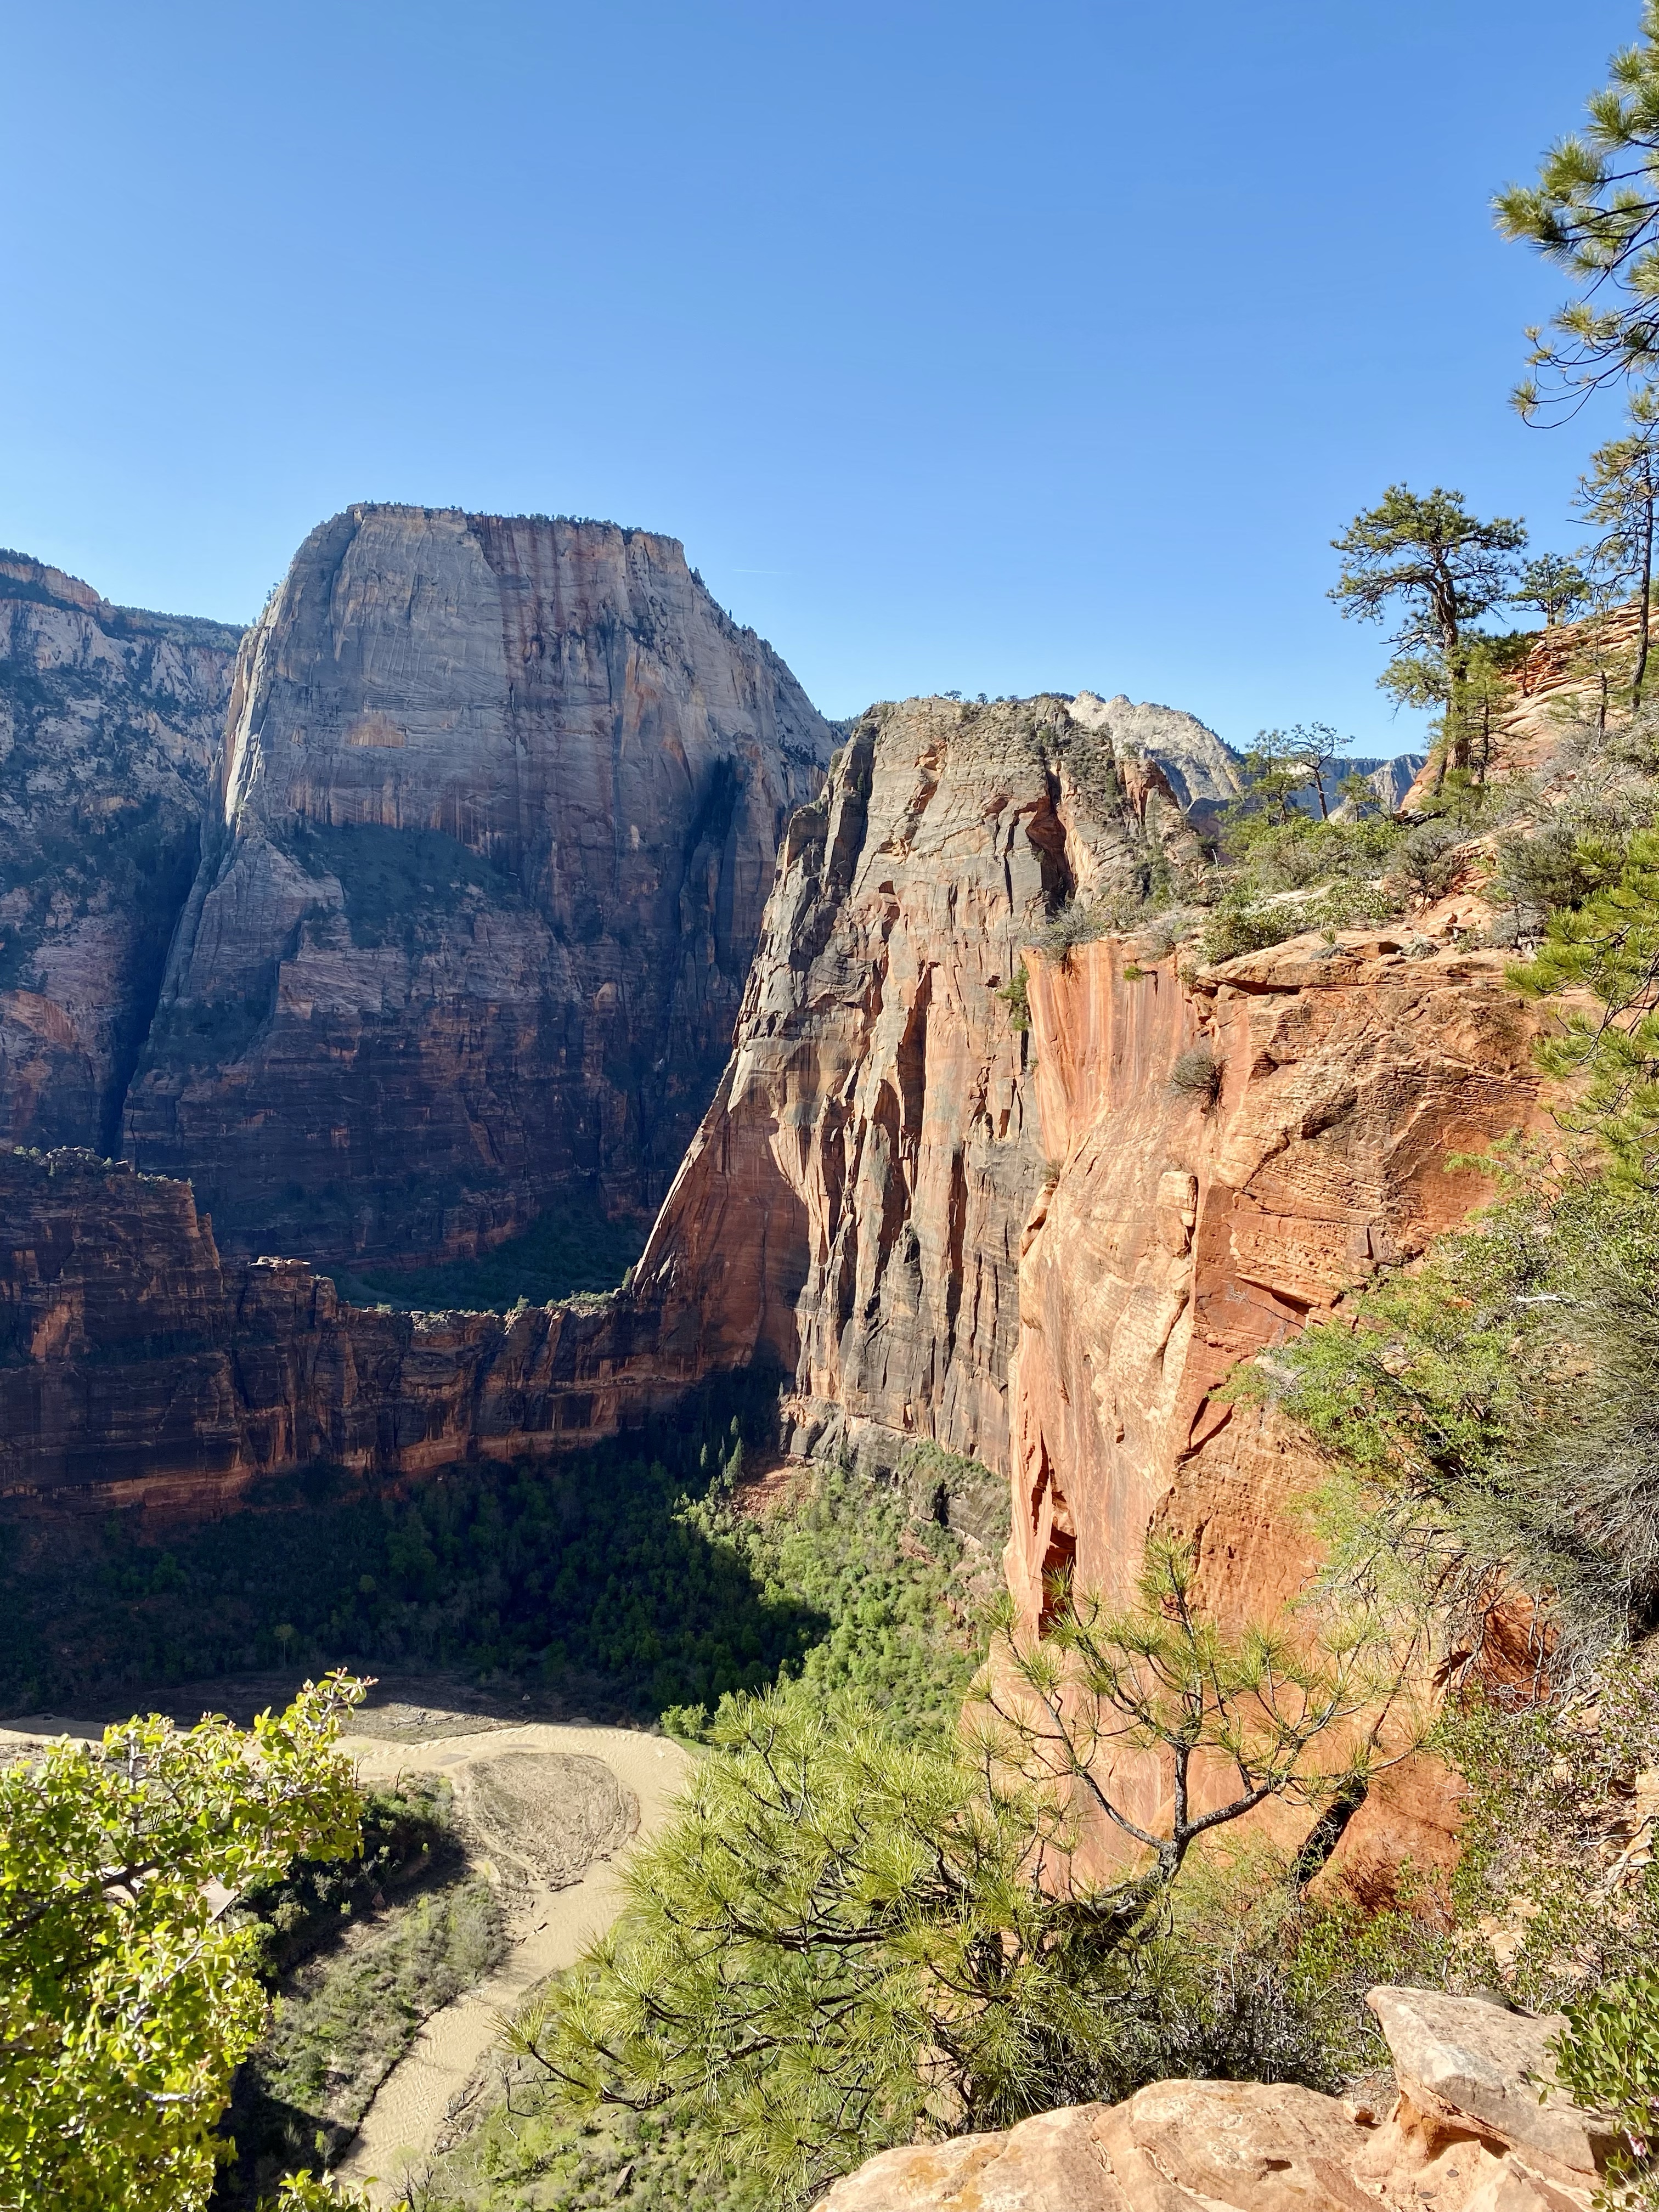
As you wind up the West Rim trail toward Scout Landing, the pathway will have many switchbacks leading up. The views continue to get better as you climb. This is one of our favorite viewpoints along the way.
Walter’s Wiggles is also another popular area on the trail.
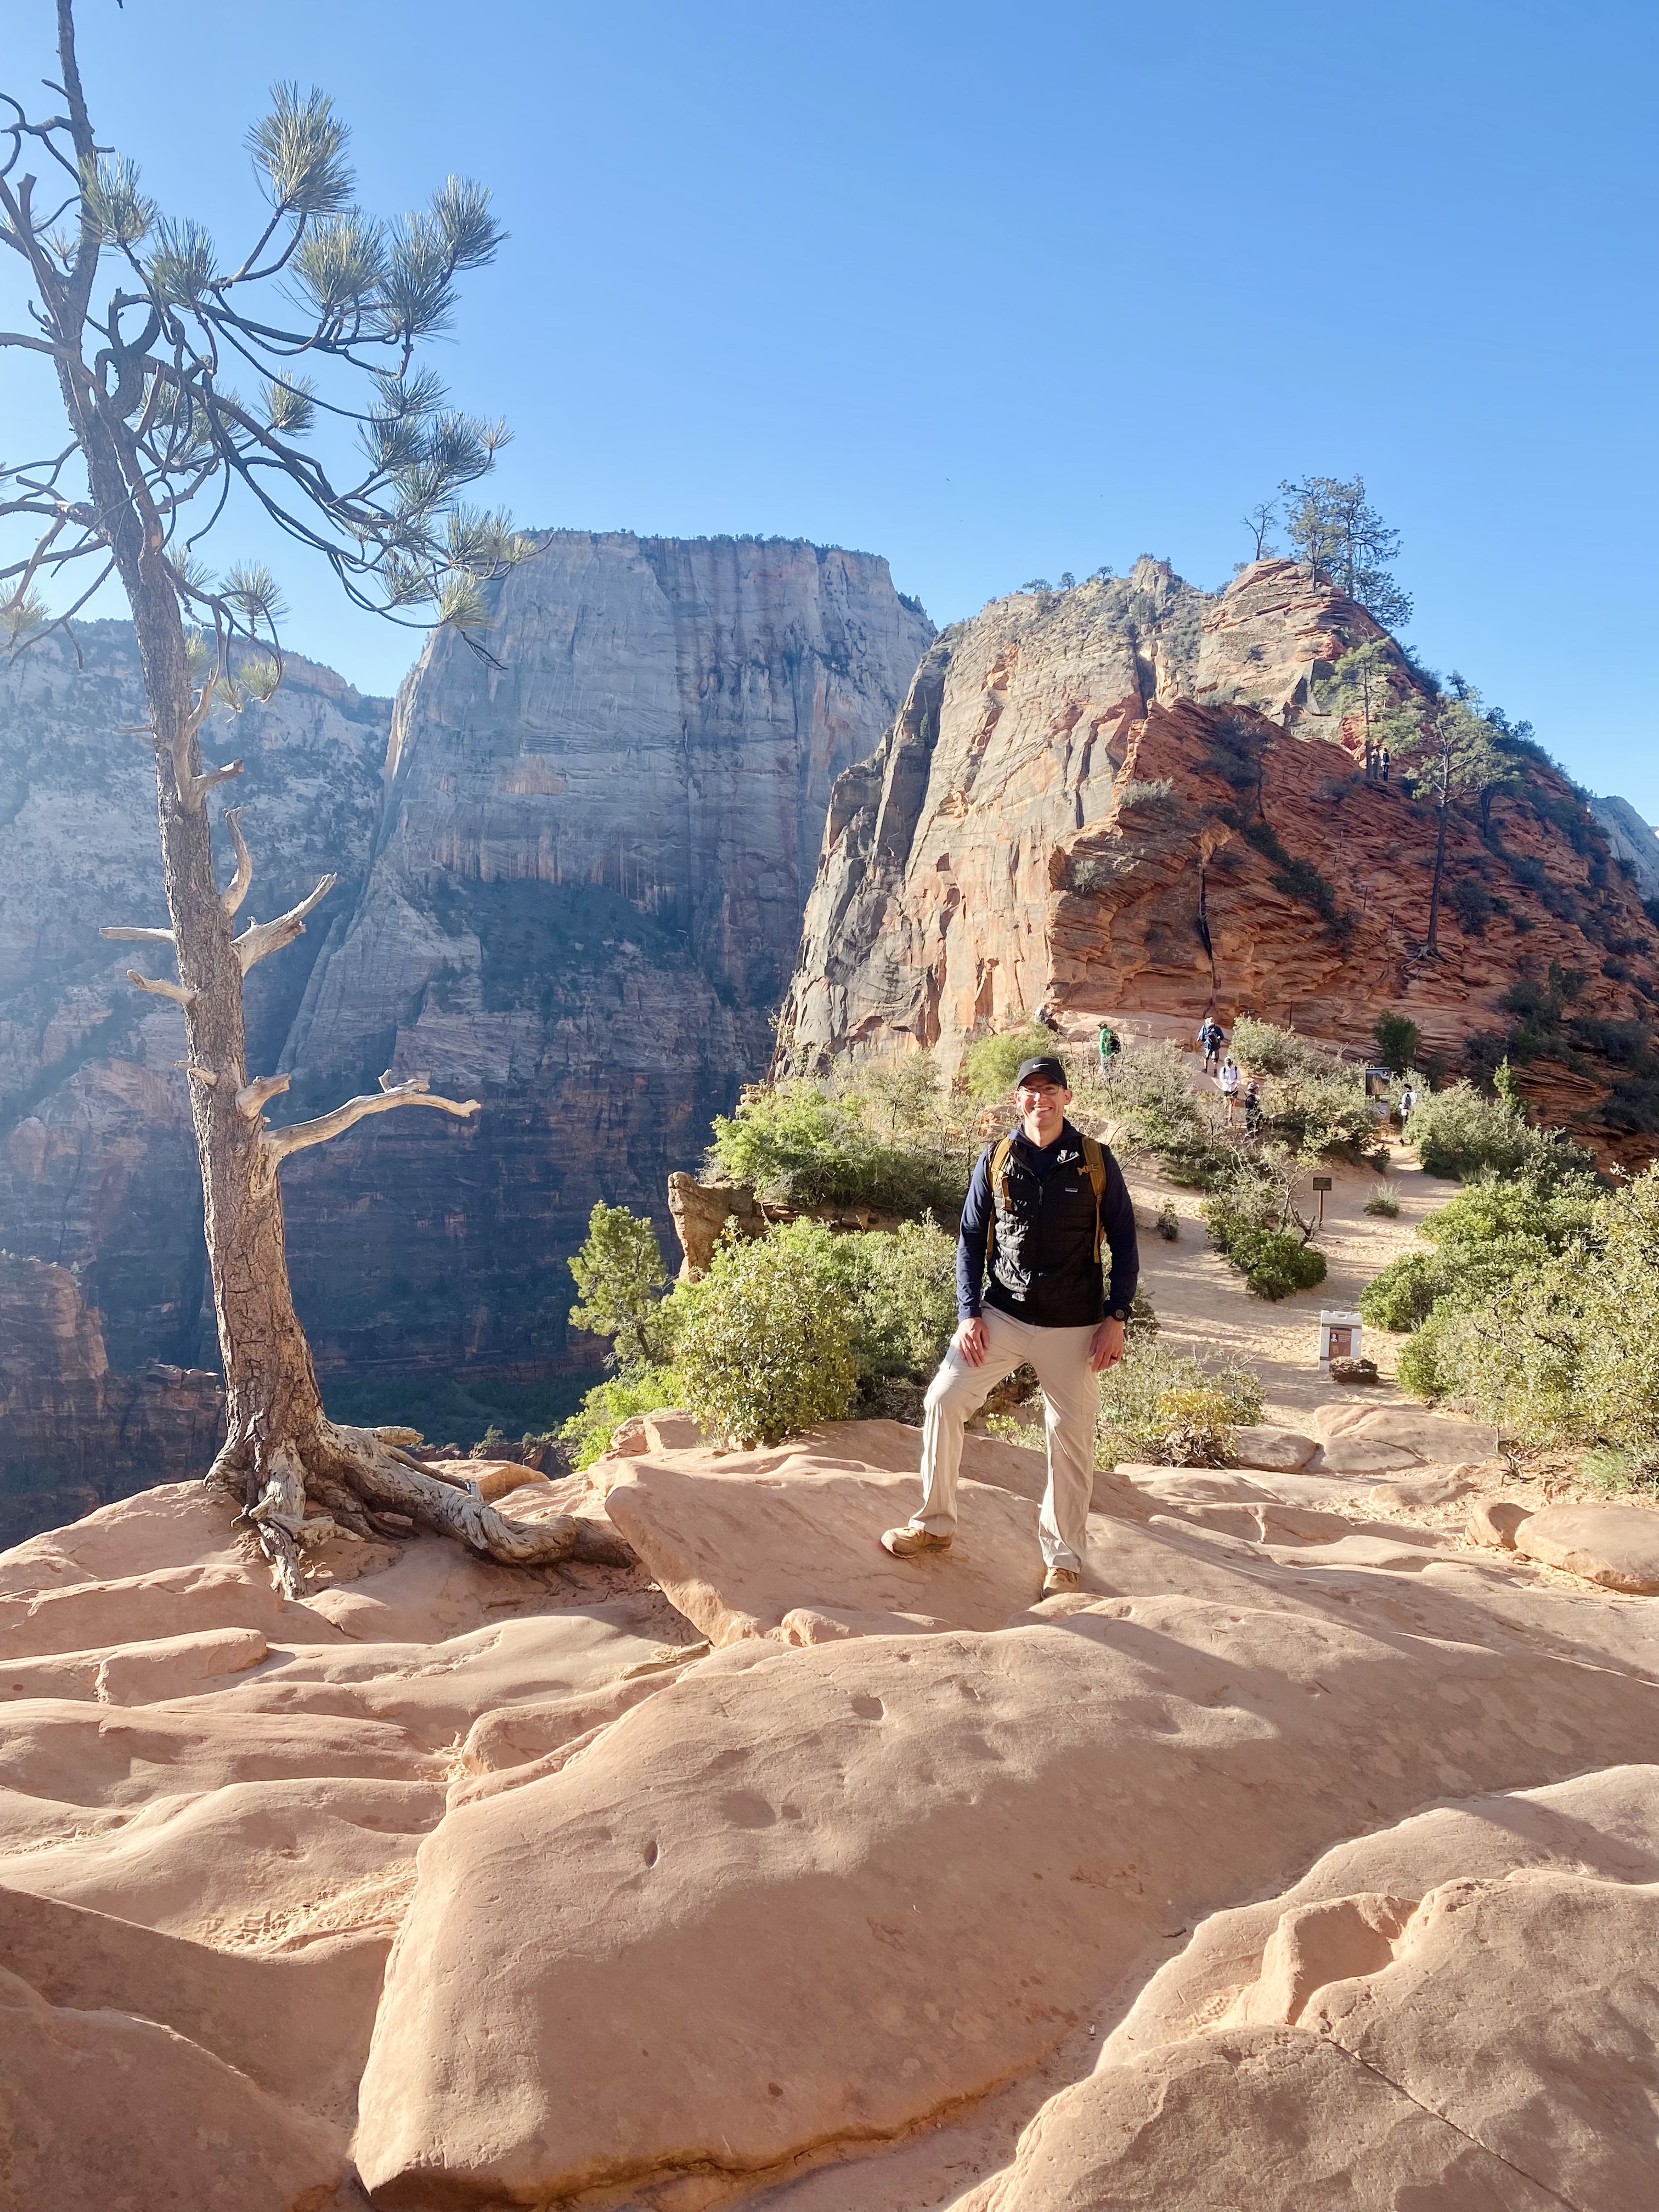
After reaching Scouts Landing, there are restrooms and views that will take your breath away. You can continue right on the trail toward Angel’s Landing if you have a permit or left on the trail to continue on the West Rim trail as far as you want to hike. Keep in mind it’s an out and back trail so you have to hike back the way you came.
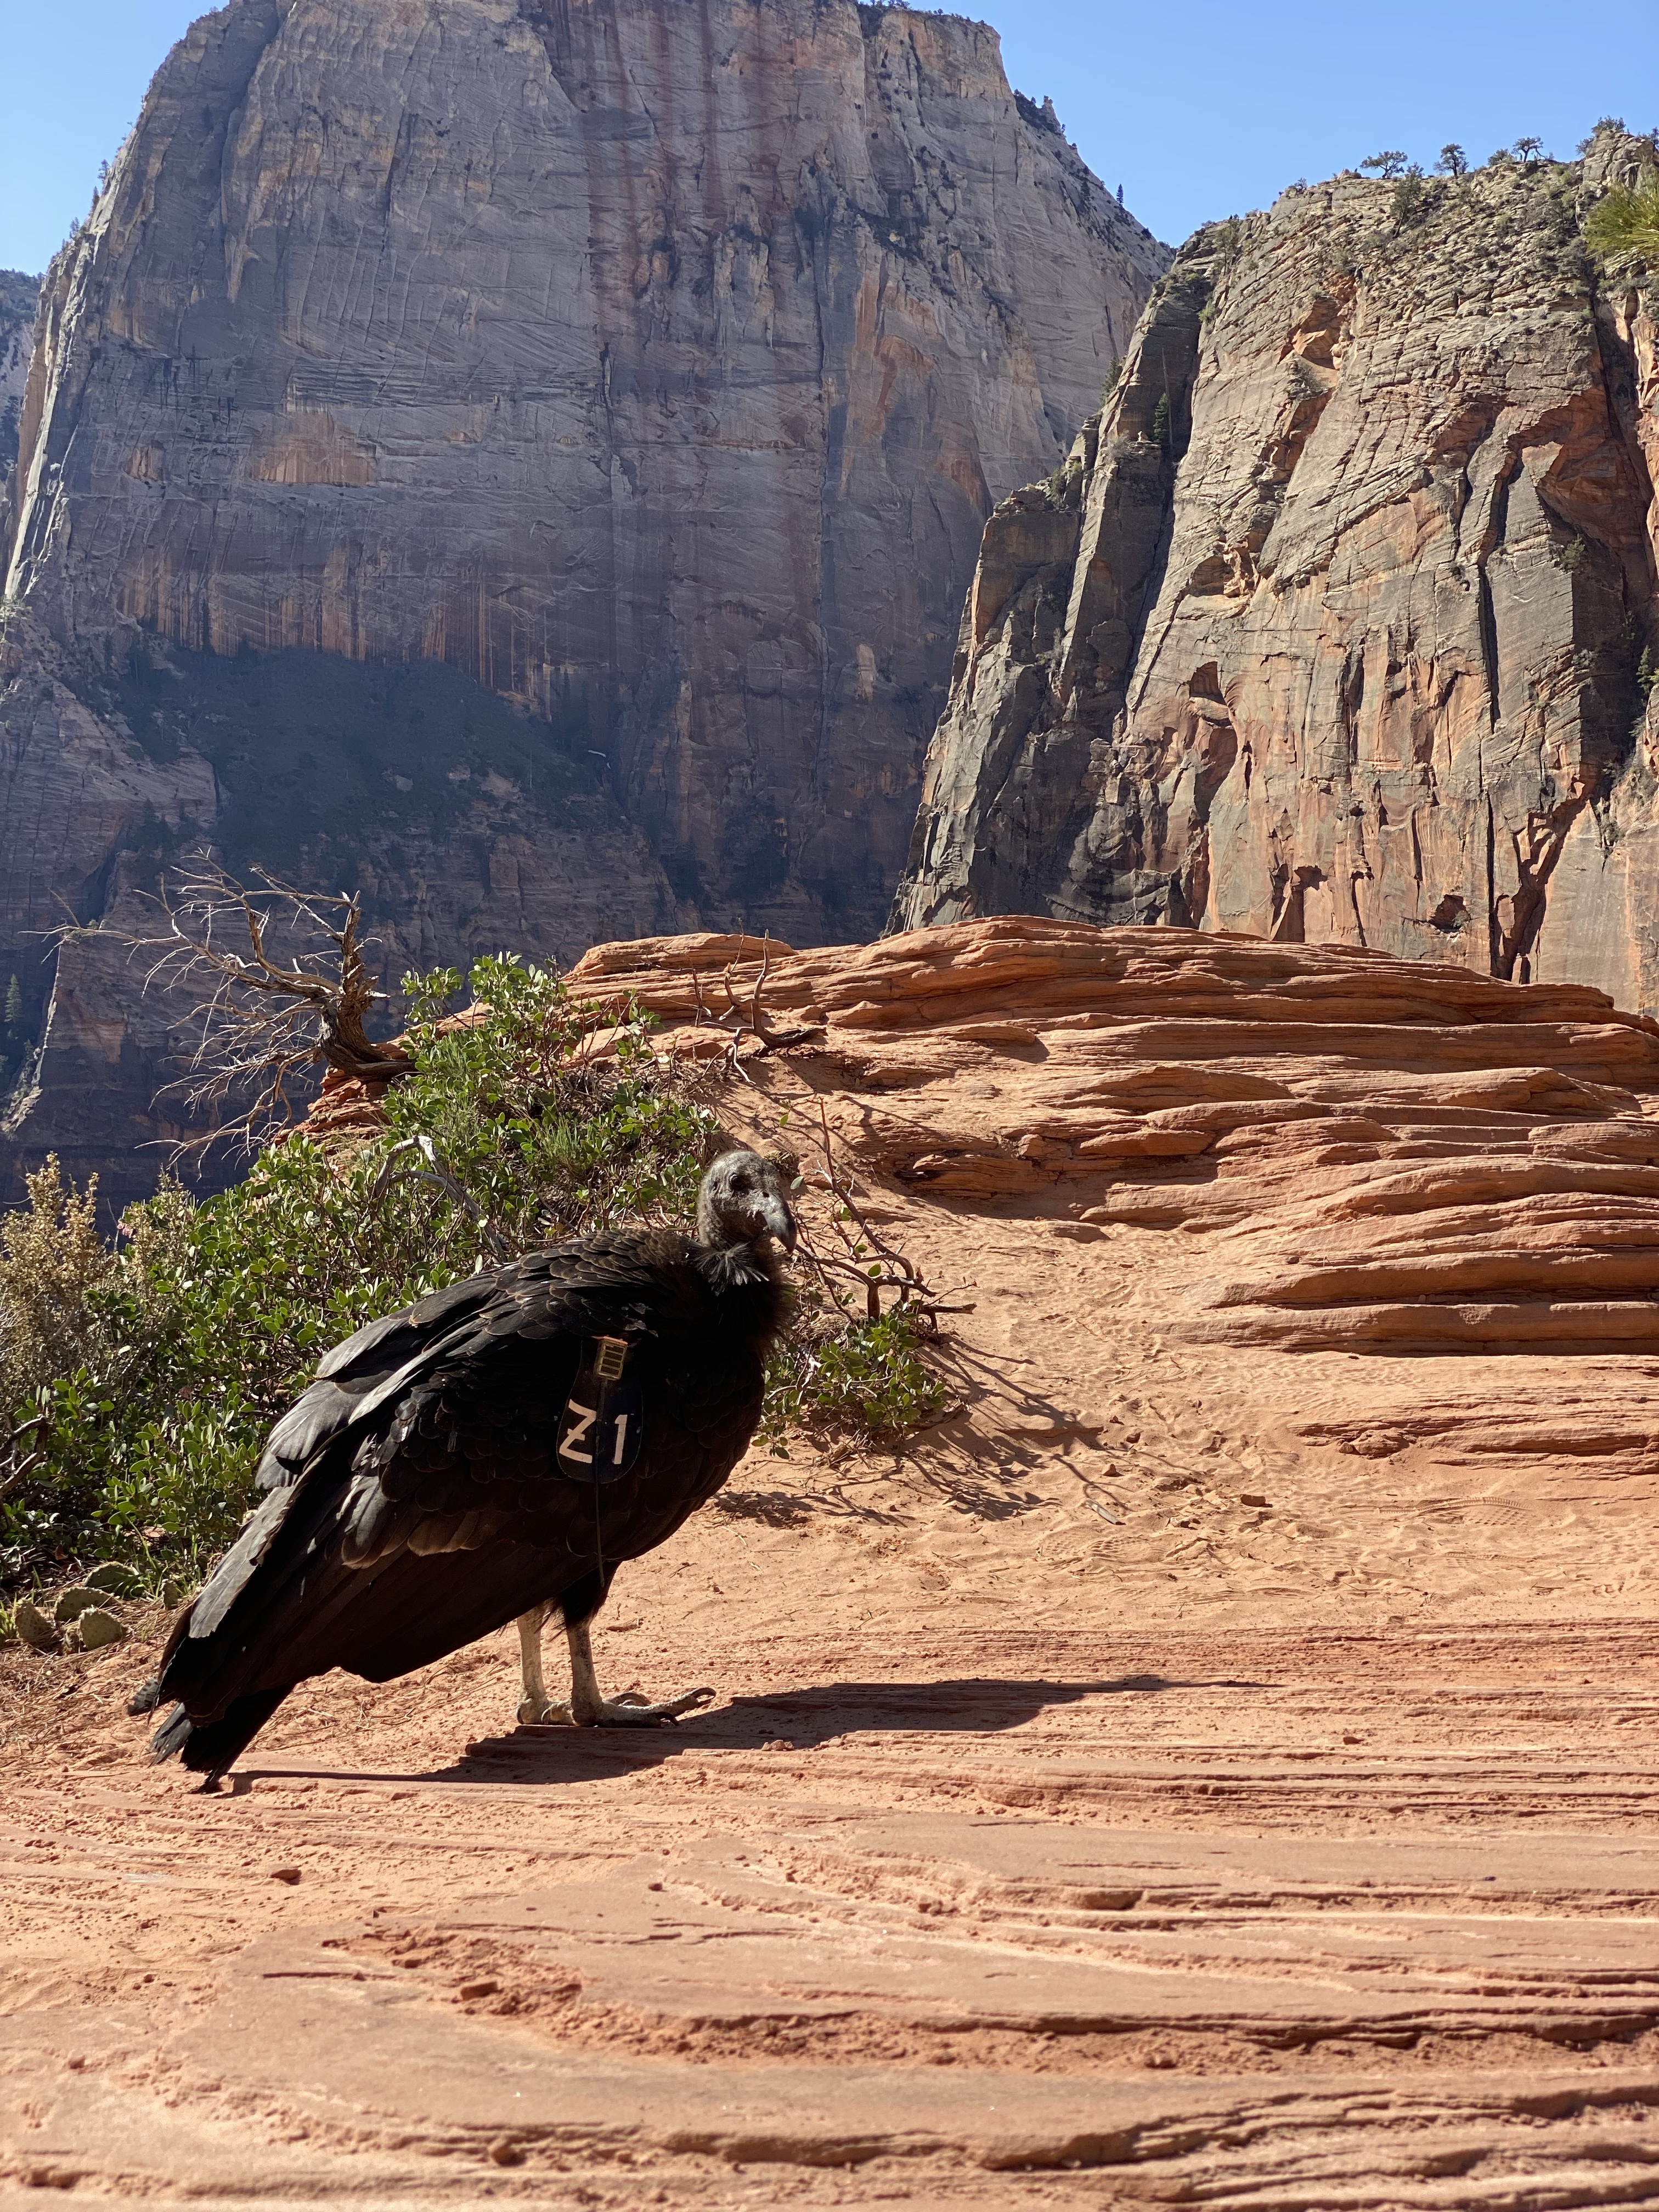
We continued on the West Rim trail and were quickly stopped by the rare sighting of two California Condors. We stood and watched them in complete awe.
While hiking the West Rim trail, I met a local couple who said “Angels Landing is so overrated. The West Rim trail is so much better and doesn’t have all of the traffic.” Hearing her say that made me feel better about our decision to not apply for the permit to hike Angels Landing. Pre-kids I wouldn’t have hesitated but something happened after kids and I have become too anxious when it comes to certain risks.
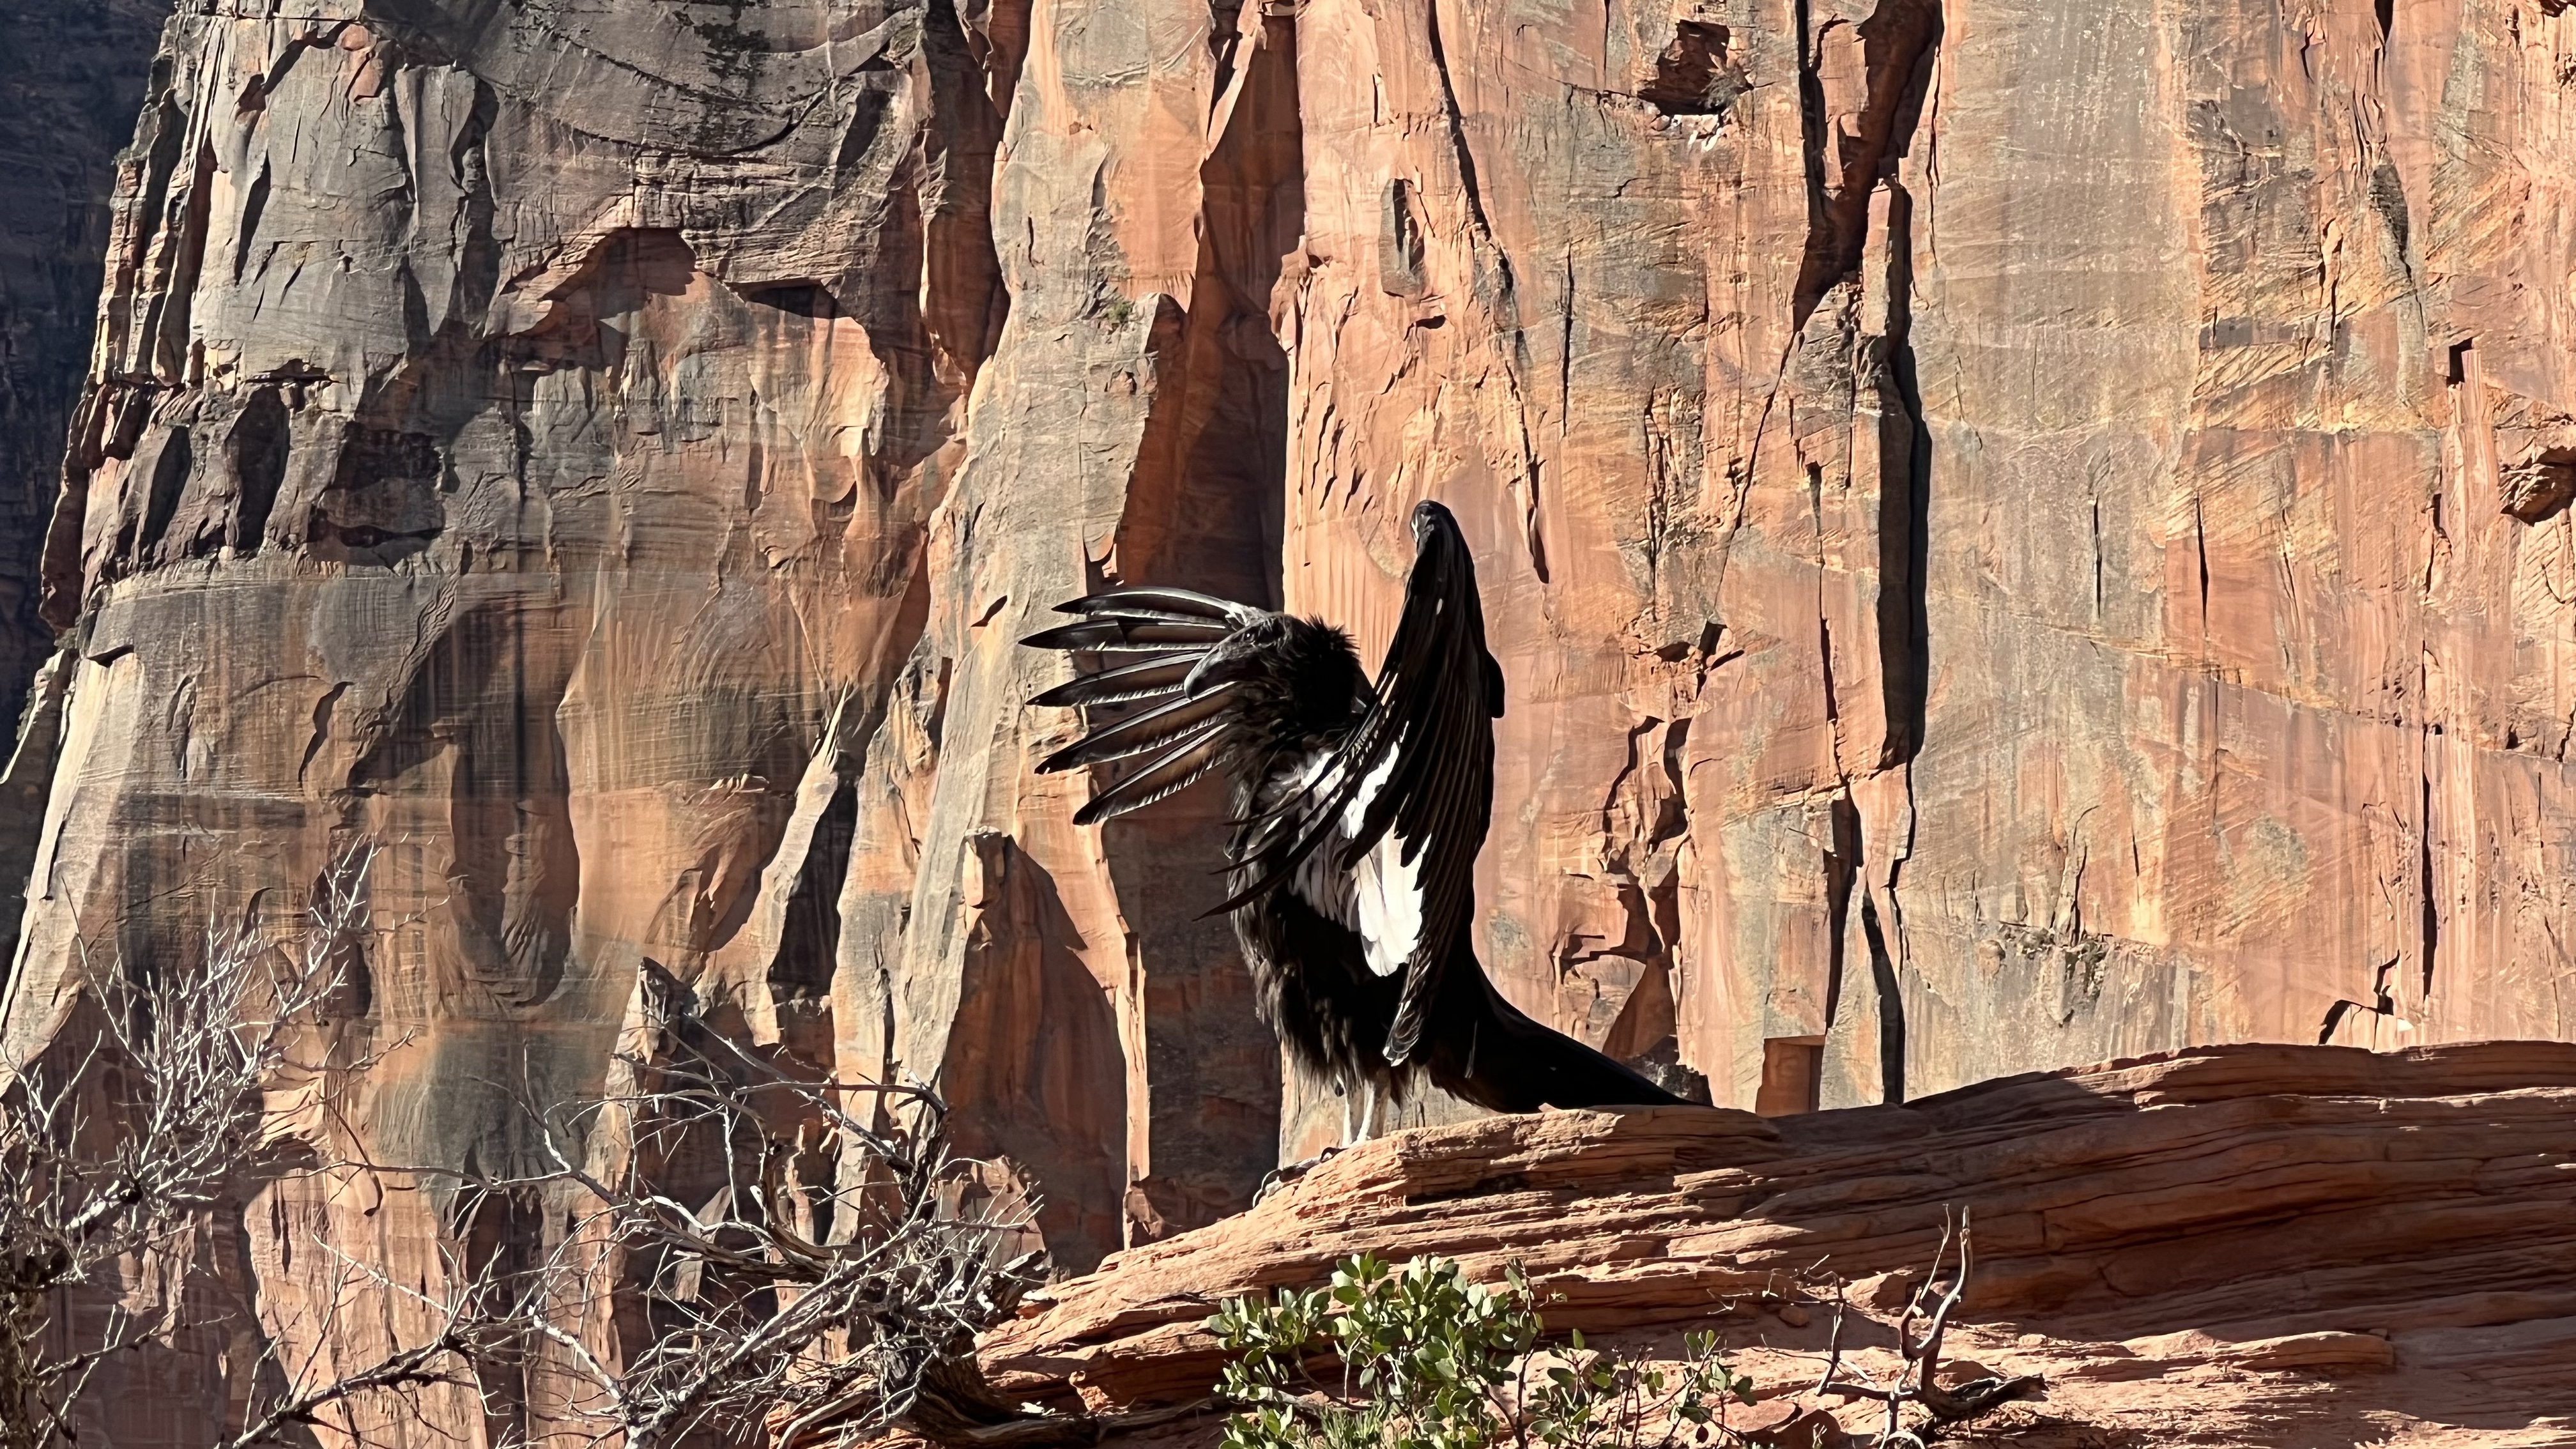
We had a picnic lunch/snack from this area on the rim trail and I have to say, the views didn’t disappoint. We were also alone until we packed up and began hiking again.
We probably hiked 2 miles on the rim trail before deciding we were ready to make the trek back down to our starting point and head to our next destination. The Condors were still on the trail and showing off.
It’s fun to hike the trail back down to see the views from a different vantage point.
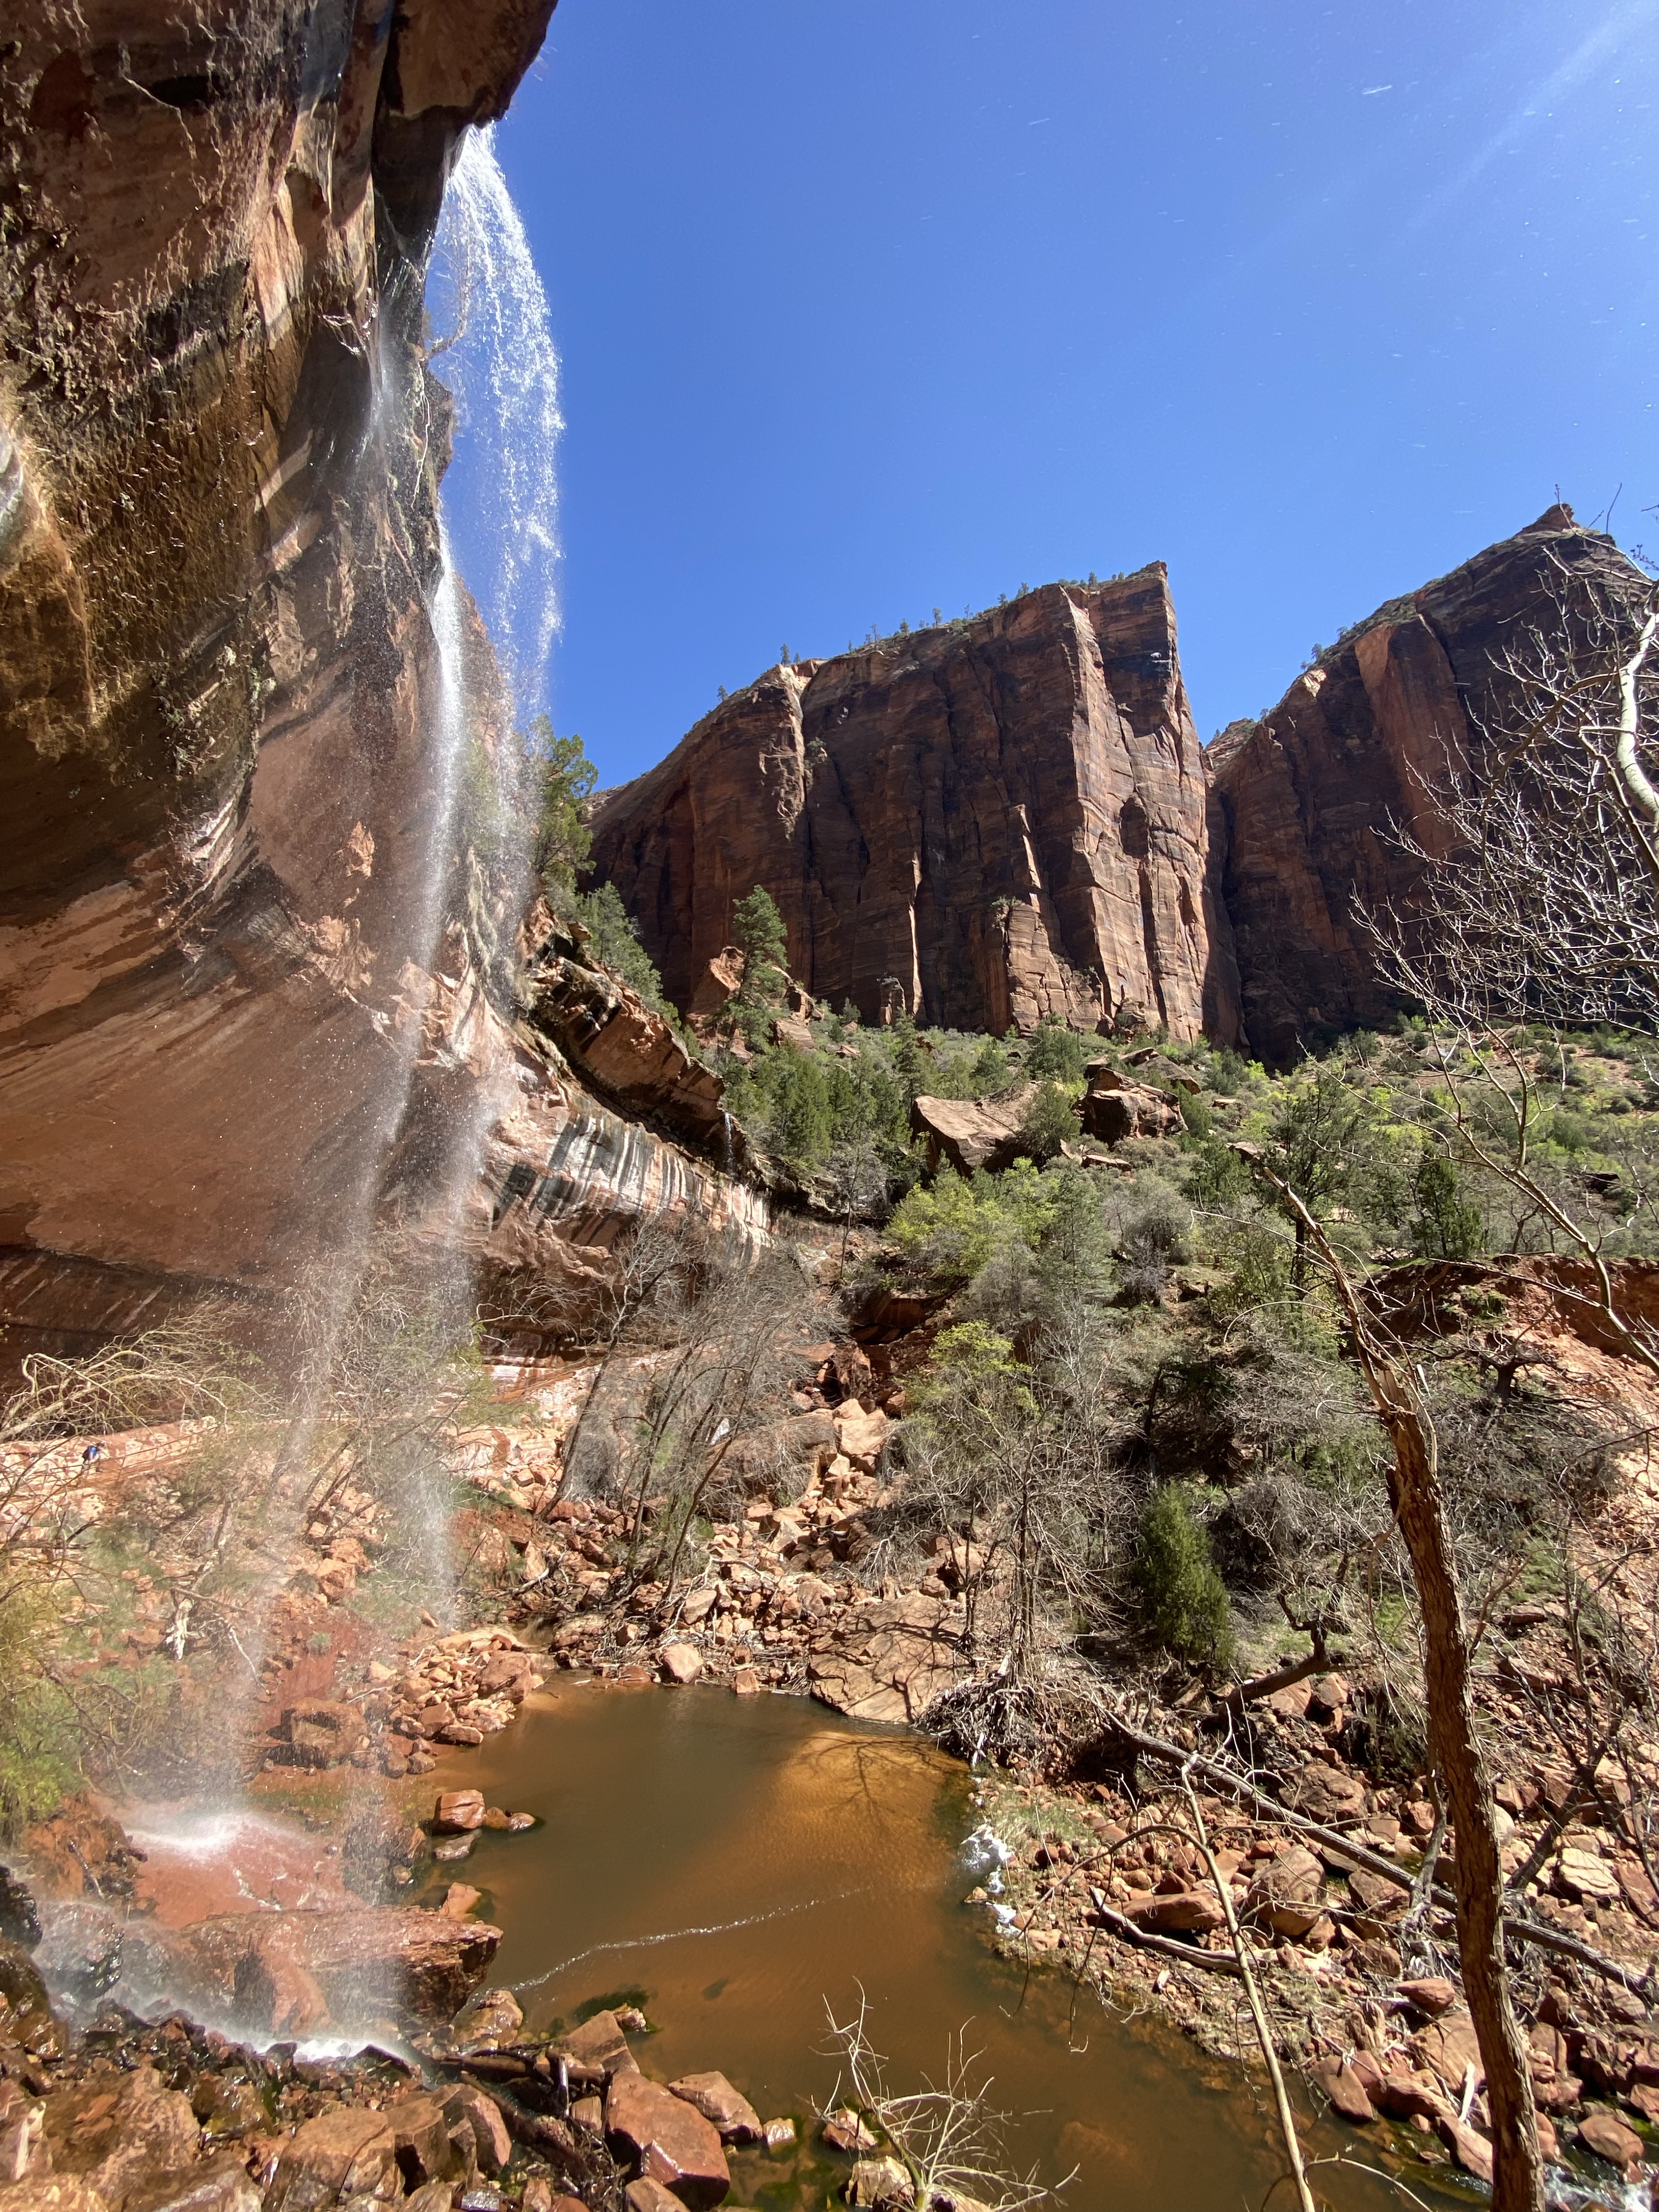
Back at The Grotto stop for a bathroom break, we hiked the Kayenta Trail (2 Miles) leading us to the Emerald Pools trails. After taking the advice from a couple we met, we only did the lower and middle trails as they said the upper didn’t offer different views and there are no visible falls from that point.
Lower Emerald Pool Trail – 1.2 Miles
Middle Emerald Pool Trail – 2.2
Upper Emerald Pool Trail – 1 Mile
The Middle Pool Trail leads you back to The Zion Lodge which is another shuttle stop. Here you will find a restaurant that is a part of the Lodge, a gift shop and restrooms.
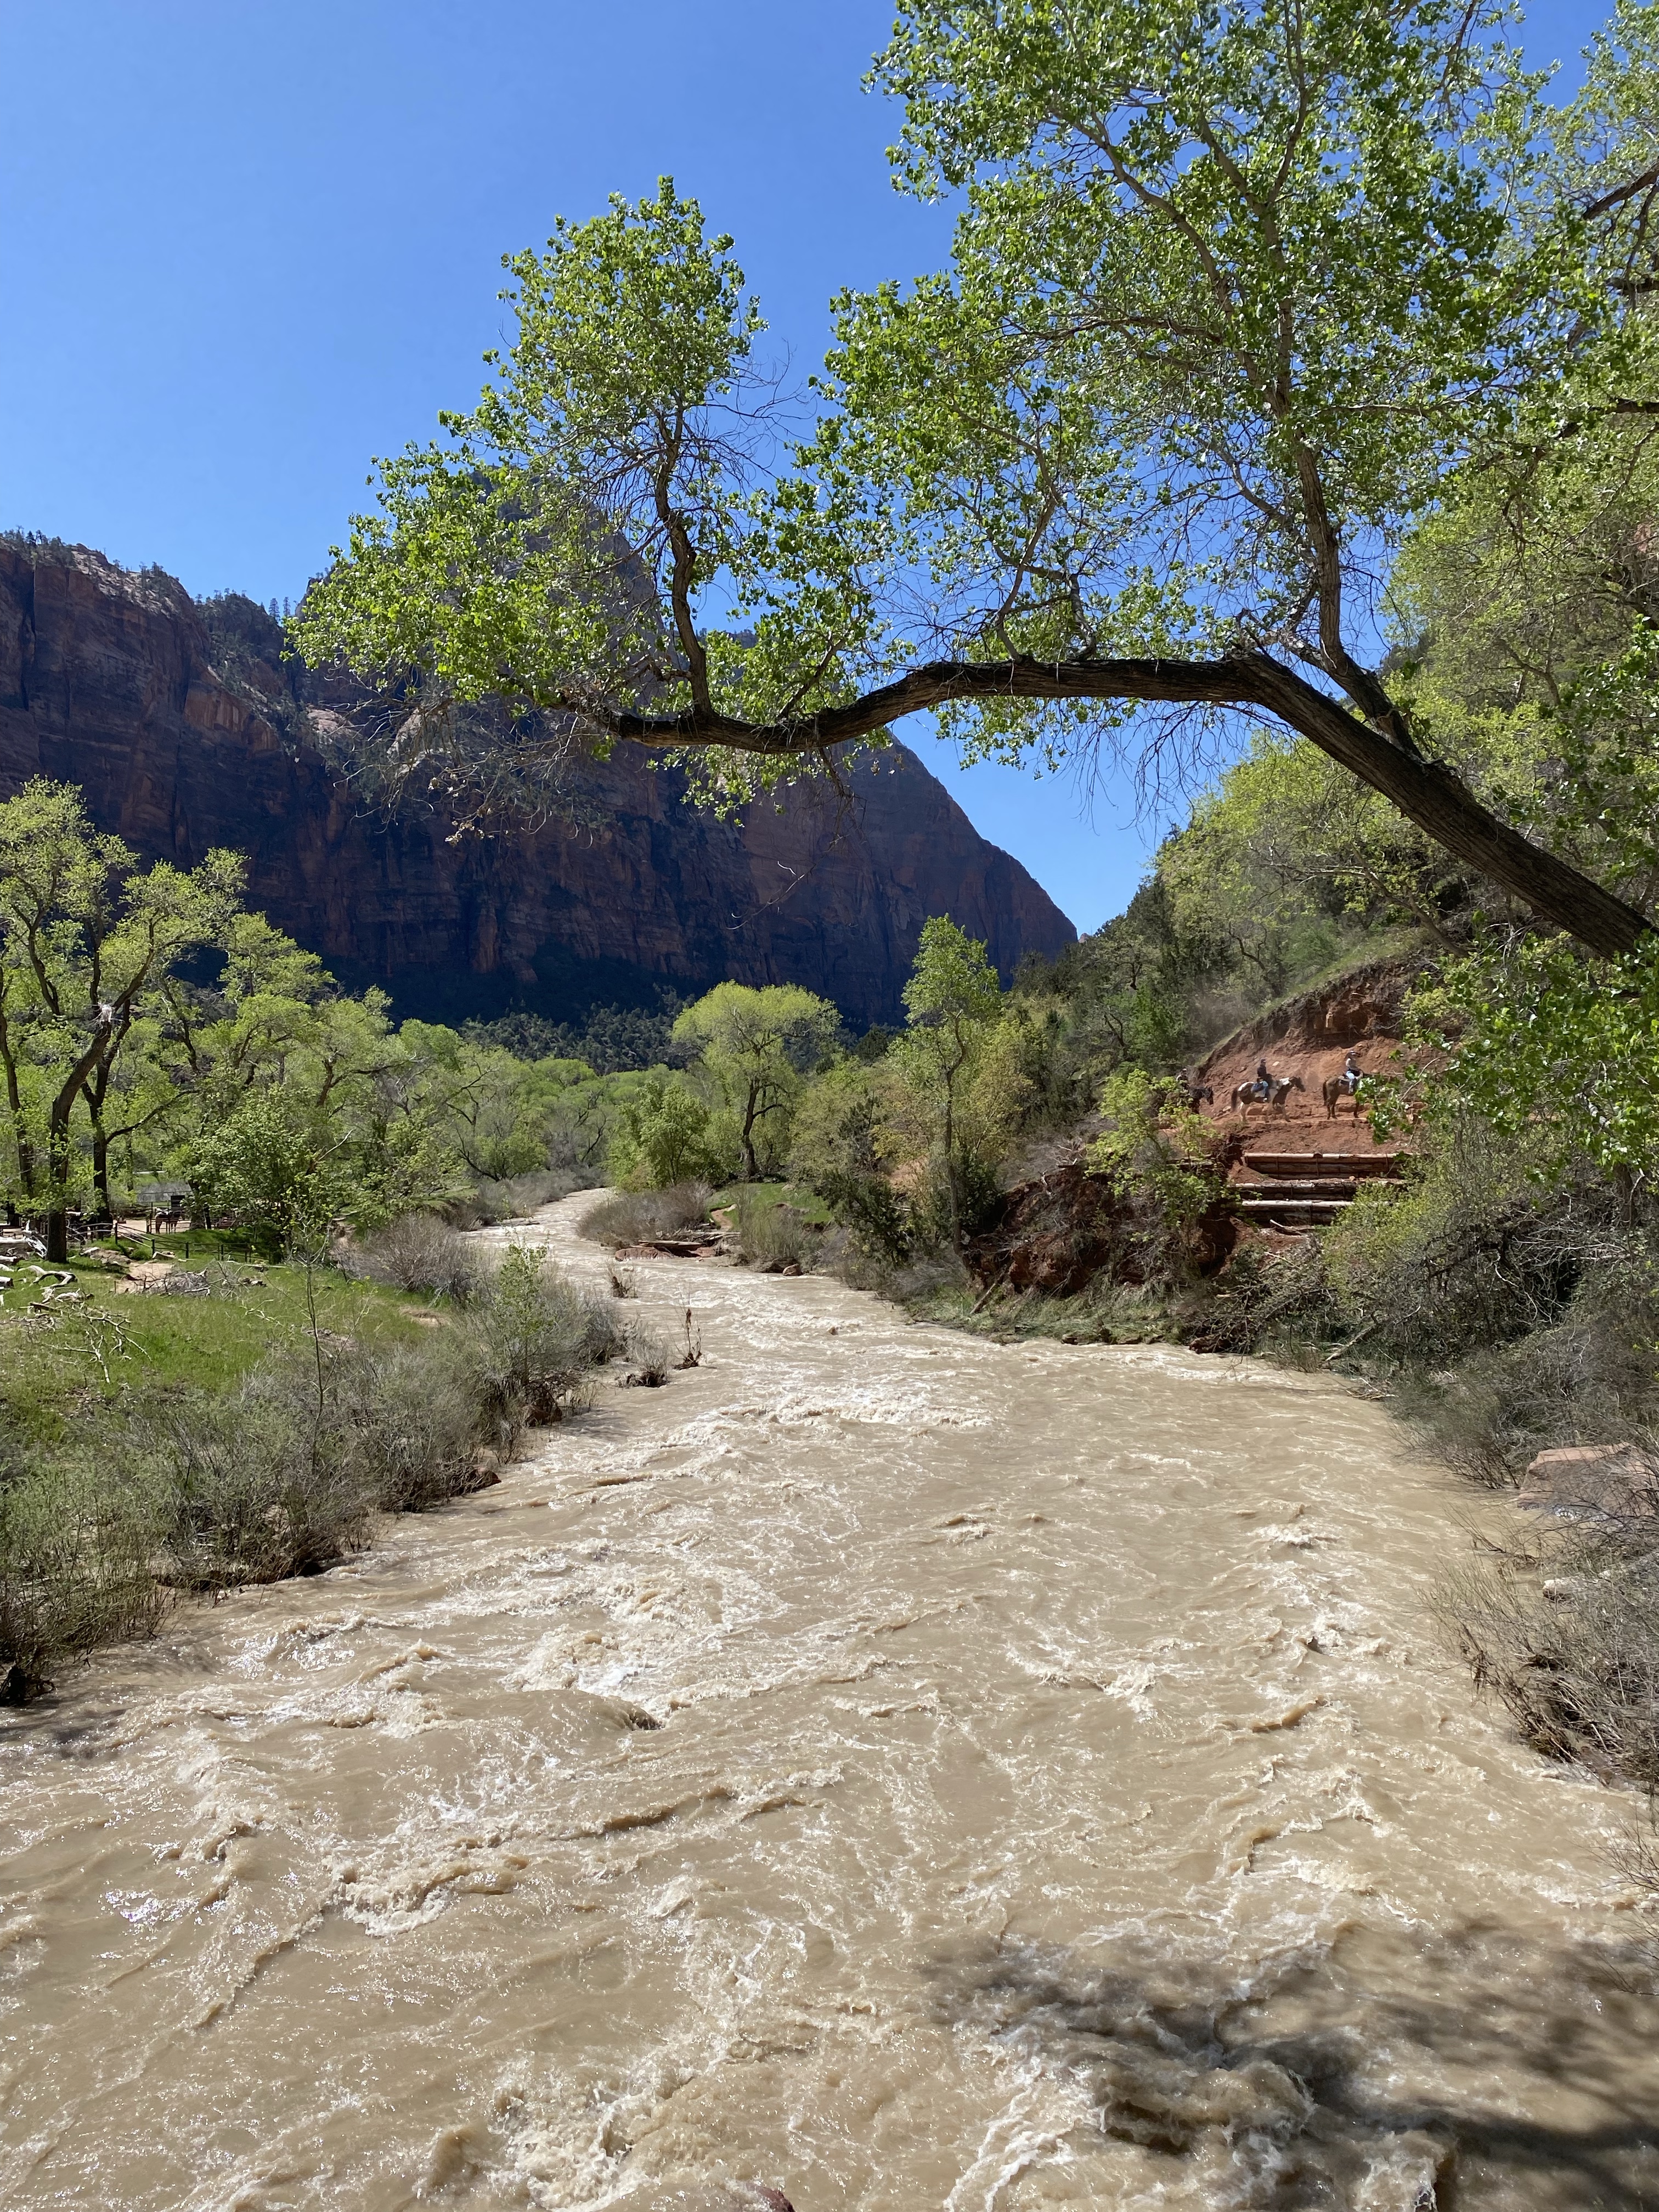
Next, we took the Zion Lodge shuttle from Stop 5 to the final Stop, 9, Temple of Sinawava.
Riverside Walk (2.2 Miles) – Takes you to The Narrows. Unfortunately, we couldn’t hike The Narrows as the water flow in the Virgin River was around 1400 CFS (cubic feet per second) and they require the flow to be 150 CFS or less for 24 hours before hiking is permitted. The extreme snow fall this winter caused the water flow to be at such a high volume.
This just means we will have to go back to Zion, right?!
Get back on the shuttle and stop at Big Bend, Stop 8, which is only available on the down-canyon shuttle. Take pictures and get back on to stop at the next stop, Weeping Rock. This .3 mile out and back trail is an easy and accessible trail for most anyone.
The shuttle service is an enjoyable scenic ride that also plays tour guide audio along the journey. We learned a lot about the sights we were seeing along the way that we had not already read in our research.
At this point we had hiked around 12-13 miles and it was only the early afternoon. We took the shuttle back to our hotel, had a much needed rest, then got ready for an afternoon/evening exploring Springdale.
Dinner at Bit and Spur Saloon – Walking distance from our hotel, we took the leisure stroll over to the restaurant. We had no trouble being seated right away but also discovered you can walk to their back property to seat yourself at one of their outdoor tables and order food from their taco truck and drinks from the outdoor bar. We requested to be outdoors and were able to enjoy the outdoor space on such a beautiful Spring day. It was kid friendly with open space, corn hole, a stage for live music performances and room to roam around. The views weren’t too bad either.
I ordered their seasonal margarita, Prickly Pear Margarita, which used locally harvested fruit. It was so delicious, we got a second after dinner.
Day 3: Observation Point (8 Mile loop) or Drive toward Bryce National Park. Unfortunately, access to this hike was closed as the trail was obstructed by a fallen boulder so we pivoted and began our drive. I read the views are worth the hike so try to incorporate it in your itinerary if you can.
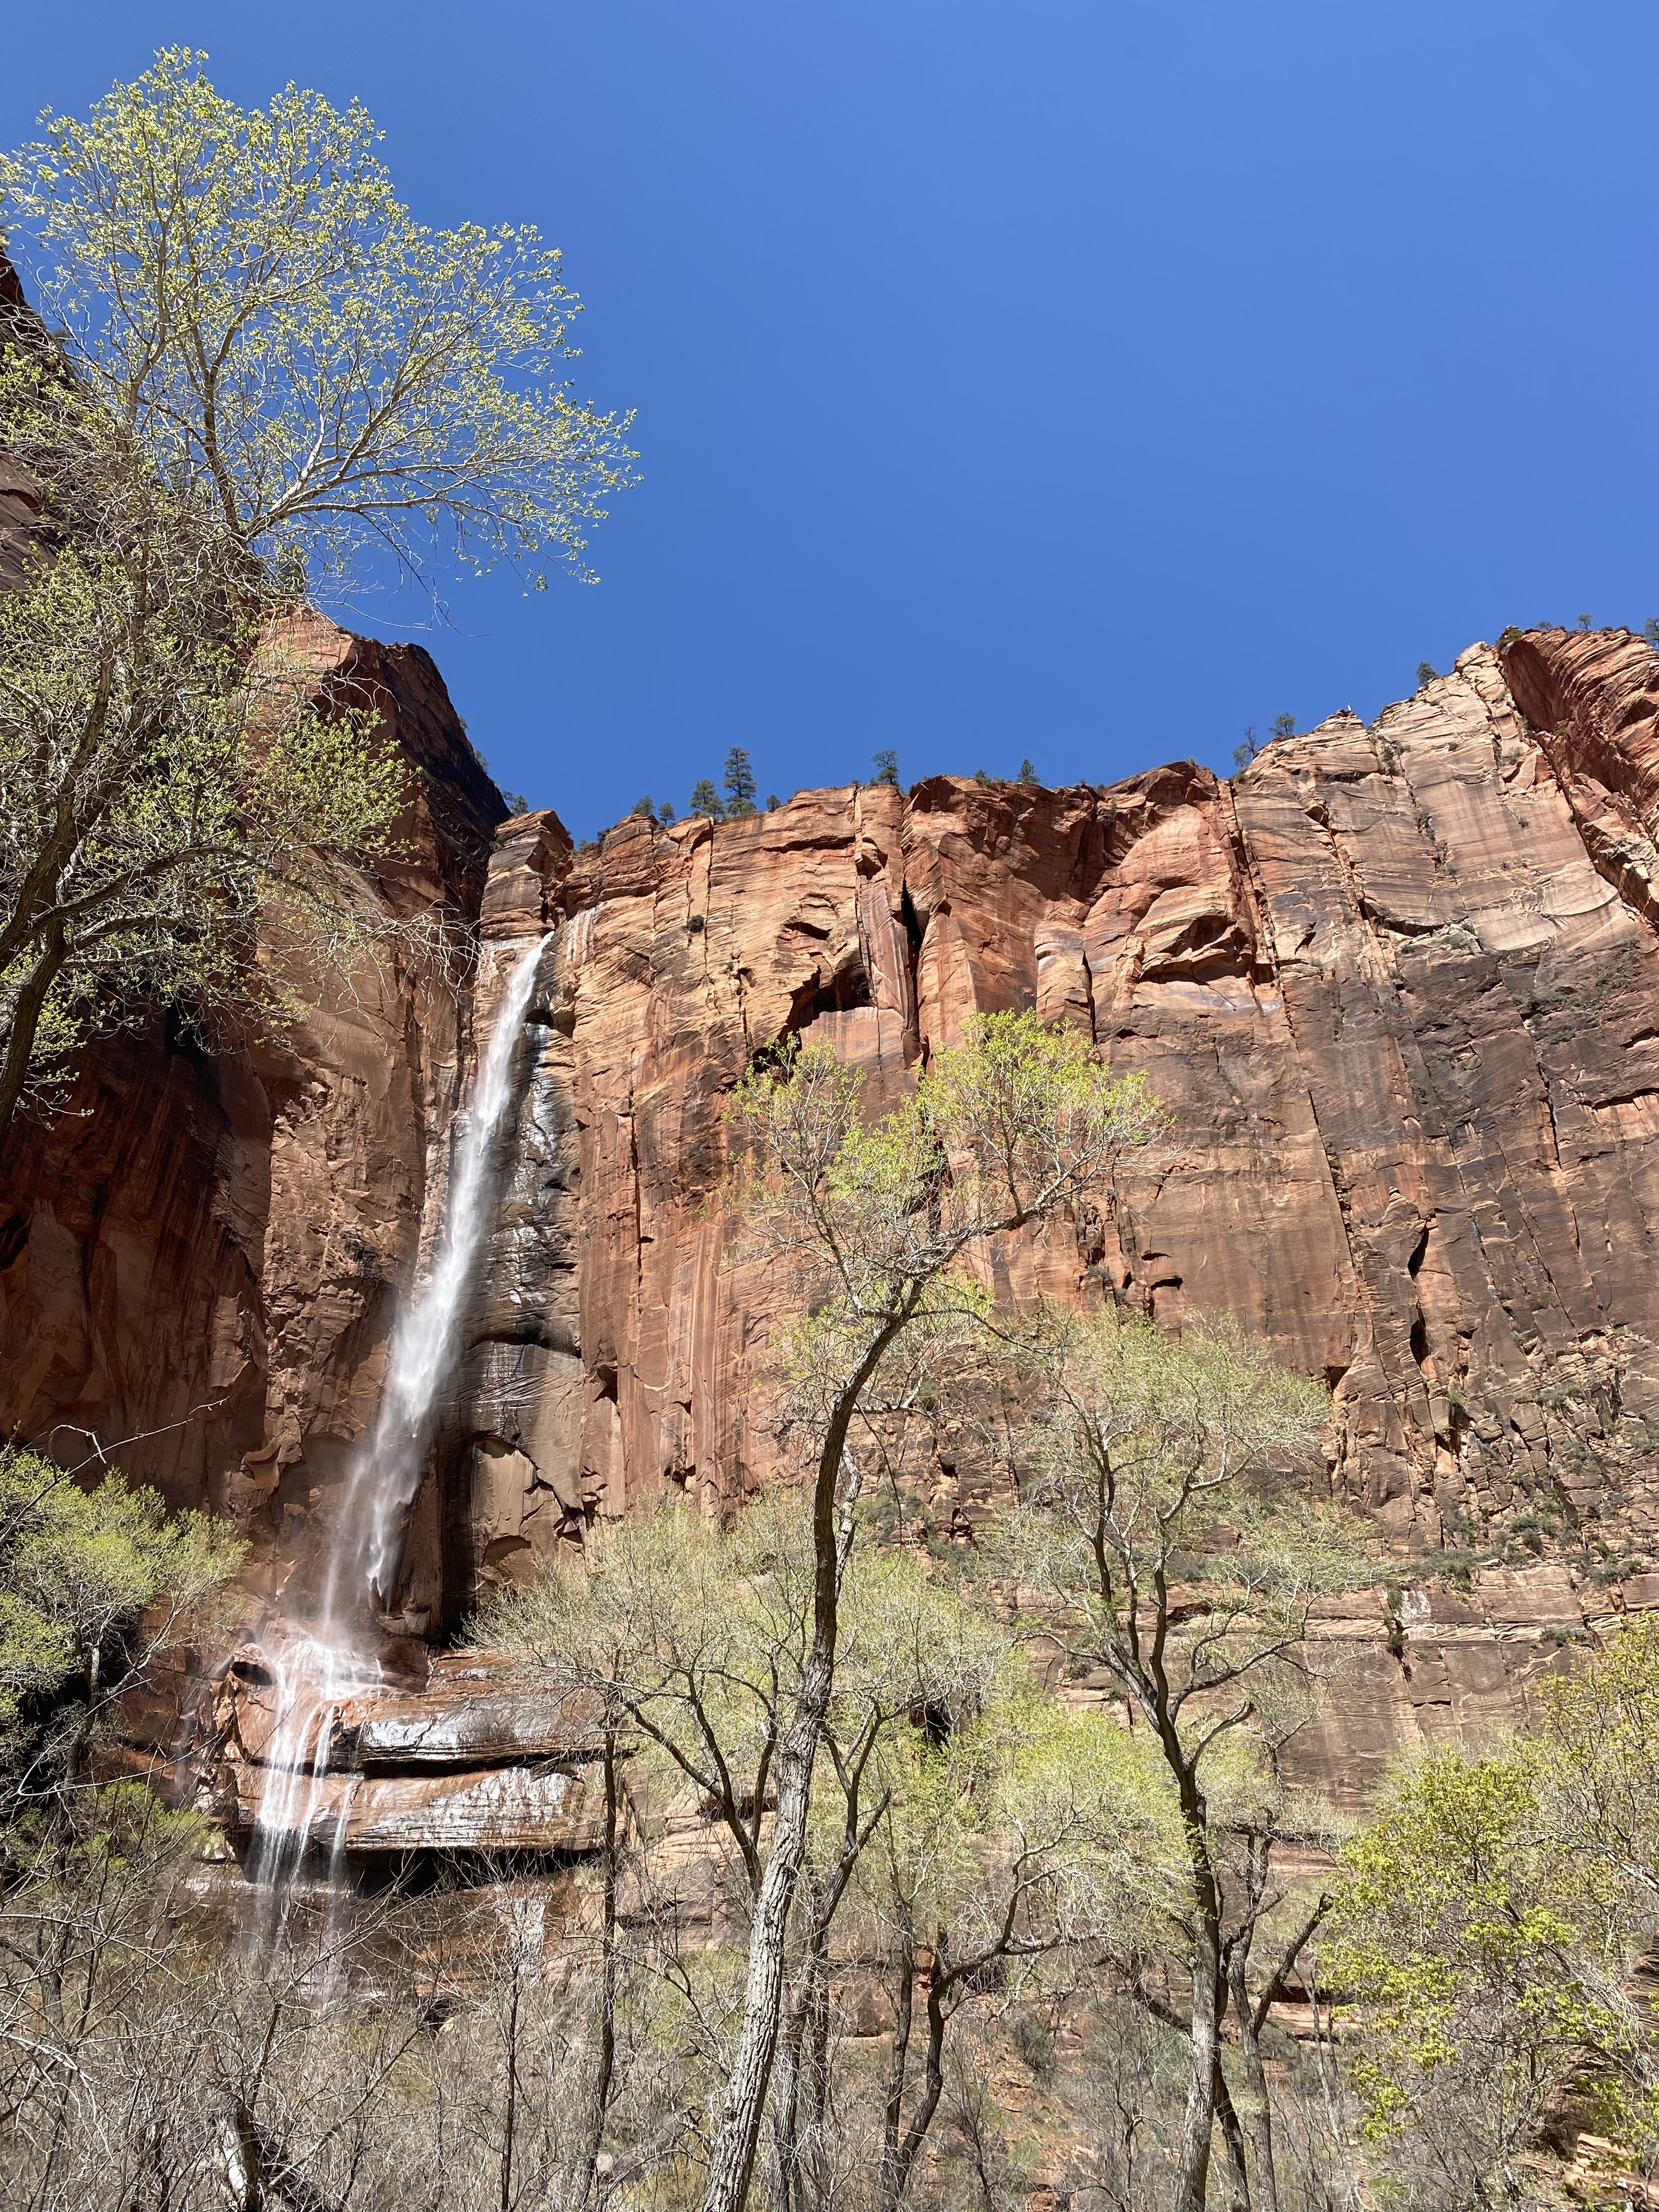
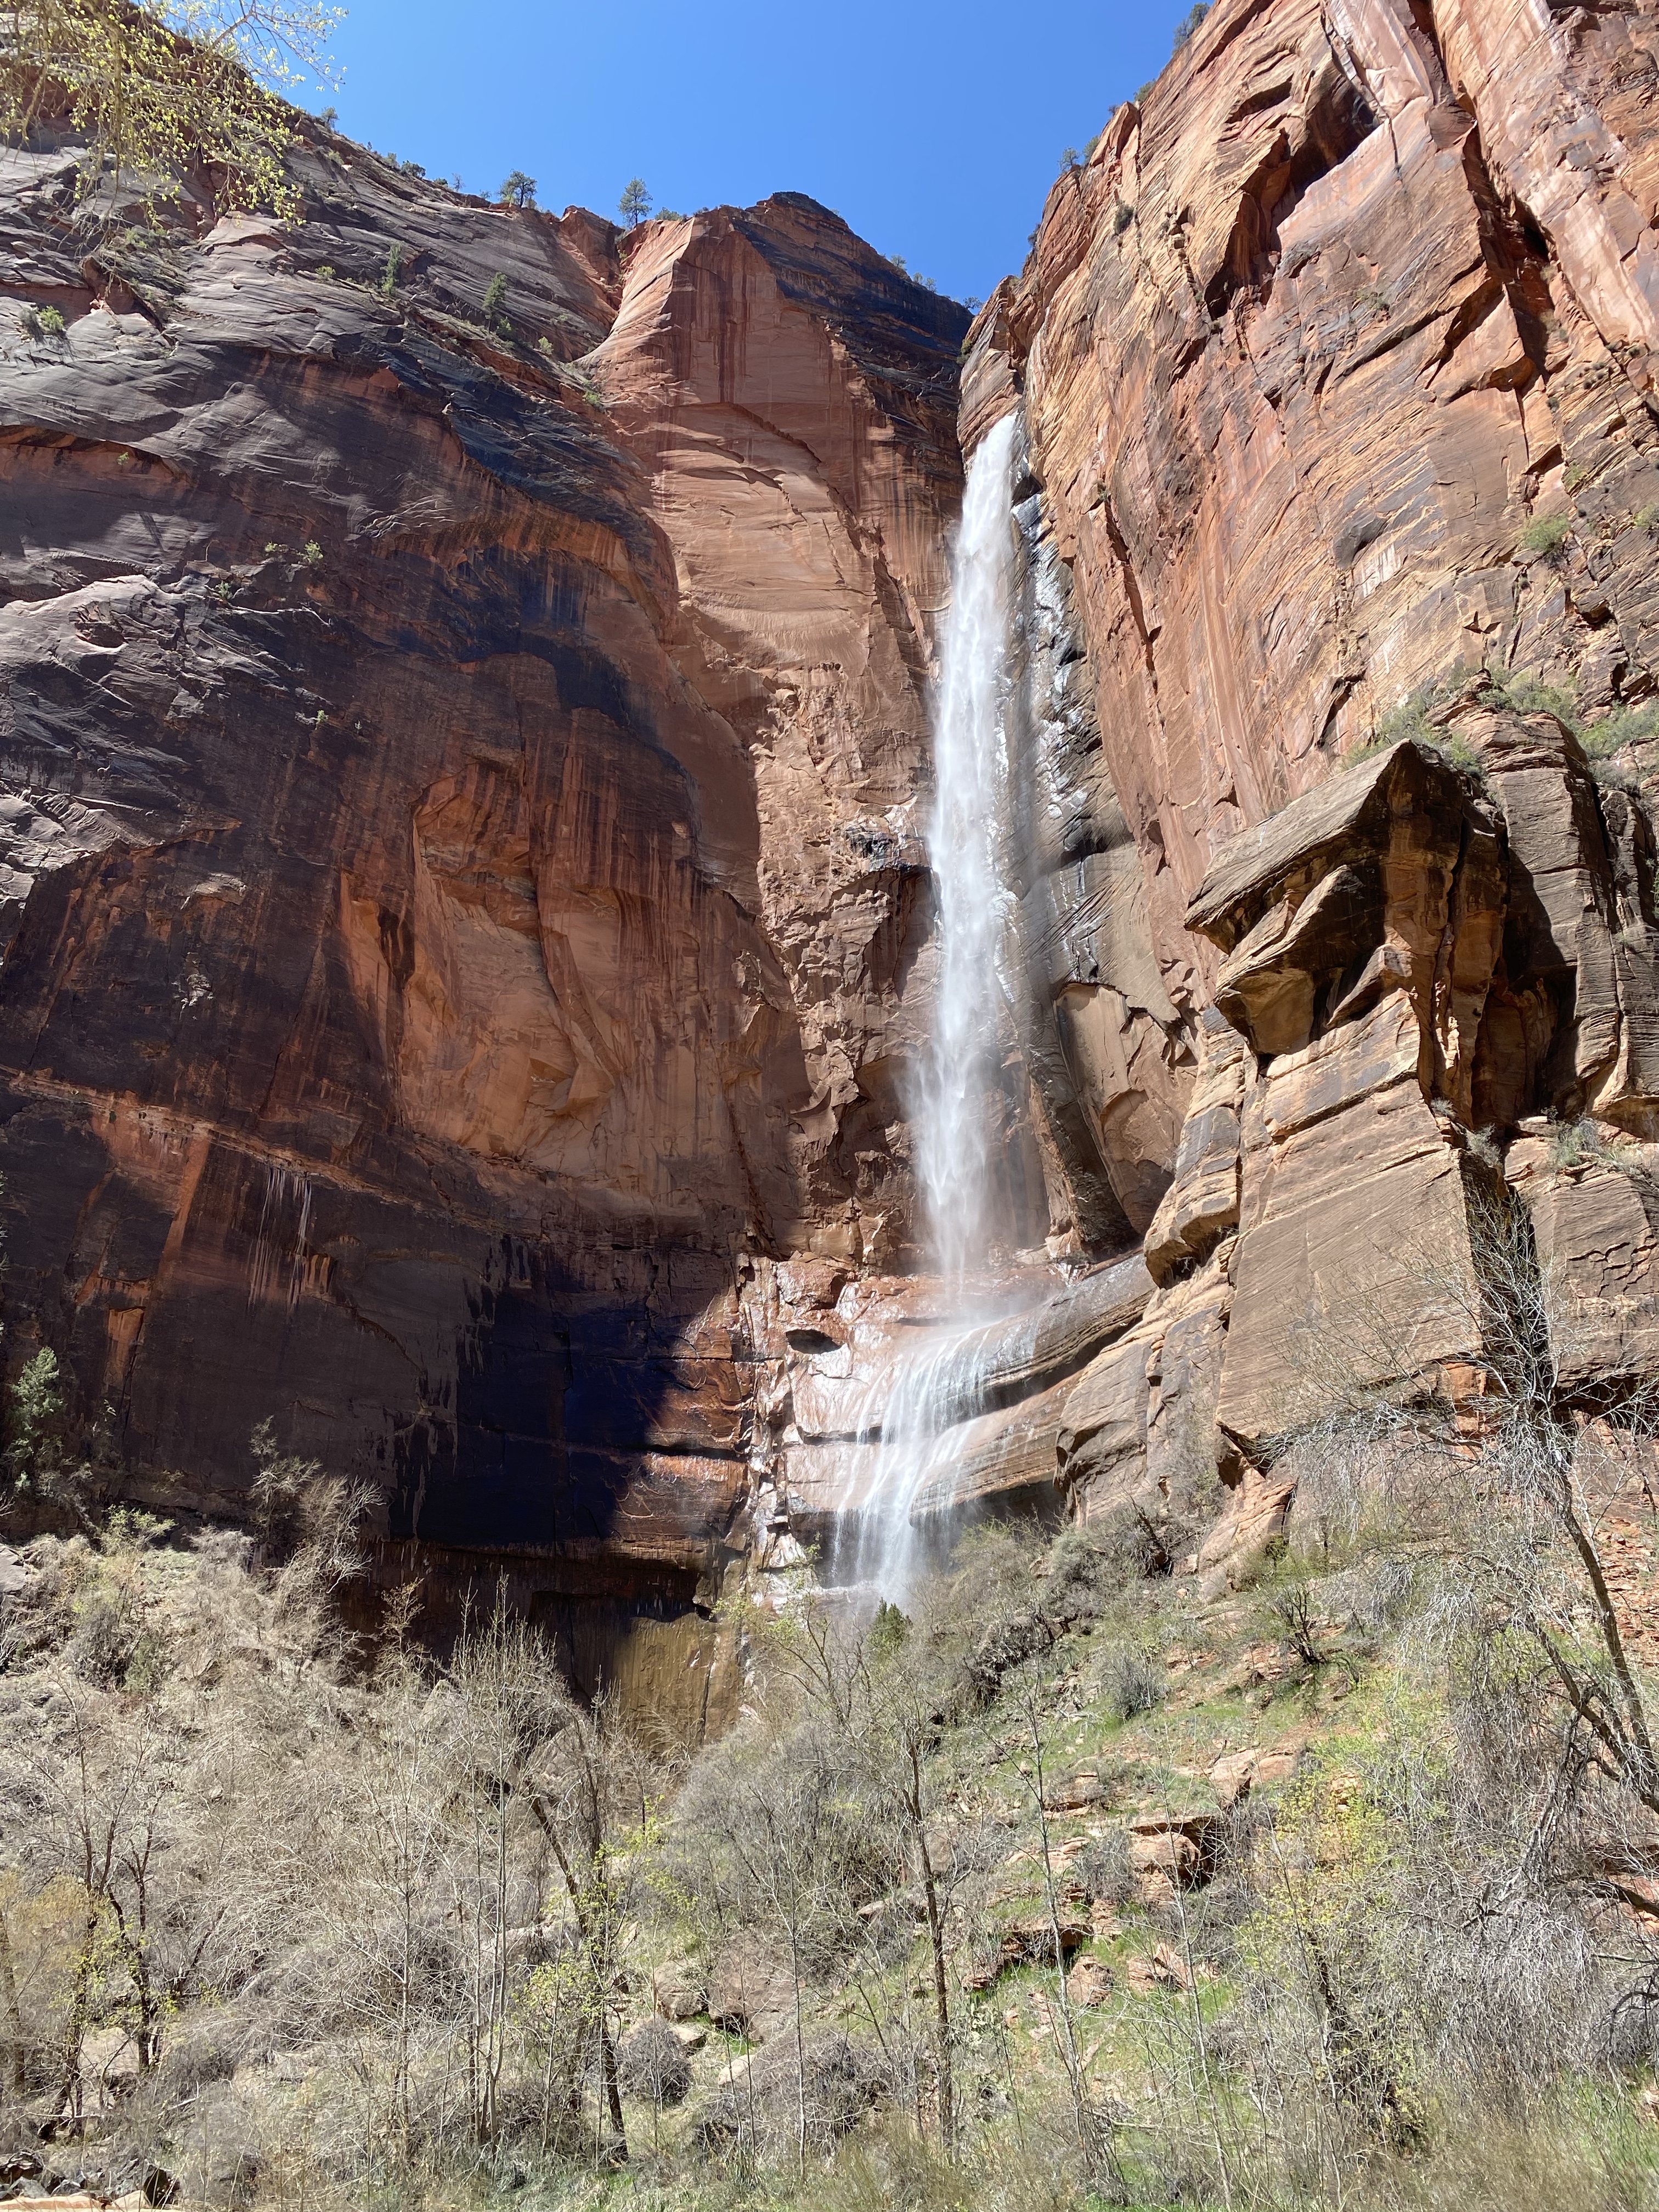
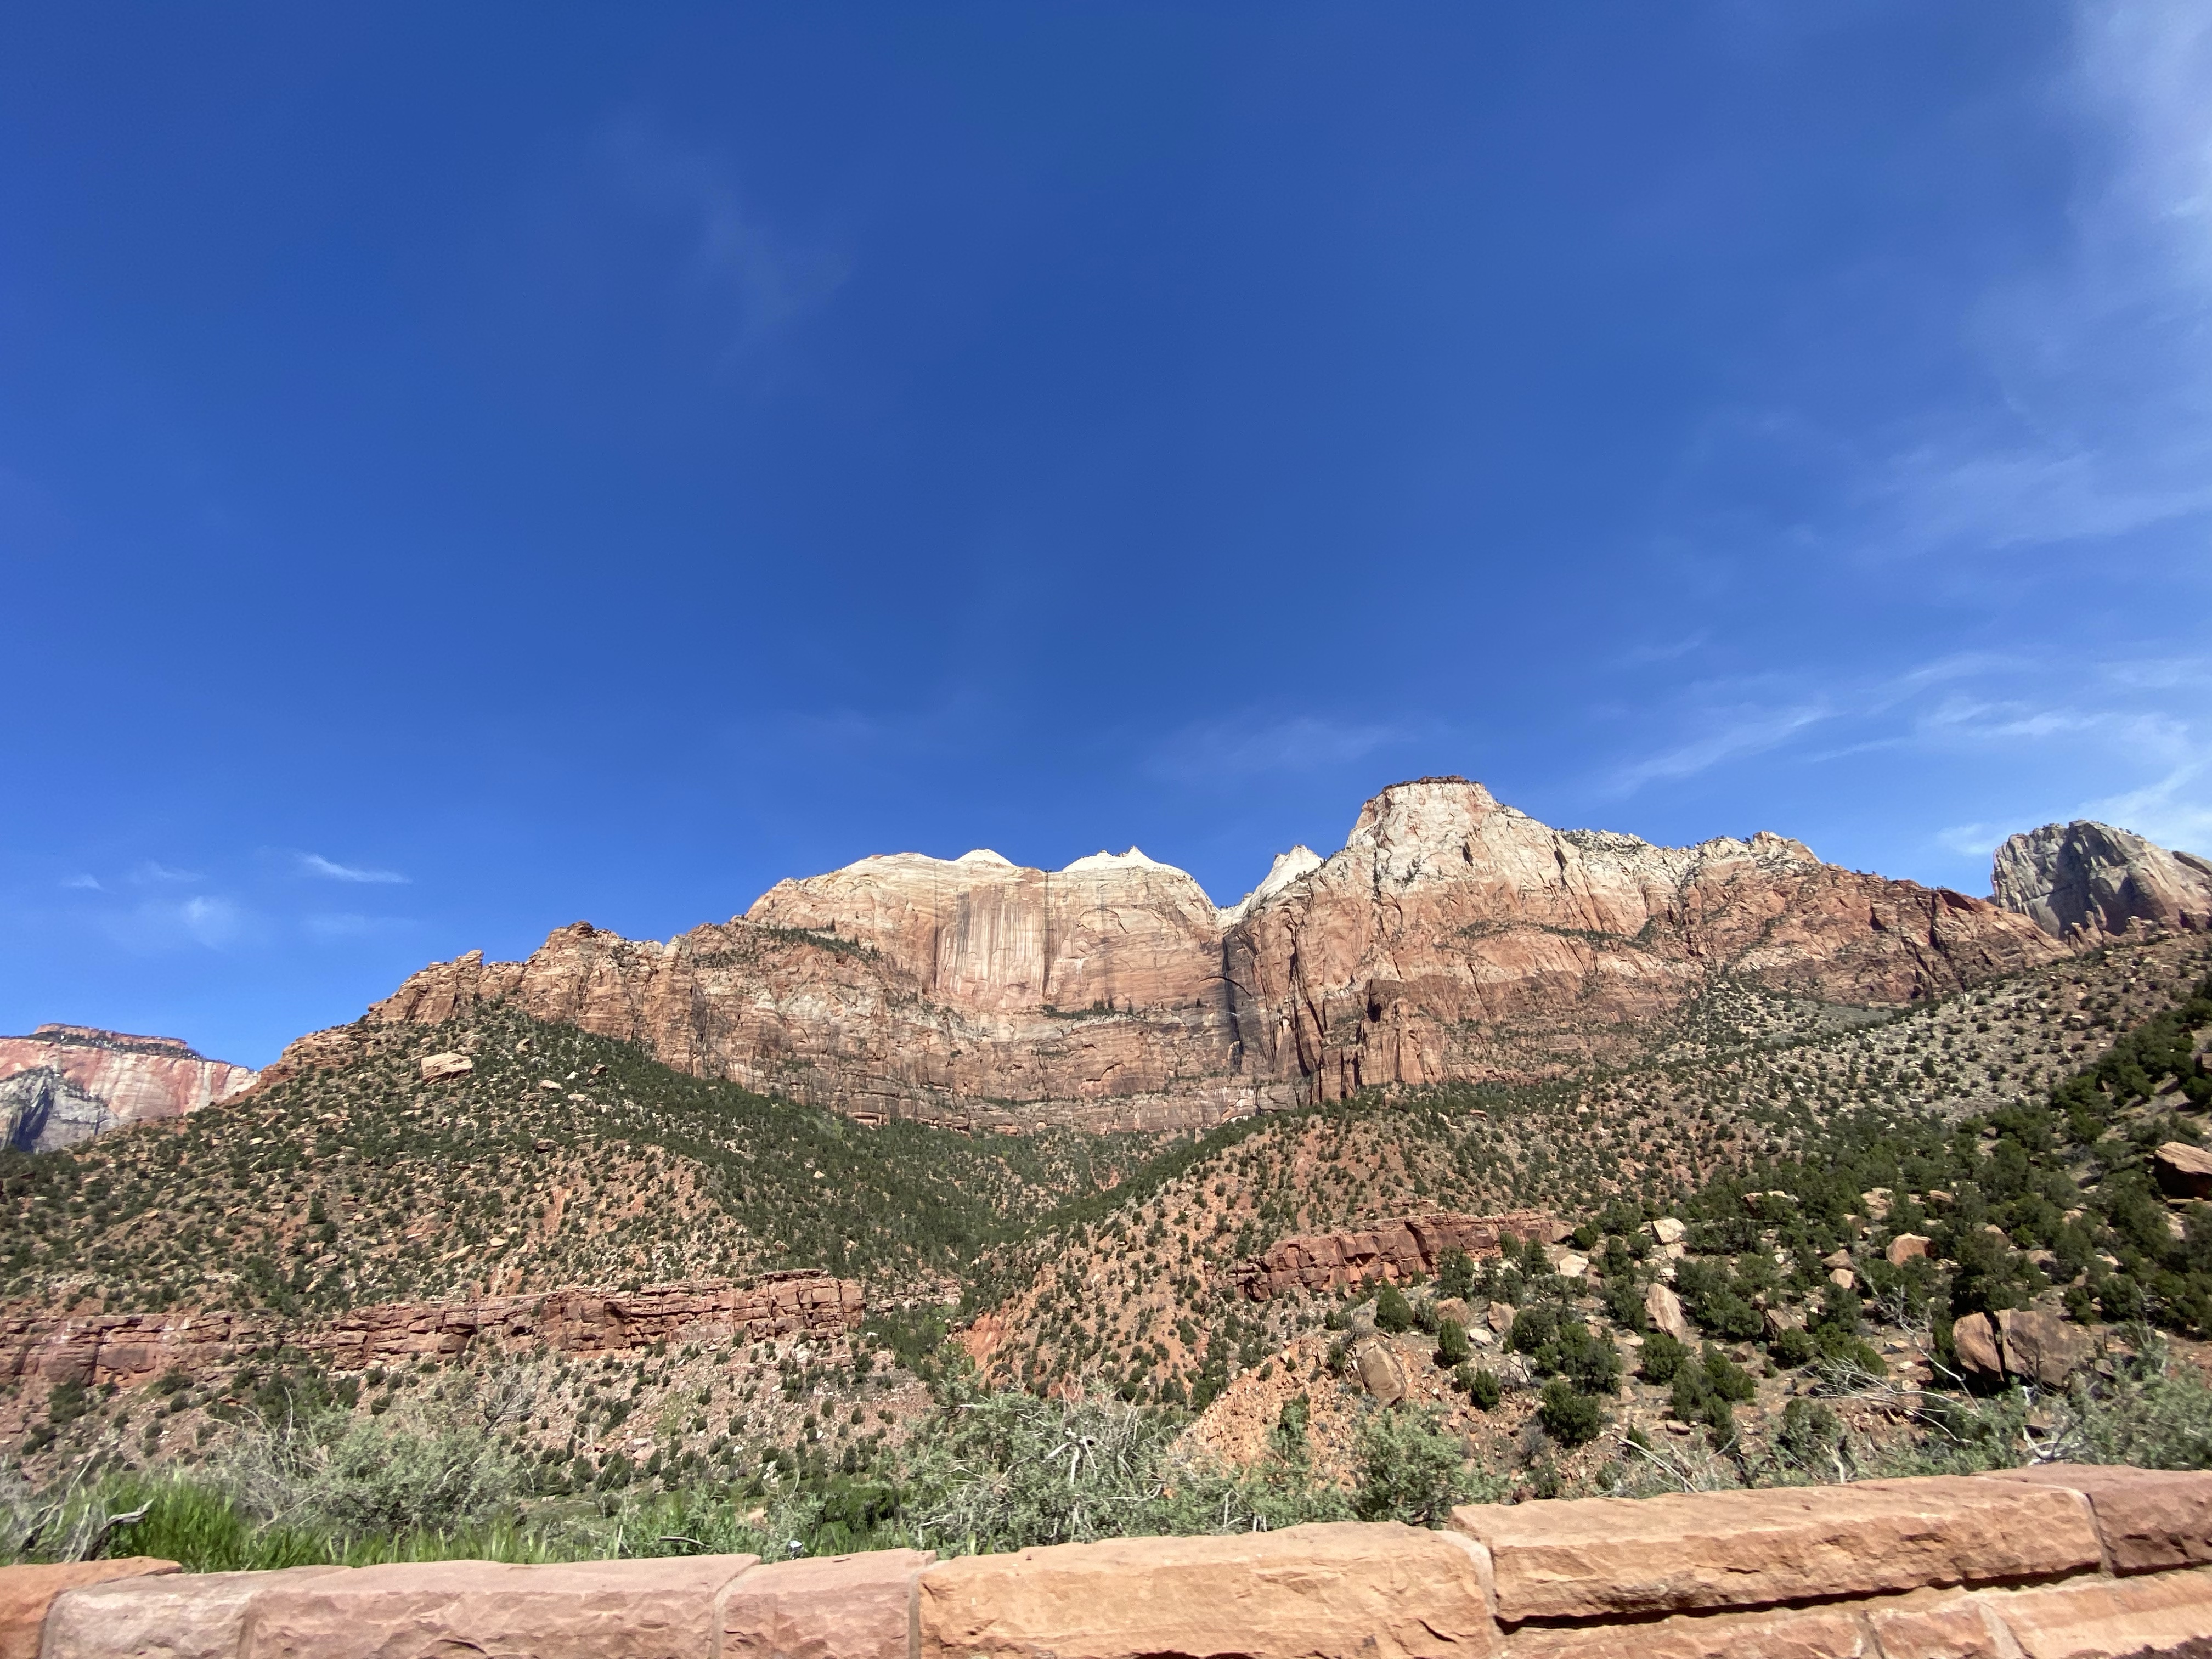
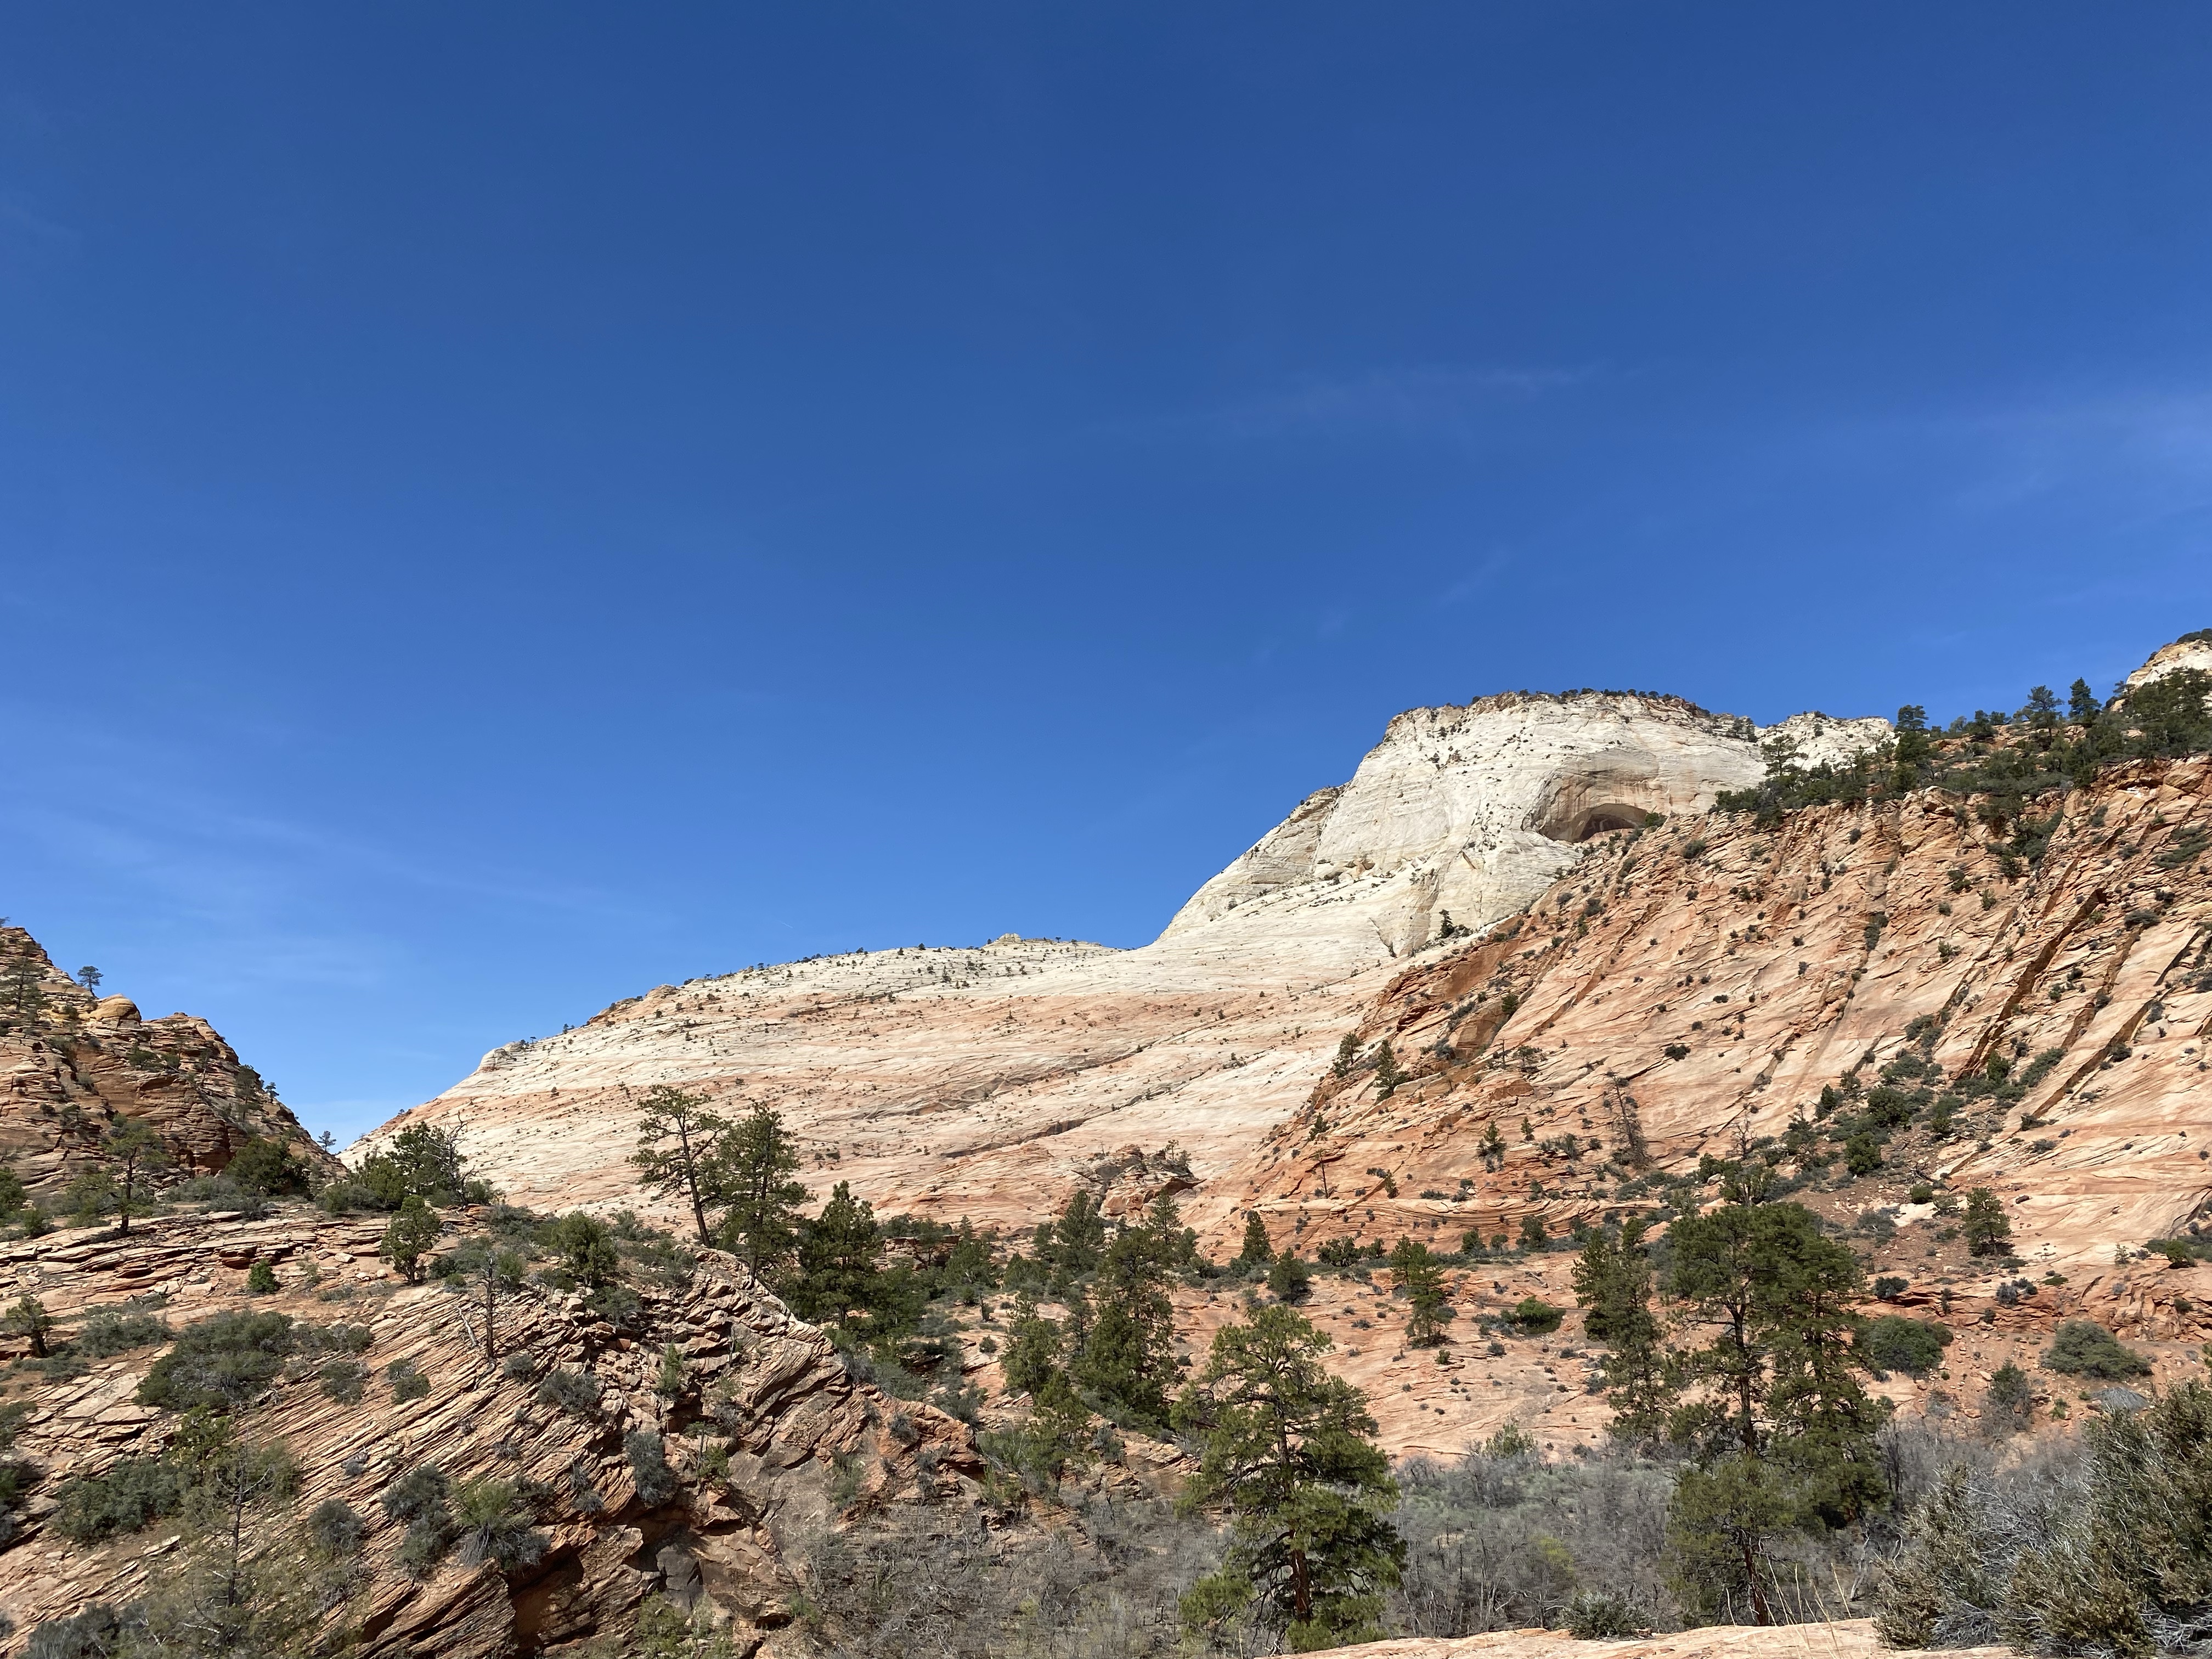
Zion-Mt Carmel Highway – Arguably the most scenic drive in the entire national park system, this 26 Mile route winds around and through colorful rock formations, sweeping views, seasonal waterfalls and switchbacks. There are several scenic pull offs along the way. It’s hard to not stop at each one as remarkable beauty is all around and will leave you nearly speechless.
You will come to the Zion-Mt Carmel Tunnel along the way. Once we passed through, we immediately noticed a slightly different change in the landscape.
If you hope to see The Wave in Coyote Buttes, you’ll have to apply for either the advance lottery 4 months prior or the daily lottery. You can apply for the daily lottery when you’re in range of the GEO mapped area only. You need to apply 2 days prior to when you hope to visit.
For us, it worked out perfectly to apply when we were in route from Zion to Bryce as our itinerary had us in Bryce for 2 nights. Should we be accepted, we would stop in Coyote Buttes on our way to our next overnight destination in Page, AZ.
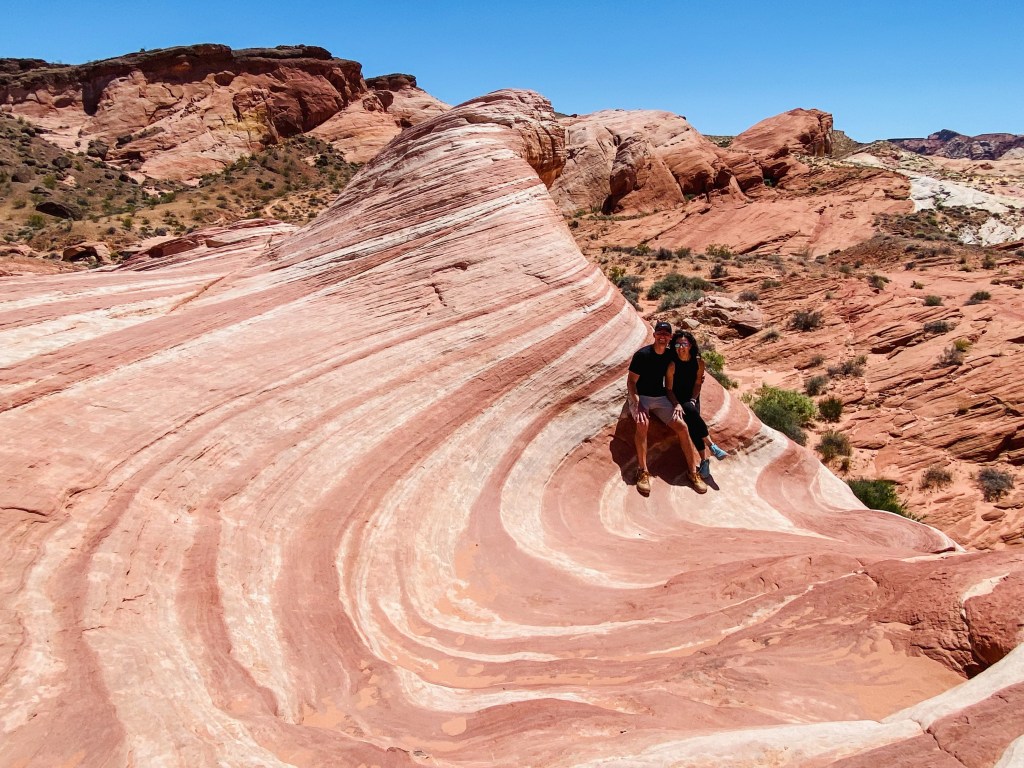
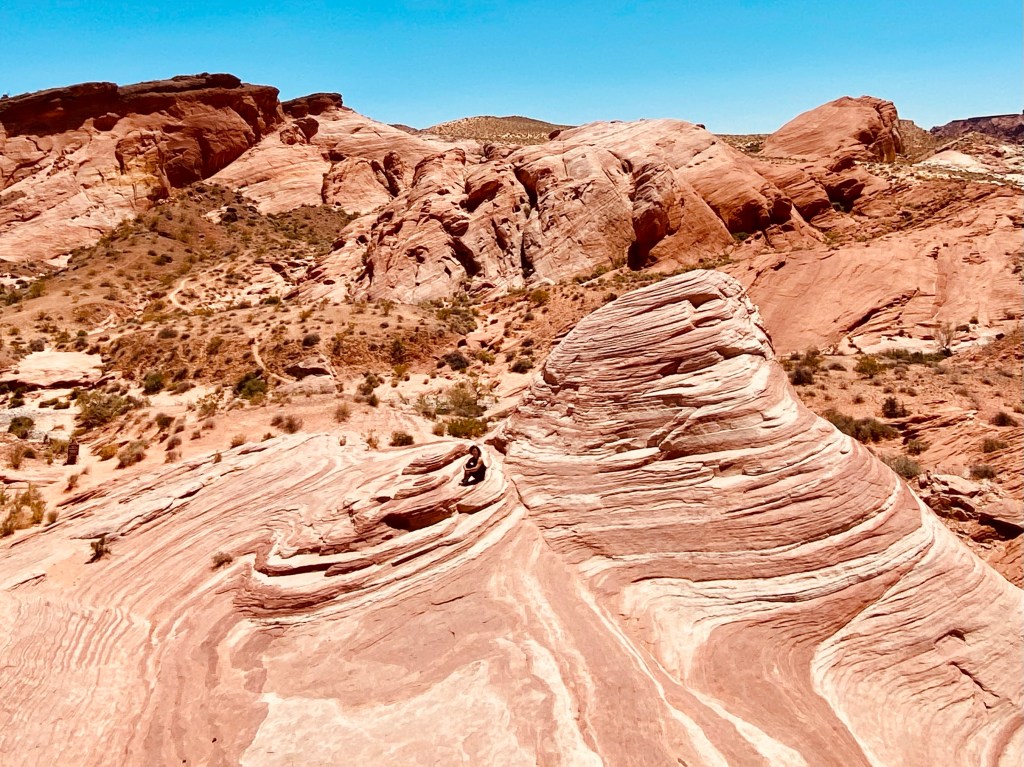
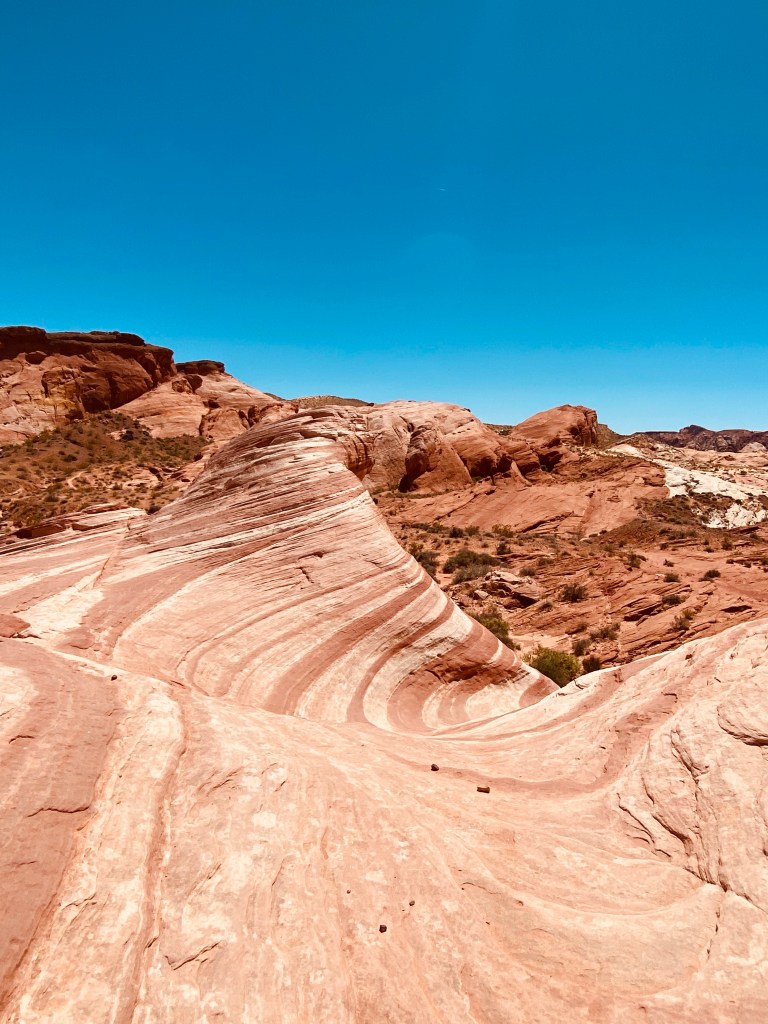
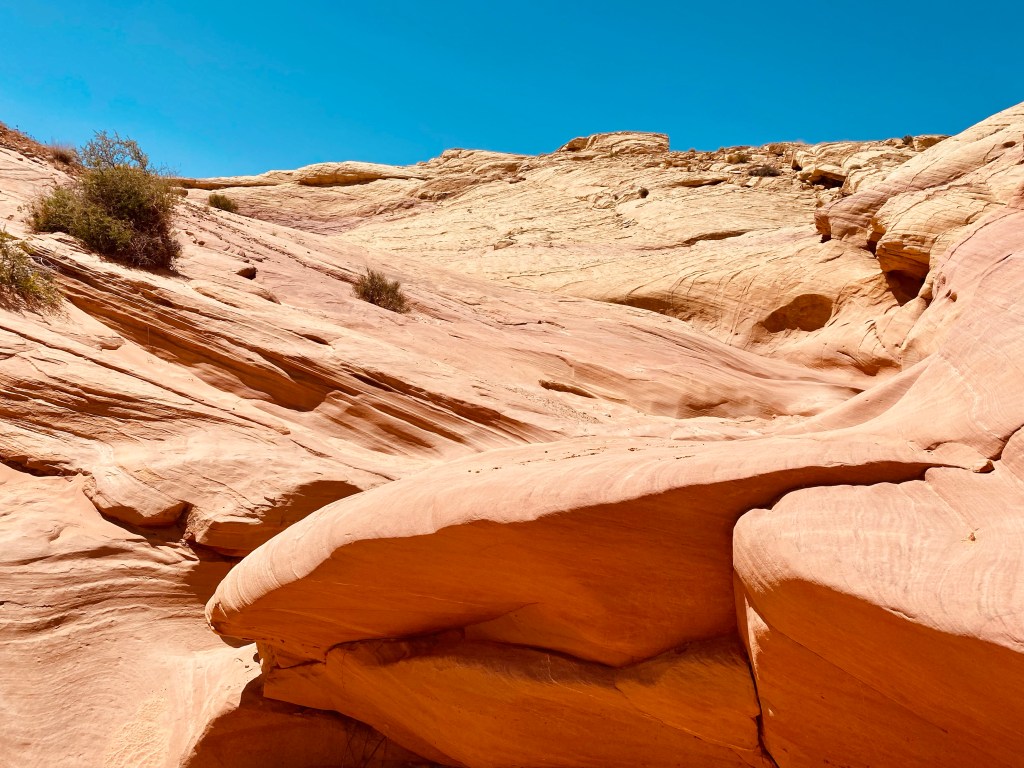
Mt. Carmel Junction on the way and is where we applied online, here. Our hope was that we would be accepted giving us entry to Coyote Buttes after our 2 days in Bryce National Park. Our lottery entry wasn’t selected so I was even more thankful we had visited Valley of Fire State park and saw the Firewave as it had a very similar (albeit smaller) landscape as The Wave. (All about Valley of Fire State Park, here)
Our time in Zion National Park was only a small piece of the magic we experienced on our trip.
Next stop, Bryce National Park. (Click here to read all about our two days in Bryce.)
Venturing to Zion National Park, Bryce Canyon National Park and Antelope Canyon have been high on our bucket list of places to visit for years.
With our boys being older, two in school full time and one in preschool, we finally felt like we were in a good place to take a week long trip.
We did and saw a lot in a short amount of time. I’ll break down our trip into separate posts with this one giving an overview of our itinerary and links to separate posts about each place.
This was certainly one of the most unforgettable trips we have taken to date. Full of adventure, hikes, beautiful sights, good food and great conversation with others we met from all over.
Be sure to get your National Park Pass. I recommend purchasing the annual pass from REI. They donate 10% of the proceeds to nonprofit organizations that support our public lands.
You’ll also need to gear up! See this post for all the items we recommend you have for your adventures.
Let’s go on an adventure!
Our trip went like:
RDU>LAS>Valley of Fire State Park>Zion>Bryce>Kanab>Page>Horseshoe Bend>Antelope Canyon>Scottsdale
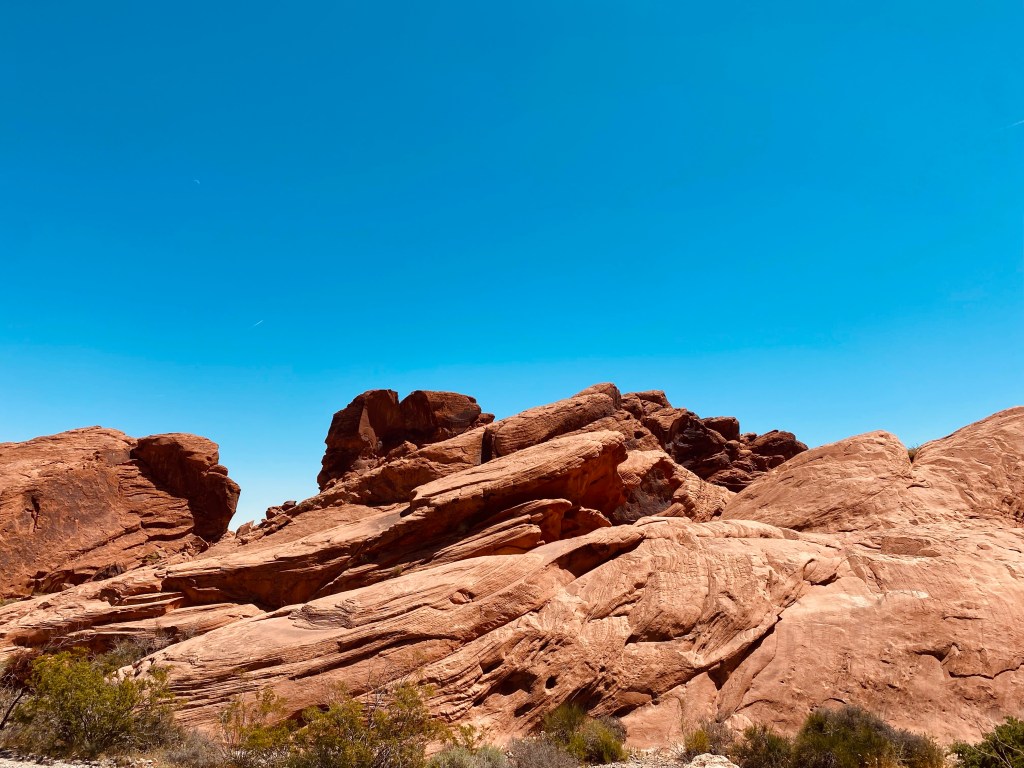
The Fire Wave
Flight RDU>Las Vegas
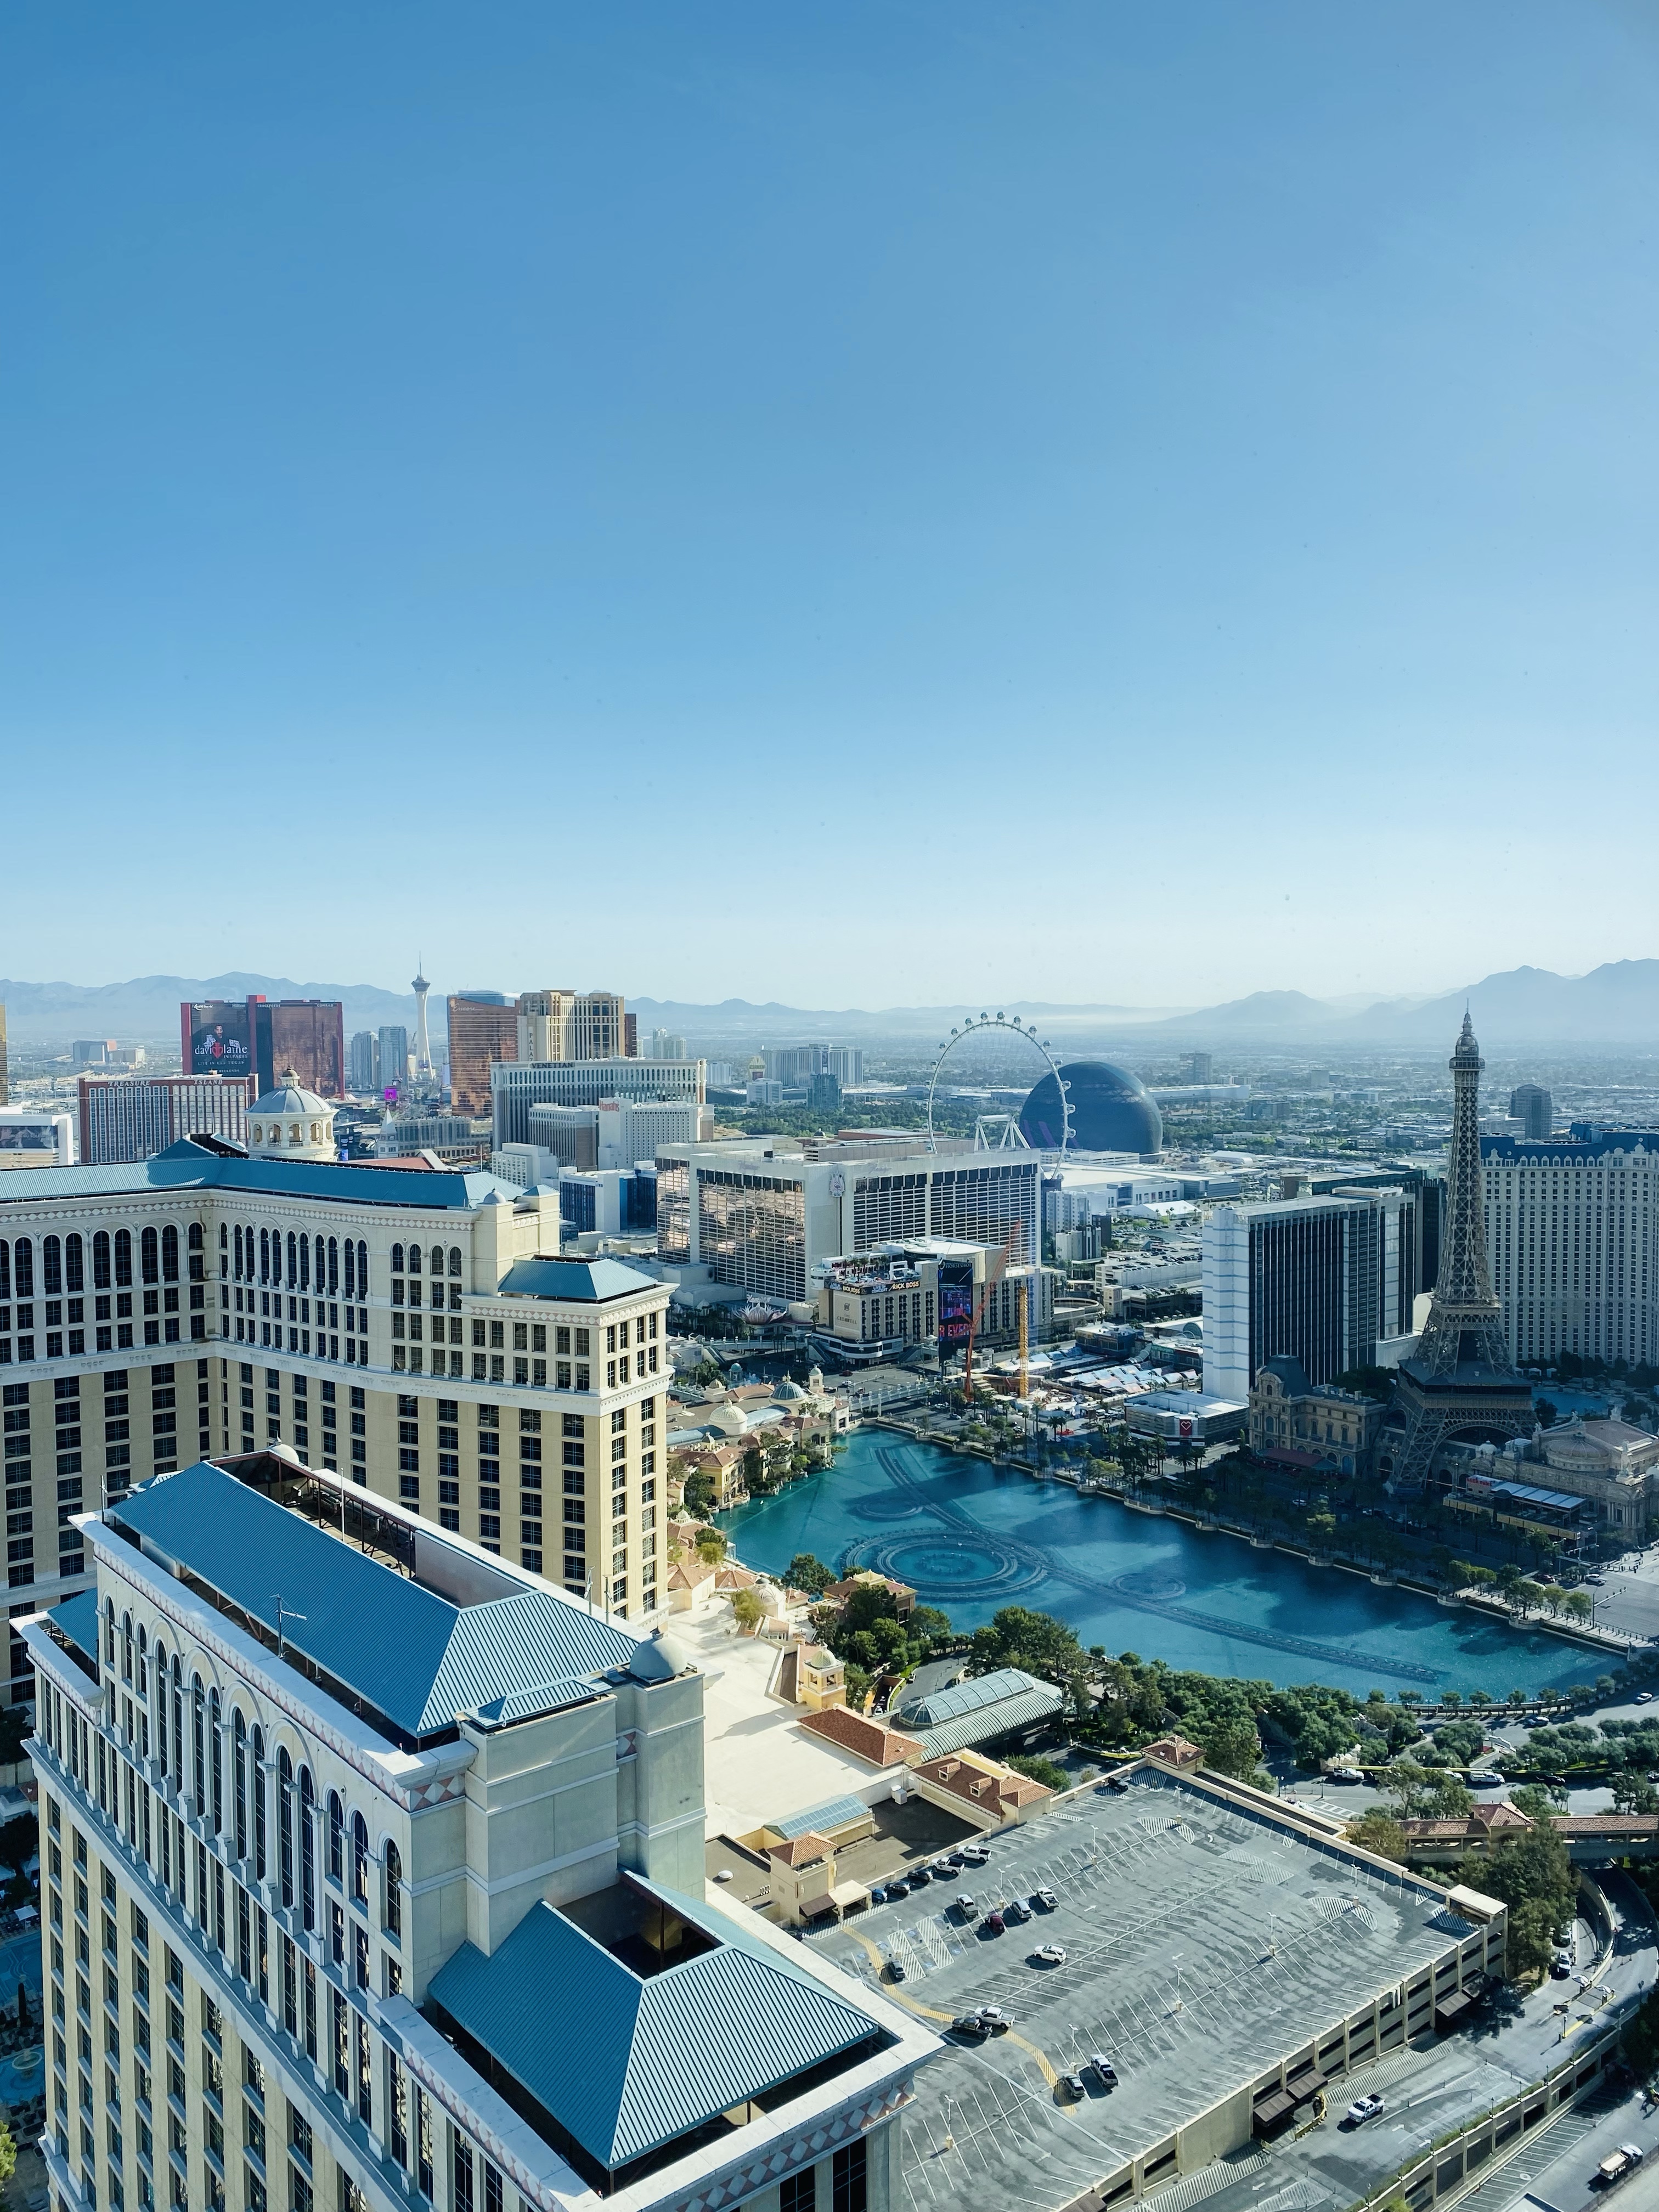
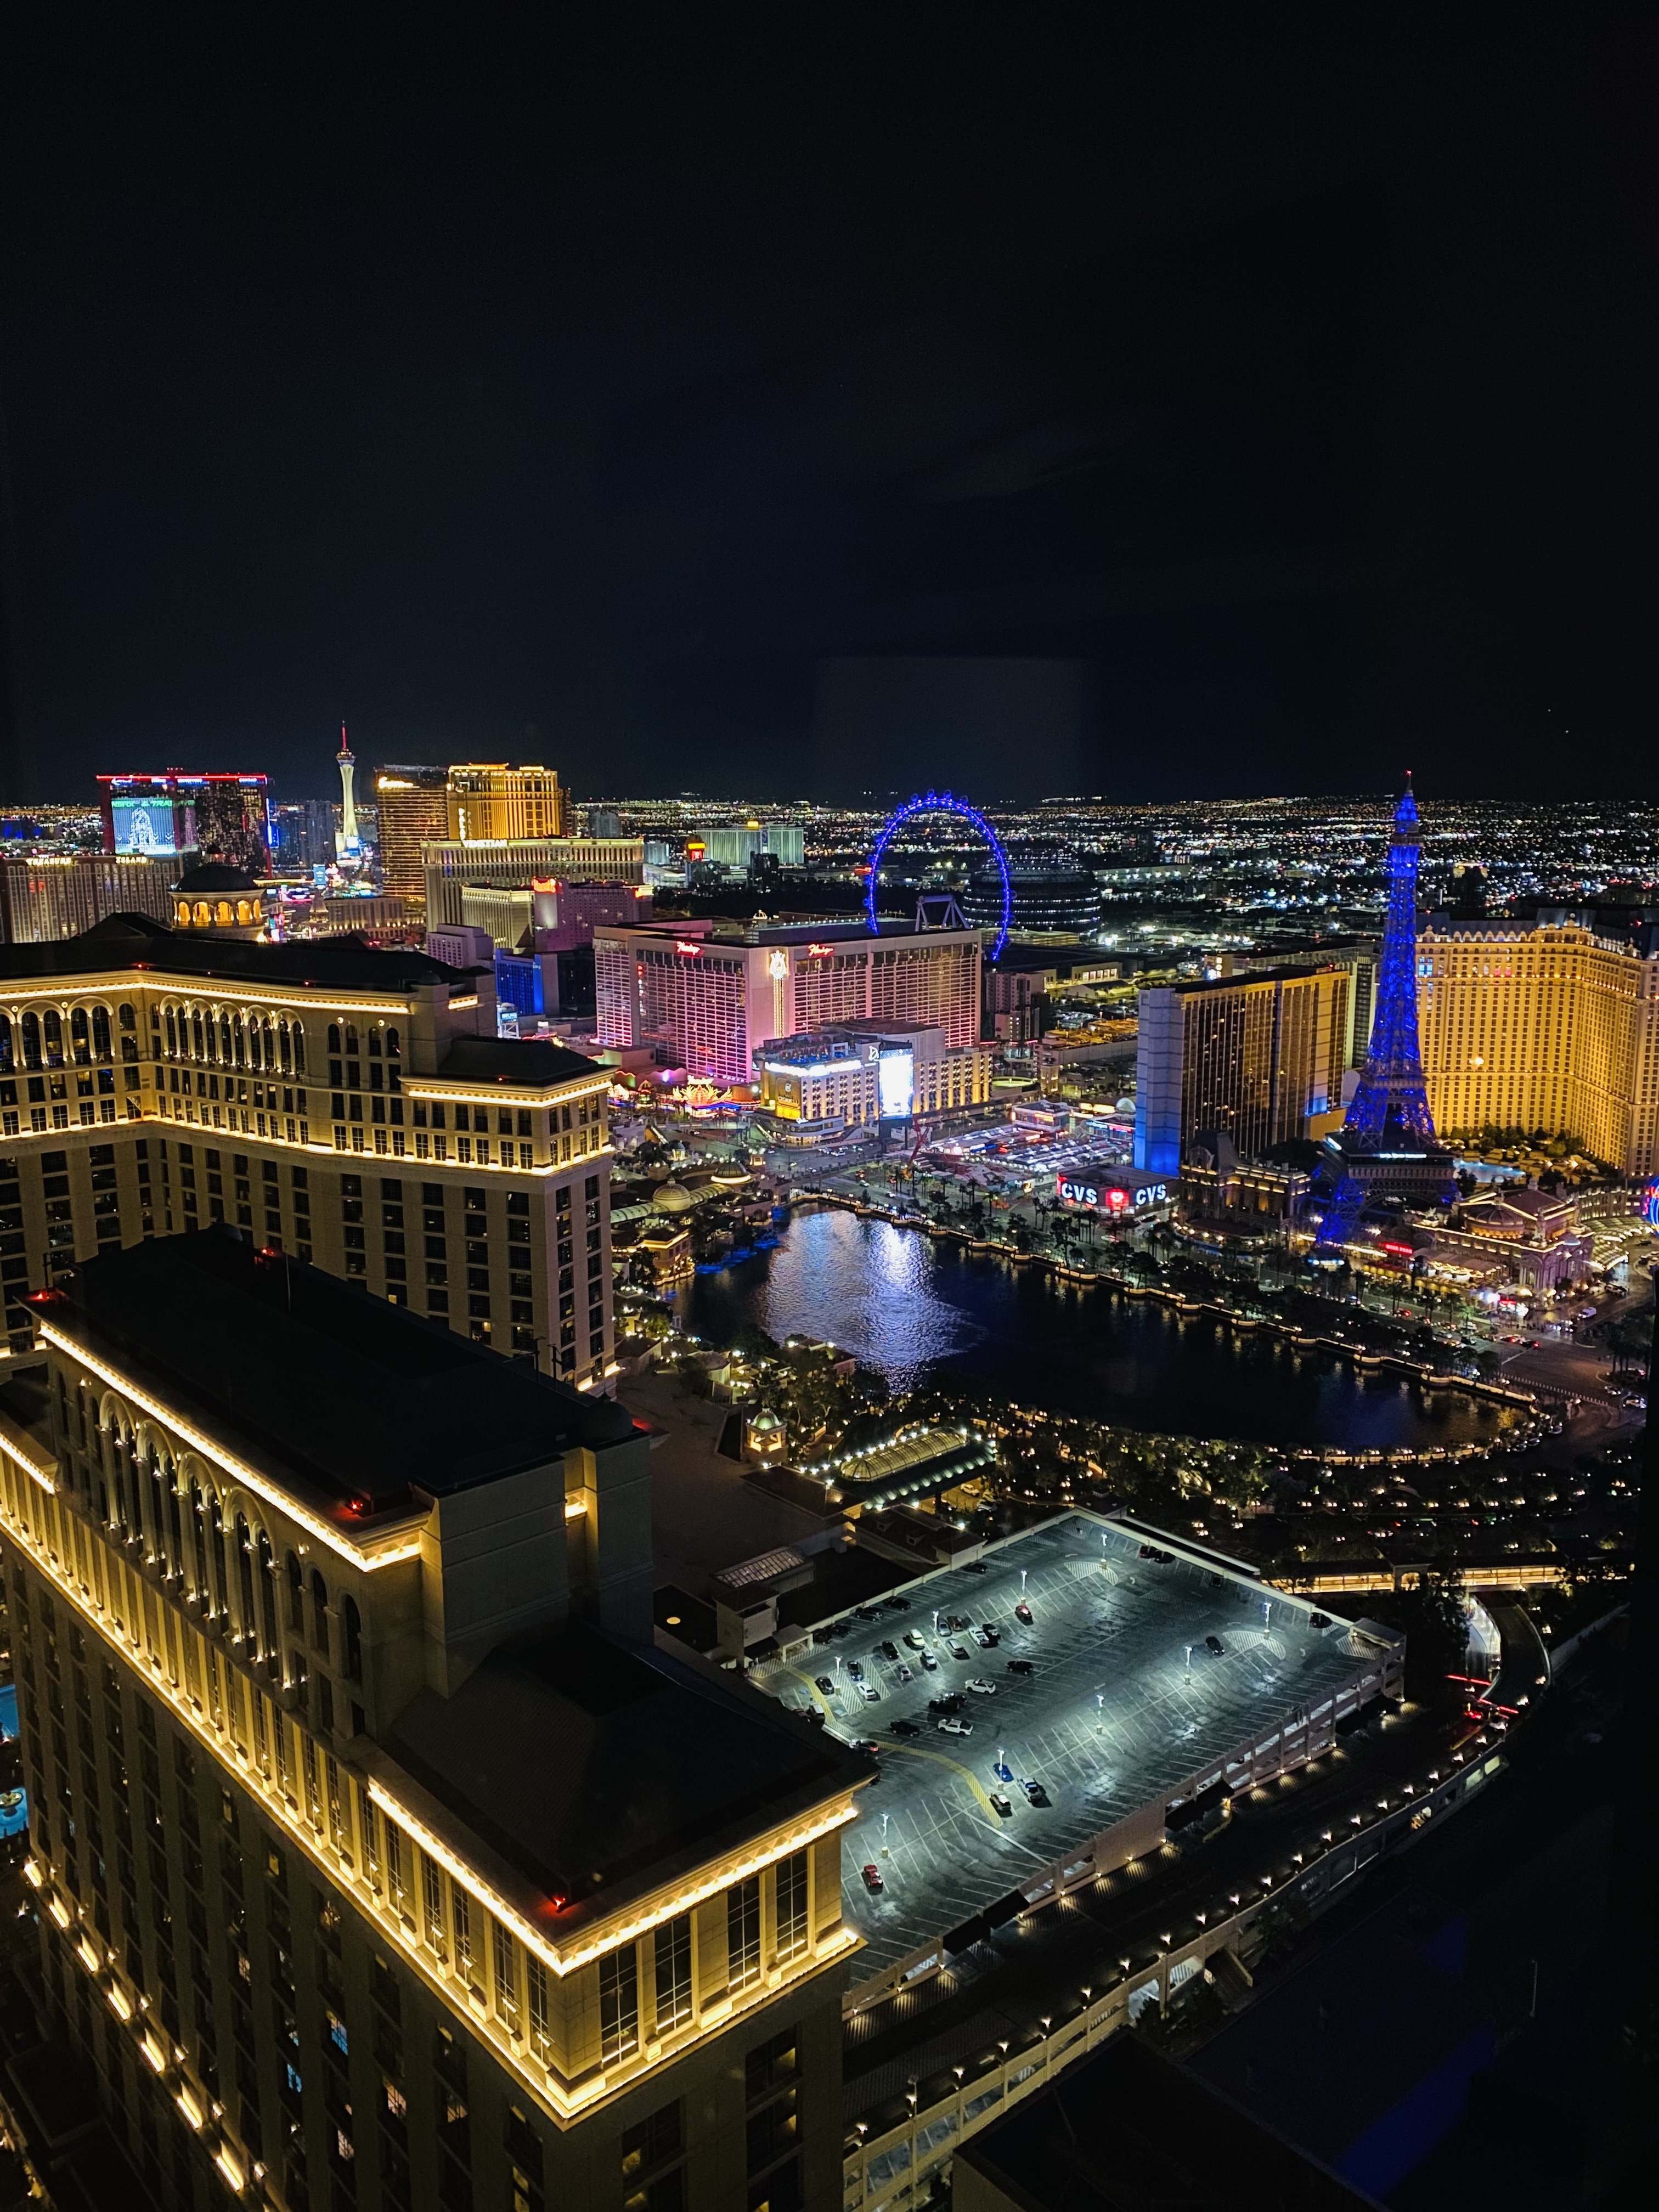
Monday we slept over in Las Vegas at The Vdarra Hotel & Spa. I booked an amazing rate through Priceline for this newer hotel. When I saw it was associated with the Aria Resort & Casino which we had stayed at before, I knew it was a good location on the strip. They even gave us a complimentary upgrade to a Penthouse Suite because our room type was fully booked by the time we arrived. While it was a lovely room with an amazing view, it was 3am to our bodies when we arrived so we didn’t care where we laid our heads. We wanted a clean and comfortable bed.
Tuesday Morning: Day 1 after arrival
Rented a car and began our trip toward Zion
Our car rental is the only brief hiccup during our entire trip. When we arrived to the Hertz location, they informed us they only had an electric fleet of vehicles that matched our reservation. We assured them that would not work for our itinerary. Luckily the Hertz down the street was able to accommodate our need for a gas vehicle. While we would not have cared if we were paired with an electric vehicle, we didn’t know the area nor did we want to add in the need to plan for finding charging station into our itinerary.
Loaded up in a new 2023 KIA Sedan, we were on our way. (It was very efficient if I may add.)
First stop, a local Walmart to load up on food, spirits, gallons of water, and ice for our cooler. We purchased things like, Dave’s Killer Bread, fruit, peanut butter and jelly, Skinny Pop, Nature’s Path Organic Instant Oatmeal, beer for Adam and Vizzy for myself. I had already brought trail mix, verb energy bars, and protein bars with us from home.
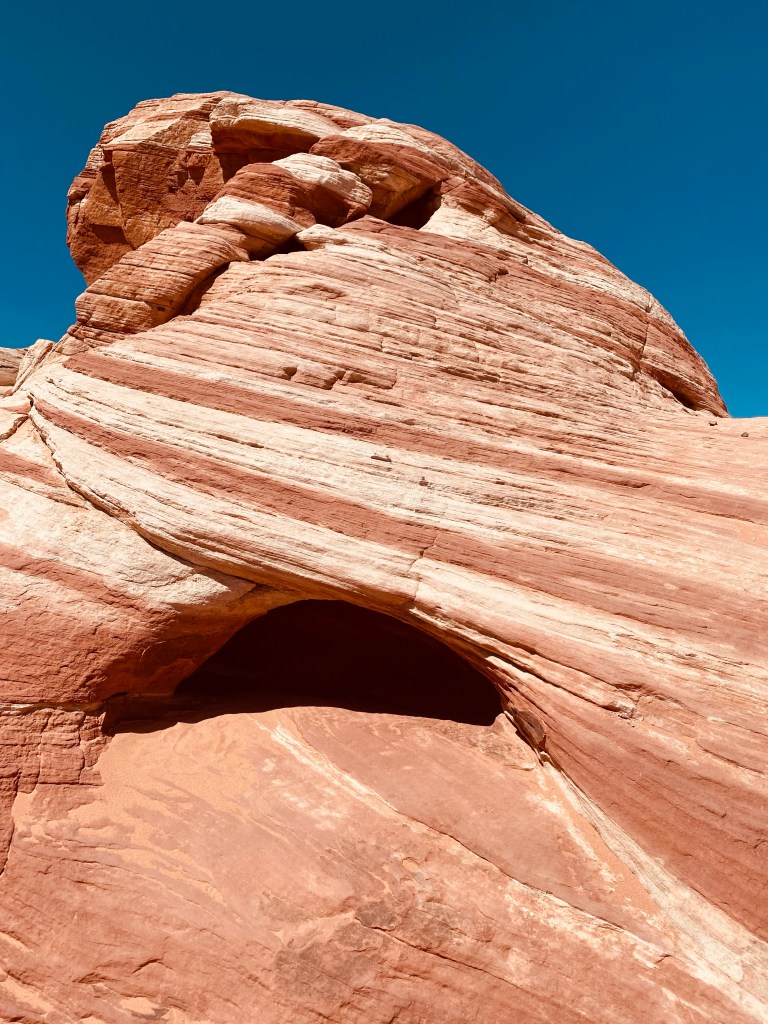
This state park is well worth the stop and the $10 entry fee. You could spend so much time here as they have several hiking trails and many scenic viewpoints. A must to include in your trip plans in our opinion, especially if, like us, you didn’t win the lottery for The Wave in Coyote Buttes. See what Valley of Fire has to offer from our time there, blog post here.
We stayed in Springdale, UT two nights at this Holiday Inn Express. Breakfast was included each morning and it offered a large spread of healthy options, hot coffee and water station for filling up your camelbacks/water bottles. Located in the quaint town below the park entrance offering scenic views, several amenities (gym, pool, hot tub, laundry) and walking distance to restaurants and shopping, shuttle services, trails, and more we’d stay here again.
Zion 2 days of hiking ⁃ click here for our time and experience in Zion.
Day 3: Head toward Bryce Canyon National Park
Have your phone ready, the scenic drive is unreal and offered multiple stopping points along the way to pull off and take pictures.
Mt Carmel is a town you will arrive at along the way to Bryce that is in the geo area to apply for The Wave lottery. See the application options and geo mapping area here if you hope to include The Wave in your trip. If you’re planning your trip at least 4 months in advance, go here. If you’re planning your trip less than 4 months in advance, see the daily lottery option here. You’re technically applying 2 days prior to when you HOPE to go to The Wave.
We stayed in Tropic, UT for 2 nights. It’s a very small town with only a few options for eating but close in proximity to Bryce where we knew we’d spend all of our time. Our Airbnb accommodations were great and we’d recommend it.
Bryce – 2 days of hiking ⁃ Click here to read about our time in Bryce Canyon.
Day 5: Drive toward Page – This is where you’ll need to be if booking a tour of the upper or lower antelope Canyons unless you want to drive in the morning of from somewhere like Kanab.
We stopped along the way for coffee at The Shop Coffee Co which also had fresh menu items that all looked delightful.
Next, we stopped at Belly of the Dragon. There isn’t much to it but you can see this review that I found when researching for our trip.
The Sand Caves were our next stop along the way to Kanab. When we arrived, a local pulled up and began unloading his ATV. Through our conversation with him, he told us there are lesser known sand caves that we should also check out (and we did), but he also invited us to join him and his family on an off road adventure. We toured the sand caves first then ultimately decided we wanted to continue on with our plans to explore in Kanab. (I do regret not joining them. They were all so kind. The family had 3 young kids with them in the second ATV which made me think of our 3 boys back home.)
The well known Sand CavesLocal recommended – Sand Caves, not far from the others. Also the location for a movie, The Apple Dumpling Gang.
The locals we met at the base of the sand caves told us we would see remnants of tracks that were used in filming the Disney movie, The Apple Dumpling Gang. We did. There were metal posts still sticking out of the ground at the top of these caves.
We stopped for lunch in Kanab, drove around the town a little bit, then headed for our destination in Page.
We stayed at Under Canvas on Lake Powell. This was yet again, another bucket list item for me and was the best experience. We highly recommend it. Click here (coming soon) for our time at Under Canvas and touring Antelope Canyon and other activities available in the area.
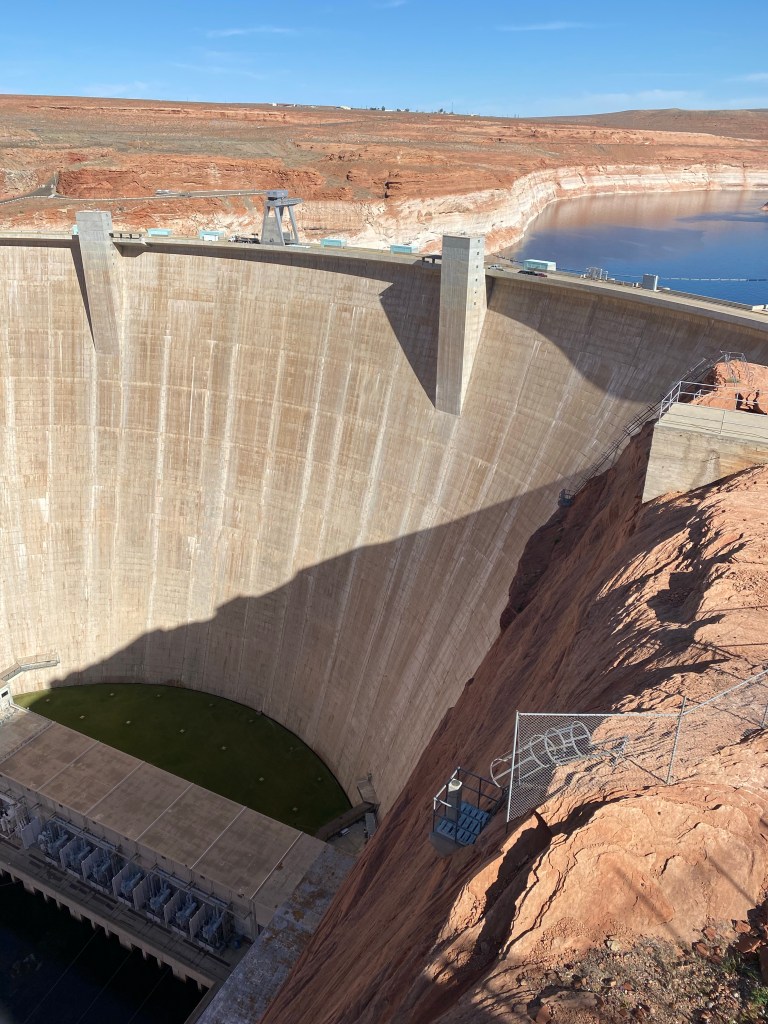
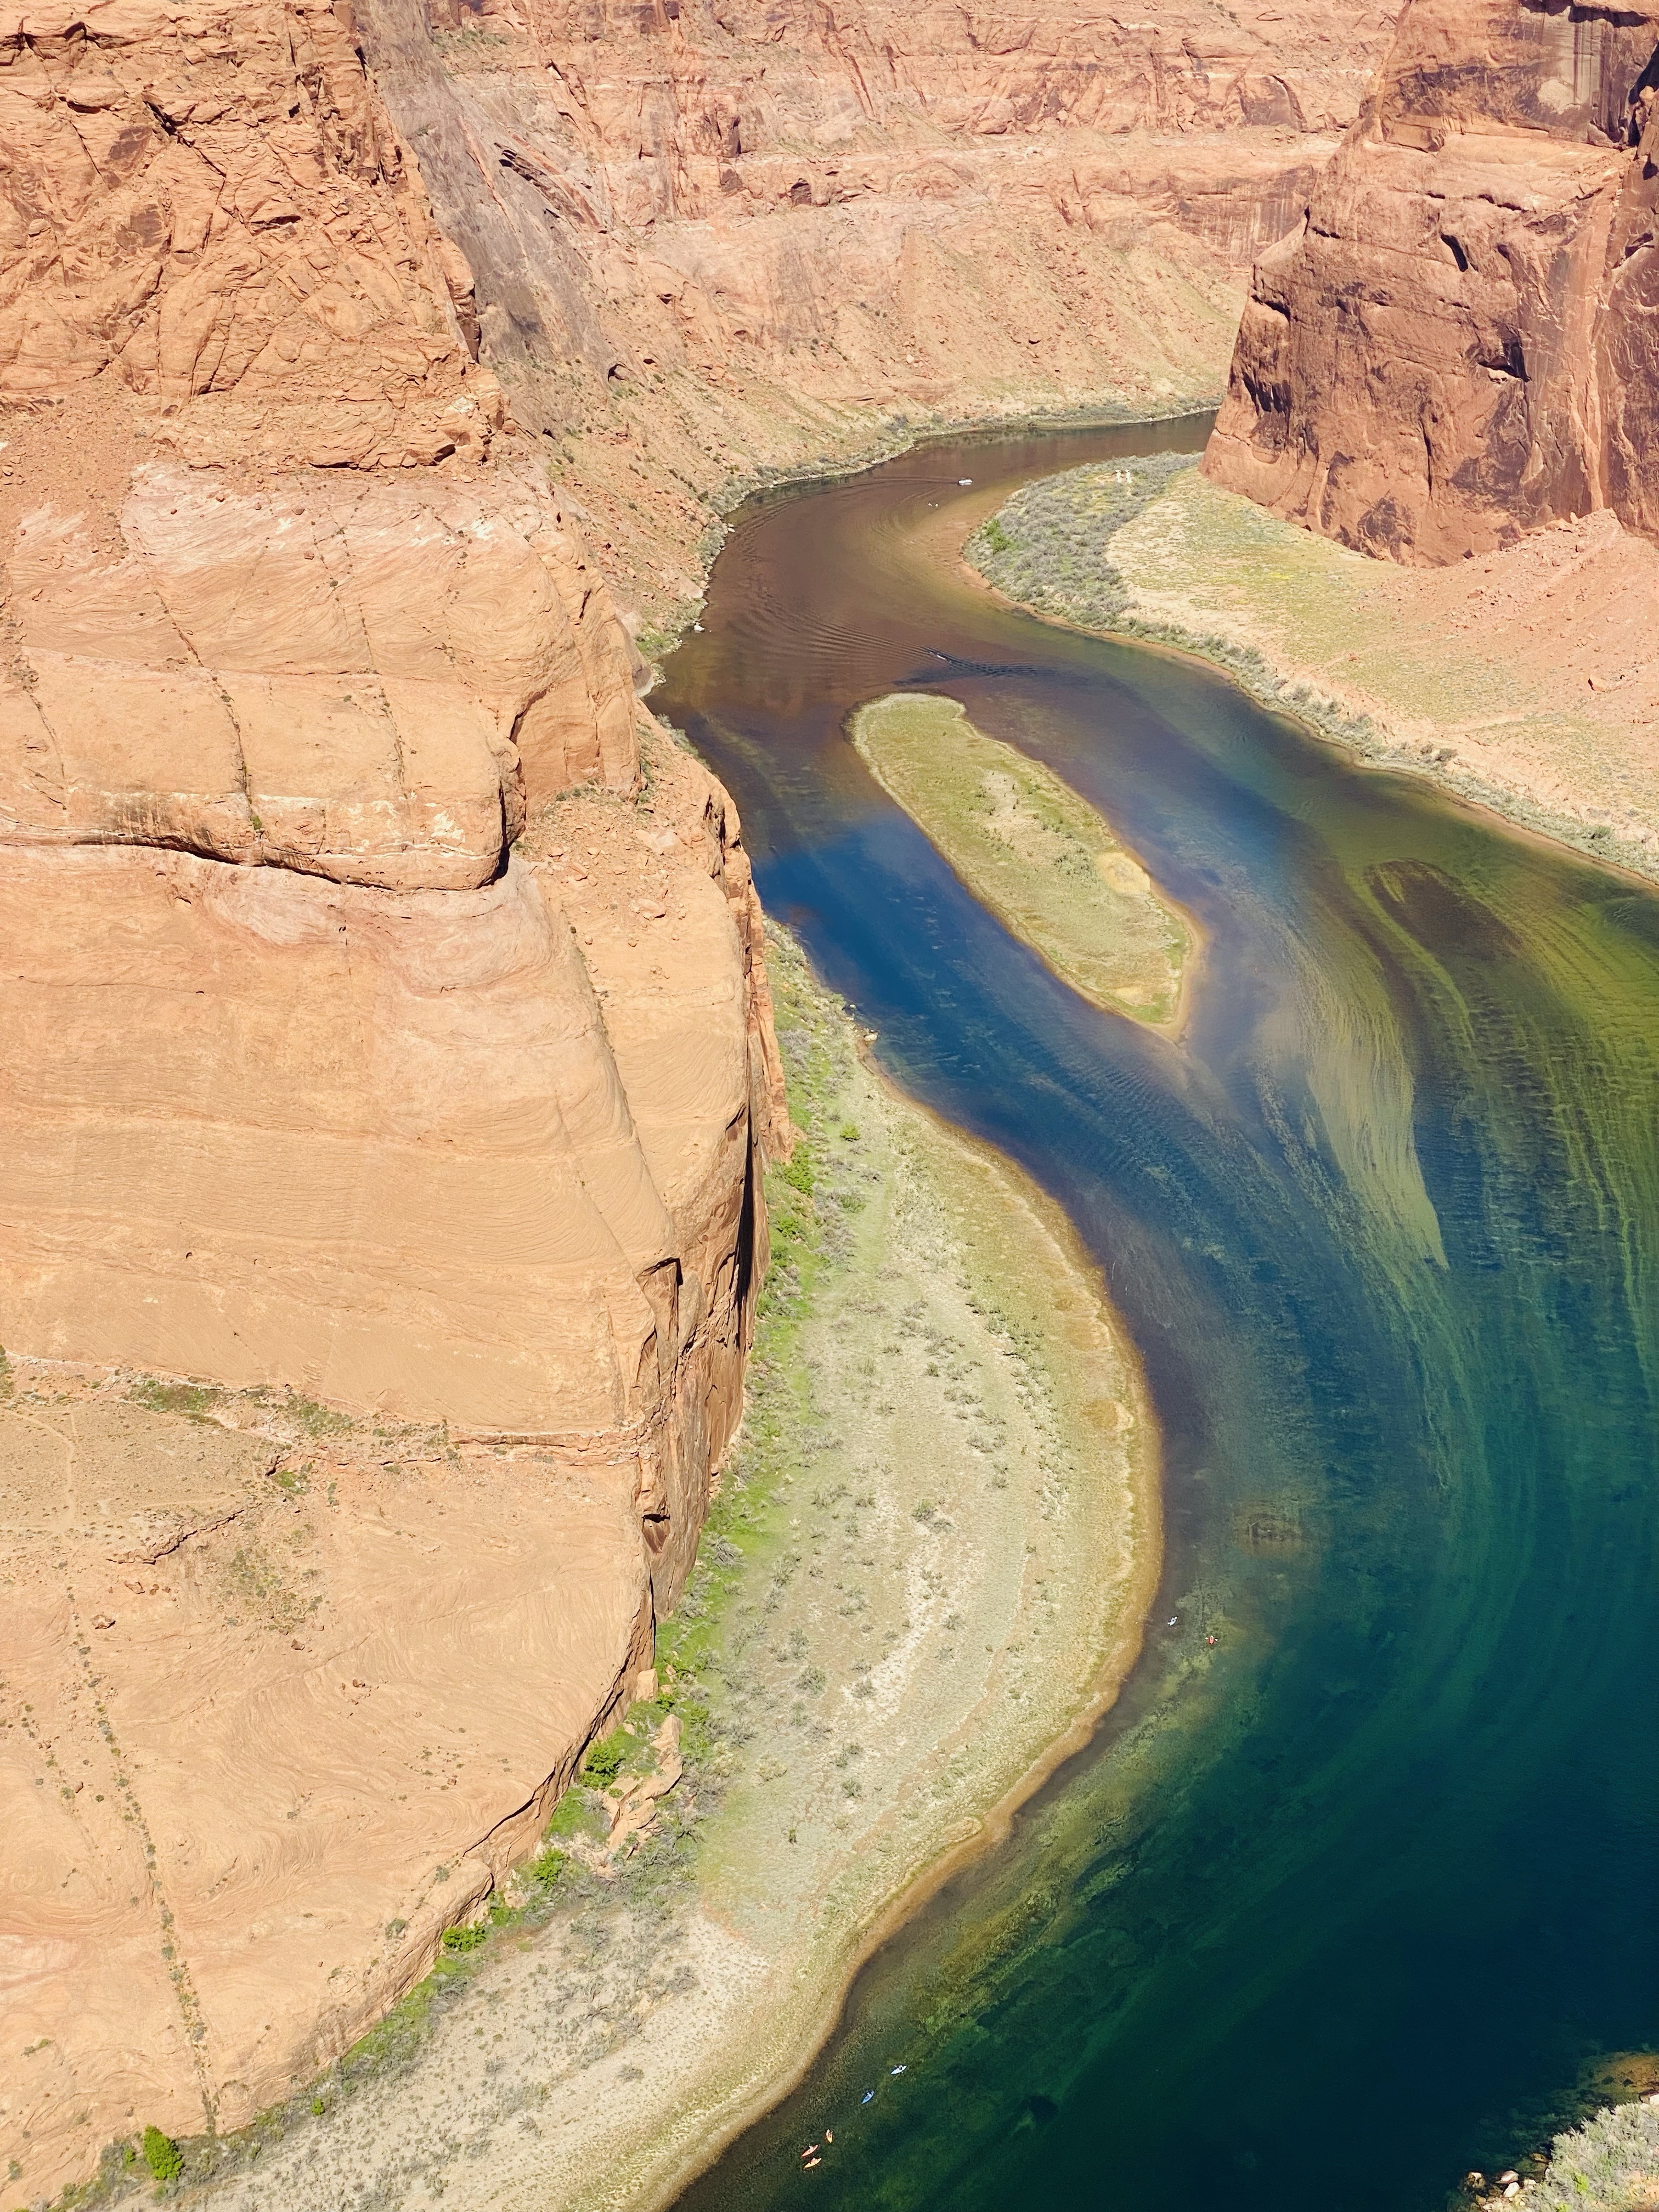
During our time in Page, we toured Under Canvas’s canyons, slot canyons, stopped by Lake Wahweap viewpoint, the Glen Canyon Dam Bridge, and saw Horseshoe Bend. This will all be included in the Under Canvas post.
Day 6: Drive to Scottsdale after Antelope Canyon Tour – 2 nights
Click here (Coming soon) to read about our time in Scottsdale and recommendations from our time there + past trips to the area for golf and more.
Day 8: PDX>RDU
HOME
As you can see from our itinerary, there is opportunity to leave immediately after you have explored the parks and Antelope Canyon. We wanted to take a couple extra days relaxing at a resort before traveling home. It was a good call on our part as our bodies were exhausted and very sore from all of the hiking.
Hiking the trails we did were very different from any hikes we have done in North Carolina and Virginia. When you add in the elevation change (roughly 8,000+ ft majority of our time), we were met with an added challenge. 100% worth every step but it’s certainly worth noting.
I’ve included a printable with a suggested itinerary for each national park we visited. We both agreed the order we visited each location was ideal. Starting with heavy hiking and ending with easy trails and tours.
I hope you find this information helpful in your planning and if you weren’t considering the southwest a destination, see this as your sign to go beyond and prepare to stand in awe around every corner.
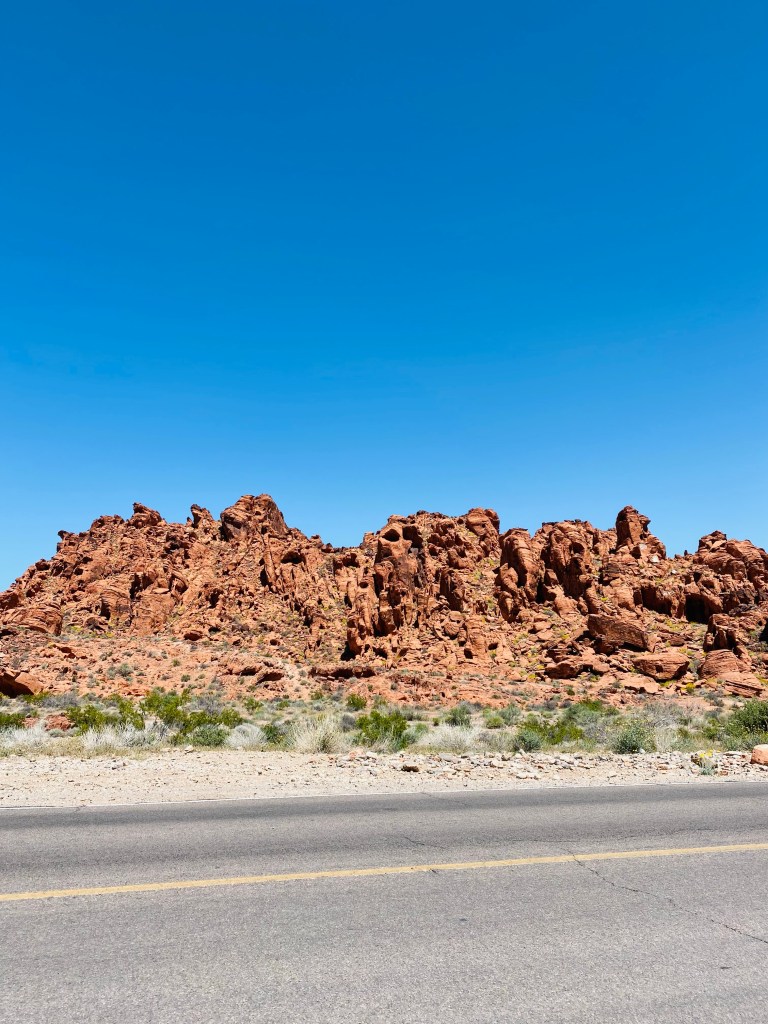
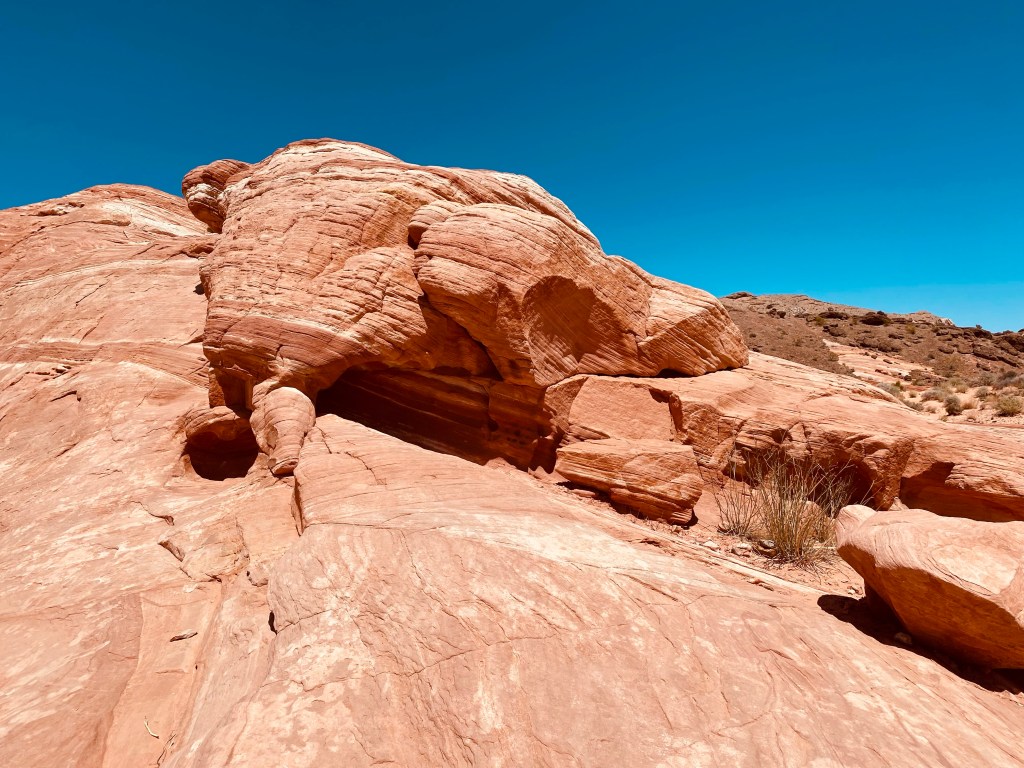
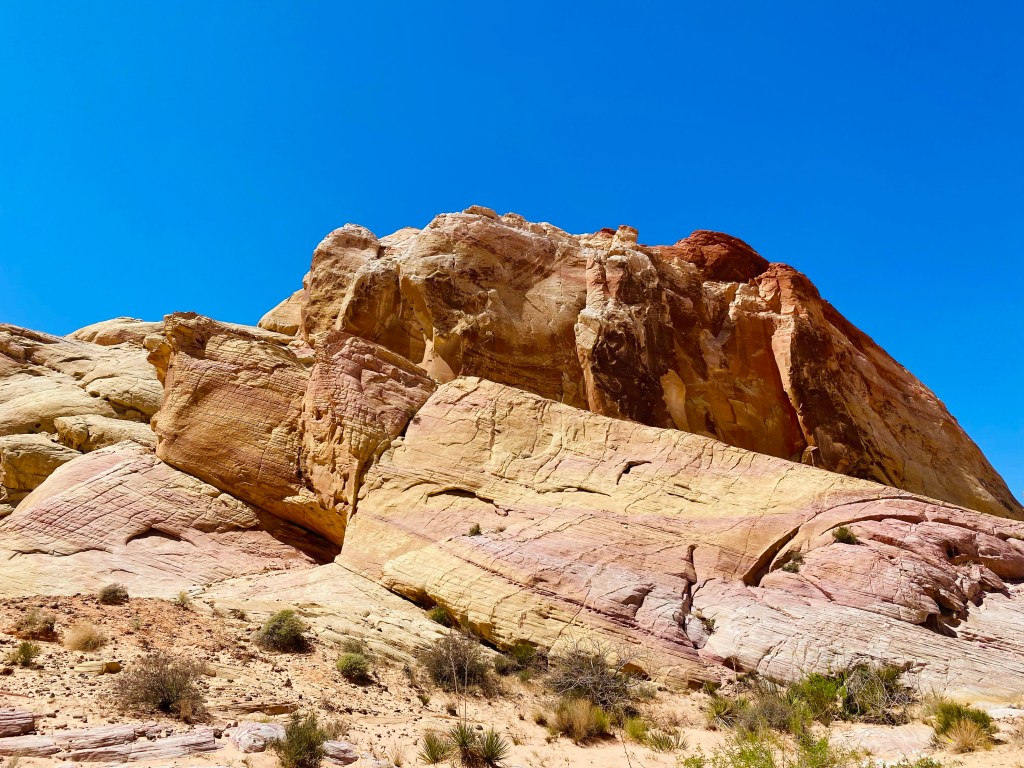
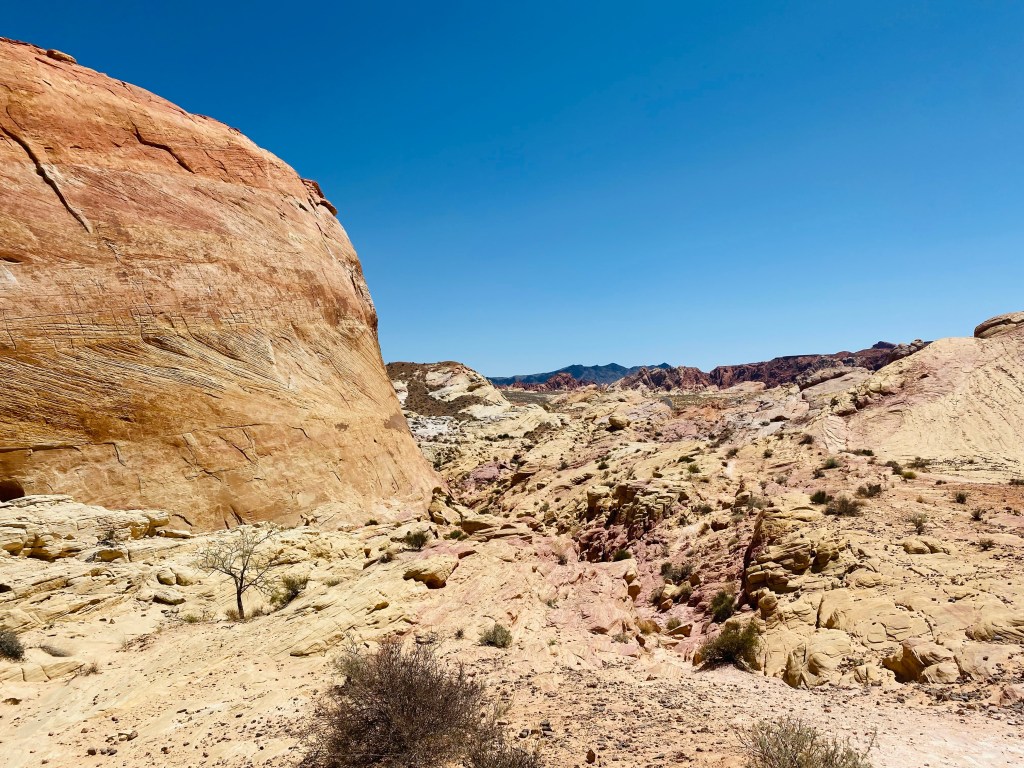
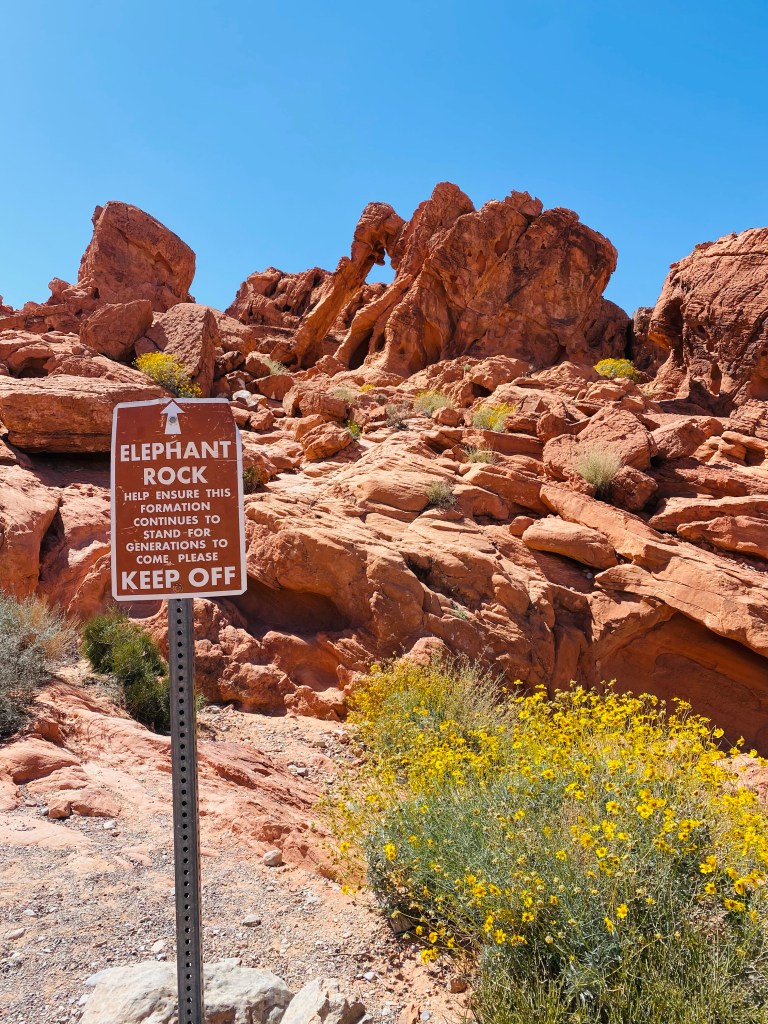
Located less than an hour outside of Las Vegas is this beautiful state park that provides as much or as little adventure as your schedule allows. The 11 mile drive through the park offers a scenic route and multiple opportunities to view historic landmarks, scenery along the way, and several trails.
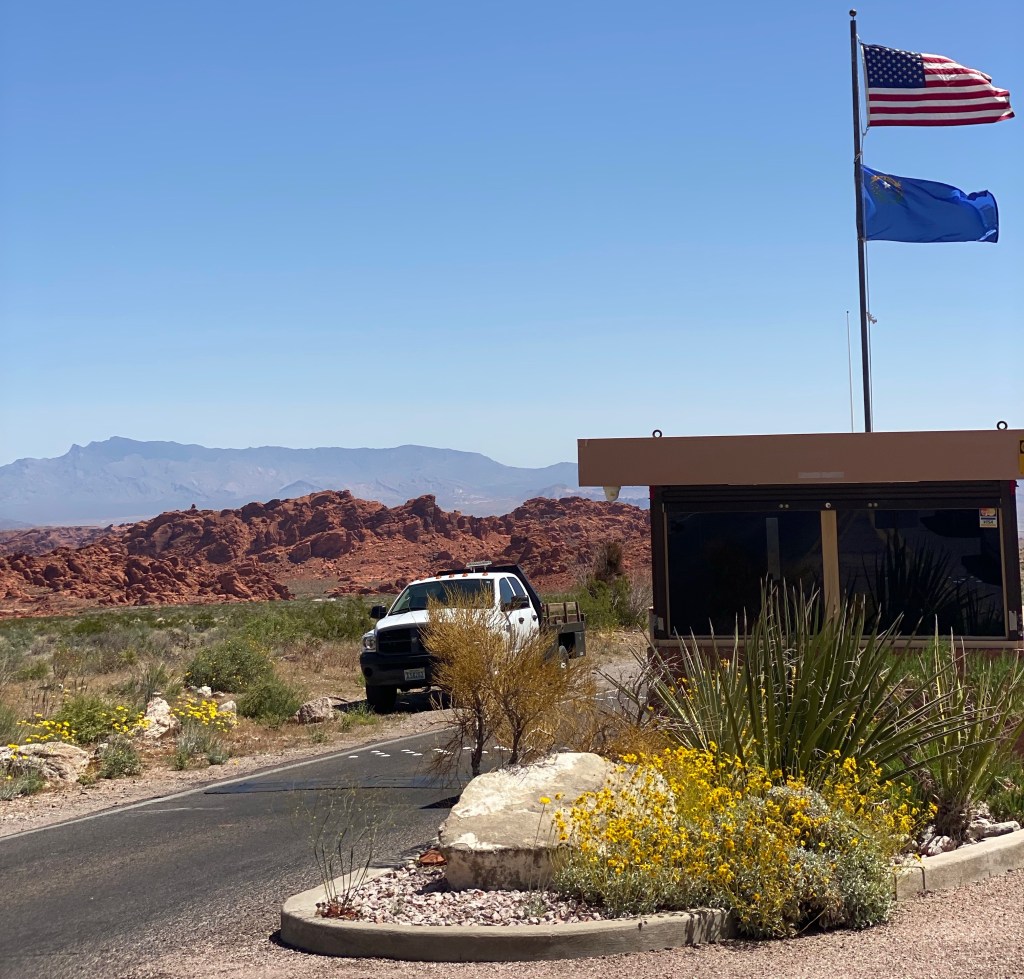
Valley Of Fire Park Entrance
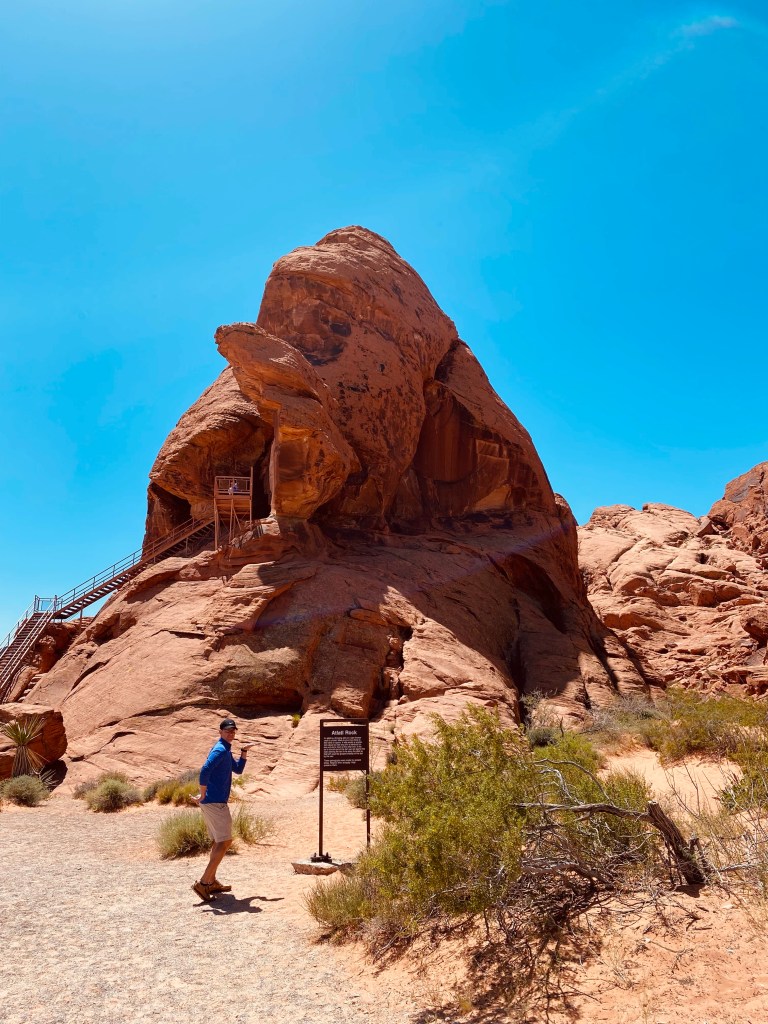
Here are a few of the most popular places that we ventured to along the way:
Our full trip continued as we left Valley of Fire and drove to Zion National Park. If you’re just visiting this post directly, see the trip overview here.
You can continue to follow this journey and what our next 2 days in Zion entailed. (Possibly our favorite, shhhh).
The only items we purchased for our Southwest adventure were our Altra Lone Peaks. My parents did the entire Grand Circle tour in the Spring of 2022 and had the same shoes for their hiking adventures. These shoes were amazing! They had incredible grip for some of the tough terrain we hiked (snow included), and they have a wide toe design which provided extra comfort during our long hikes. This proved to be a game changer and kept my feet from swelling at all.
Spring is a gorgeous time to visit the Southwest. Mornings were cool, 30-40’s, but by midday, we experienced 60’s and 70’s. When you’re hiking, this is idealic.
Hydration is the #1 thing you need to stay on top of. The dry heat is very different and our skin reflected that by the end of the week.
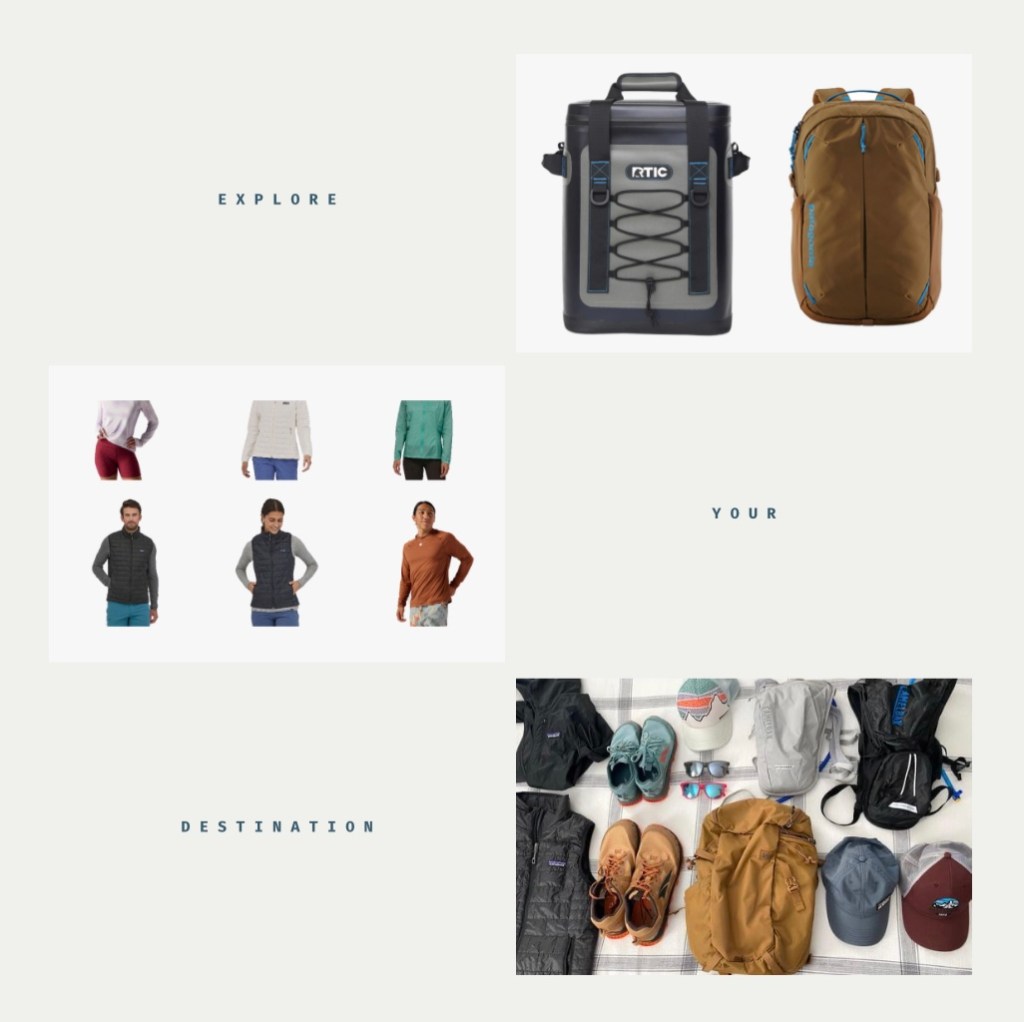
Layers will be best for your daily hiking attire. For example, I typically was in an athletic tank top, layered on a long-sleeved athletic top and either my Patagonia Nano Puff vest or light windbreaker jacket. All of these items rolled up and fit in either my camelbak or Adams, or I tied my shirt around my waste.
Adam started out each morning in a pair of the hiking convertible pants from Outdoor Ventures and unzipped the leg when it warmed up during our hikes. I know what you’re thinking, convertible pants aren’t your jam? Consider Adam a converted believer in them. He borrowed 3 pair of my dad’s pants and now wants his own. He also layered his tops the same way I did.
We wouldn’t have changed a thing with the way we packed layers for hikes.
One of the best decisions we made was to take our Rtic backpack cooler. Adam used it as his second carry on item which fit under the airplane seat perfectly. When we were between destinations, we never had to worry about our items not staying cold. We love this cooler!
Some other basic things to remember to pack are sunscreen, lip protector/chapstick and possibly a small portable phone charger like this one.
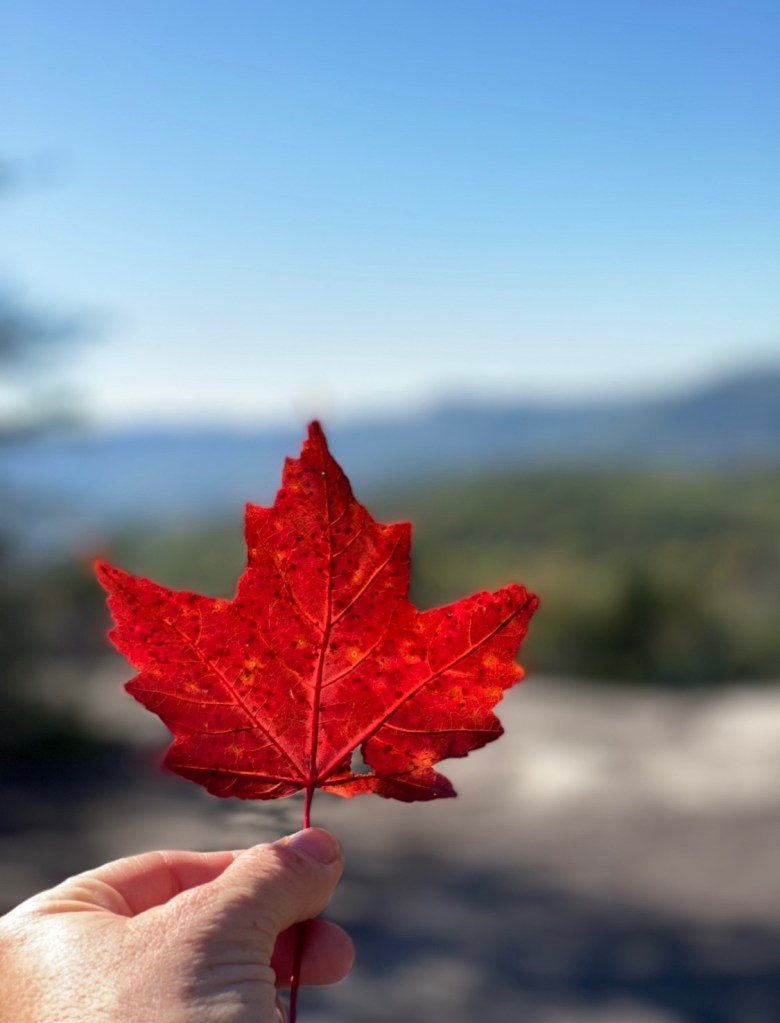
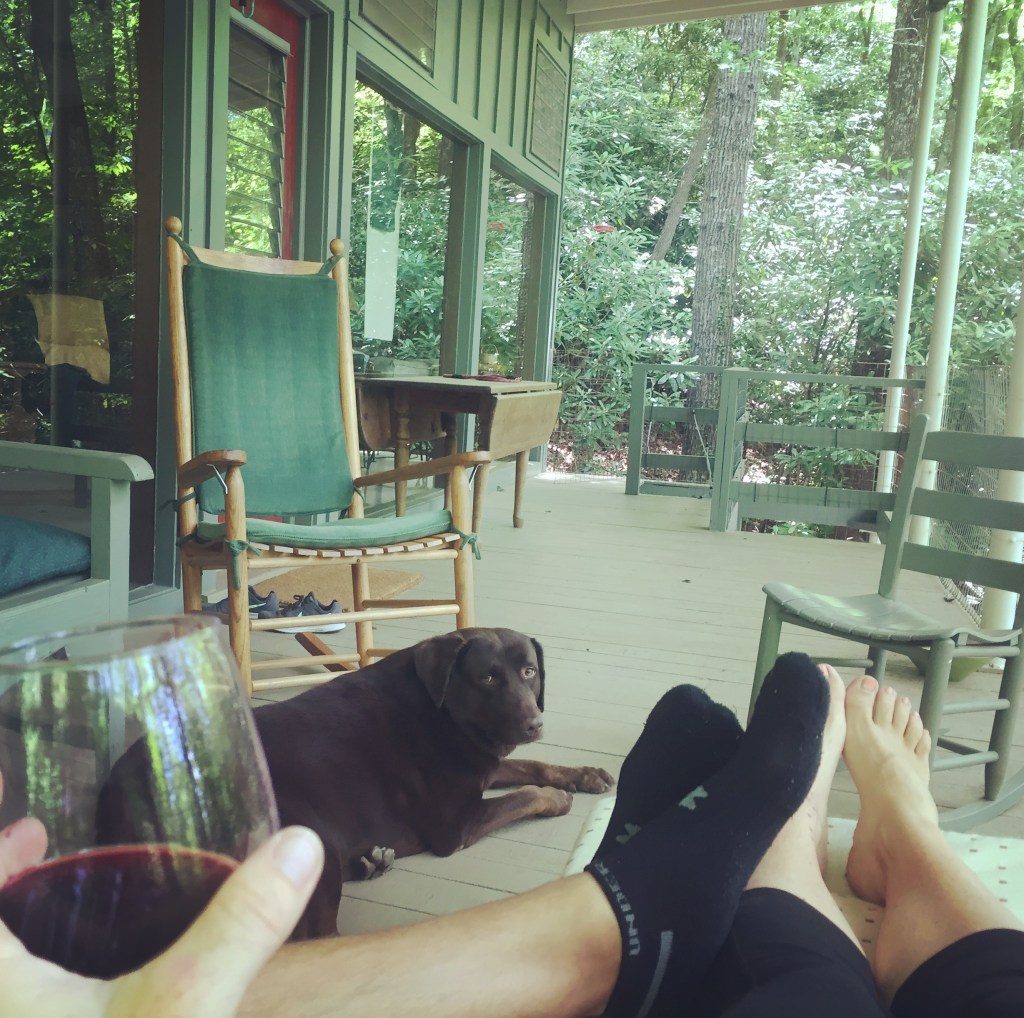
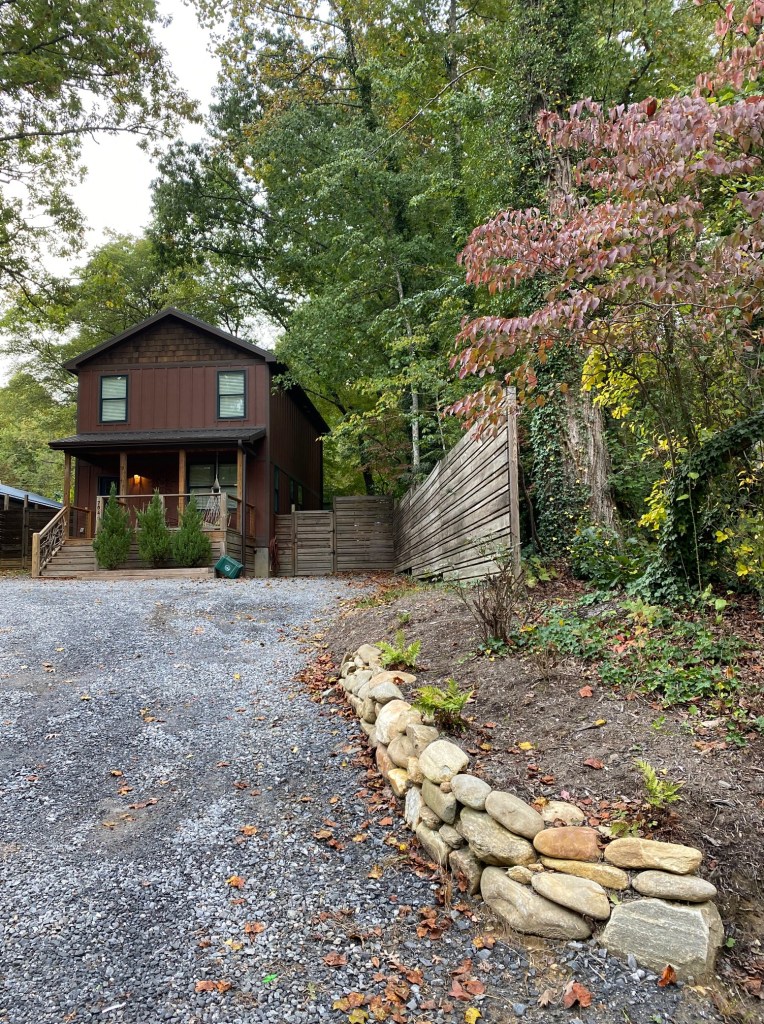
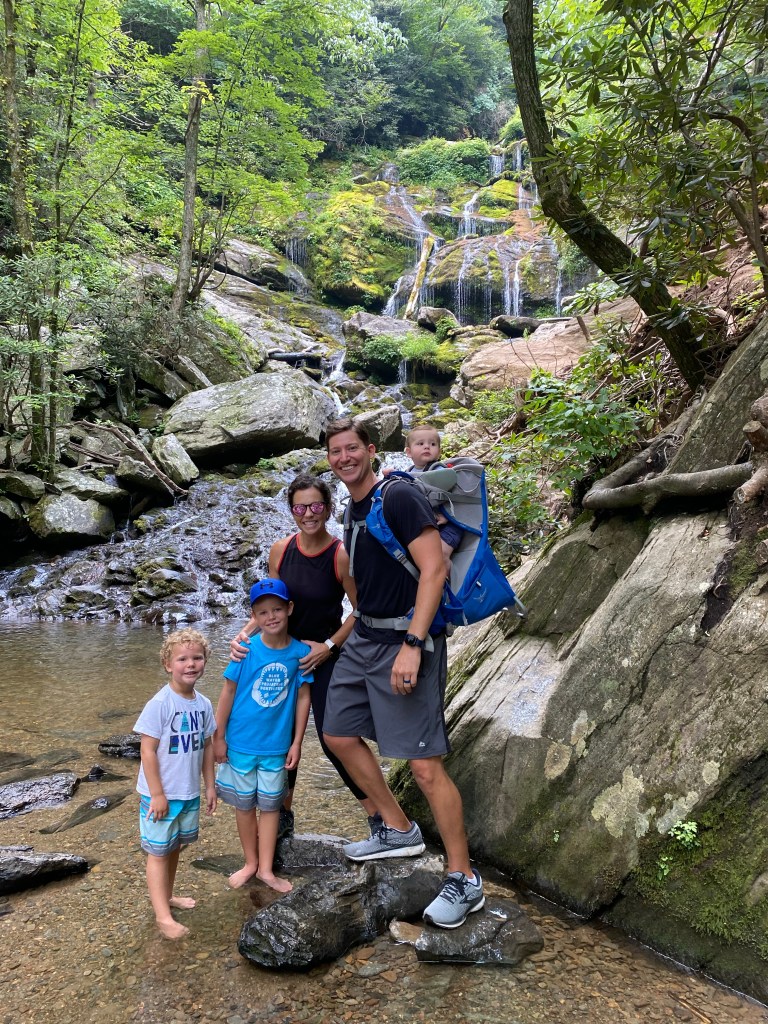
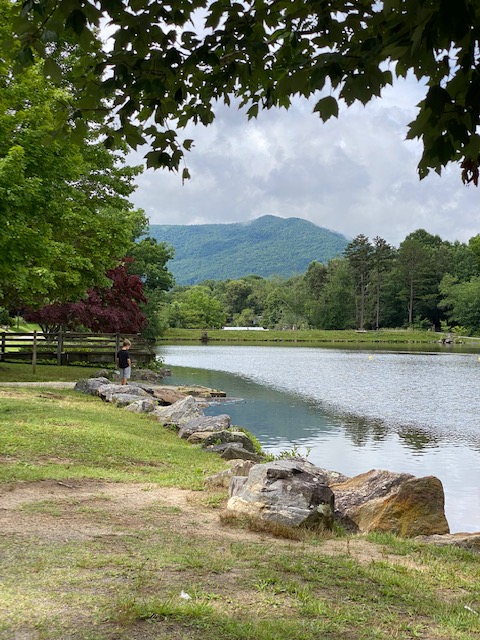
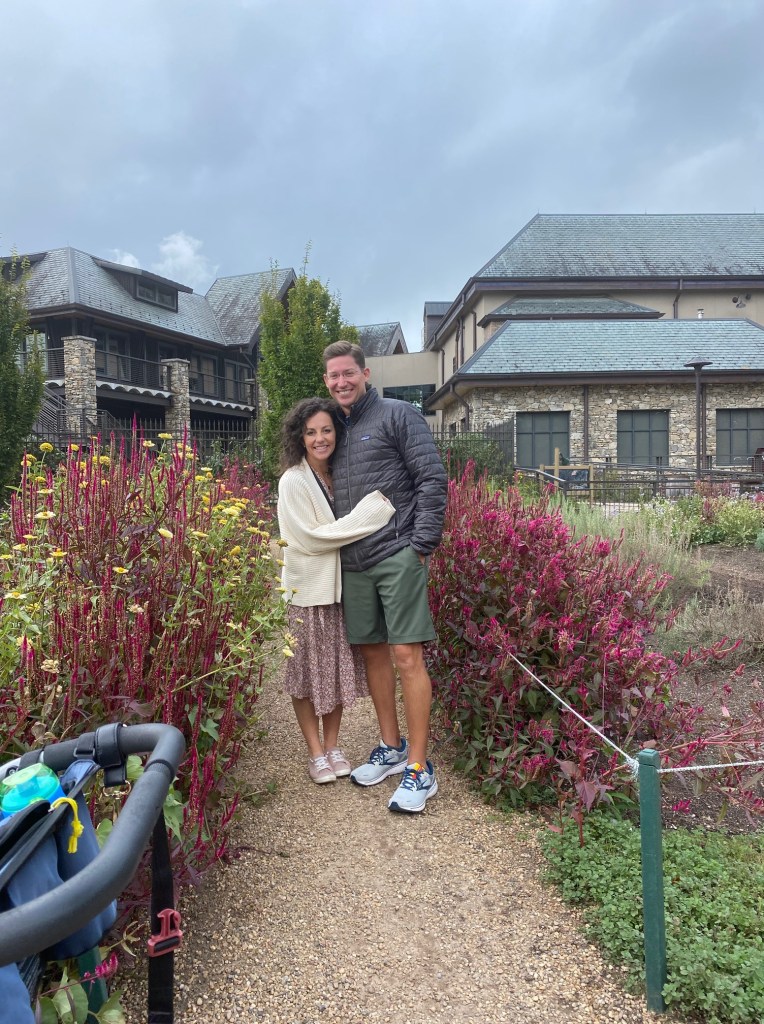
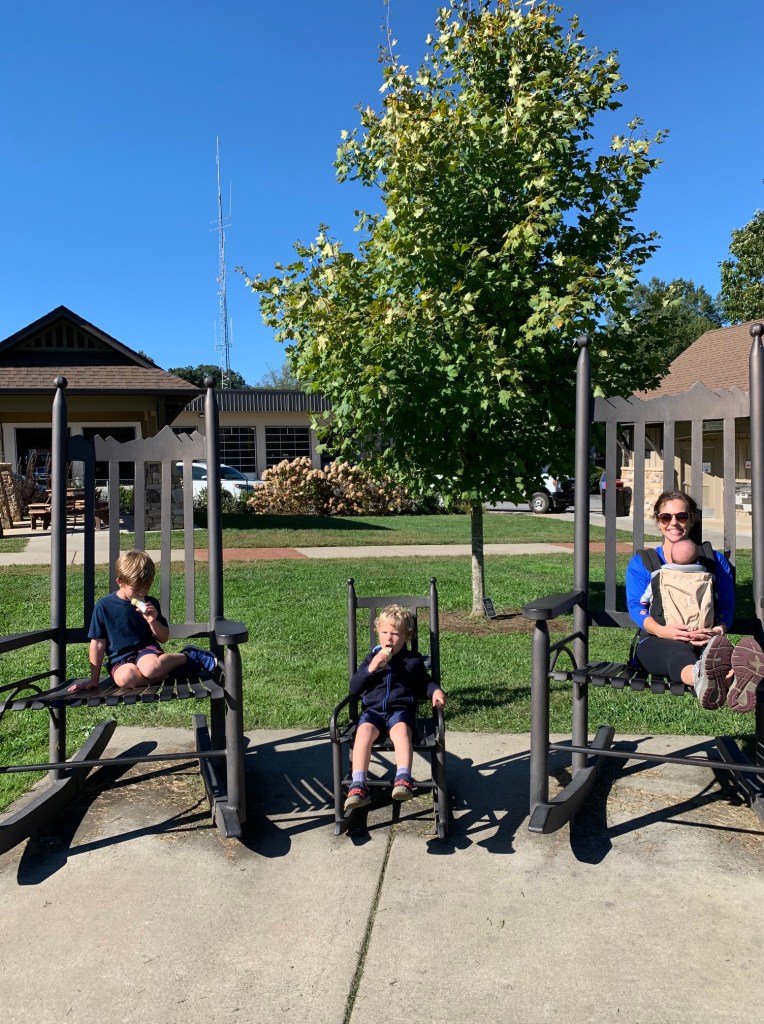
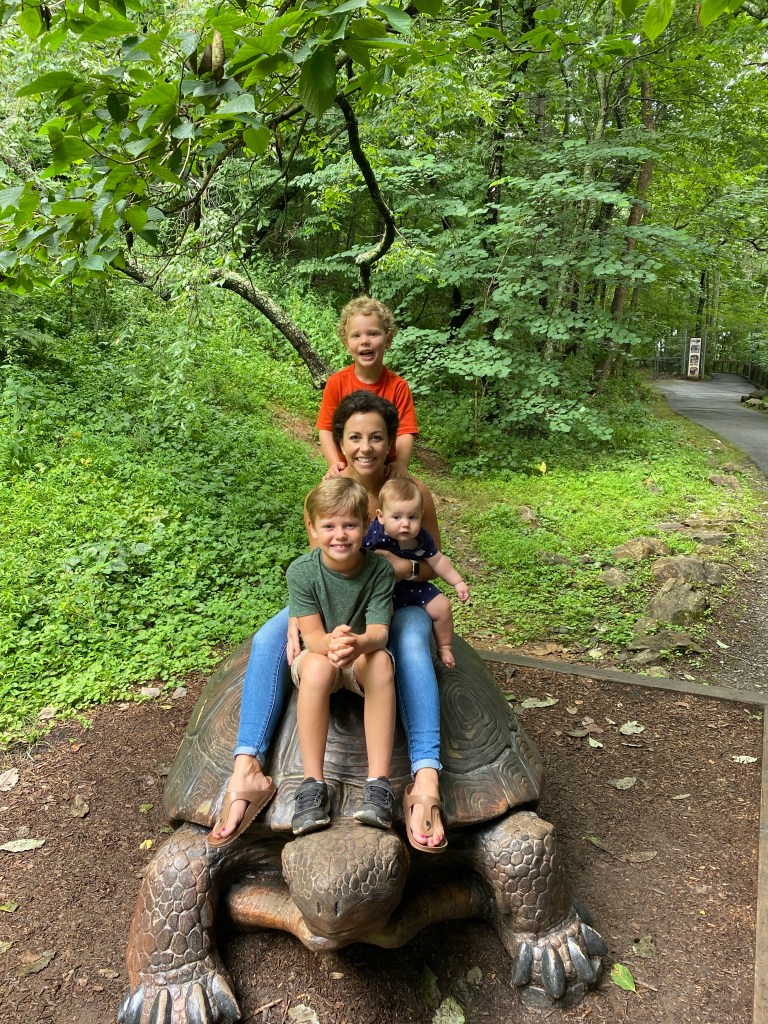
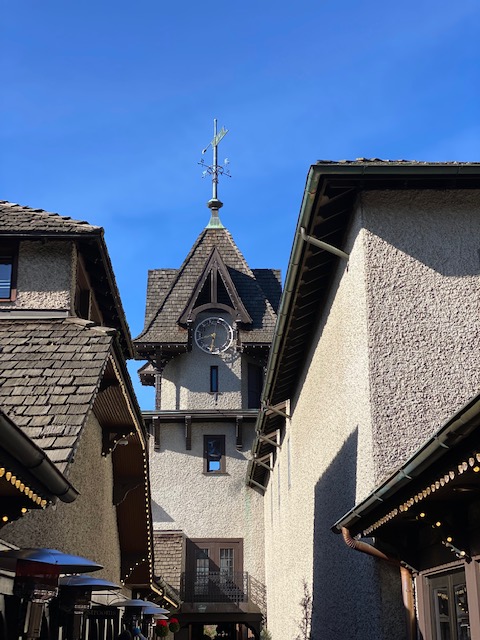
Each time I capture the sweet scent of mountain air that is both crisp and has hints of wet mossy and leafy grounds, (add in the sound of cicadas chirping and pure silence otherwise), I’m transported back to some of my fondest memories on the hills of Black Mountain. My grandparents owned an idillic mountain cottage in Ridgecrest which is only one exit from downtown Black Mountain.
It’s amazing how a familiar scent can remind you of someone, somewhere, or a specific memory isn’t it?
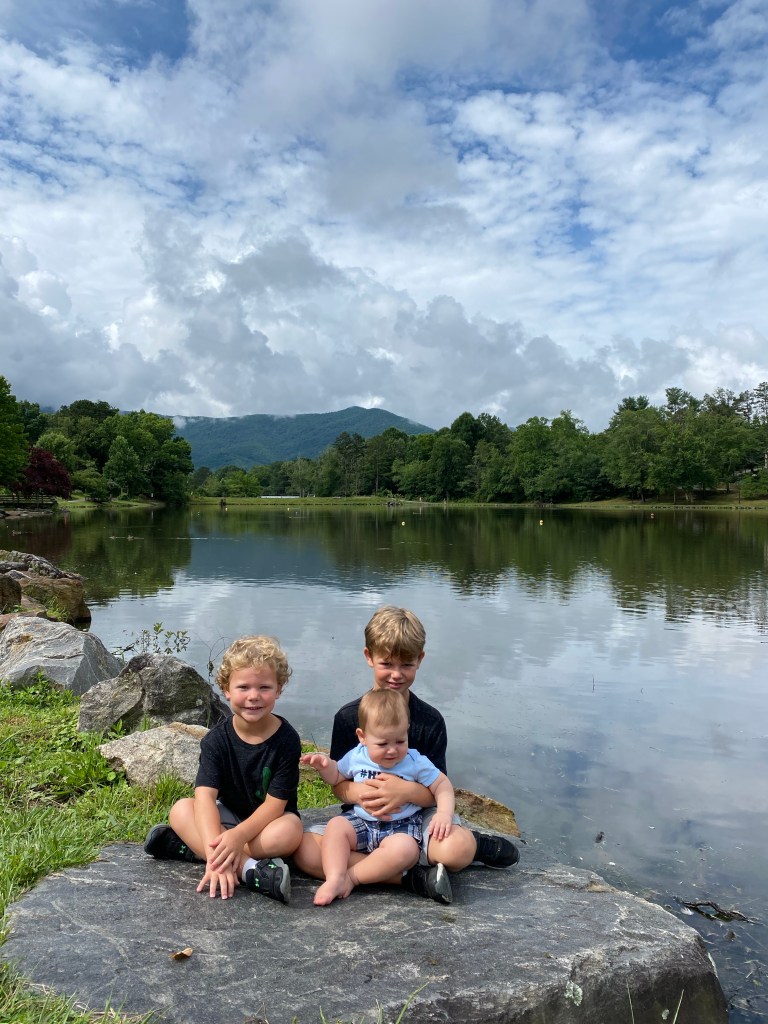
The overwhelming peace I feel when we visit Black Mountain today may be due to sensory overload of these scents and memories but now that we travel here with our sons, we have the added bonus of new memories, new adventures and a desire to visit again and again.
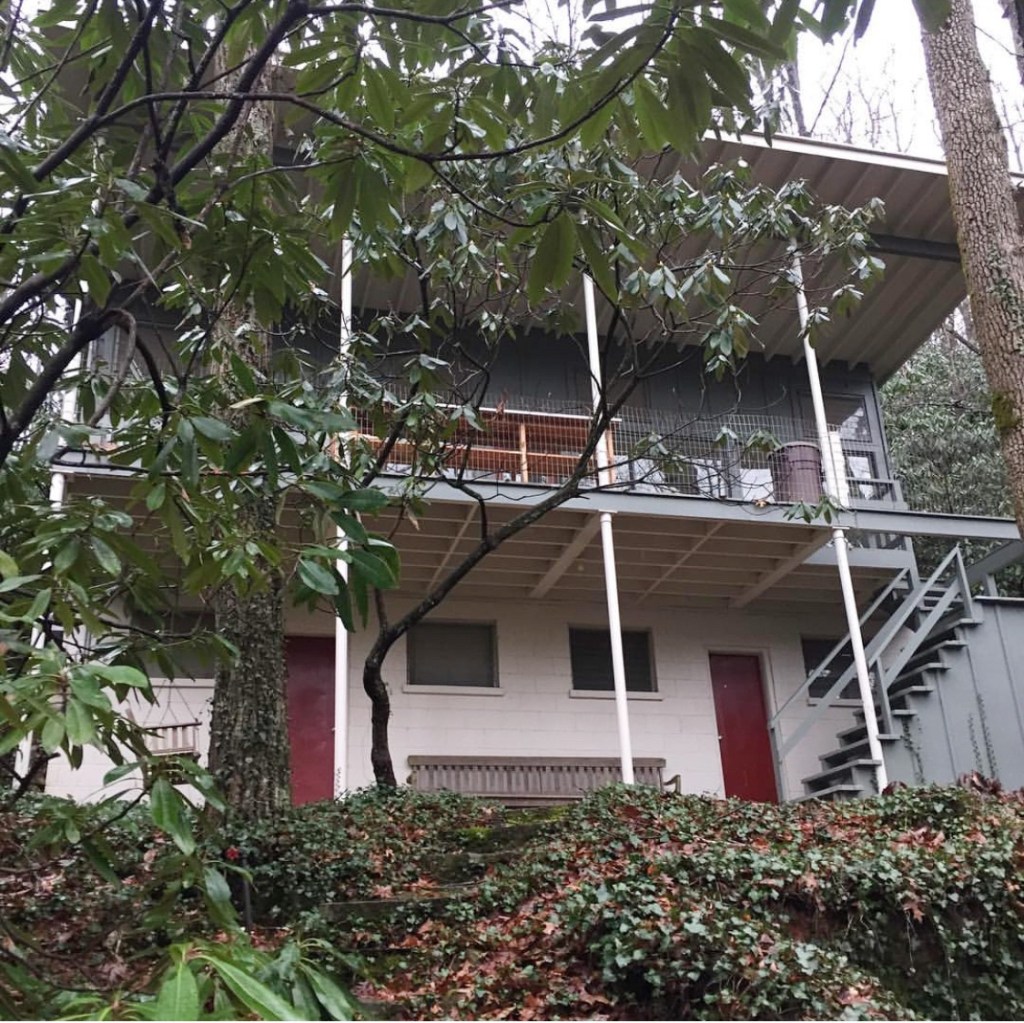
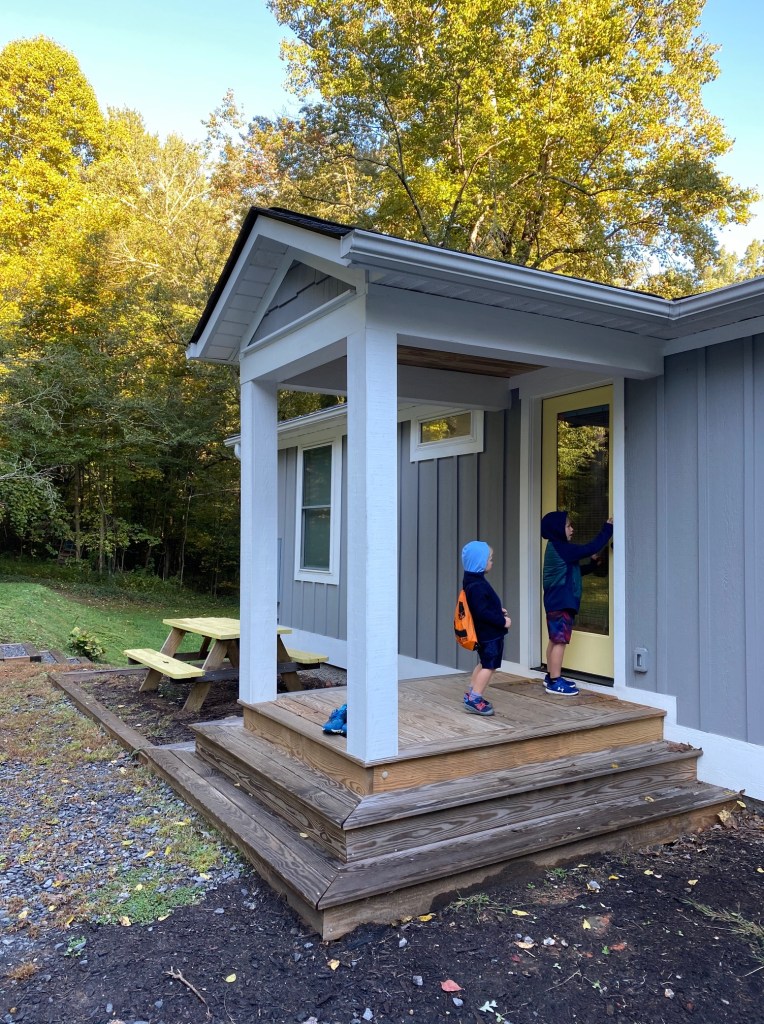
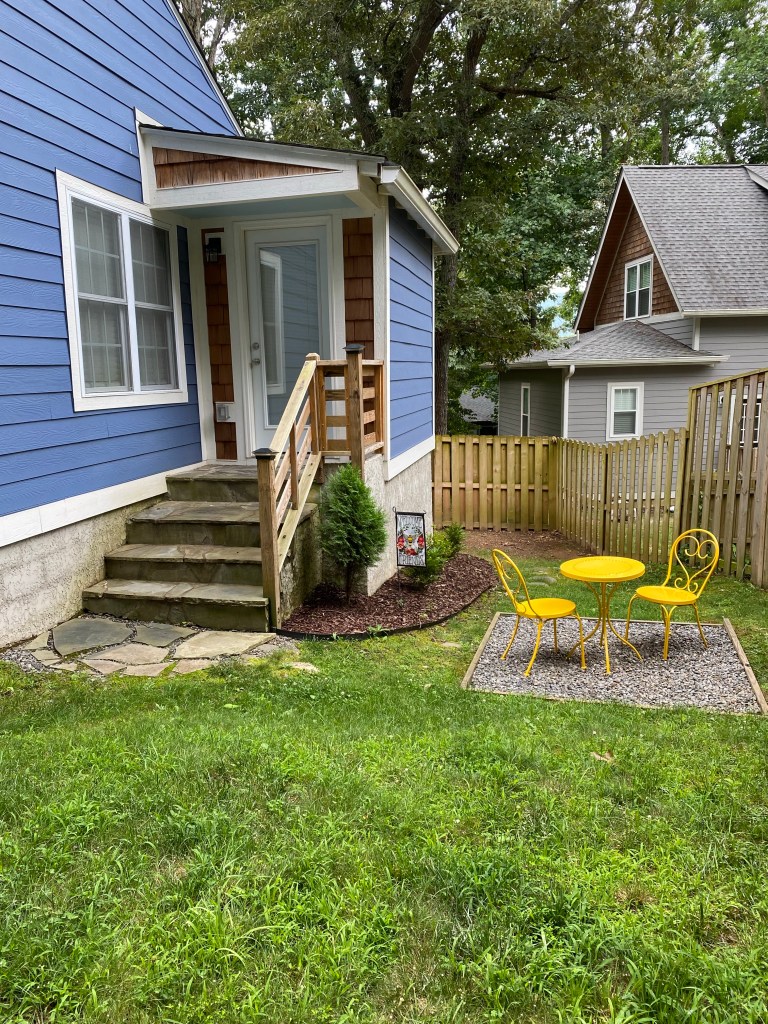
The cottage was aptly named High Haven. Haven means a place of retreat or refuge. Set high on a mountain and tucked into nature, it was exactly that. Unfortunately, the cottage is no longer in the family but we still make it a priority to find a cute Airbnb and visit family and the area.
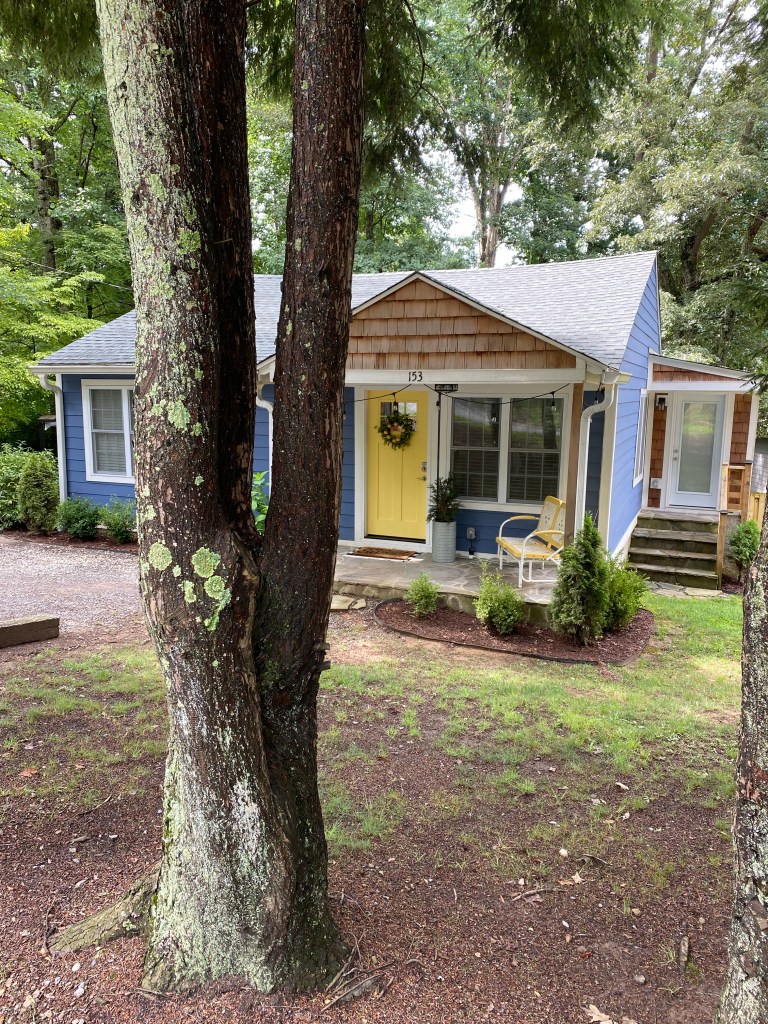
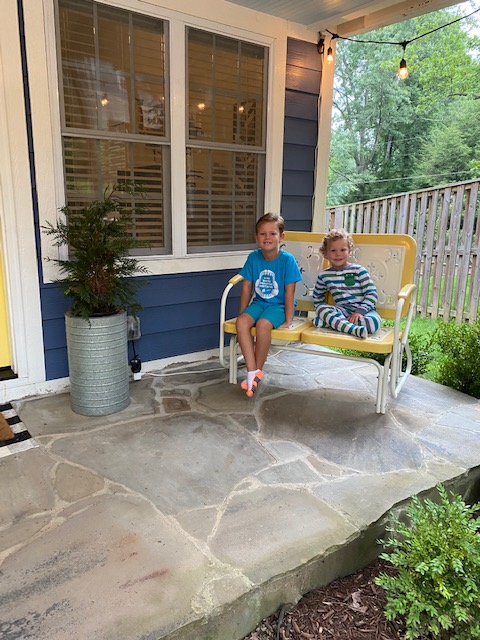
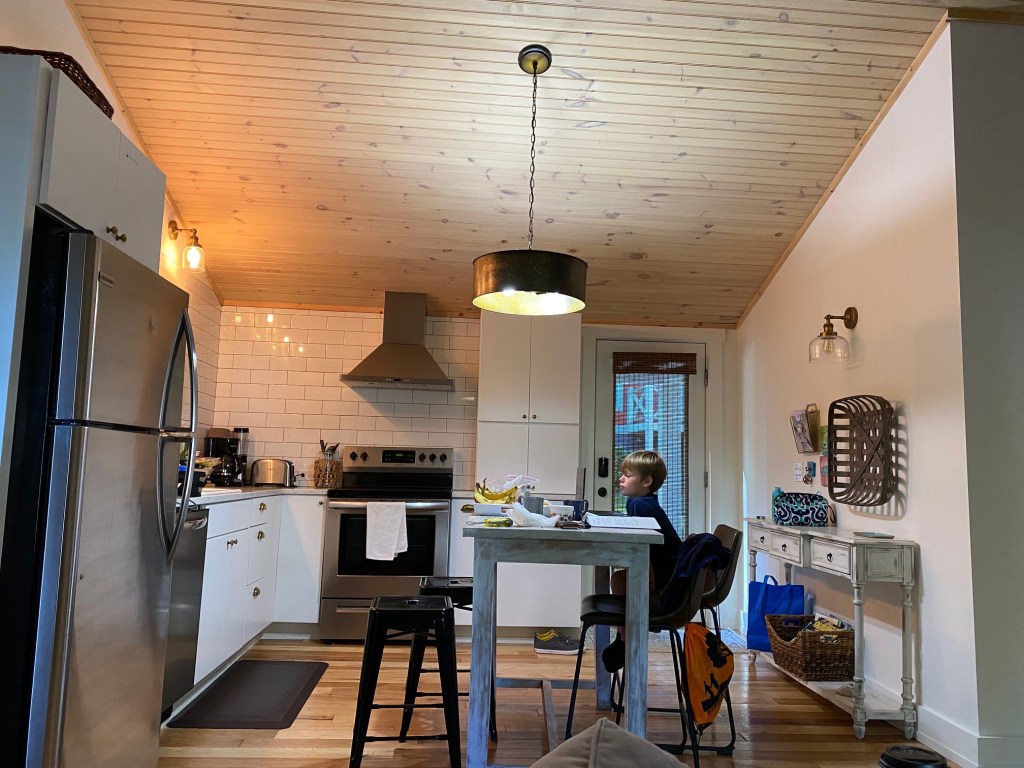
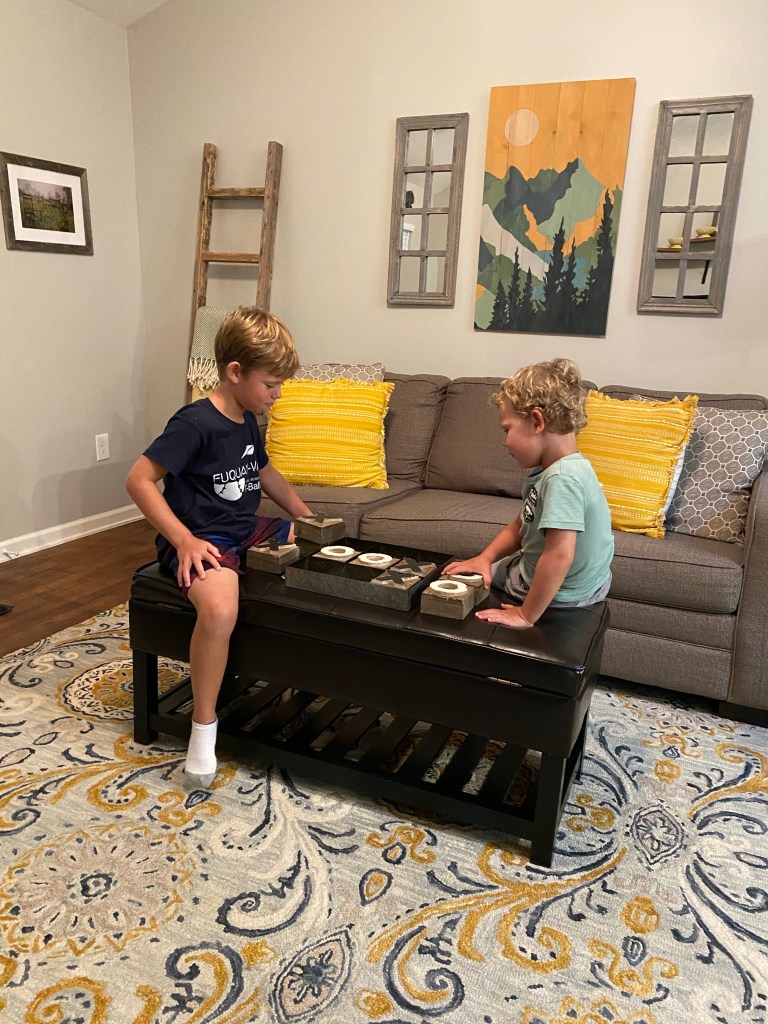
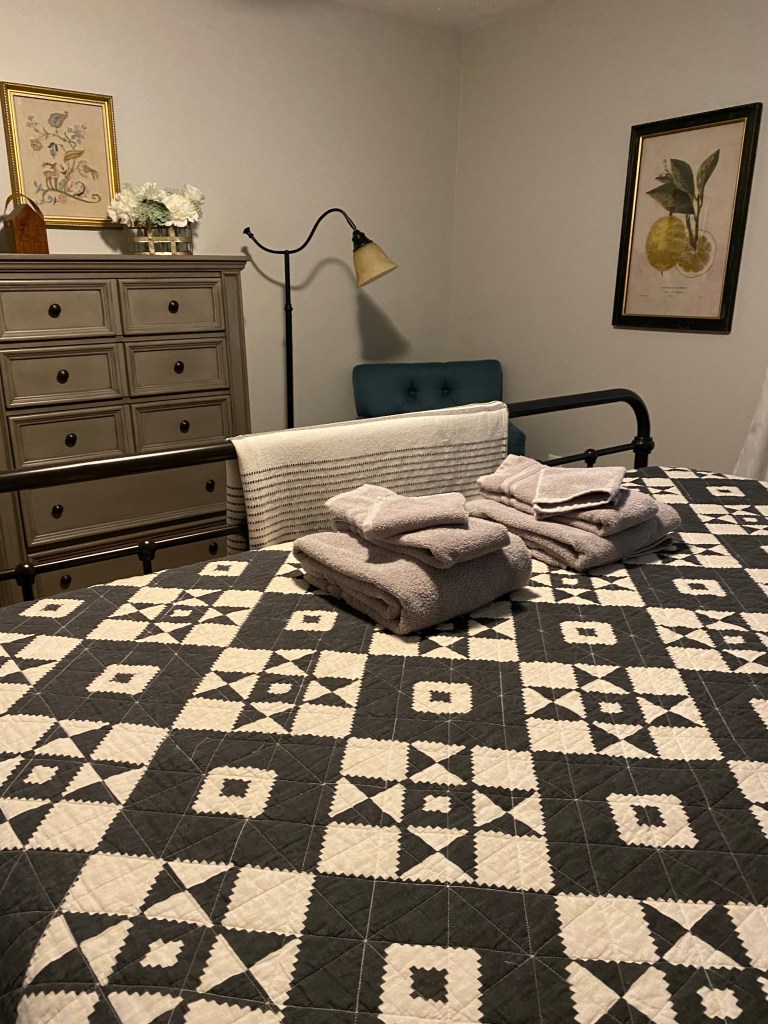
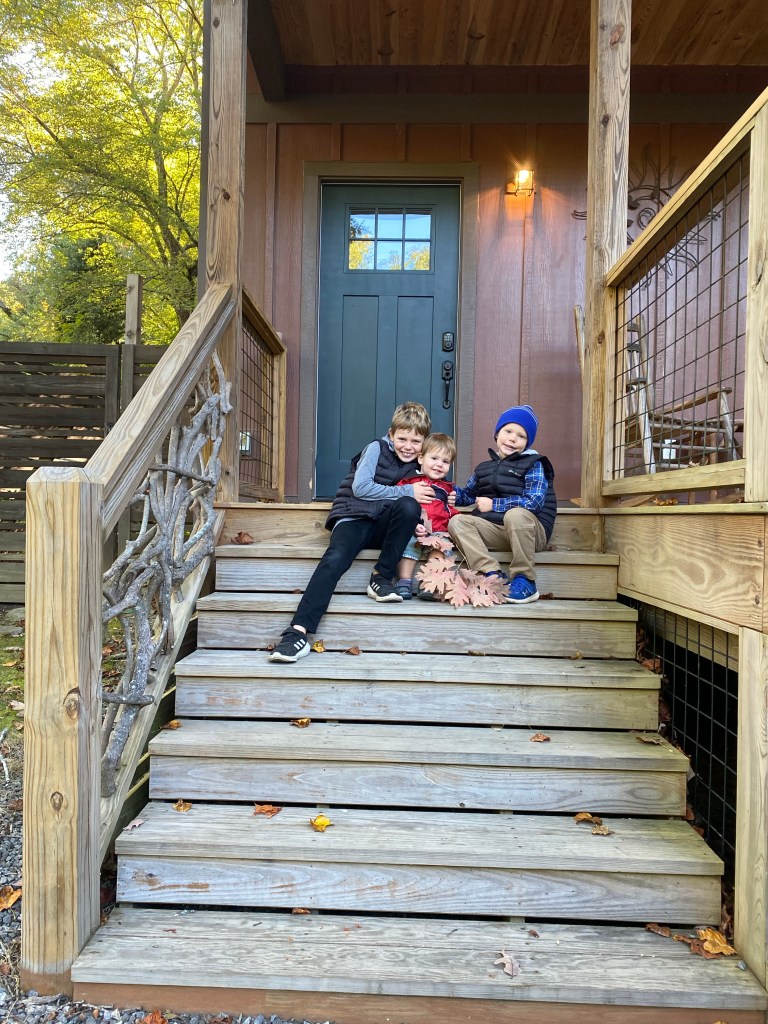
Here are a few pictures of a couple Airbnbs we have had the privilege of staying at, all within walking distance to downtown Black Mountain & Lake Tomahawk.
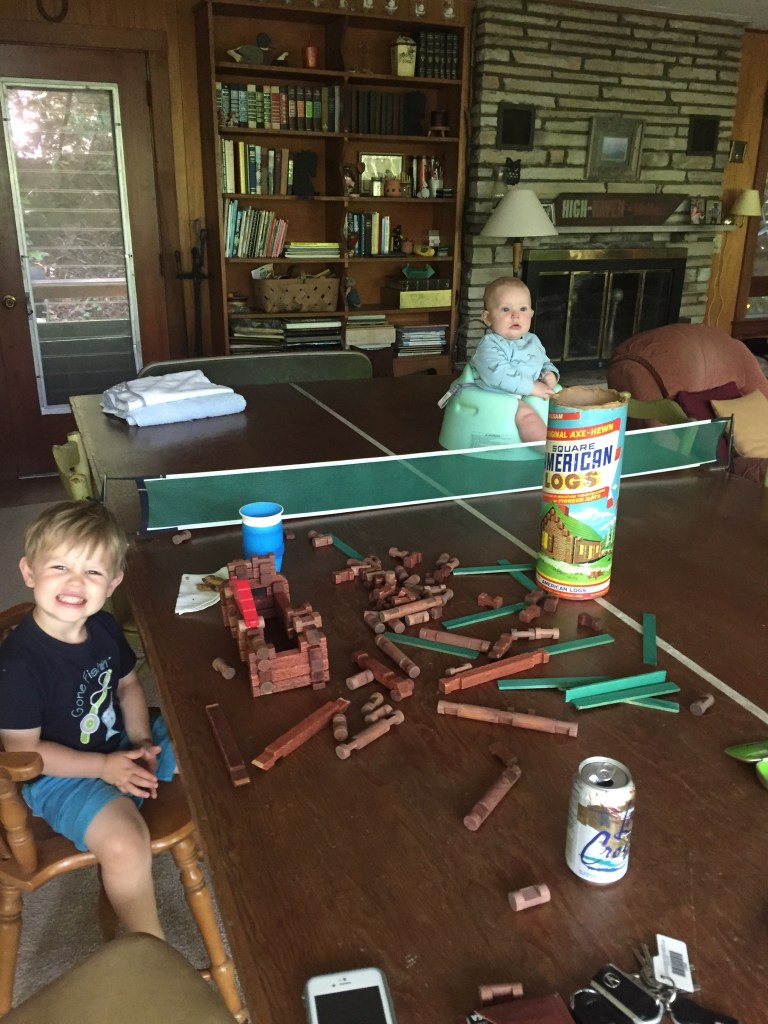
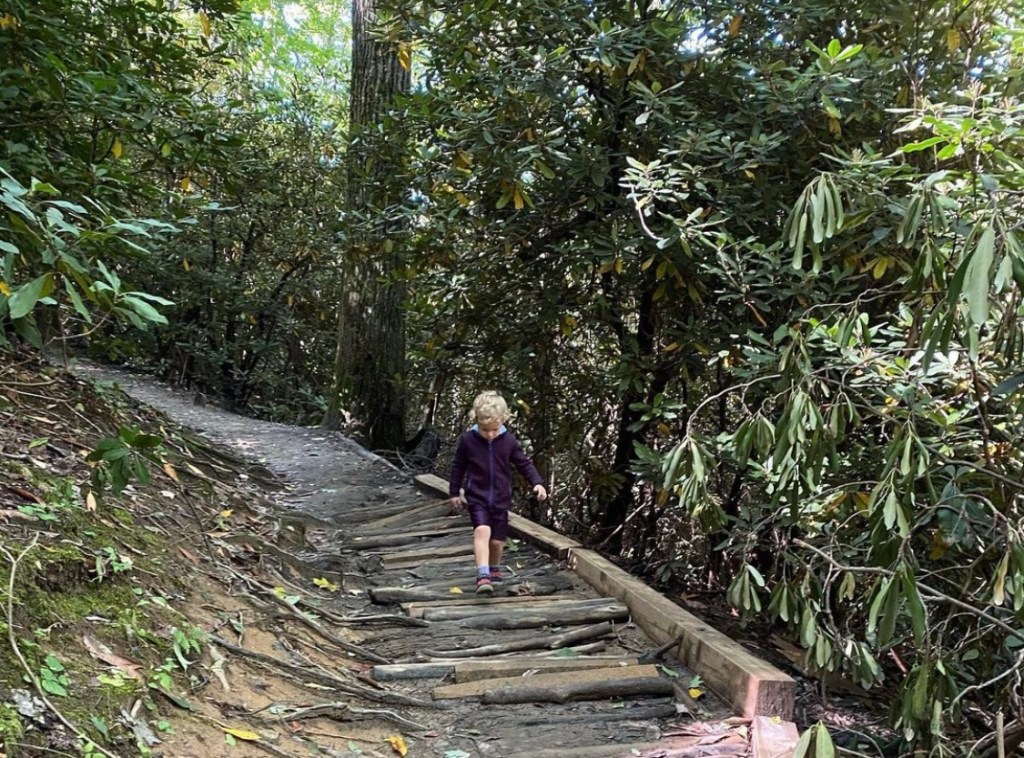
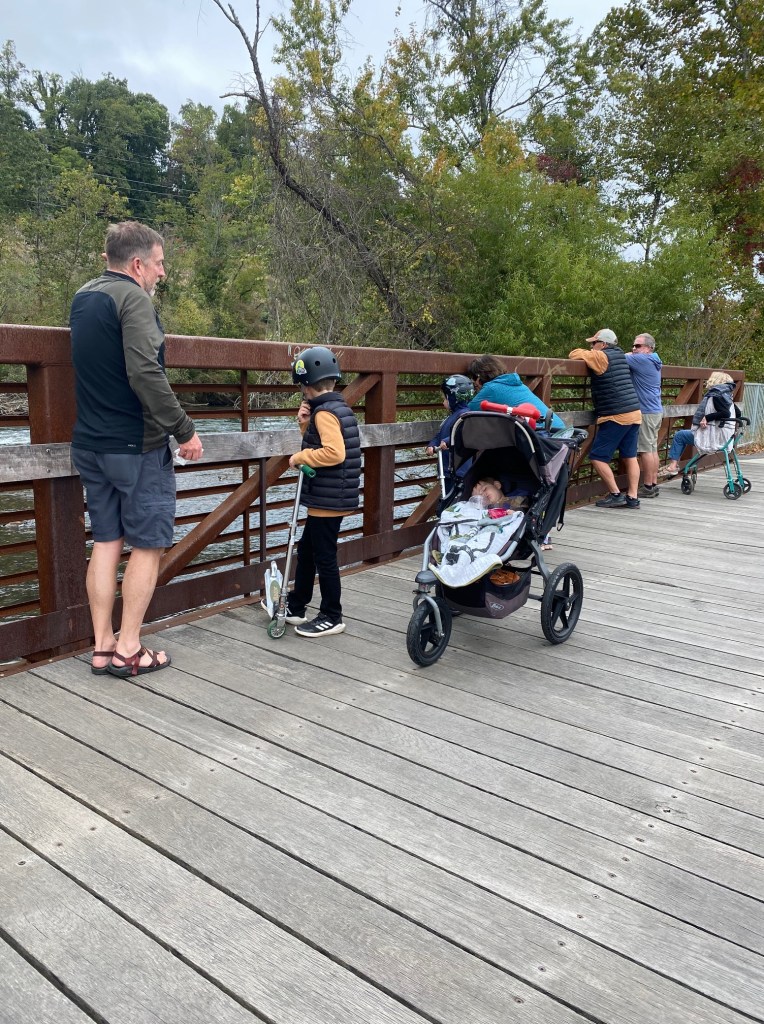
When we weren’t relaxing, reading, or napping on the expansive porch, playing cards, pingpong on a giant wooden table (which doubled as the dining table when the entire family was in town), or exploring in the woods and making a fort among the Rhododendron, we were sure to be on a hike, walking the quant downtown Black Mountain area, driving into Asheville (only 10 miles away), or dining in one of our favorite restaurants.
I want to highlight some of the best hikes, restaurants and our favorite things to do when we go back to visit.
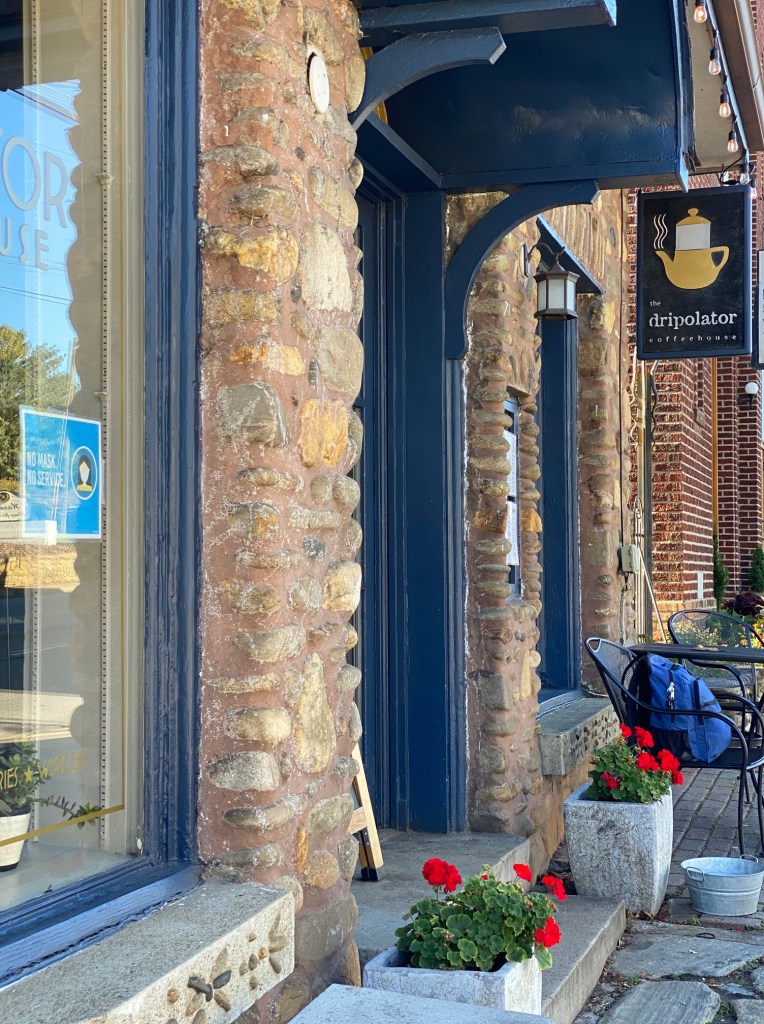
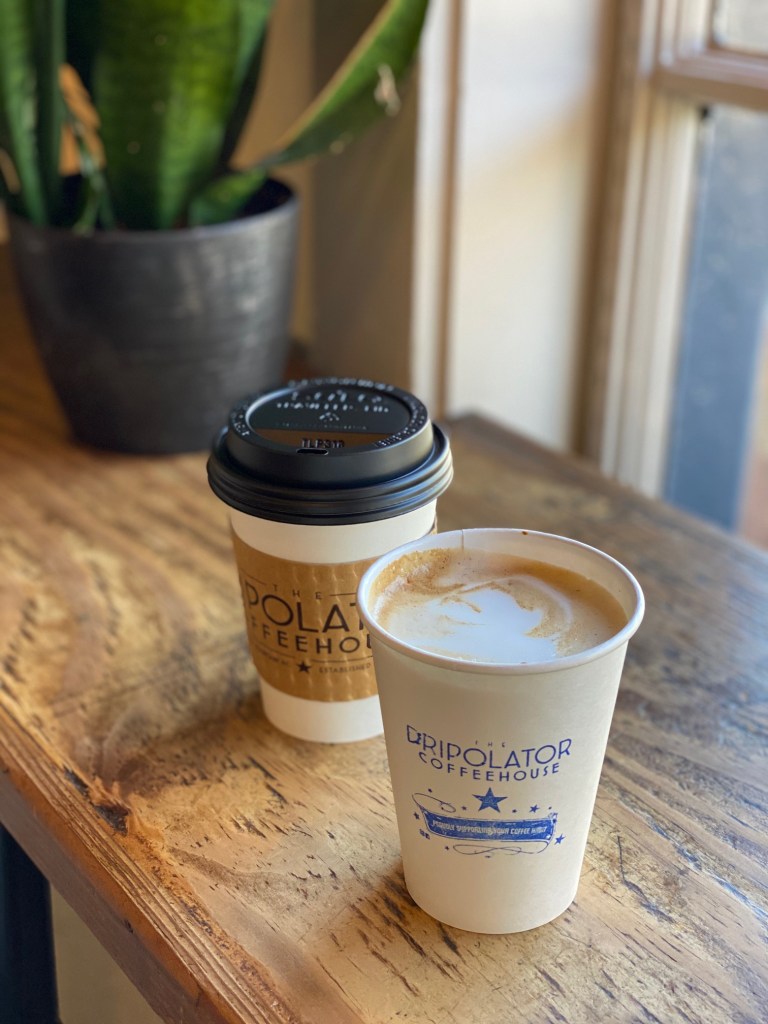
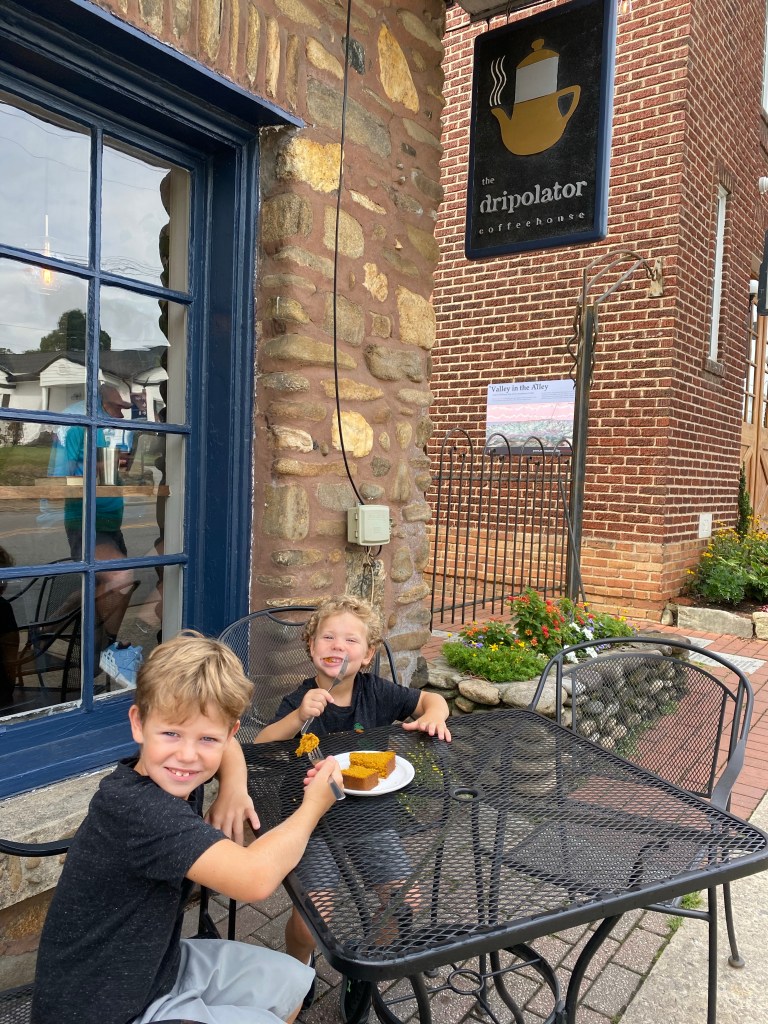
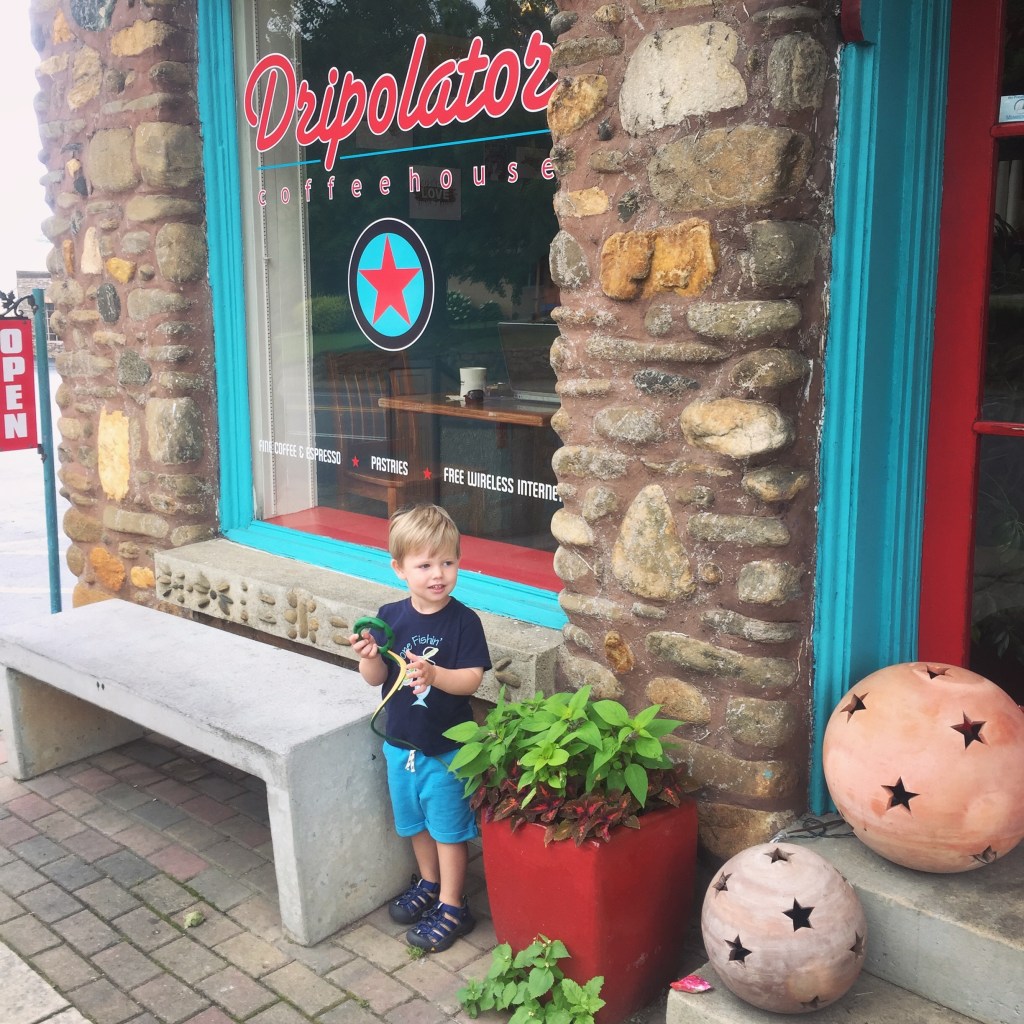
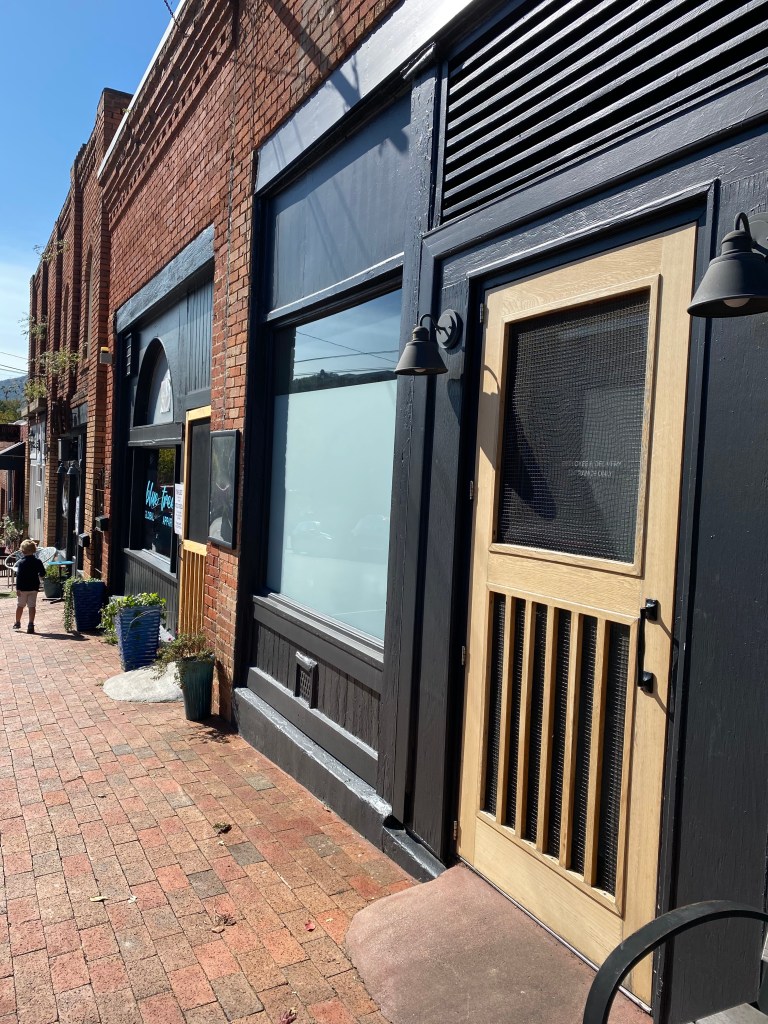
COFFEE: The Dripolator Coffeehouse has been around the longest and still remains our favorite. They have tasty baked goods from another local business and serve up fresh coffee and my favorite latte. It always has the perfect creamy froth that hits just right.
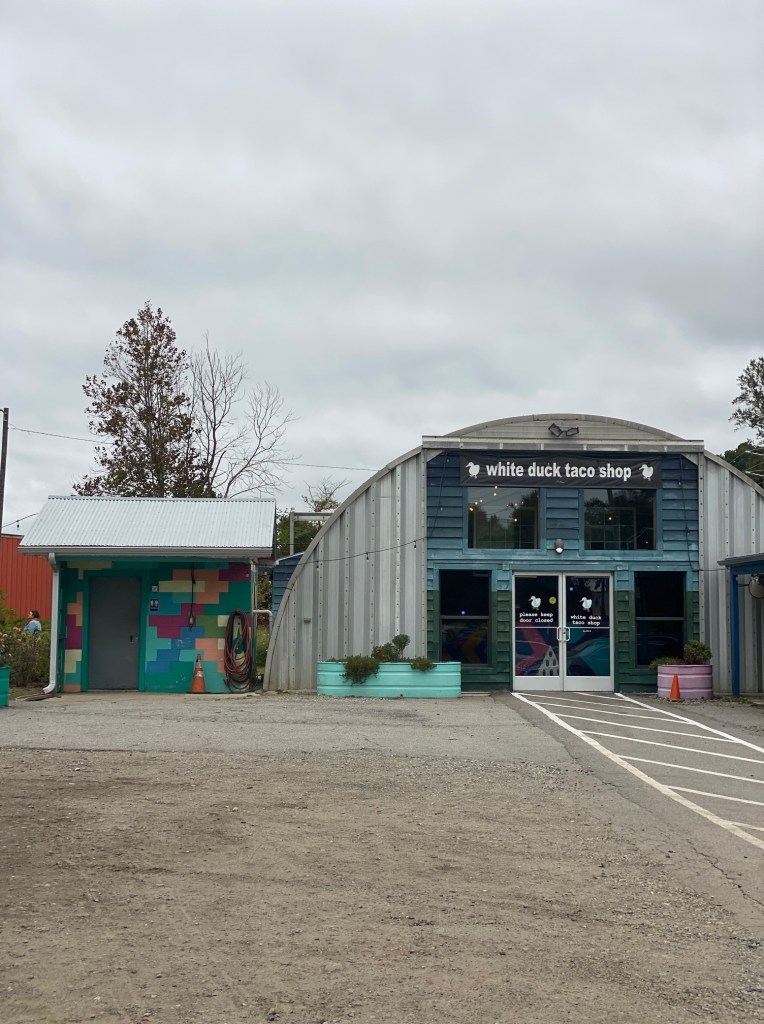
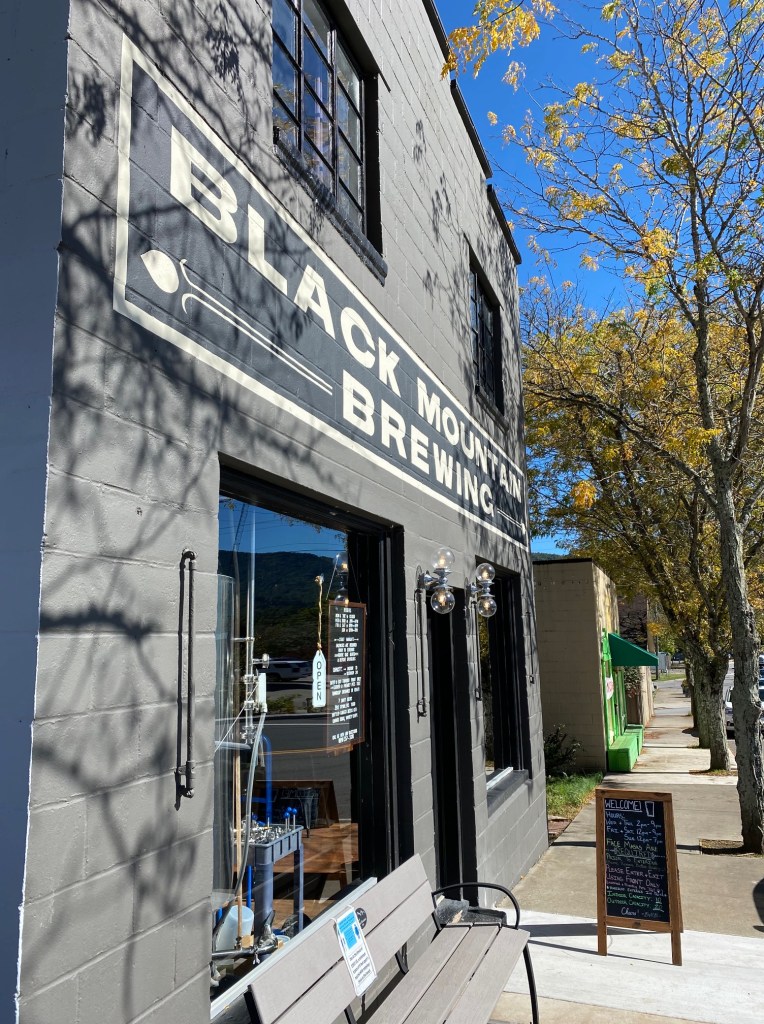
The last picture is of the original paint colors, teal and red. While I loved the pop of red, the new blue and gold is my favorite design change of their exterior.
Dynamite Roasting Co was first introduced to us at one of our Airbnb rentals. They had fresh ground coffee stocked for us. We loved it and had to check it out for ourselves. We immediately saw why it’s also a local hotspot. Great coffee, pastries and more.
HIKING:
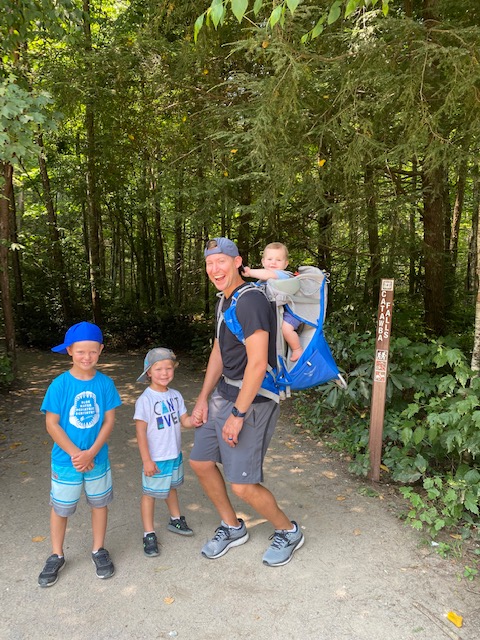
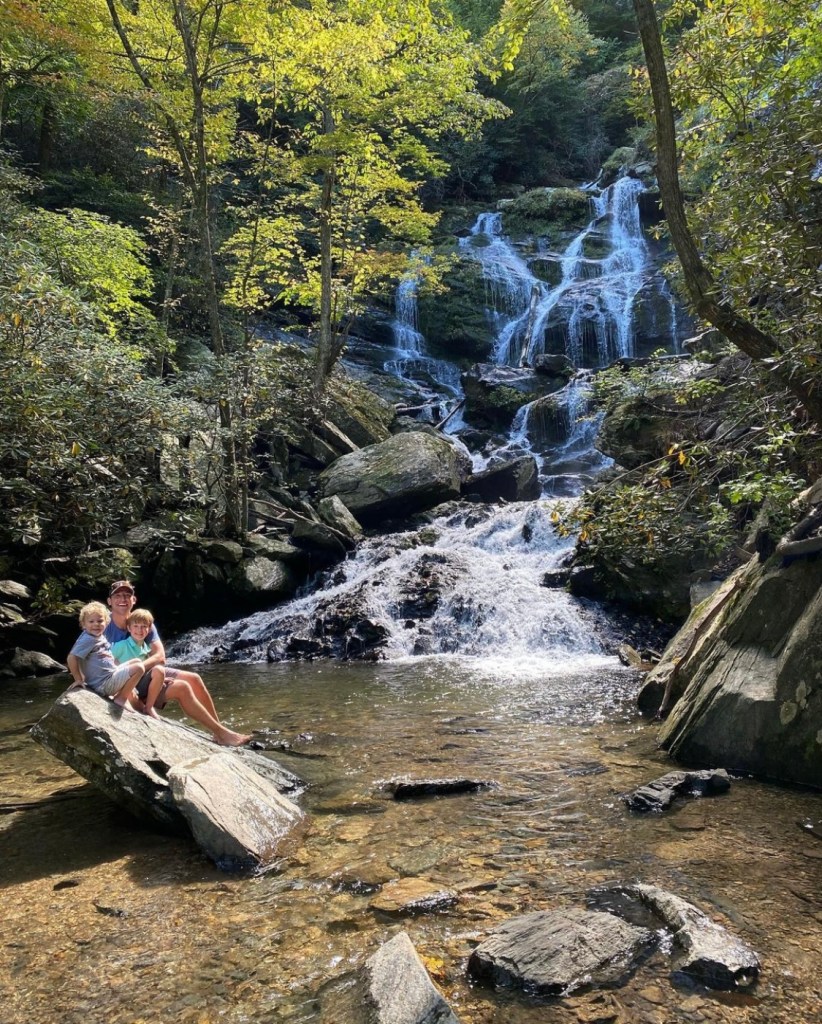
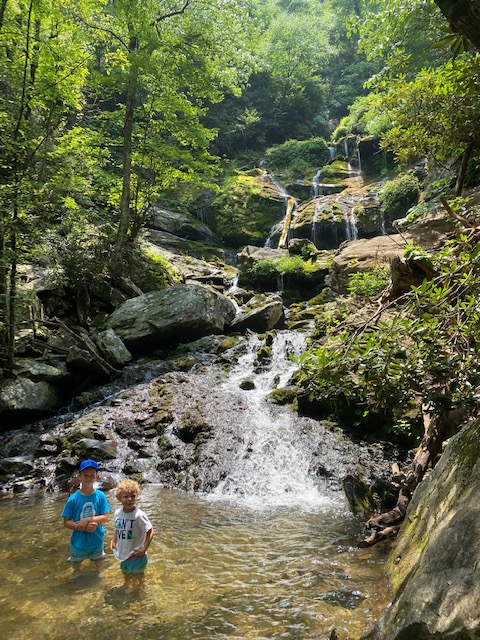
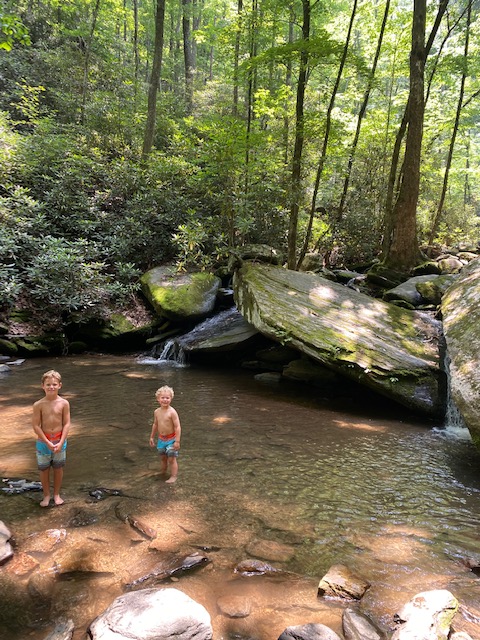
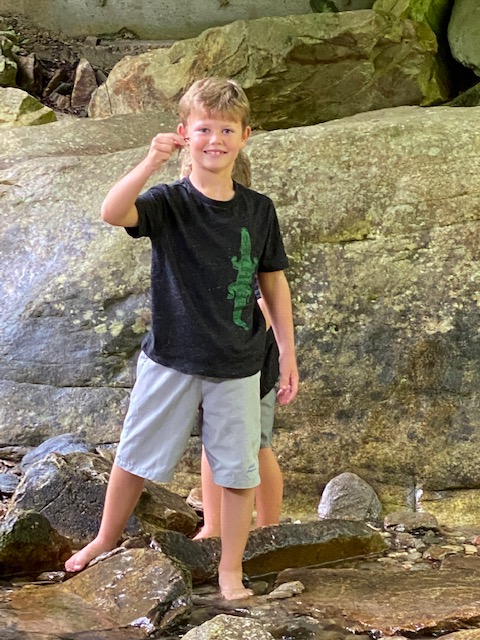
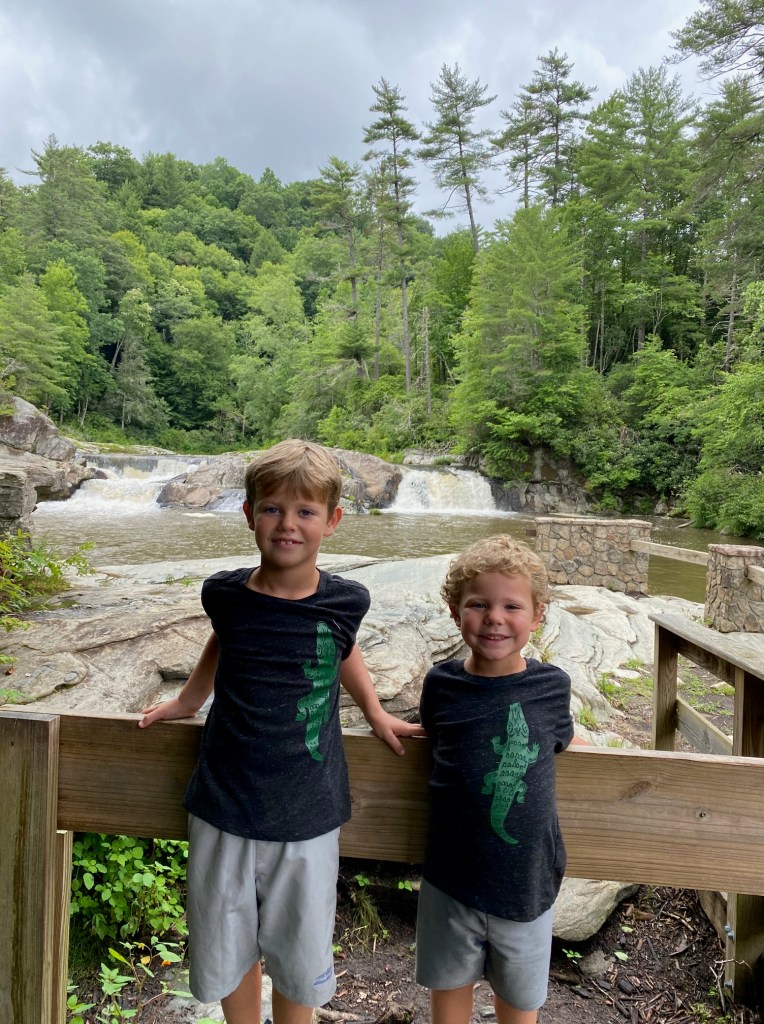
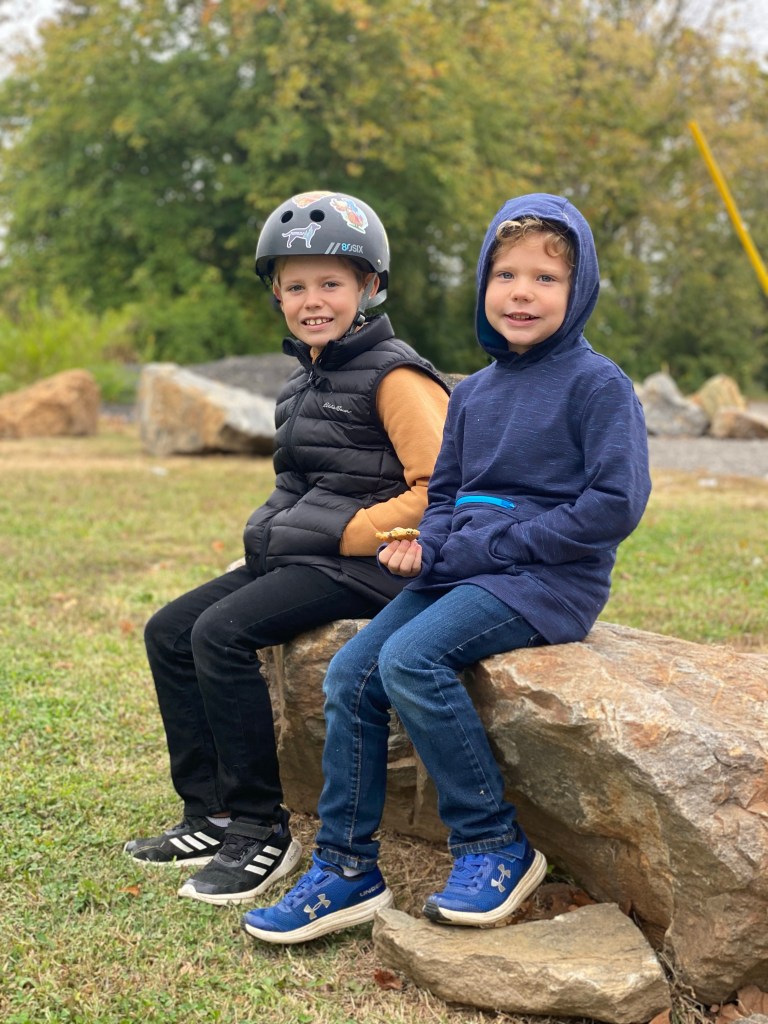
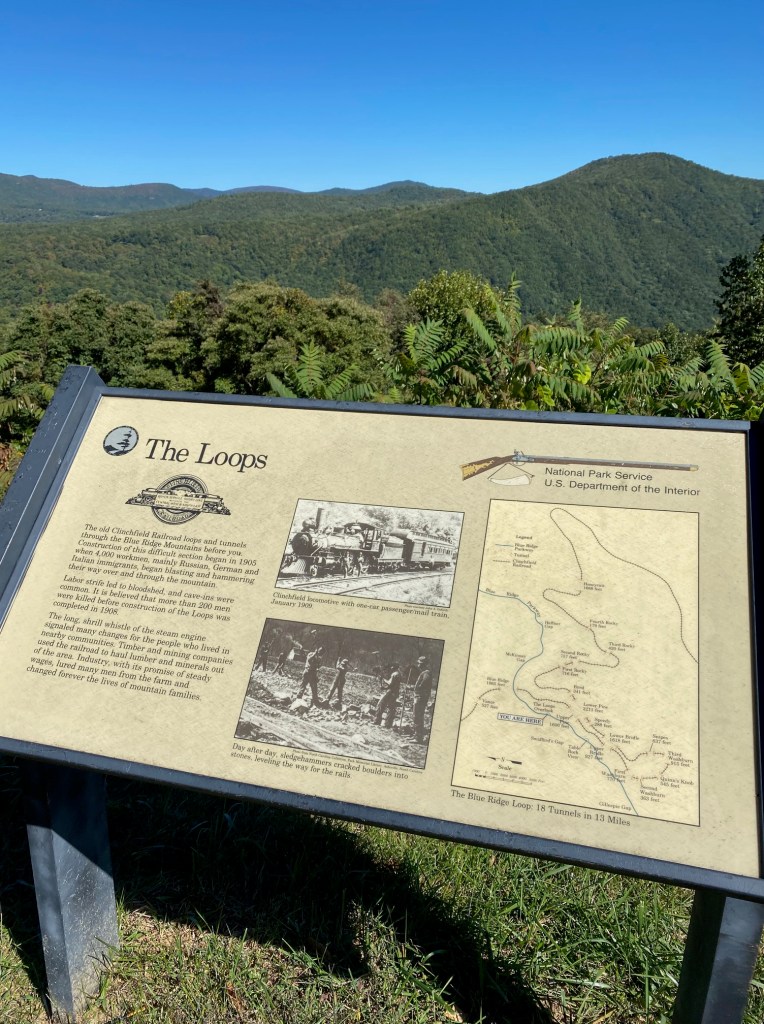
Catawba Falls, located in Old Fort – A 4 mile round trip hike takes you to the beautiful 100ft cascading waterfall. Although it is now a tourist destination, it’s still worth visiting. There is now a designated parking lot and bathrooms at the base of the trail. When I was a child, we had to walk through private property to get to the trail which was often overgrown because it was a hidden gem for the locals. It is no longer that way and is well maintained.
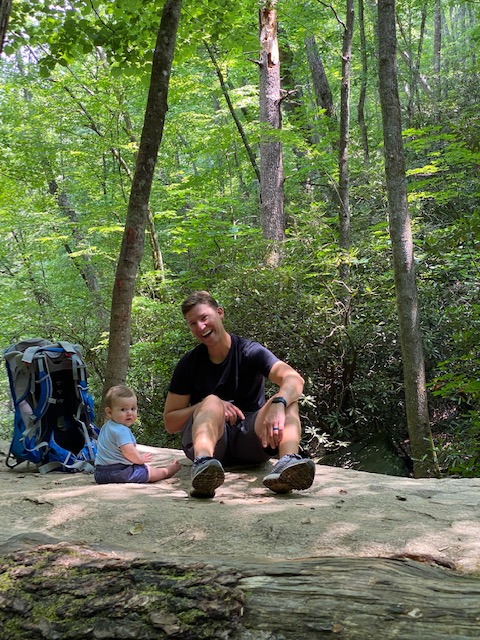
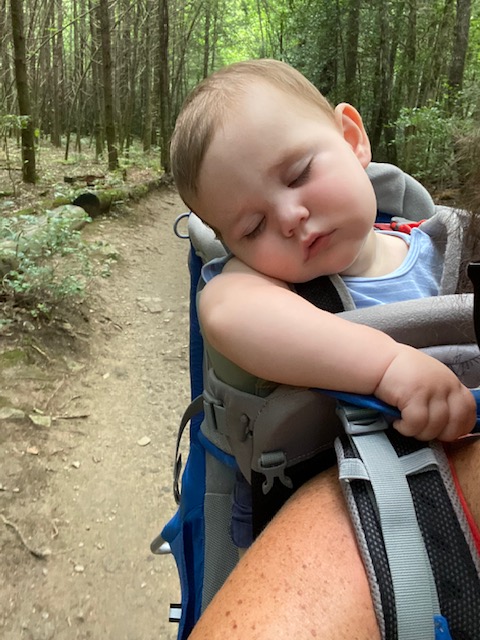
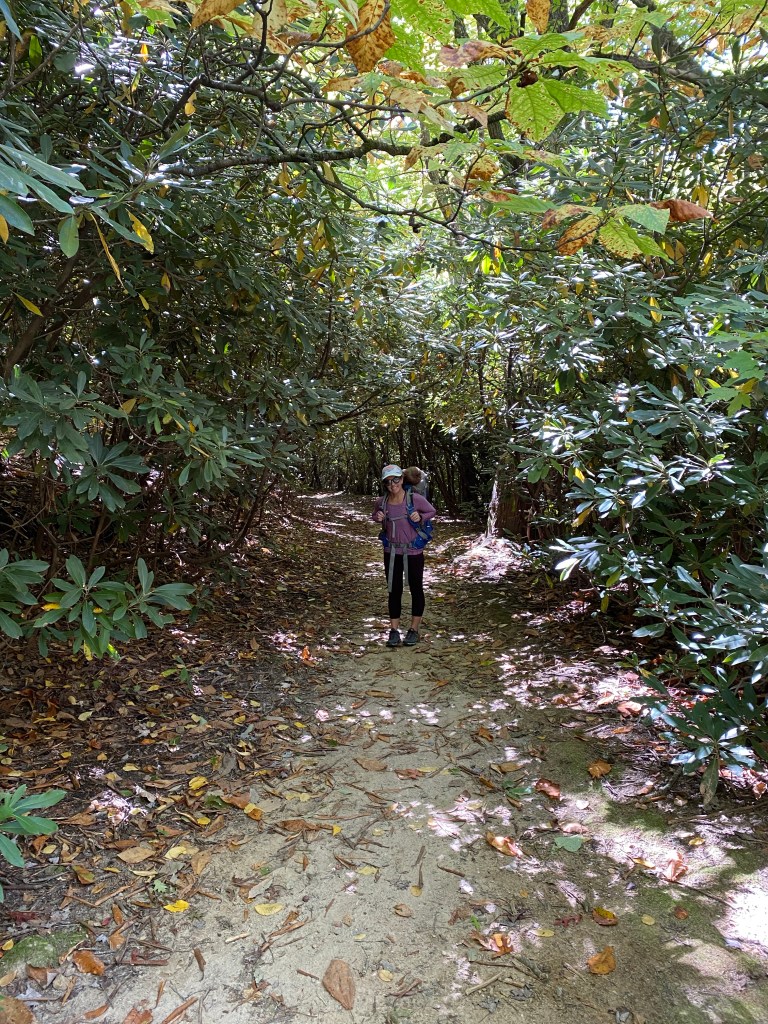
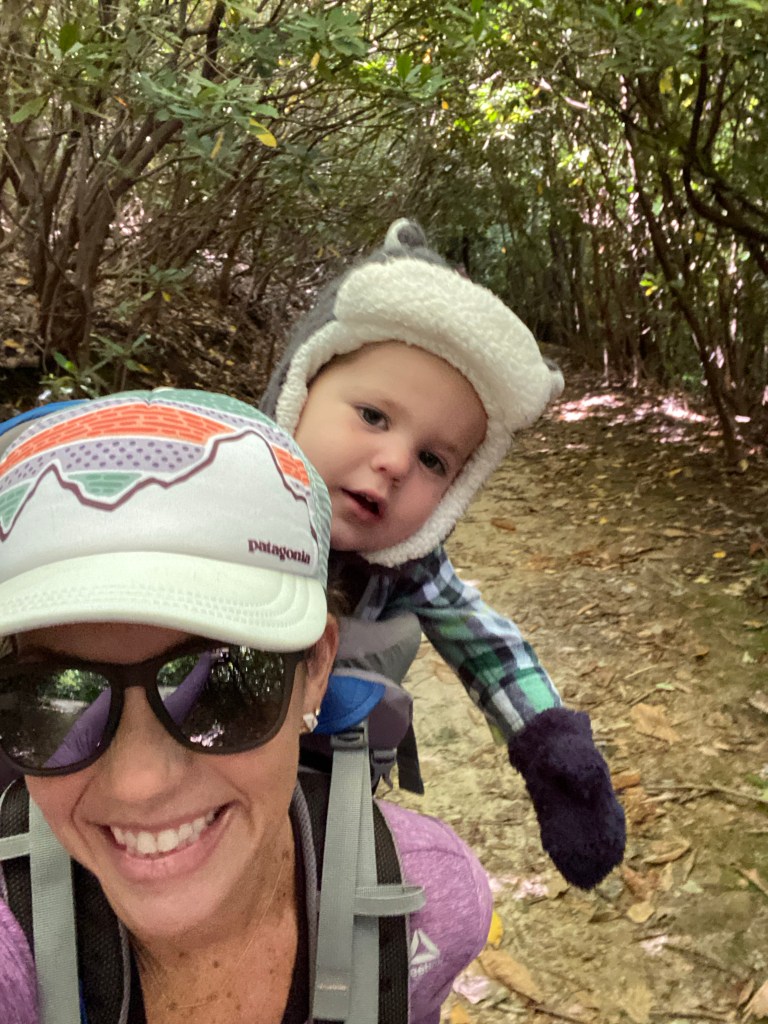
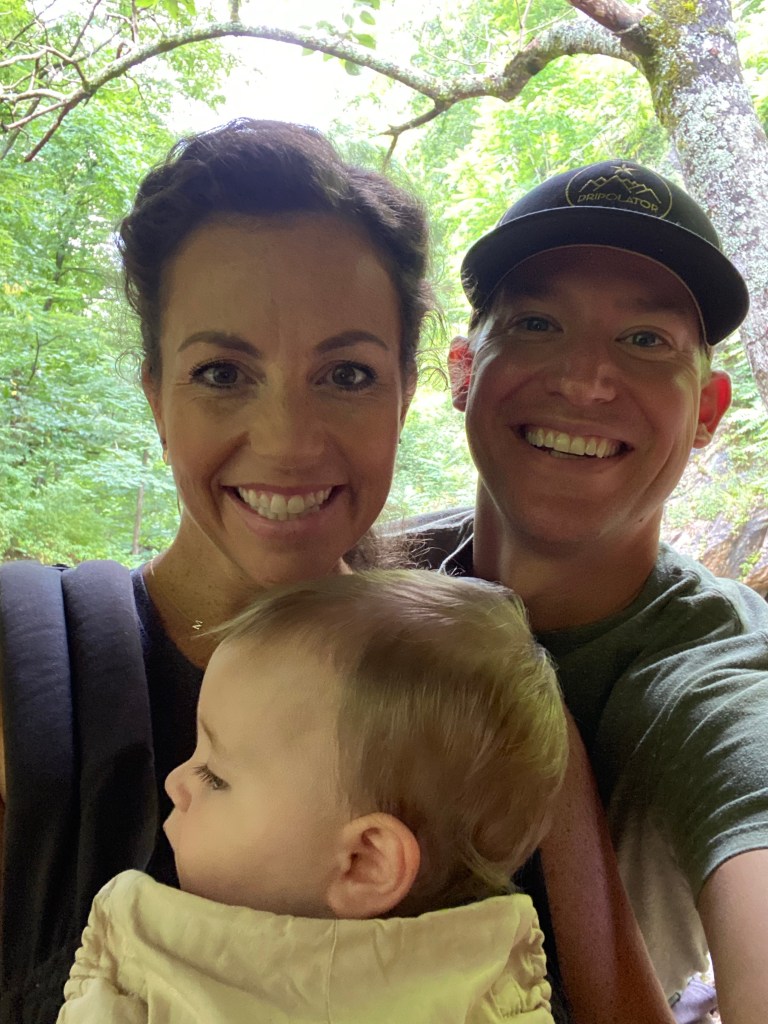
Our 8 and 6 yr. olds have no trouble hiking this trail. Our youngest is always in a hiking backpack until we get to the falls.
Tip: If you are commuting to Black Mountain via I-40 from the East, you will come to the Old Fort exit before climbing the mountain. You can easily take this exit and hike on your way to your final destination.
Along the trail you will find areas of the creek that you can wade in and swimming holes if you dare bare the chilly mountain water. Our boys love take a dip and to search for crawdads.
Once you reach the base of the Falls, take off your shoes, wade in the water and snap a photo. There will be plenty of people doing the same so there will always be someone to capture your whole family on your camera.
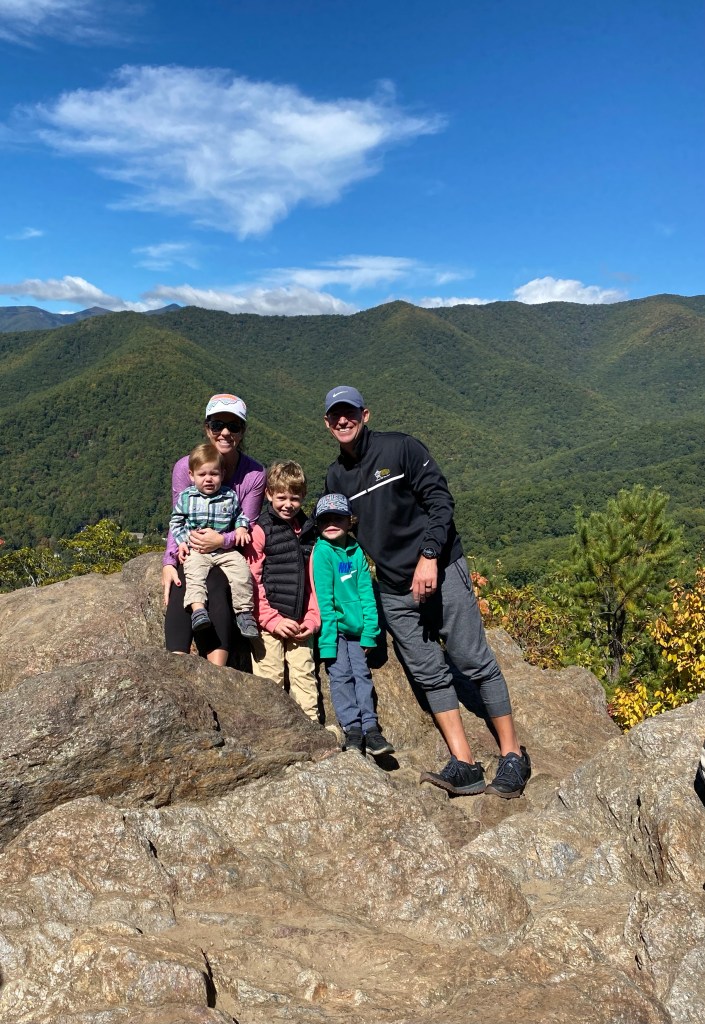
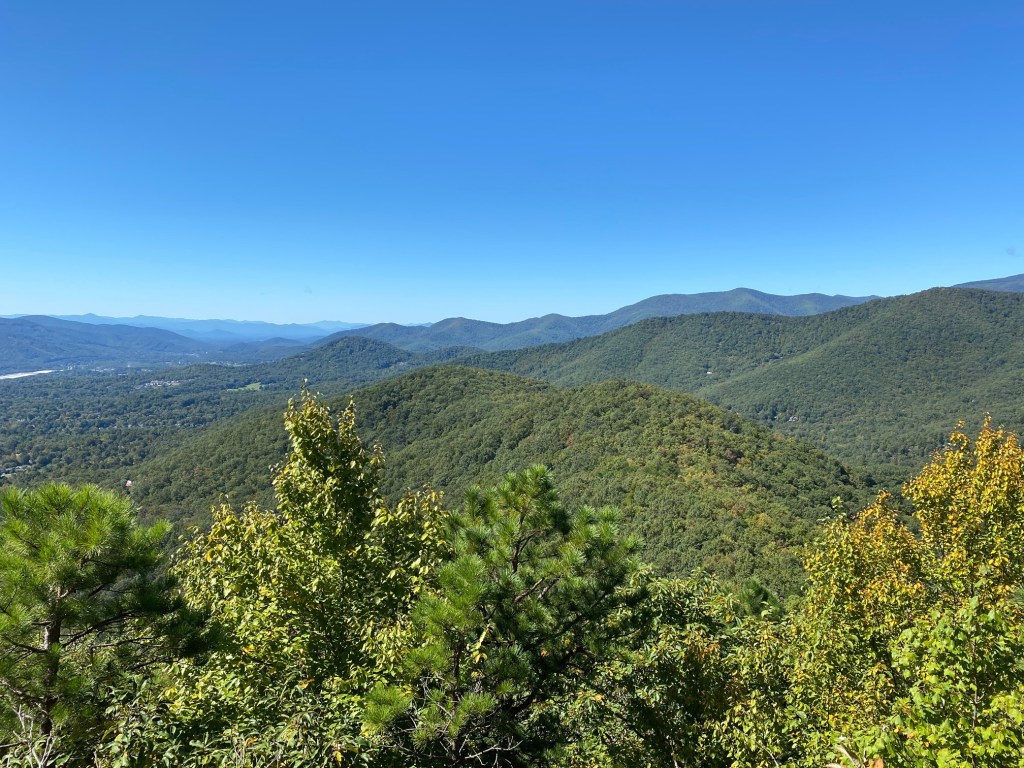
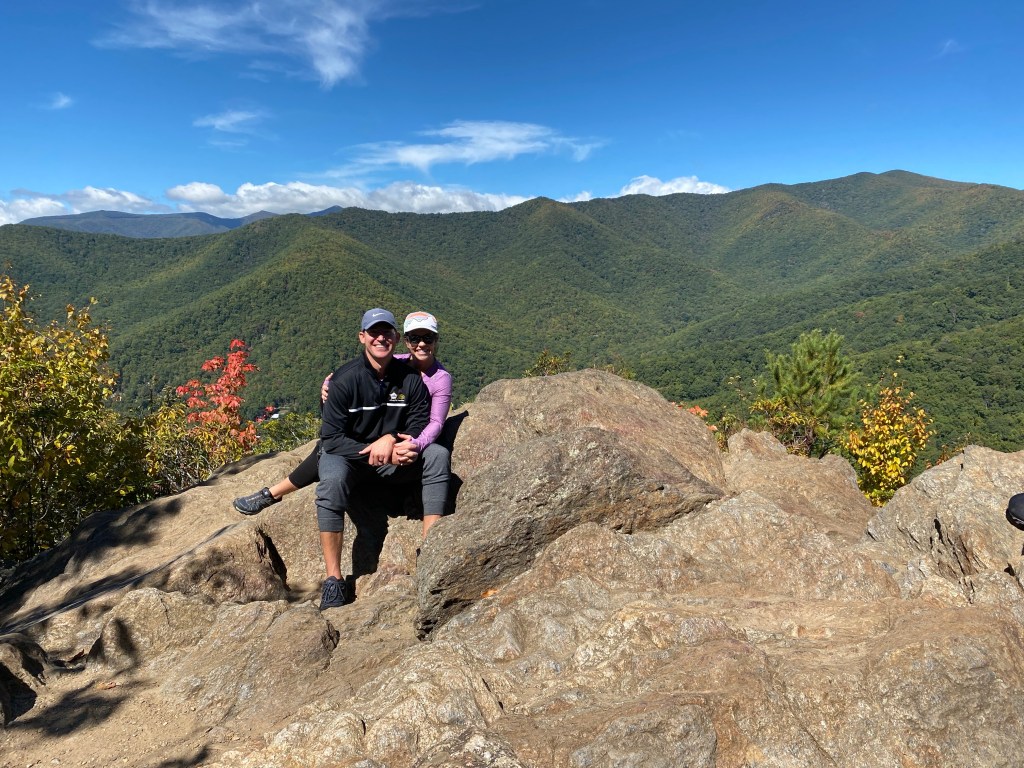
Lookout Trail, located in Montreat – A 1.5 mile out and back trail. Expect some steeper terrain near the top but I promise, it’s worth the views. Pack snacks or a picnic lunch. You will want to stay to take it all in.
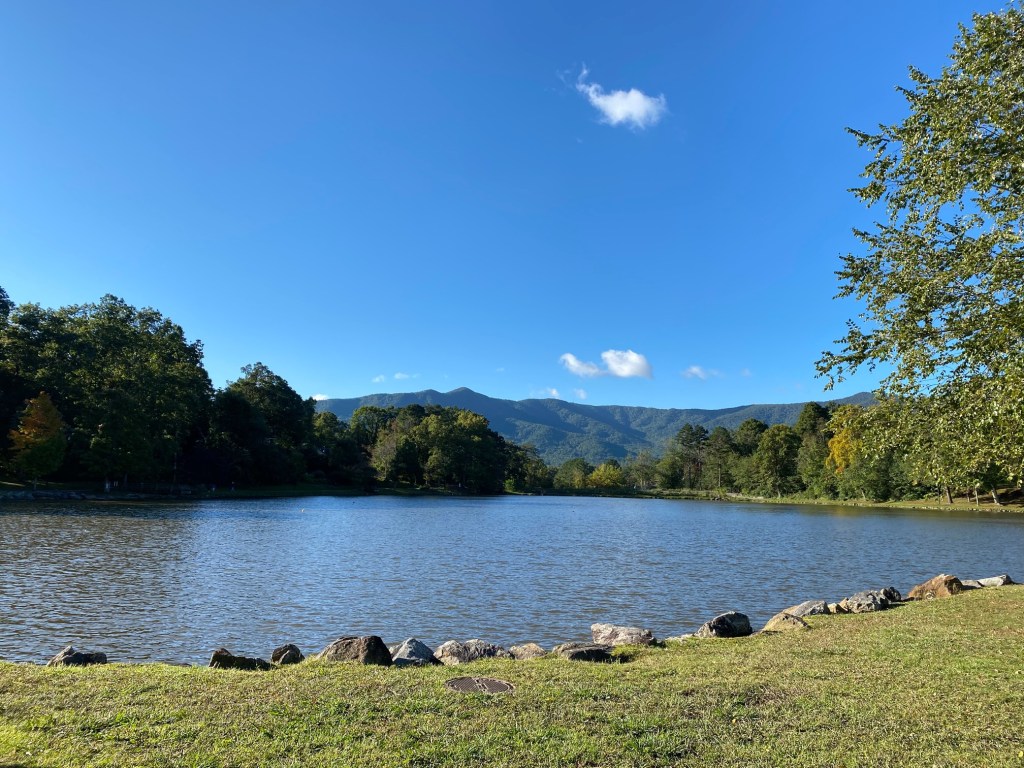
Lake Tomahawk in downtown Black Mountain is a short mulch pathway that goes around the lake. Beautiful views of mountains in the distance and a cute park for kids. Pet friendly. There is also a community pool you can pay to visit and tennis/pickle ball courts nearby.
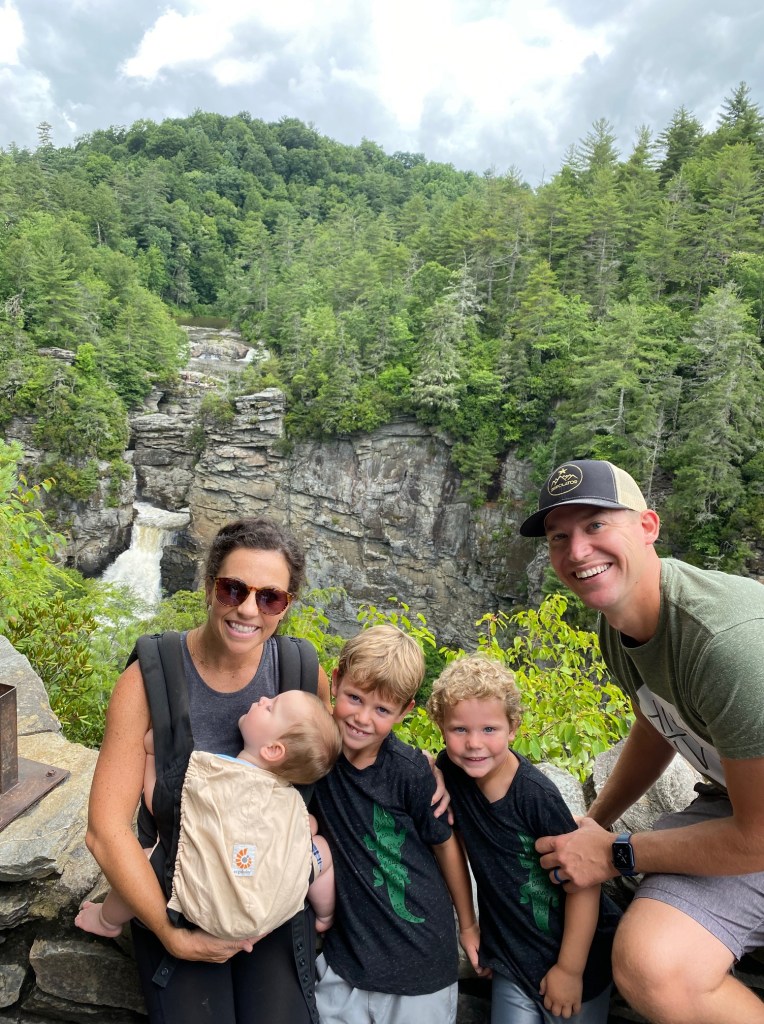
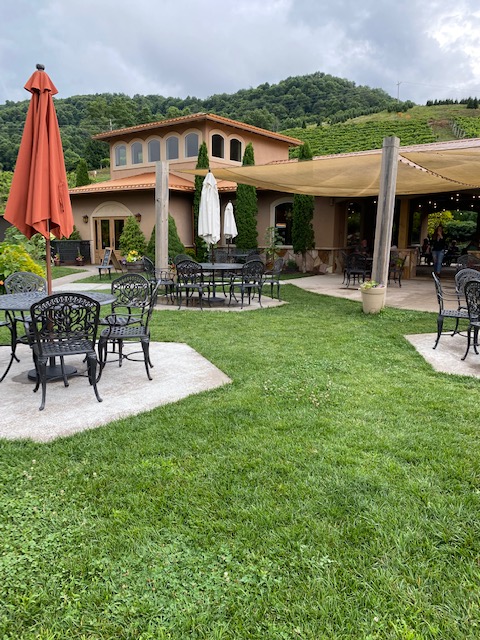
Linville Falls – Just a 45 minute drive from Black Mountain and a little over an hour from Asheville. This is the perfect day trip adventure that can start with a tour of the Linville Caverns. After the tour drive to the trails which is only a 2 mile out and back. Finish the day by stopping at Linville Winery for a bite to eat and delicious refreshments. We recommend their pimento cheese spreads as one option. The winery is kid friendly and has a beautifully property for kids to explore while you watch them and enjoy the wines. If you’re traveling with kids, they will surely fall asleep on the way back to your rental.
DINING:
In Black Mountain, NC
Fresh Wood Fired Pizza and Pasta – Nothing beats a wood fired pizza or calzone. You can’t go wrong with their menu. They also have seasonal salads. I still remember a summer salad I ordered that had grilled peaches, goat cheese, candied pecans and other toppings over a bead of peppery arugula which was tossed in a in-house vinaigrette. (chef’s kiss) A second location is in Asheville, 343, Depot St. West Asheville, NC
Louise’s Kitchen – Breakfast and Lunch only. So many amazing meal options.
Goldfinch – Small plates, tacos, bowls and salads.
My Fathers Pizza – My family always loved creating our own pizza here and we often choose the pesto base. Delicious!
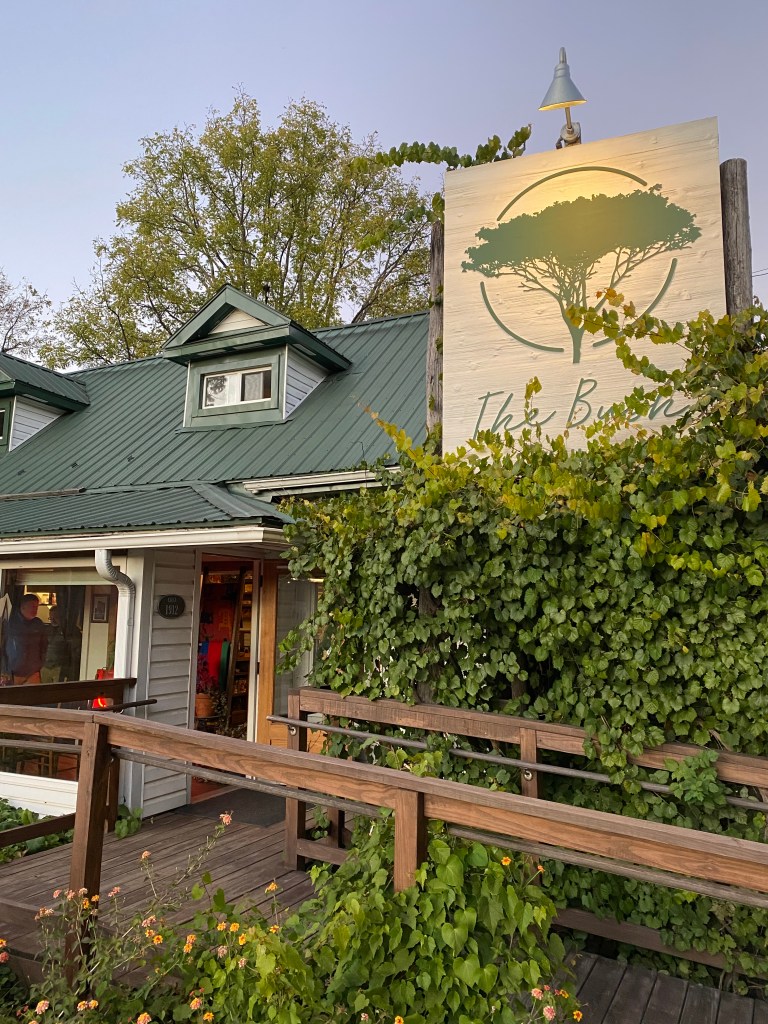
Bush Farmhouse (eclectic setting, amazing food by Chef Mark Henegan)
Open Oven Cafe – A must for breakfast or brunch. Open from 8-2PM daily, Closed on Tuesday
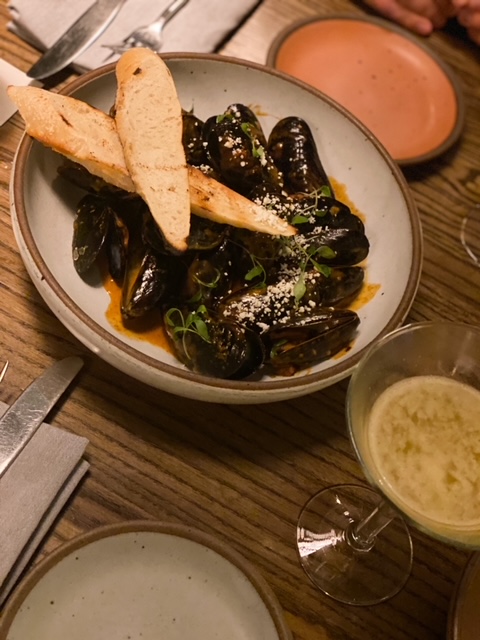
In Asheville, NC
Fresh Wood Fired Pizza and Pasta – (Same menu as above)
Salsas – Craft cocktails & Mexican fusion. I personally feel the meals are splittable. Be sure to start with their fresh salsas and guacamole, so good. Delicious margaritas and a robust menu.
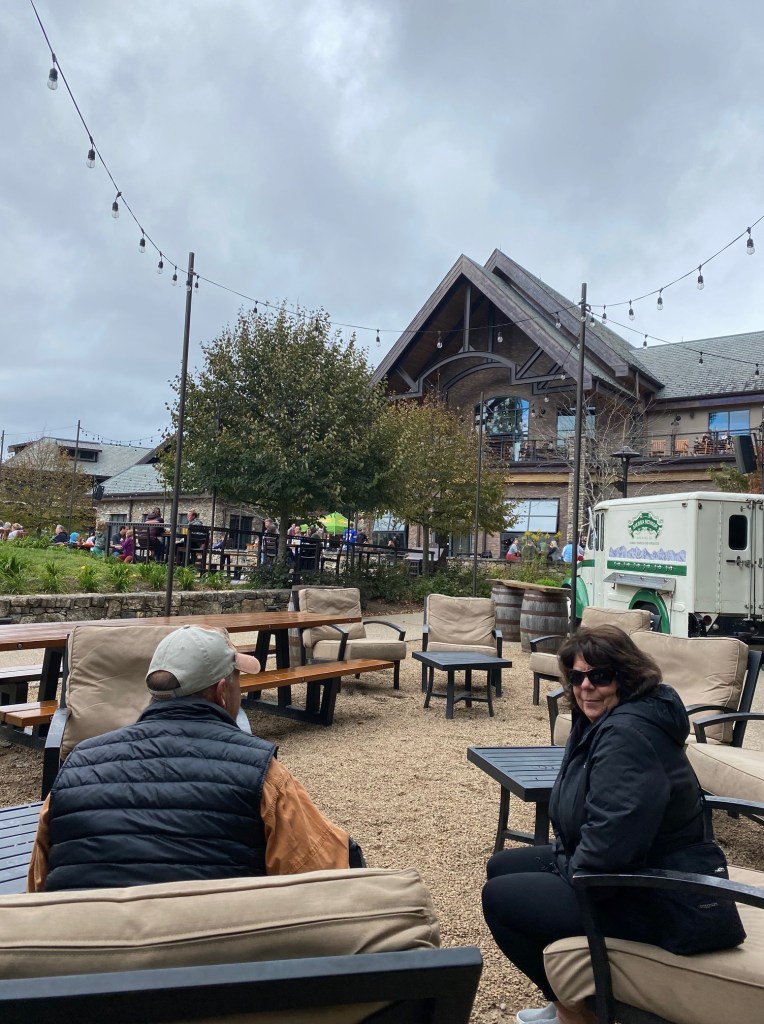
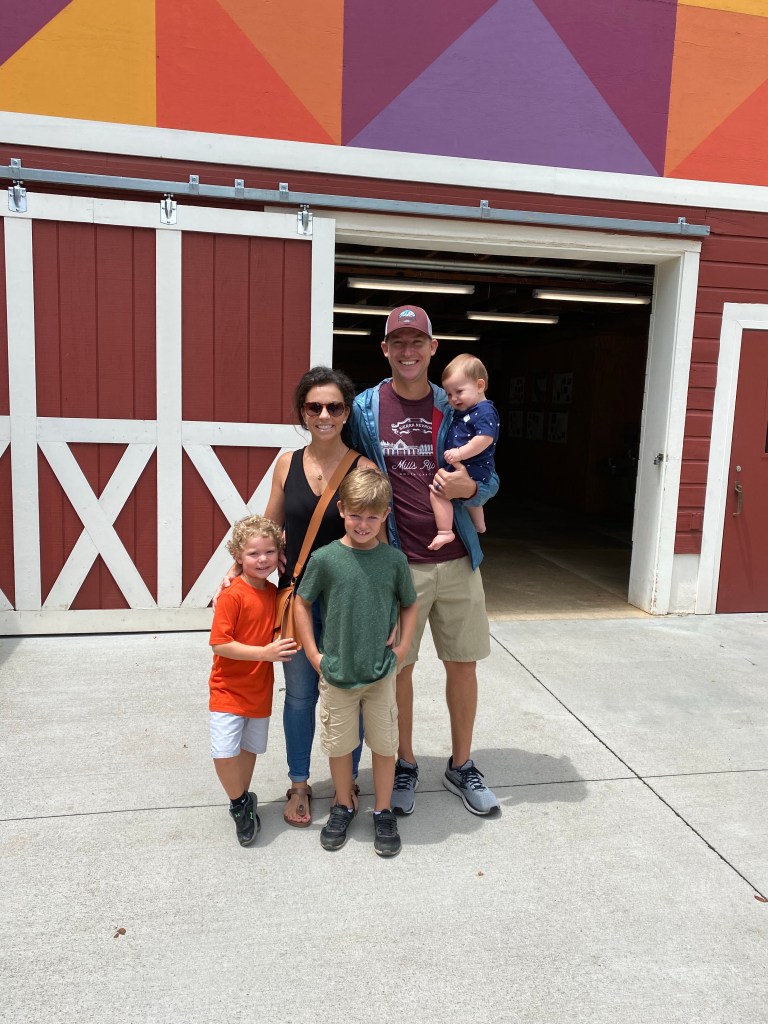
Sierra Nevada – Located in Mills River, NC – The outside property is both kid and pet friendly. They often have live music playing in their amphitheater, outdoor lawn games, expansive outdoor seating, kid play area and a small trail just behind the amphitheater. This could be a few hours of fun and relaxation for you and your family to enjoy great food and tasty beer. Book a tour in advance. I don’t love most beer and thoroughly enjoyed the tour.
White Duck Taco – Located on the French broad river. Grab fresh tacos, sip on a tasty margarita and walk the greenway to local shopping.
New Belgium Brewery – Across the French broad, a short distance from White Duck Taco. They often host local food trucks. Here you can enjoy sitting on the back deck overlooking the French Broad River, hang out on the lawn and play corn hole, and tour the brewery.
The Marketplace Restaurant and Lounge – Farm to Table cuisine. We last visited here on our 1 year anniversary. You will walk down a cute bistro lit street. The meal was unforgettable. This is definitely a good celebratory restaurant. Their social gives a good overview of the ambiance, meals and offerings.
Chestnut Restaurant – Craft food and cocktails – We dined here one a getaway weekend at the Biltmore. This was yet again, another unforgettable meal. Just look at the menu!
Tupelo Honey – A chain restaurant with southern roots.
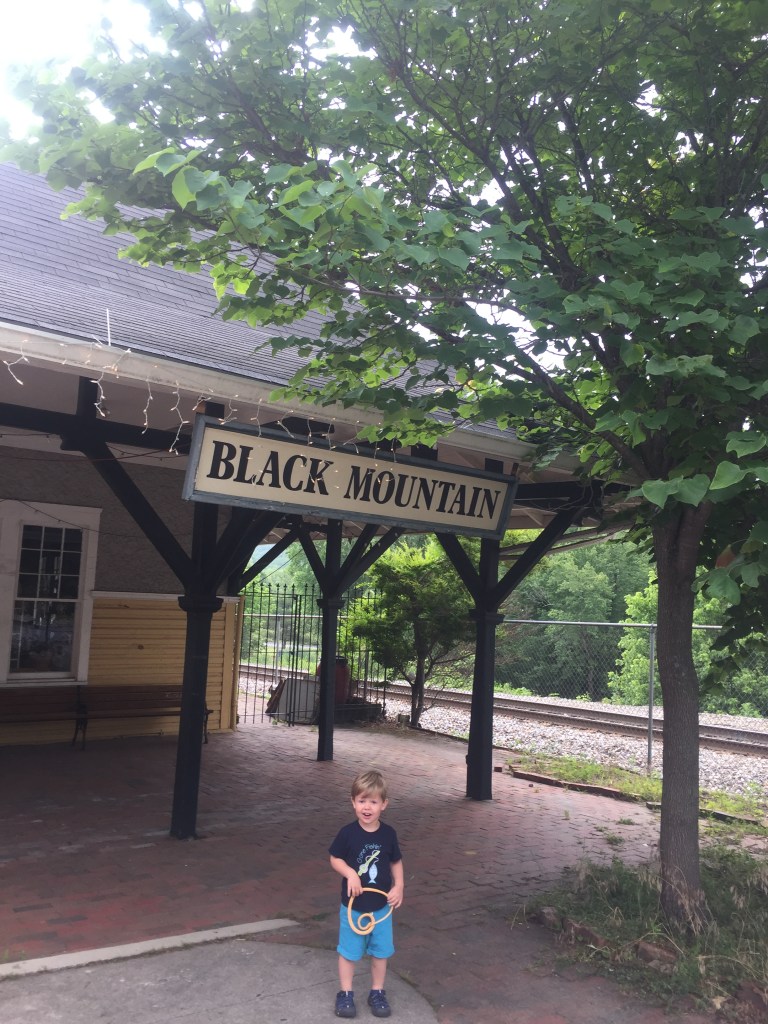
Walk around and explore the shops of downtown Black Mountain. There’s so many cute nooks around town that have shops, restaurants, breweries and more. You can easily walk to Lake Tomahawk from the downtown area but note, there are hills on the sidewalk lined streets.
Do one of the many hikes suggested.
Plan a day trip to Linville Caverns, Falls and Winery.
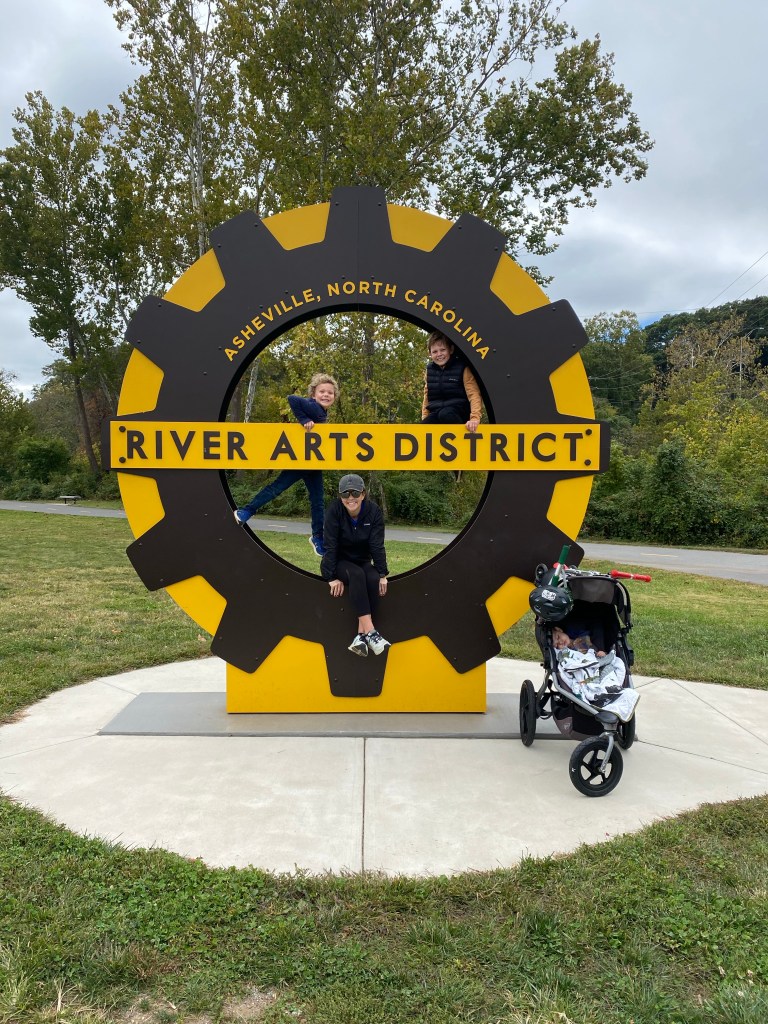
Take a day trip into downtown Asheville. Shop. Eat. Hike. Bike the greenways.
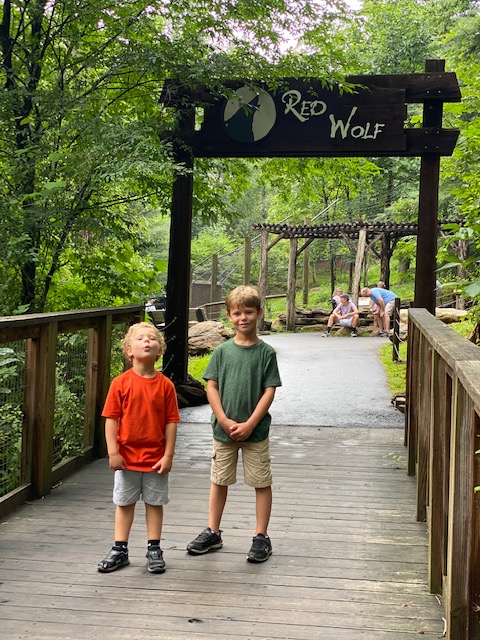
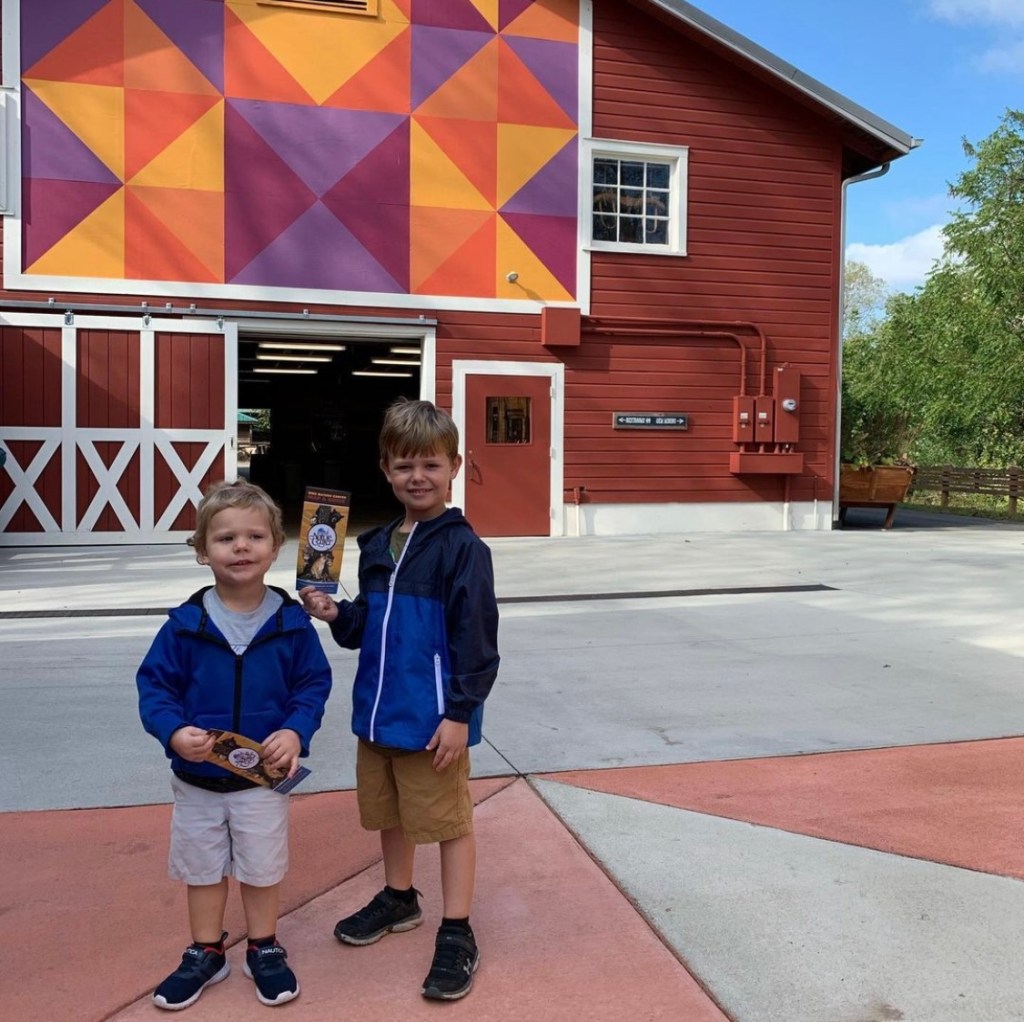
Visit the Nature Center. *If you are a NC Zoo Member and show your card, it gets you in free.
Visit Sierra Nevada in Mills River.
Visit New Belgium Brewery.
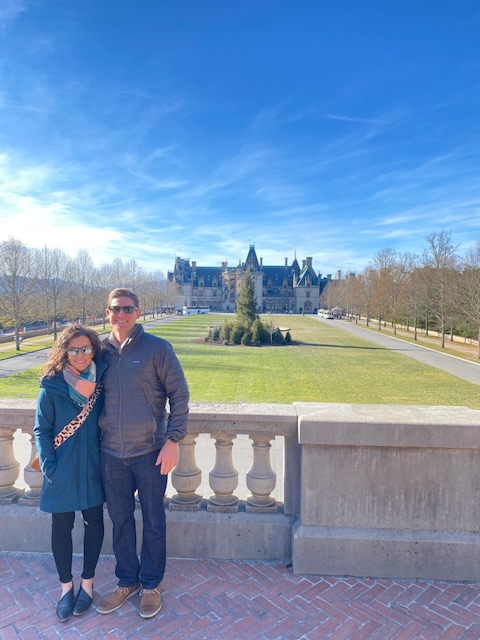
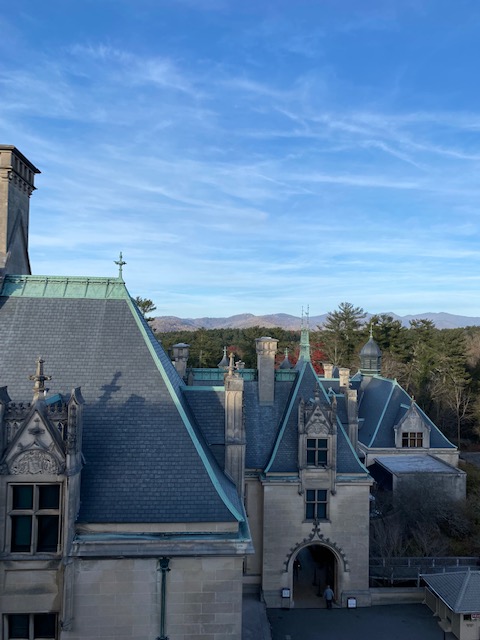
Tour the Biltmore if you haven’t done so before. There is so much to see and do on the grounds you could fill a day’s itinerary. Bike, hike, tour the house, grounds, gardens, and dine onsite.
Tube down the French Broad. We haven’t done this yet but it’s on our list for the summer. There are numbers companies that offer this experience.
Day trip to Sliding Rock. It’s 100% a tourist spot now but it’s a unique experience. It is certainly a favorite childhood memory of mine that started before there was paid entry and a line to slide down the famous rock.
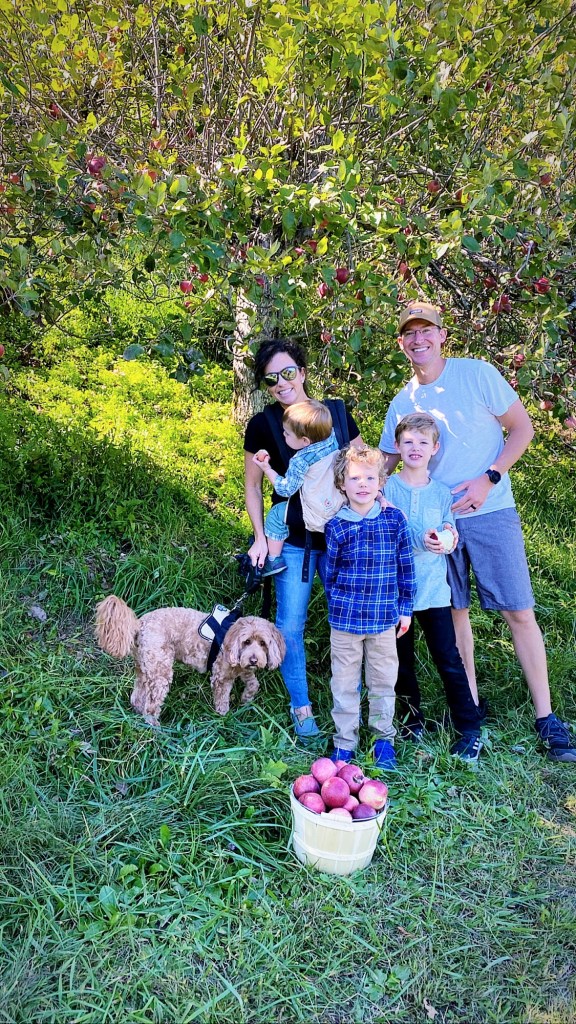
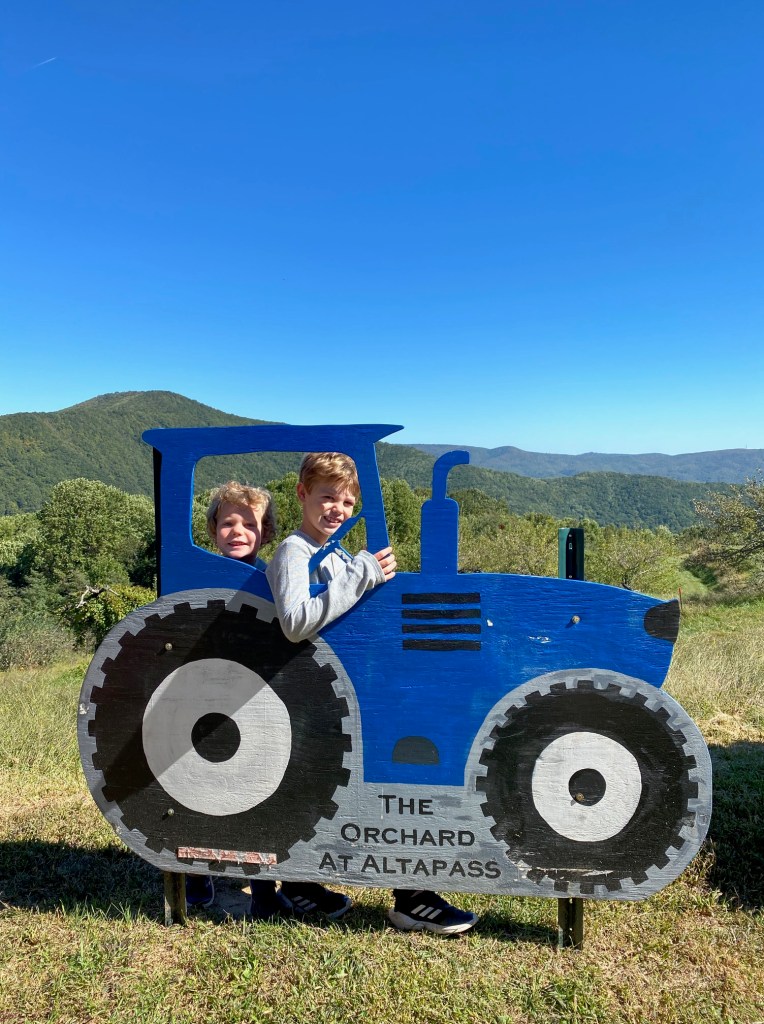
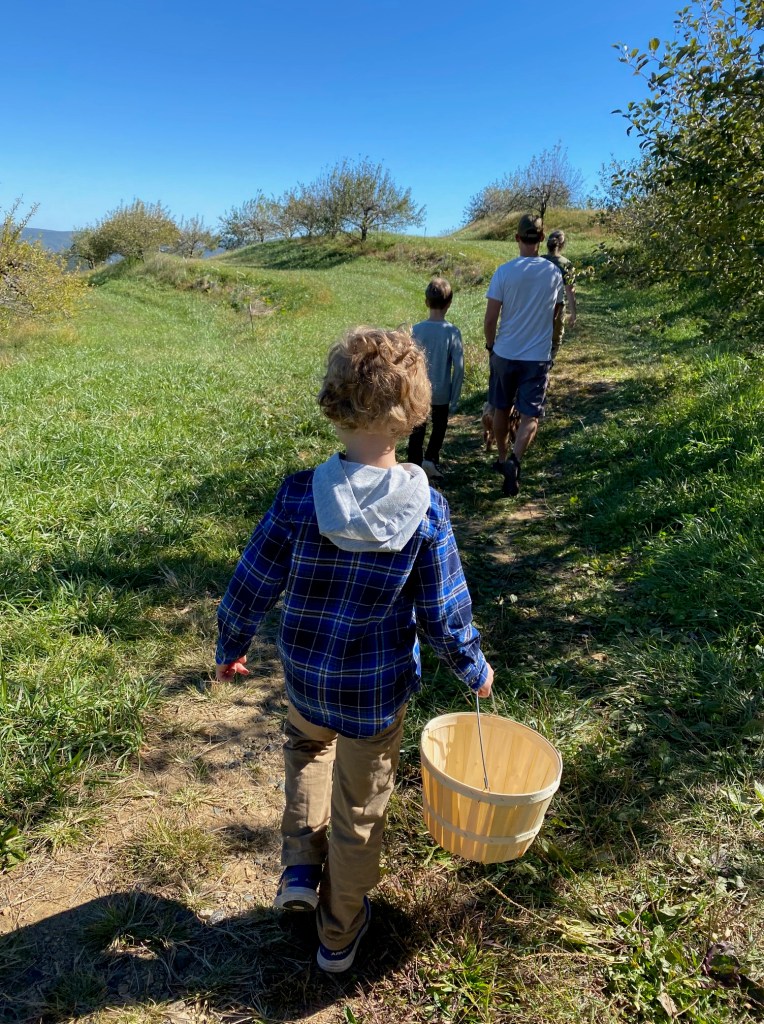
Day trip to an Apple orchard during picking season.
I’ve really only touched on everything I love about Black Mountain and surrounding areas.
I’m going to just put it out in the universe now, we will one day own property here. It will surely come true now, right?!
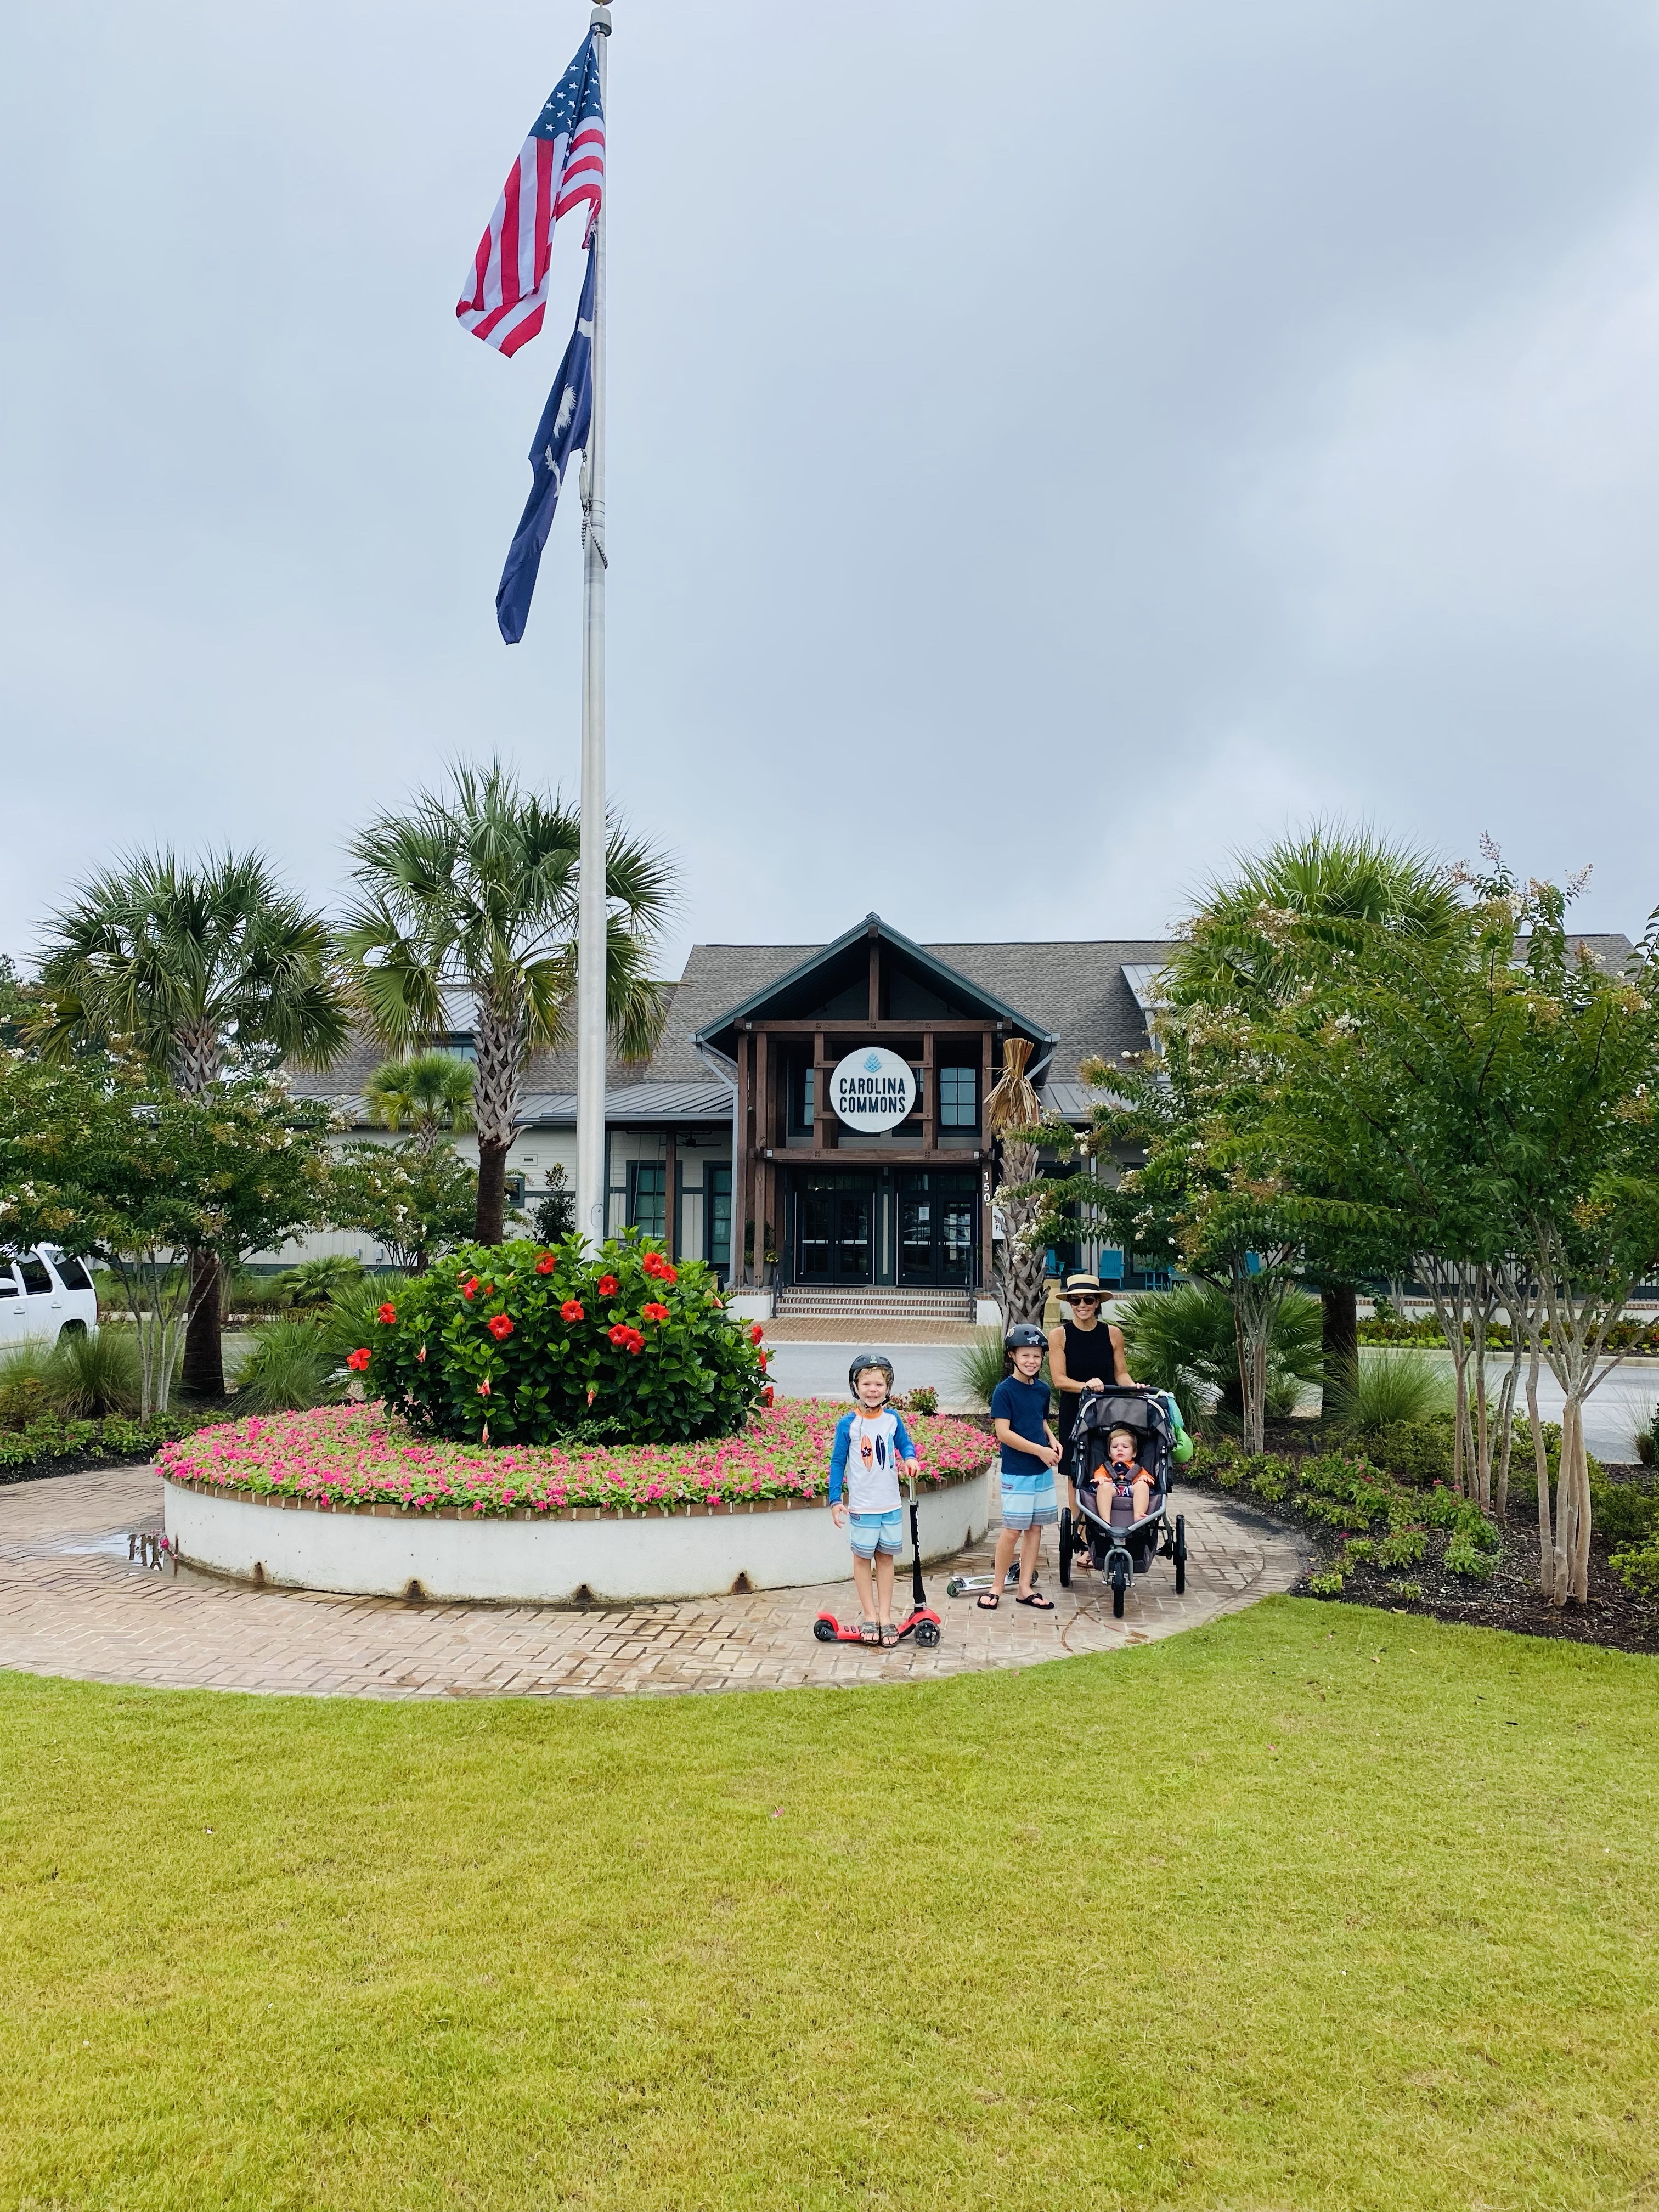
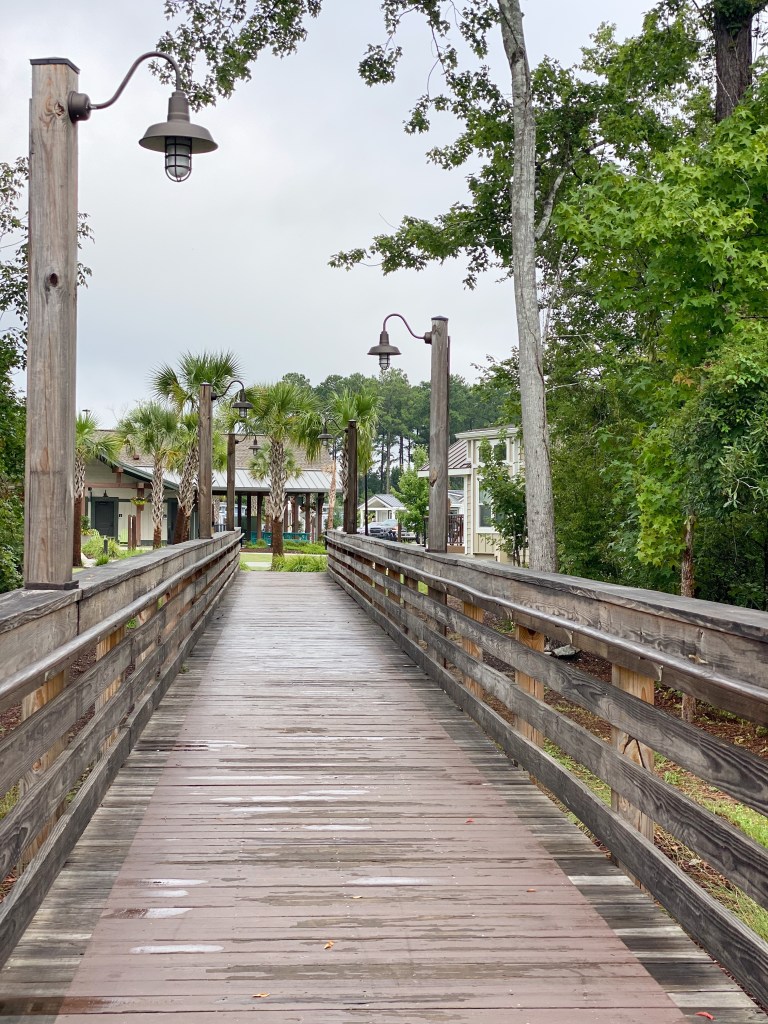
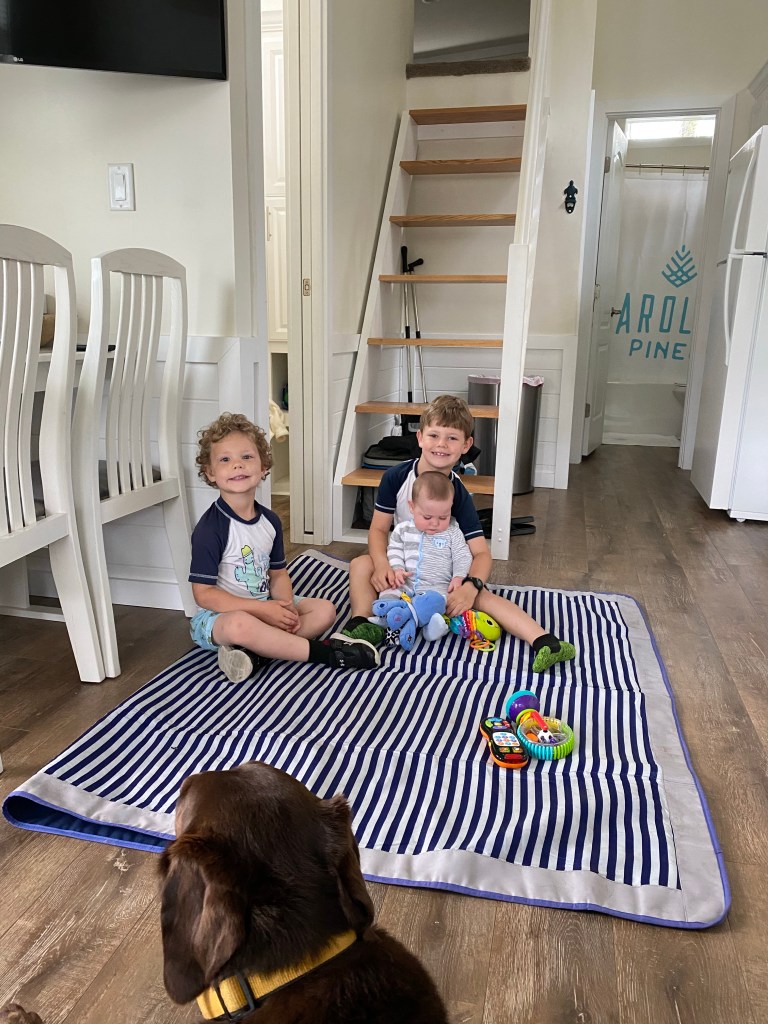
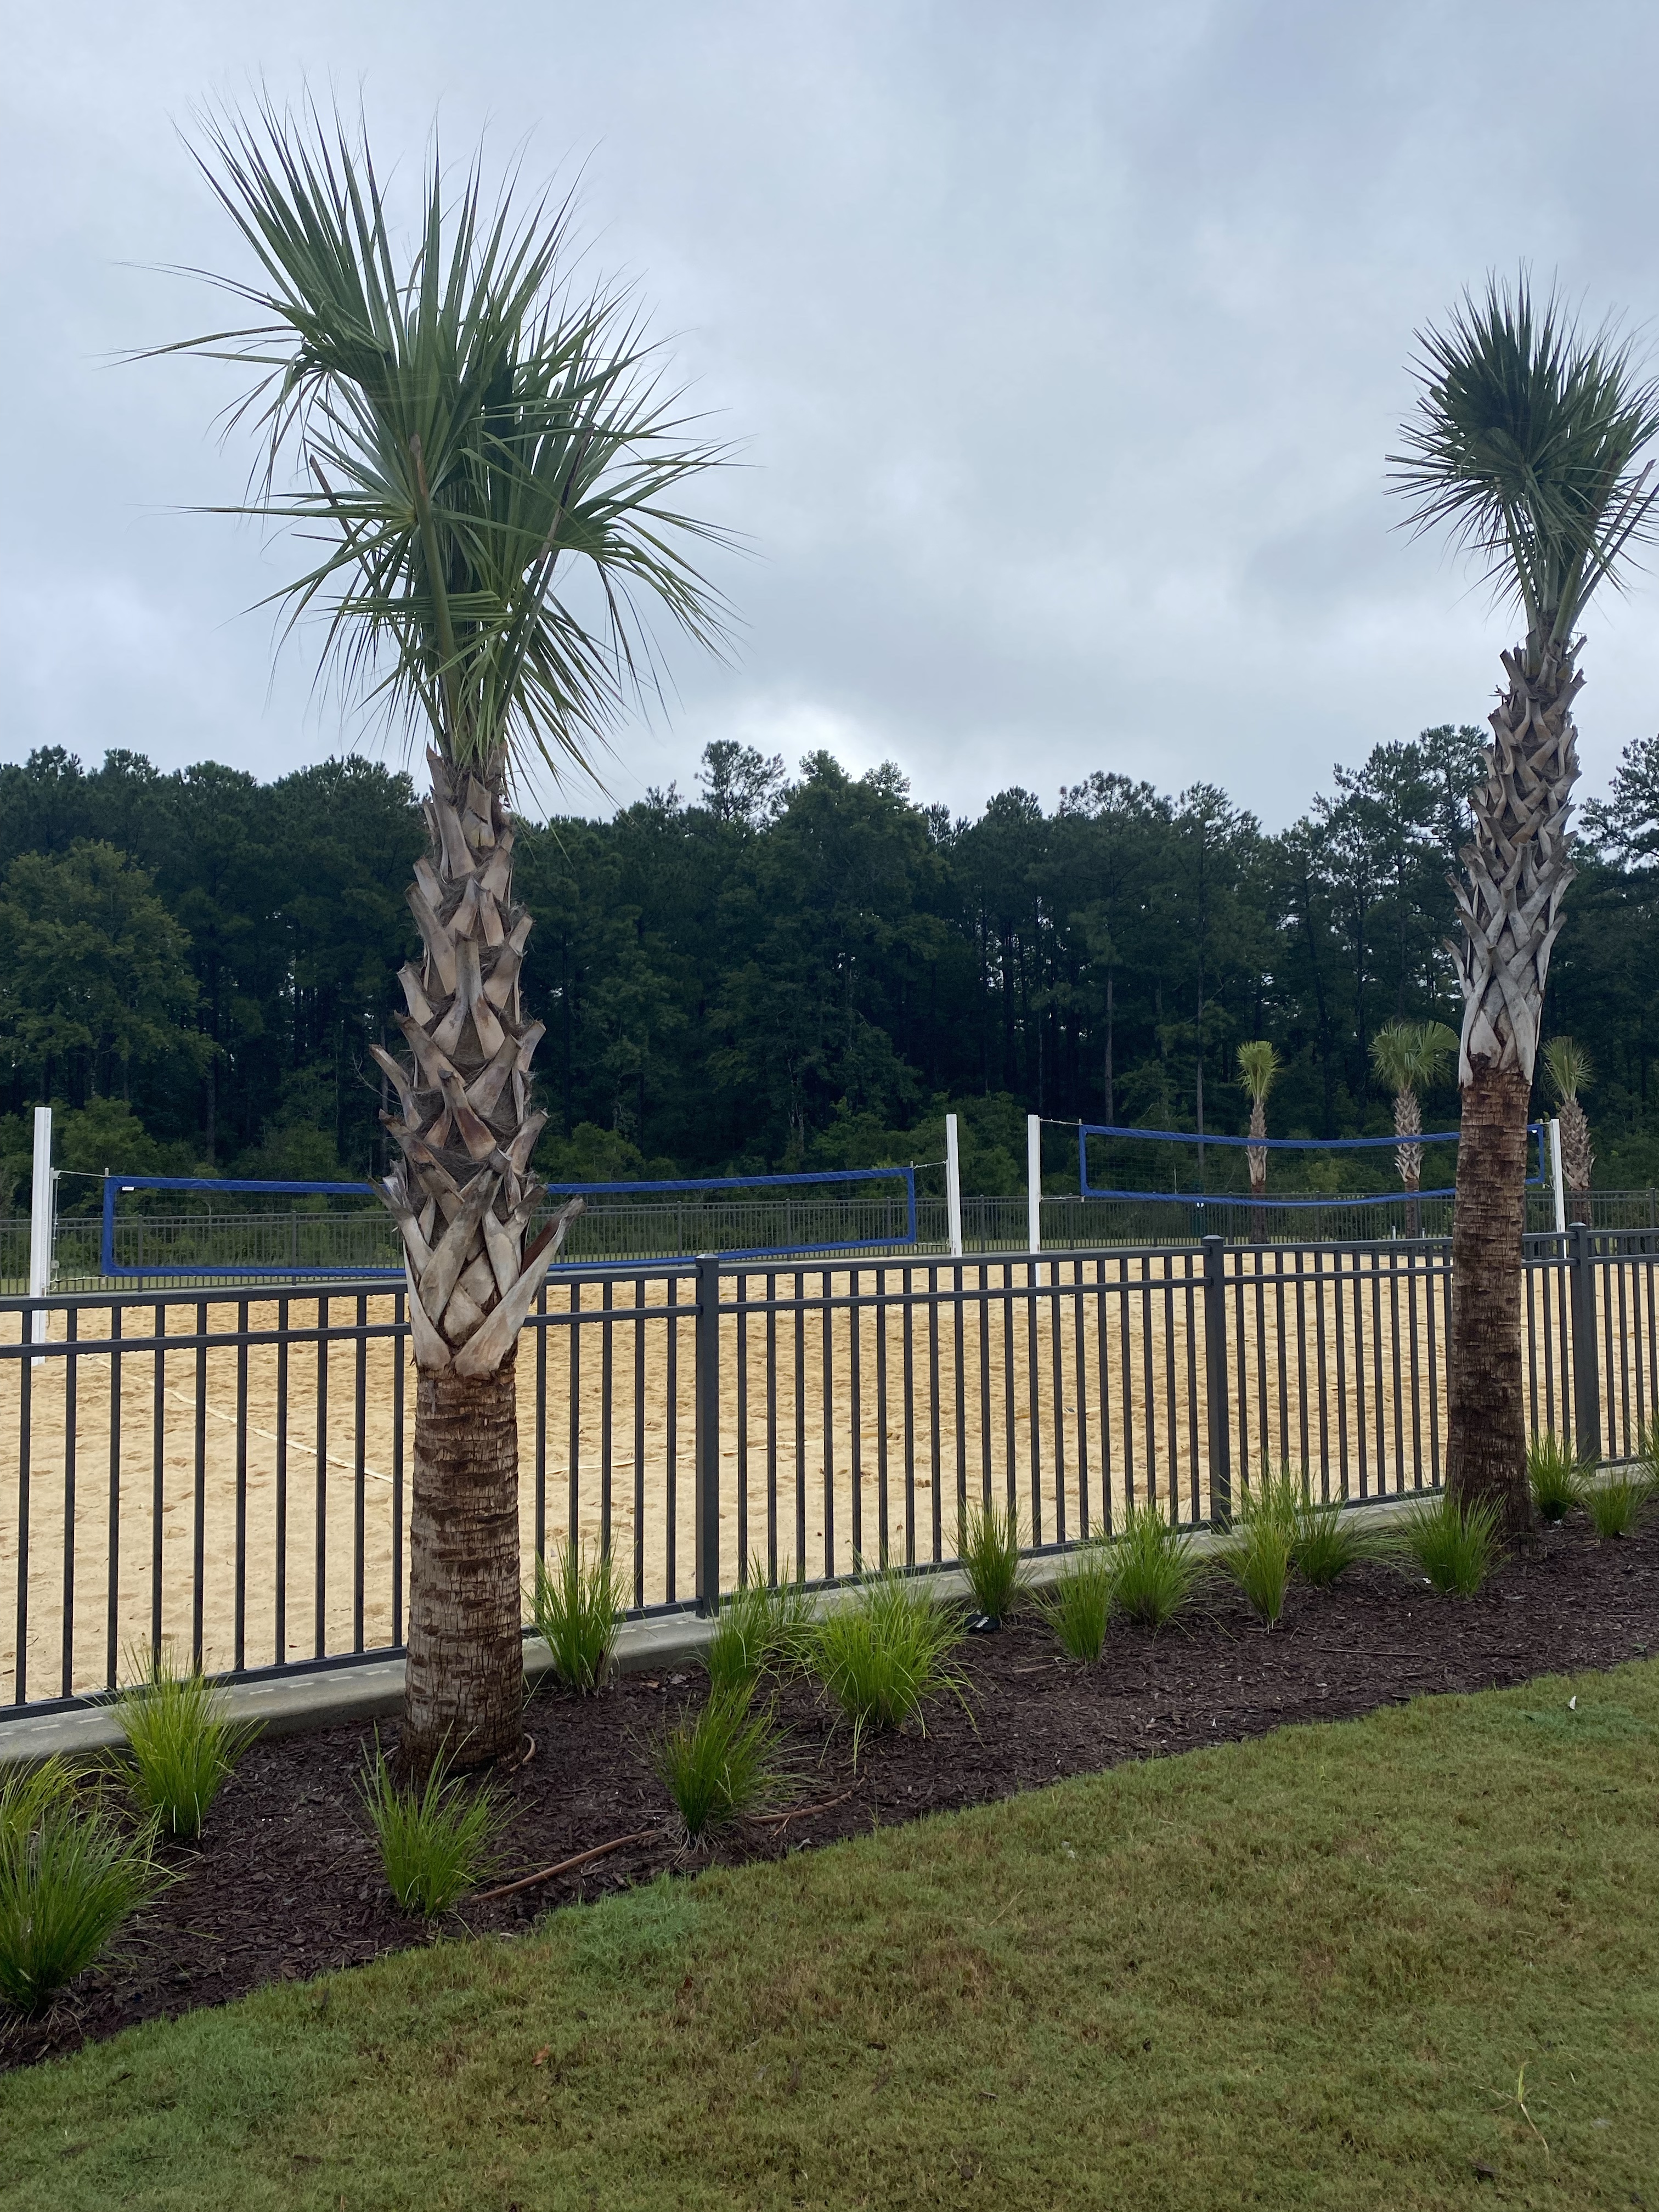
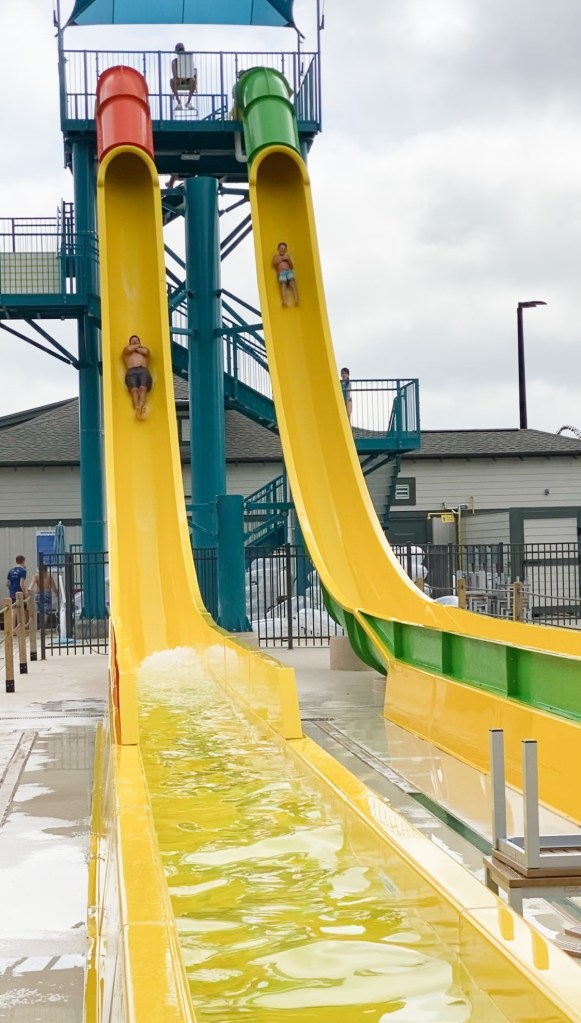
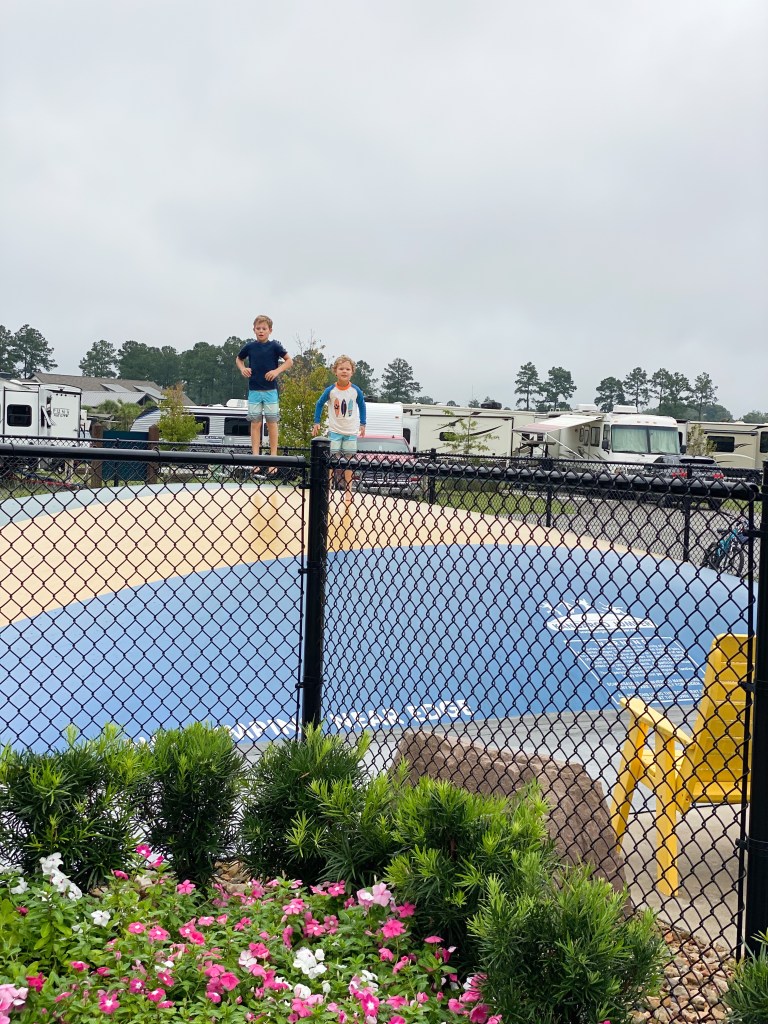
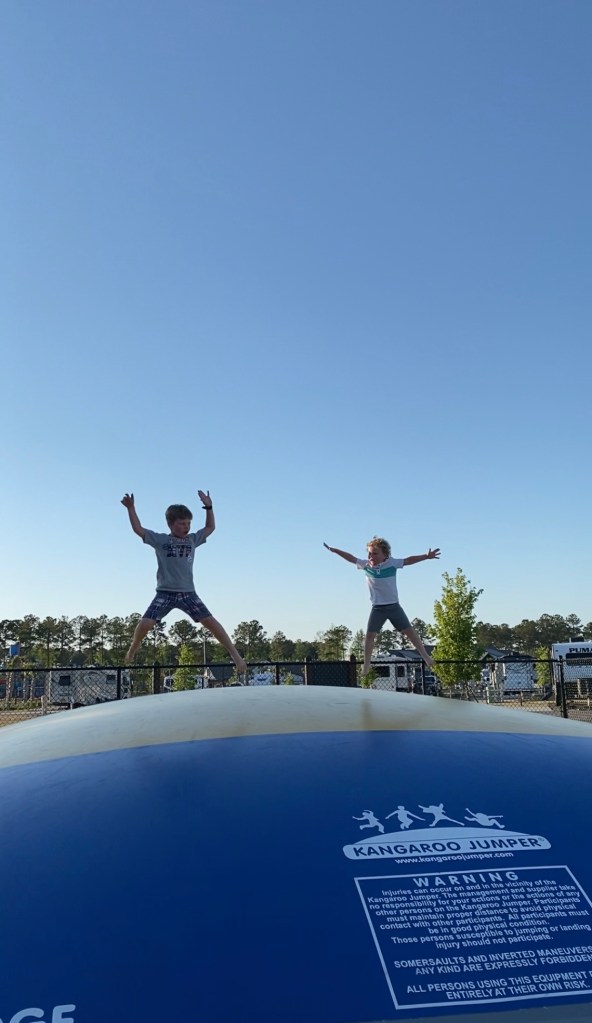
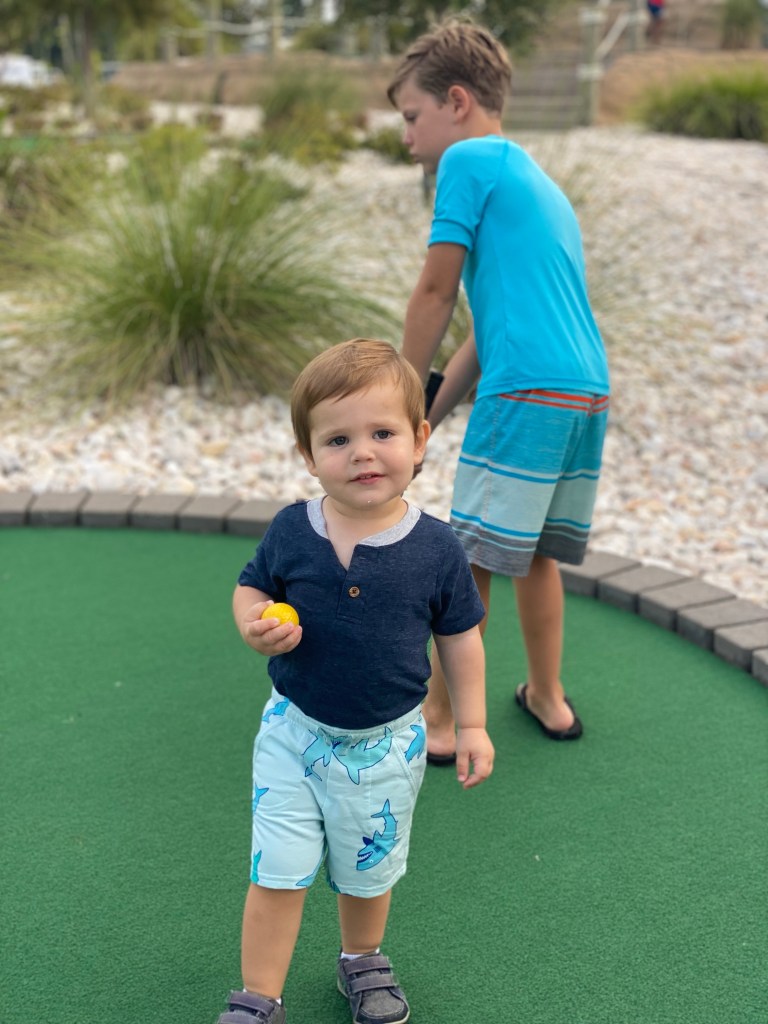
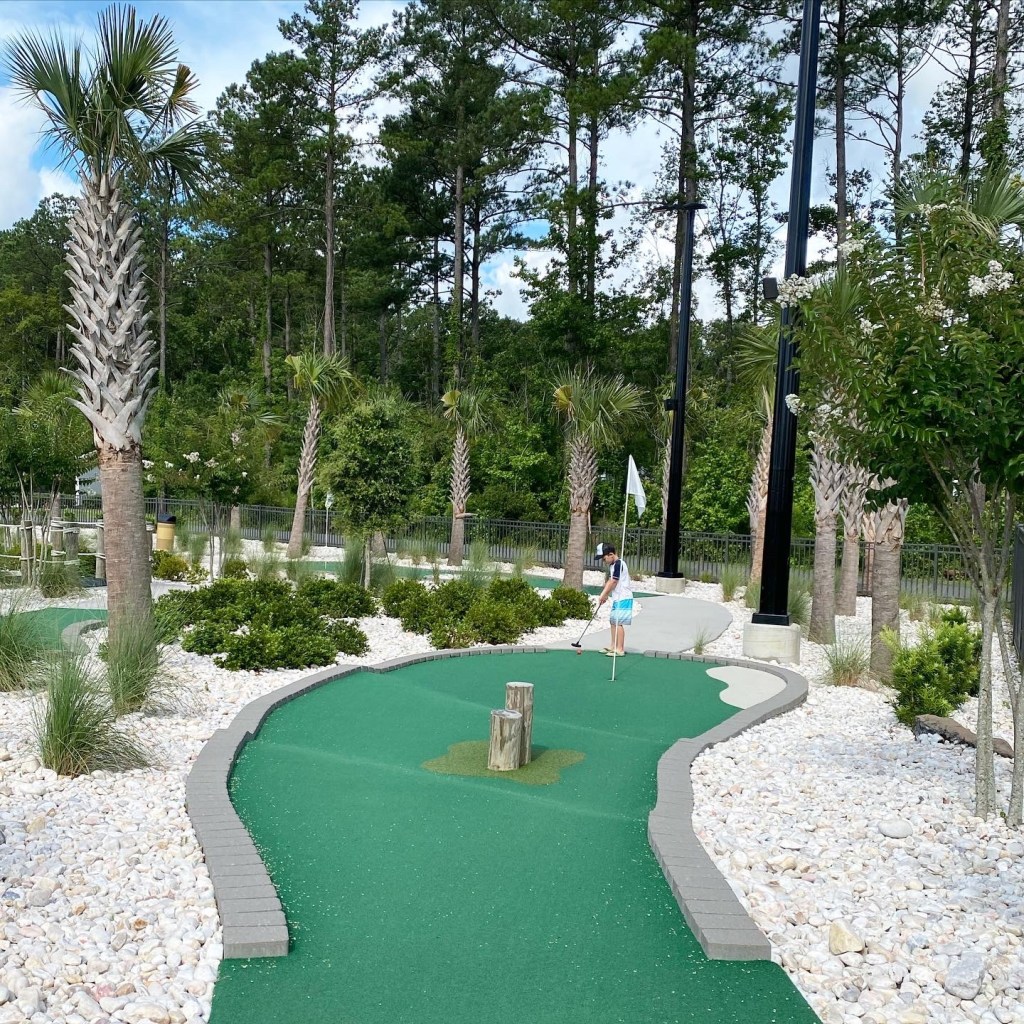
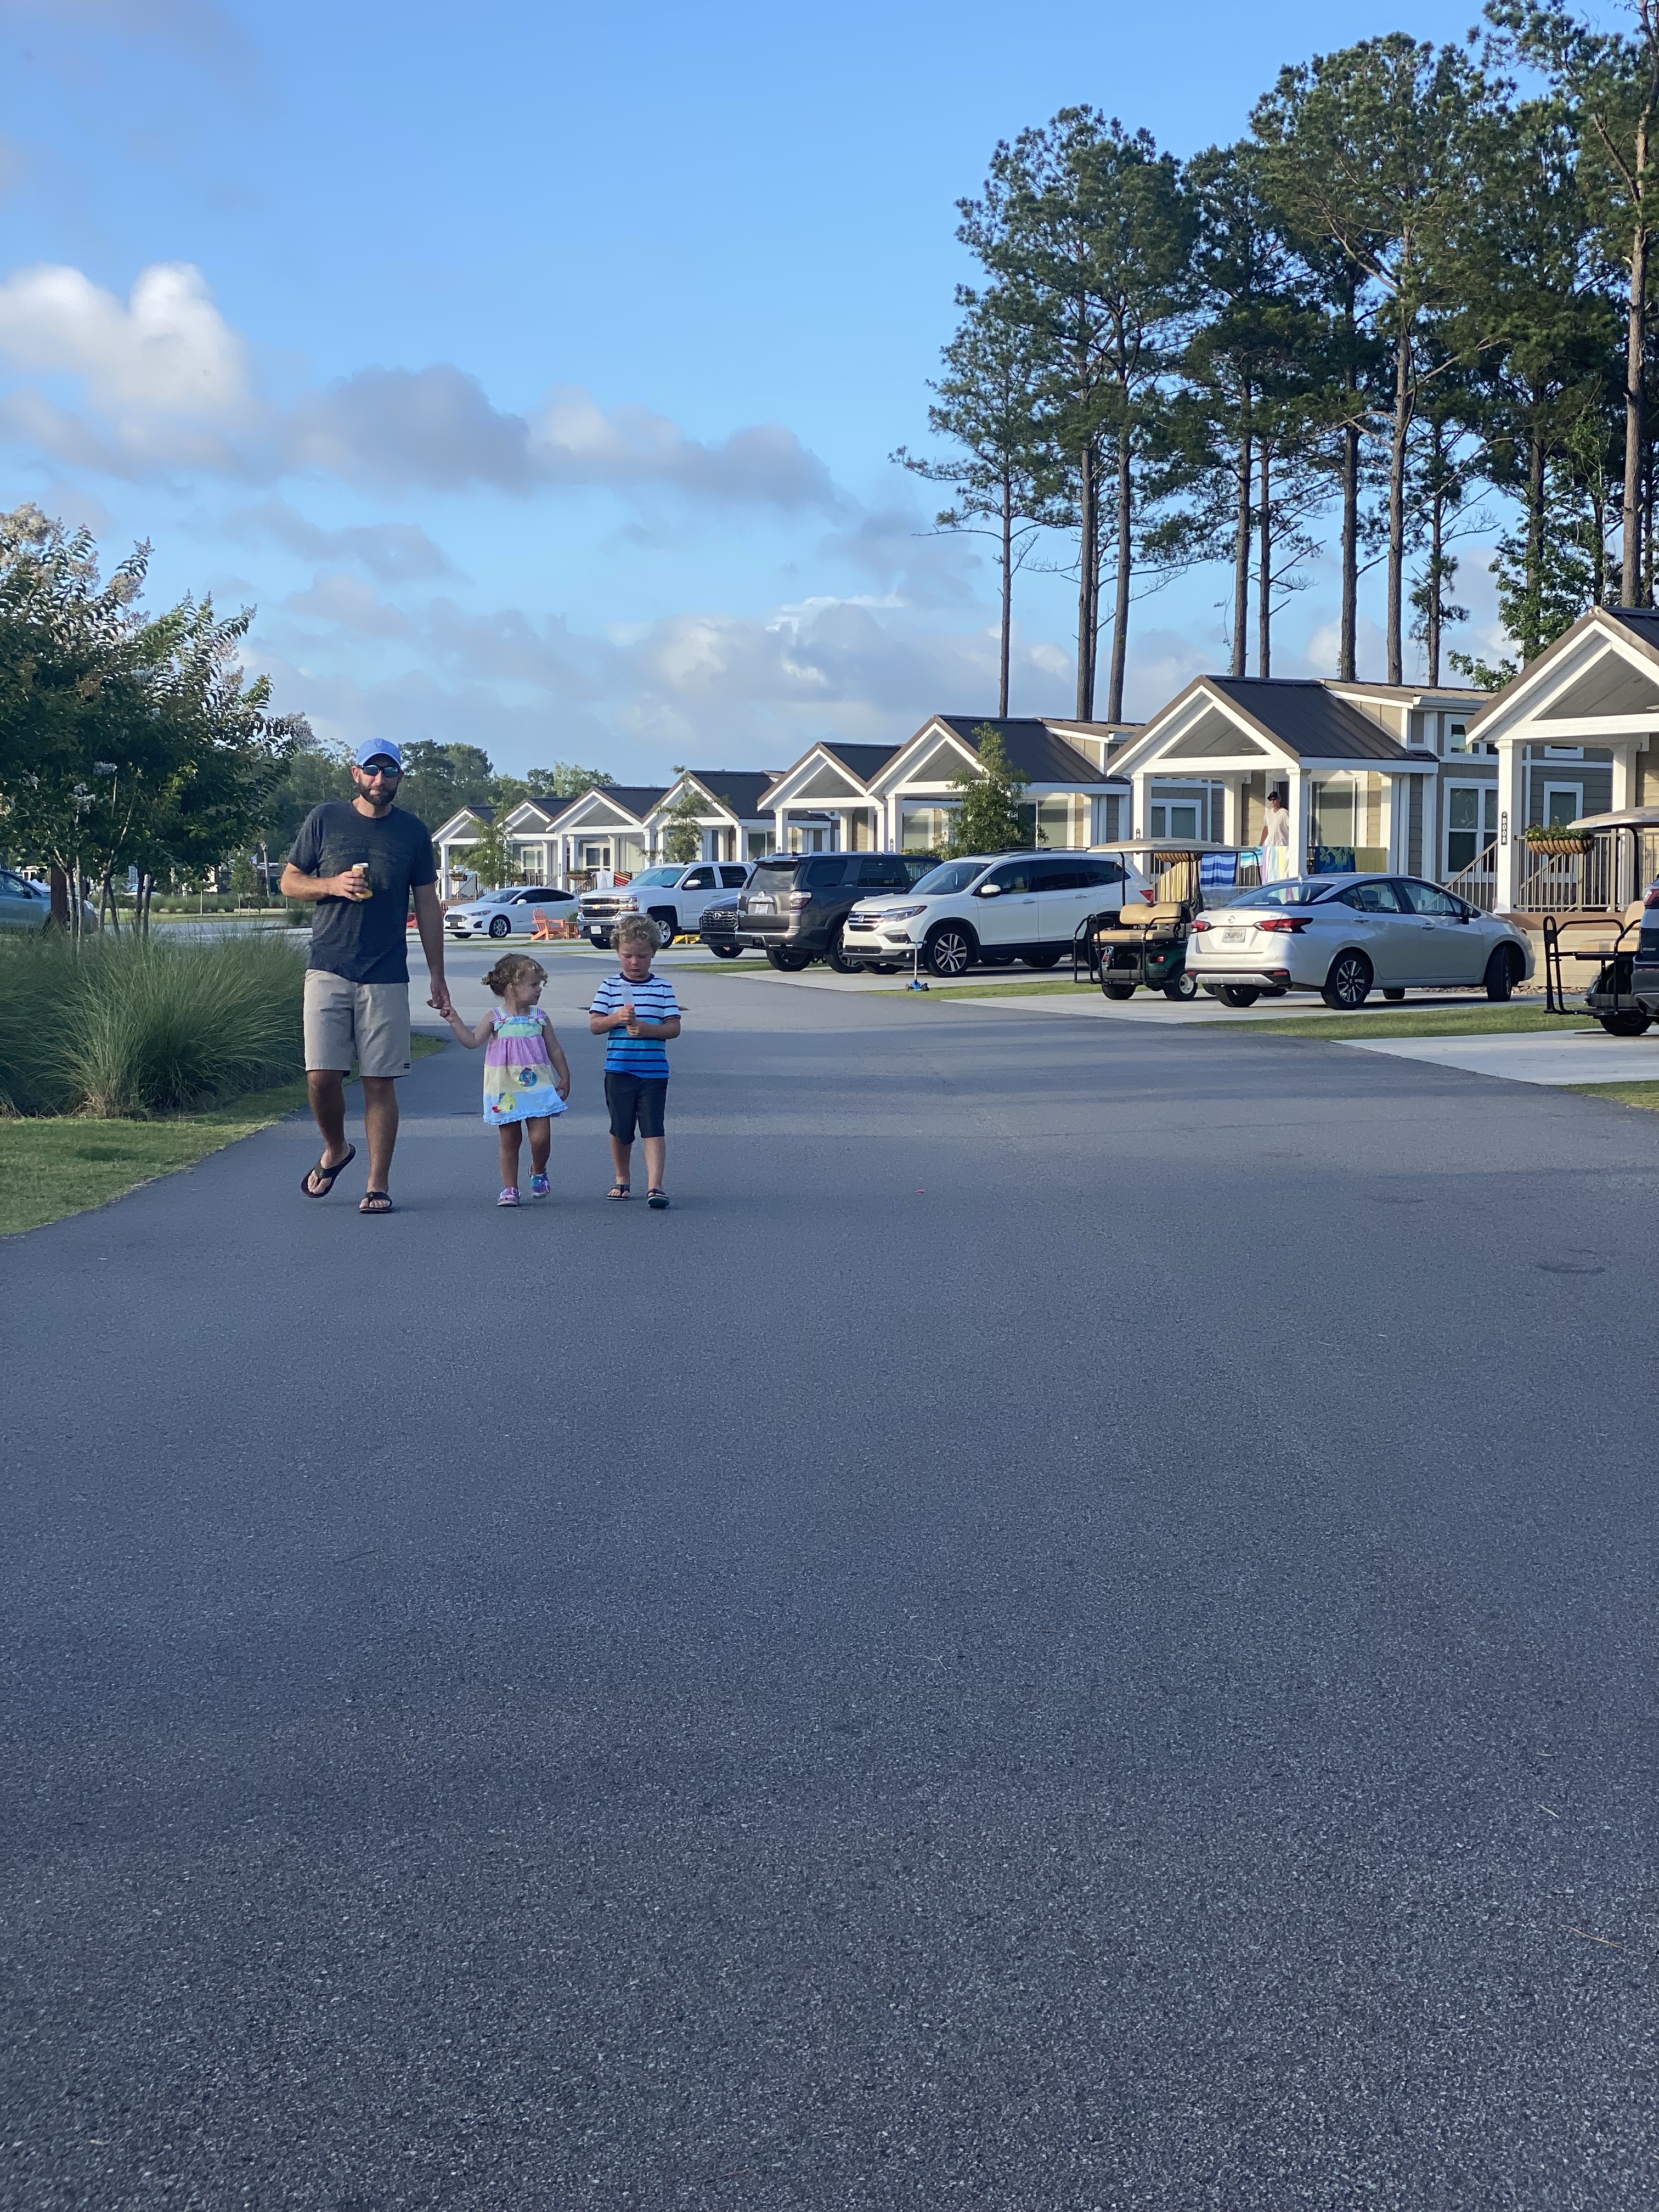
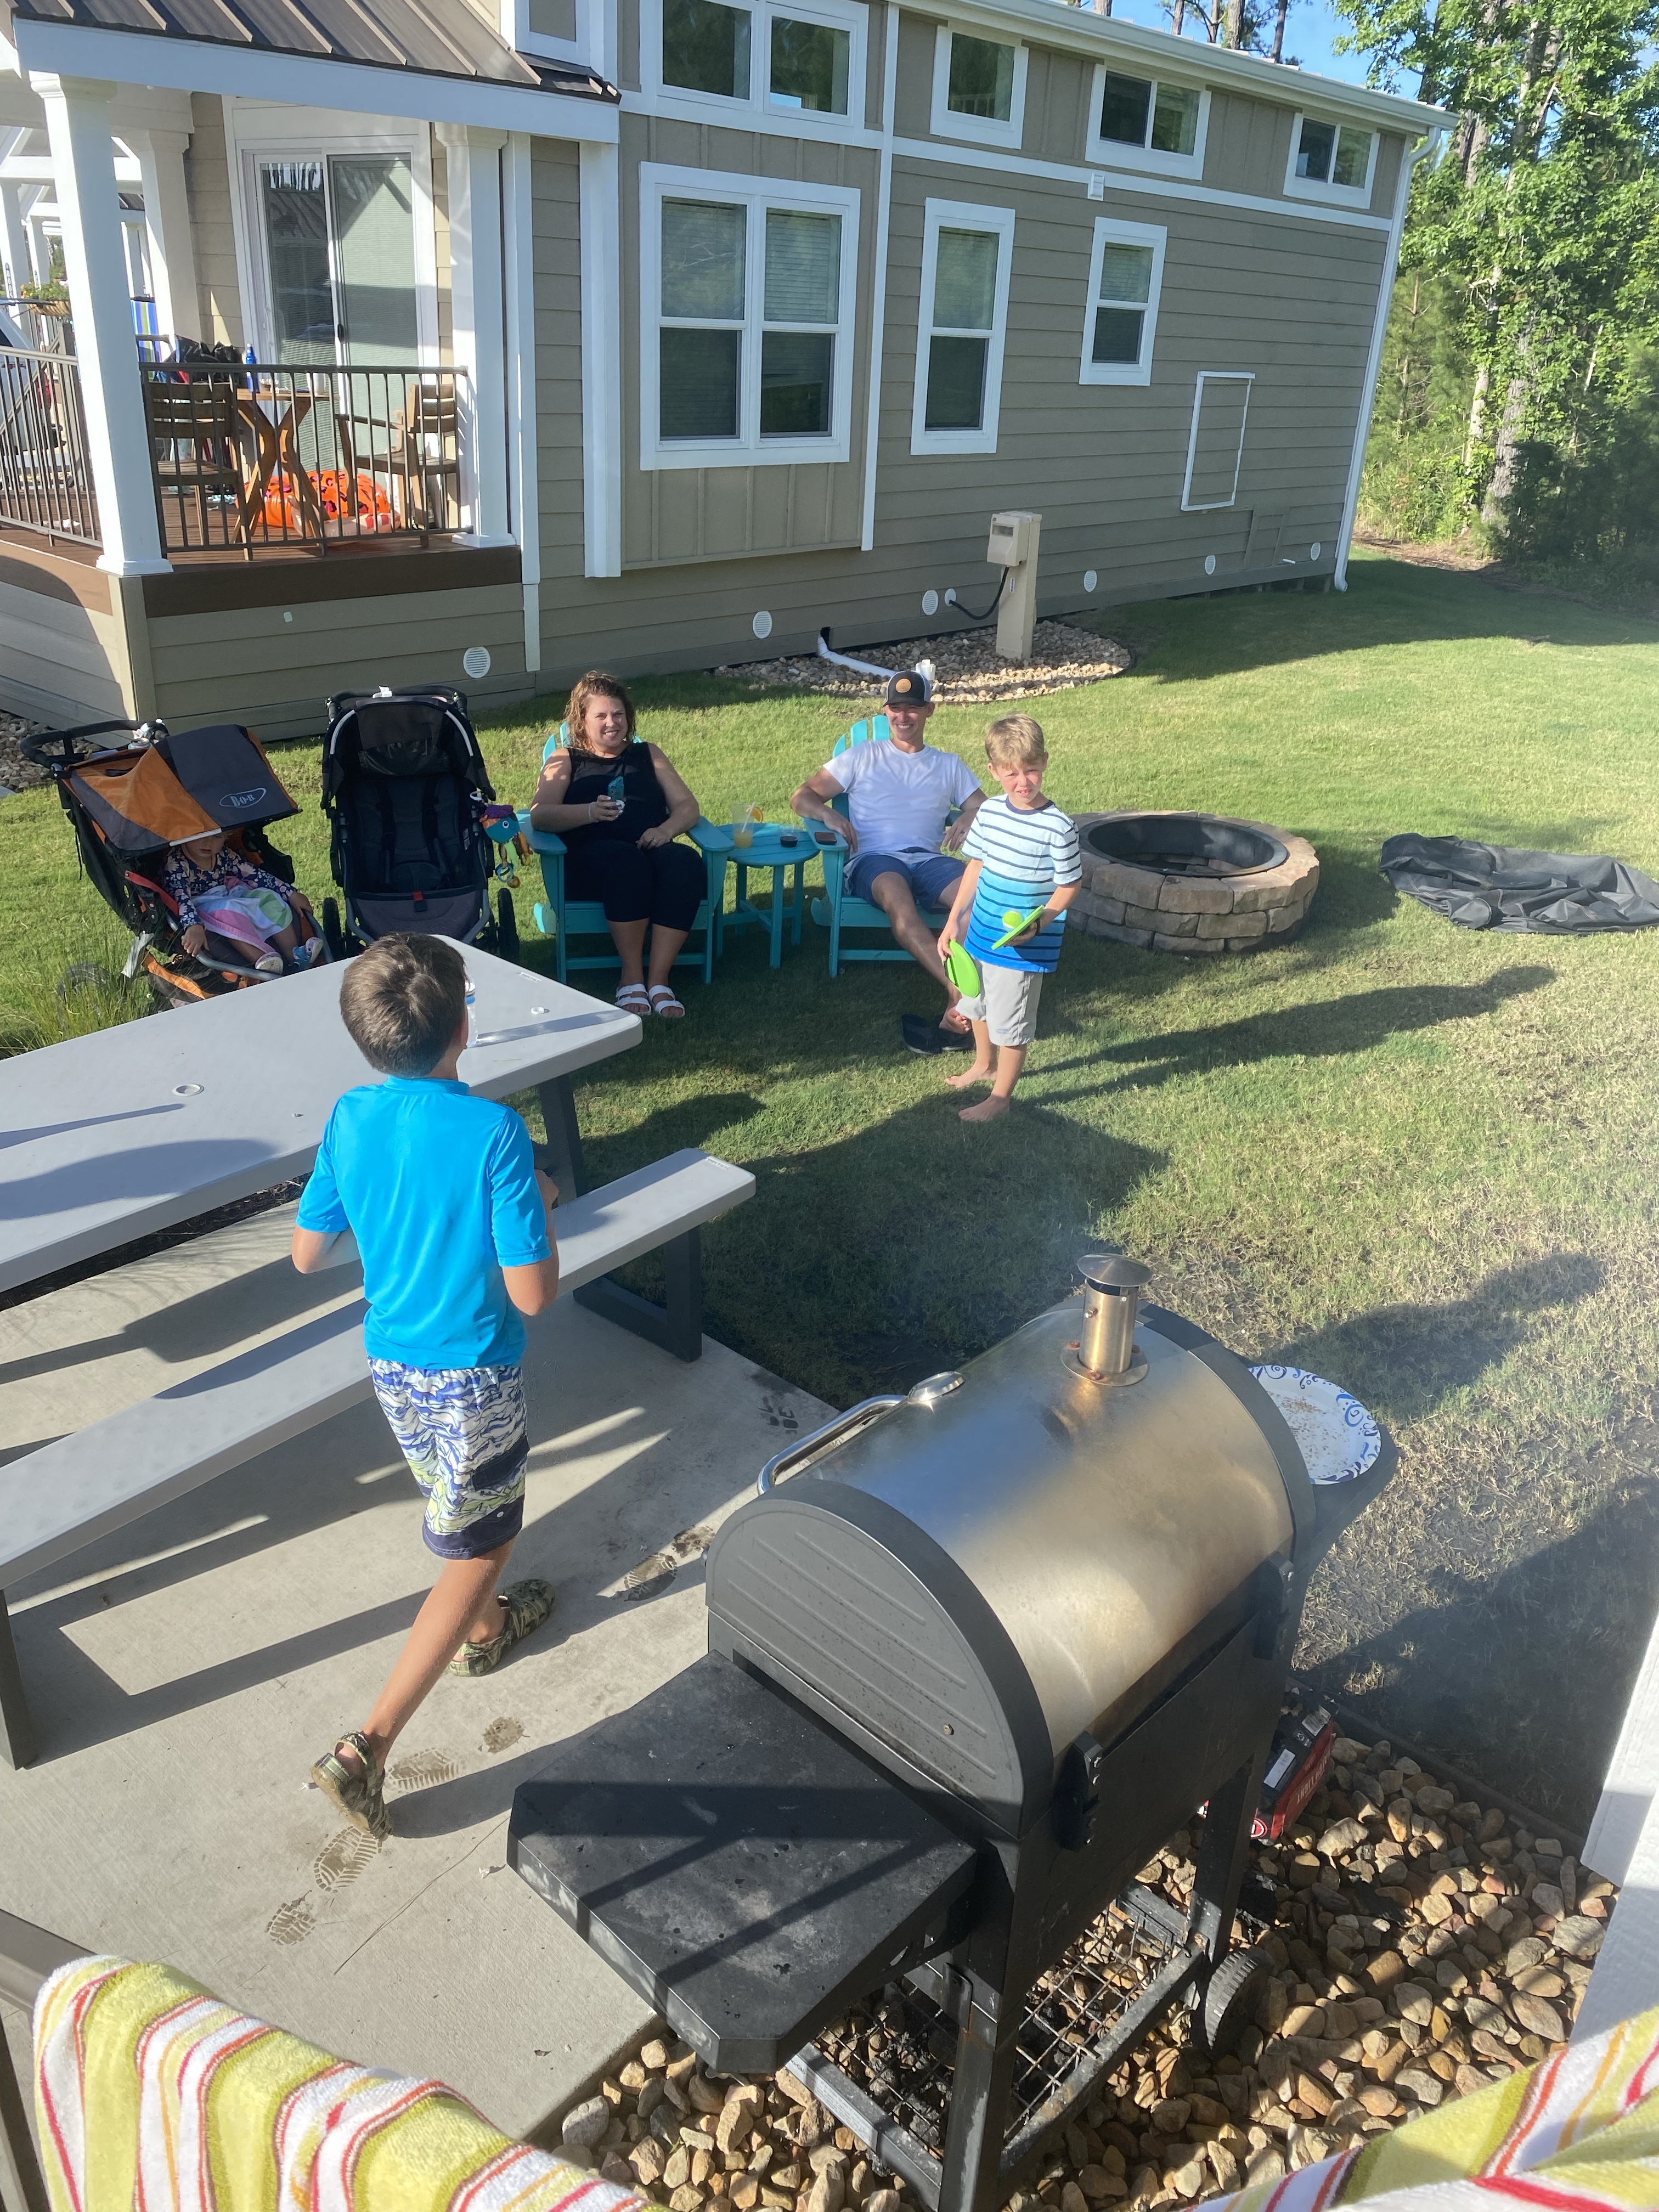
Tiny home accommodations, a water park, 4 pools, a lazy river, splash pad, putt putt course, sports courts, dog park, a jumping pillow for kids, beach volleyball, arcade, mini bowling, fitness center, beach shuttle transportation and scheduled events/activities for all ages? Such a place exists and it’s just a short drive from North Carolina.
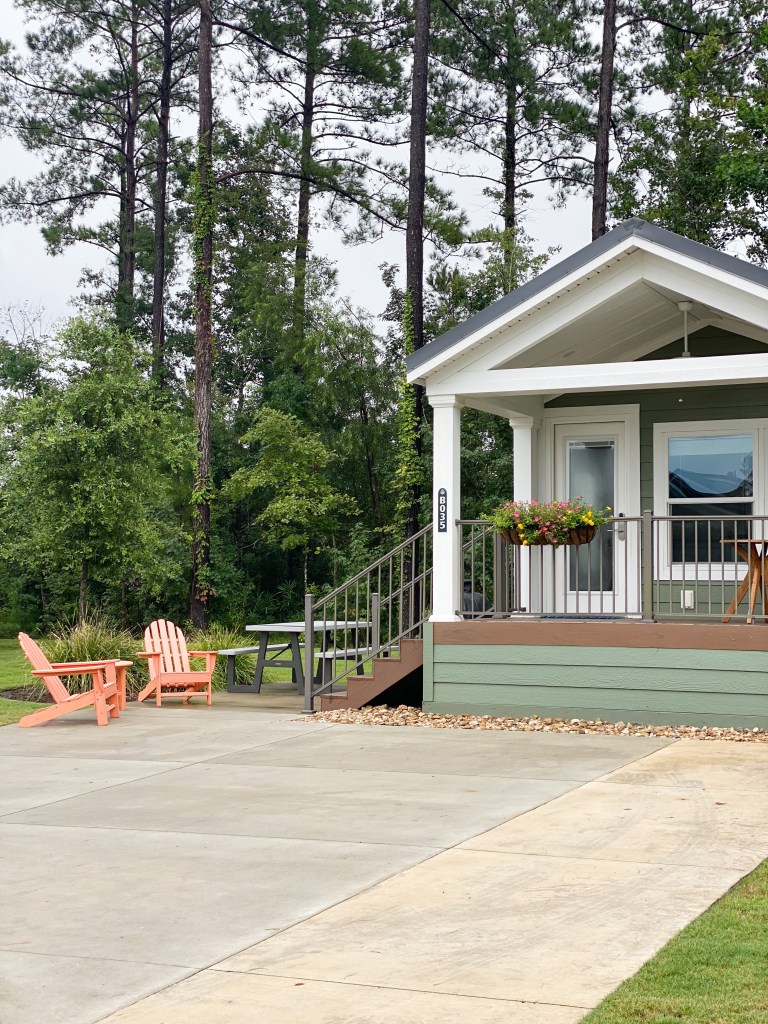
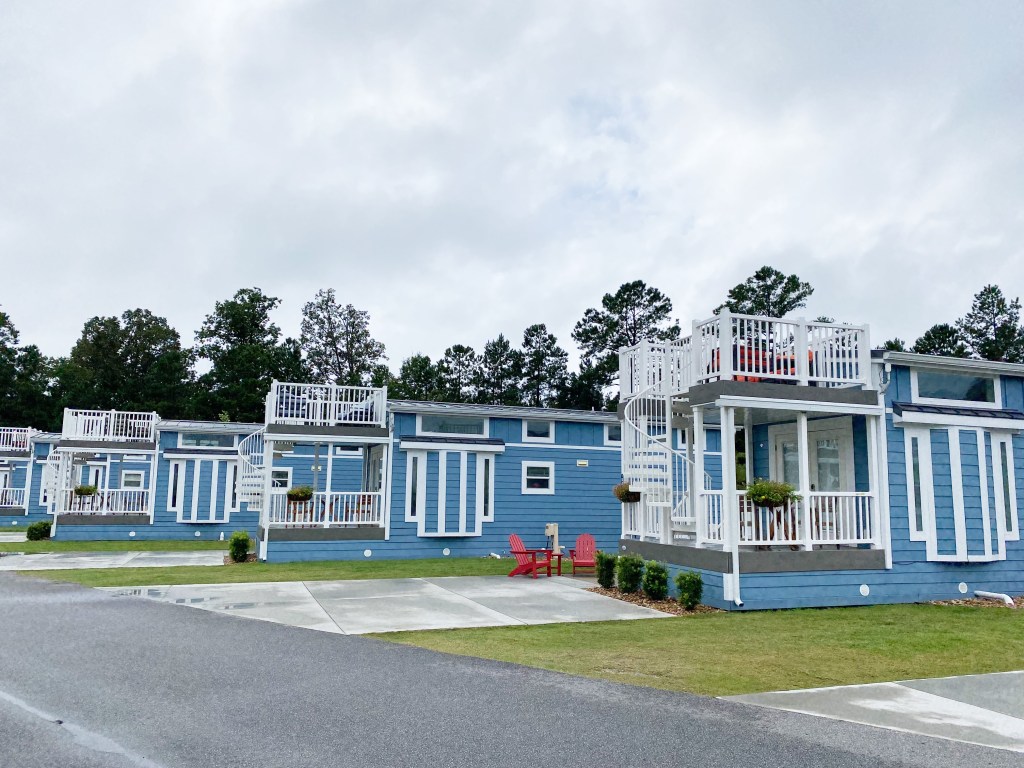
Located in Conway, SC, Carolina Pines is a beautiful RV Resort. But wait, you don’t have to have an RV to stay. There are 4-5 types of cottages (aka, tiny homes) you can rent that will accommodate families (handicap accessible is available).
20212022
As someone who grew up camping on many family vacations from beaches to the mountains, this was taking that experience to the next level.
Our first trip was in 2021. We went in late April as a surprise for our oldest’s birthday. Picking up our son a little early from school just to tell him we were going on a surprise family birthday trip is such a fun memory for me. Having never heard of the place, he didn’t know what was coming.
Our boys are busy bodies. From sun up to sun down, there isn’t much time of rest and for that reason, I opted we didn’t rent a golf cart and packed their scooters. I’m so thankful we did this because the tiny home rental was just a short walk from the main attractions. There are bike racks all over the resort for kids to park scooters and bikes.
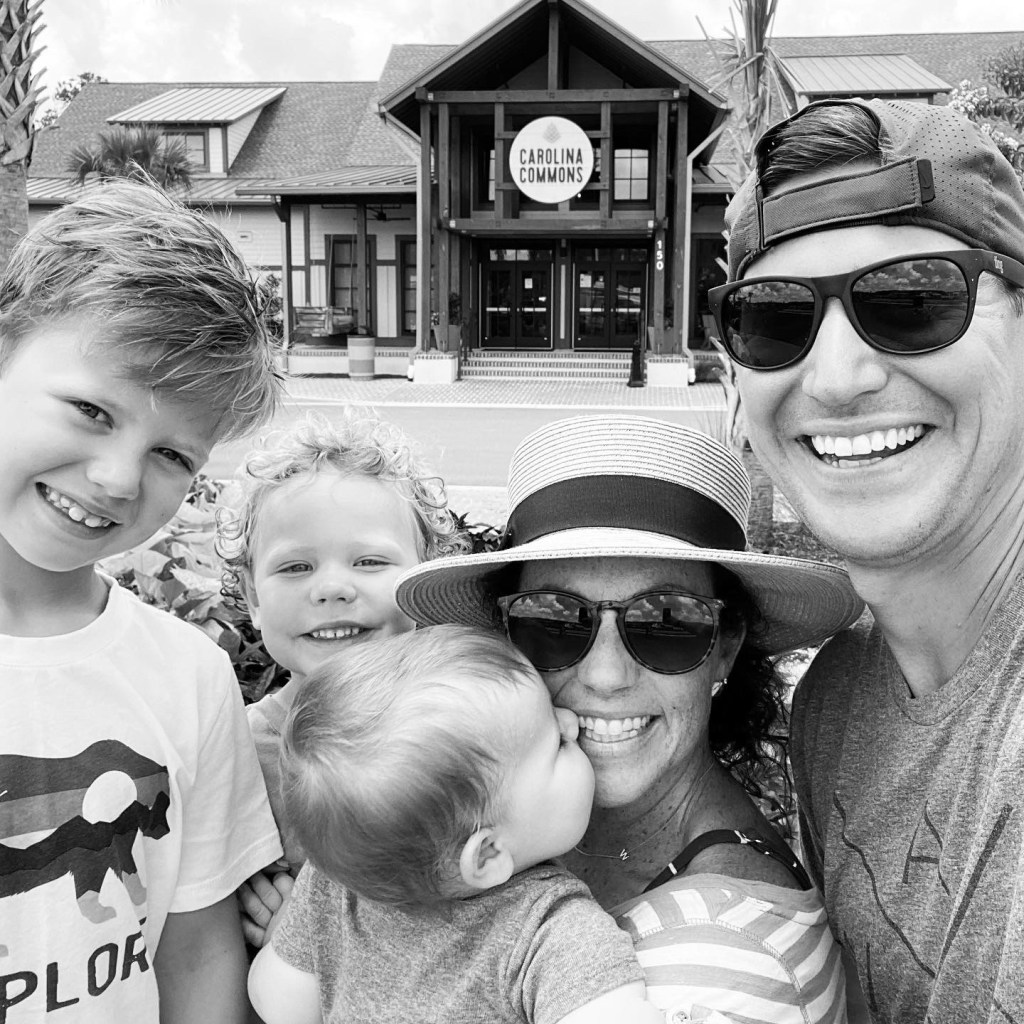
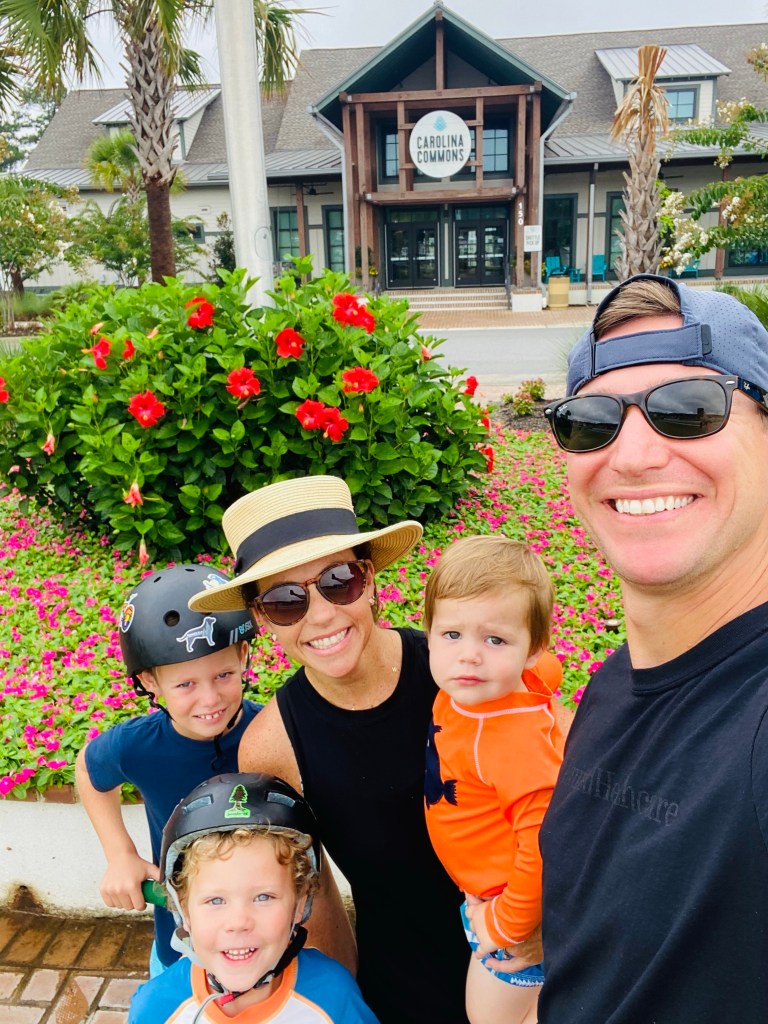
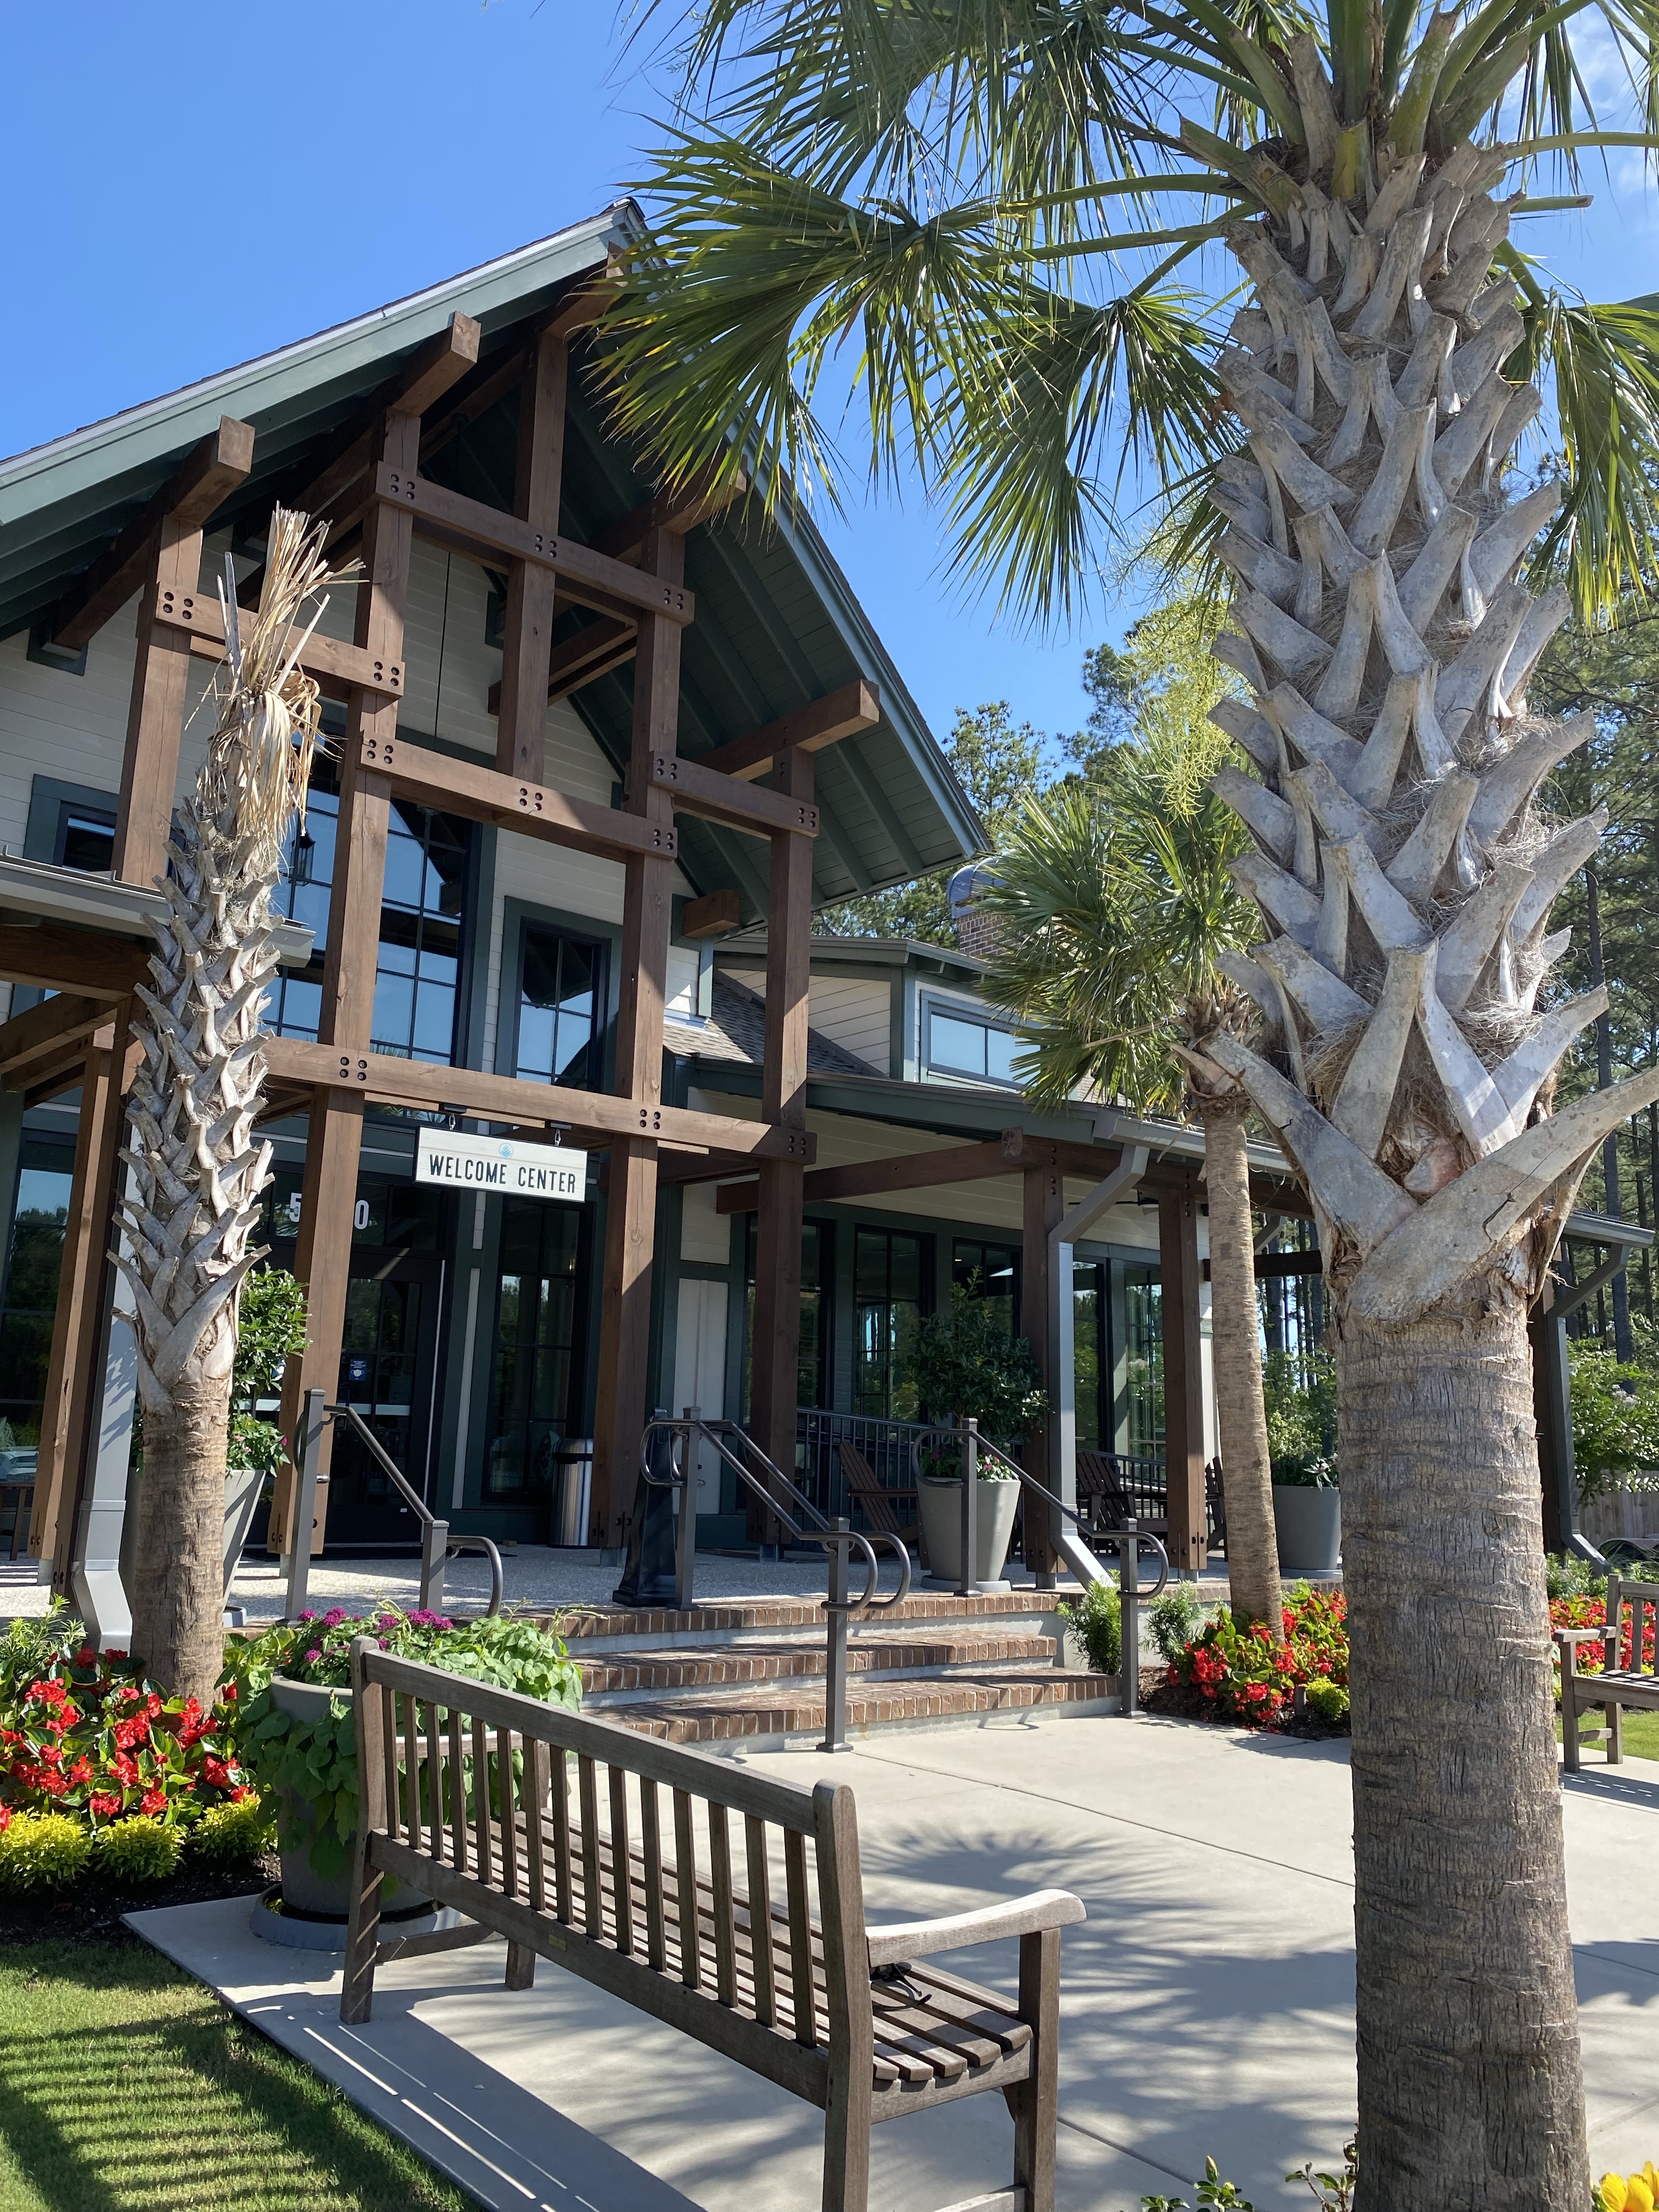
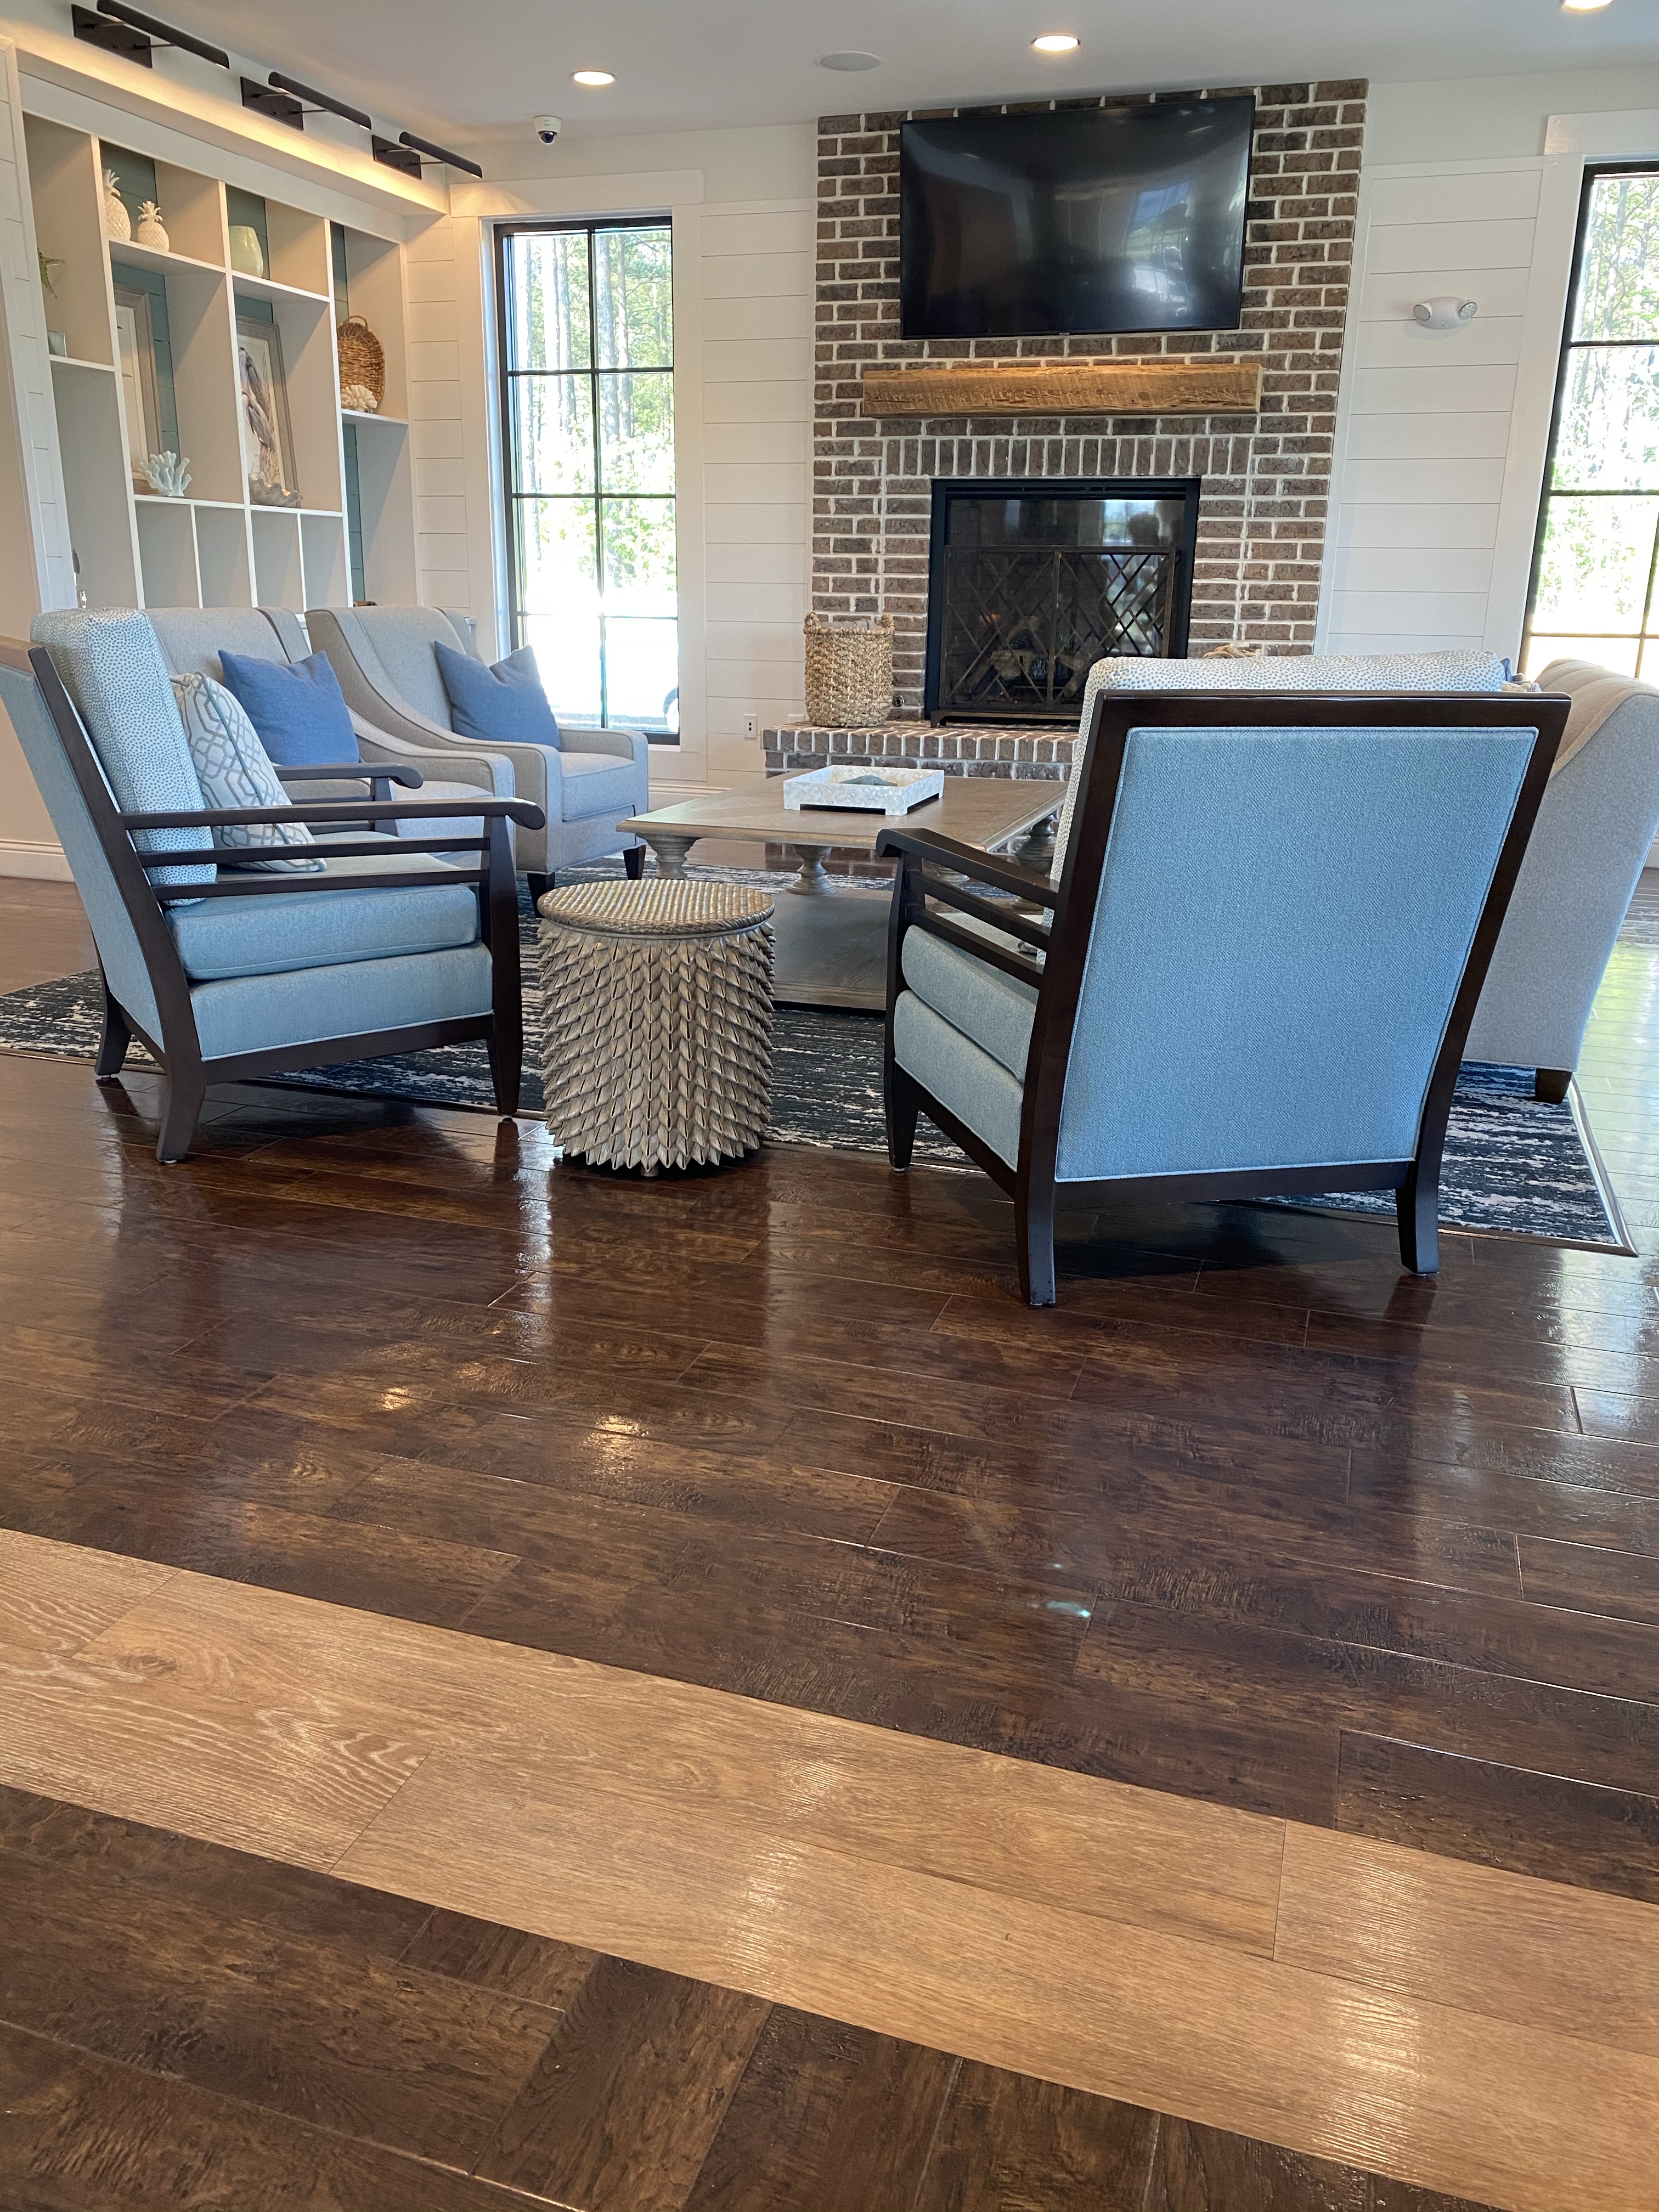
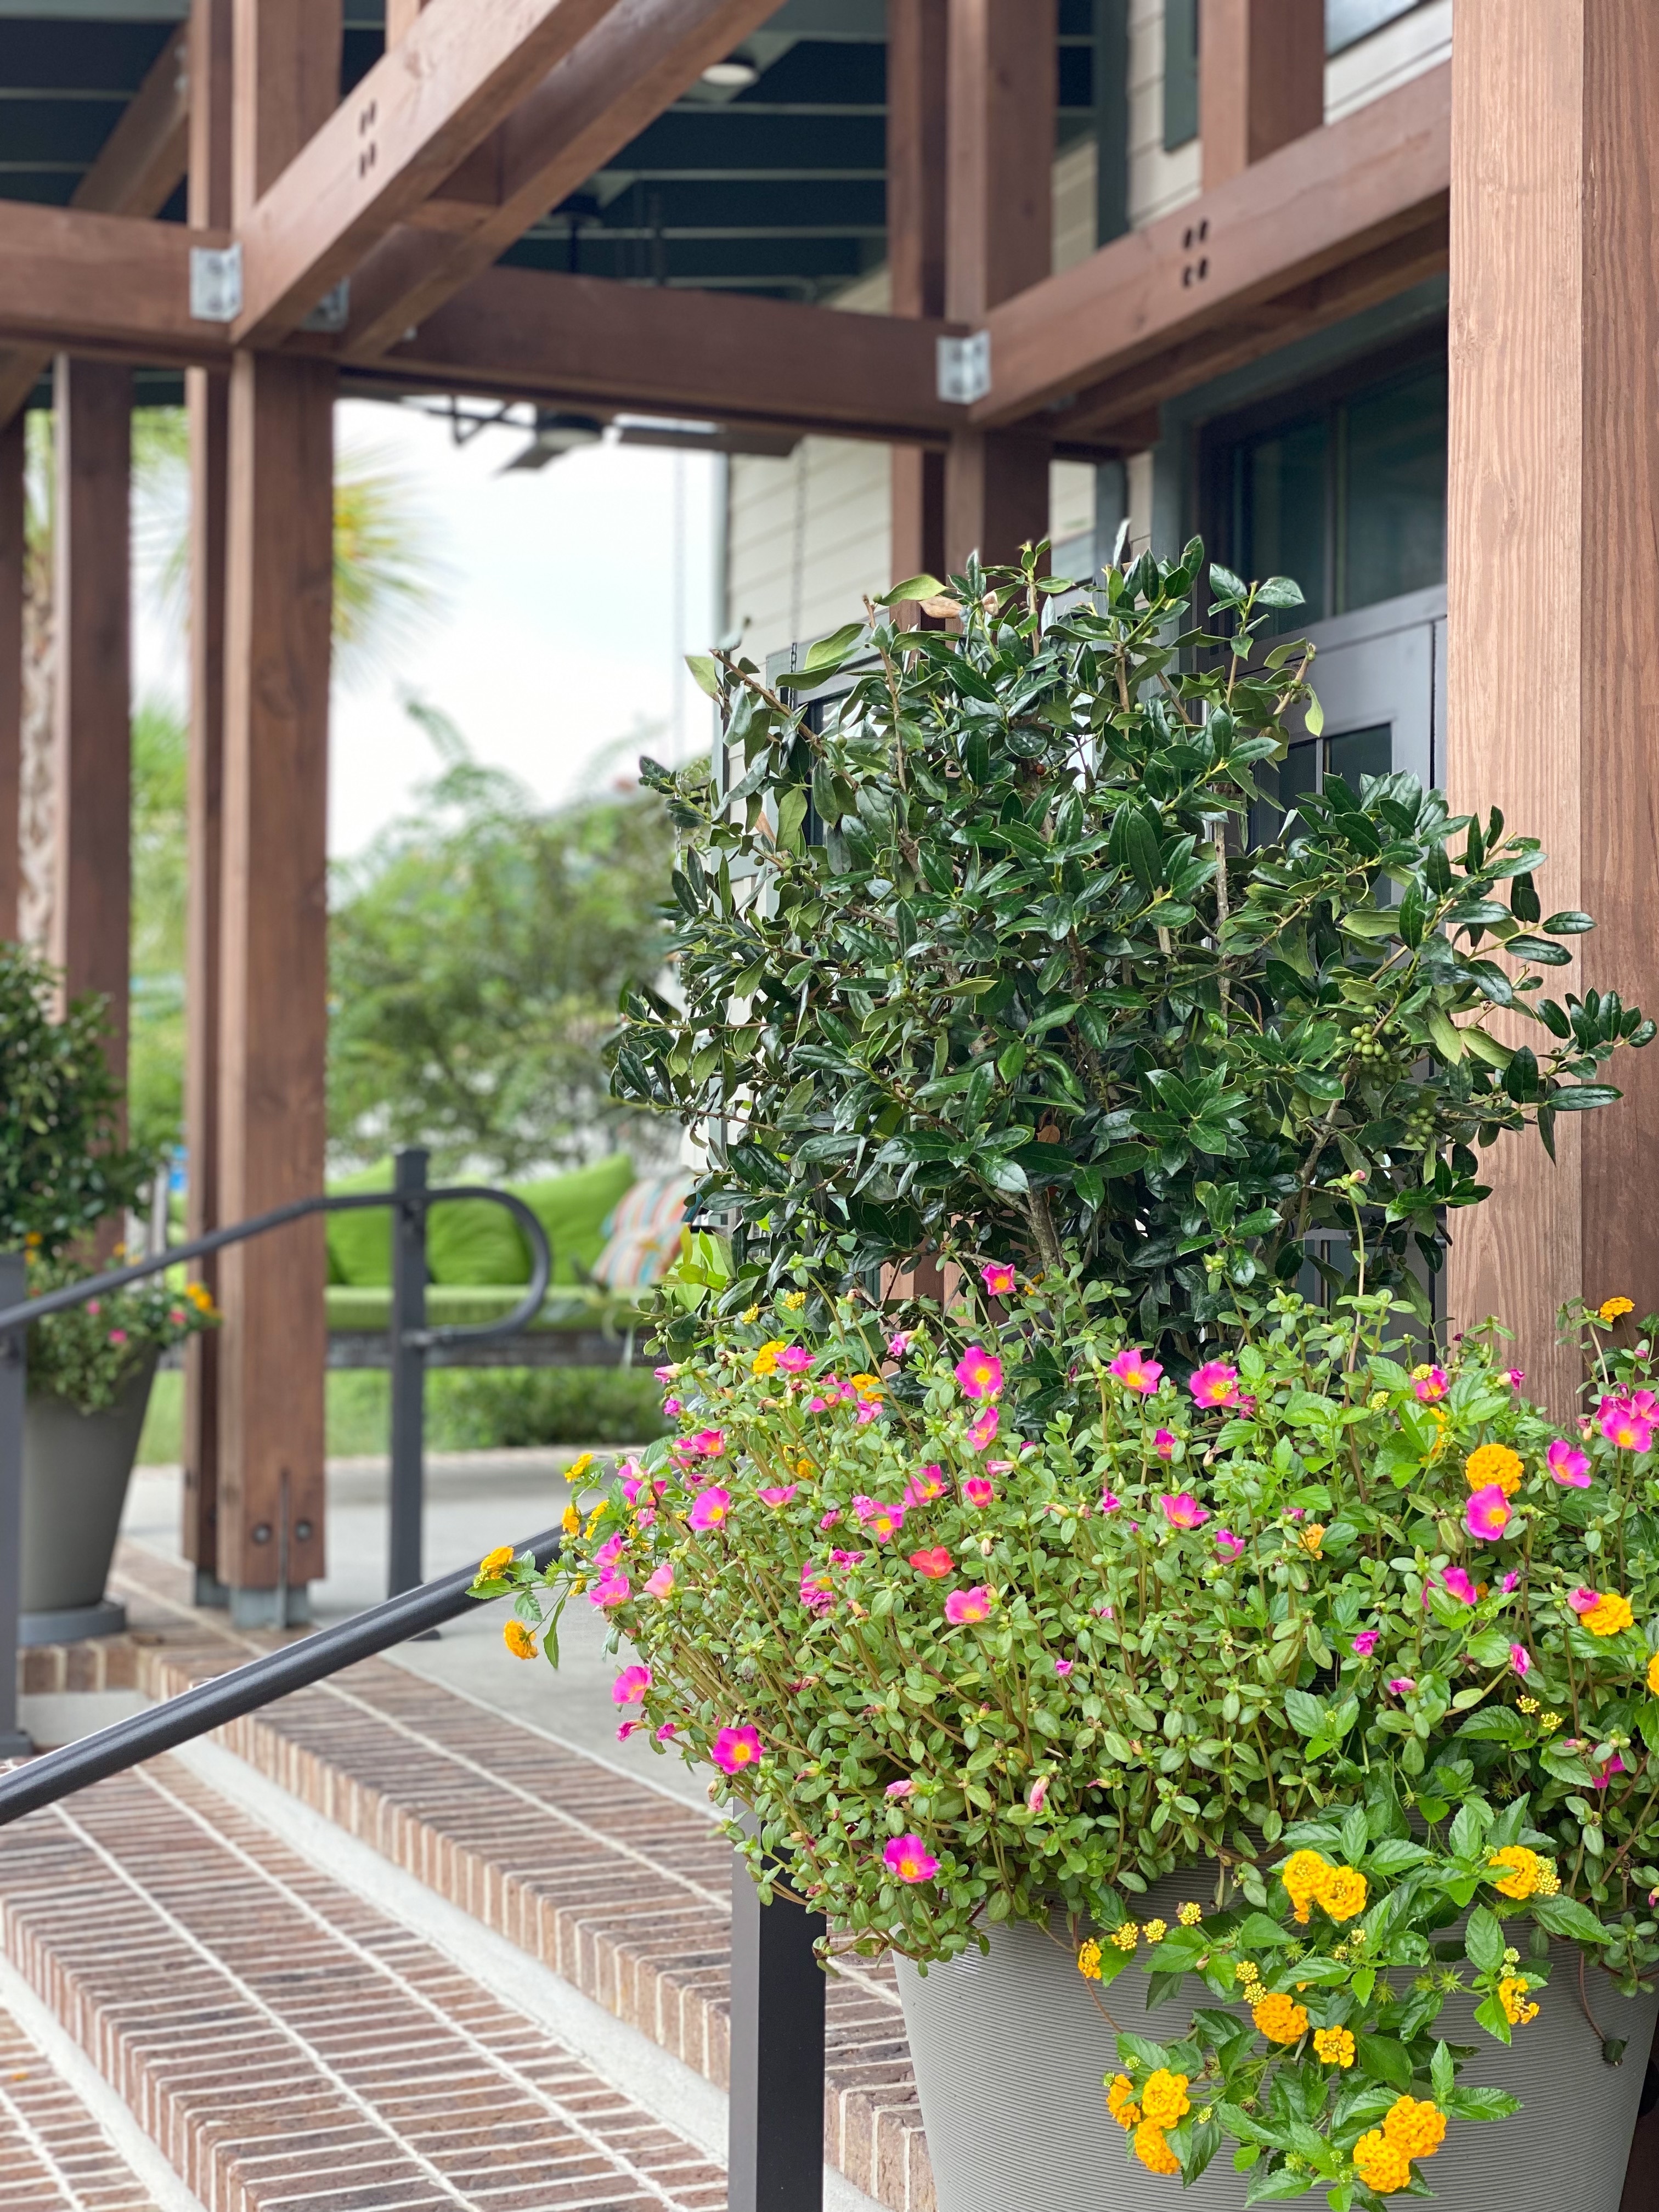
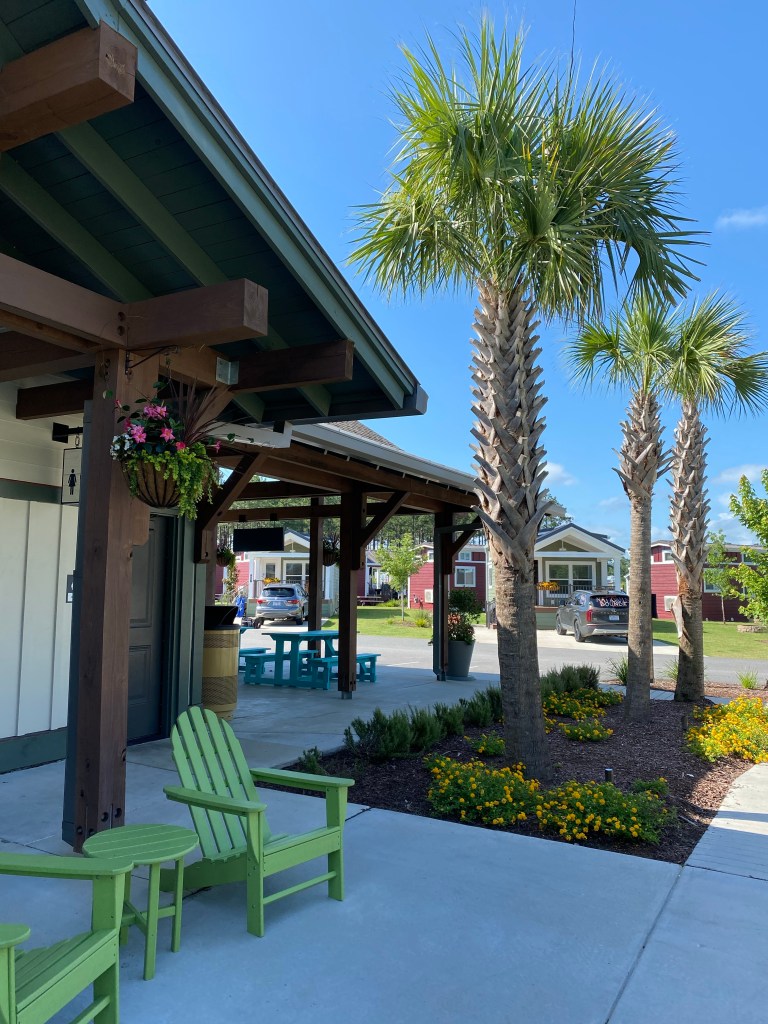
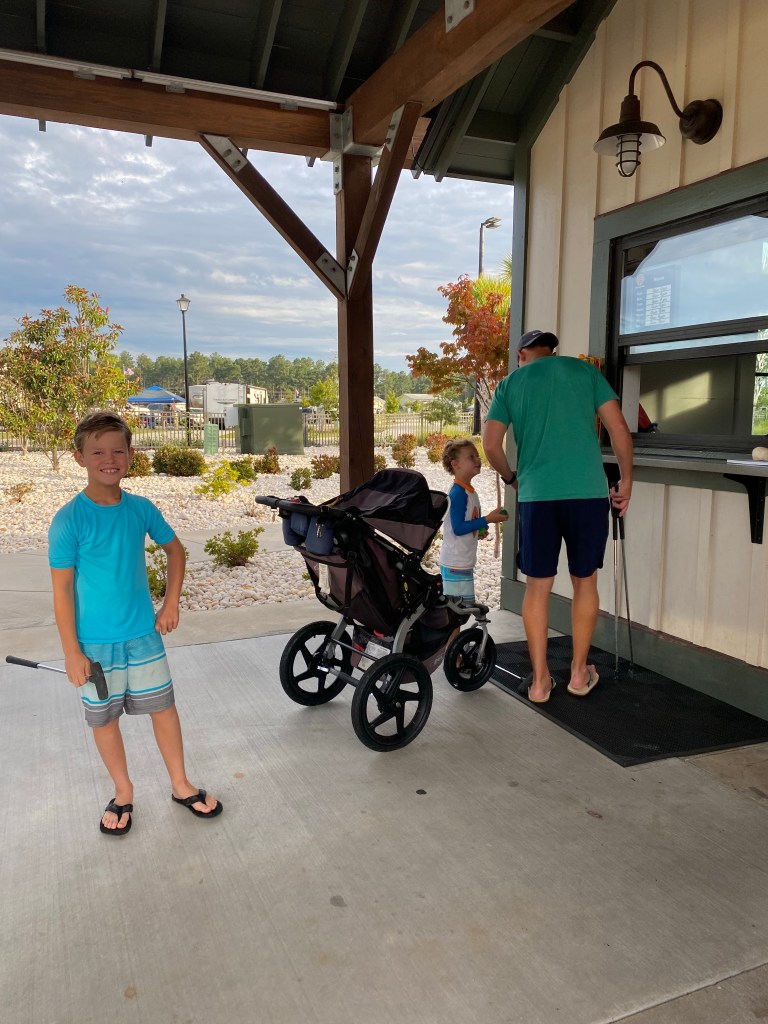
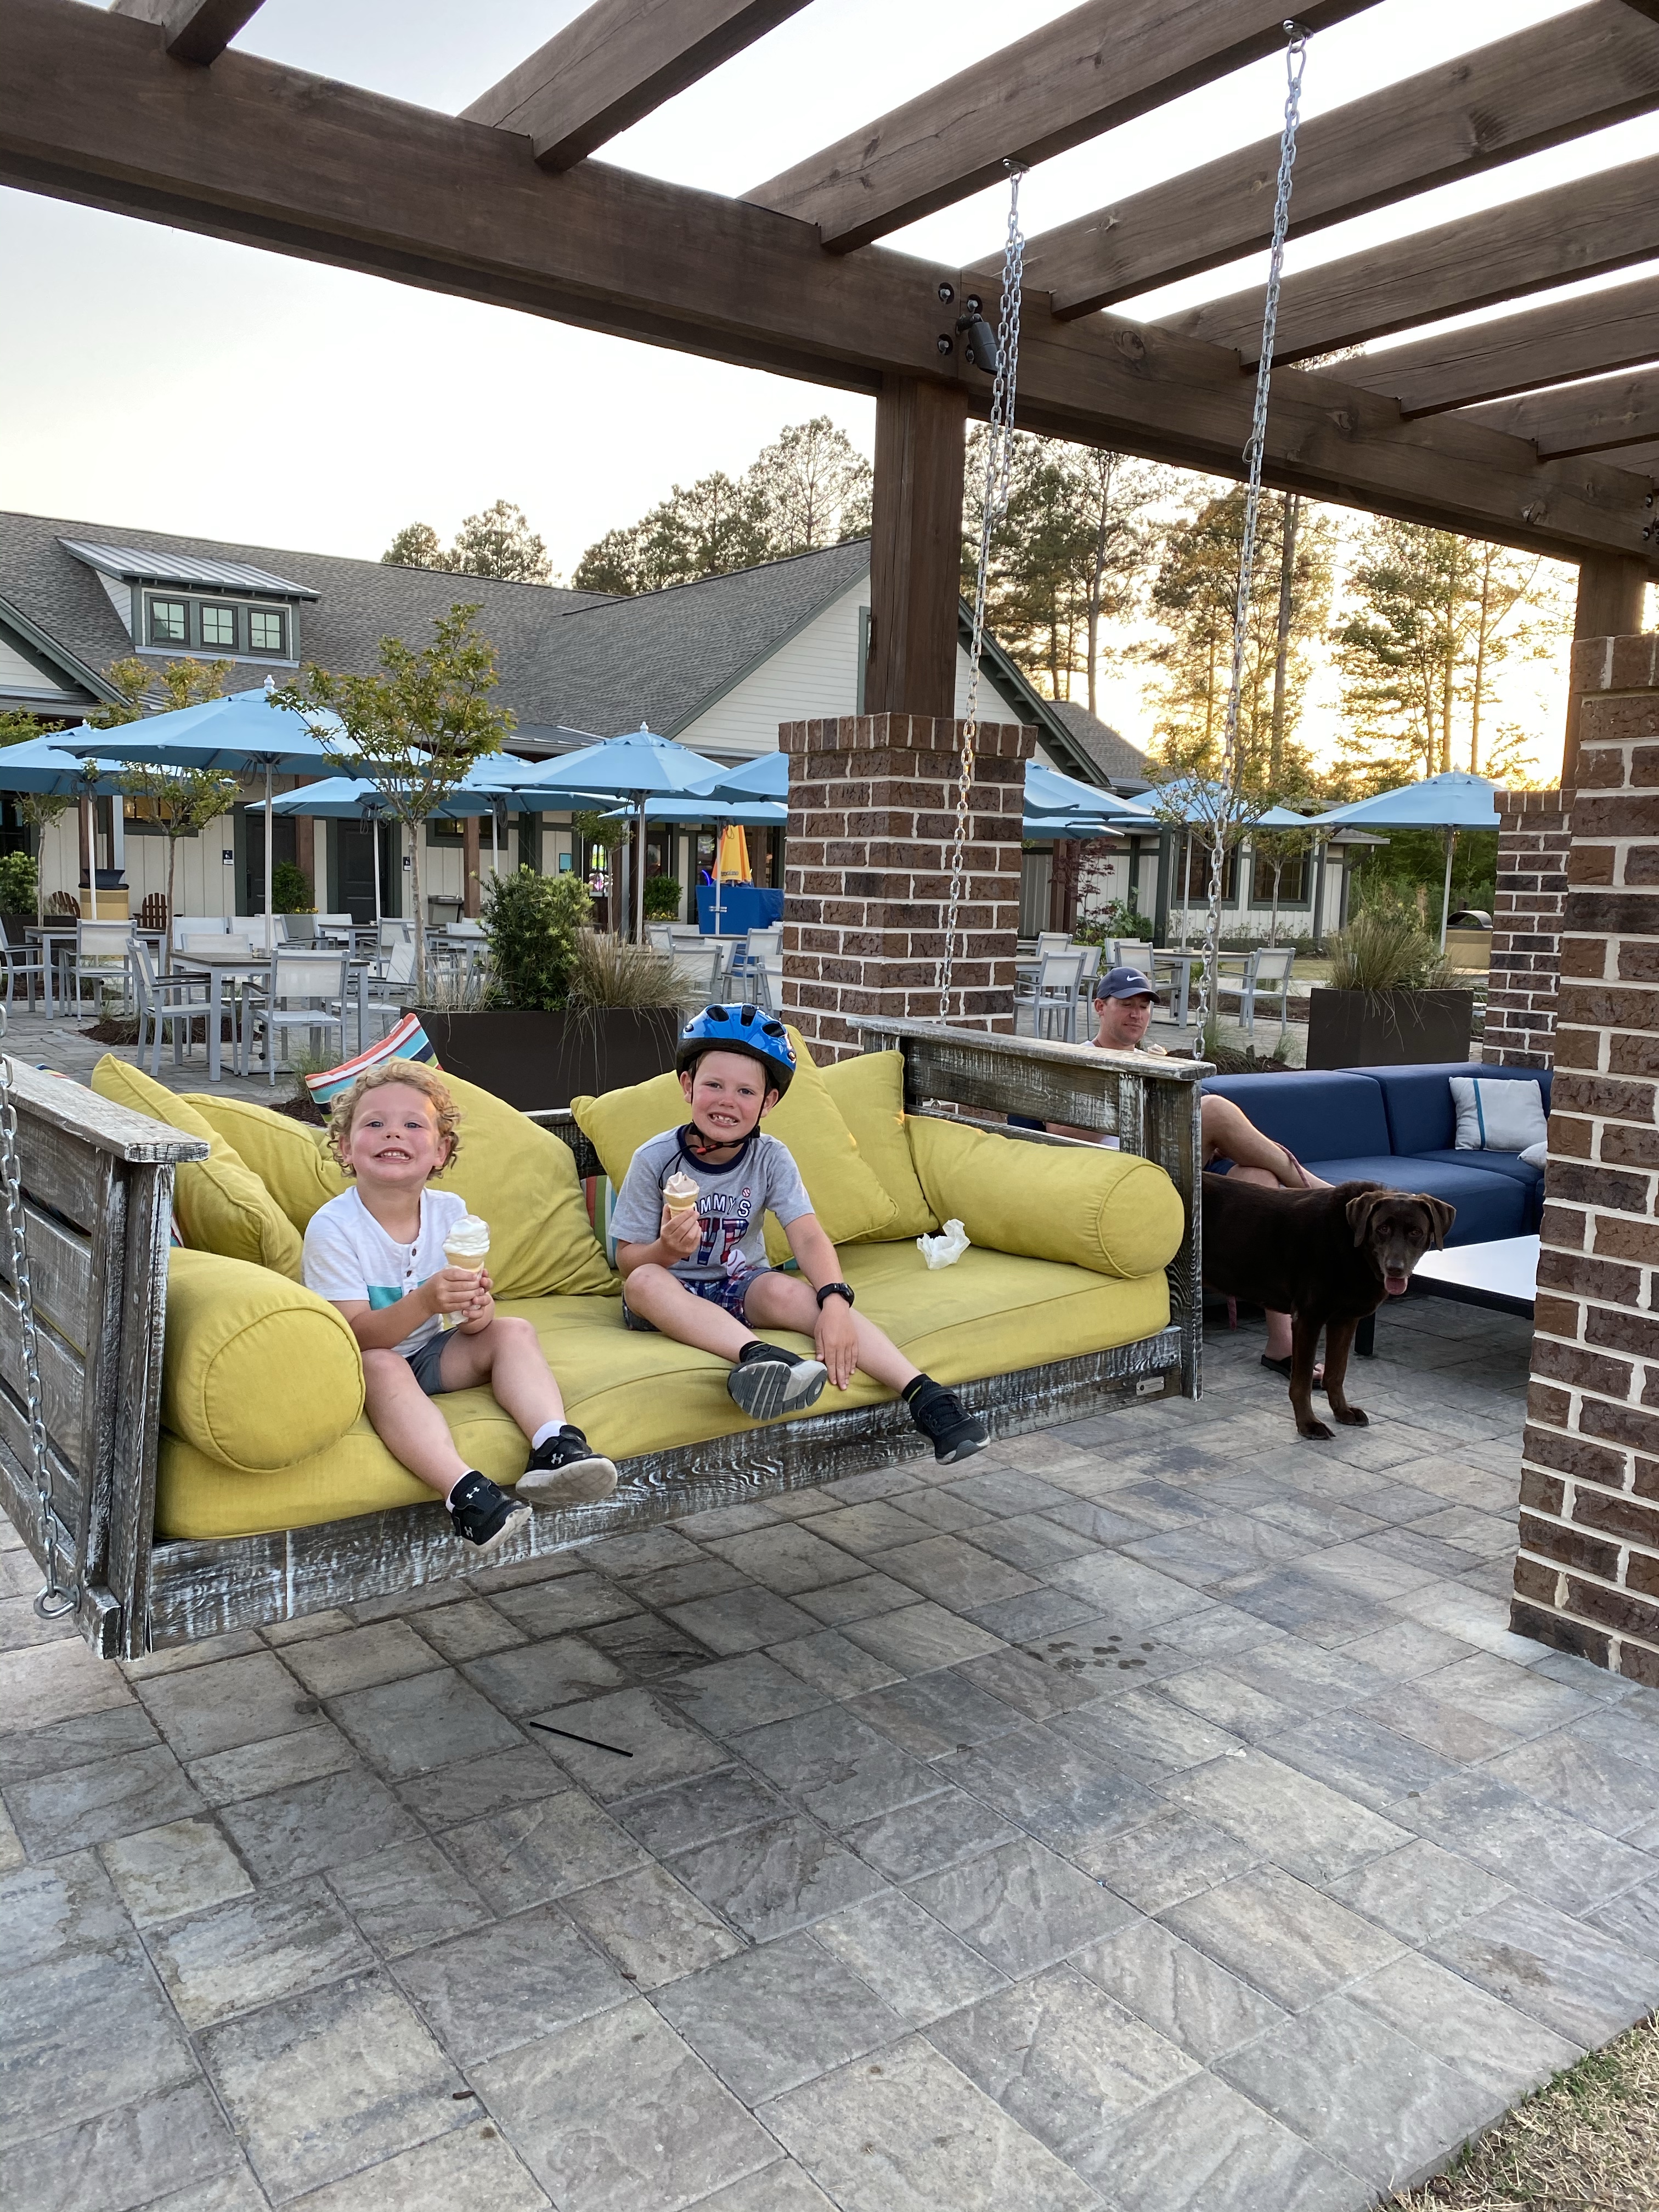
Our first two trips to Carolina Pines had perfect weather so we were able to enjoy all of the amenities. Check-in is at 3PM; however, you can arrive early and pay a small fee to enjoy the resort amenities. The Welcome Center is beautifully decorated and has very nice bathrooms that you can quickly change into your bathing suits after you check-in. Personally, I recommend arriving early if you can. This will give you an opportunity to drive around the entire property to familiarize yourself with where everything is and make a plan for what you want to do first.
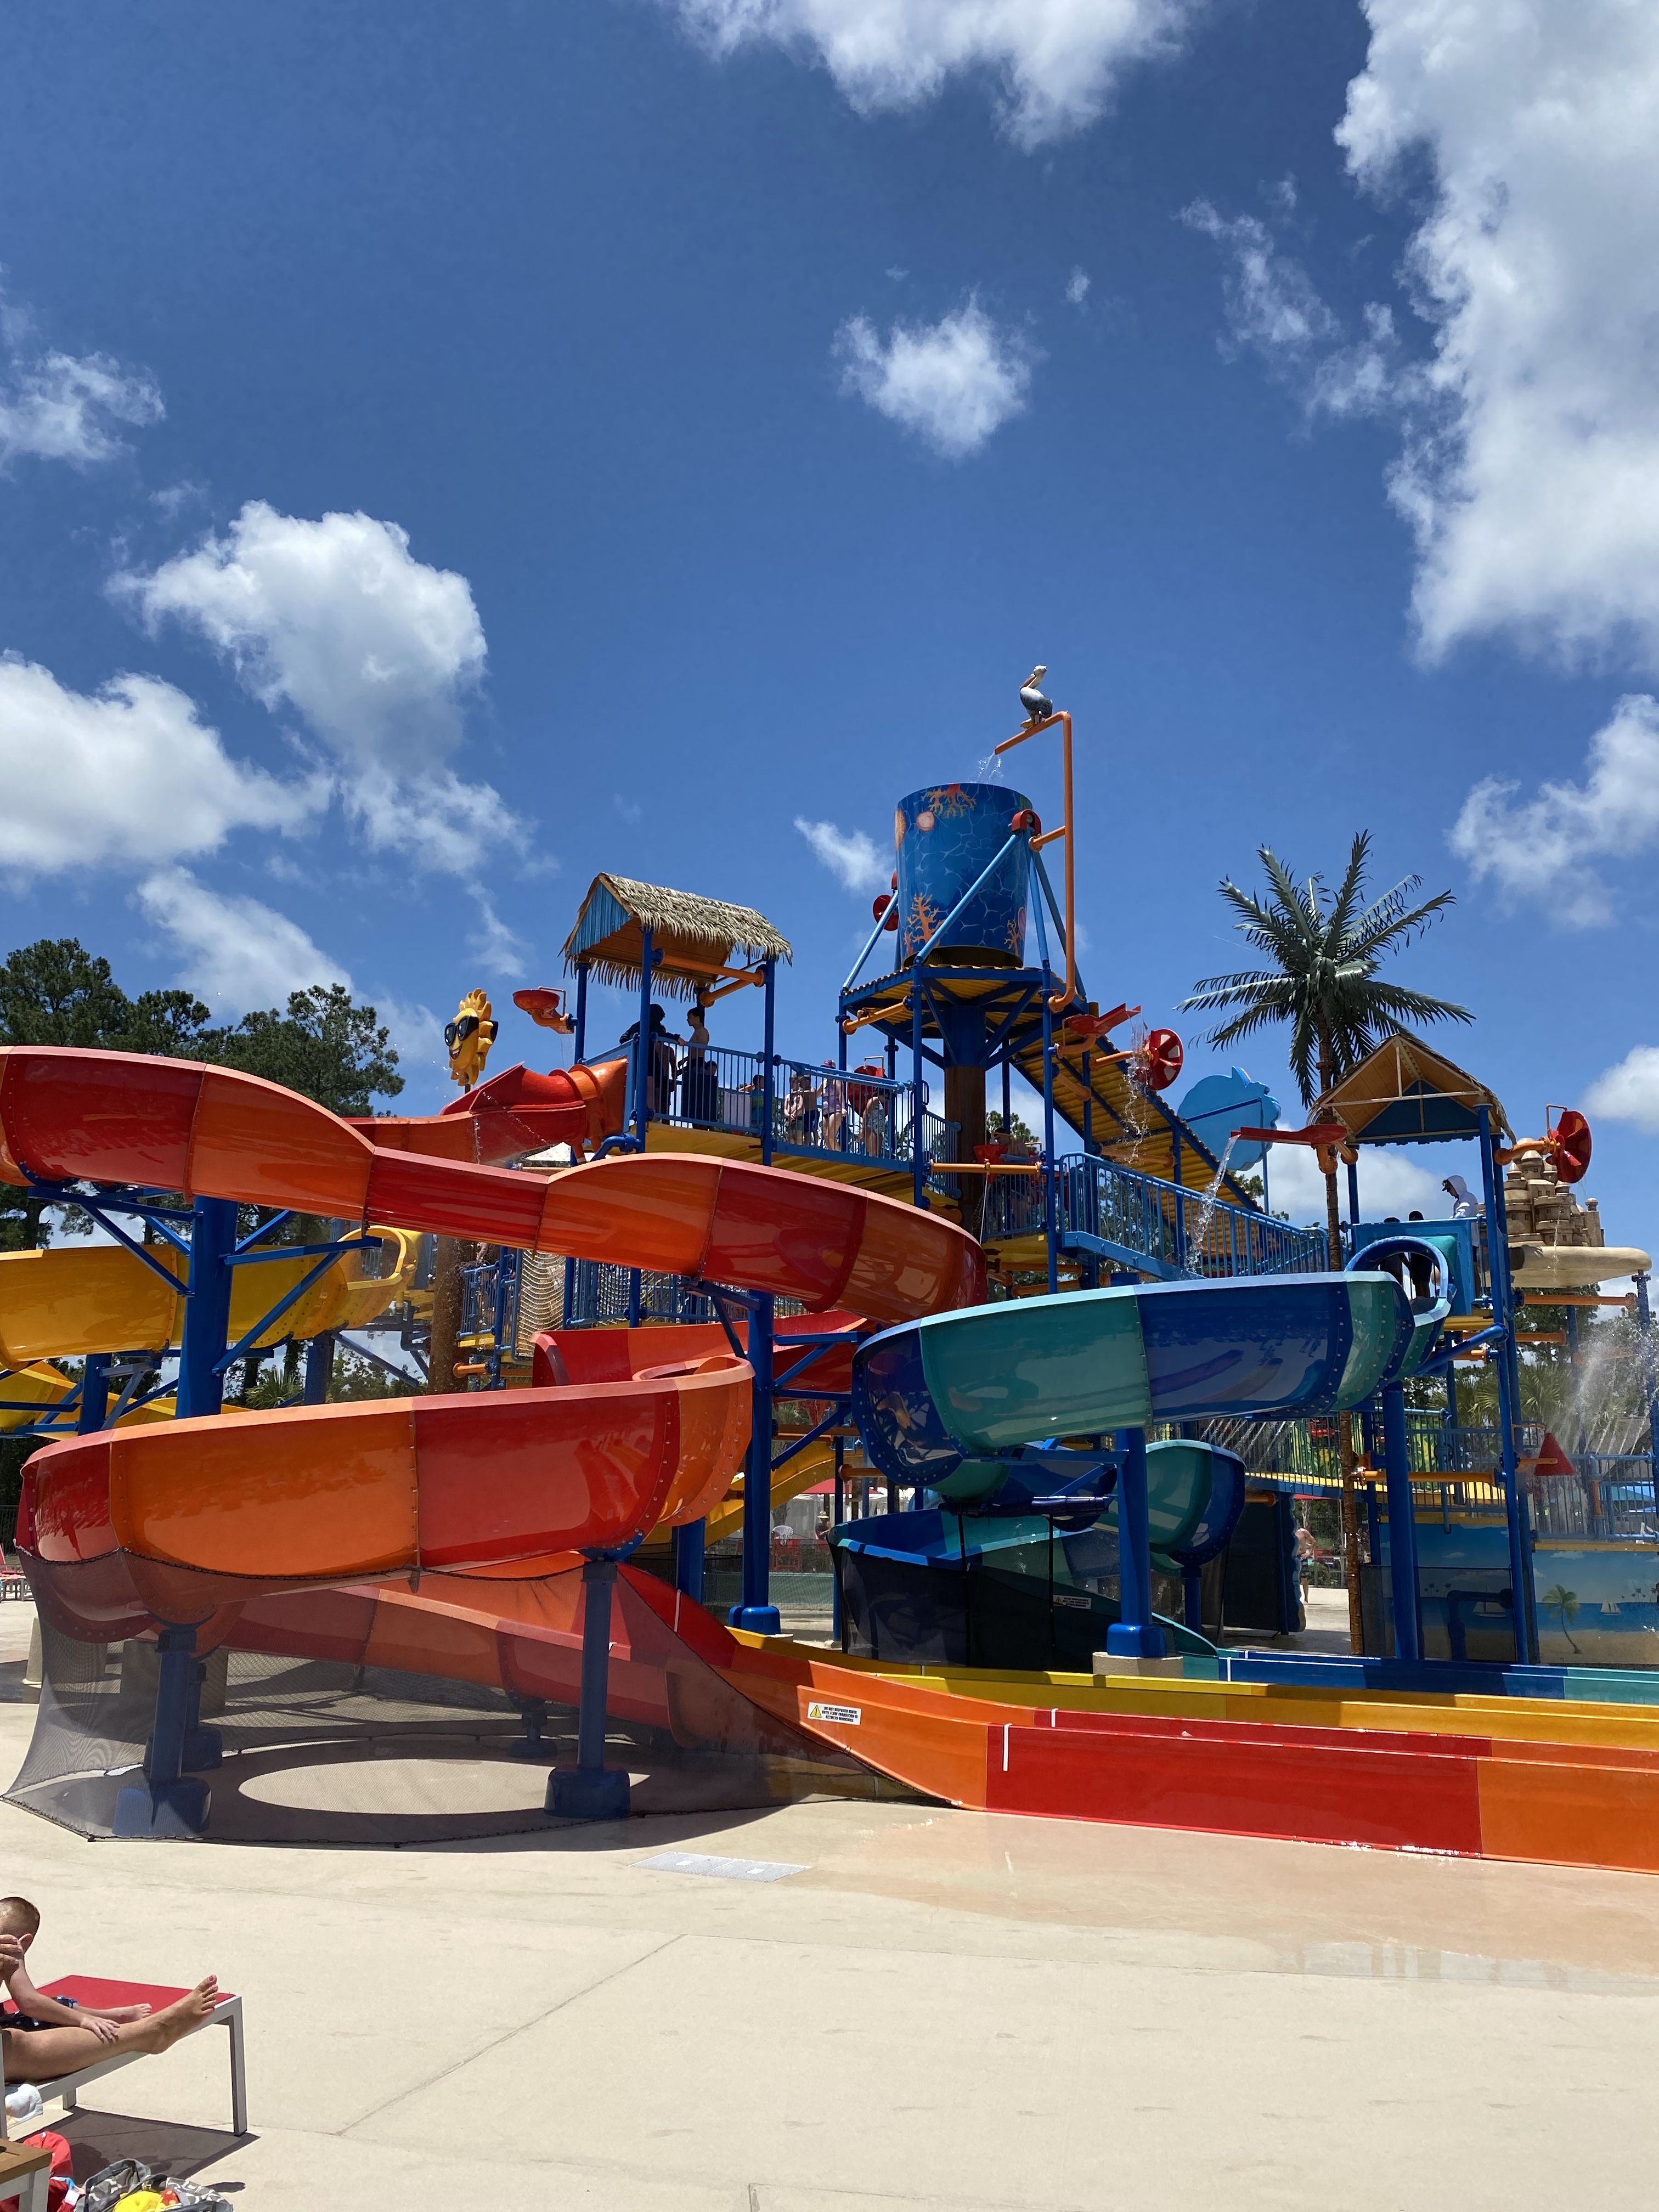
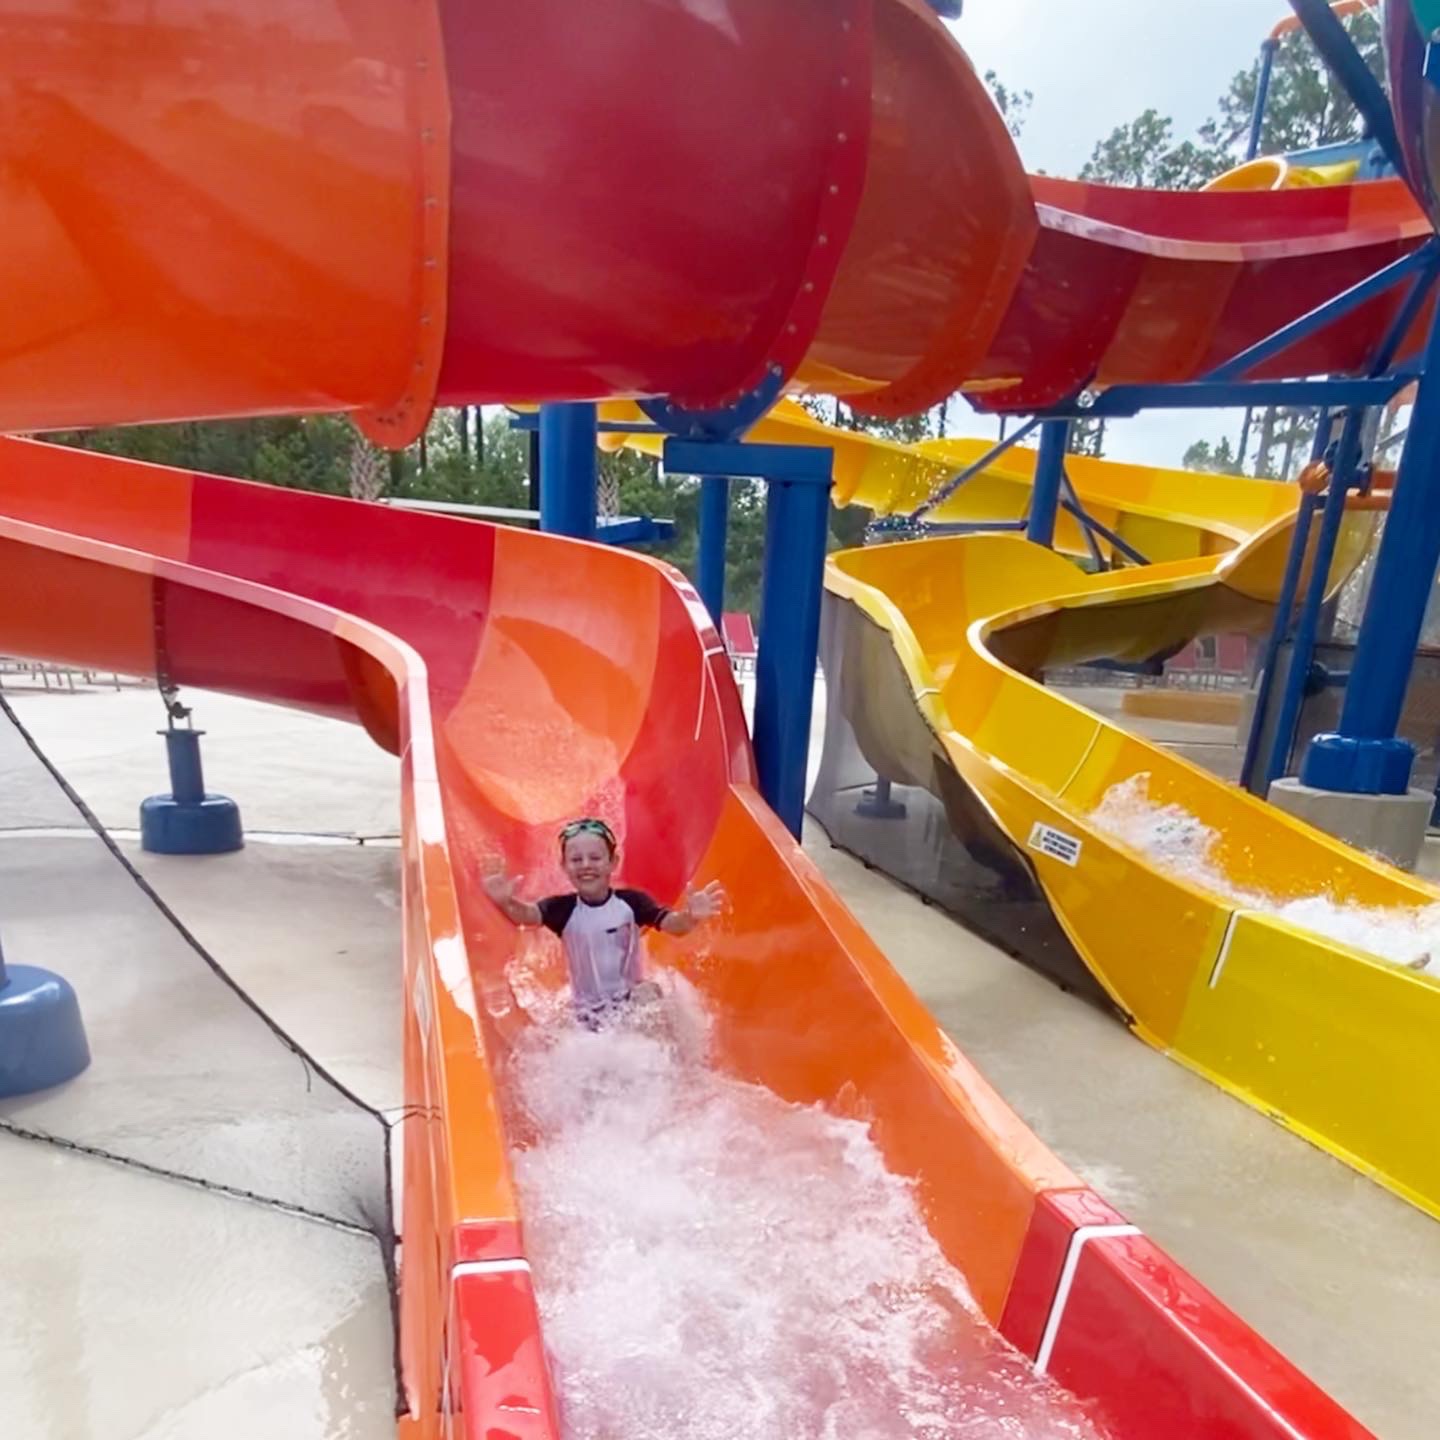
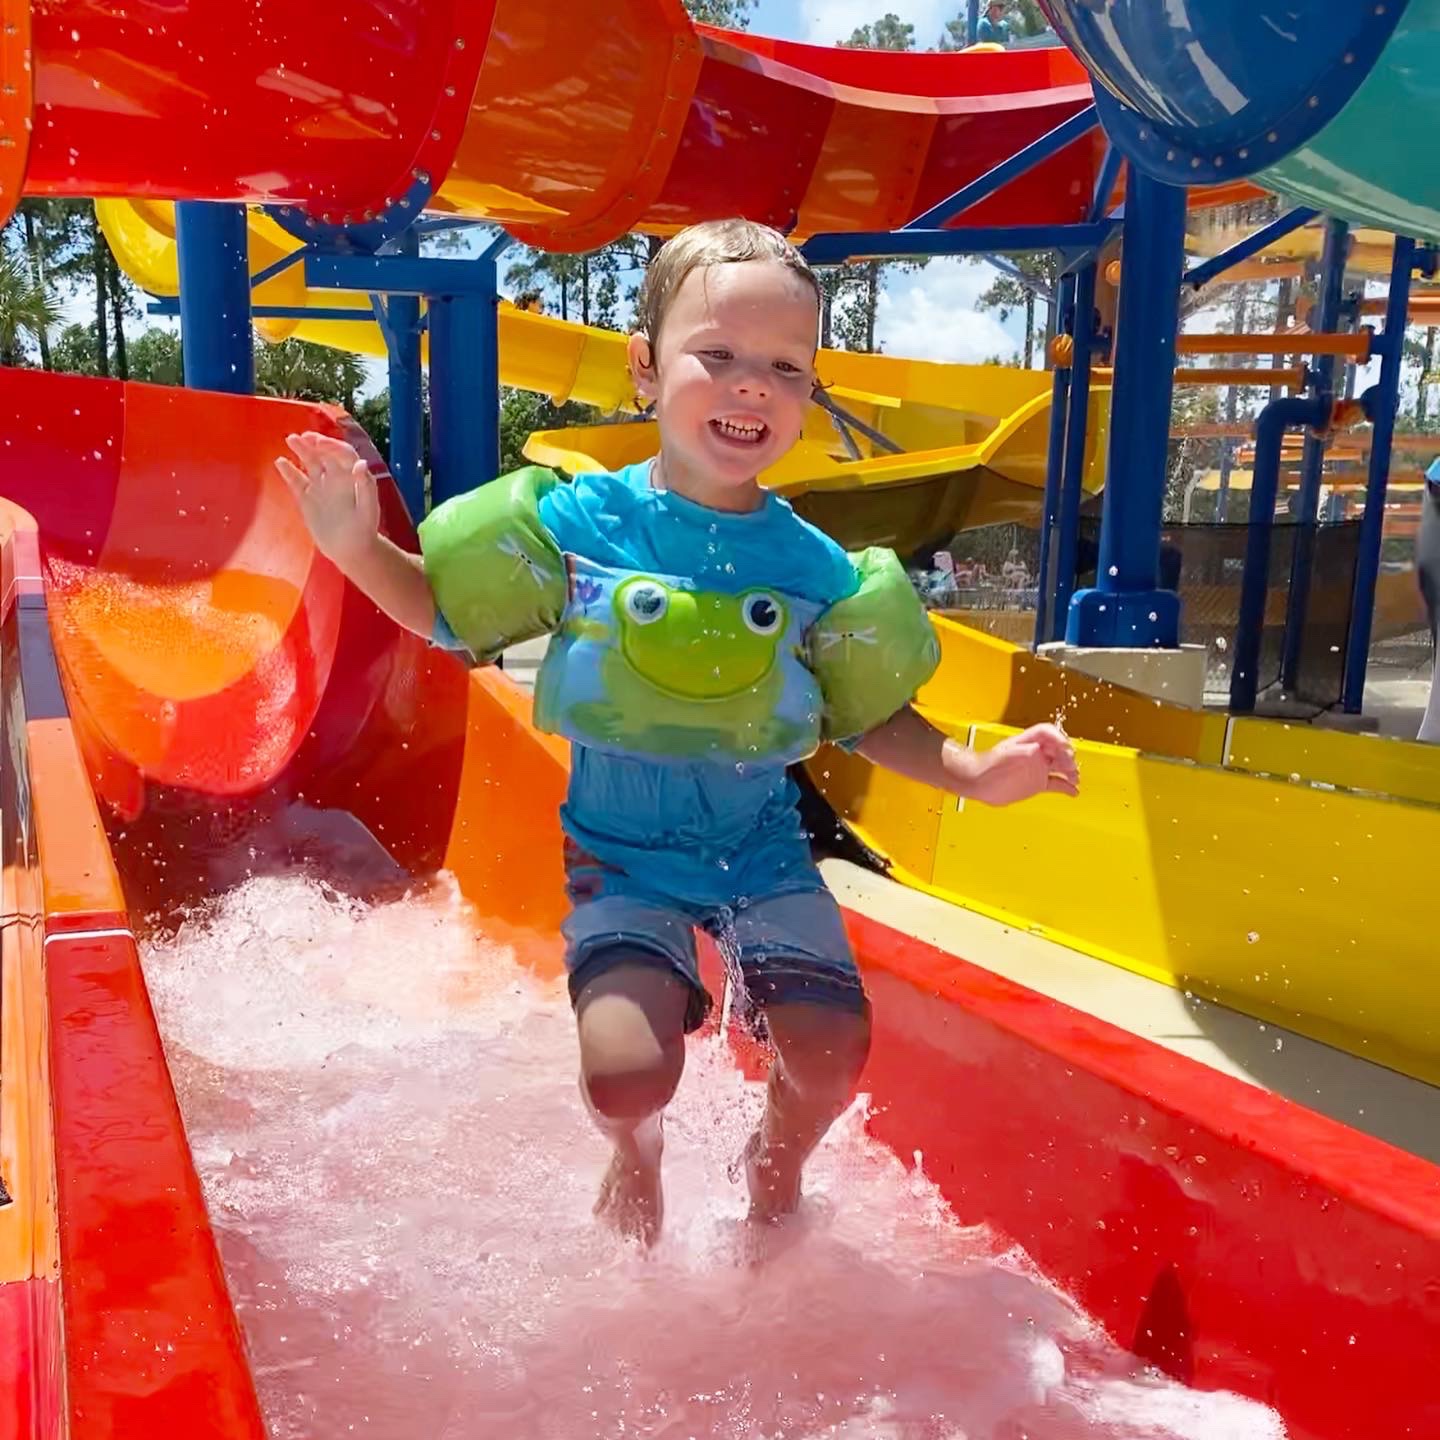
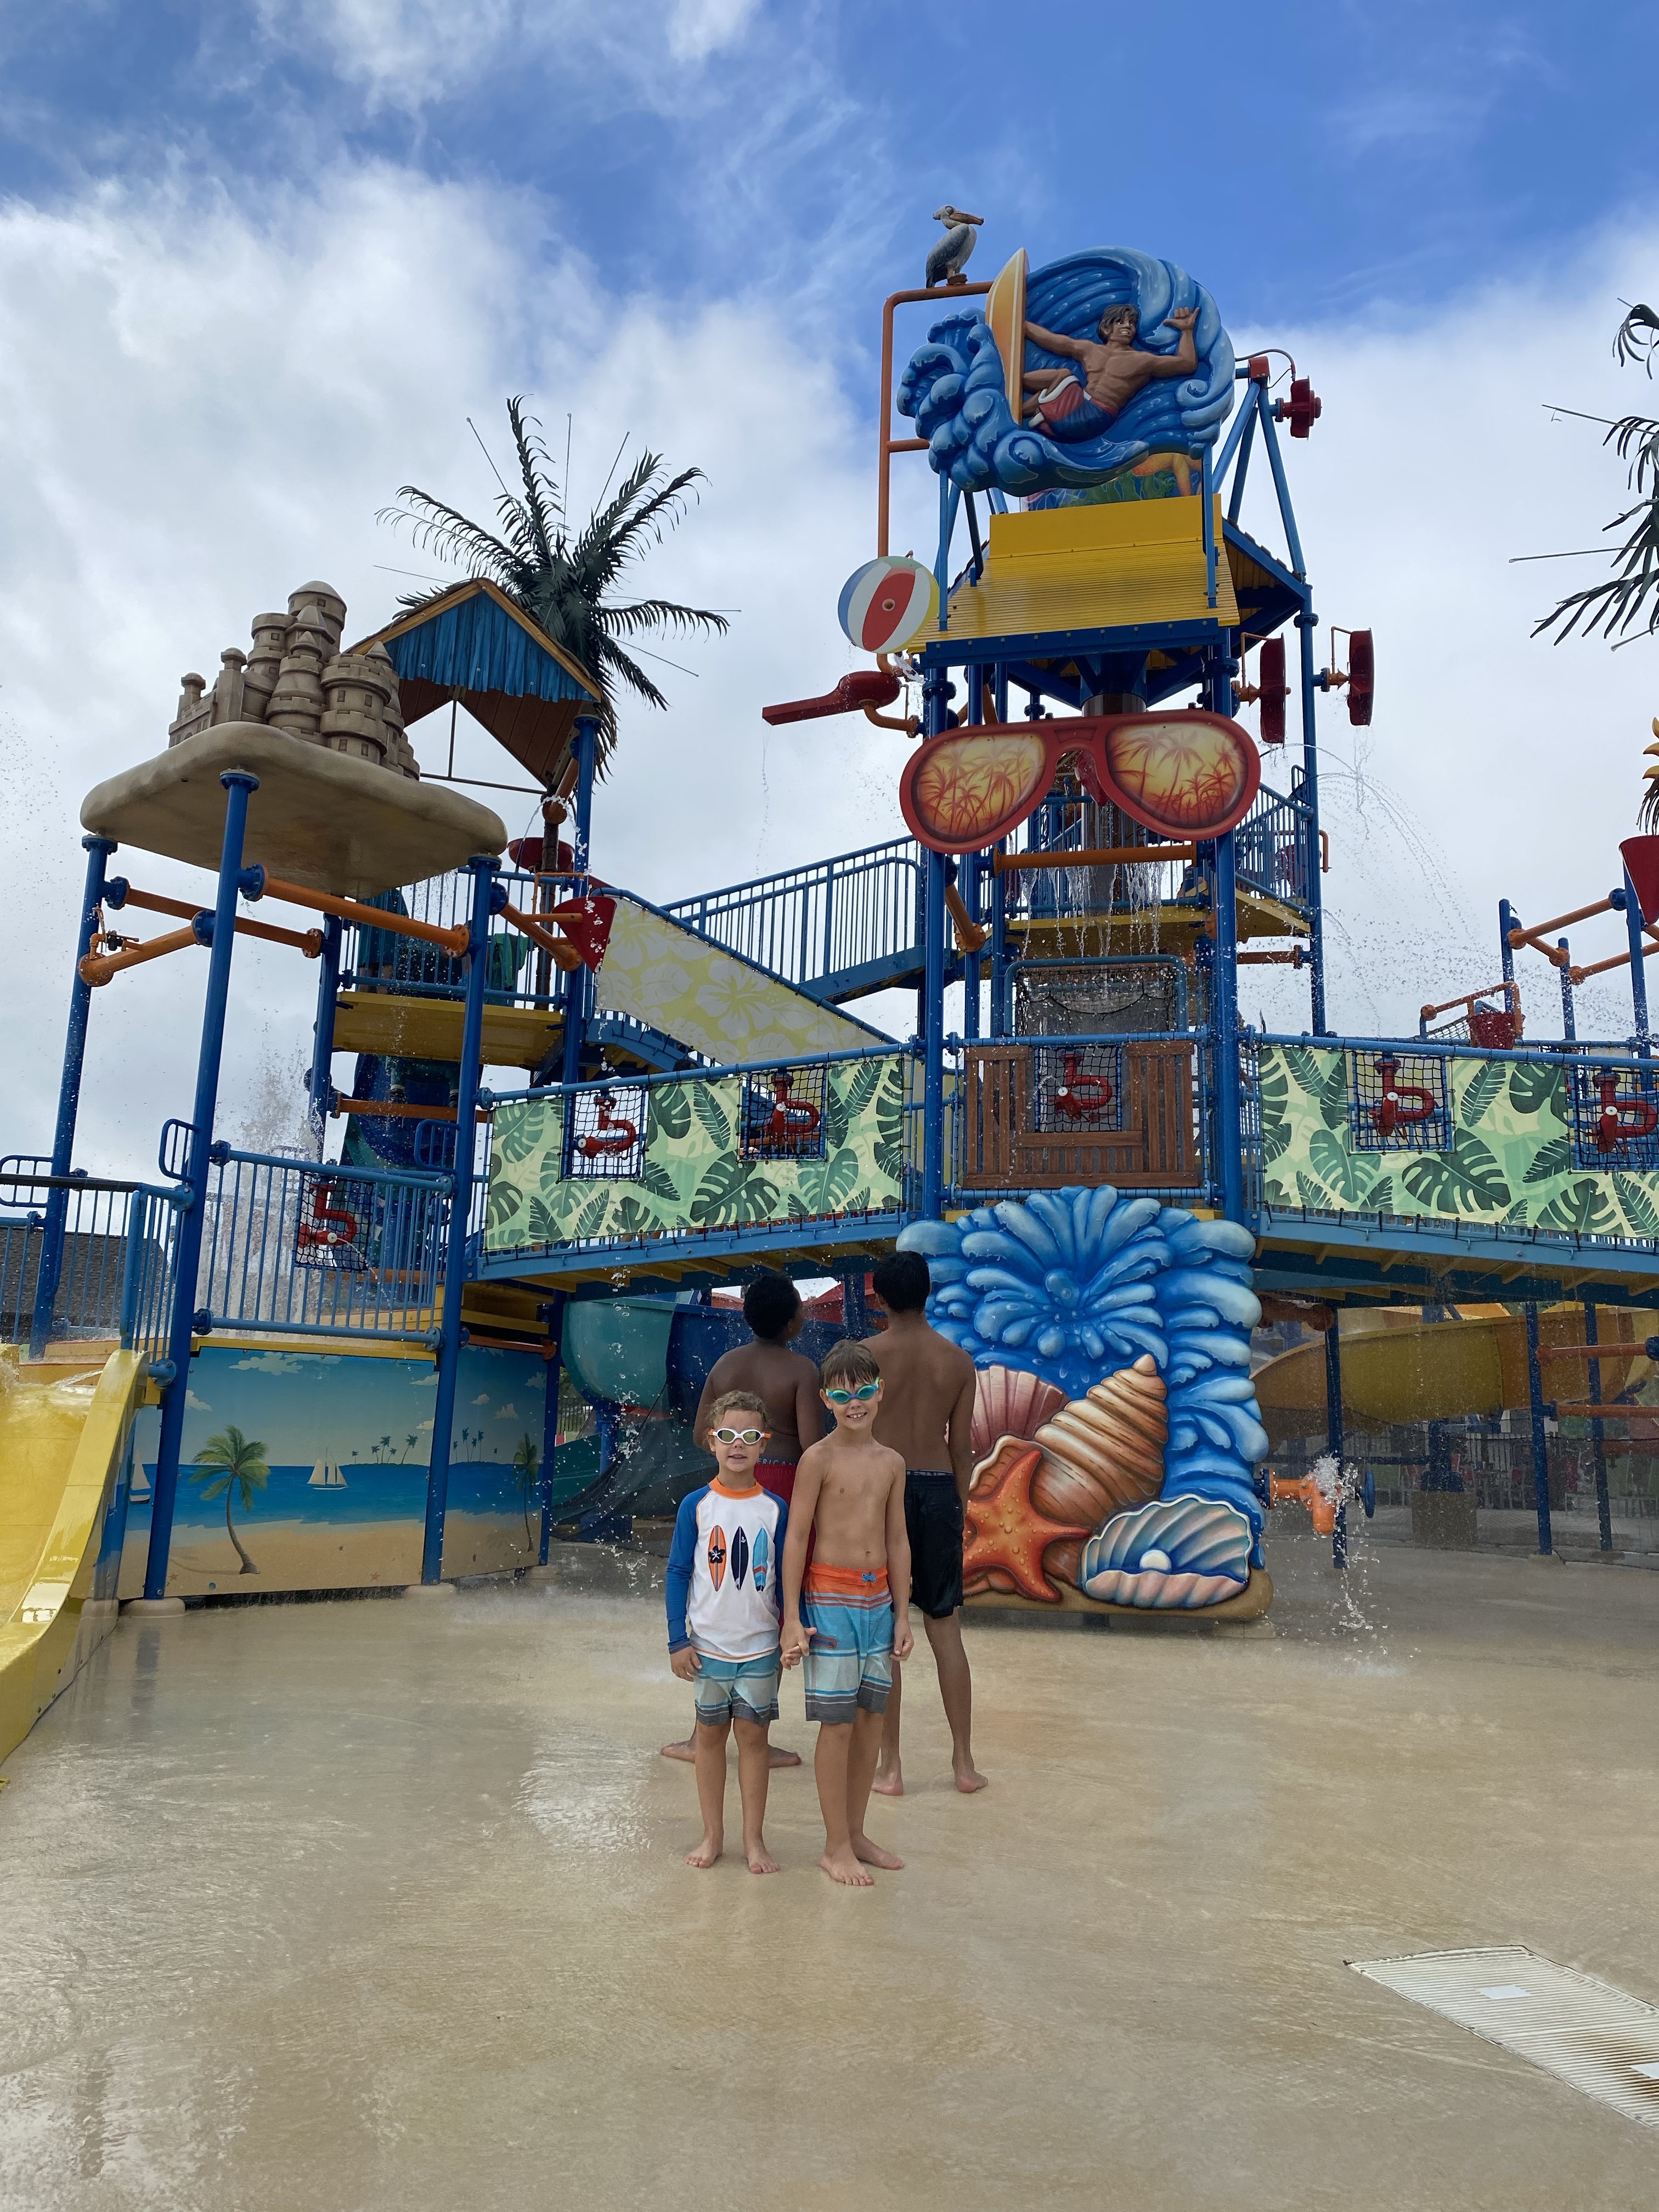
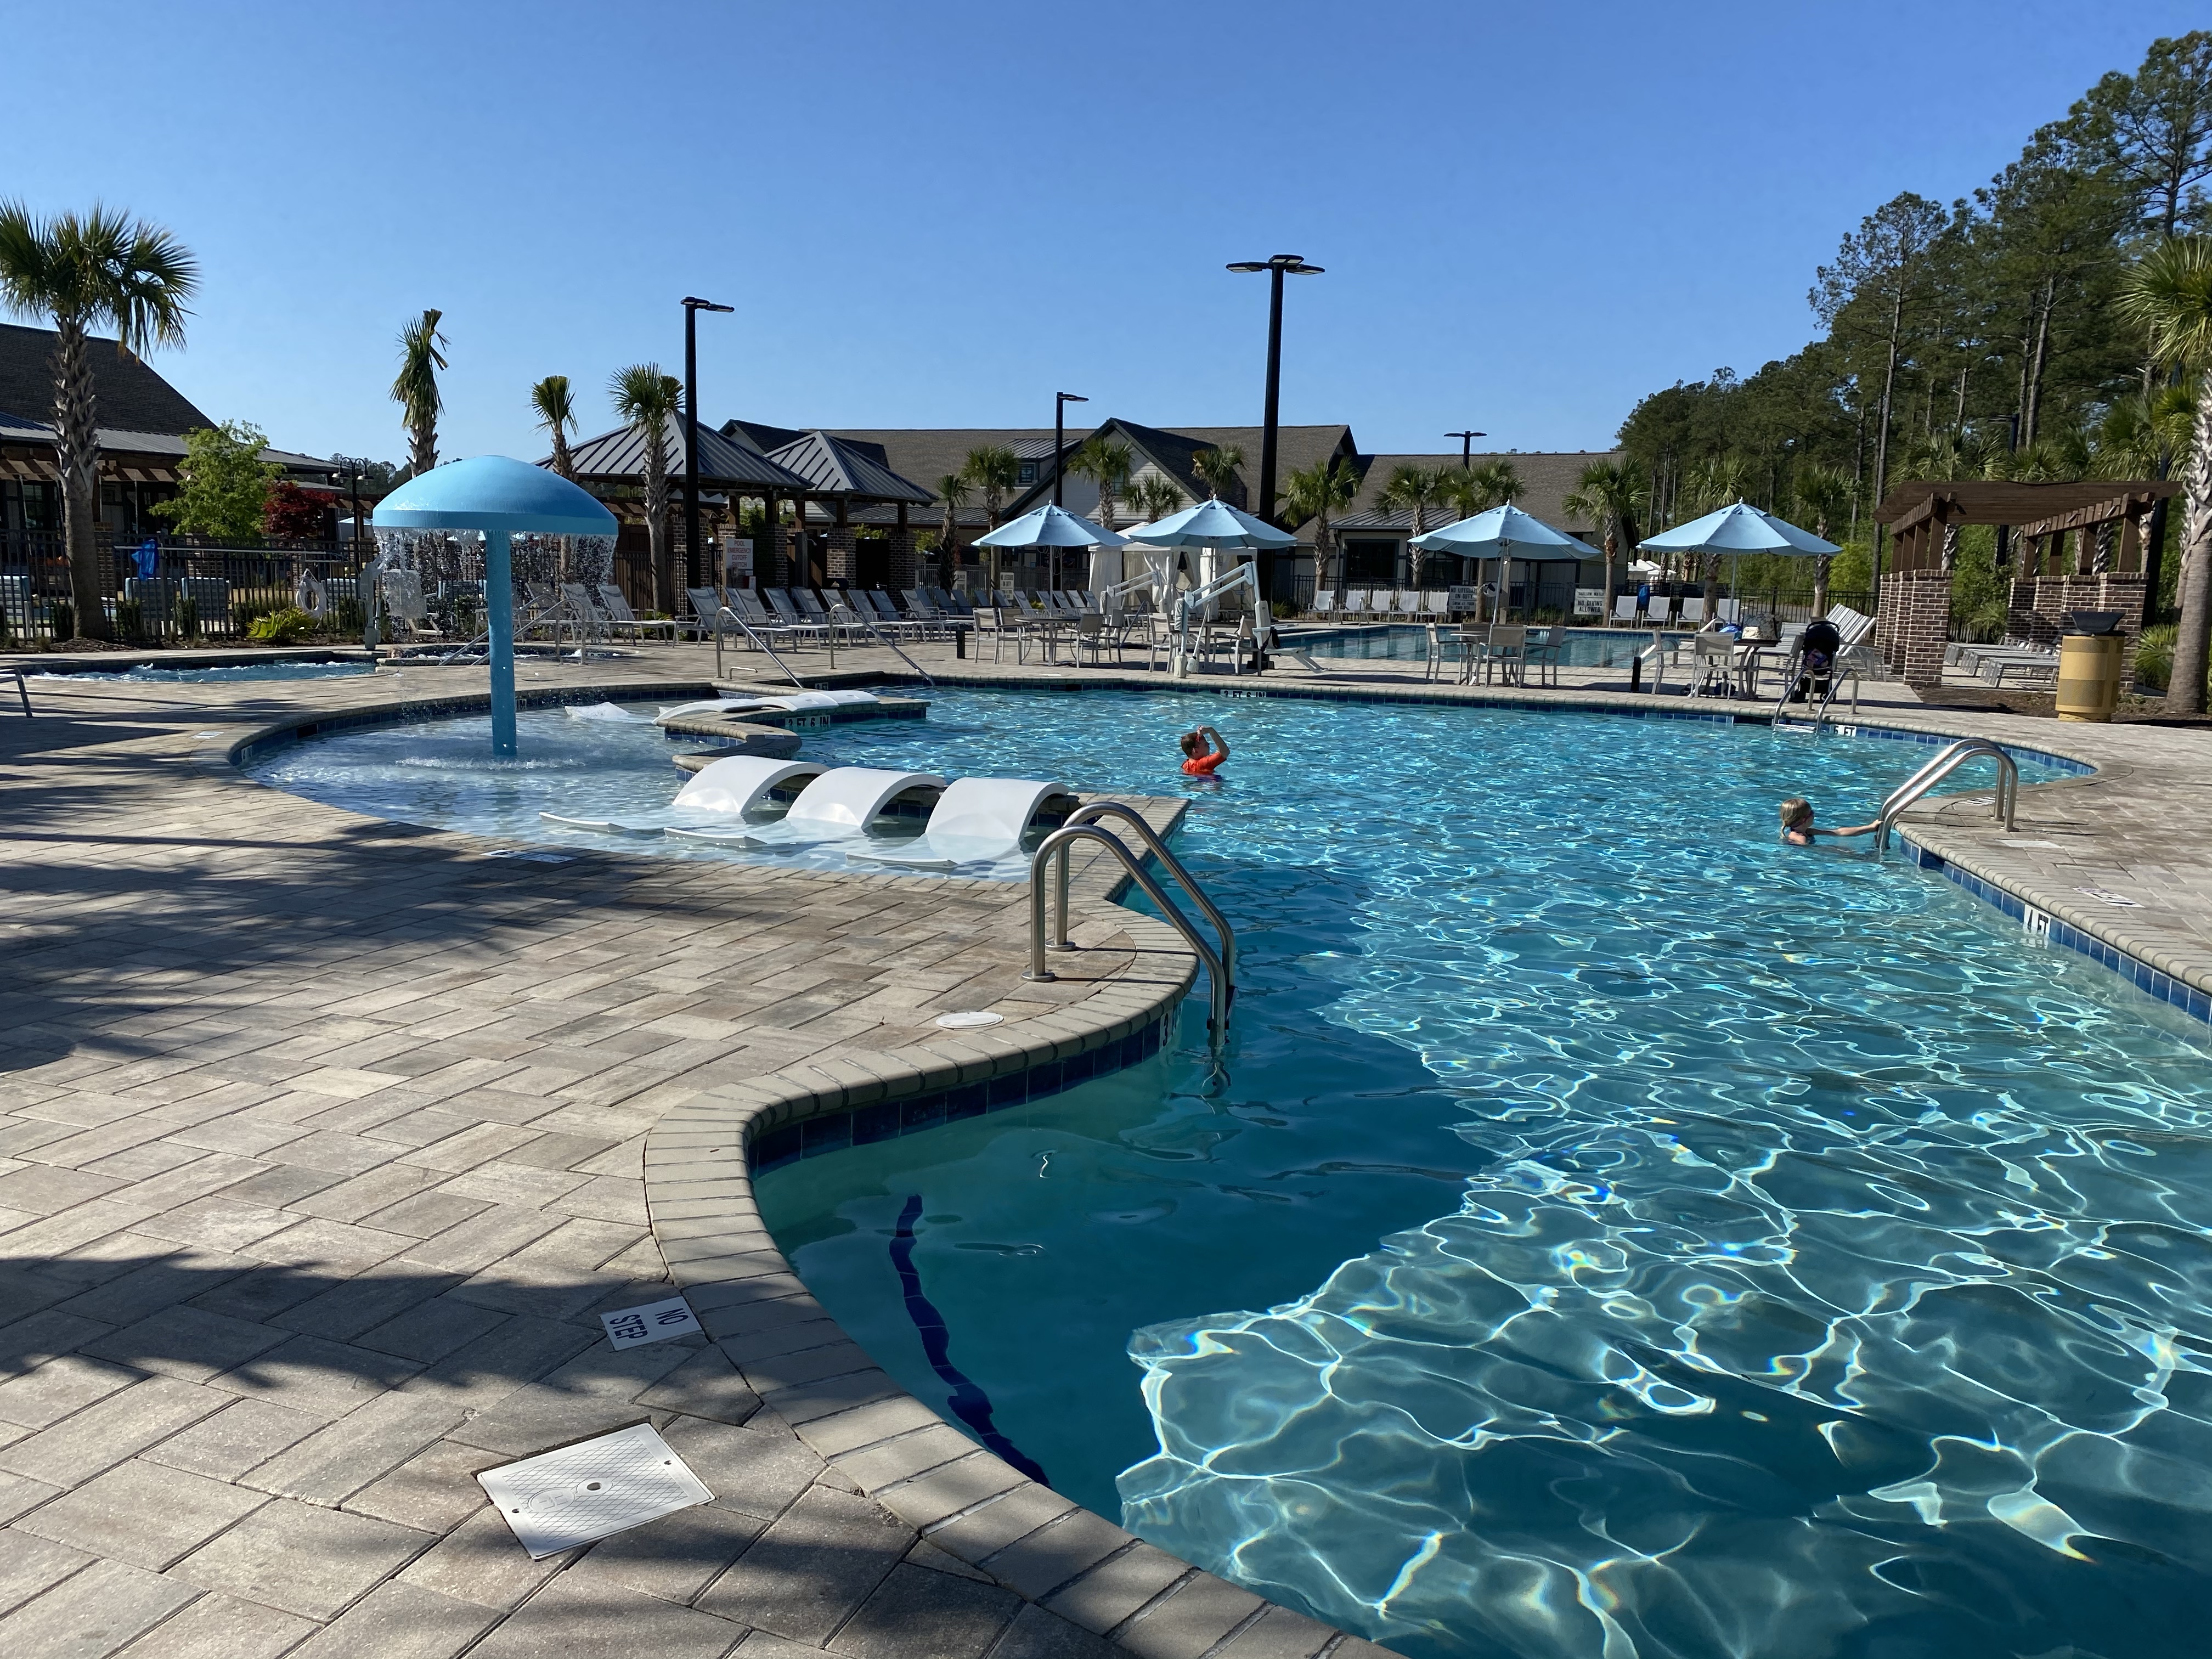
Your days will be filled with so many memories from all they have to offer. On the go kids will love the main waterpark attraction, pictured here.
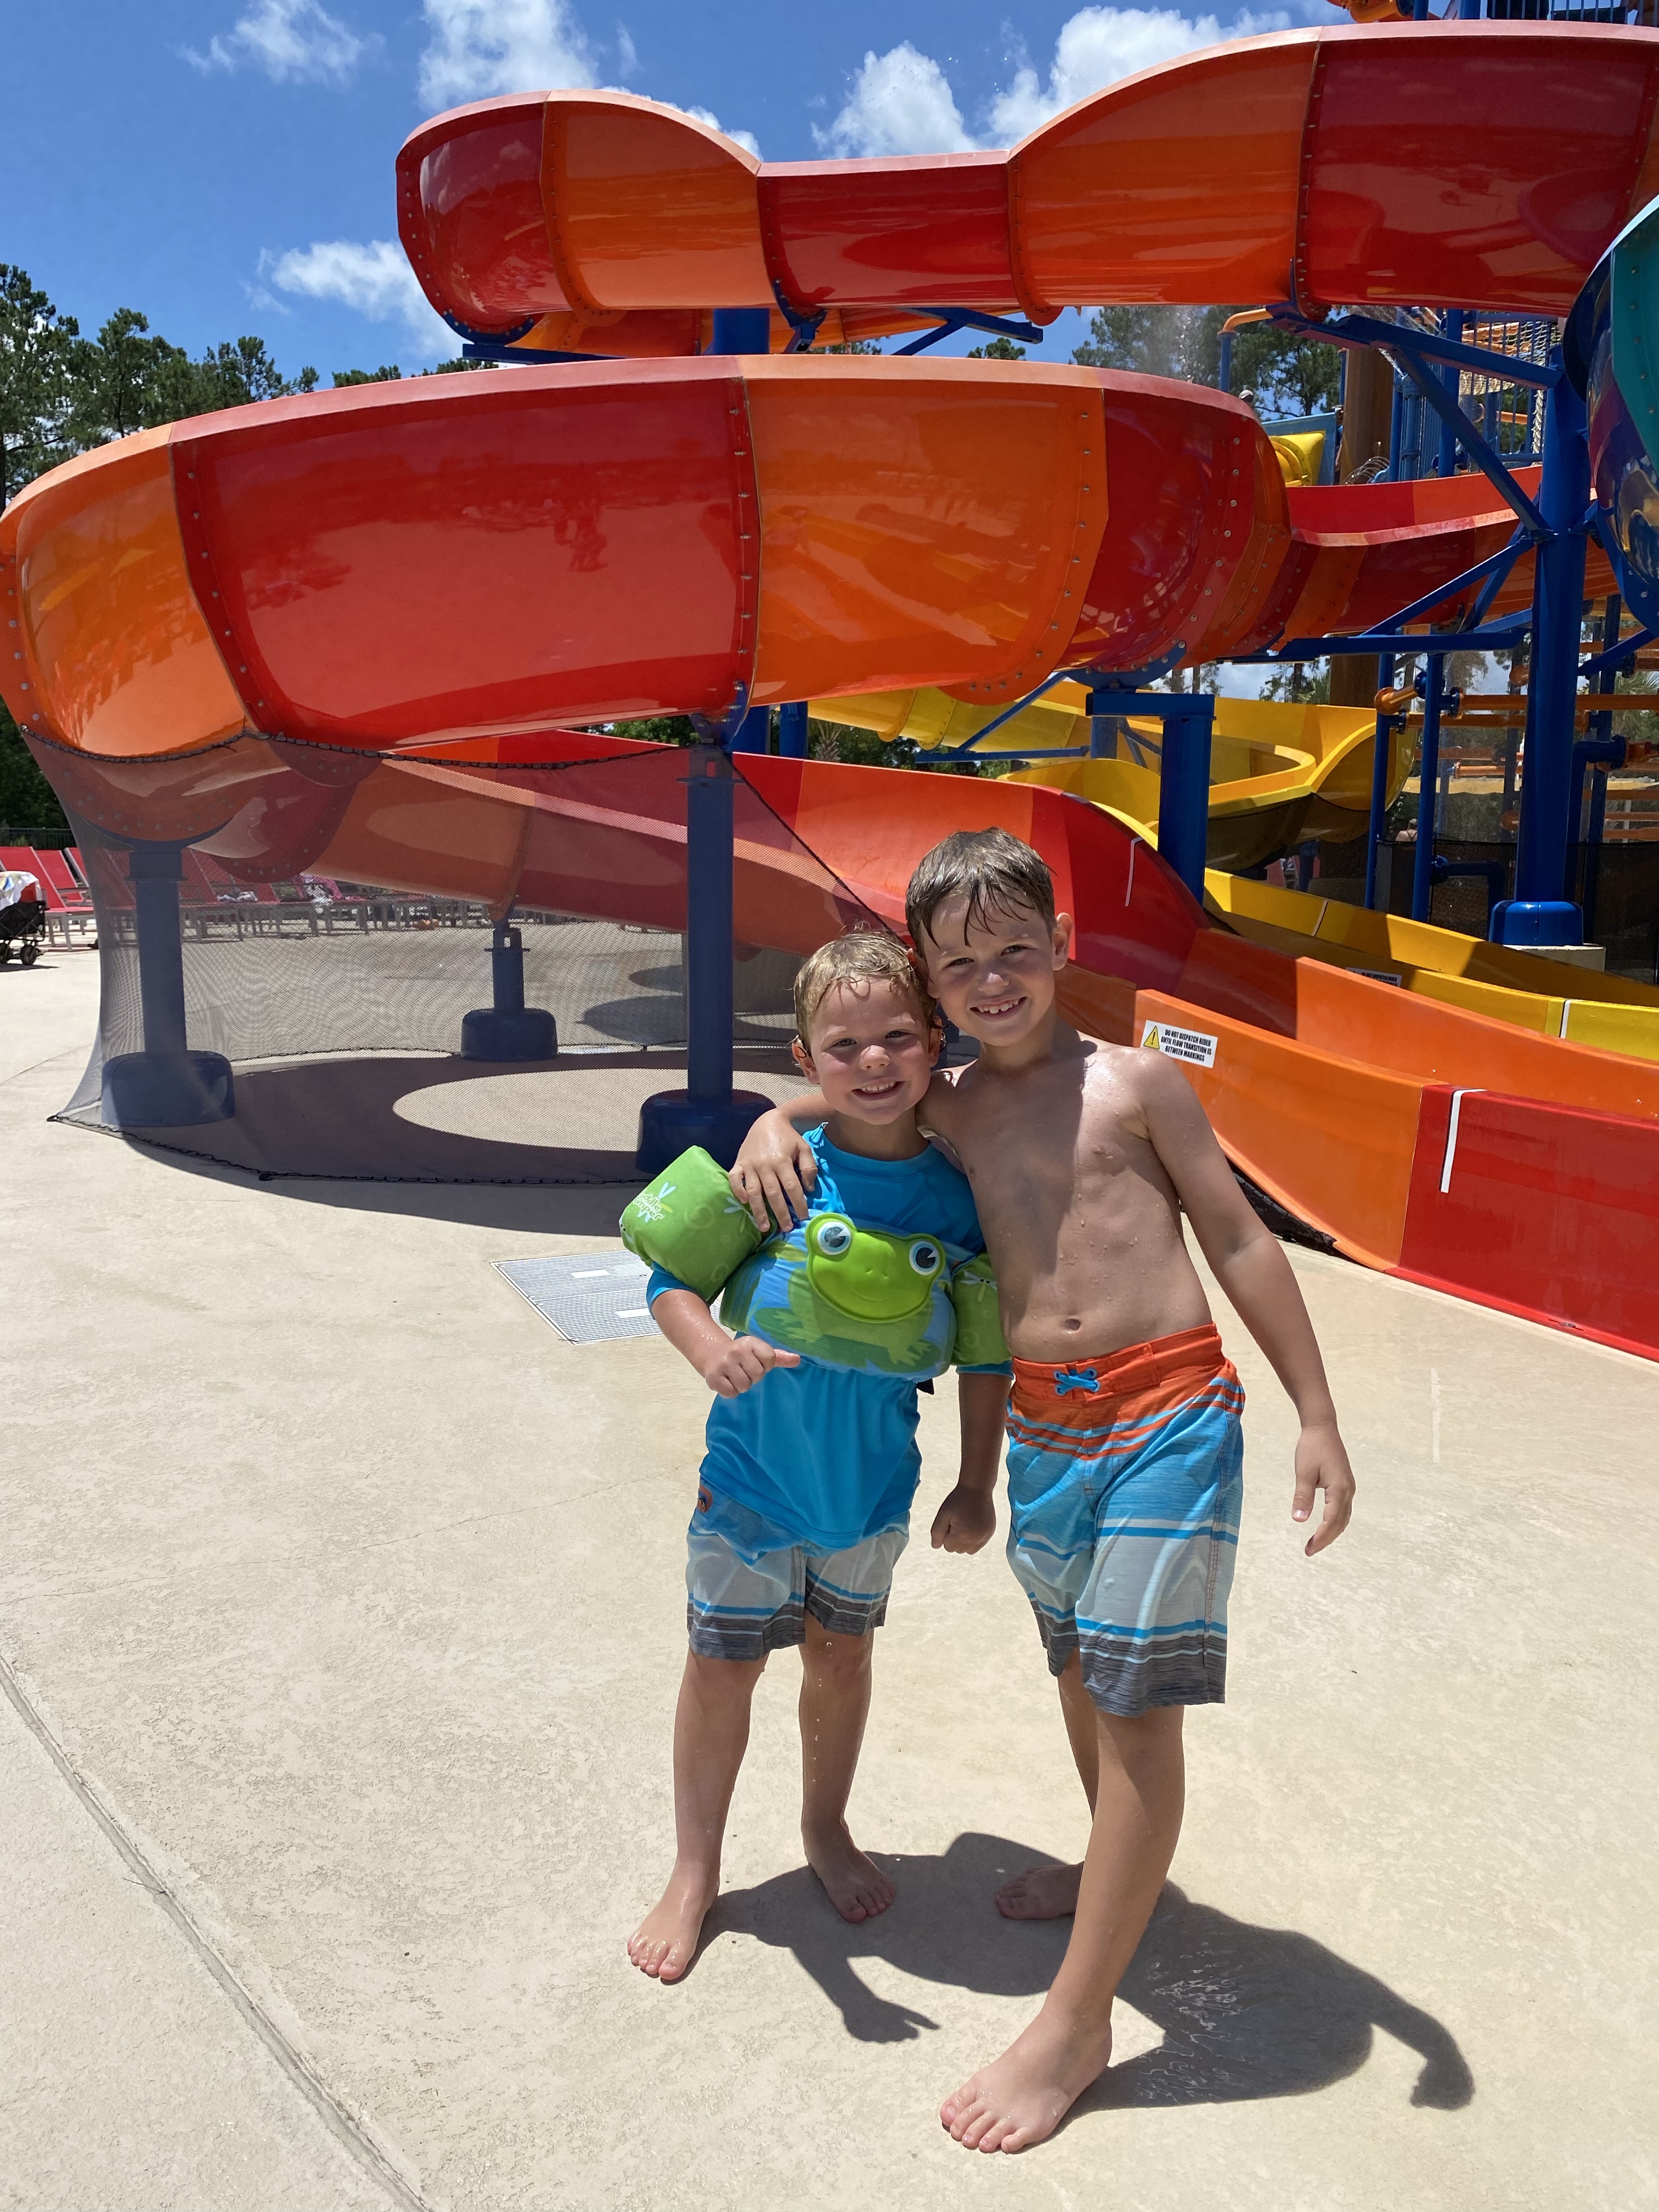
Newly added are these two plunge slides and a large lazy river.
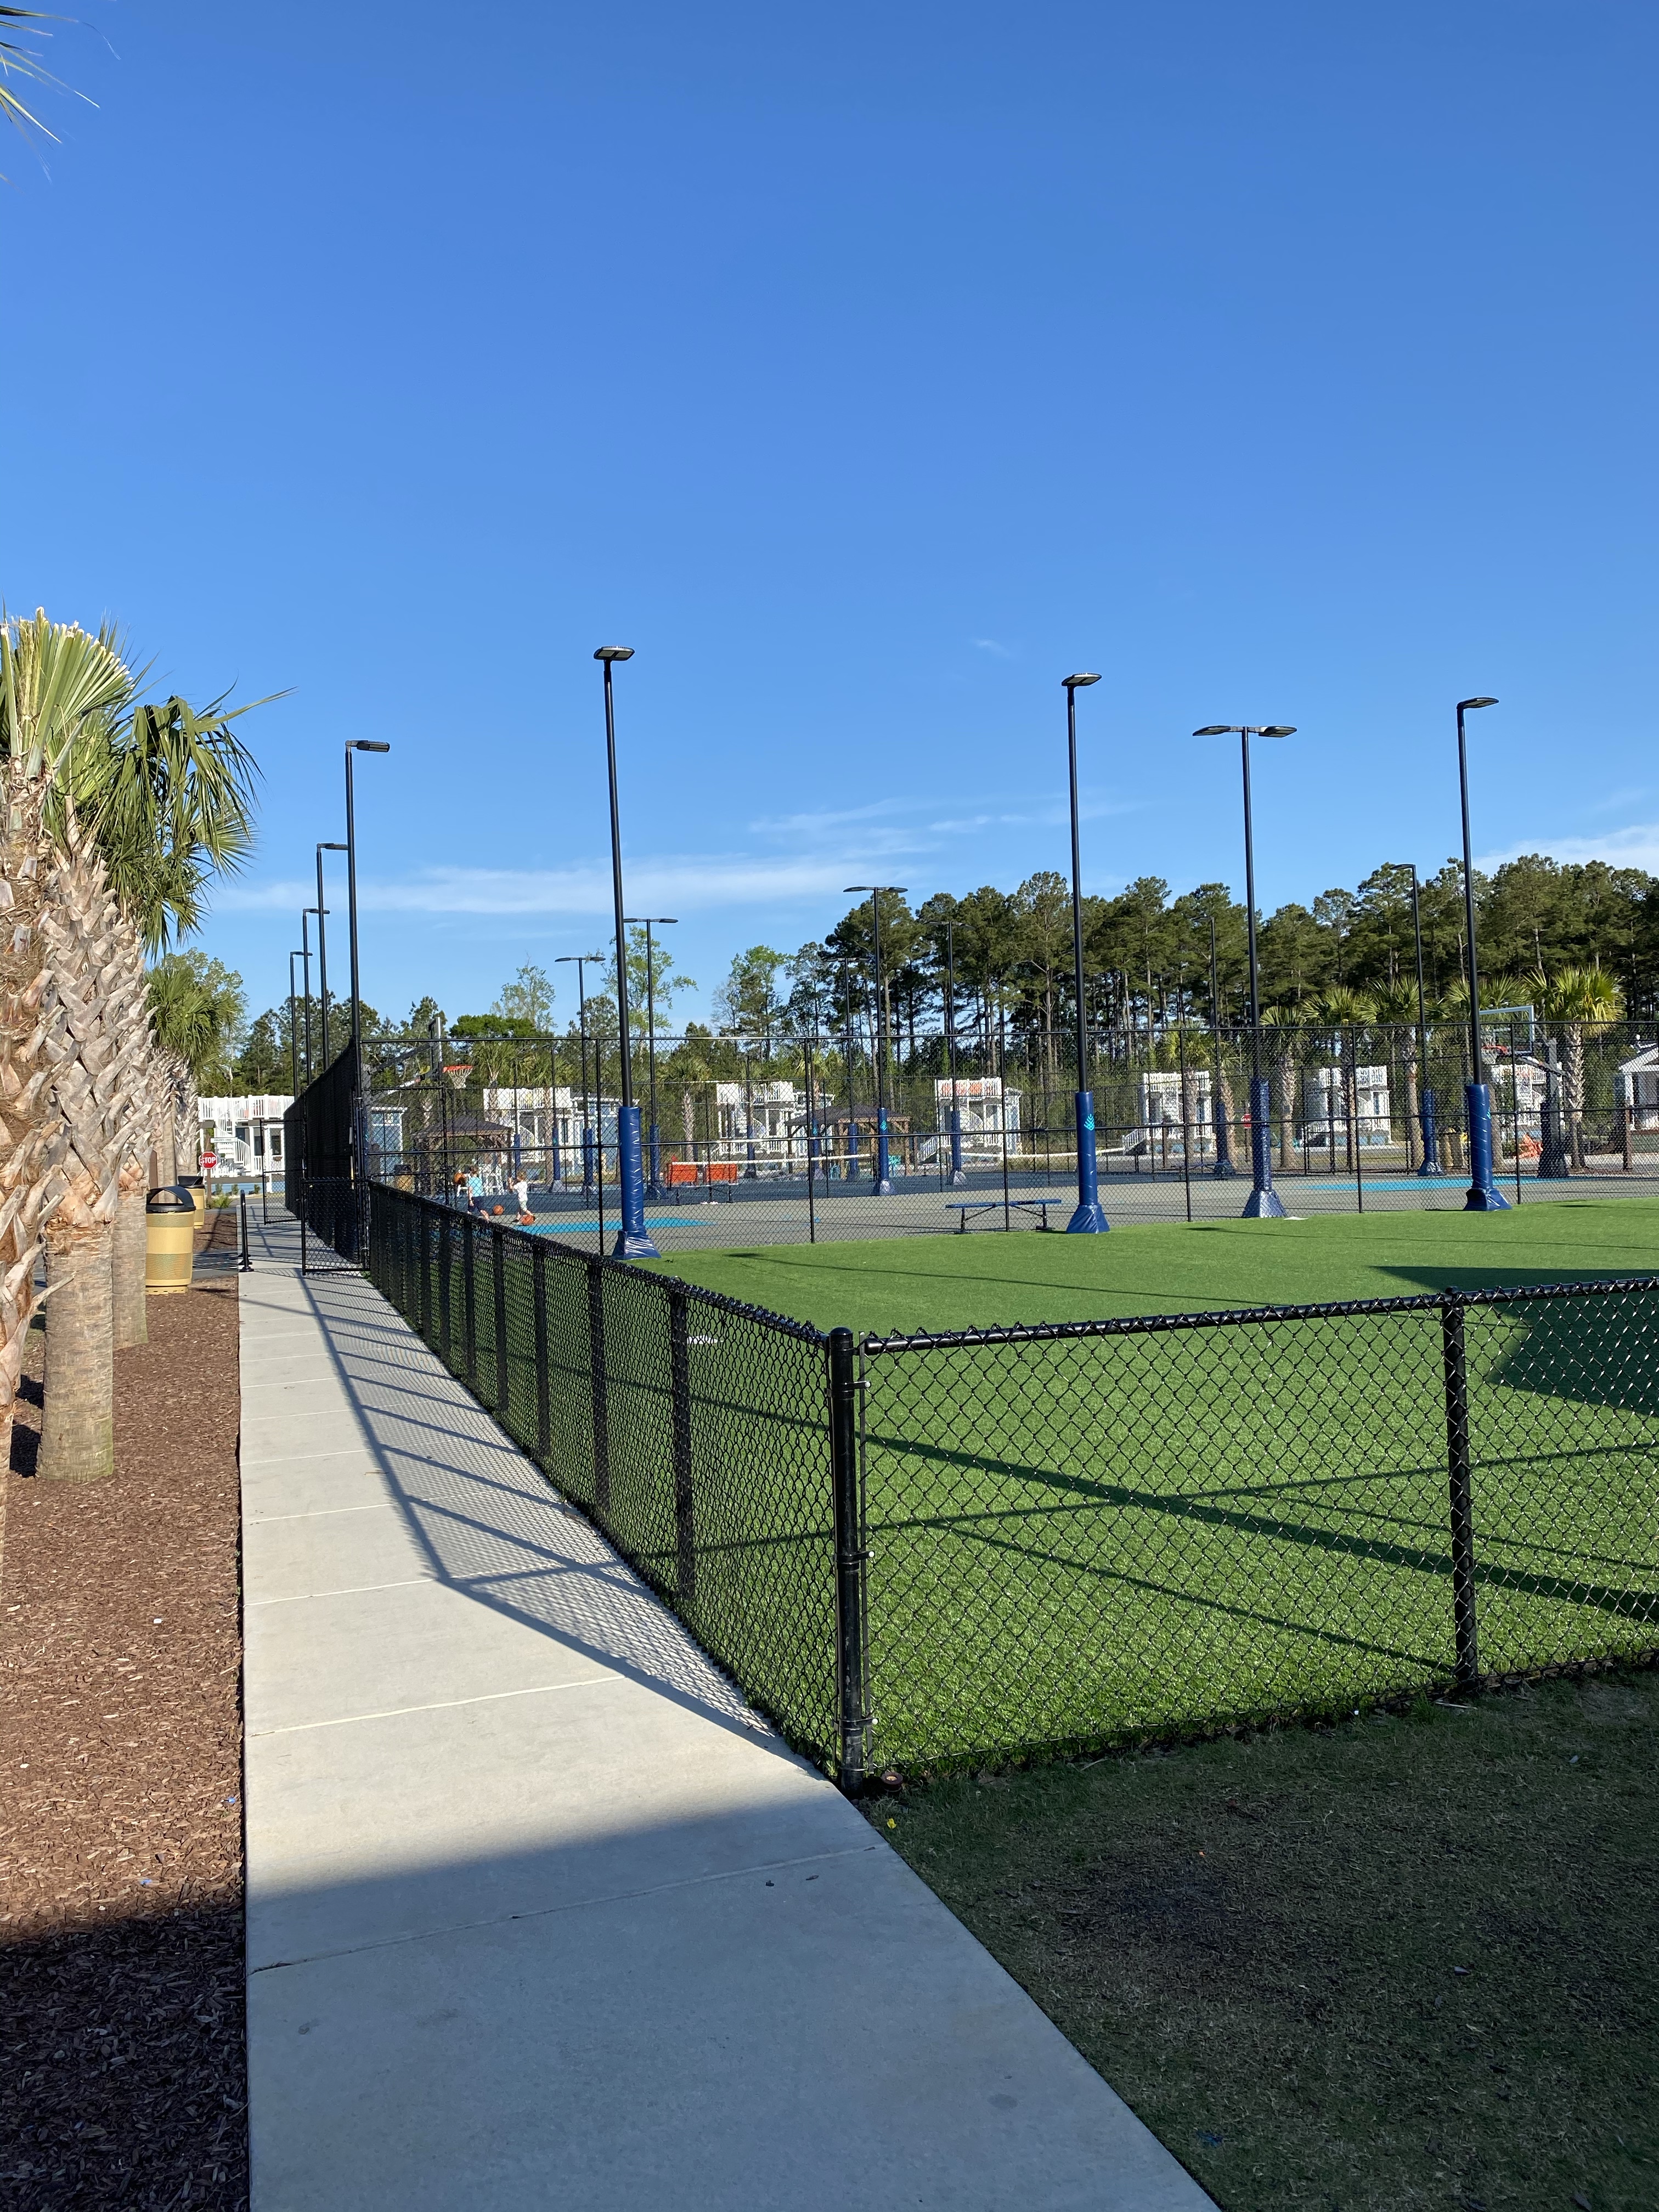
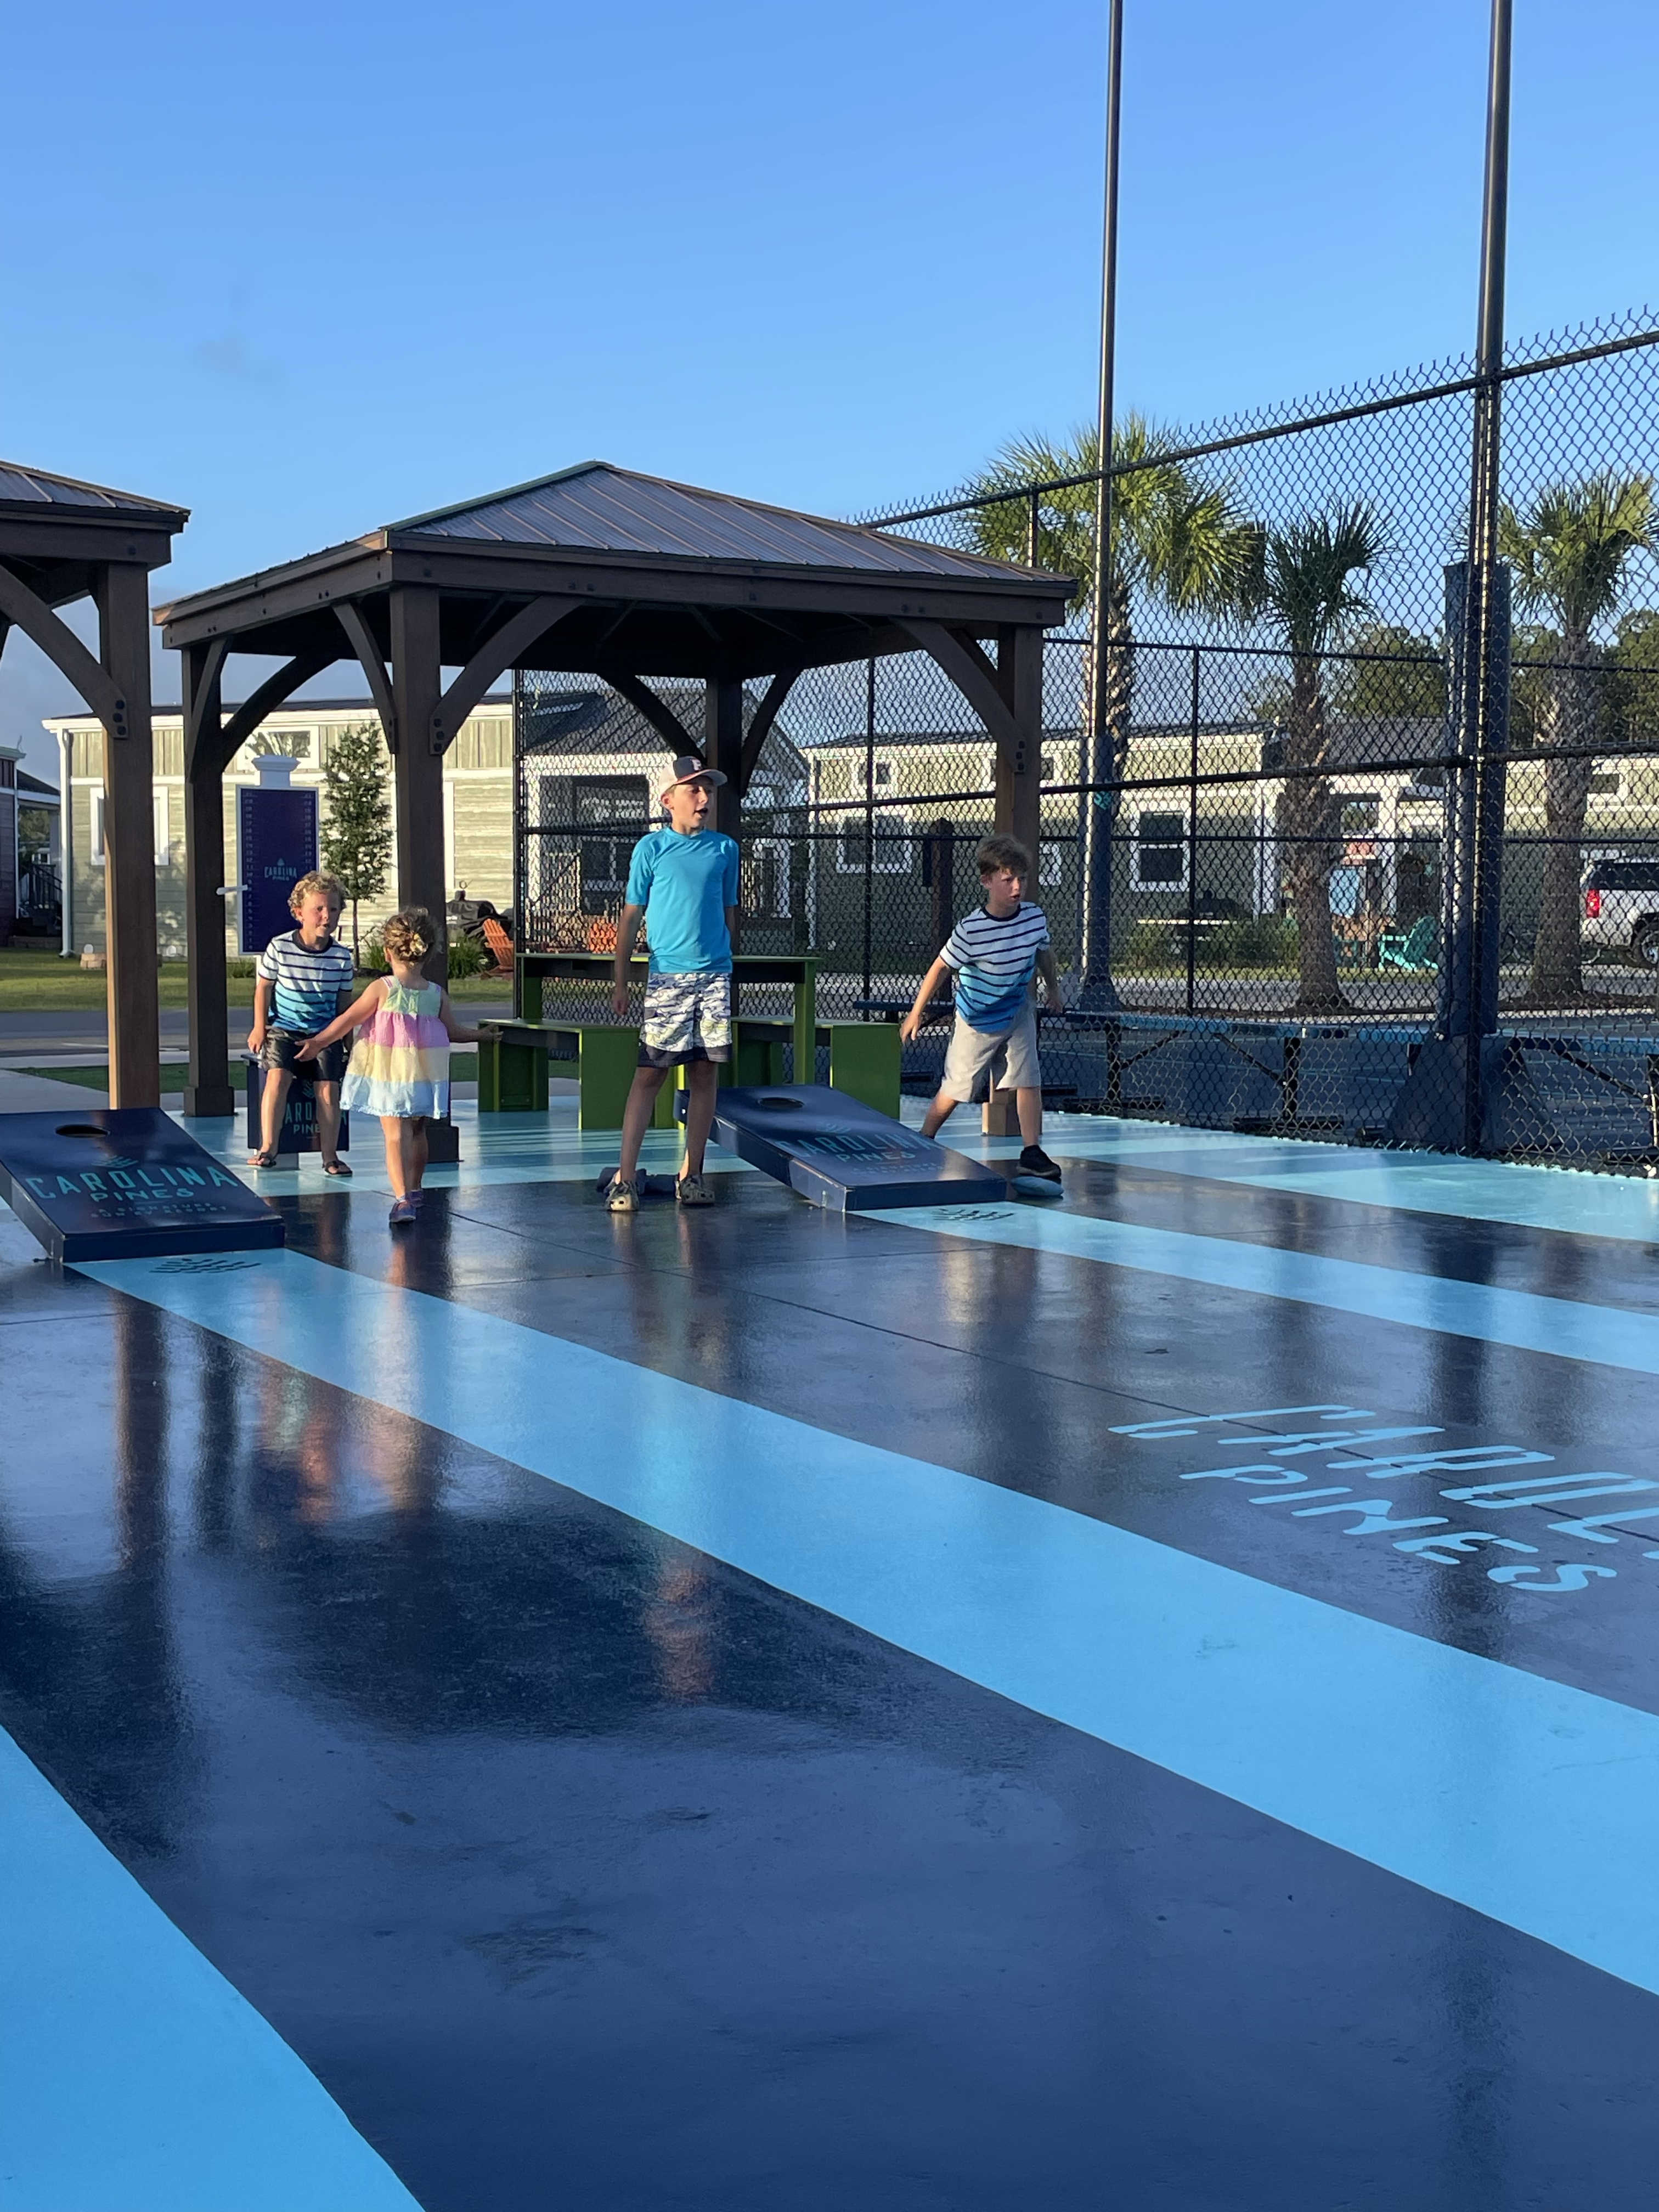
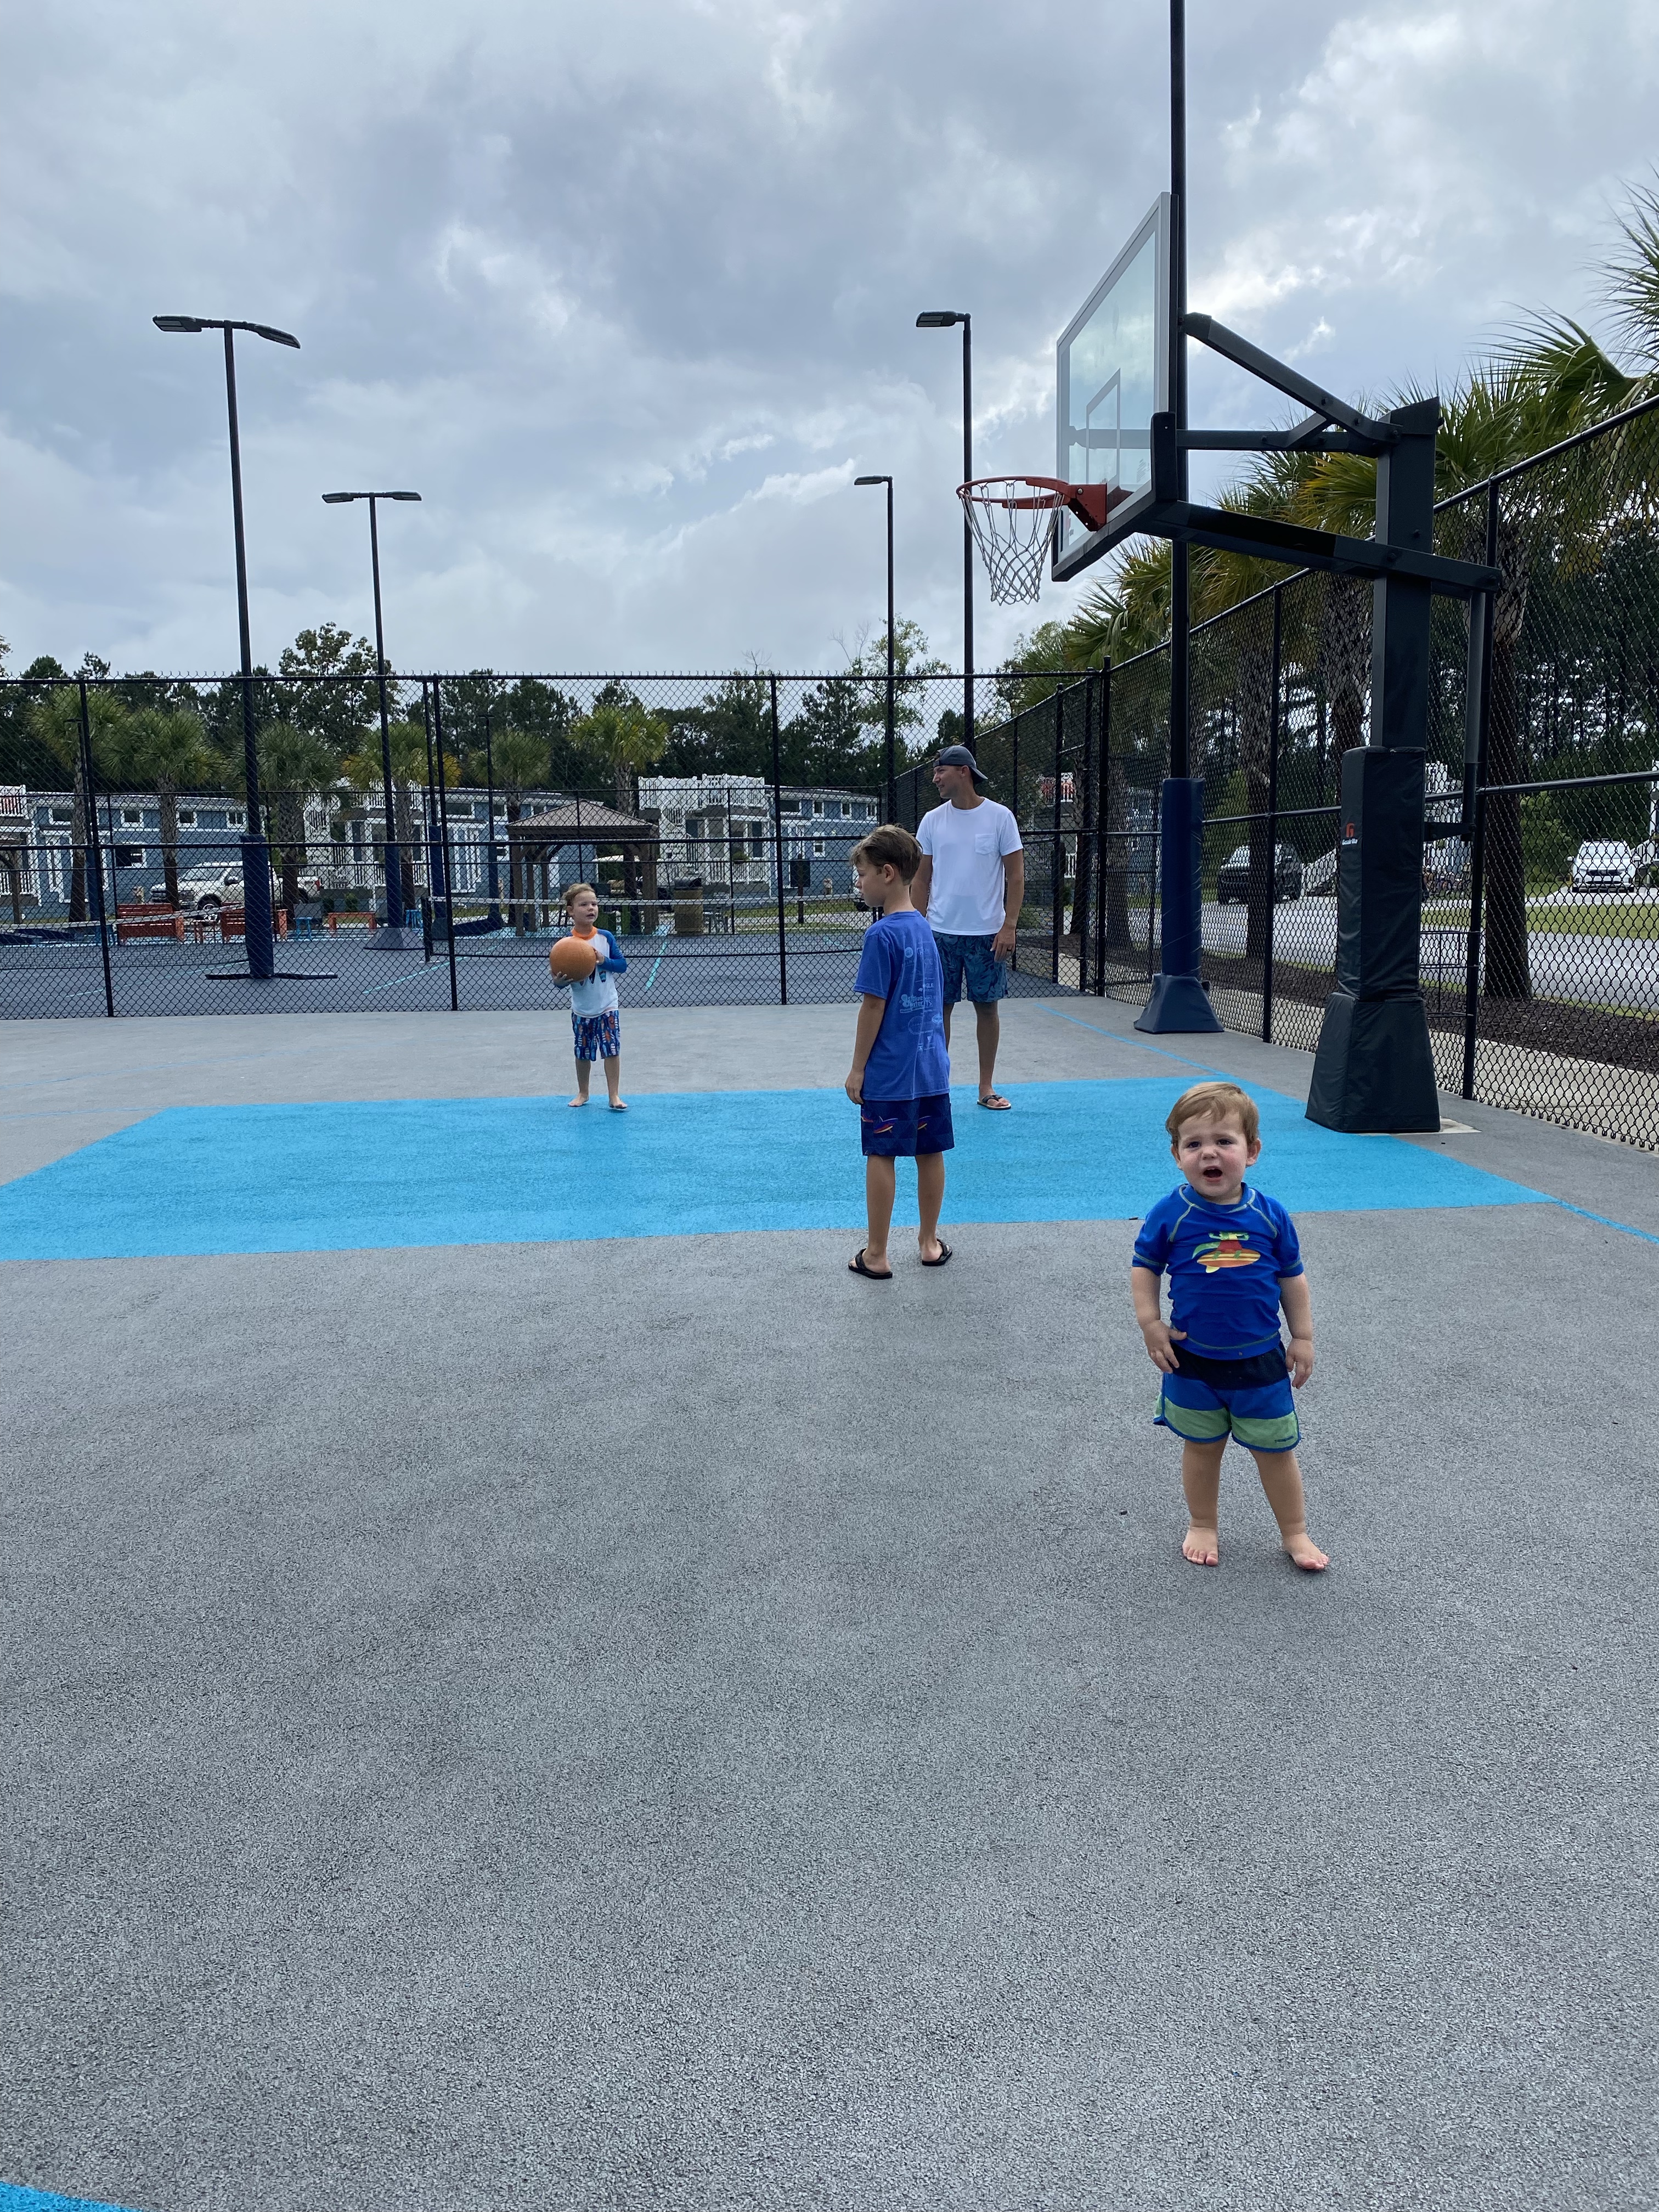
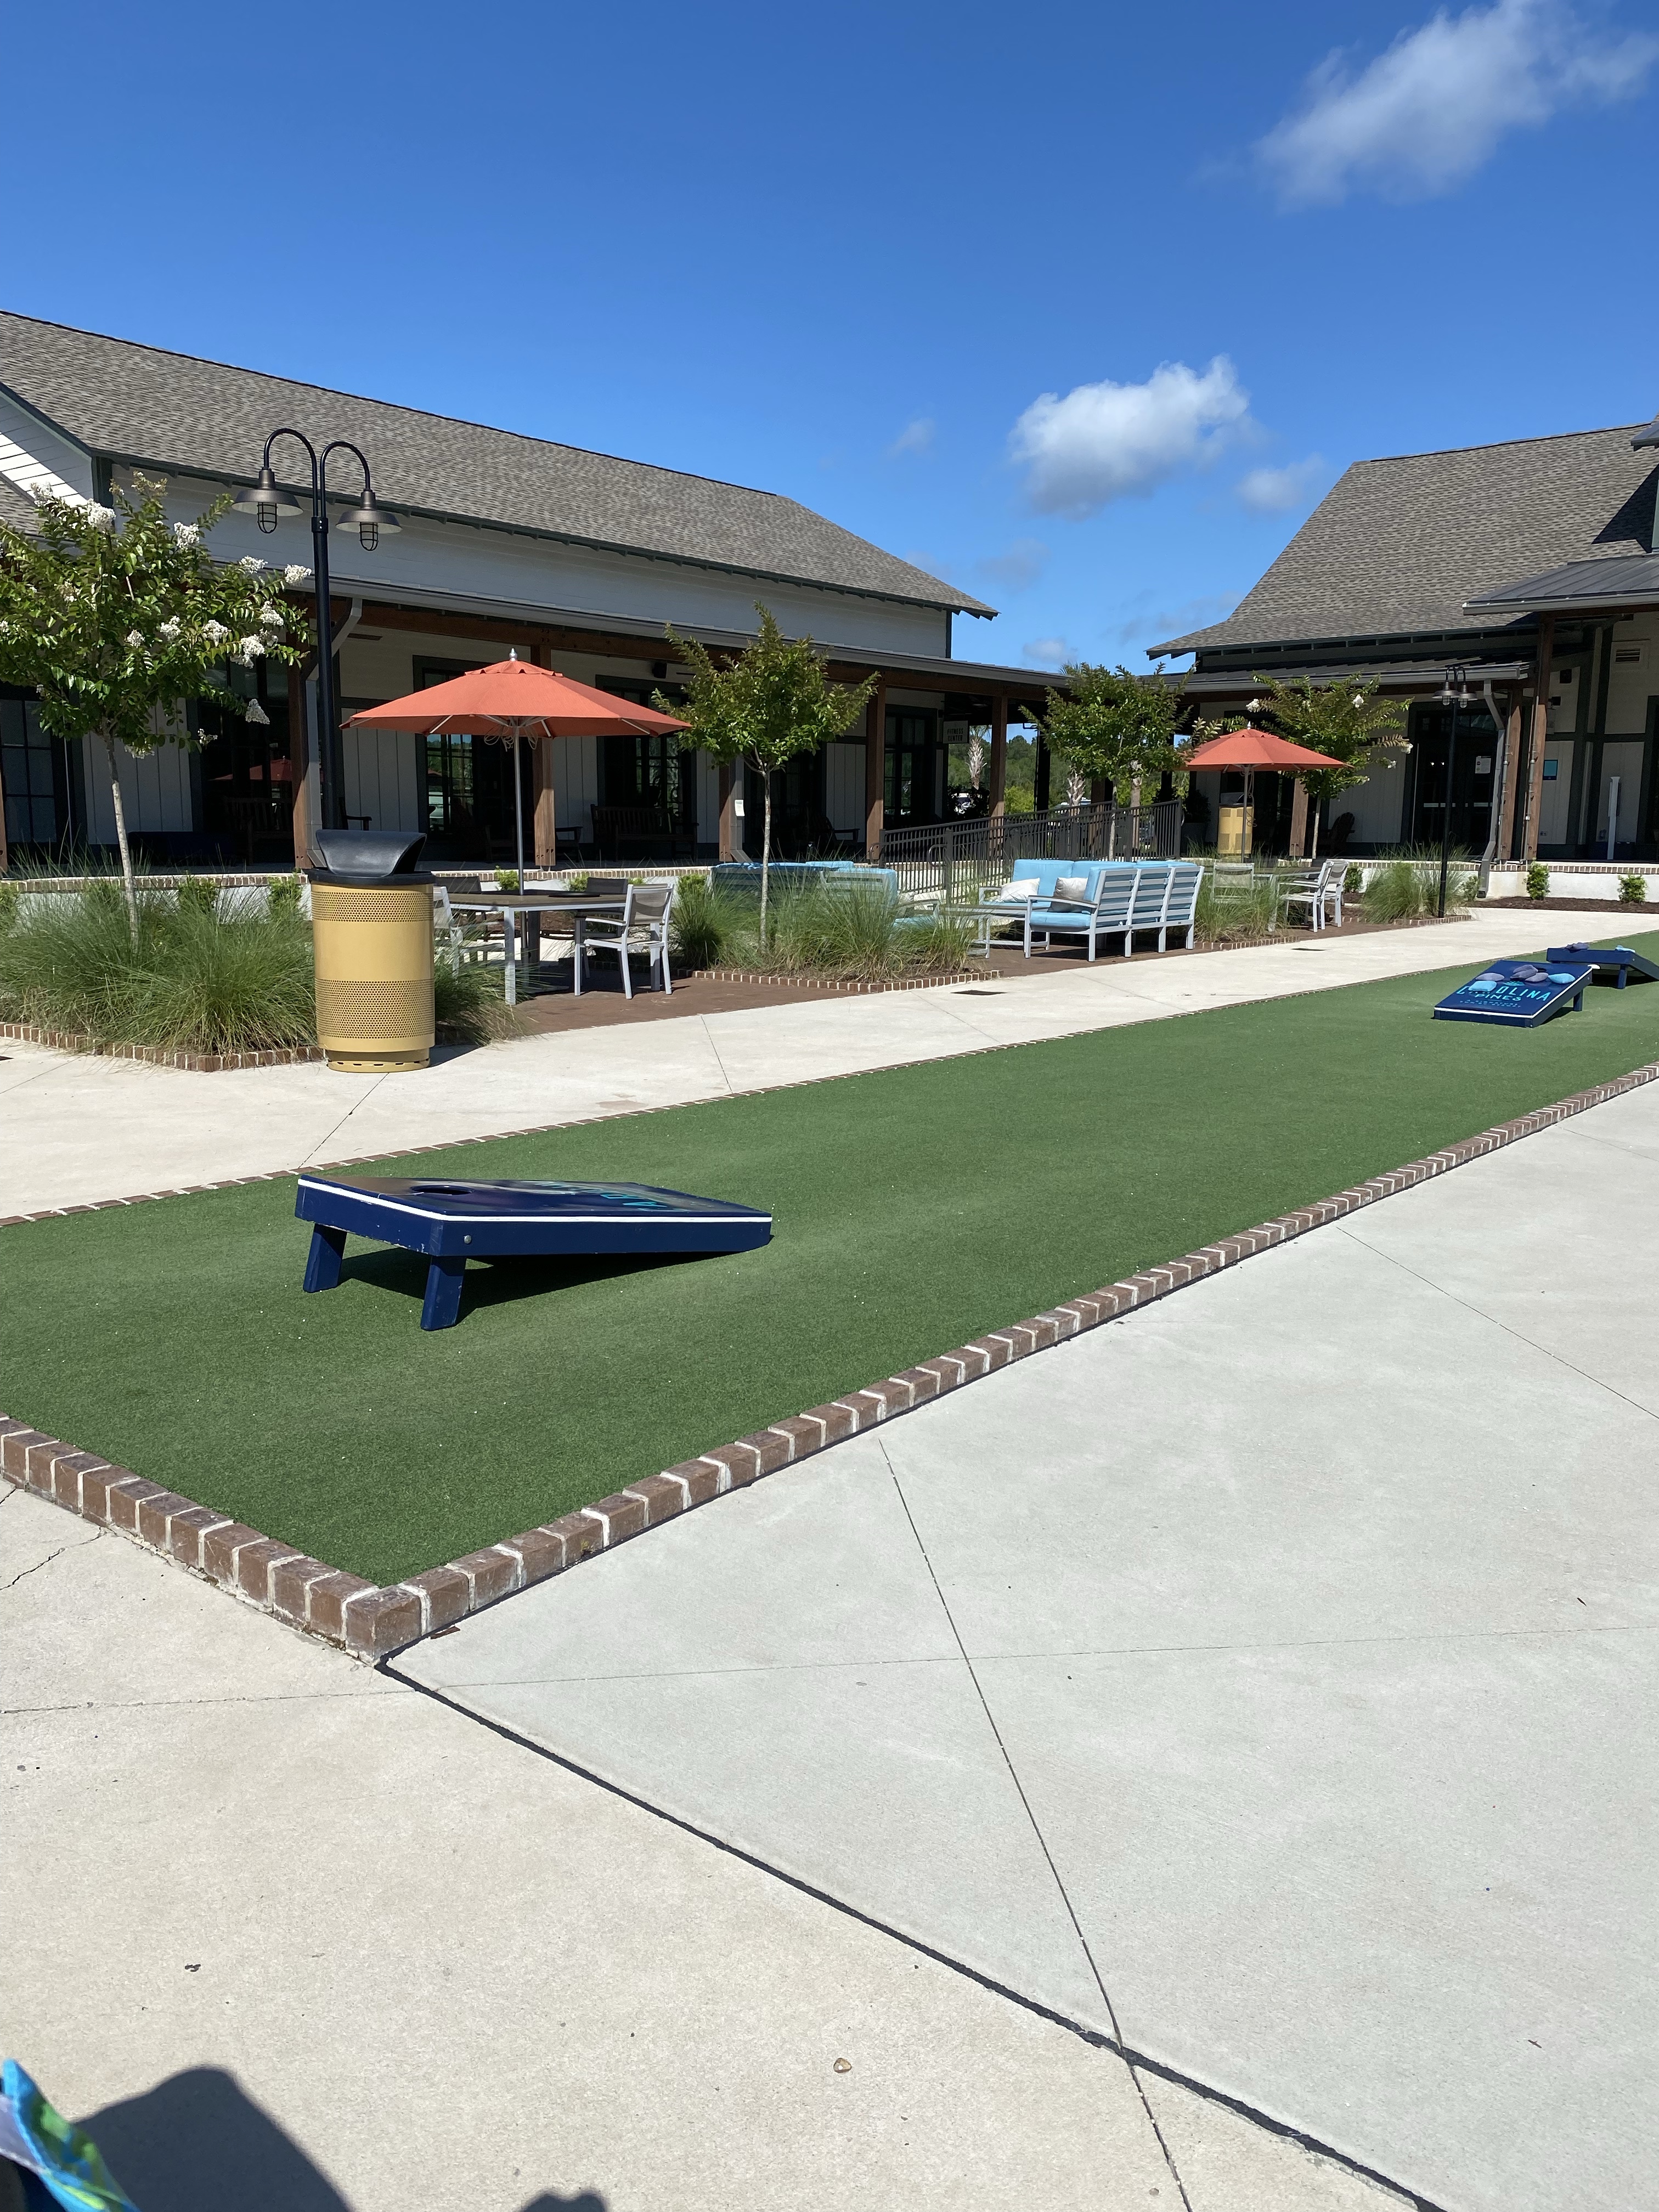
The waterpark, putt-putt and bouncy pillow all open at 10AM. Sports courts are always open.
20222021
The Serenity Pool has a hot tub, lap pool, and one additional pool with chair loungers in a shallow pool. In our visits, this pool is not as busy and somewhat relaxing if you need to take a break from the waterpark.
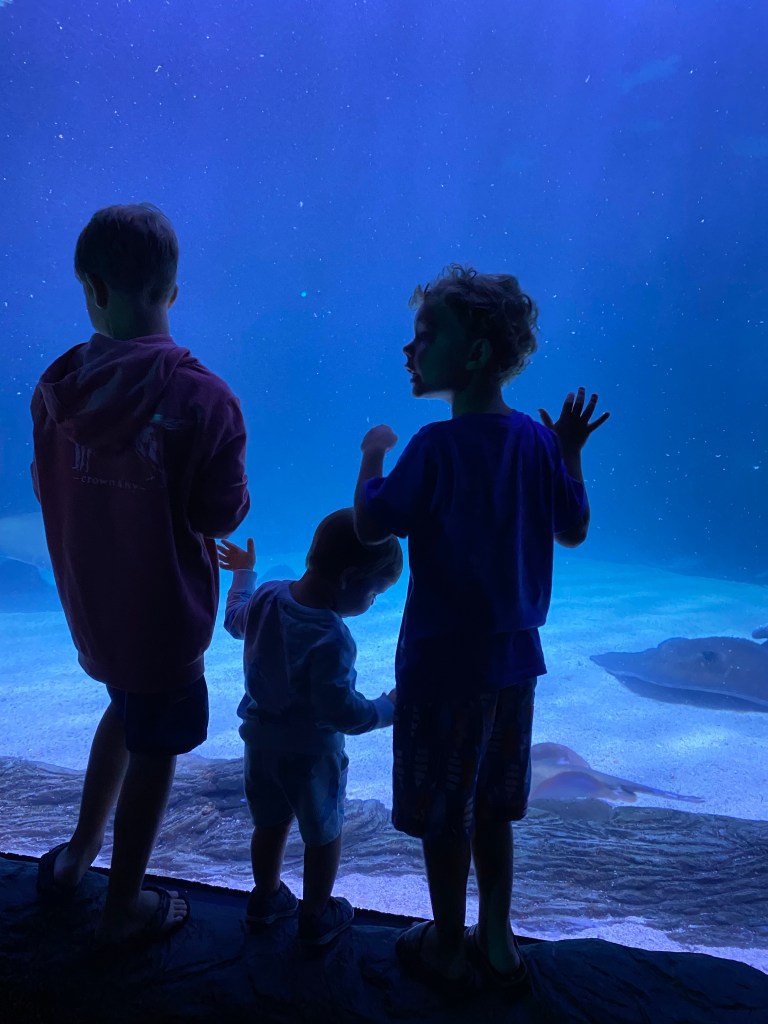
Should you have rain impede on your plans, I suggest making the trip to Ripley’s Aquarium. It is just a short drive and will provide hours of entertainment. The shark tunnel alone was amazing.
A couple of tips when planning your visit:
Note the dates of when the waterpark is open and closed for the season.
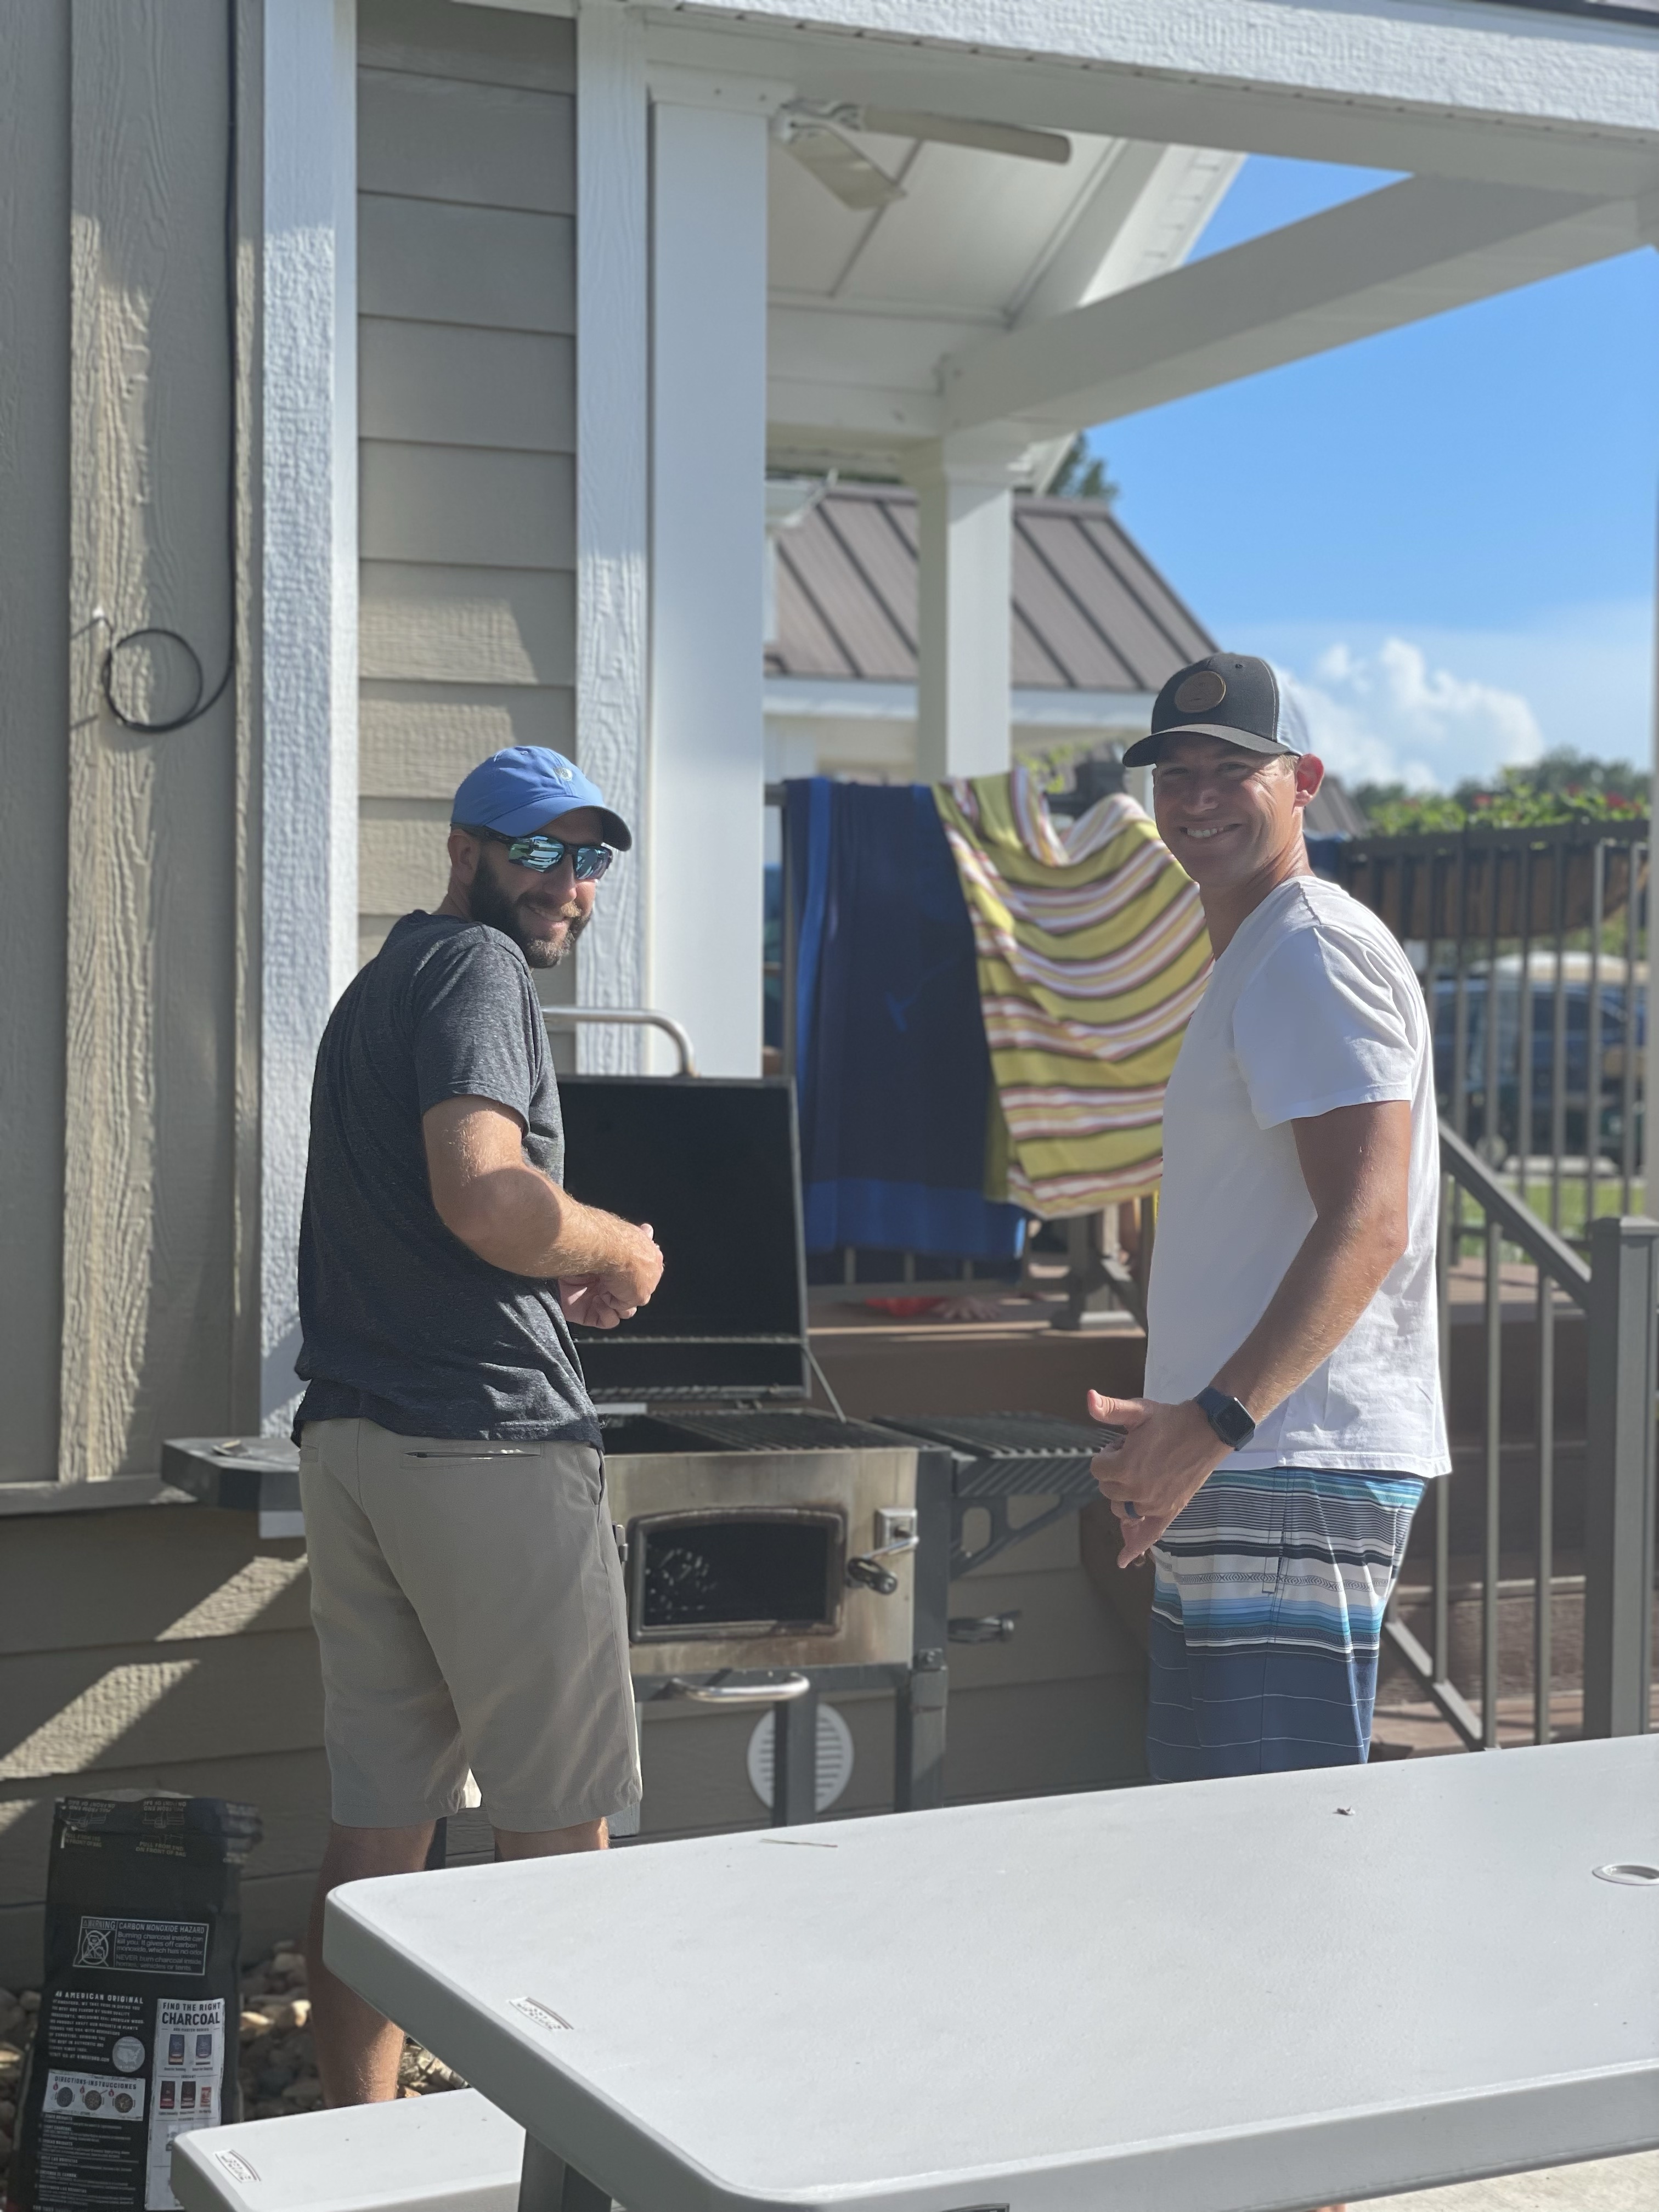
Pack snacks, basic needs for making poolside lunches (bread, deli meat/cheese, PB&J, fresh fruit), ziplock bags, and possible meals for grilling as each home has charcoal grills.
Things you’ll need for grilling that are easy to pack, lighter, small bag of charcoal, and roasting skewers for marshmallows over the fire pit. If you’d rather, the general store at the resort has these items.
Coffee drinkers, pack filters and coffee. Each home has a coffee pot but you will have to provide the filters and beans for that cup of joe.
Pack basic needs for the pool: towels, sunscreen, puddle jumpers if needed, etc.
Pack sound machine & pack n play for the littlest ones.
Plan ahead. You can get a better deal and have more options of availability if you book well in advance. The homes book quickly!
Be prepared to plan a return visit! We’ve had so many friends and family visit Carolina Pines after we fist went based on our recommendation and they’ve since been back many times.
If you have specific questions about what home may accommodate your family best, I’ll be happy to try and help you make that decision.
One final recommendation while you’re at Carolina Pines. Try dinner at Ella’s, located in Calabash for a traditional seafood meal. It was a childhood favorite for my husband which he was thrilled to introduce the boys to. Easy to say they were happy.
Comment if you have been to Carolina Pines and any tips you may have learned on your visits.
What was once an item listed on our project list, the powder room, it quickly became an active project when my husband walked into the garage and returned inside with a hammer and crowbar. He took to a corner in the bathroom and began an attempt at removing 1/4 round and baseboards. All I needed to get going on this particular project was him taking that first step and saying “let’s start checking off these projects.”
DIYs are fun but now with 3 kids, we have to be strategic in planning when we can tackle projects -between his work travel and kid schedules.
Goals for this project:
Try to be budget friendly, afterall, it is just a powder room
Source a local company to fabricate a new granite countertop for the existing vanity. This granite was going to the dump, and we scooped it up!
Find new faucet, lighting and accessories
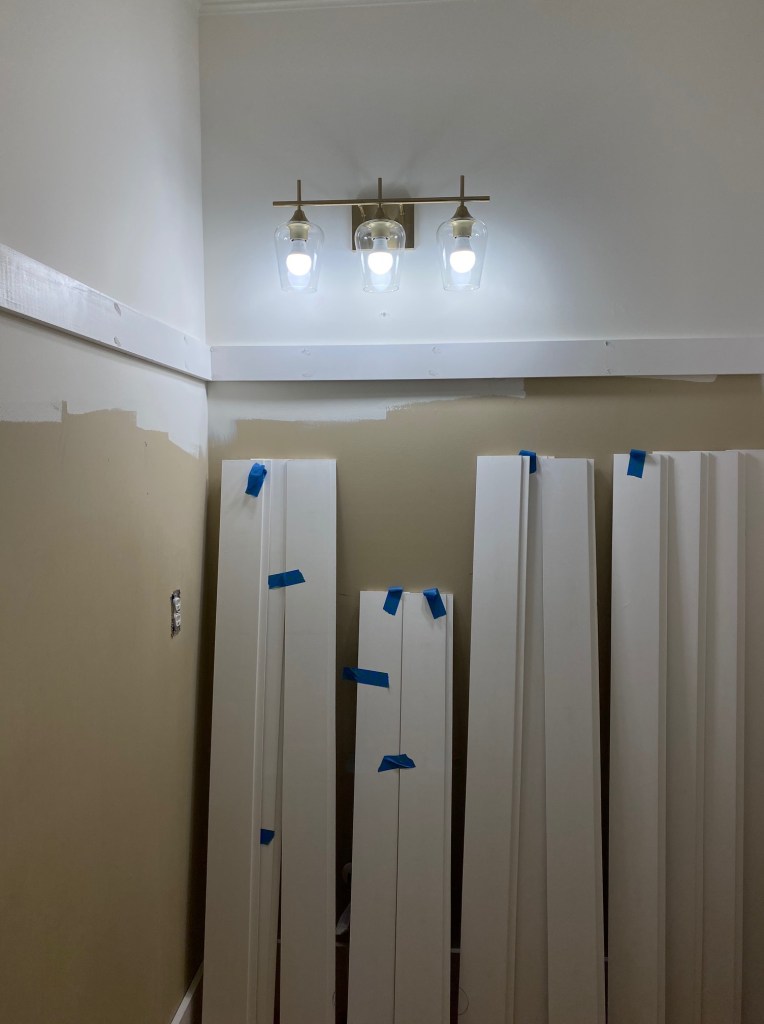
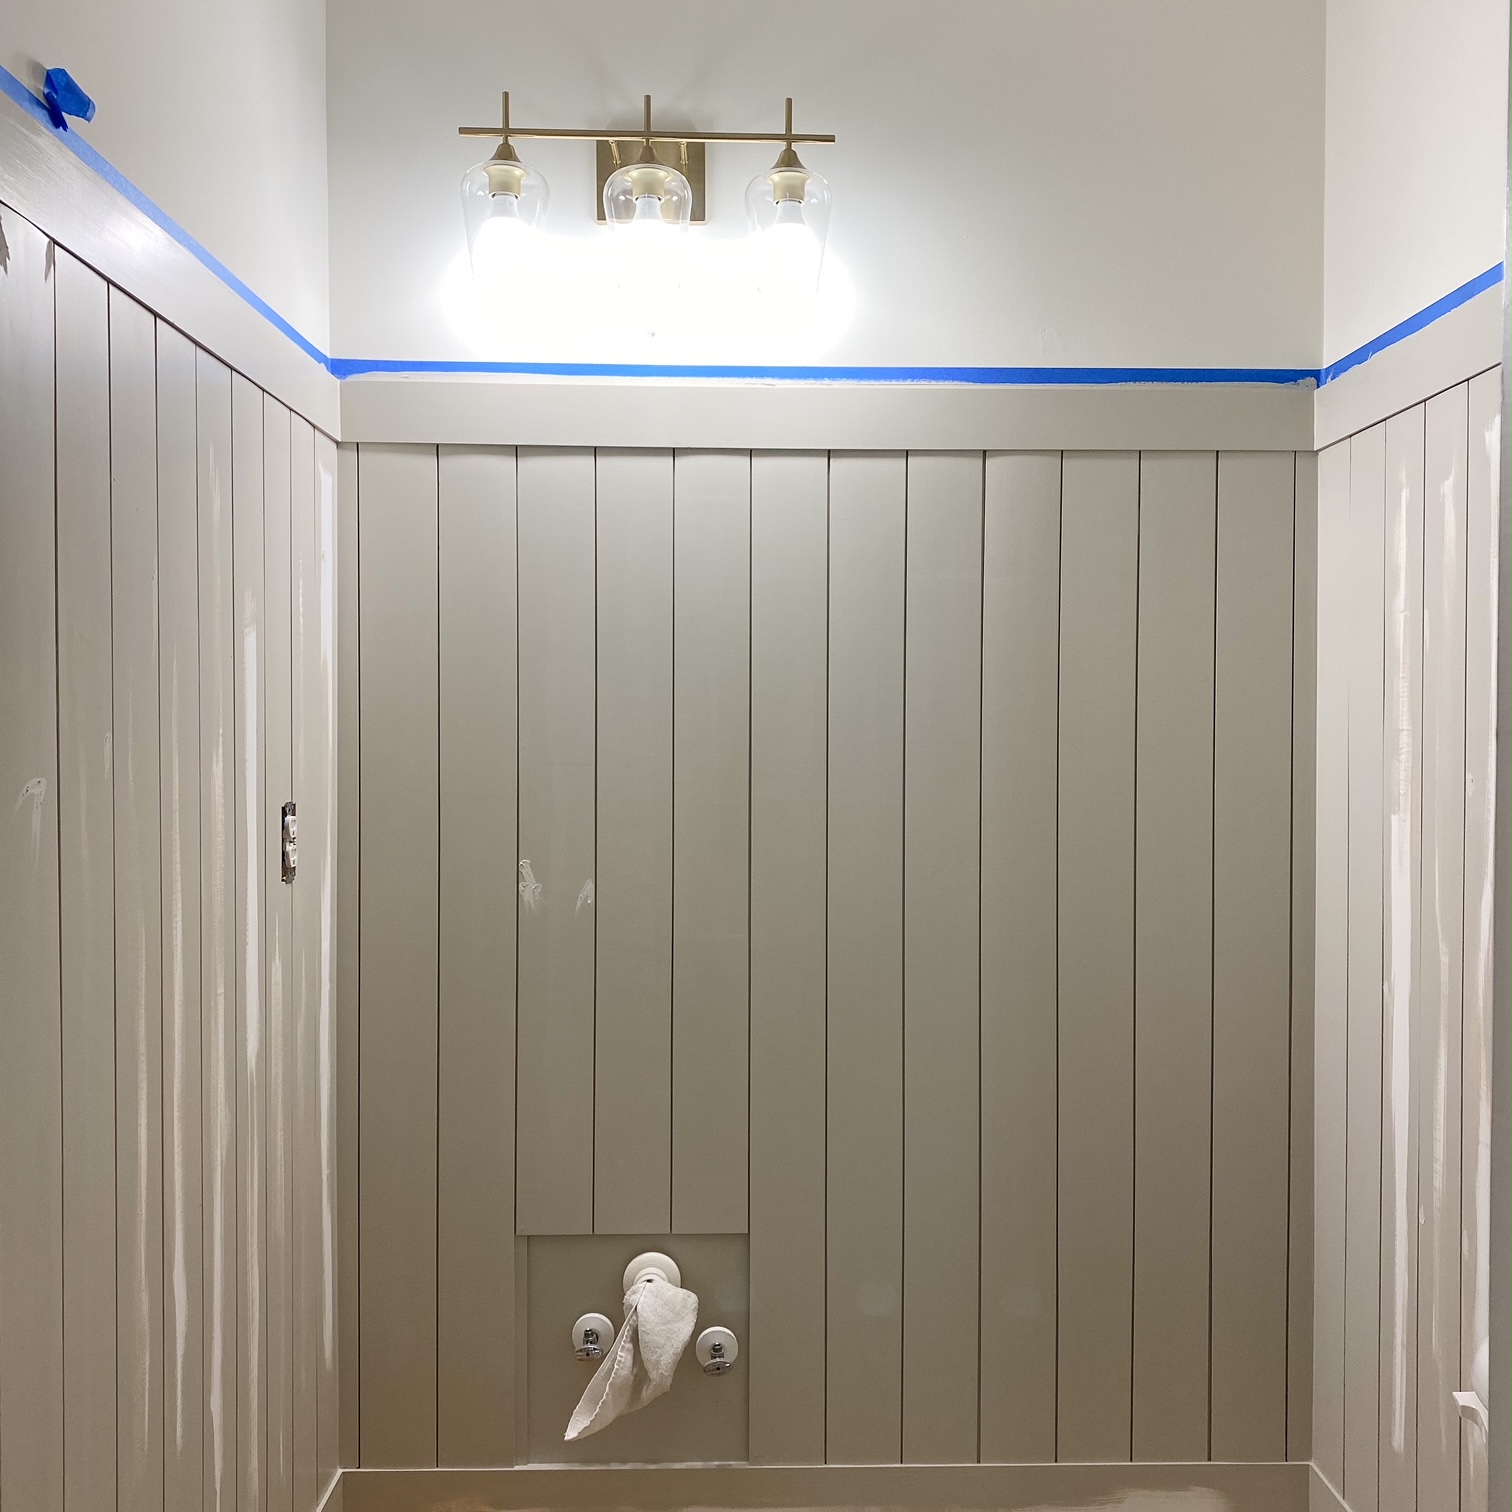
Add vertical shiplap
Fresh coat of paint
Project Mood Board
You can find links to the lights, hardware, and faucet here, Product Links. The final faucet we went with can be found here. We have been very pleased with it. In fact, I installed it apart from connecting the drain to the p trap. I’m thankful for my dad who came over to connect them and teach me how they work.
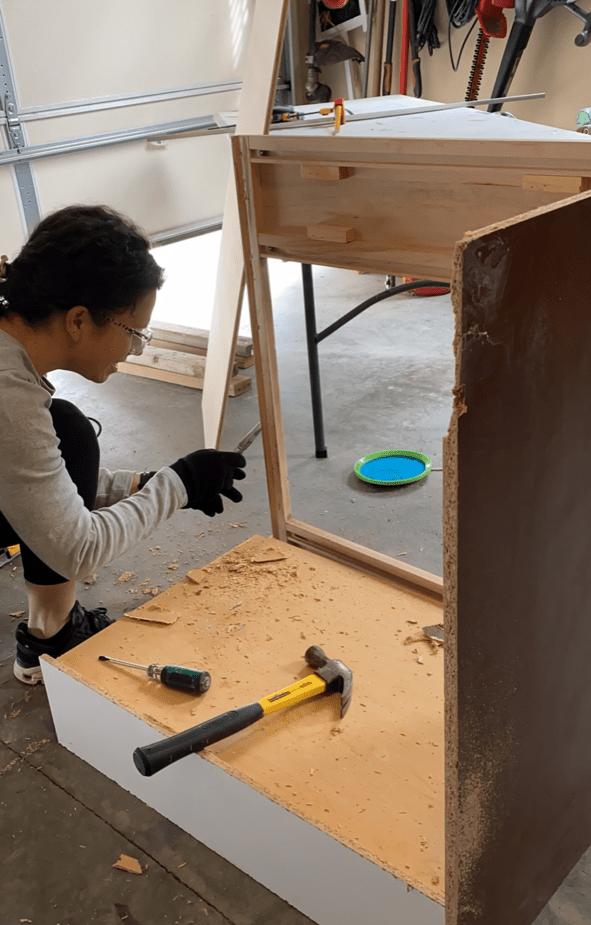
First we demoed by taking out all 1/4 round, baseboards, disconnecting the water supply and removing the vanity.
We ended up having to purchase this set to help in removing the 1/4 round and baseboards. Even still, it proved to be challenging because the installers used 3 inch nails which is excessive in my opinion.
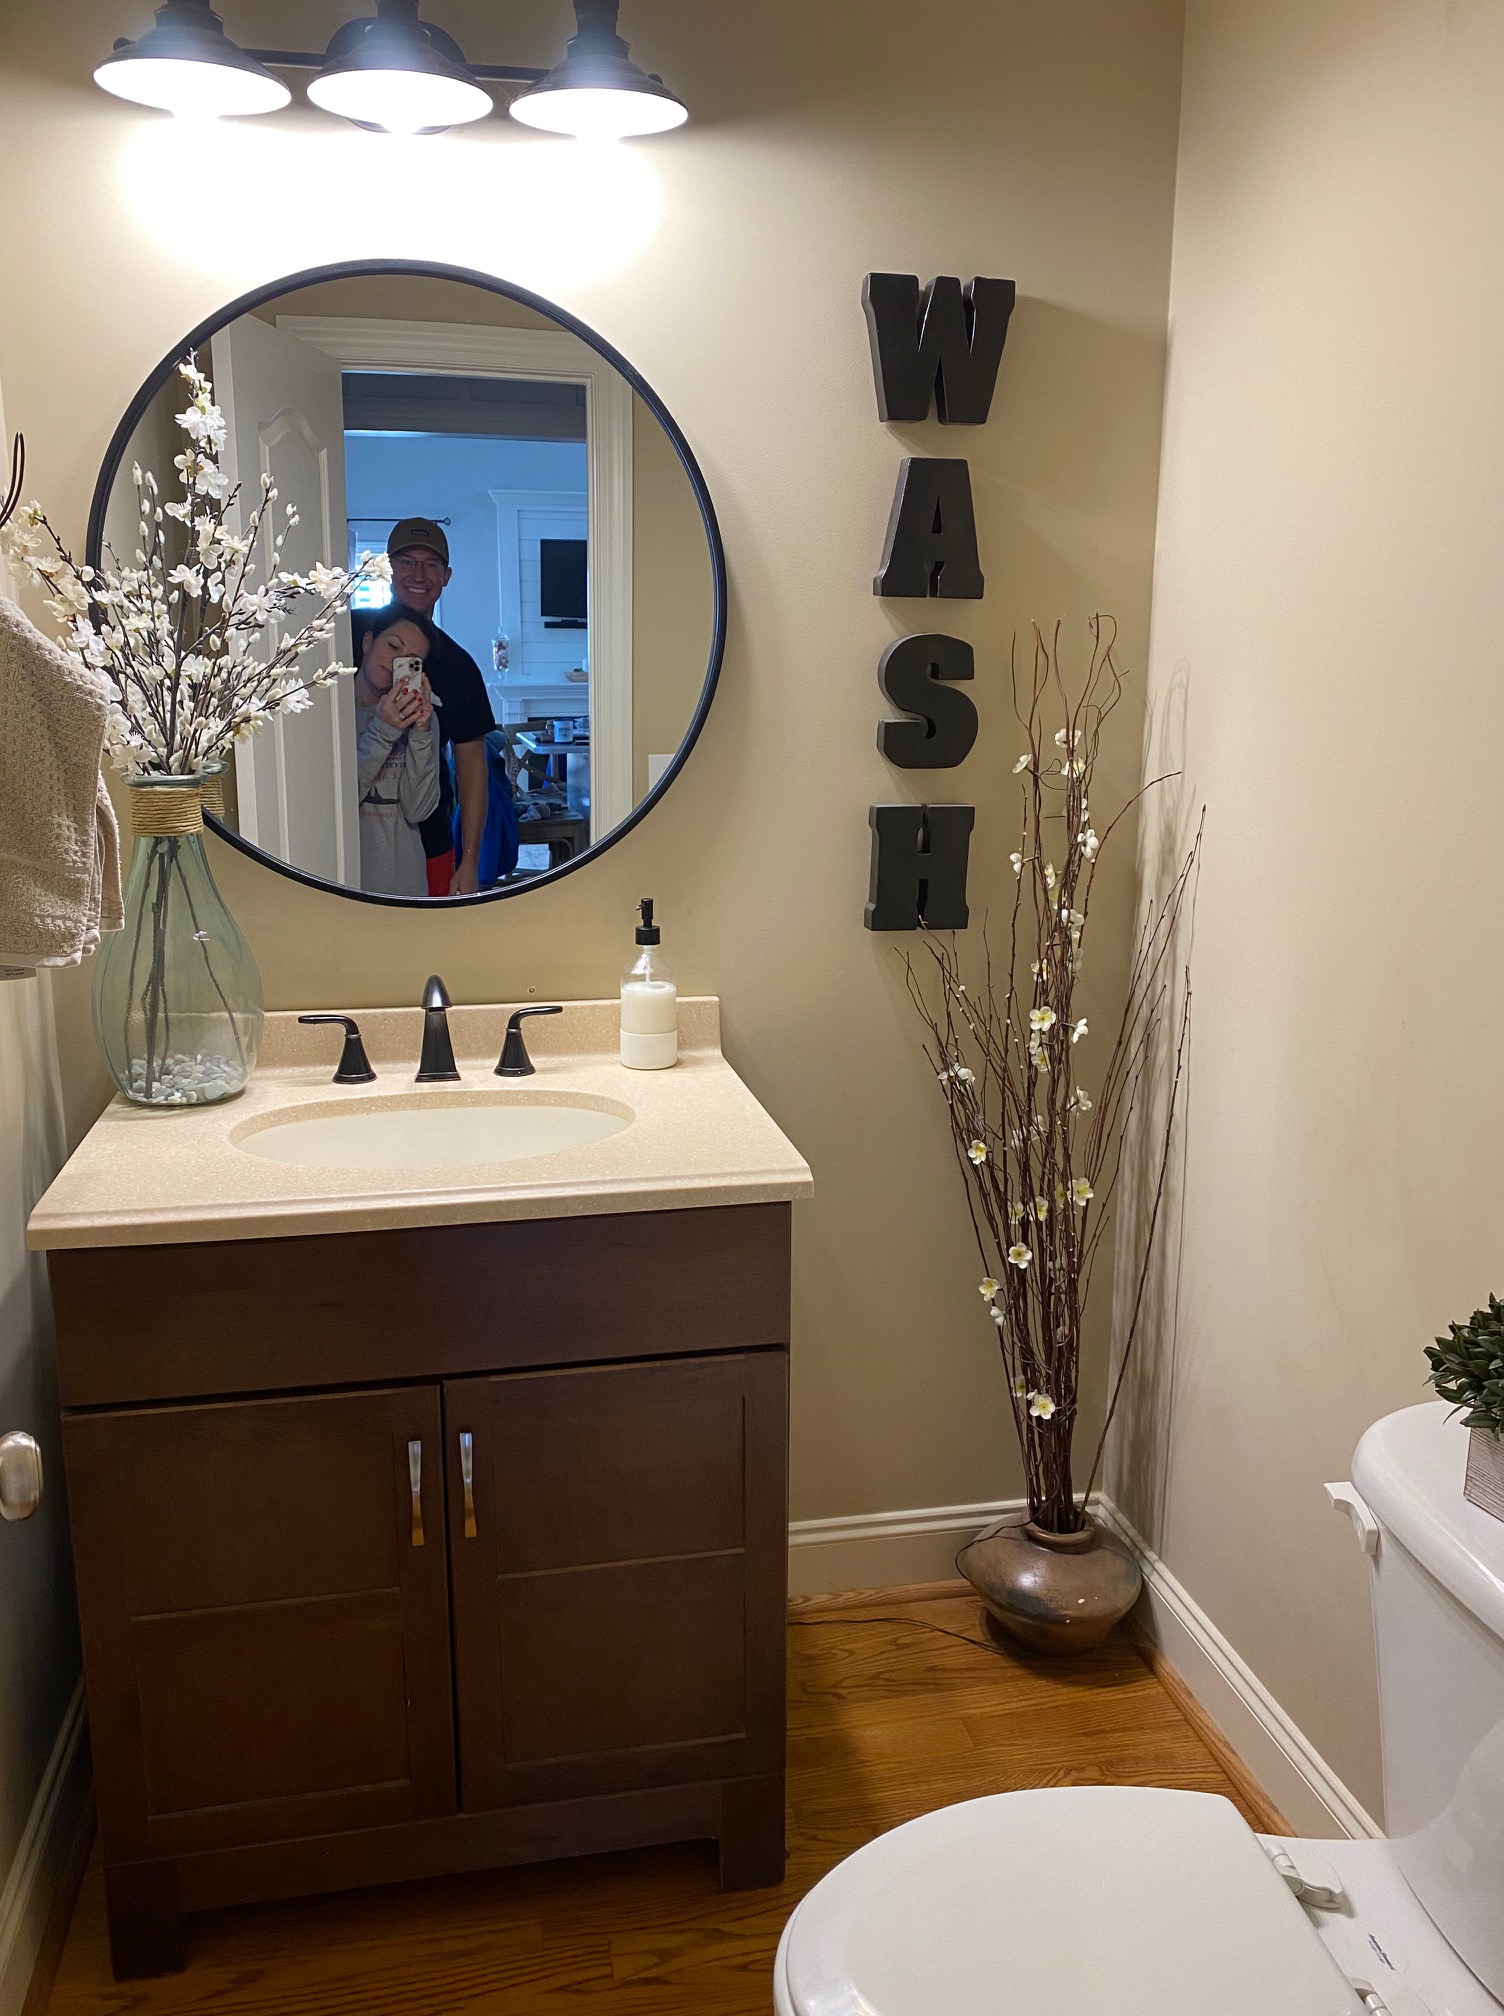
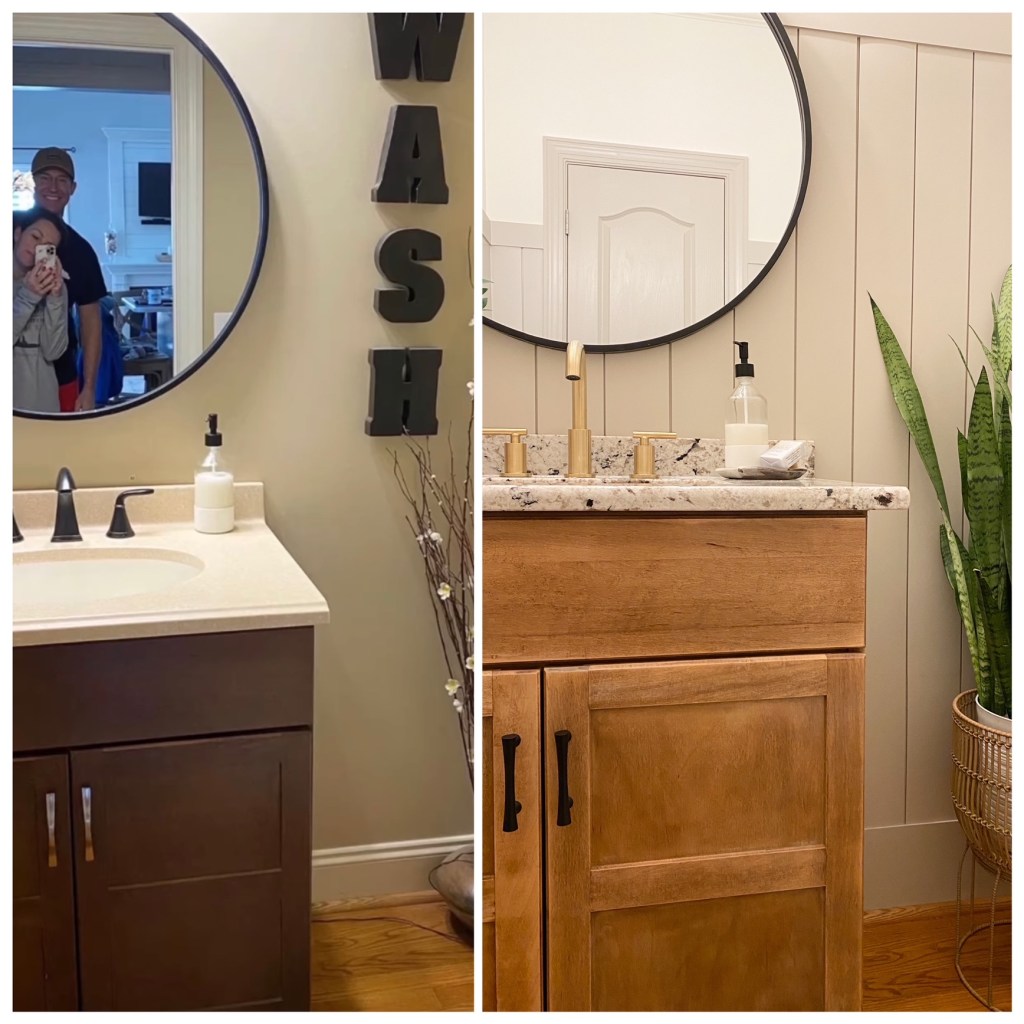
As you can see, the before was just “blah” and didn’t fit our style at all. As for the layout of the bathroom, we would have never designed it this way but we had to work with it.
After the space was cleared out, I painted the top 1/4 section of the walls White Dove and the crown molding, and ceiling. Then we added in new baseboards, 1×8 primed pine as the MDF was limited for us.
After baseboards and paint, we added a 1×4 piece of trim that was our finishing cap and would act as the point where we measured for each vertical shiplap board.
At this point in the project, I had also switched out the light fixture but had not yet purchased new light bulbs that were a softer lume.
Once we both cut down our shiplap to size for our first wall, I painted the edges of each piece prior to nailing them to the wall. As I did this, my husband marked the studs on the walls.
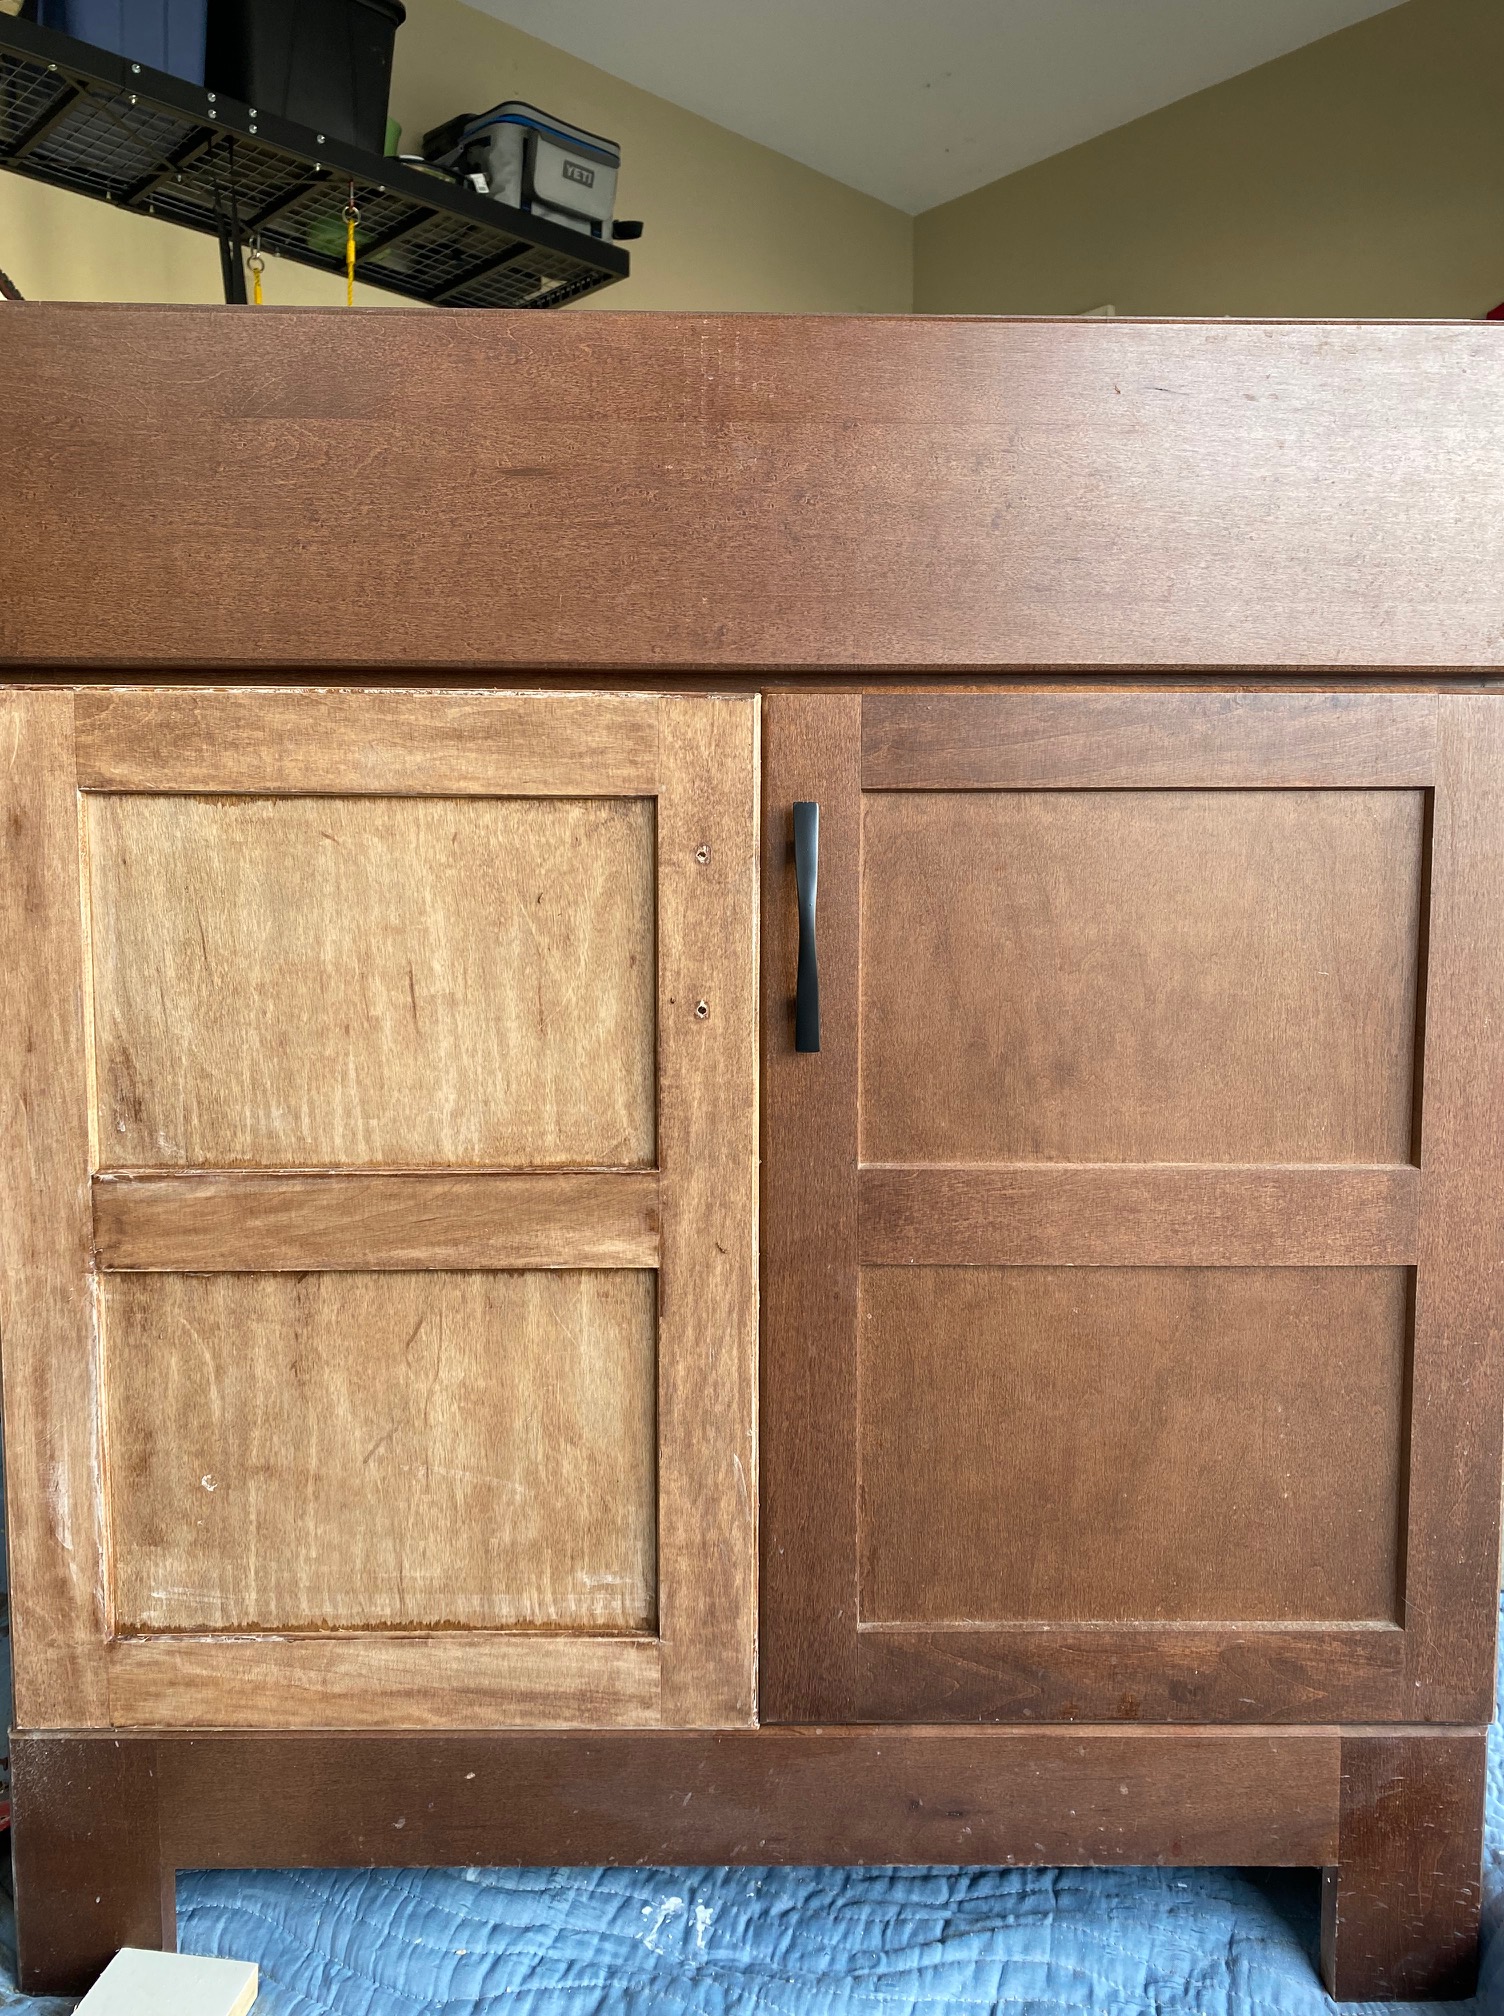
As paint was drying on the walls, I decided to update the existing vanity and strip the brown stain. I saw this inspirational photo which solidified my decision. Our granite was very similar in coloring.
I first tried a couple rounds of oven cleaner as stripper but I didn’t love the results. You can see the beginning process in the left photo. Next, I went the route of Citri Strip and it did much better. I also coated the doors with Citri Strip and wrapped them in plastic wrap to let them sit overnight before scraping off the product and stain. The result revealed a beautiful color that was very similar to what I was hoping for.
With a little grit, I cleaned up the corners to get it to match using steel wool and 220 grit sandpaper.
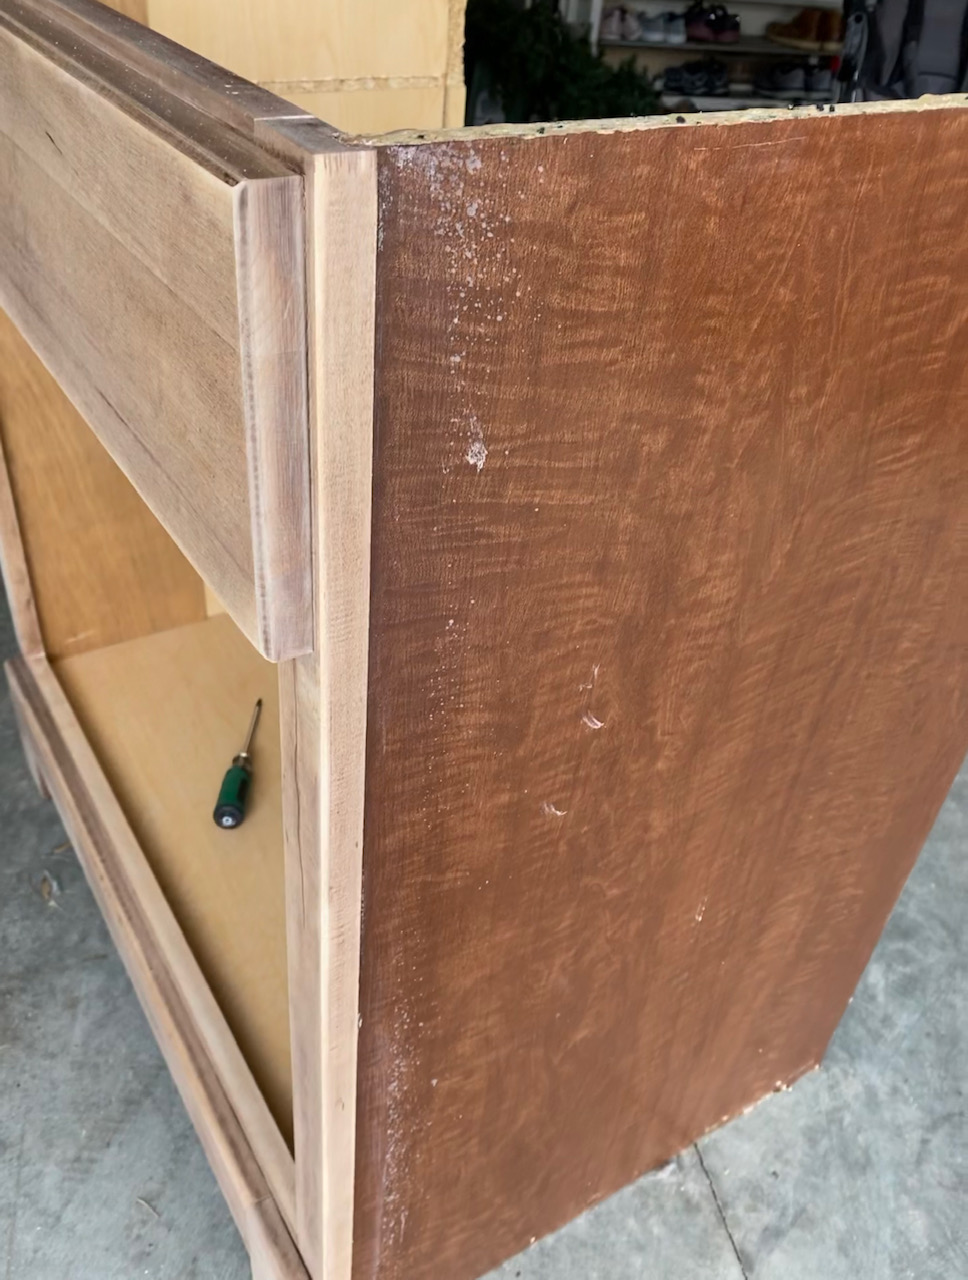
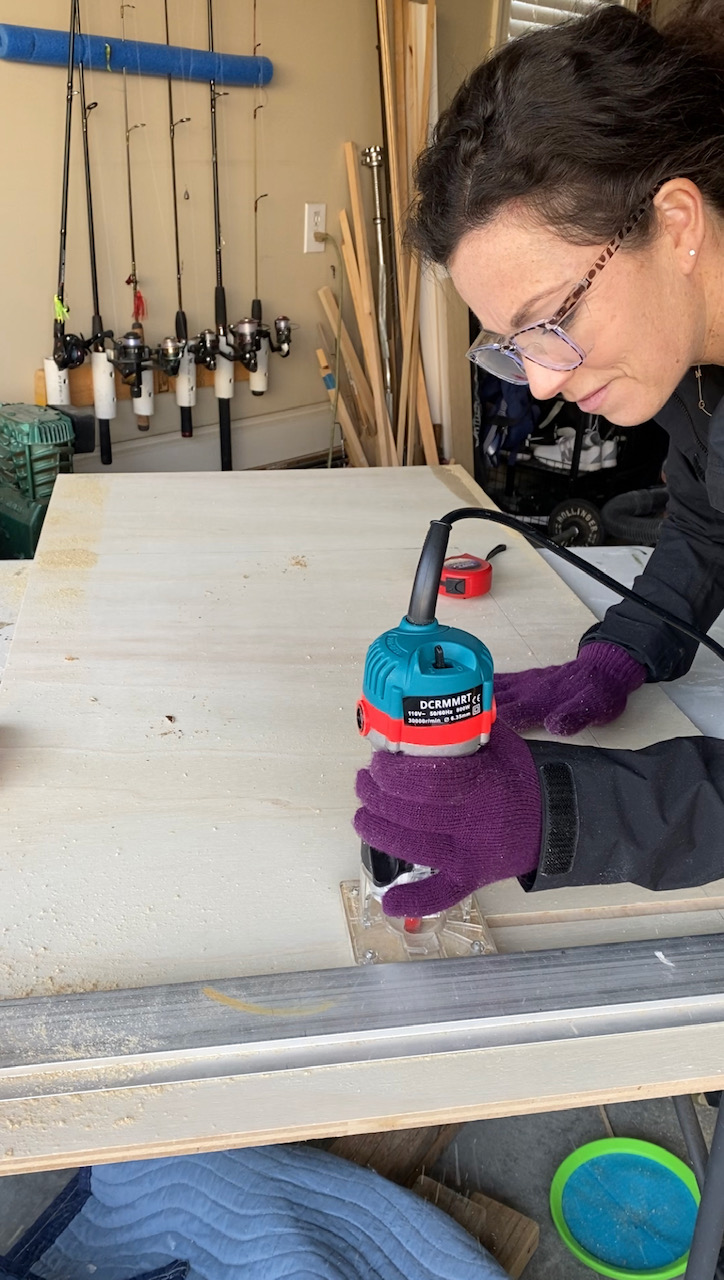
Where this vanity got tricky was the fact that I had to update the side panels. They were not made of real wood but had a veneer finish; therefore, stipping them of stain wasn’t an option. I had to replace the side panels with new 1/2 inch sheets of plywood. We were out of scrap wood that met the size requirements so I purchased 2×4 sheets from Home Depot and cut those down to size. Without using a table saw, I used a guide, clamps and my skill saw to trim it to size. I feel much more comfortable with this tool vs. a table saw.
This also allowed me to try out my new router tool to create a ledge for the cabinet shelf to rest in, just as it did on the original side panels. This was such a fun tool to use. I look forward to future projects when we can try out different bits that it came with.
After the new side panels were cut to size and the ledge routed, I had the task of matching the stain to the stripped down vanity color. I did this with a combination of Special Walnut, watered down white paint as a white wash, and Dark Walnut. I ended up doing 2 more additional coats of dark walnut to darken it up more and found the perfect match.
After stain, the side panel was attached with wood glue and 1 inch brad nails. I then finished it off with 1 coats of clear Matte Polycrylic. This is my favorite poly and is easy to work with. Tip: Between coats, you have to use 220 grit sandpaper to get the smoothest finish.
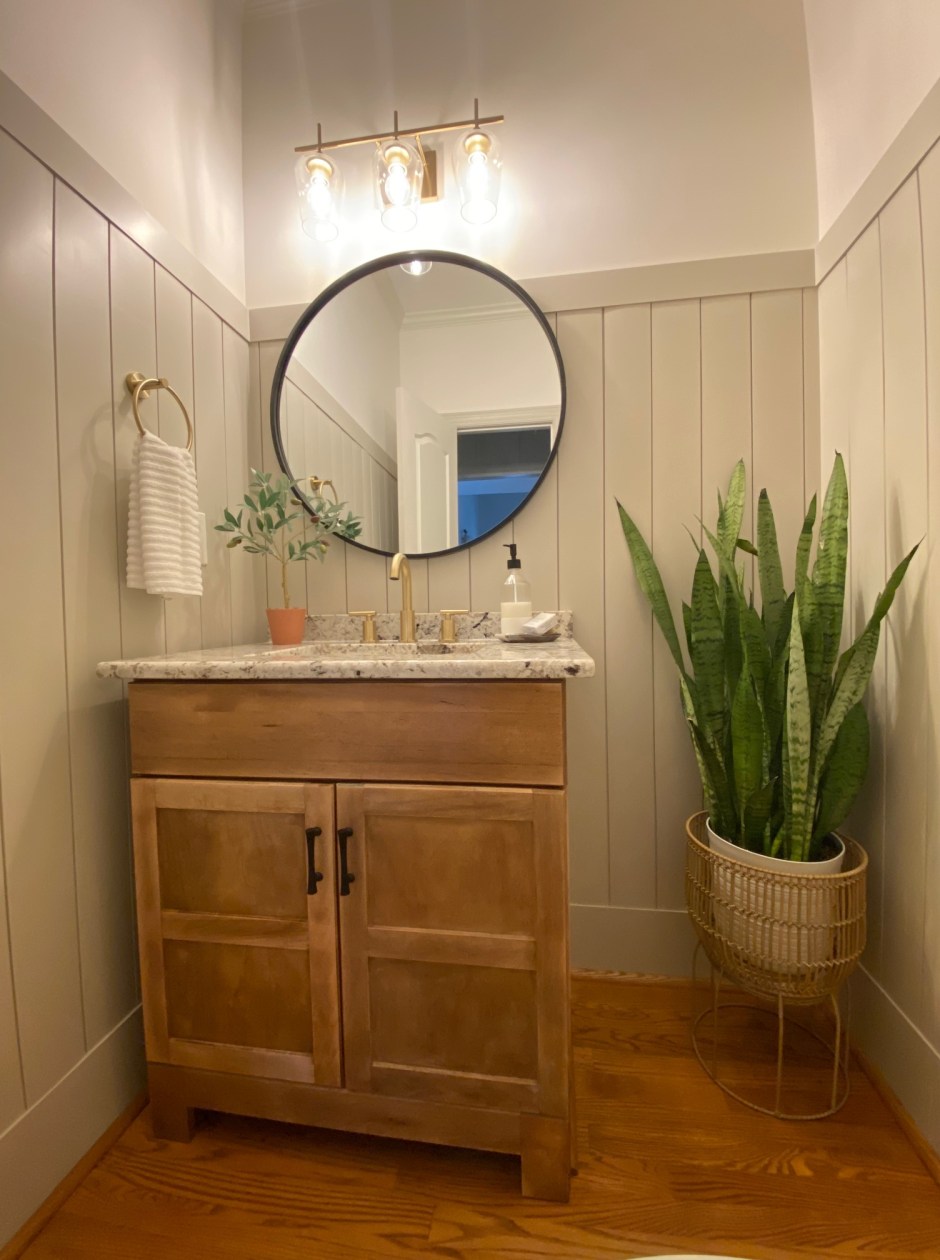
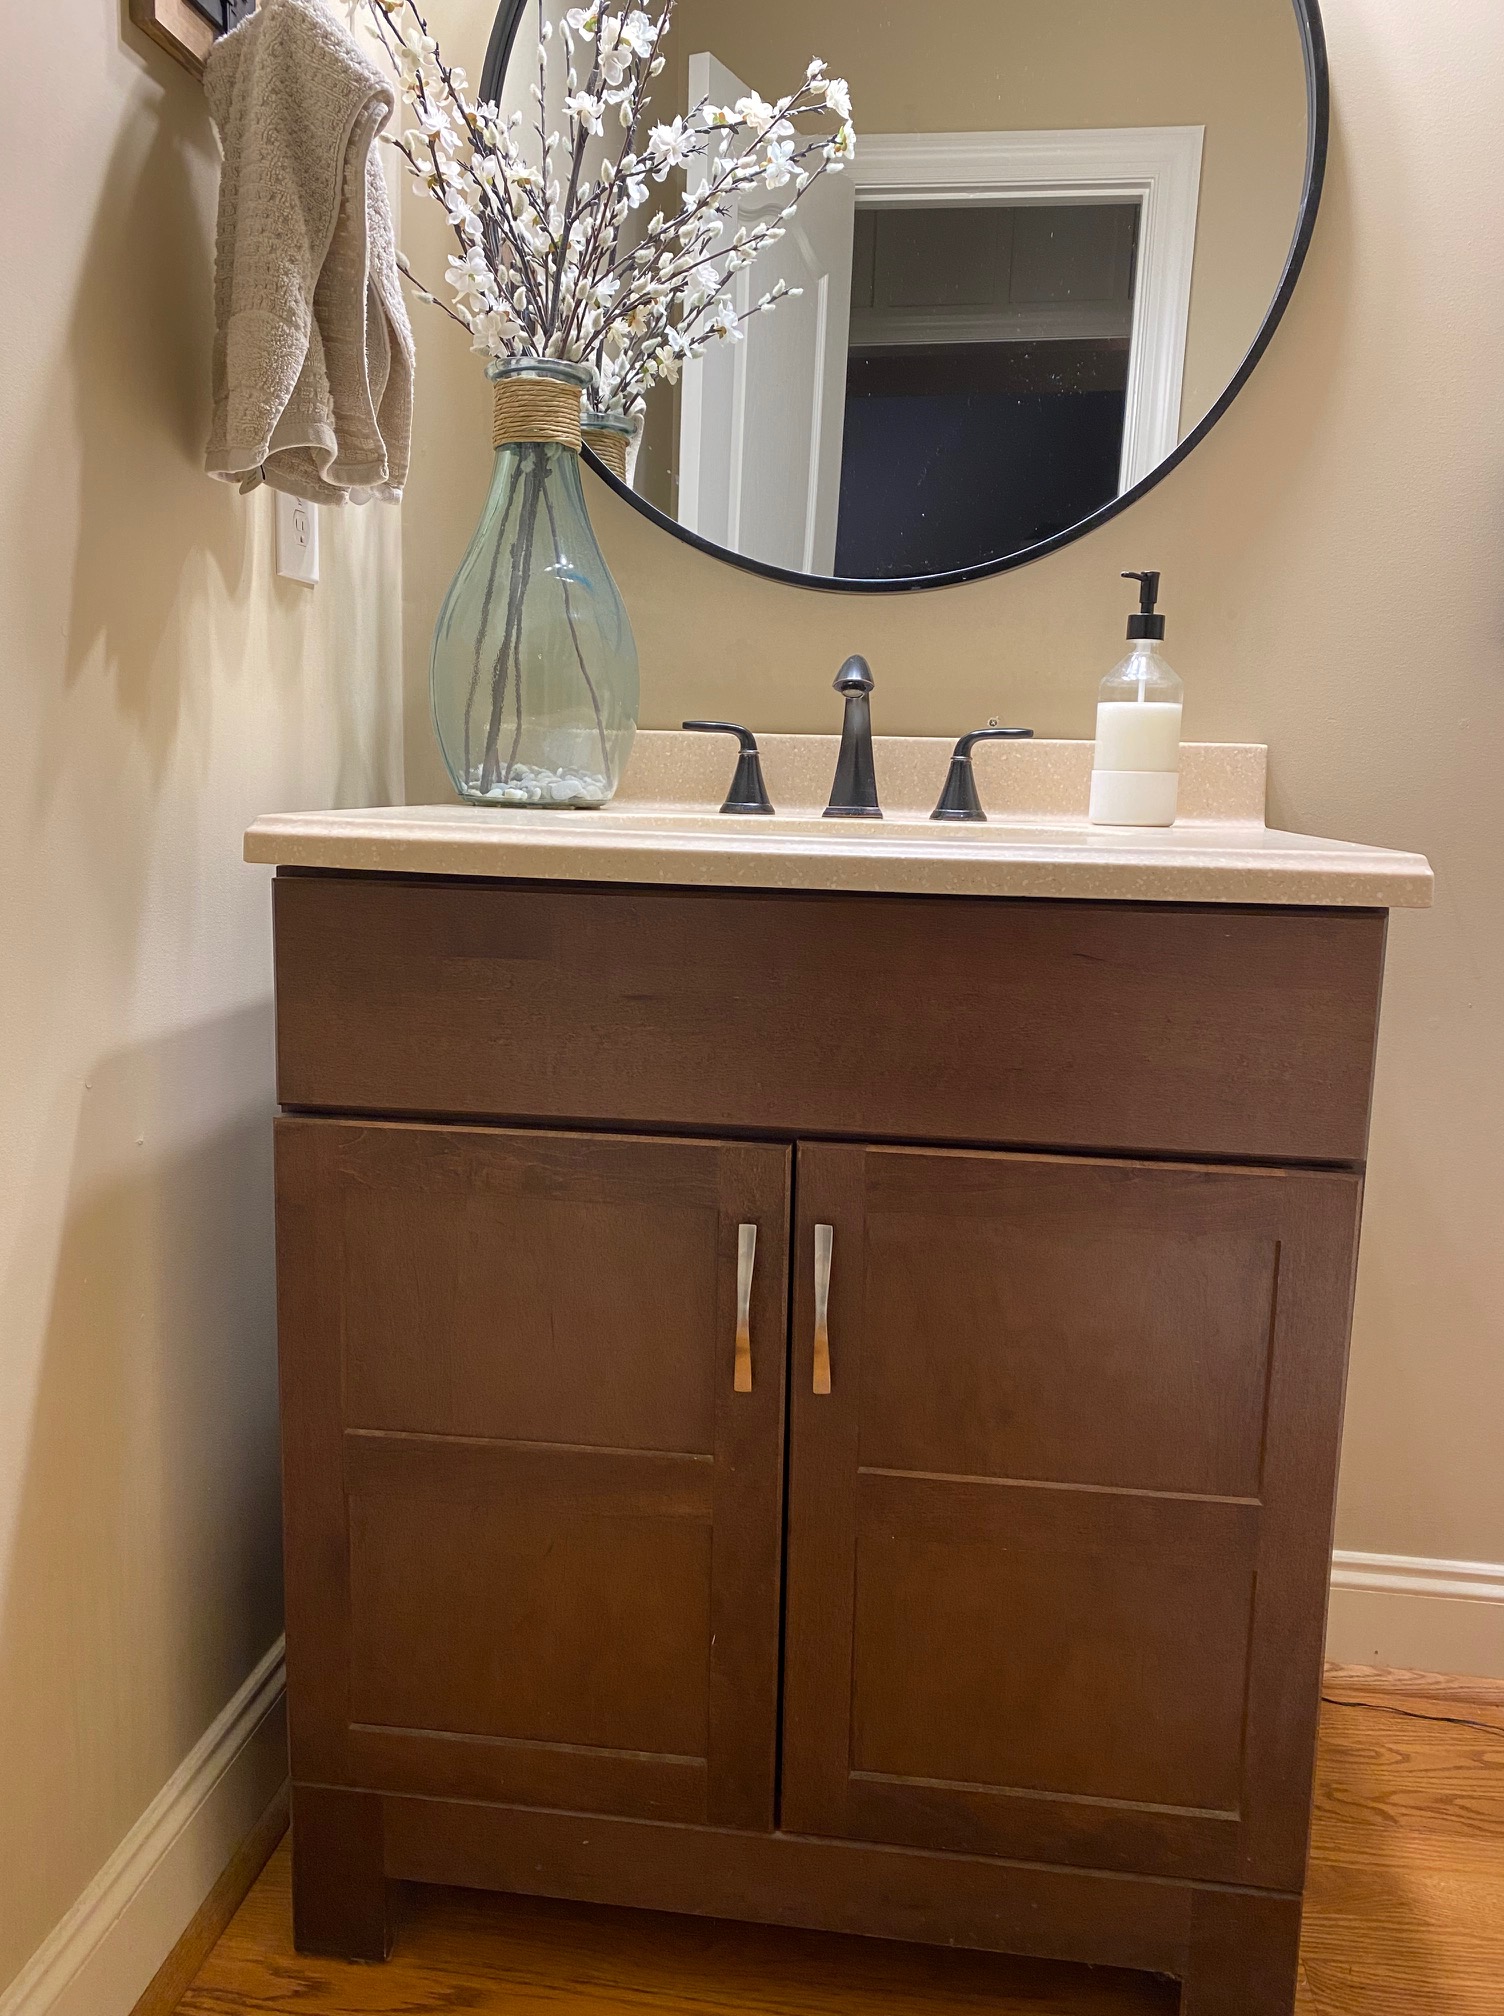
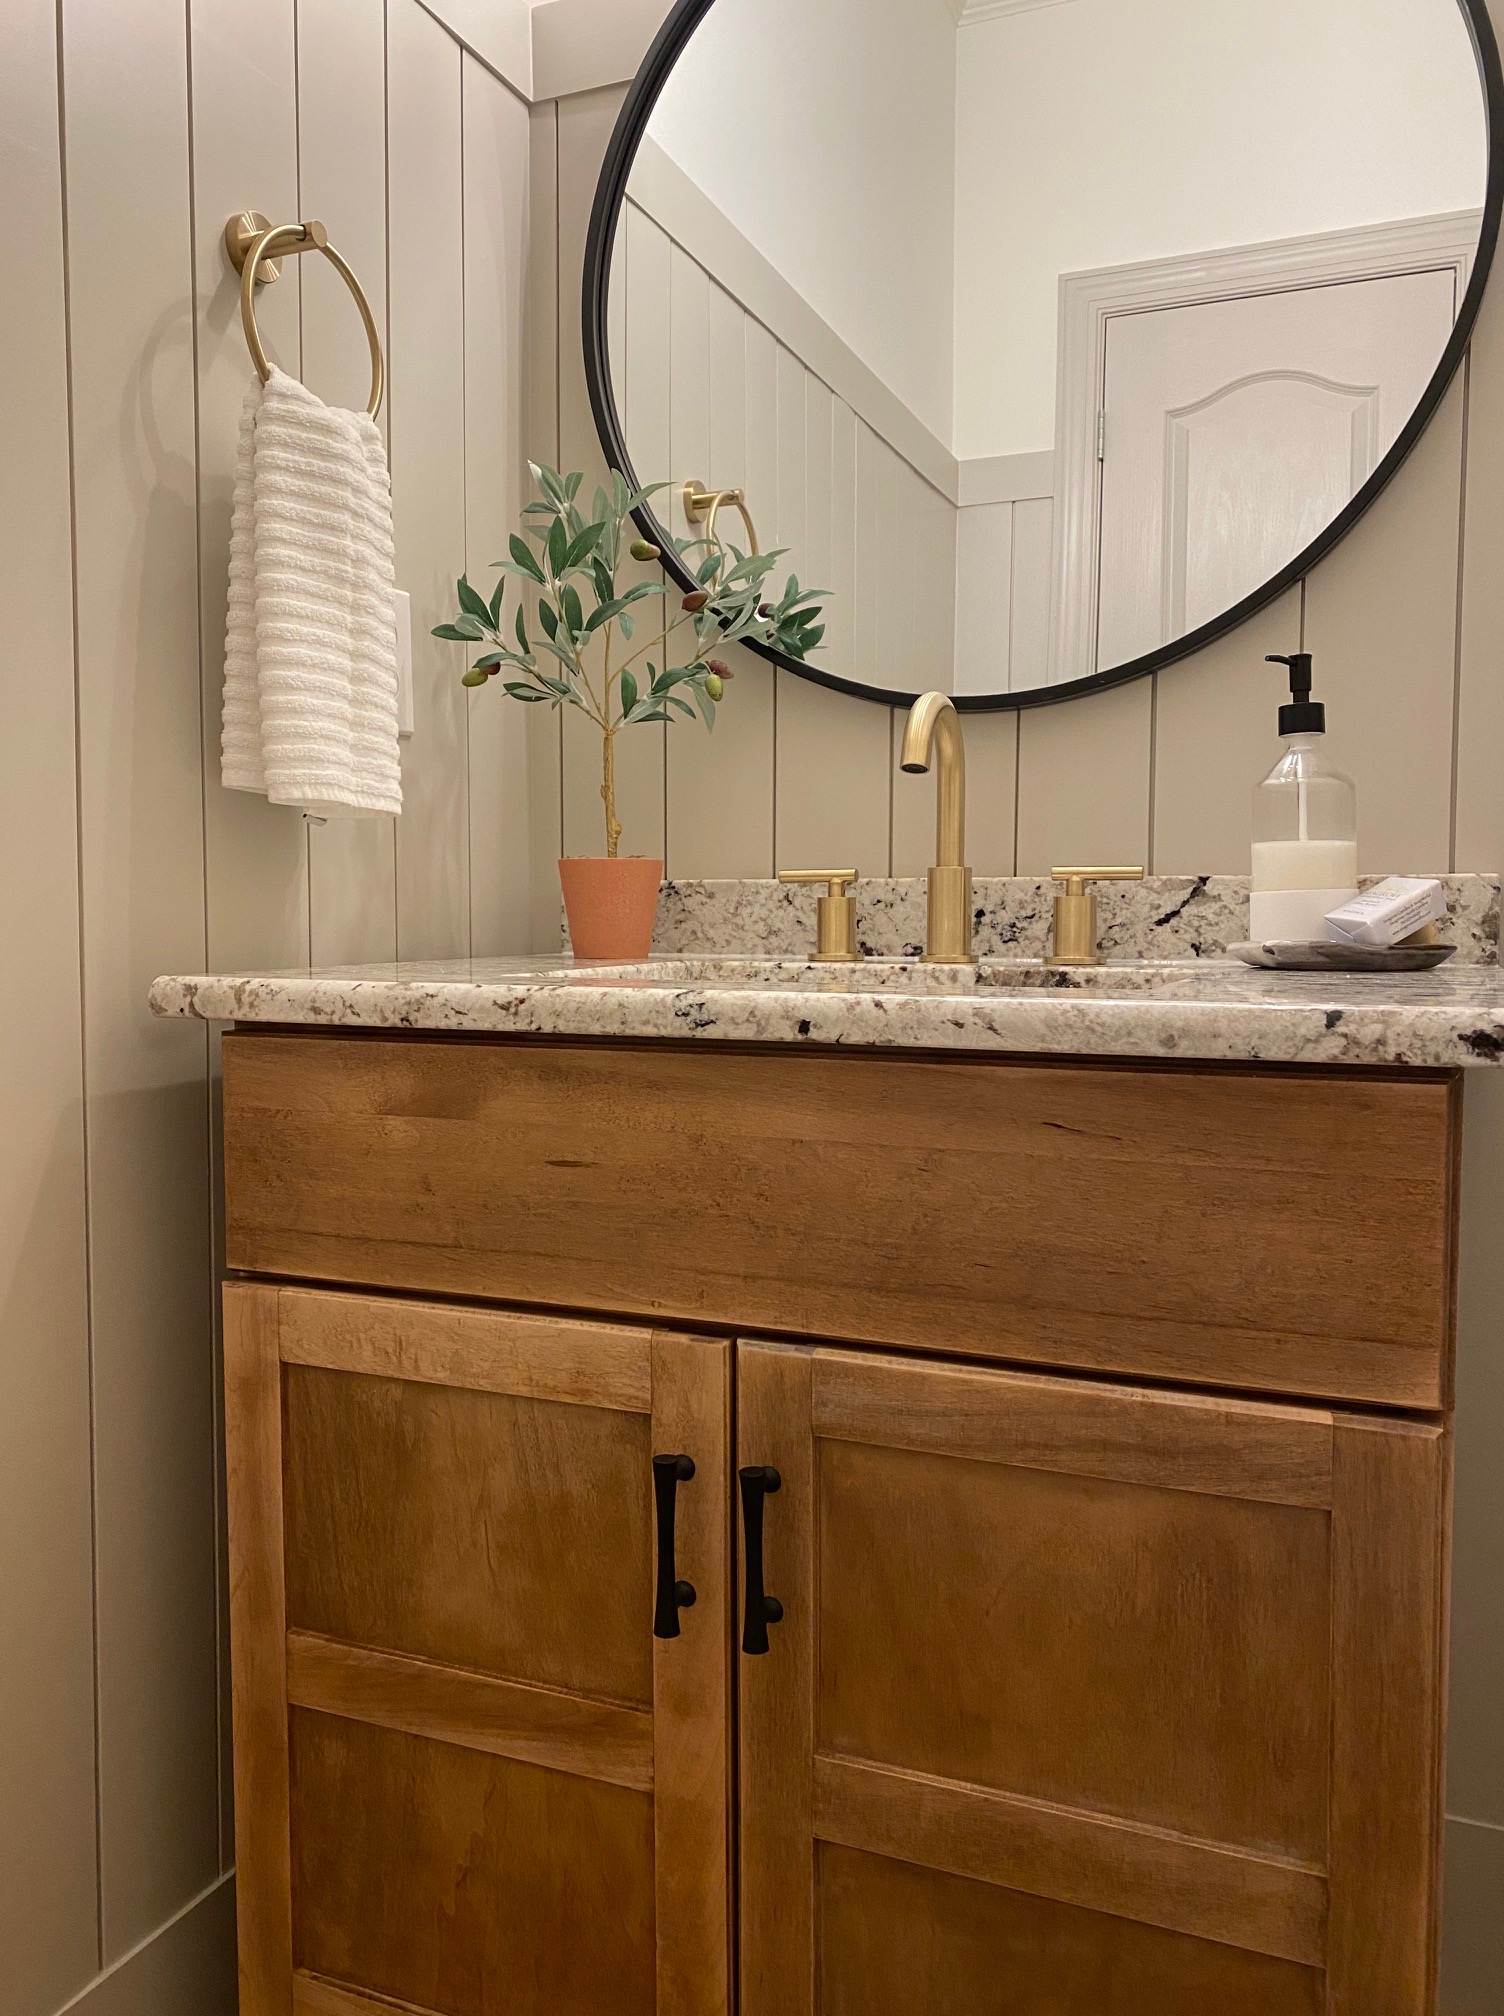
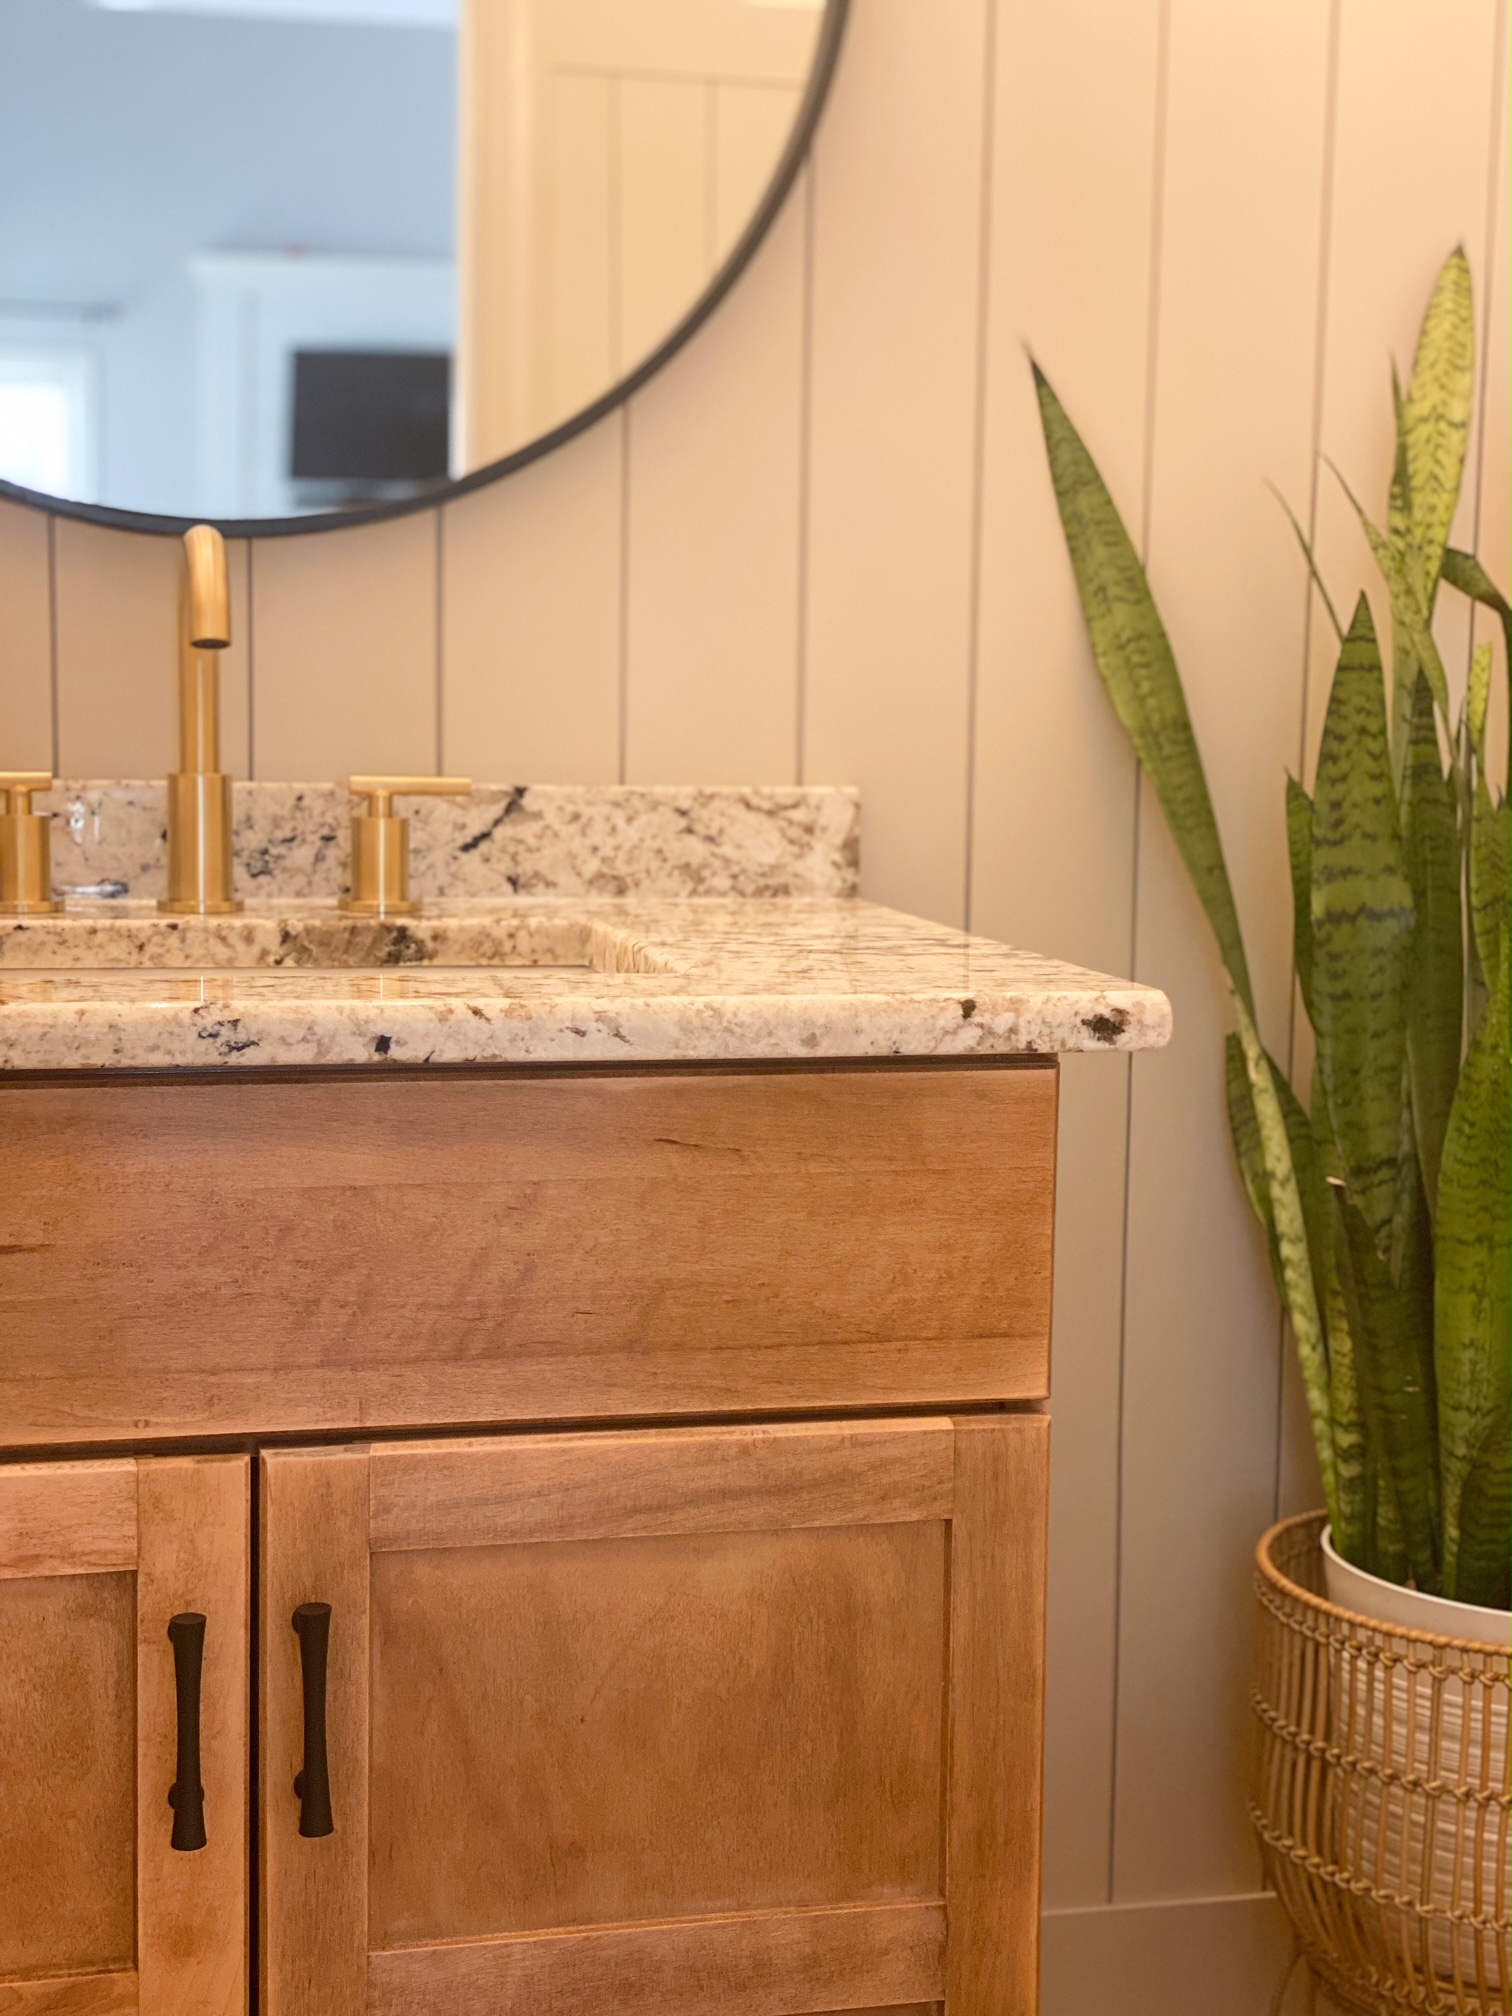
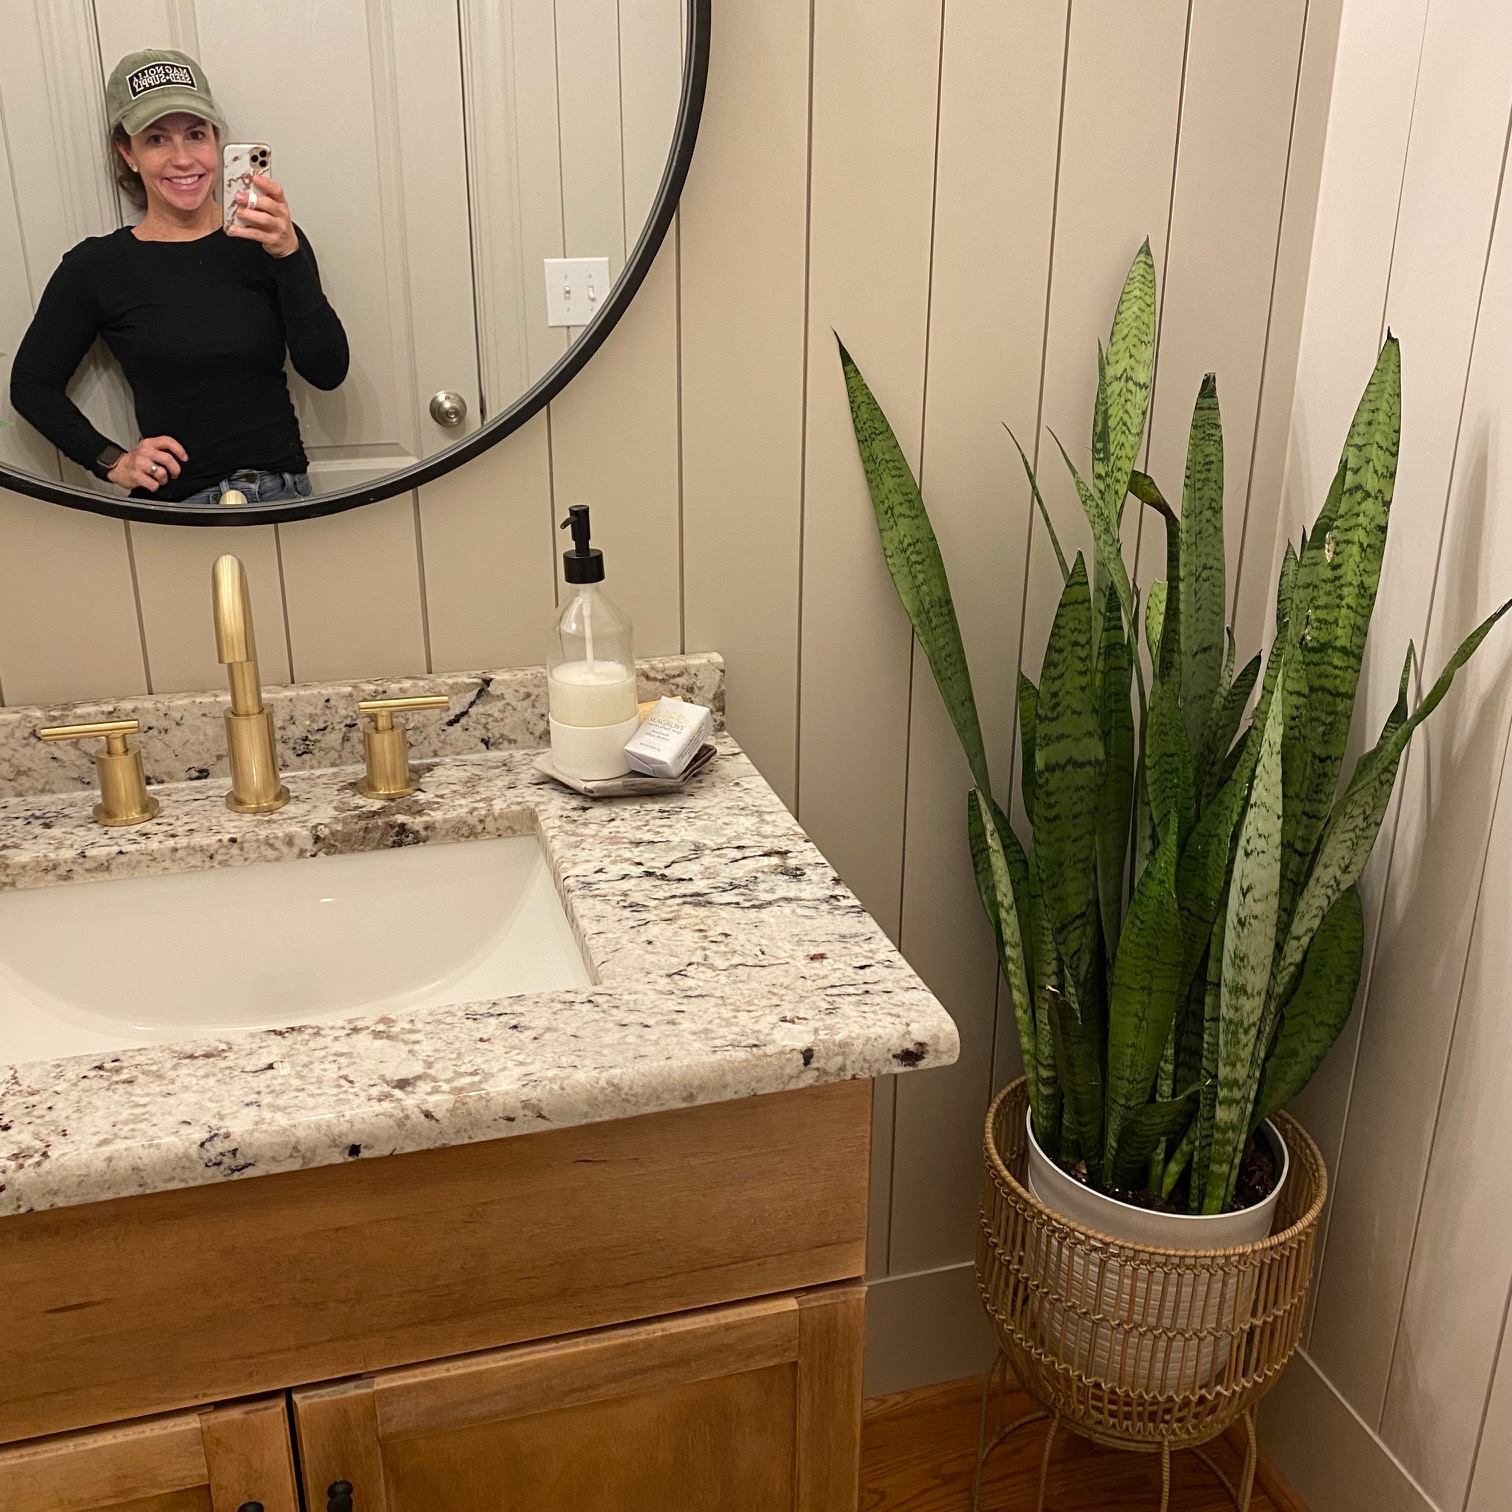
Check out the progression of adding the vanity back into the space, the counters, doors, faucet and new handle pulls.
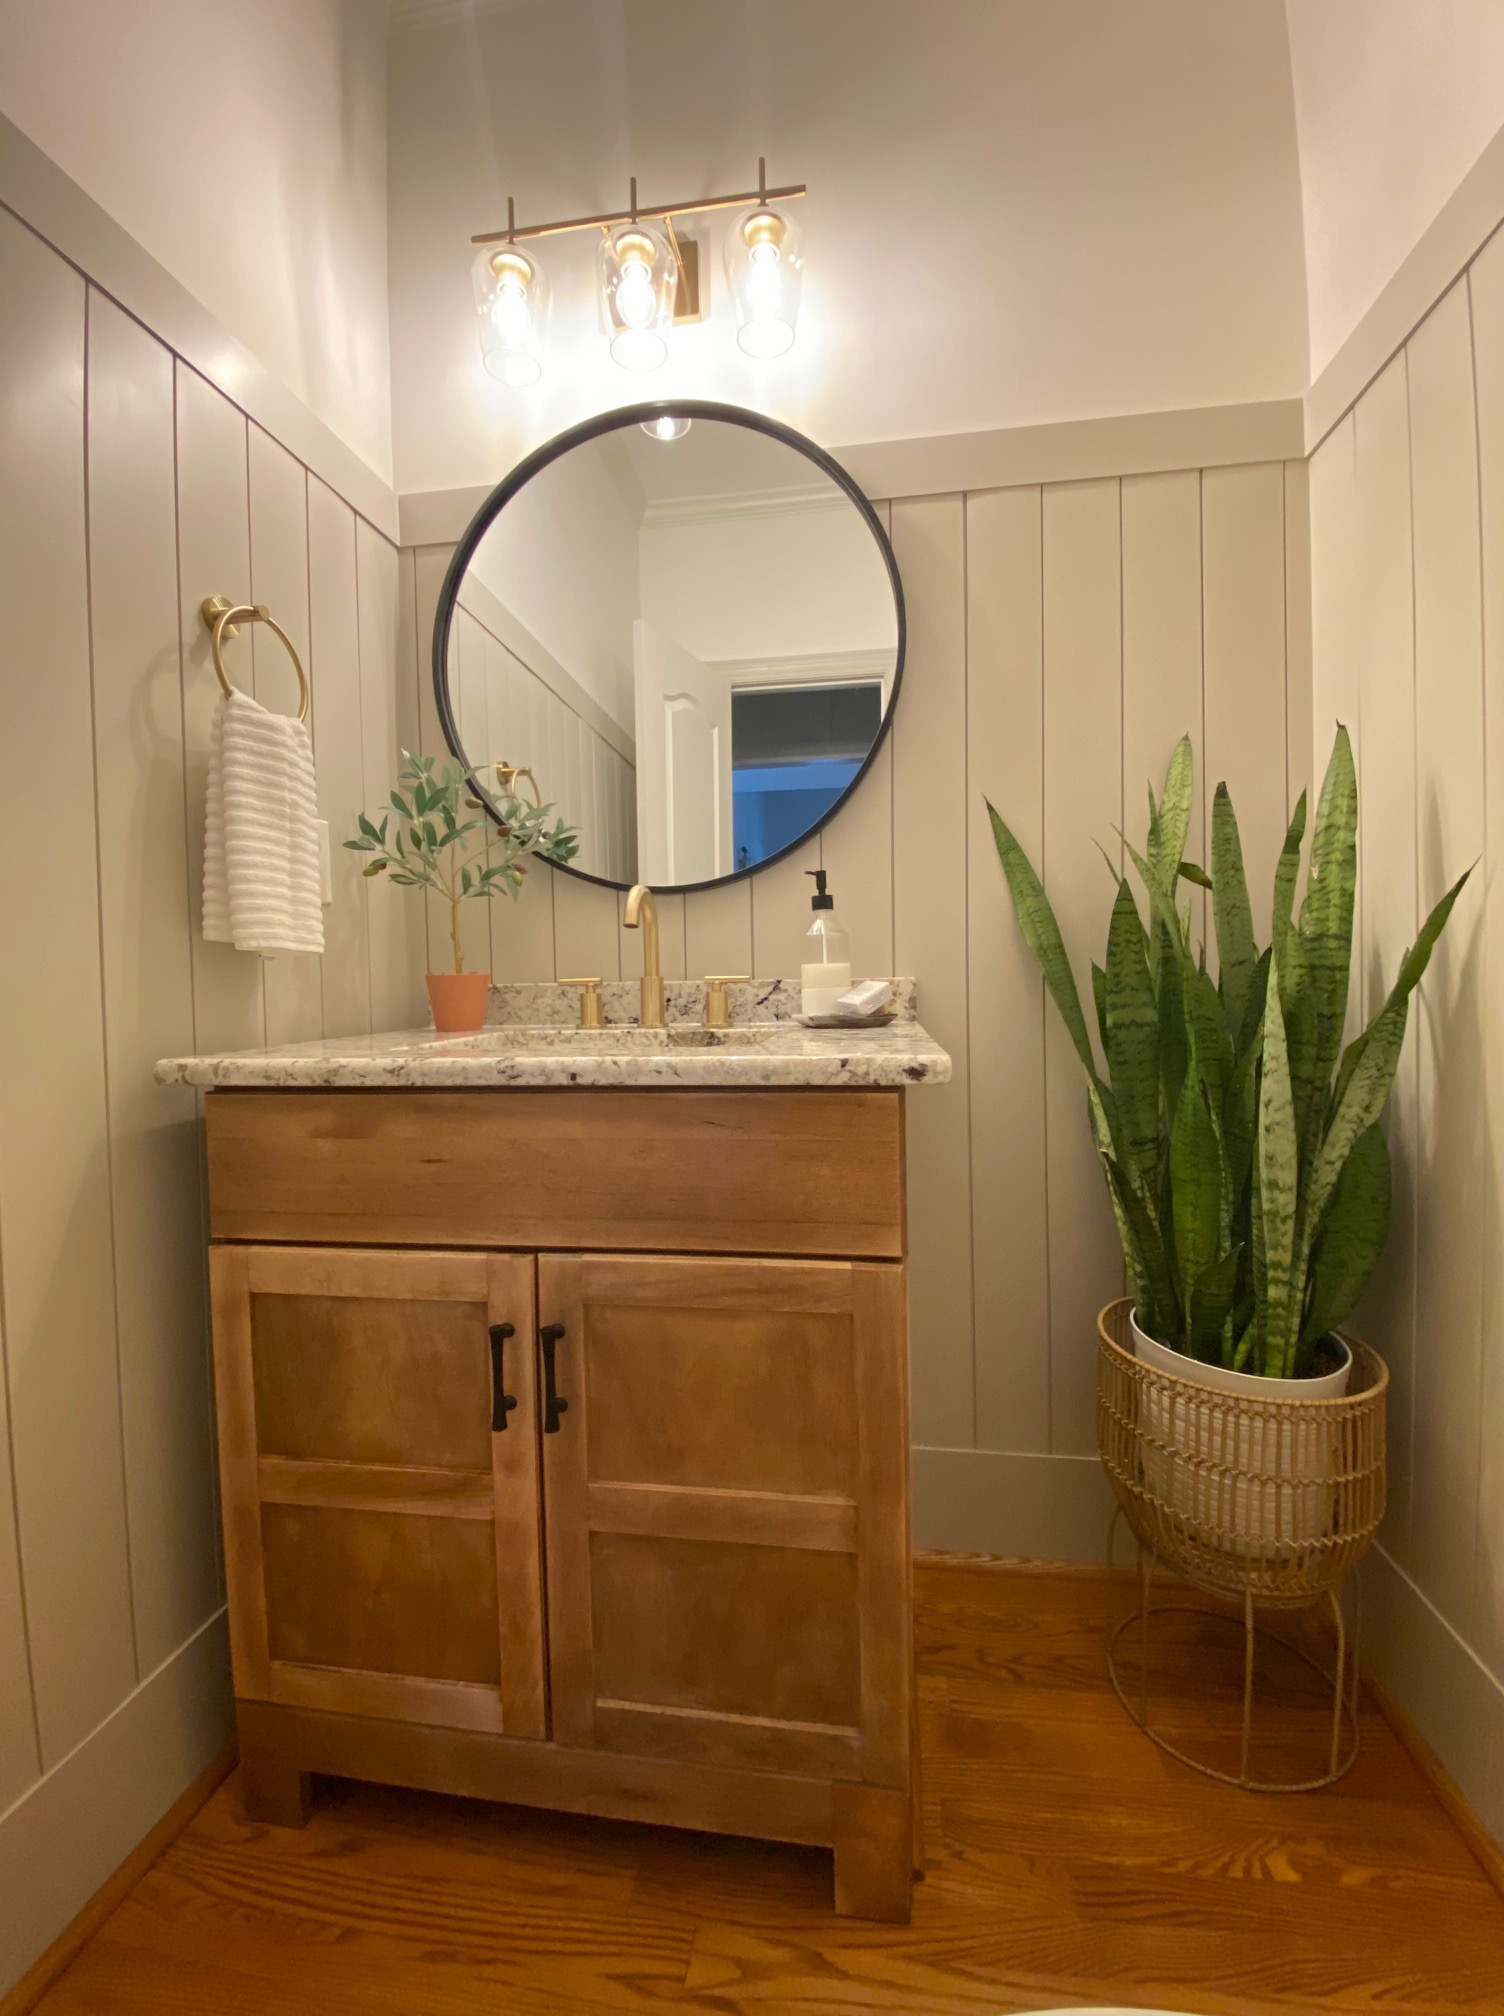
Adding in the finishing touches was one of my favorite parts. To fill the dead corner space, I found this giant snake plant at Home Depot for $22! The plant stand was an awesome find at Marshalls.
My favorite piece is the room is this watercolor lily. It was a gift to my grandparents by one of their church members. They had is framed by a local business who made a special pocket on the backside to hold the card that was handwritten and included with the art. The special note is a reminder of the impact they had on so many lives and that motivates me to live life to the fullest.
Before we look at the completed space in its entirety, let’s remember where we started again:
What do you think about the Powder Room transformation? Would you believe it was completed for less than $600? Most of that cost went to lumbar because we went with primed pine vs primed MDF.
I hope this inspires you to make the most of your space and transform it with a little paint and a little elbow grease. The before and after can be exactly like your mood board.