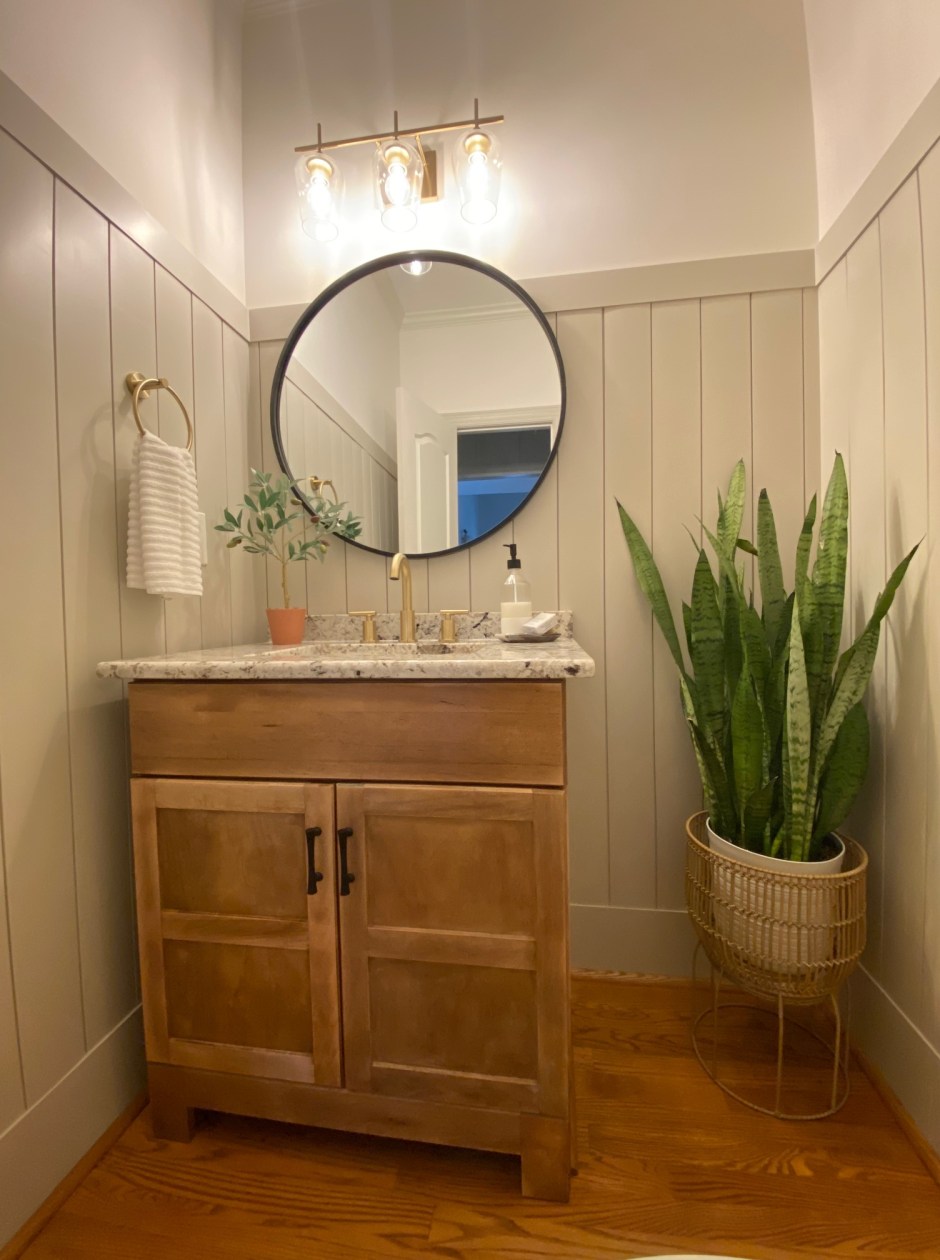
What was once an item listed on our project list, the powder room, it quickly became an active project when my husband walked into the garage and returned inside with a hammer and crowbar. He took to a corner in the bathroom and began an attempt at removing 1/4 round and baseboards. All I needed to get going on this particular project was him taking that first step and saying “let’s start checking off these projects.”
DIYs are fun but now with 3 kids, we have to be strategic in planning when we can tackle projects -between his work travel and kid schedules.
Goals for this project:
- Try to be budget friendly, afterall, it is just a powder room
- Source a local company to fabricate a new granite countertop for the existing vanity. This granite was going to the dump, and we scooped it up!
- Find new faucet, lighting and accessories
- Add vertical shiplap
- Fresh coat of paint
Project Mood Board

You can find links to the lights, hardware, and faucet here, Product Links. The final faucet we went with can be found here. We have been very pleased with it. In fact, I installed it apart from connecting the drain to the p trap. I’m thankful for my dad who came over to connect them and teach me how they work.
First we demoed by taking out all 1/4 round, baseboards, disconnecting the water supply and removing the vanity.
We ended up having to purchase this set to help in removing the 1/4 round and baseboards. Even still, it proved to be challenging because the installers used 3 inch nails which is excessive in my opinion.


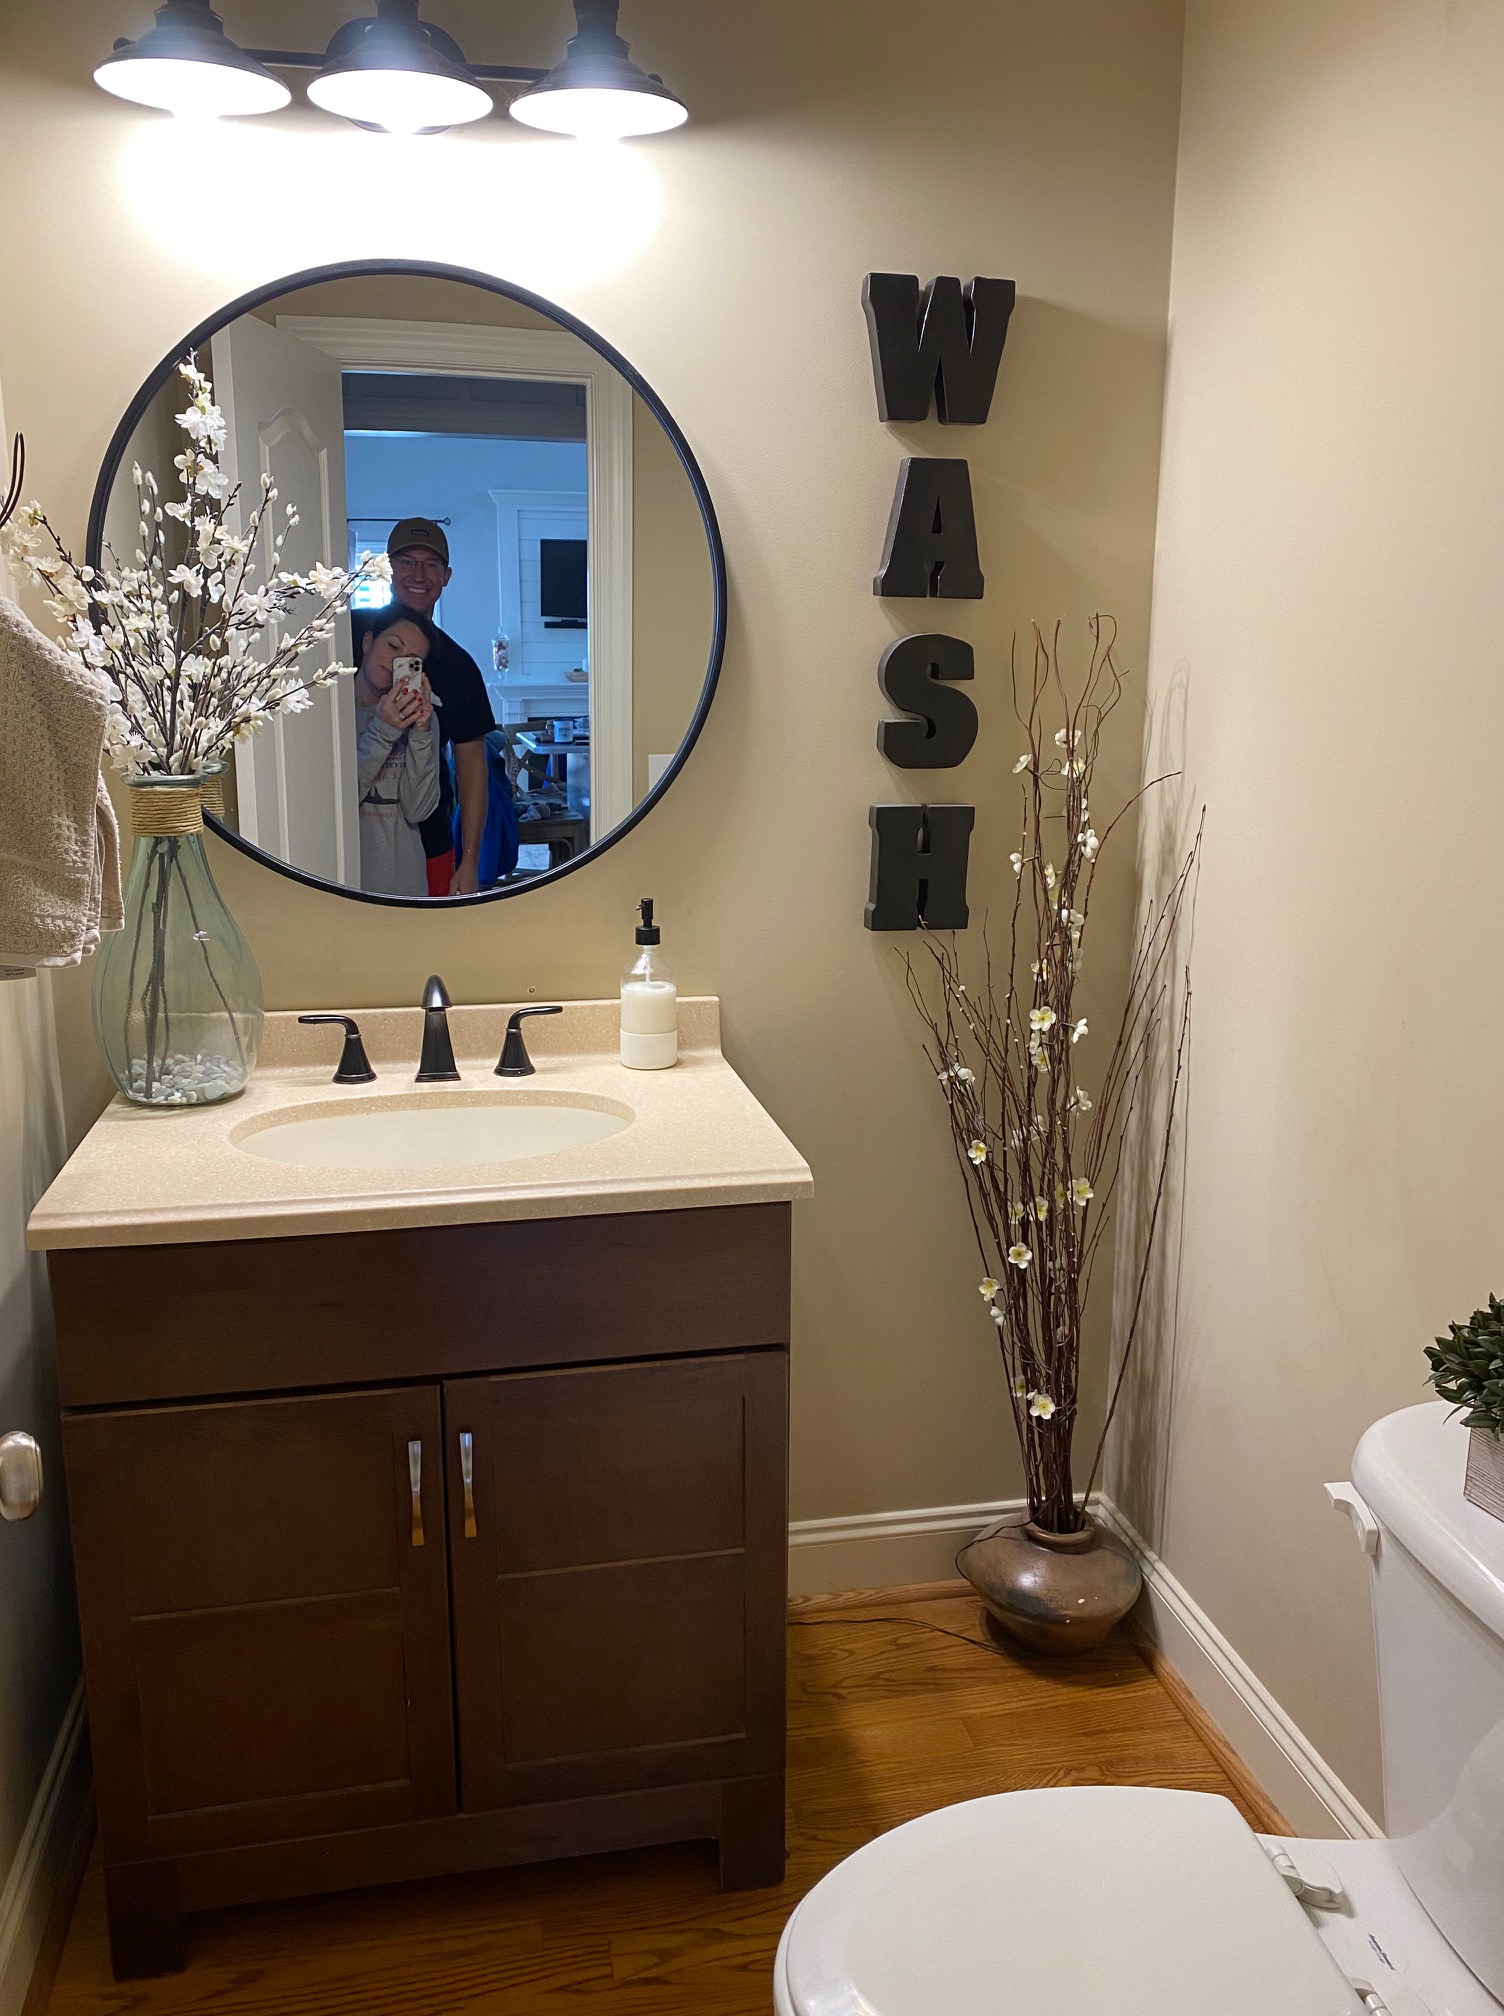
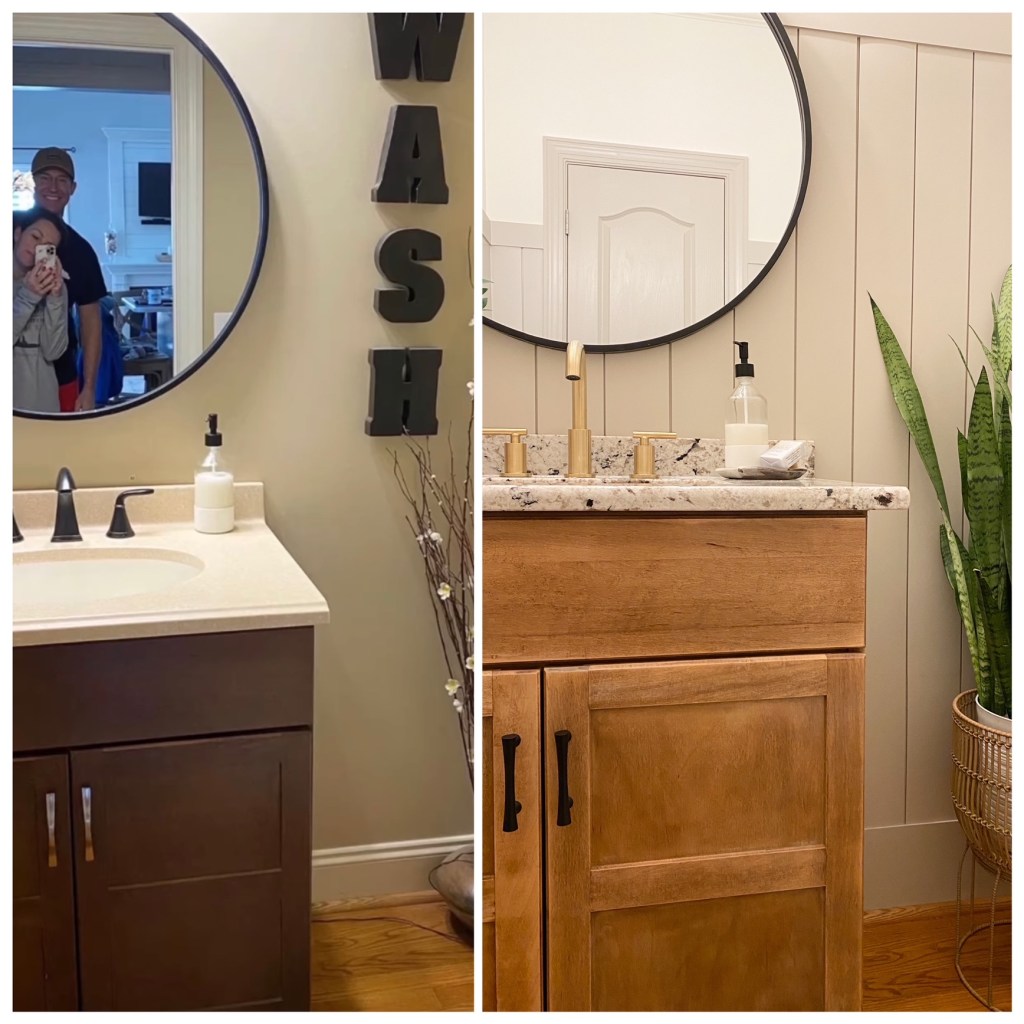
As you can see, the before was just “blah” and didn’t fit our style at all. As for the layout of the bathroom, we would have never designed it this way but we had to work with it.
After the space was cleared out, I painted the top 1/4 section of the walls White Dove and the crown molding, and ceiling. Then we added in new baseboards, 1×8 primed pine as the MDF was limited for us.
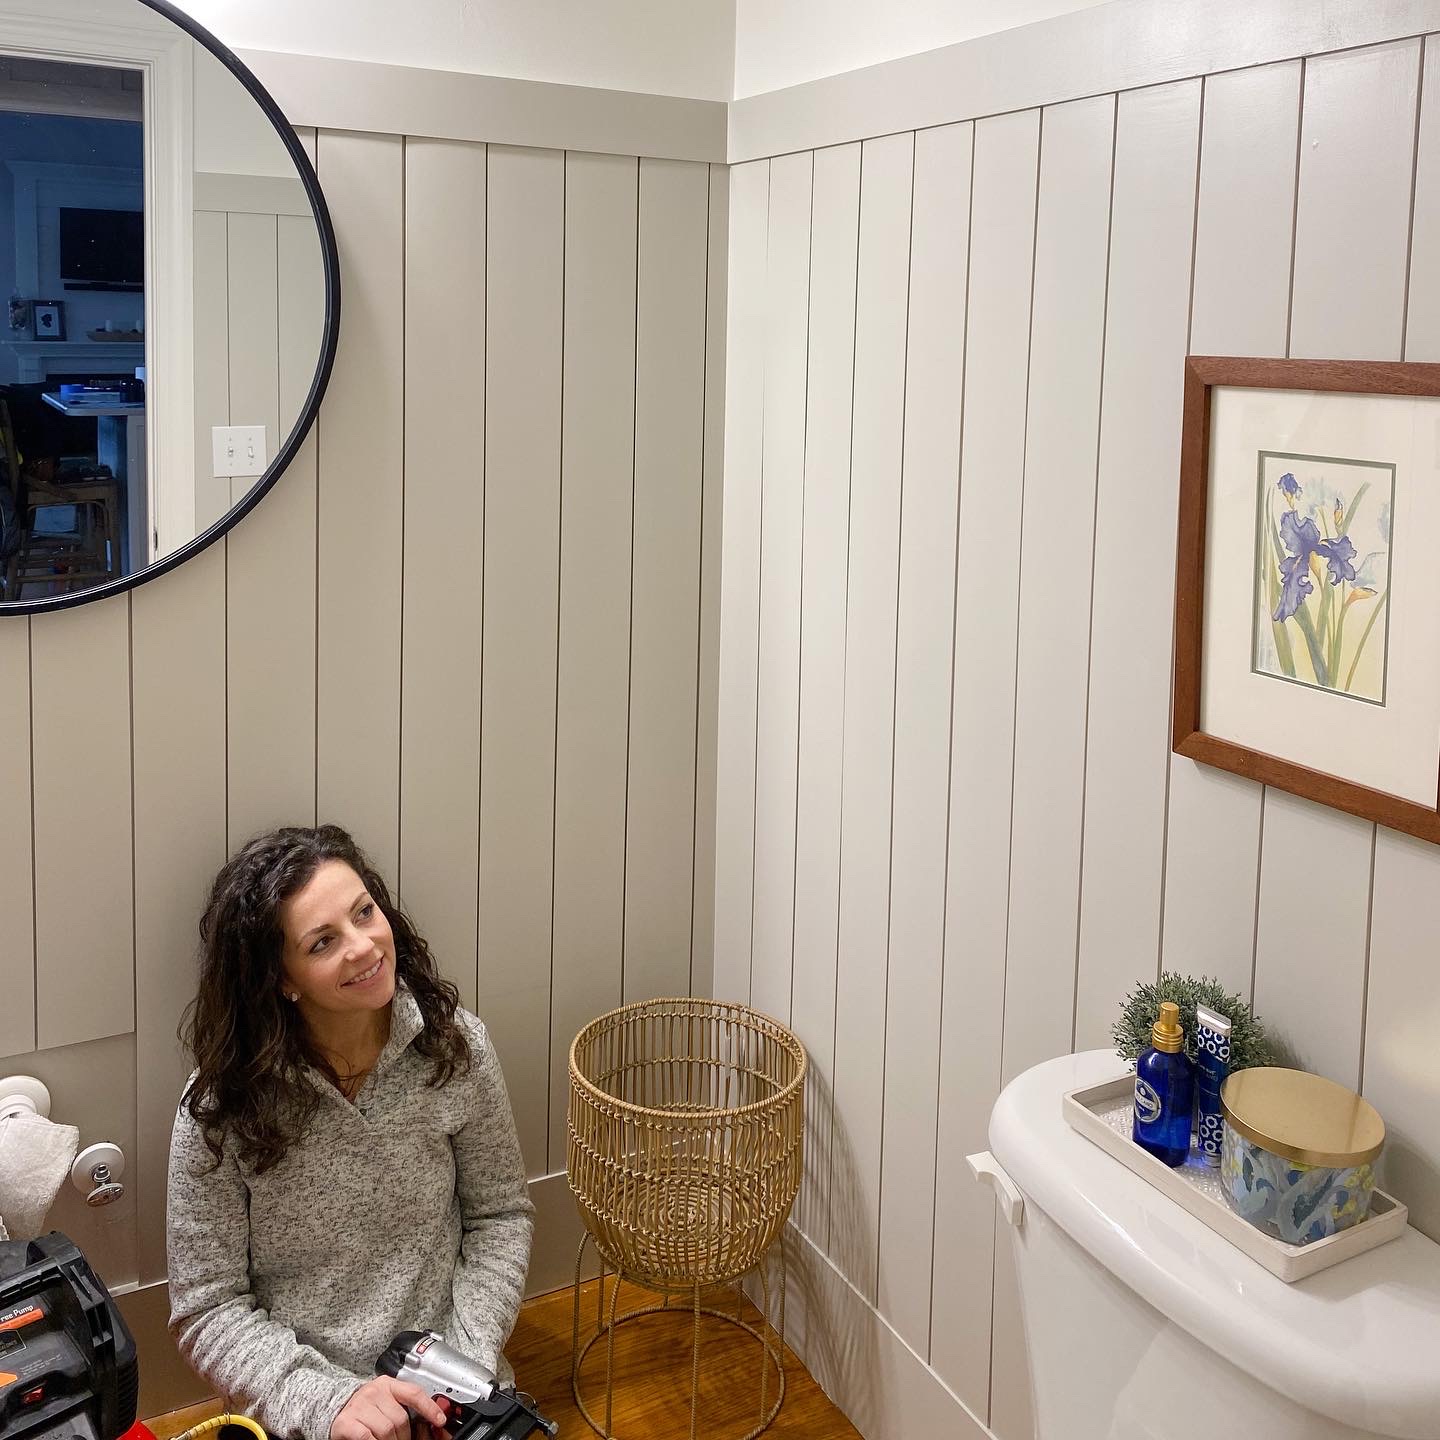
After baseboards and paint, we added a 1×4 piece of trim that was our finishing cap and would act as the point where we measured for each vertical shiplap board.
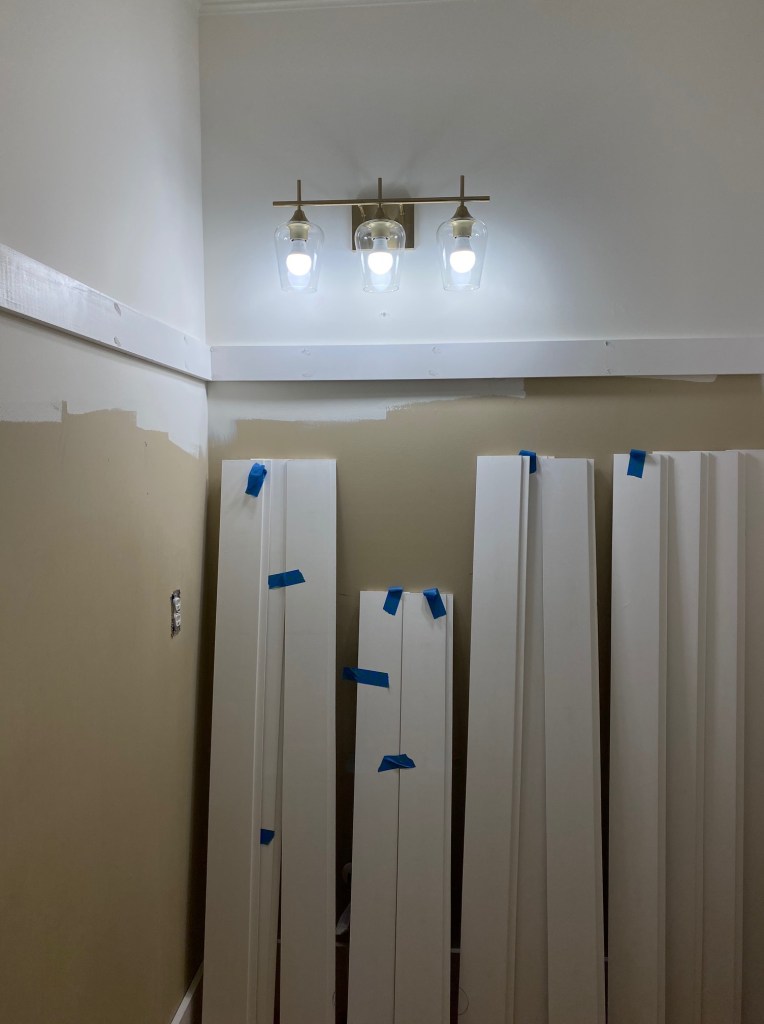
Once we both cut down our shiplap to size for our first wall, I painted the edges of each piece prior to nailing them to the wall. As I did this, my husband marked the studs on the walls.

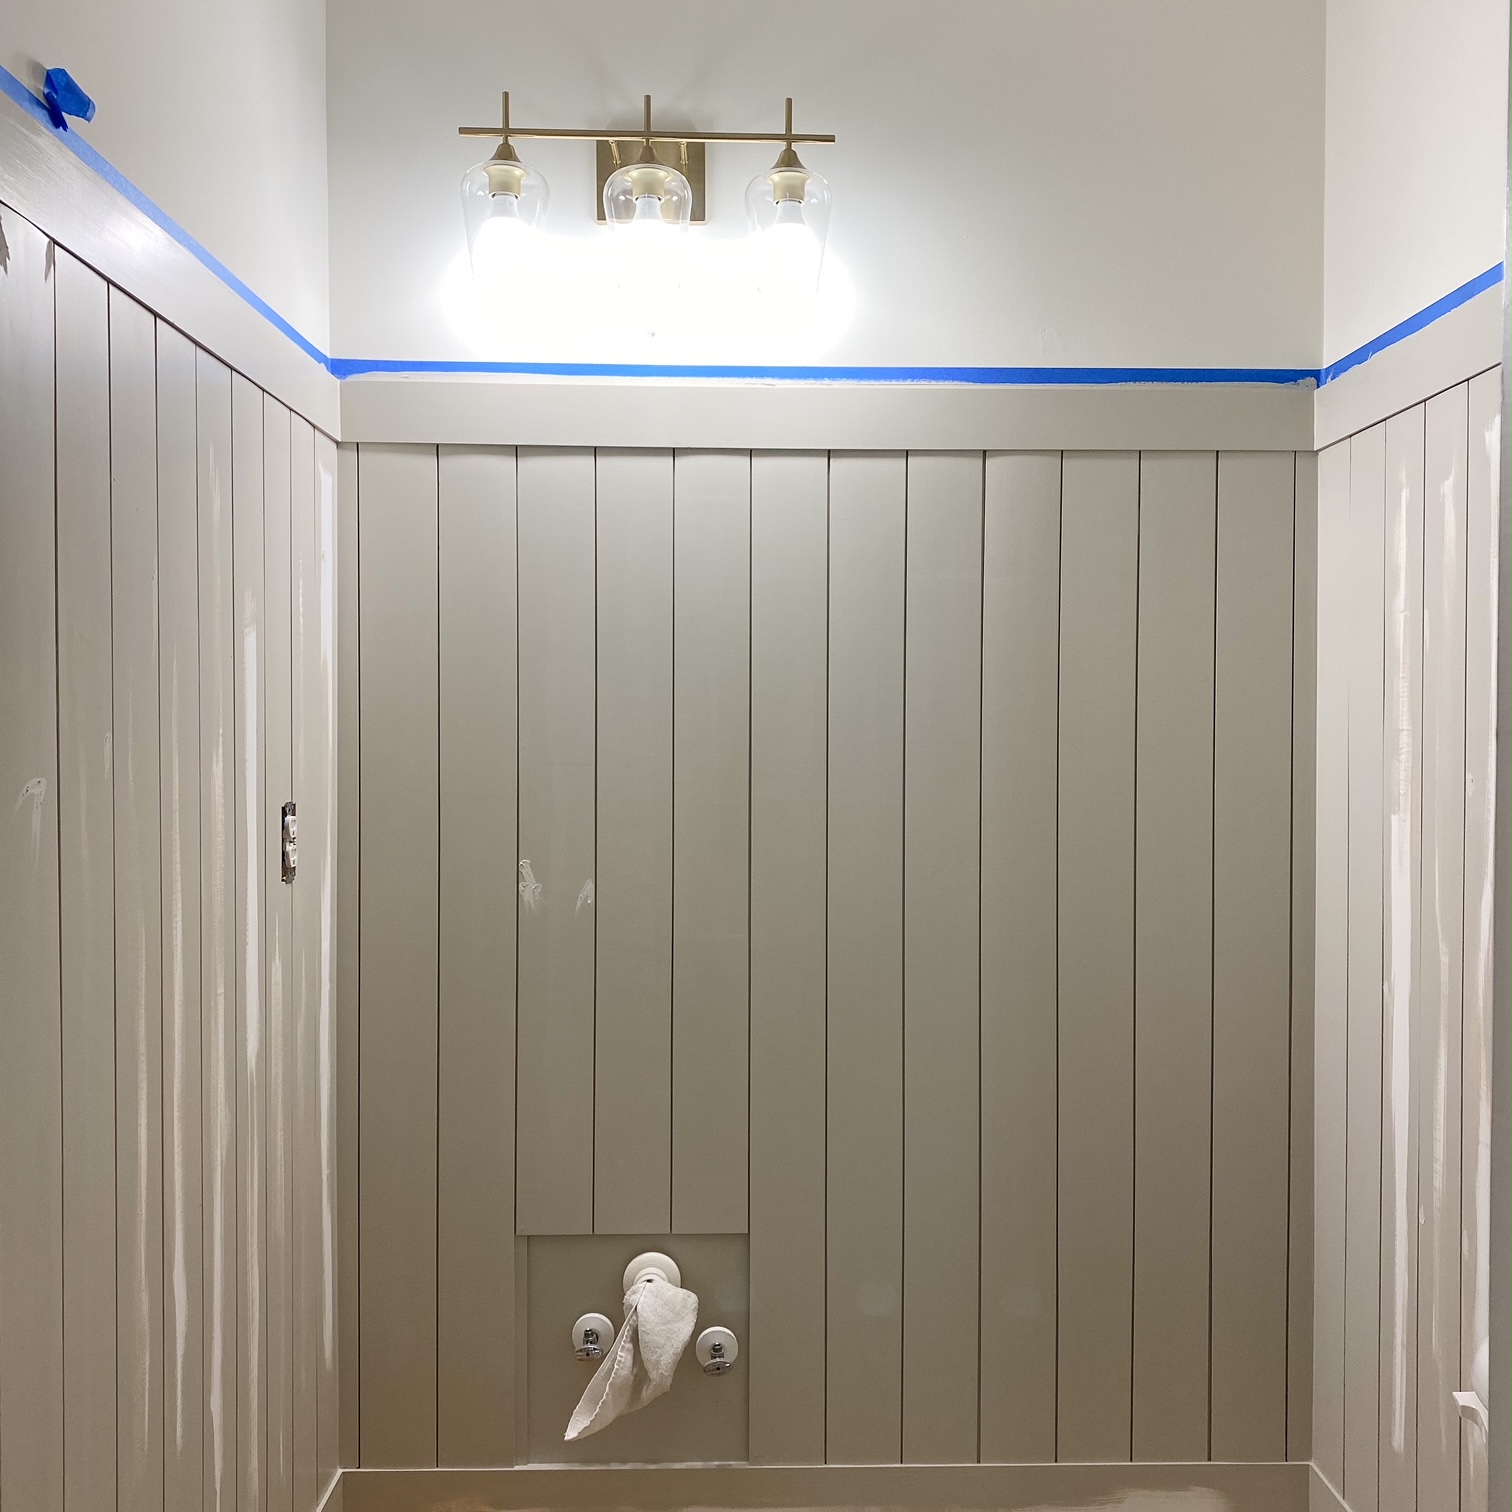
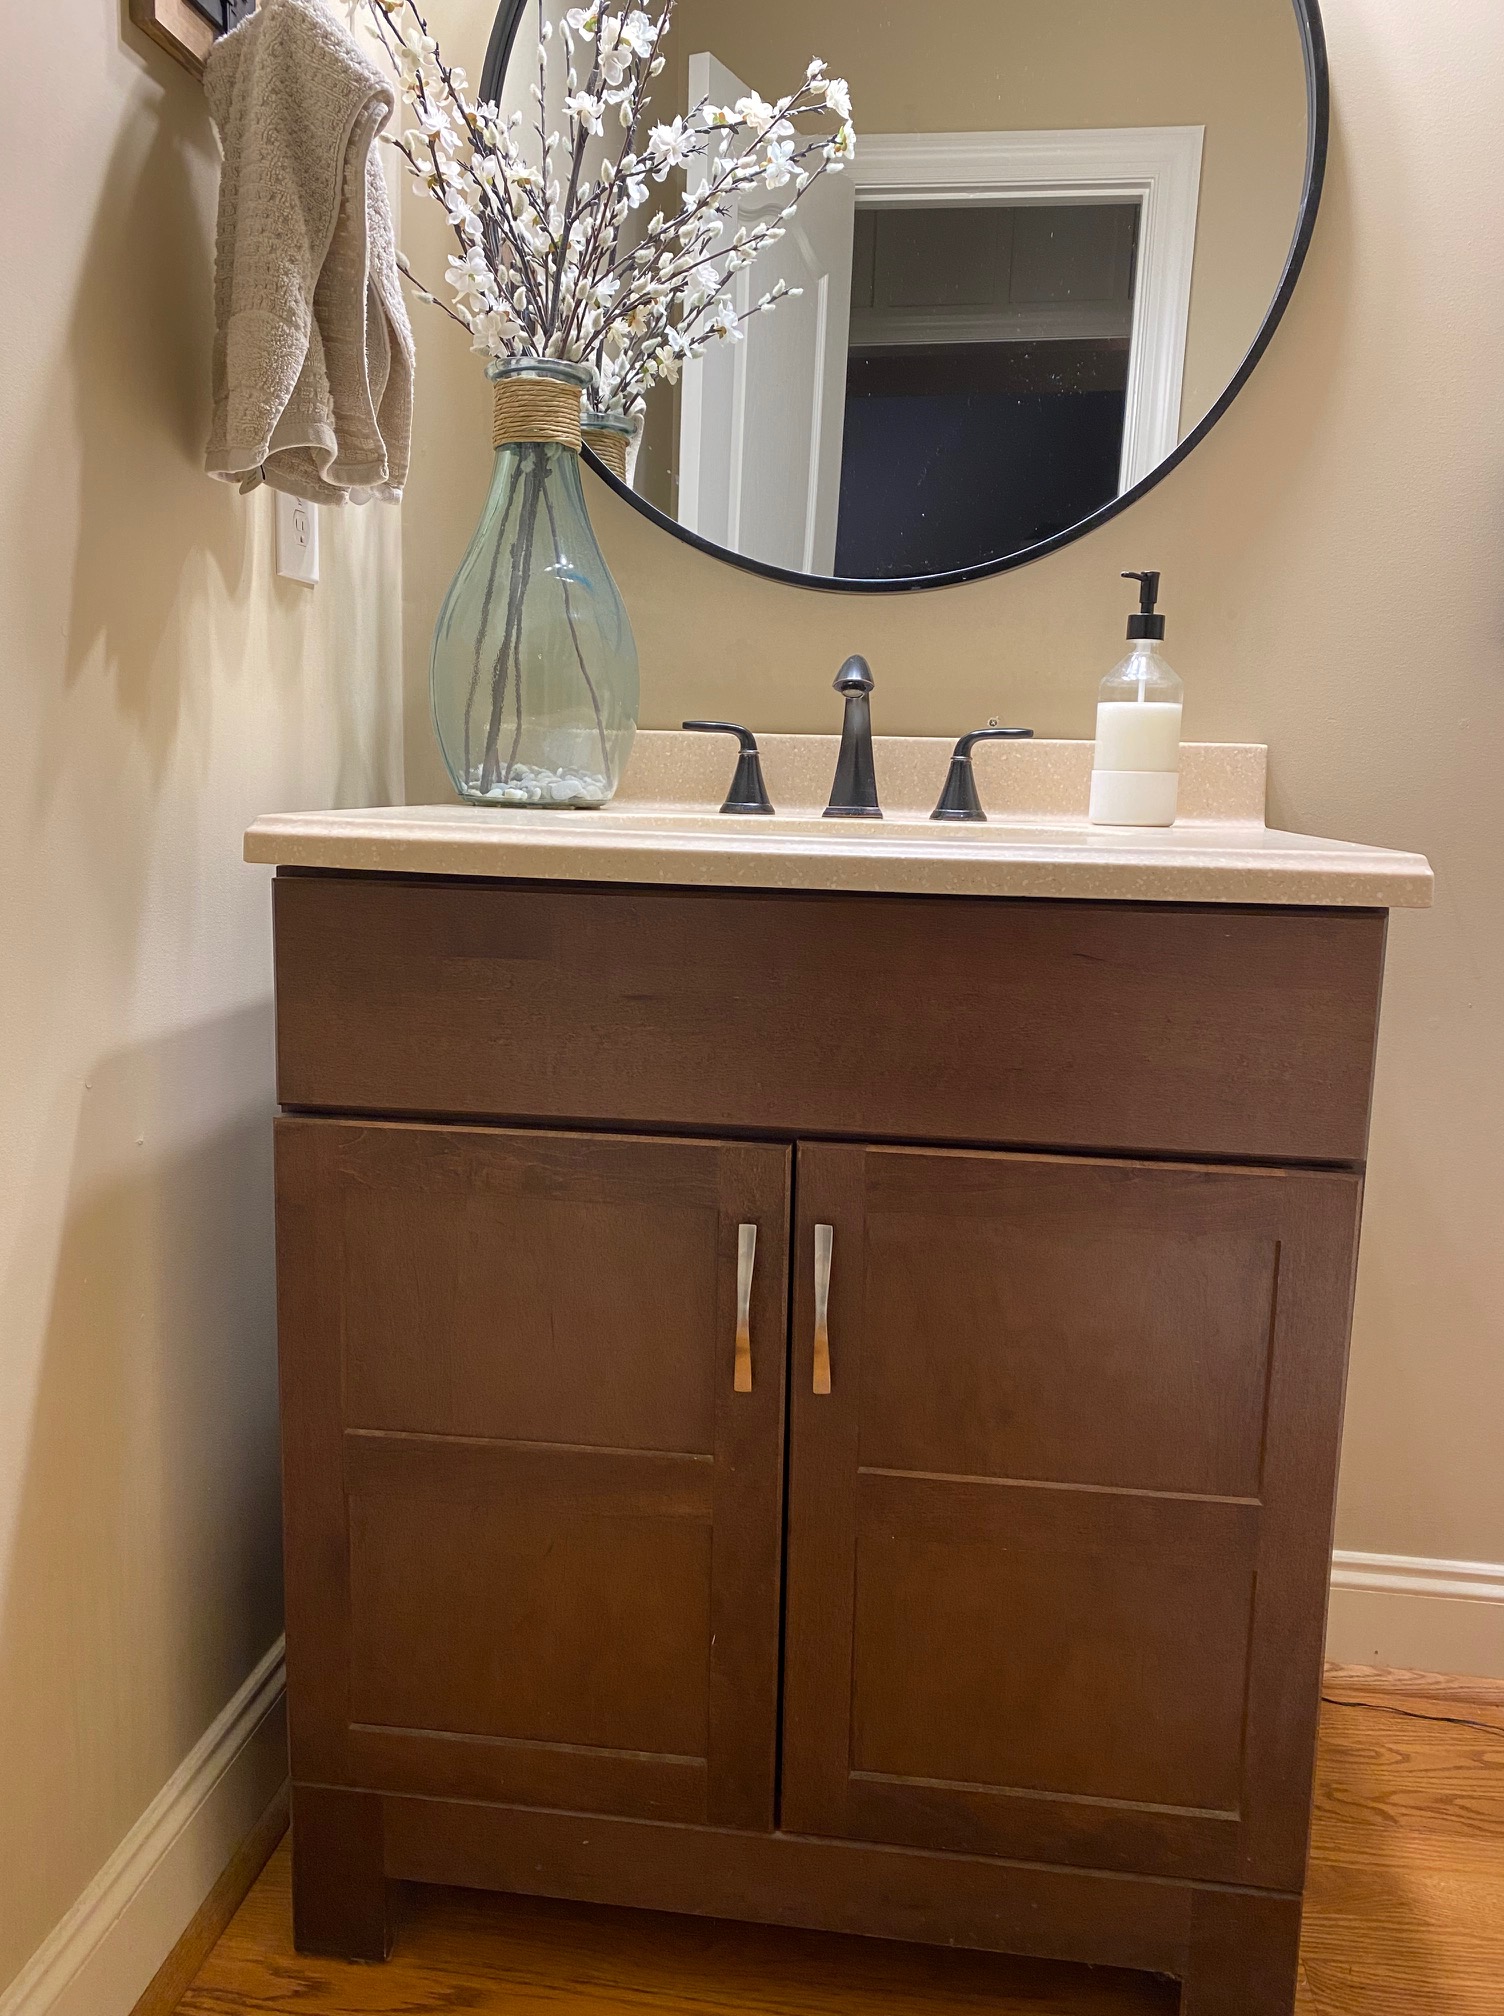
As paint was drying on the walls, I decided to update the existing vanity and strip the brown stain. I saw this inspirational photo which solidified my decision. Our granite was very similar in coloring.
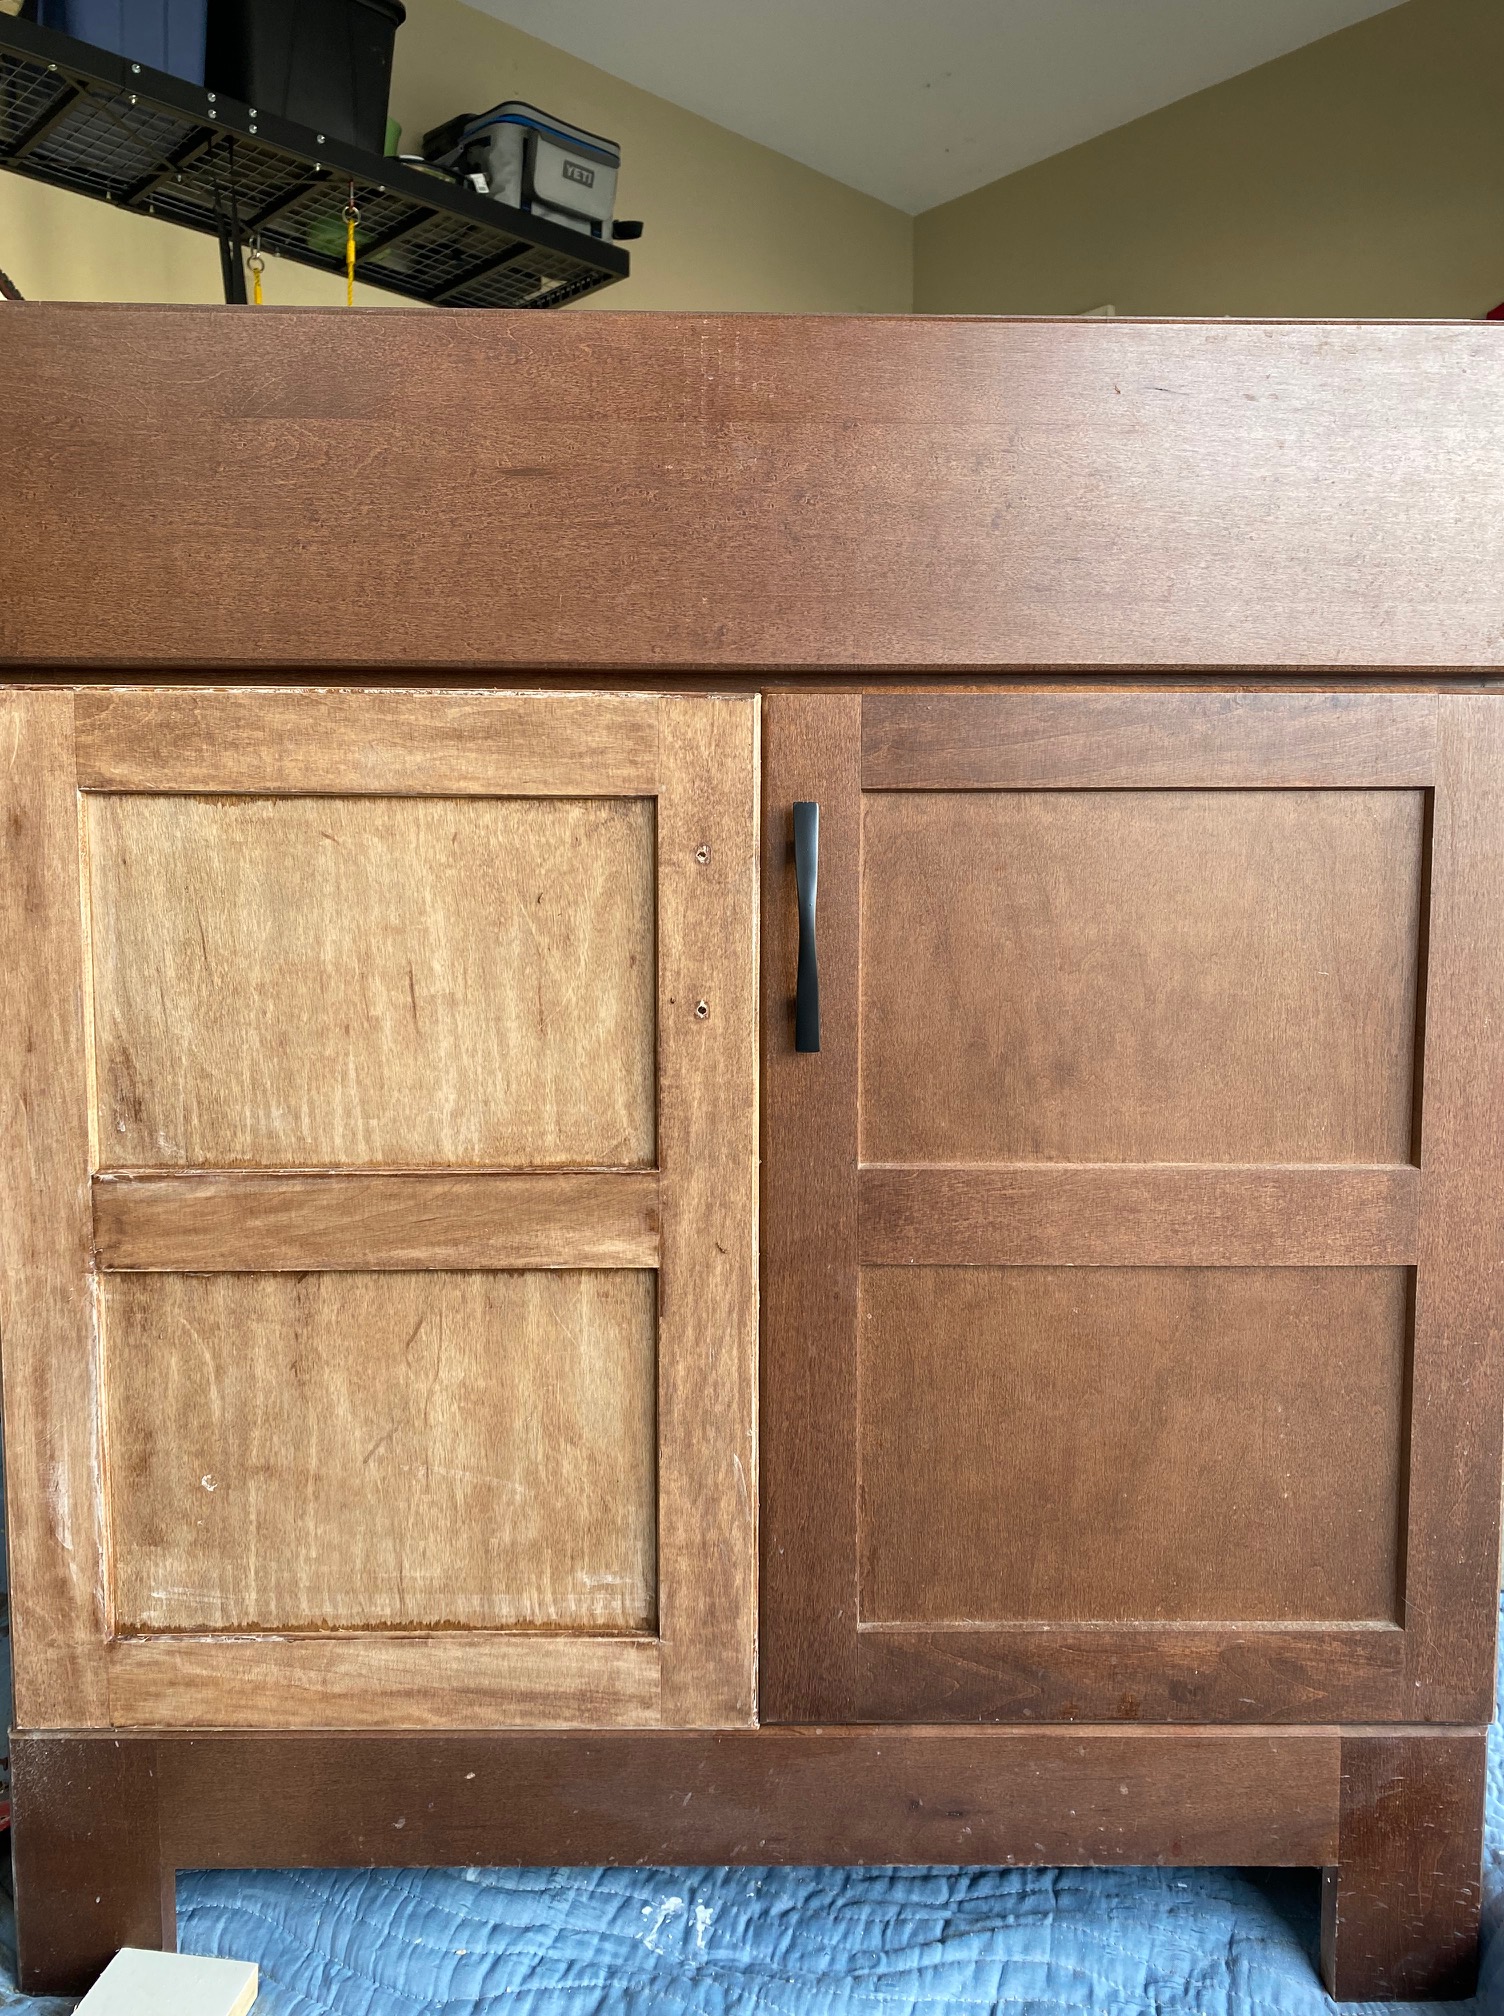

I first tried a couple rounds of oven cleaner as stripper but I didn’t love the results. You can see the beginning process in the left photo. Next, I went the route of Citri Strip and it did much better. I also coated the doors with Citri Strip and wrapped them in plastic wrap to let them sit overnight before scraping off the product and stain. The result revealed a beautiful color that was very similar to what I was hoping for.
With a little grit, I cleaned up the corners to get it to match using steel wool and 220 grit sandpaper.


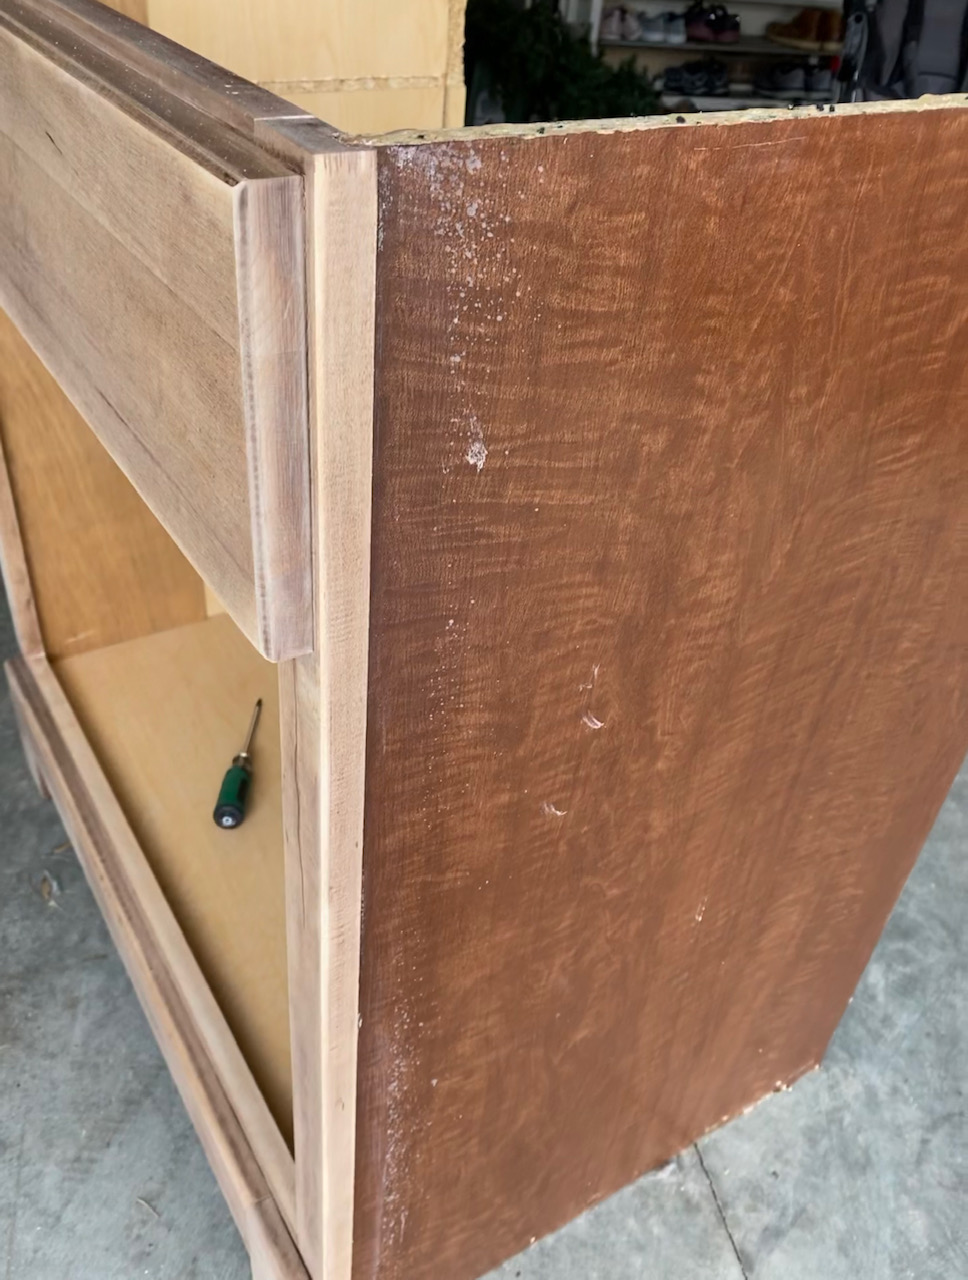

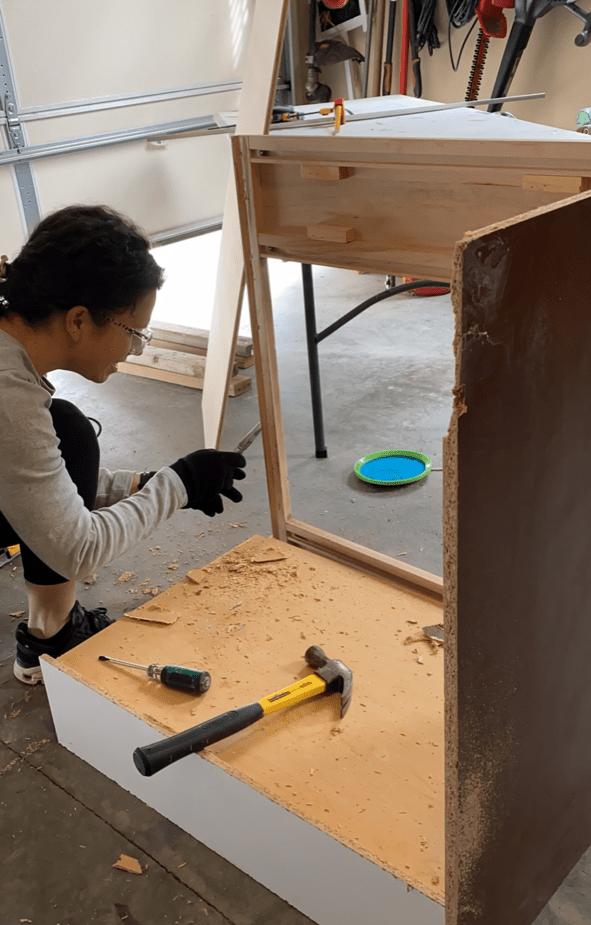
Where this vanity got tricky was the fact that I had to update the side panels. They were not made of real wood but had a veneer finish; therefore, stipping them of stain wasn’t an option. I had to replace the side panels with new 1/2 inch sheets of plywood. We were out of scrap wood that met the size requirements so I purchased 2×4 sheets from Home Depot and cut those down to size. Without using a table saw, I used a guide, clamps and my skill saw to trim it to size. I feel much more comfortable with this tool vs. a table saw.
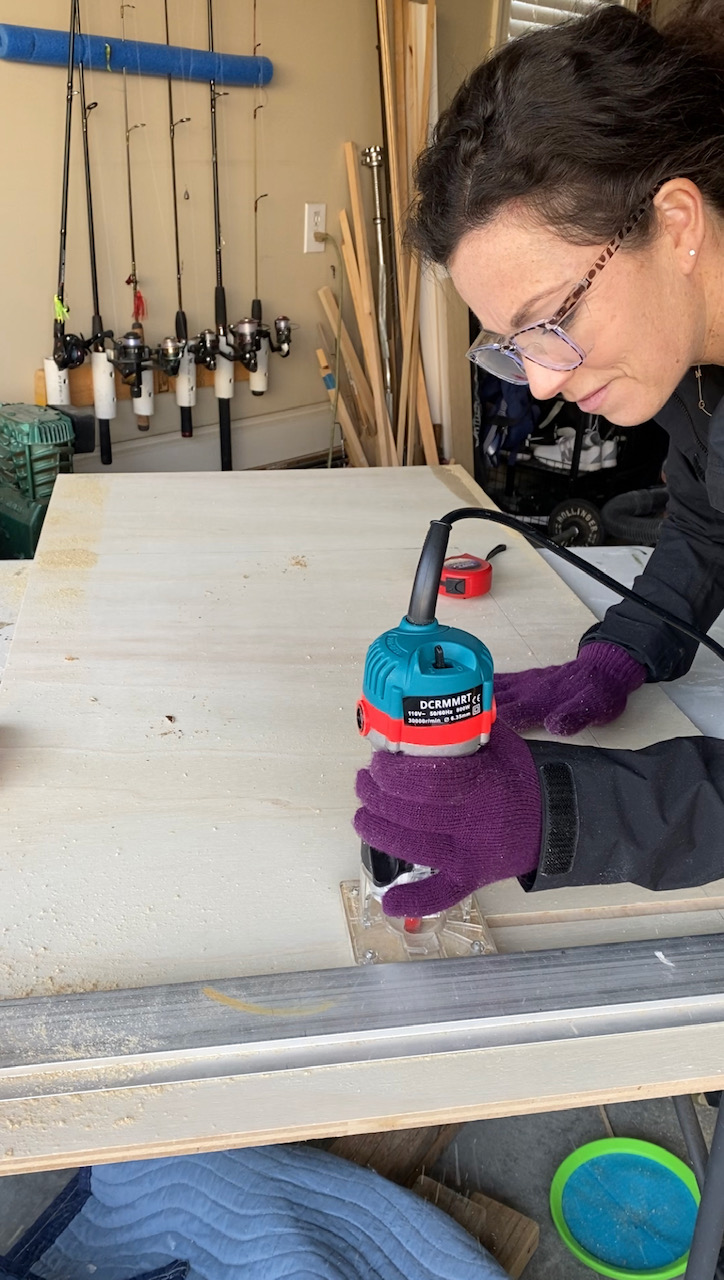
This also allowed me to try out my new router tool to create a ledge for the cabinet shelf to rest in, just as it did on the original side panels. This was such a fun tool to use. I look forward to future projects when we can try out different bits that it came with.

After the new side panels were cut to size and the ledge routed, I had the task of matching the stain to the stripped down vanity color. I did this with a combination of Special Walnut, watered down white paint as a white wash, and Dark Walnut. I ended up doing 2 more additional coats of dark walnut to darken it up more and found the perfect match.
After stain, the side panel was attached with wood glue and 1 inch brad nails. I then finished it off with 1 coats of clear Matte Polycrylic. This is my favorite poly and is easy to work with. Tip: Between coats, you have to use 220 grit sandpaper to get the smoothest finish.
Check out the progression of adding the vanity back into the space, the counters, doors, faucet and new handle pulls.


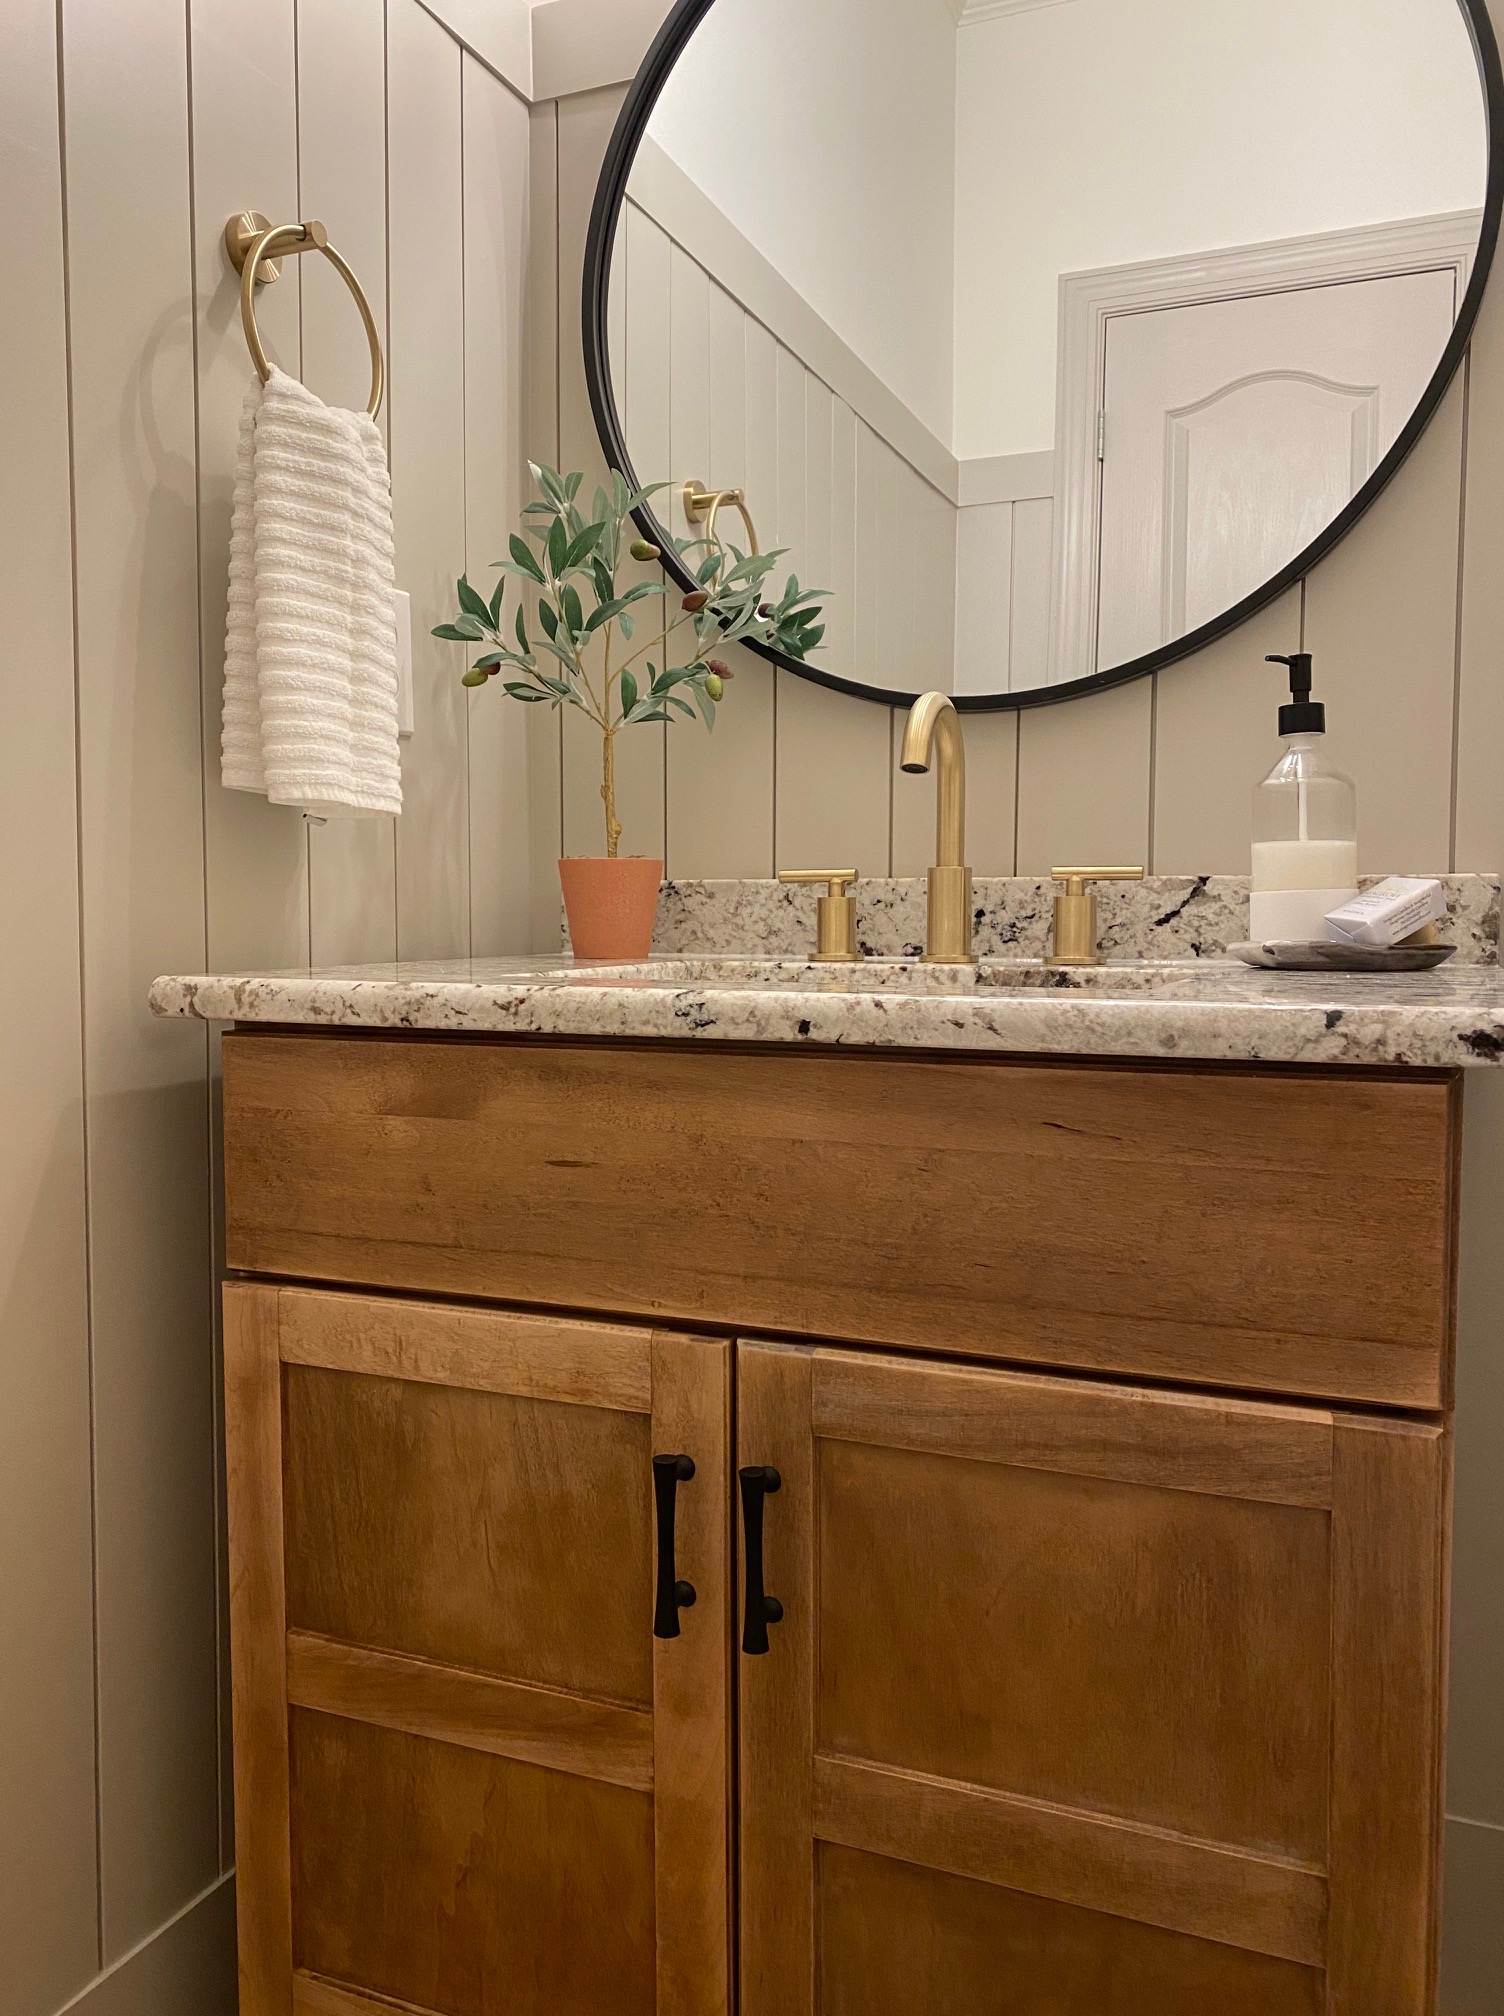
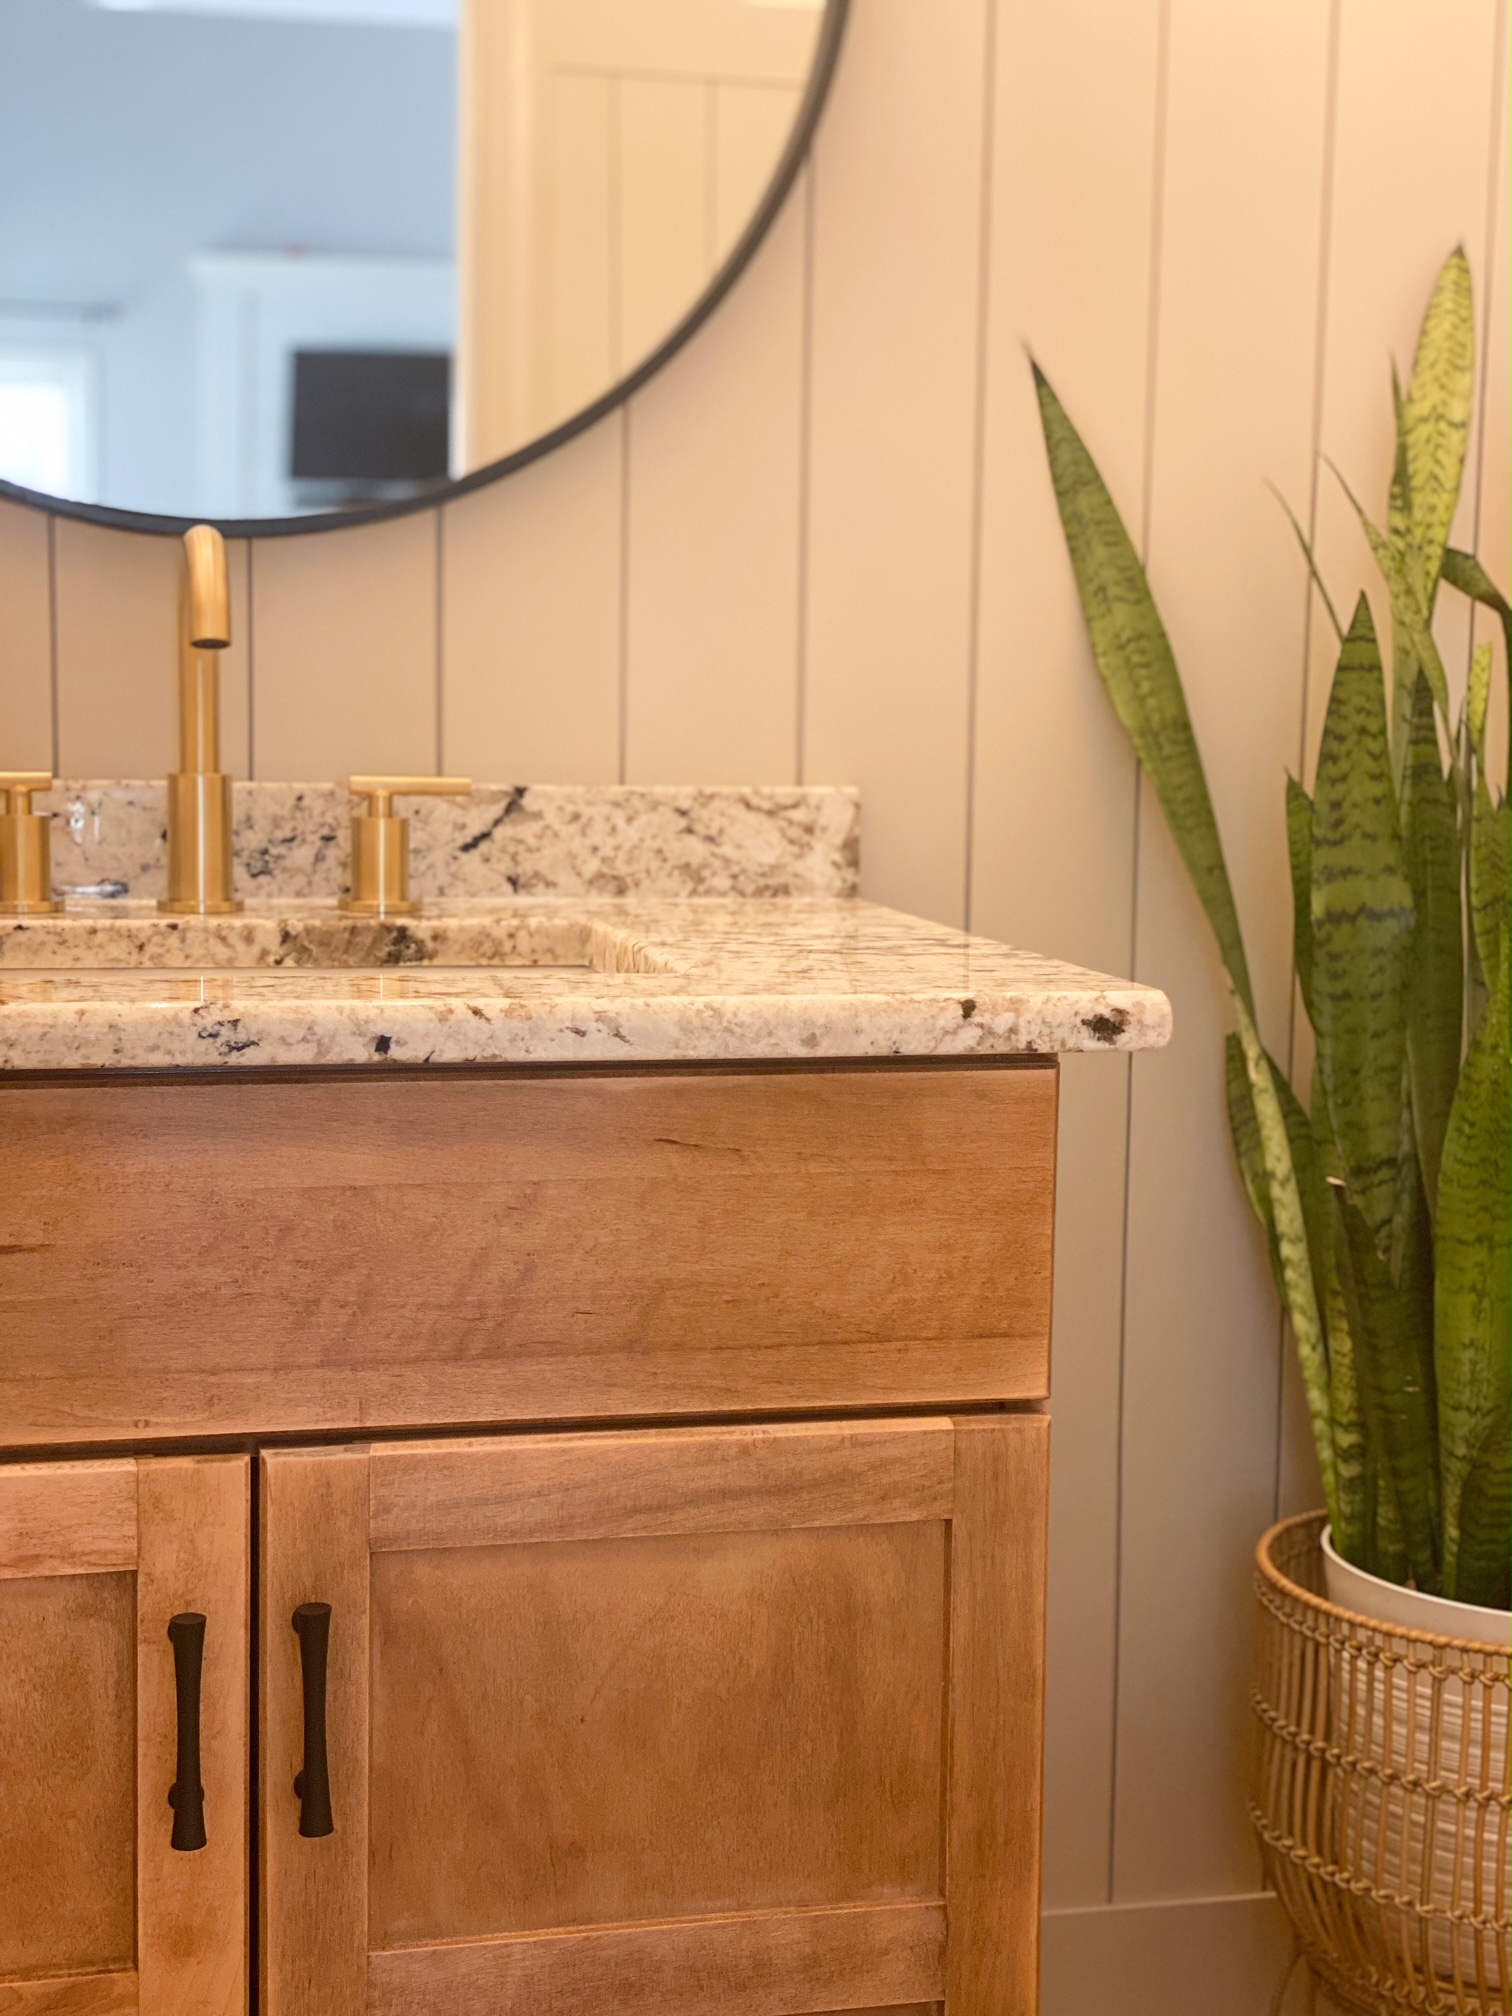
Similar Mirror, here.
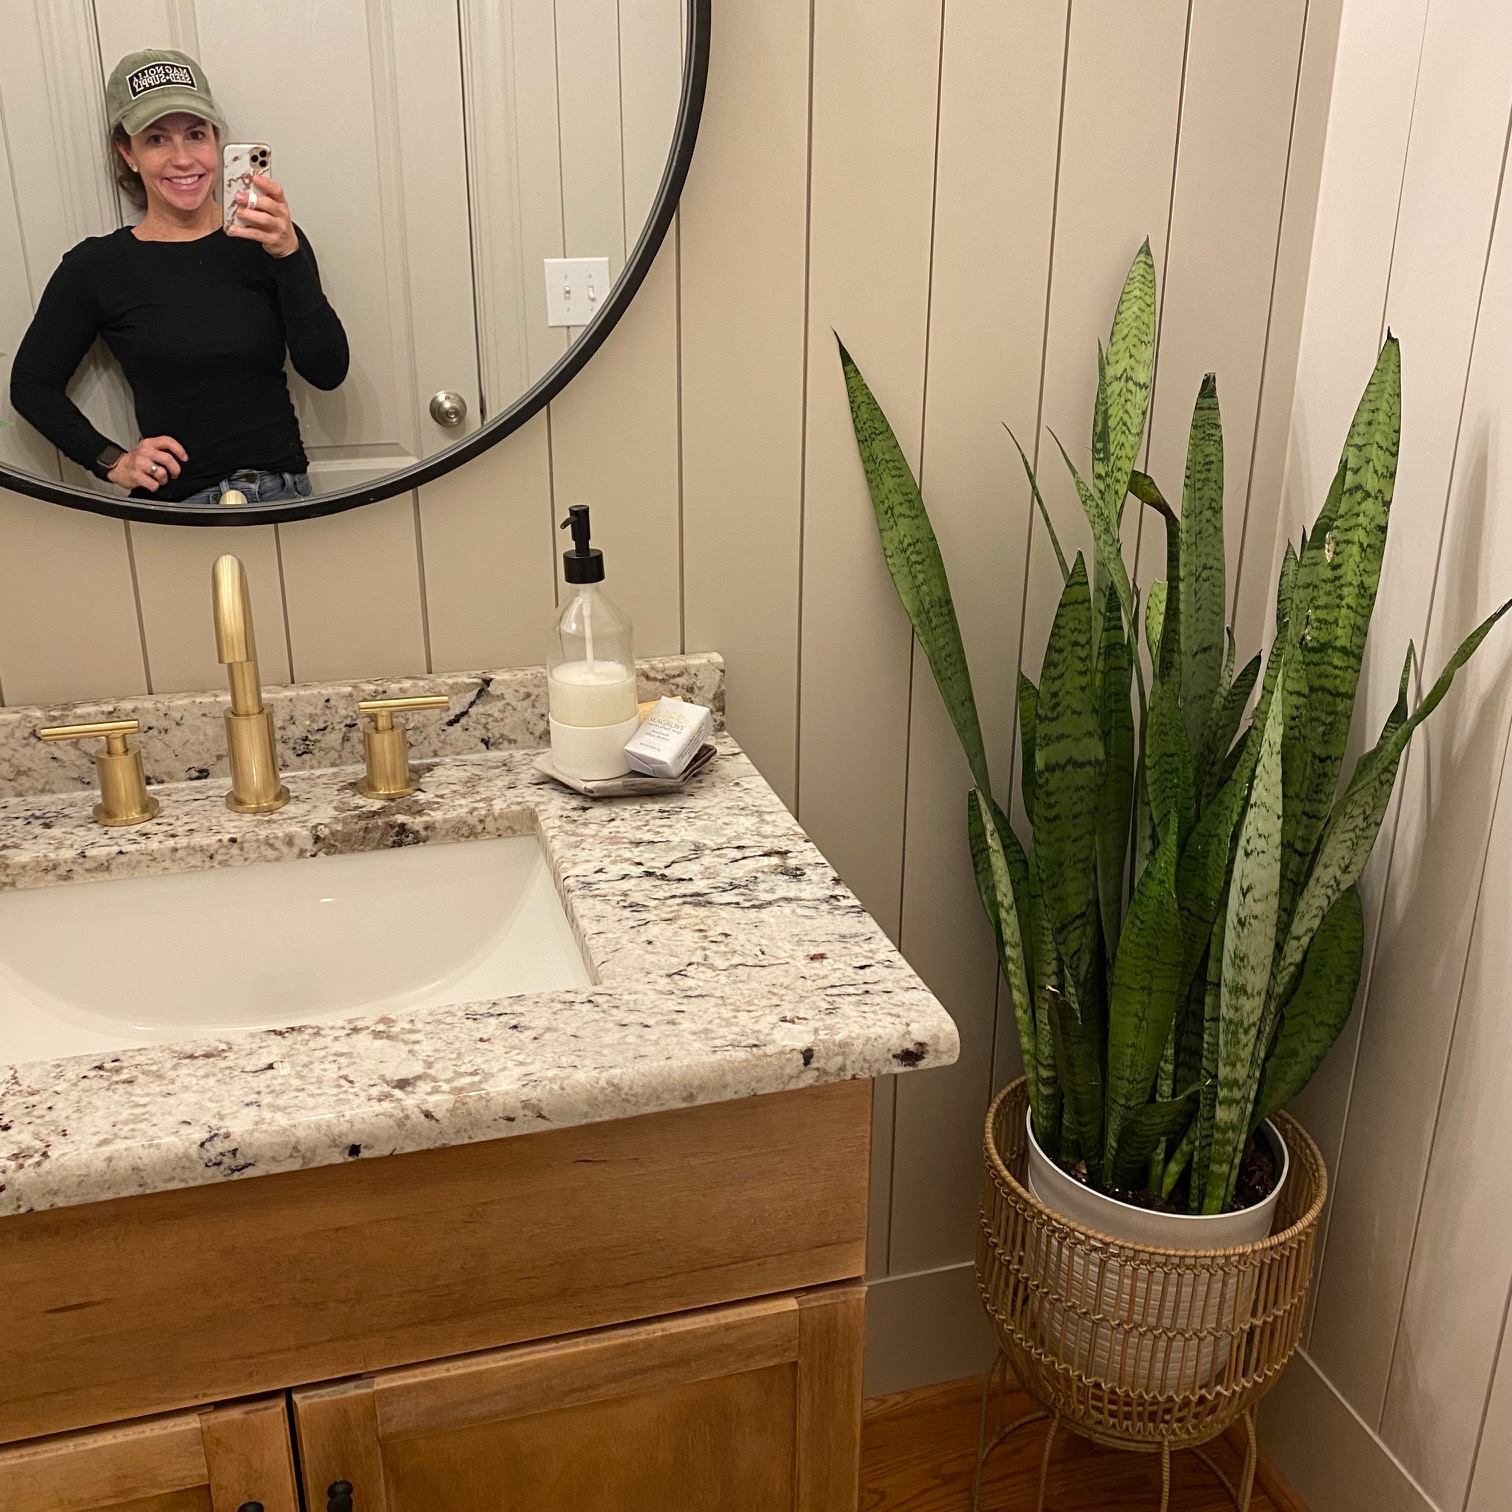
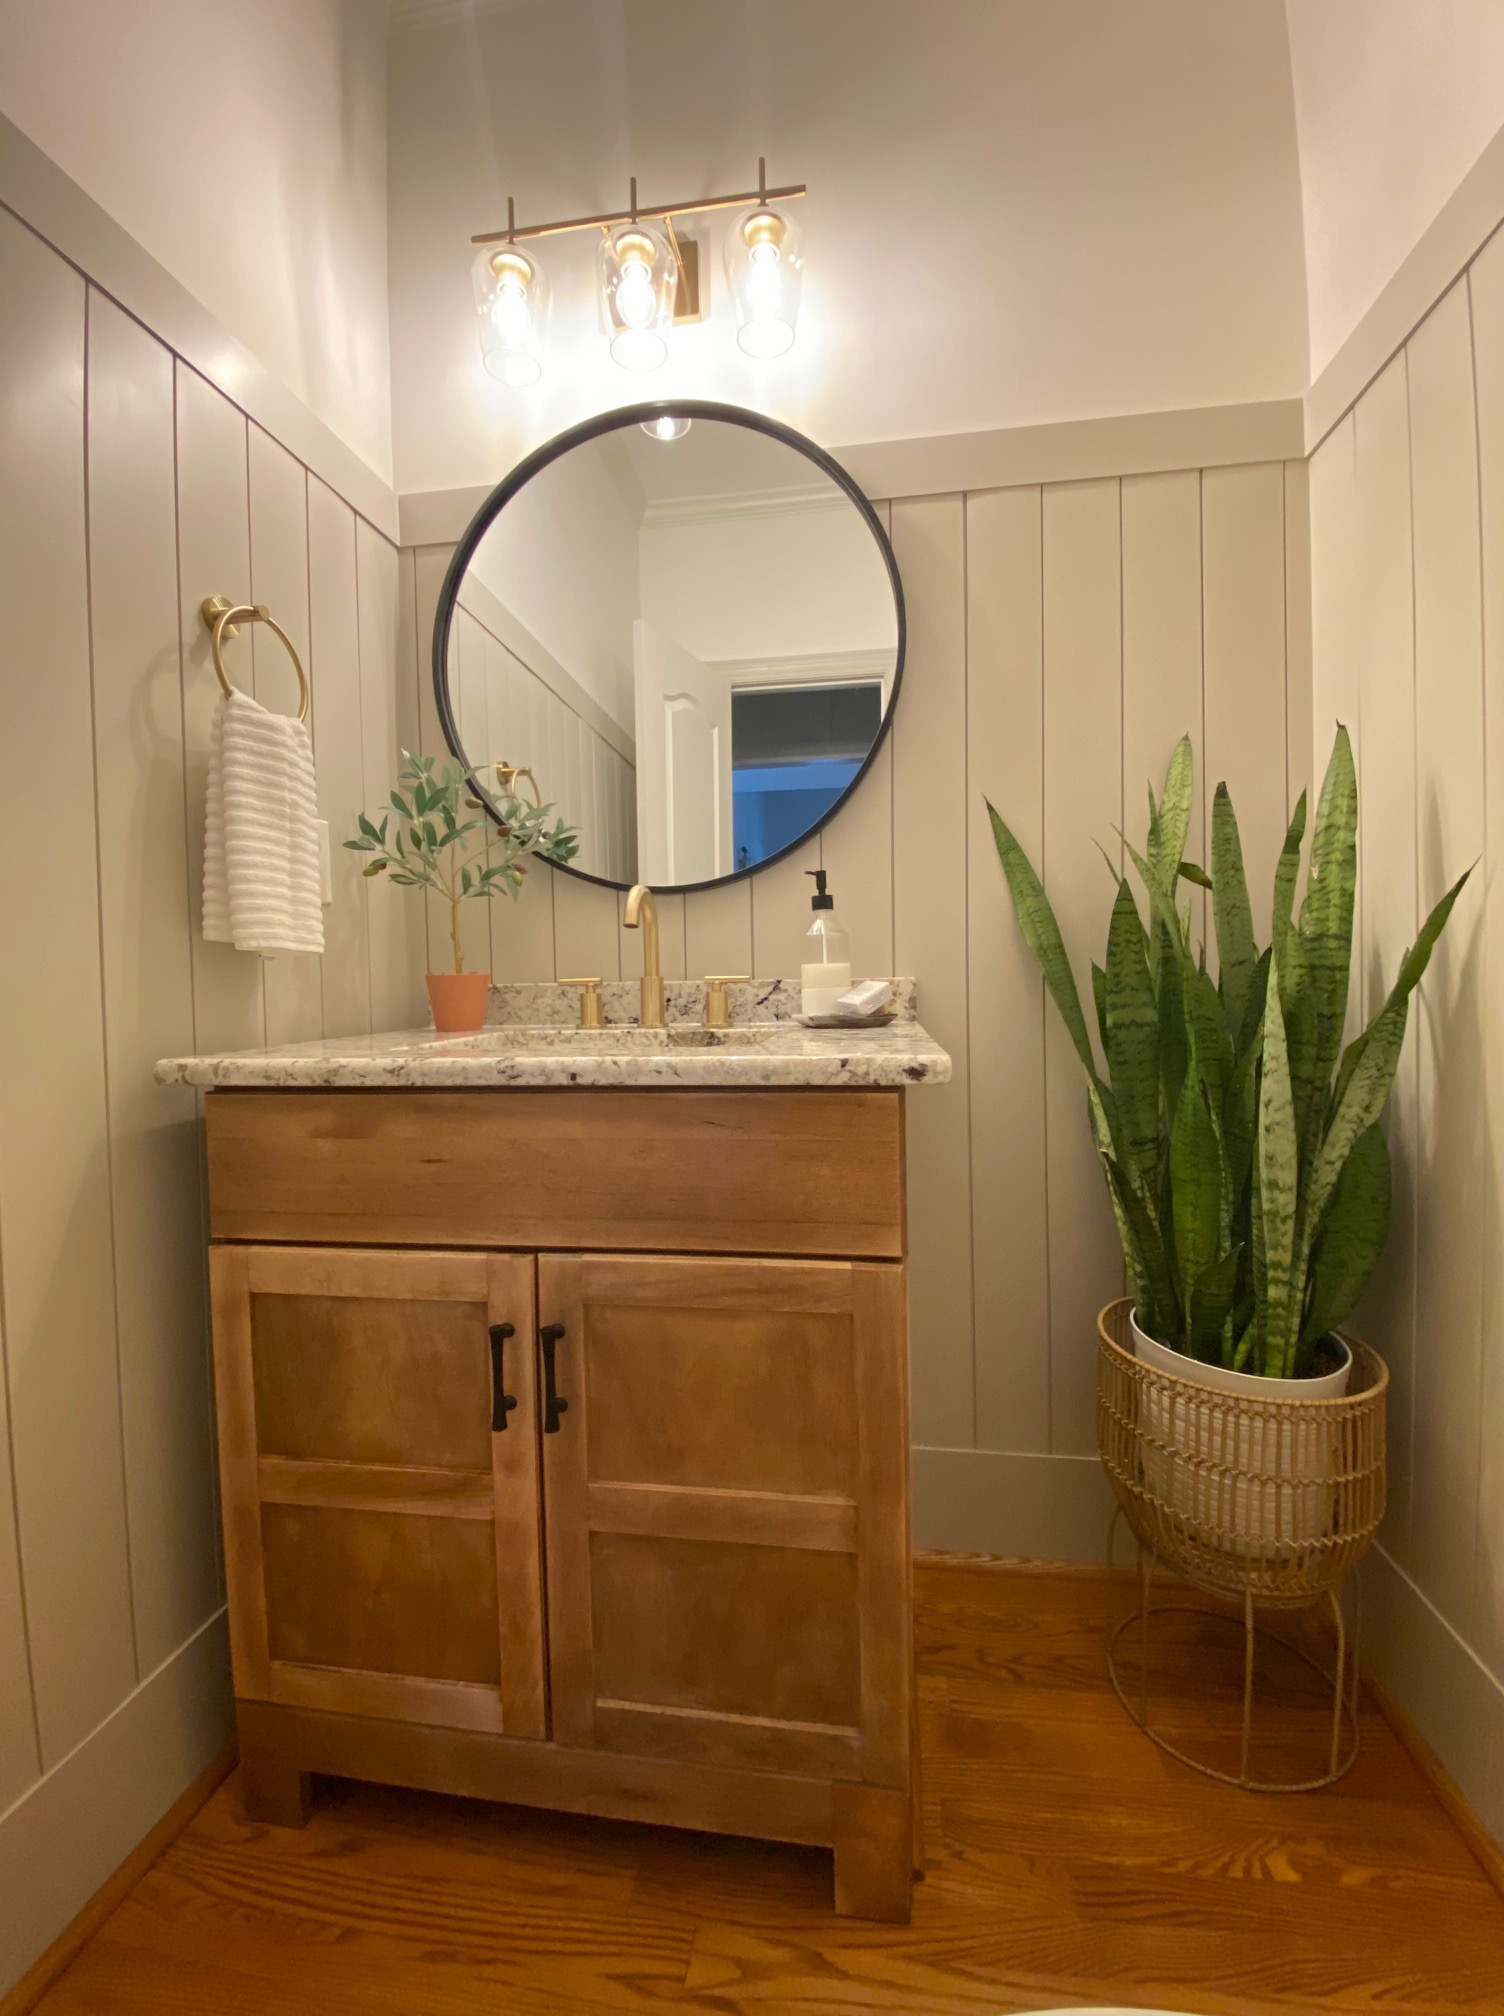
Adding in the finishing touches was one of my favorite parts. To fill the dead corner space, I found this giant snake plant at Home Depot for $22! The plant stand was an awesome find at Marshalls.
My favorite piece is the room is this watercolor lily. It was a gift to my grandparents by one of their church members. They had is framed by a local business who made a special pocket on the backside to hold the card that was handwritten and included with the art. The special note is a reminder of the impact they had on so many lives and that motivates me to live life to the fullest.

Before we look at the completed space in its entirety, let’s remember where we started again:


LINKS:
Towel Ring and Toilet Paper Holder
What do you think about the Powder Room transformation? Would you believe it was completed for less than $600? Most of that cost went to lumbar because we went with primed pine vs primed MDF.
I hope this inspires you to make the most of your space and transform it with a little paint and a little elbow grease. The before and after can be exactly like your mood board.

