Featured

Boo – 4 Easy DIY Halloween Costume Ideas

Having kids brought more excitement back to Halloween. I now understand why it was so much fun for my parents to dress my brother and I up in costumes. I may still question the logic behind some of the costumes <Insert this throwback below>
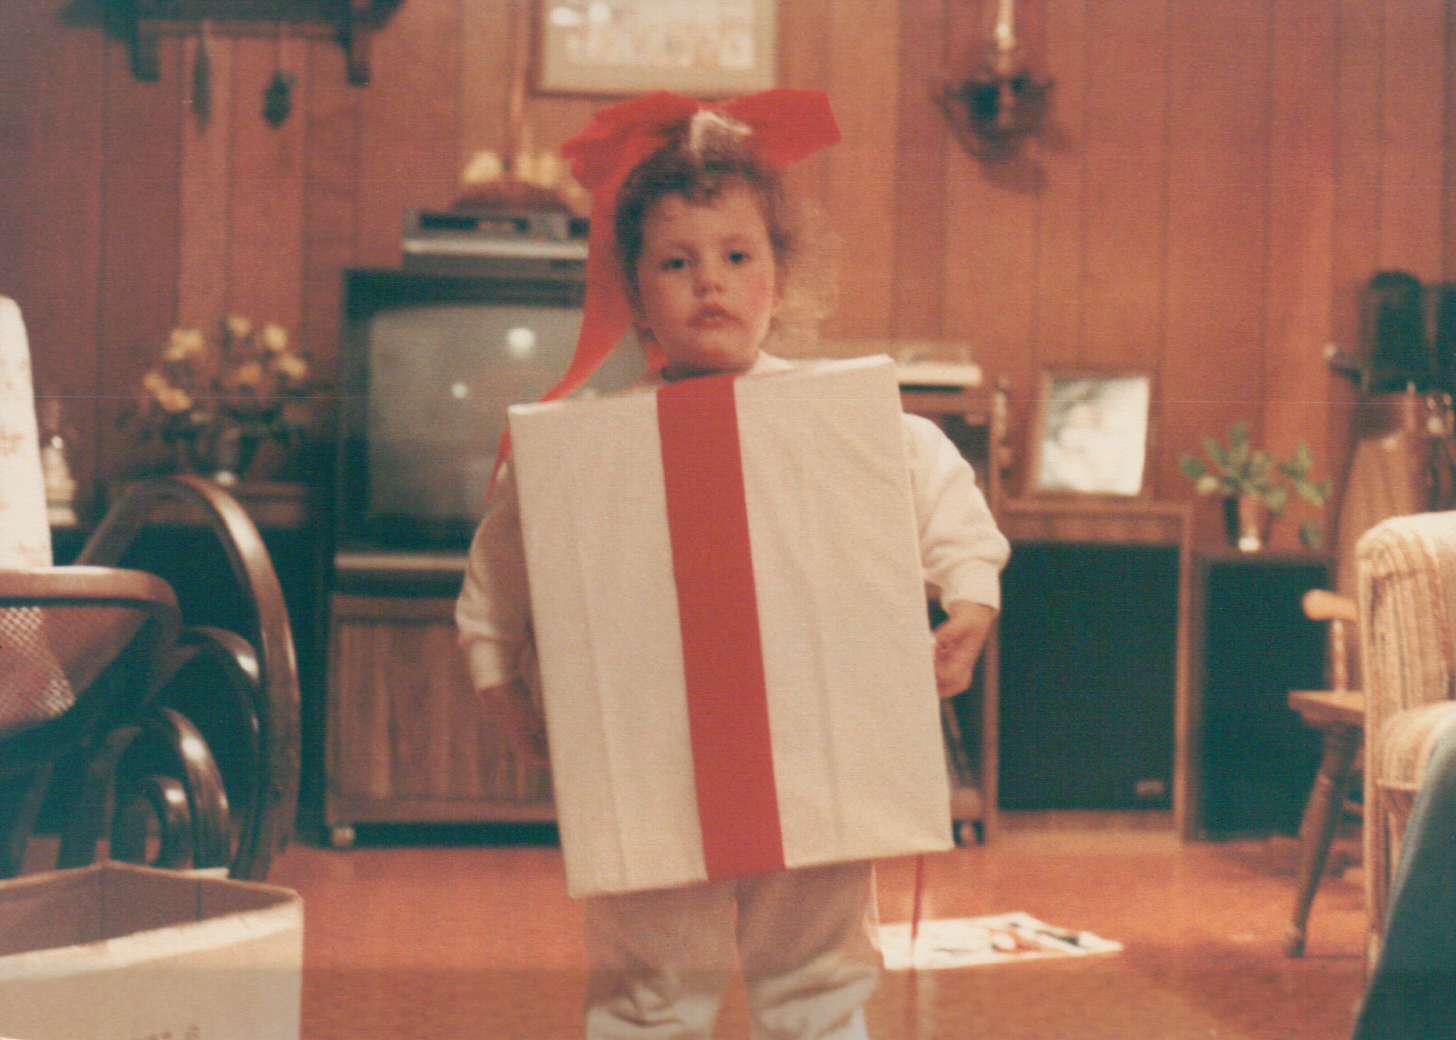

A walking present? I need to ask my mom if I requested this number.

I hope you will find inspiration in my attempts to DIY some of our costumes the past few years.

Football Player & a Baby Football

The first year we had 2 boys to dress for Halloween, I kept it simple and went with a football player and baby football. We had an ECU jersey which was gifted to us as my husband is a proud Pirate graduate.


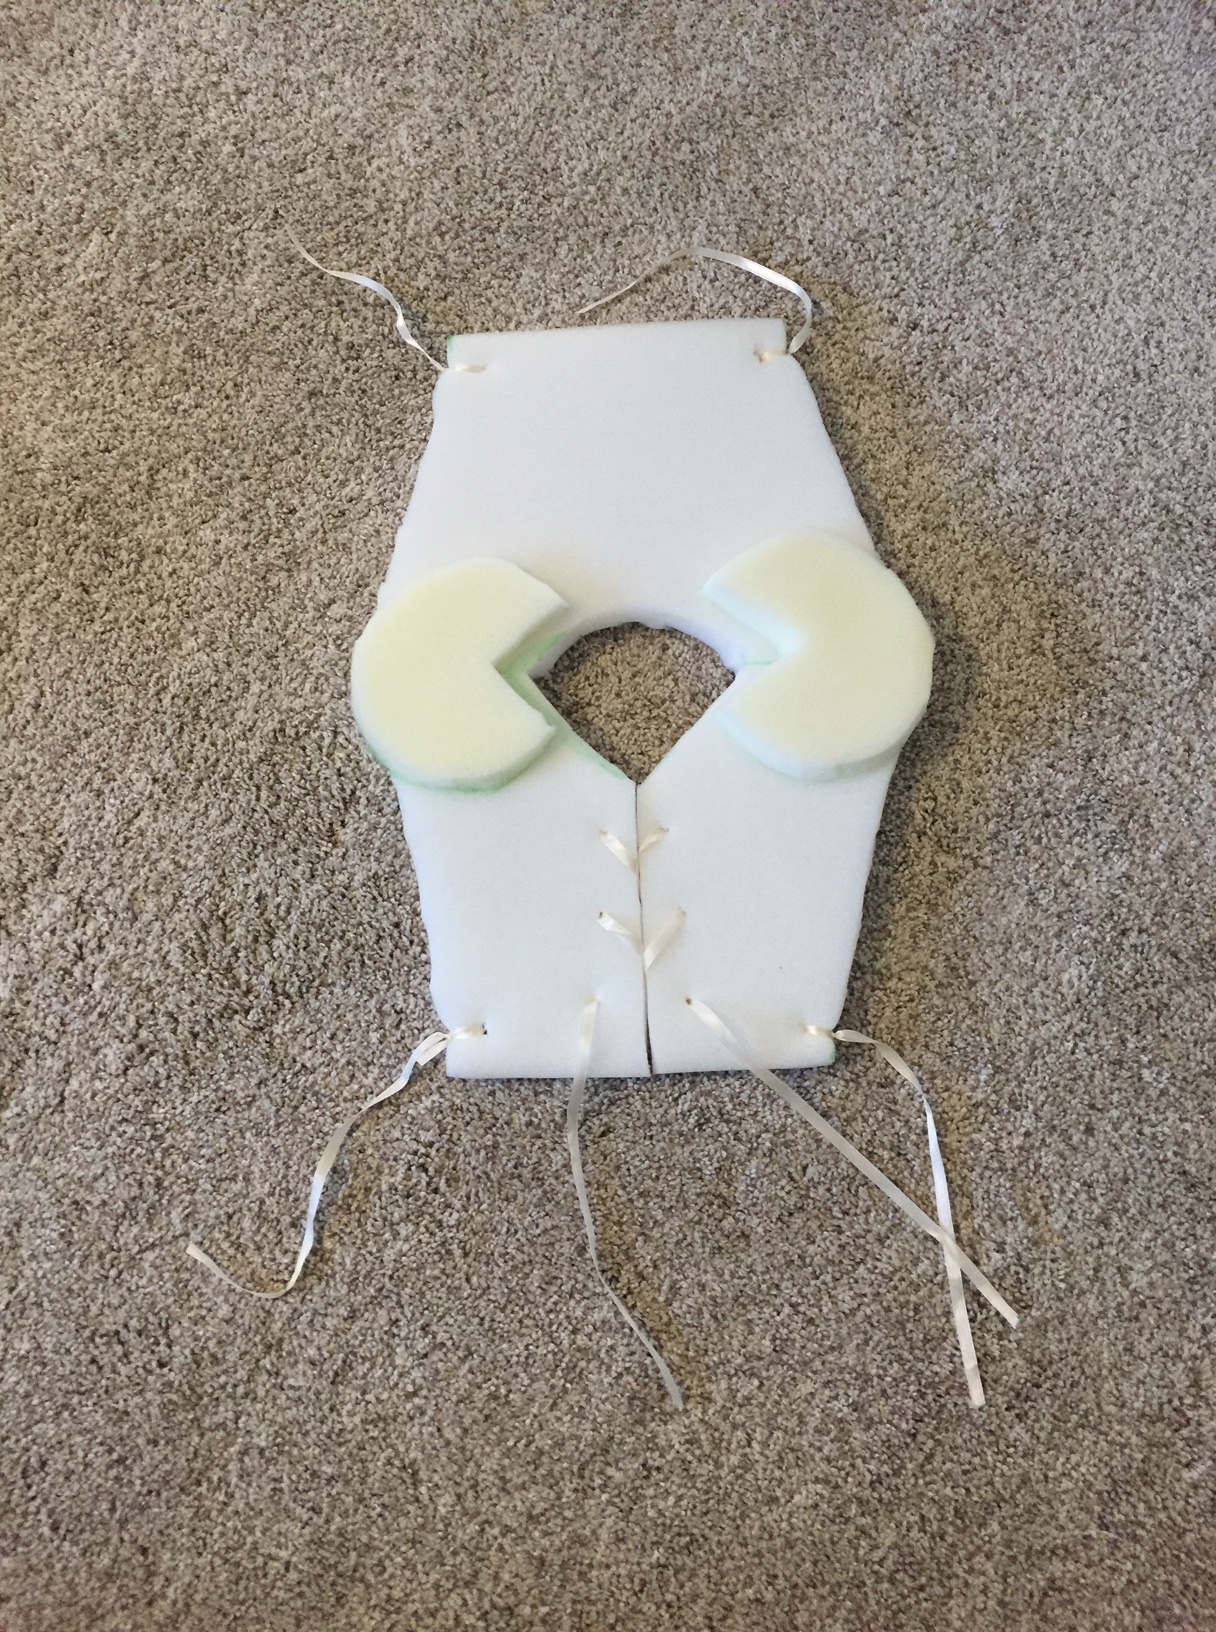
I searched Pinterest for a DIY football padding template. I used this one, Padding Template. The only thing needed for this, foam, scissors, string and hot glue. I happened to have all these items on hand from past home projects that required these items.

As for the baby football, I bought a brown onesie from Blanks Boutique . The quality of their products are wonderful. I always bought from them for majority of my monogramming and embroidery items I made for clients when that was a business of mine.

I cut strips of white fabric to mimic that of a football and sewed them with a simple stitch down the center of each. I set the stitch spacing to a wider length as I knew I’d also be removing the white fabric after Halloween to add a proper fall turkey applique for the upcoming Thanksgiving holiday. (I’m always looking for multi-purpose uses for things in the home and with clothing.)

Where The Wild Things Are

Our oldest loved reading this classic children’s book beginning at the age of 3. His love for the book inspired their Halloween costumes. This dragon caught his attention at TJ Maxx which I thought we could easily work into the theme.

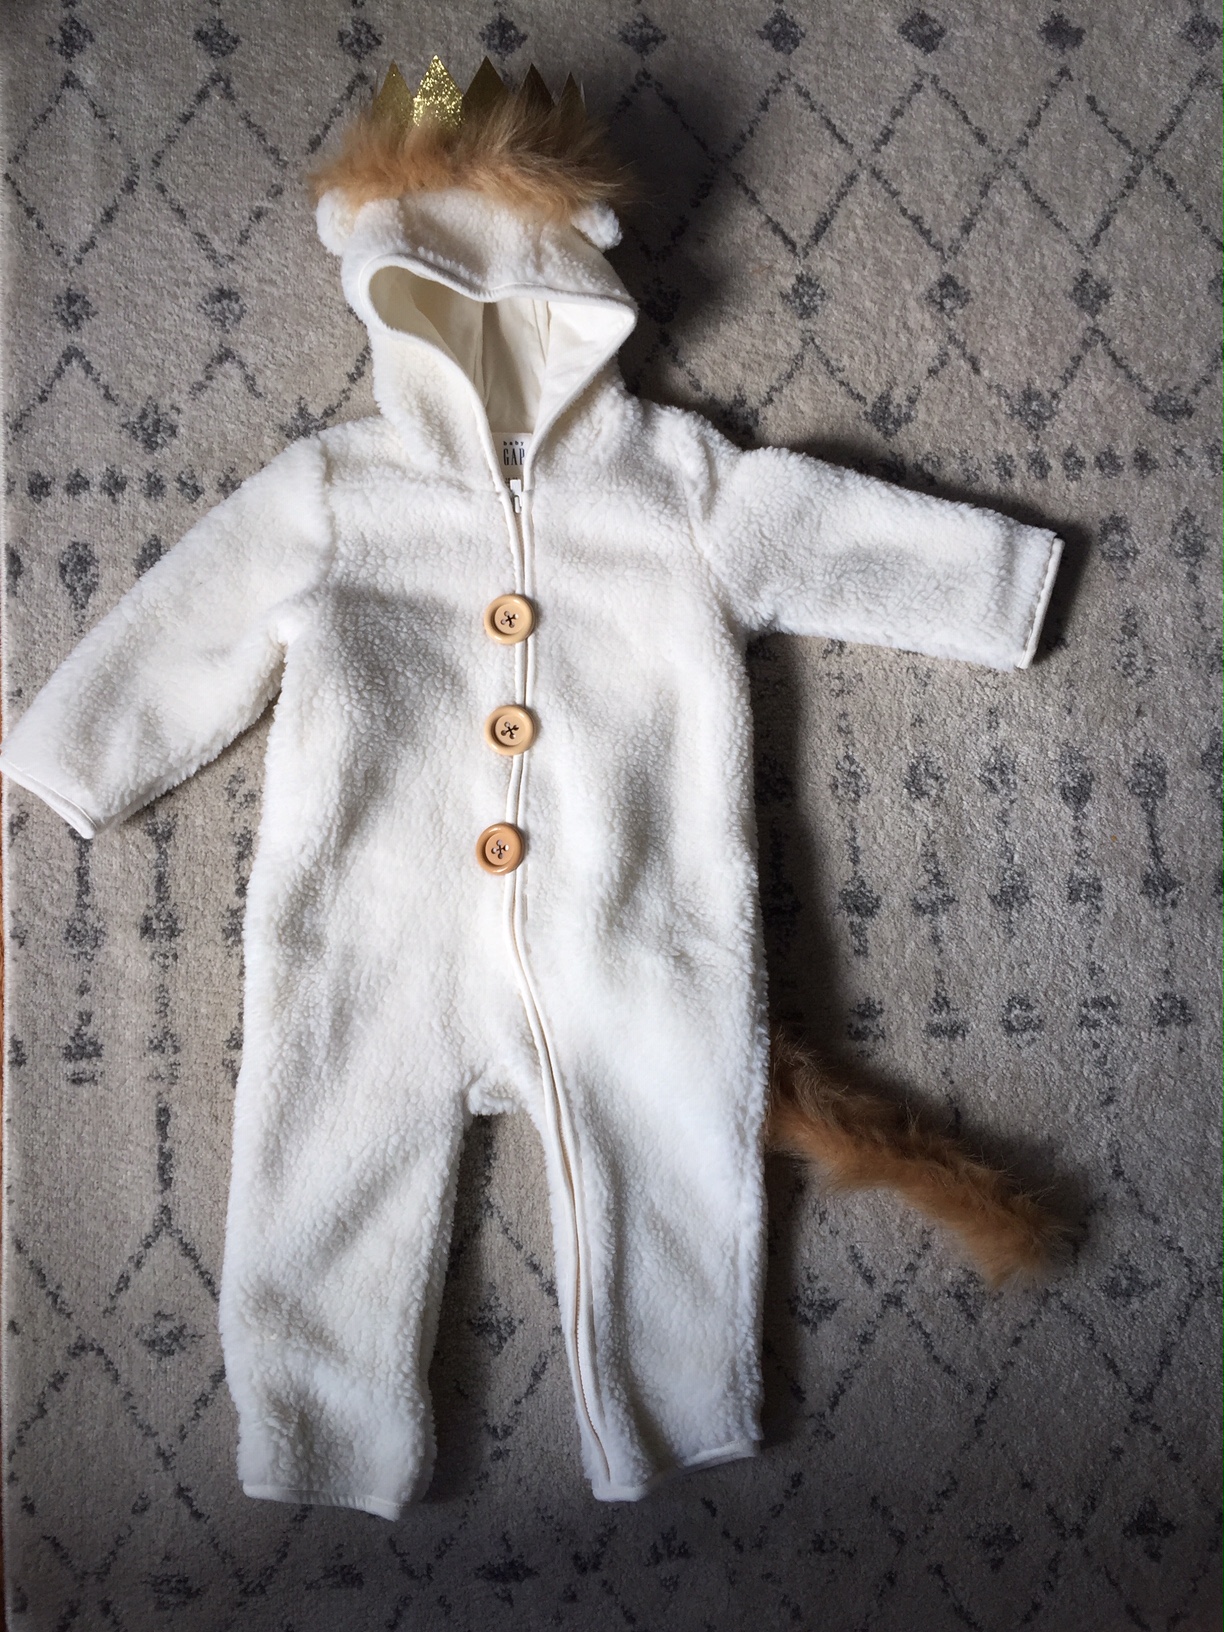
Wanting to find an option that had multi-purposes for our youngest, I took to finding ways to make his costume. I found a sherpa onesie on sale for 50% off at Baby Gap that was the main necessity for him to become Max. Here is a similar option for less, baby Sherpa .

Between Michaels and Walmart, I was able to find faux fur that had wire inside and oversized tan buttons that I could easily add to the sherpa and remove after Halloween.

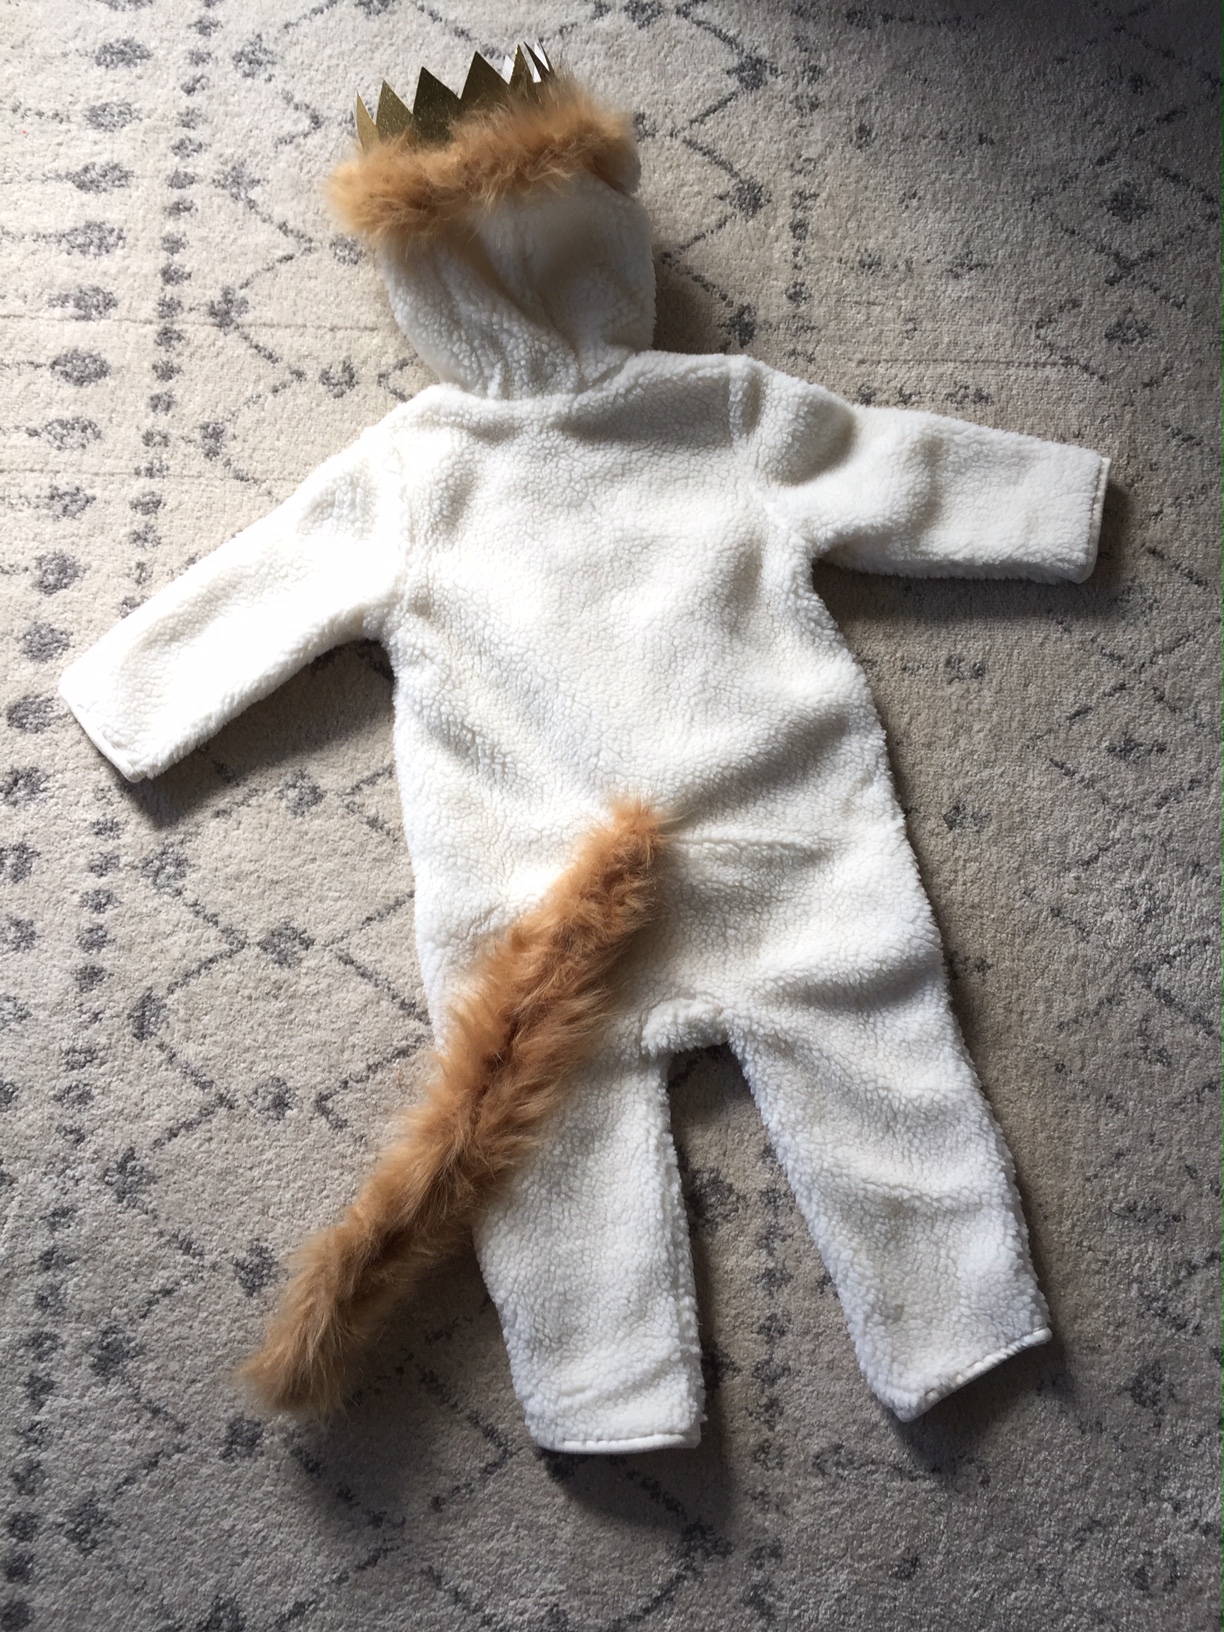
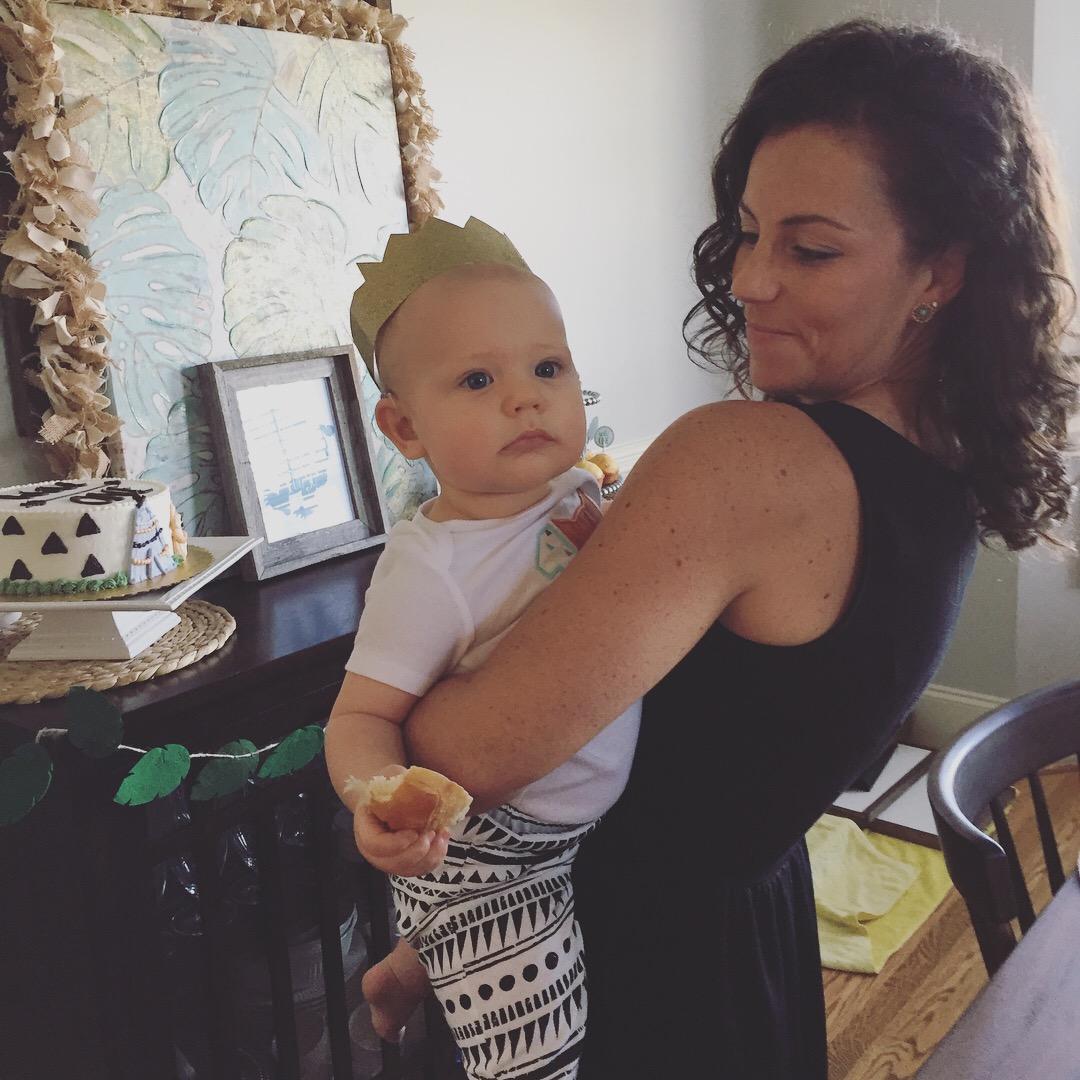
The crown was a party pack (Target) left over from our youngest’s 1st Birthday party (which happened to be the same theme). I hot glued a small bit of faux fur to the base of the crown, then lightly stitched it to the top of the hooded sherpa onesie. I used more of the faux fur to attach the tail.

Once again, the sherpa was put to use after Halloween as I was able to easily remove the stitched fur additions.

I’m linking ready-made costume options below:

Max the wolf

Wild Thing

Dragon

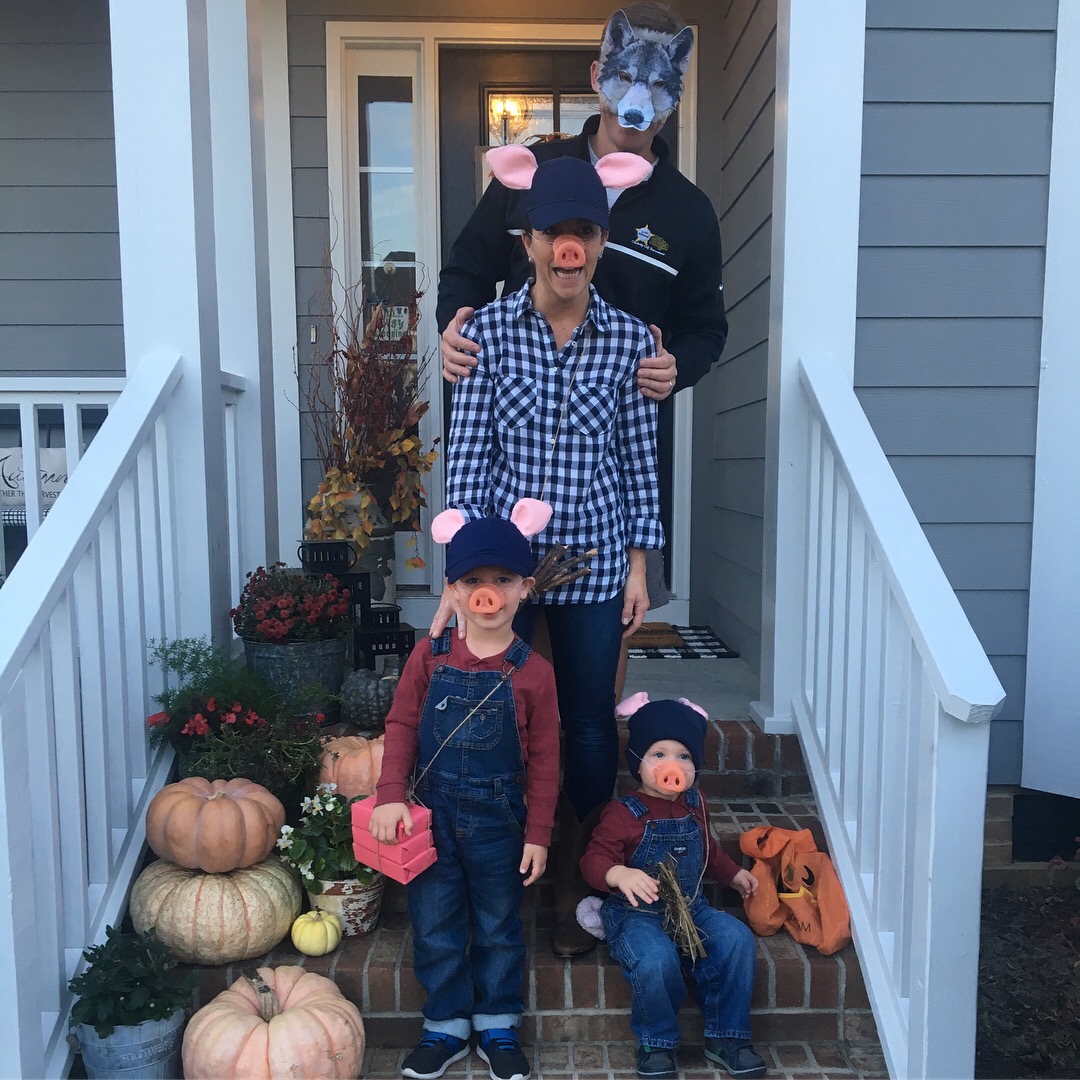
The Three Little Pigs and The Big Bad Wolf

I cannot take credit for this idea. One of my close friends dressed up in costume with this family theme the year prior and we loved it.
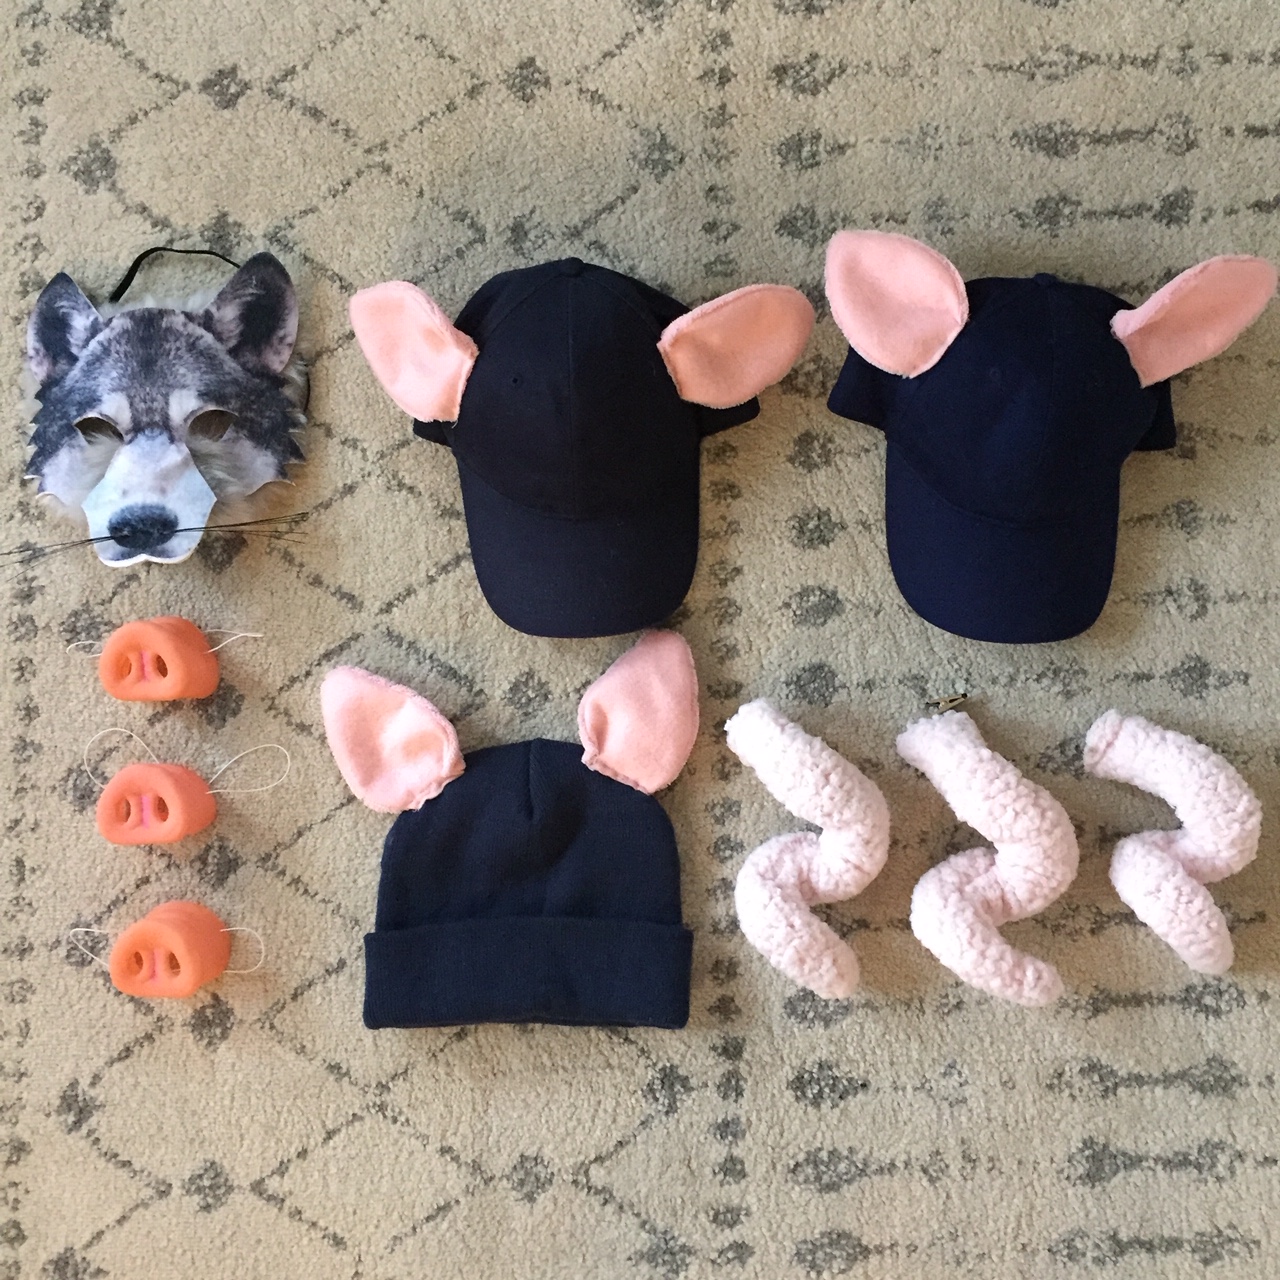
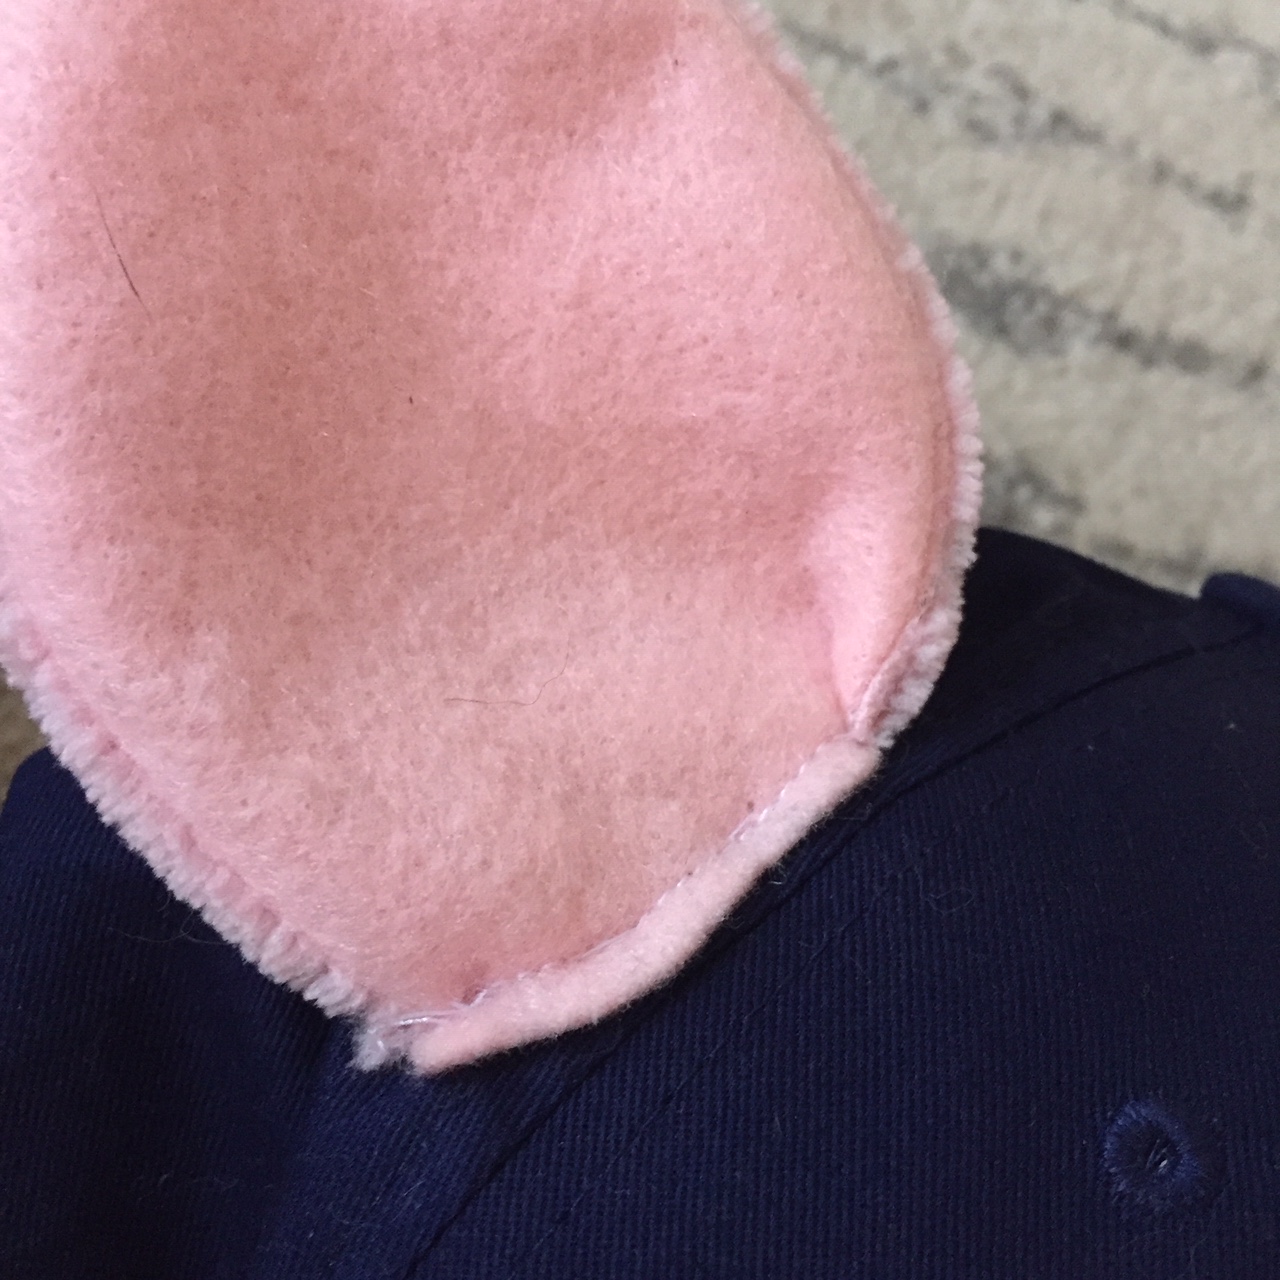
There were pig headband sets but I knew our boys wouldn’t keep them on. I opted to make a template for the ears and sew them onto hats and a beanie for our youngest.

I first sketched out a basic template for the ears on paper, then used the paper template to trace onto pink fabric that I already had. I made the ears double-sided, with two different fabrics. You could also use inexpensive felt sheets. I first sewed the ear edges then flipped them right side out before stitching to the hats.

The alligator clip pig tails were at Target last year (2018).

Overalls were found at Target. This year’s inventory at Target has more trendy detailing on the denim. HERE

As for the noses and wolf mask, Amazon had the best deals:

Mask

Hog Noses

Pig Costume 1 Pig Costume 2 Pig Ear, tail, and nose set

Toy Story

This year’s theme is Toy Story. Our oldest wanted to be Woody and our youngest chose Buzz Lightyear, who he absolutely LOVES. I’ve just recently made the vest for the Woody costume which I will share soon. There will be more to come for this post once the final touches have been added.

Should you wish to buy a ready-made costume, here are some of the best deals I’ve found:

Woody Costume

Woody Accessories

Buzz Lightyear Jetpack

Buzz Lightyear Costume

*edited below 2021

The Wizard of Oz

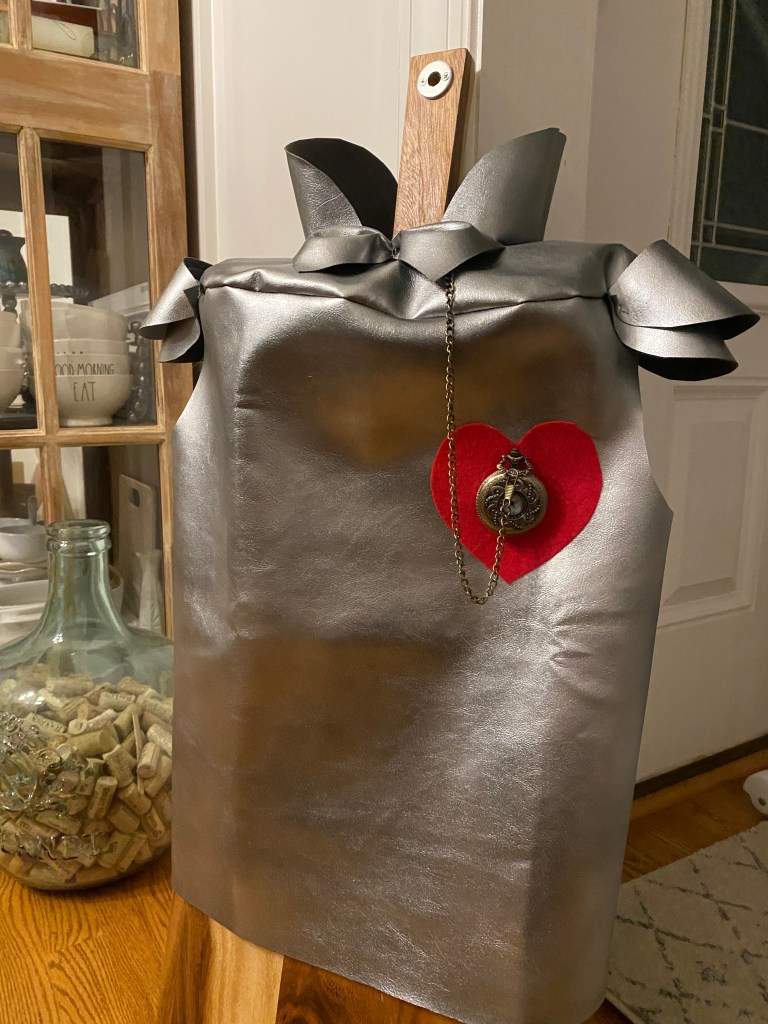
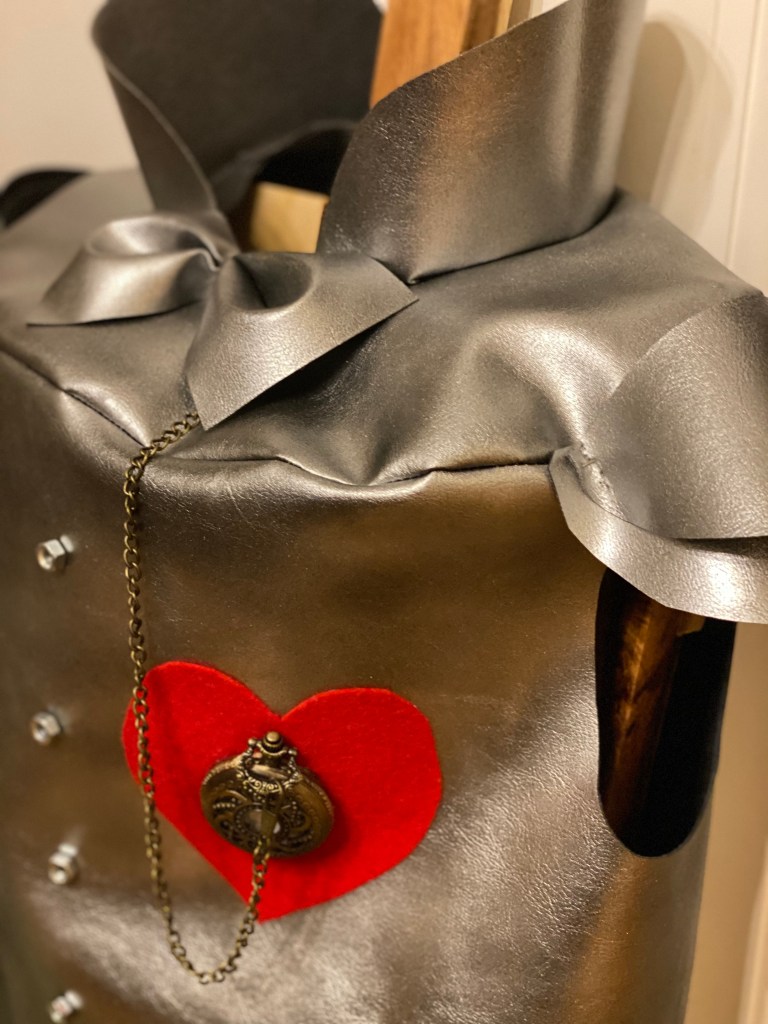
I don’t have a tutorial for how I made the Tin Man costume. I found an image of a similar costume and determined what I could buy fabric wise that would have stability and hold shape. A quick trip to the fabric store, I didn’t find a silver faux leather but did find it in black and decided to paint it. That idea worked!

I measured our oldest for shoulder width, body circumference and length and cut the fabric accordingly. I sewed the seams then painted it silver. As for the collar and shoulder detail, I also cut them to fit the body of the costume and hand stitched them to the bodice.

The scarecrow costume was fairly easy. The hat was made with black felt sewn together and adorned with jute and rattan. The fabric around his head and face was something I already had and had stretch to it. I cute out a hole for his face (not centered might I add) and loosely wrapped a piece of string to match the scarecrow look of the movie. We already had overalls and stuffed the pockets with rattan pieces. (Can be found at the $1 store.)

We had fun painting faces for the final family look.

It’s hard to believe Halloween is just around the corner. There were times when I was forced to DIY costumes because they had been sold out.
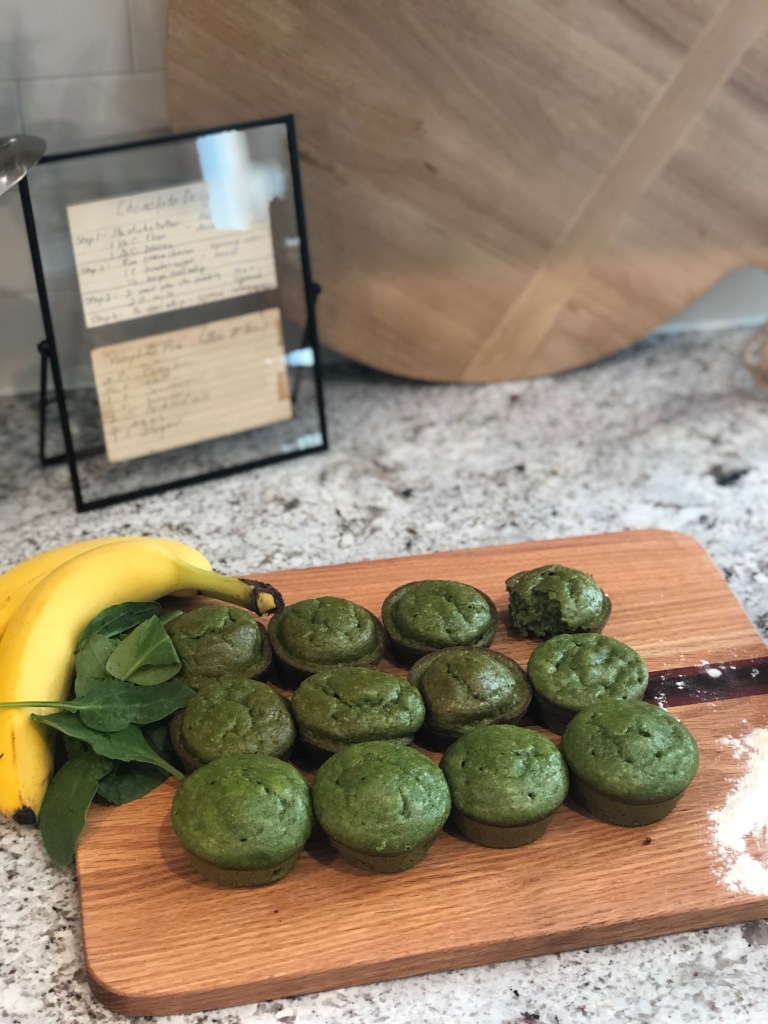
Green Blender Muffins

The morning rush can be hectic at times. Trying to feed two boys a quick and healthy breakfast to start the day can also be challenging. When they wake up, they immediately want to eat.

I quickly realized I had to simplify our morning routine by having read-to-eat bites that they can easily access themselves. Yes, we are there now. They can get food, their milk/water theirselves and it is glorious. If you’re not here yet with your littles, just wait, the time is coming and for once, you might get to sip a hot cup of coffee.

Because I’m a boy mom, these muffins have been called “dinosaur muffins”, “monster muffins” and “hulk muffins”. Anything related to these three subjects, they are all in.

I feel good knowing they are loaded with an ample amount of spinach.

Ingredients

Substitution Options:

  • Almond milk: you may use any non-dairy milk to keep the recipe dairy free. Or you may use regular milk!
  • Coconut Oil: You may substitute vegan butter (like Earth Balance), regular butter, or ghee!
  • Eggs: For vegan version substitute the 2 eggs with 2 TBS ground chia seeds and 5 TBS water.

Directions:

Preheat oven to 350 degrees.

Add oil, spinach, milk to a vitamix or nutribullet and blend until smooth. Add in bananas and vanilla and blend again until smooth.

Meanwhile, add dry ingredients to a stand mixer – flour/oats (whichever you choose), baking soda, baking powder, salt, sugar, cinnamon & ground flaxseed if you’re adding it.

Add blender mix and two eggs to the dry ingredients, mix until smooth.

Either spray a muffin tin or line with parchment cupcake liners.

Fill 3/4 full.

Bake 16 minutes or until the center is done.

Allow to cool.

(Makes 16-18 muffins depending how big you make each.)

**For a fun Halloween idea, you can decorate these muffins as actual monsters or as Frankenstein.

**They also make for a great side item for a Dinosaur themed birthday party. Top each with a mini toy dinosaur the kids get to keep.

I hope you and your family enjoy these as much as we do.

The Best Turkey Chili

I’m calling this the best turkey chili because it really is the only recipe you’ll ever want to use when making a pot of chili.

Two of our best friends, Adam & Ashley, live in Yadkinville, NC. We plan regular trips to visit them – exploring NC wine country that they get to call home, hiking, and eating really good food either home cooked or at a new restaurant.

The first time we had this turkey chili was upon our arrival to their home. It had simmered in the crock pot all day & was the perfect fuel welcoming us after our road trip from Wilmington (at the time) and filling us up before our next day hiking and vineyard exploring.

Crockpot Turkey Chili

From the combined kitchens of Ashley & Amanda

INGREDIENTS:

2lbs Ground Turkey

2 Cans Kidney Beans (I use 1 can of dark red and 1 can of cannellini beans)

1 Can of Black Beans

(All beans should be drained and rinsed before adding them to the crockpot)

2 Cans Diced Tomatoes (undrained) – I’ve also used the Italian seasoned diced tomatoes if it’s what I have in the pantry and it’s just as good.

8oz Can Tomato Sauce

1 Vidalia Onion – Diced (Original recipe calls for 2 small onions, either are fine, we just always have vidalia on hand)

1 Green Pepper – Diced

2-3 Cloves of Garlic – minced

2 tbsp of Chili Powder

2 teaspoons salt (or to taste)

1 teaspoon pepper

*I buy all unsalted products of diced tomatoes and beans as I prefer to control the sodium content while cooking.

DIRECTIONS:

Dice the onion and bell pepper. Mince the garlic. Add turkey, onion and bell pepper to a skillet, stirring occasionally until meat is browned.

(There is no need to add the onion and bell pepper if you plan to allow the chili to simmer in the crockpot 8 hours.) I’ve found that if I sautee the peppers and onions ahead of time, it speeds up the process when you have less time for the chili to simmer.

While the meat and onions are cooking, drain and rinse all beans.

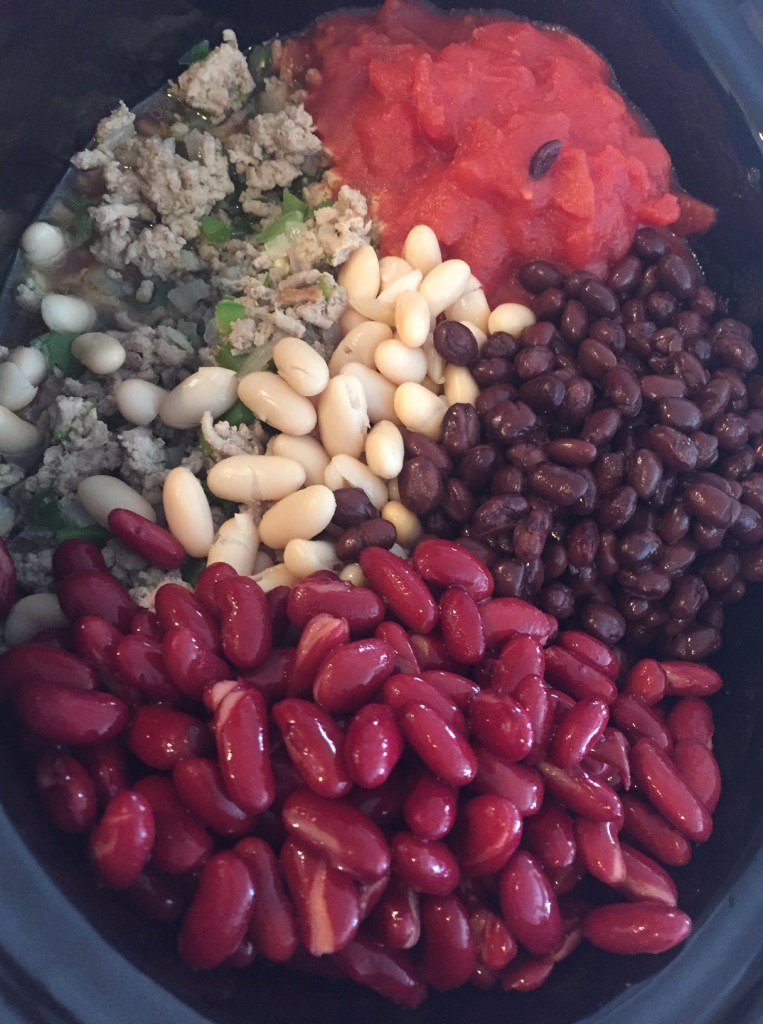
Add tomato products, beans, garlic, chili powder and salt & pepper to taste to the crockpot.

Add the turkey once browned.

Stir ingredients until blended.

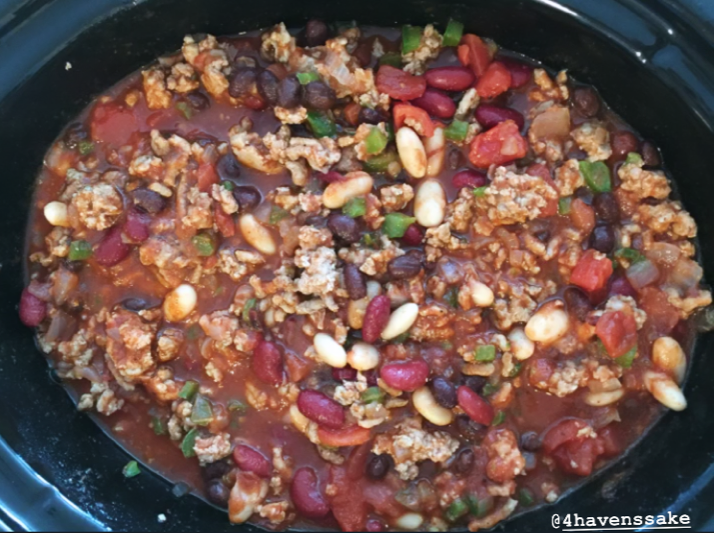
All ingredients added and set to simmer.

Set the crockpot to simmer either for 8 hours on low or 4 hours on high.

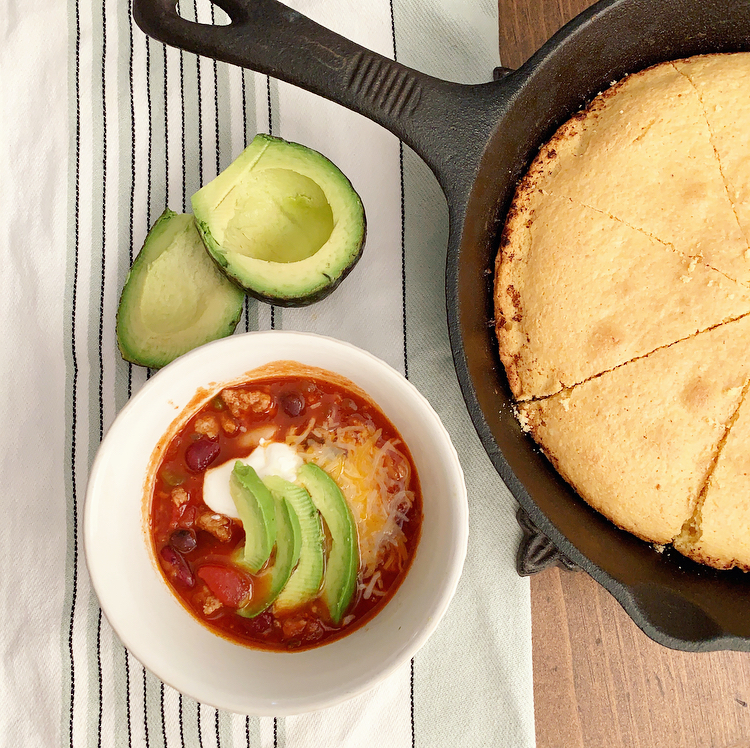
You can top your chili with sour cream (or greek yogurt), cheese, hot sauce and sliced avocado or eat it as is.

Chili pairs well with skillet cornbread. We love Jiffy.

*Tip for making the best skillet cornbread – add about 1-2 tbsp of butter to a skillet. Put the skillet it in the oven while it’s preheating and you’re mixing the cornbread ingredients. Once the oven preheats, carefully take out the hot skillet and add the cornbread mix. You’ll hear it simmer. It gives a nice caramelization to the edges of the cornbread before baking.

This chili does freeze well should you want to save some for a later date.

Hope you enjoy this easy crockpot Turkey Chili. I’d love to hear what you think.

Fall & Christmas DIY Reversible Sign

Fellow crafters I have a fun project for you. Share the idea with your friends and coordinate a time to host a “make and take” sign event like I did.

Fellow crafters I have a fun project for you. Share the idea with your friends and coordinate a time to host a “make and take” sign event like I did.

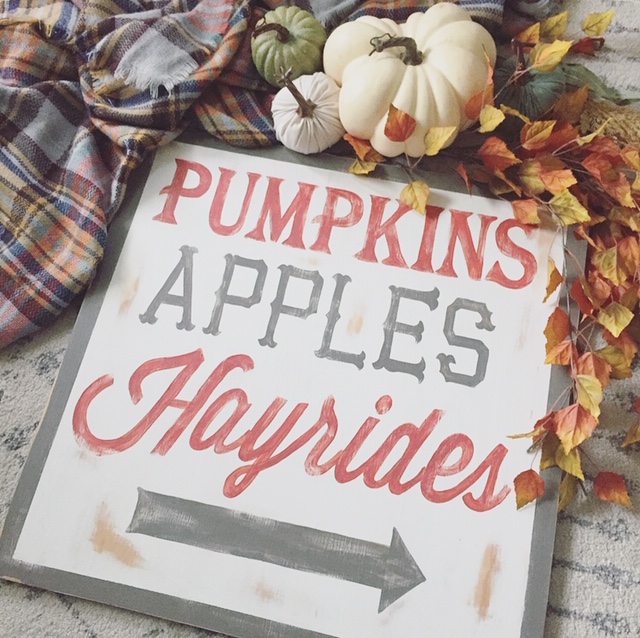
When I saw Ella Clair’s Fall sign on Pinterest, I was inspired to make it and take it a step further by having the reverse side of the sign a Christmas design. I’m all for multi-purpose home decor and the possibility of not having to store away 2 holiday signs was ideal.

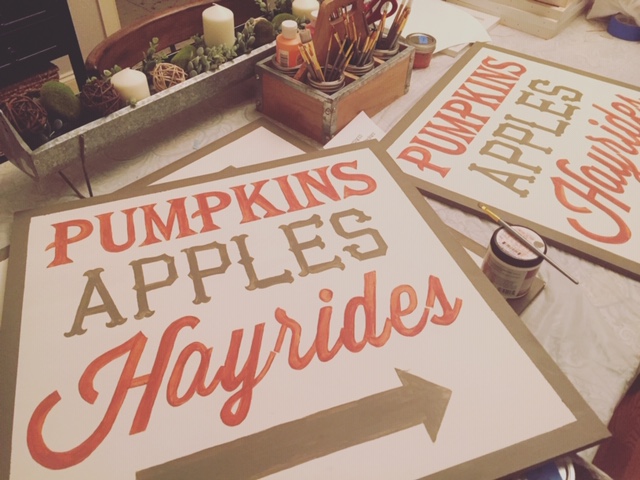
Ella Clair’s design was more rectangular. I modified the design to accommodate this 2×2 plywood sheet and created a Christmas design in word for the reverse side.

You could also have a year round design on the reverse side in lieu of 2 holiday themes.

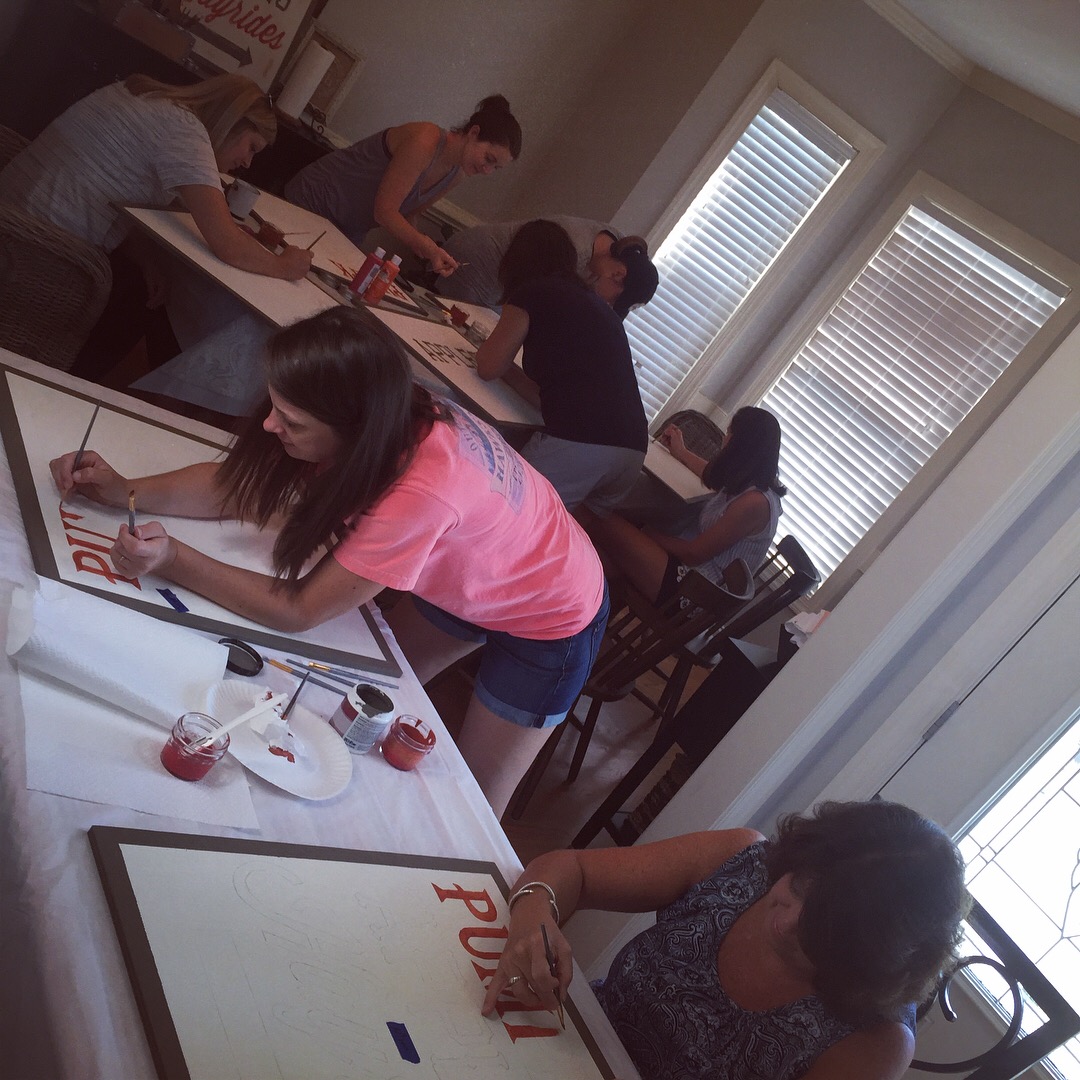
The first phase of this sign party started with good friends/neighbors on our street. We had the BEST time stenciling and hand painting our signs one cool evening in my neighbors garage. Collectively we had all of the supplies needed to paint the signs apart from the 2×2 plywood boards.

Here is what you need:

2×2 1/2 inch untreated plywood (You can get this exact size from Home Depot for around $6

Craft paint – Colors of your choosing. I had red & orange on hand so we just mixed the two with a smidge of black to make the perfect shade of rust.

Base paint – use any white paint you have on hand. We used White Dove by Sherwin Williams

Gray/Brown Paint – Used for the border, lettering and the arrow – Gargoyle by Sherwin Williams

Pencil

Printer

Painters Tape

Craft paint brushes

STEPS:

  1. Paint the board using any white paint you have on hand
  2. Once dry, use the painters tape to frame out a border on your board. I left approximately 1/2 inch from the edges.
  3. Paint the border, including the edges on the sides and allow to dry
  4. While paint is drying, print the fall design provided by Ella Claire, found here. Please respect her request that this is to only be used for personal use. If you visit her original blog post, she gives tips on how to add this template to a document as an image, then stretching it to the size needed. (I added the template to Excel as I found it easiest to stretch to the needed 2×2 size, much larger than her original)
  5. Download the Christmas design here
  6. Tape the pages together so the design lines up connecting the letters. You may have to trim some of the paper to prevent overlap.
  7. Shade the backside of the design with a pencil as you will then place the shaded side down on your white background a trace the outline of the design.
  8. Once you trace the outline of the design, remove the template and you will be left with the pencil outline to fill in with paint.
  9. Begin painting the lettering. Don’t worry about any mistakes and uneven lines. You will distress your sign as the last step and can hide areas to make appear distressed and intentional.
  10. Once your first side is complete, you will repeat the backside with the second seasonal design.
  11. Distress both sides as much or as little as you’d like using an electric sander and 220 grit paper.
  12. You may add a Polycrylic top coat if you think it will be outside and exposed to the weather elements. I didn’t complete this step as our sign is under a covered front porch. Paints are also permanent finishes once cured.

Happy painting friends!

Board & Batten Accent Wall

For $40 in material, you can update any room with a simple accent wall.

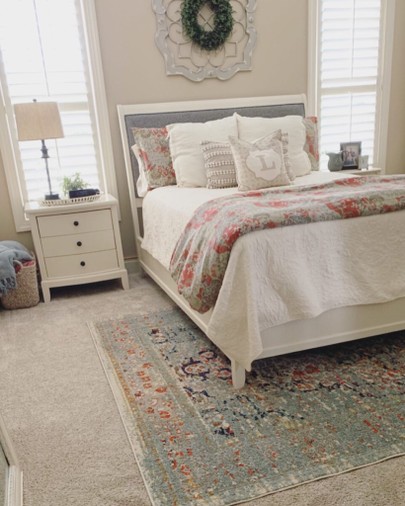
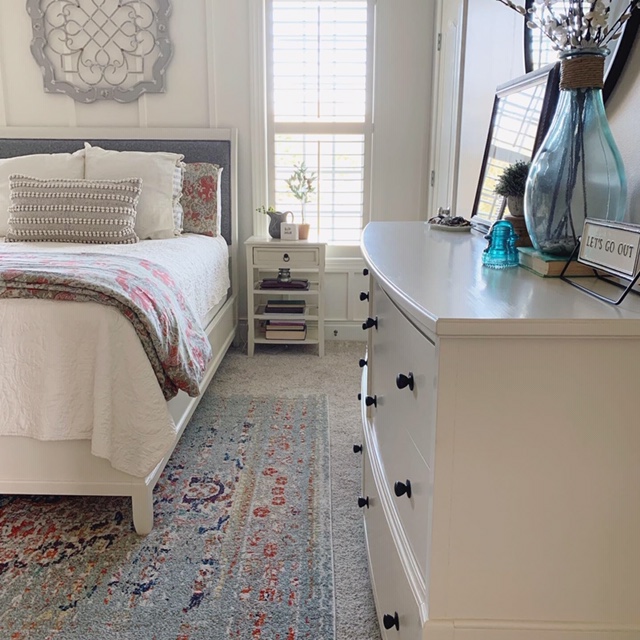
The motivation behind our master bedroom refresh was my vision to lighten up the space completely. Some of my favorite rooms have been spaces we stayed at on vacations. The retreat-like ambiance always relaxes us the most so having that in our room where we sleep every night & wake up every morning became my goal.

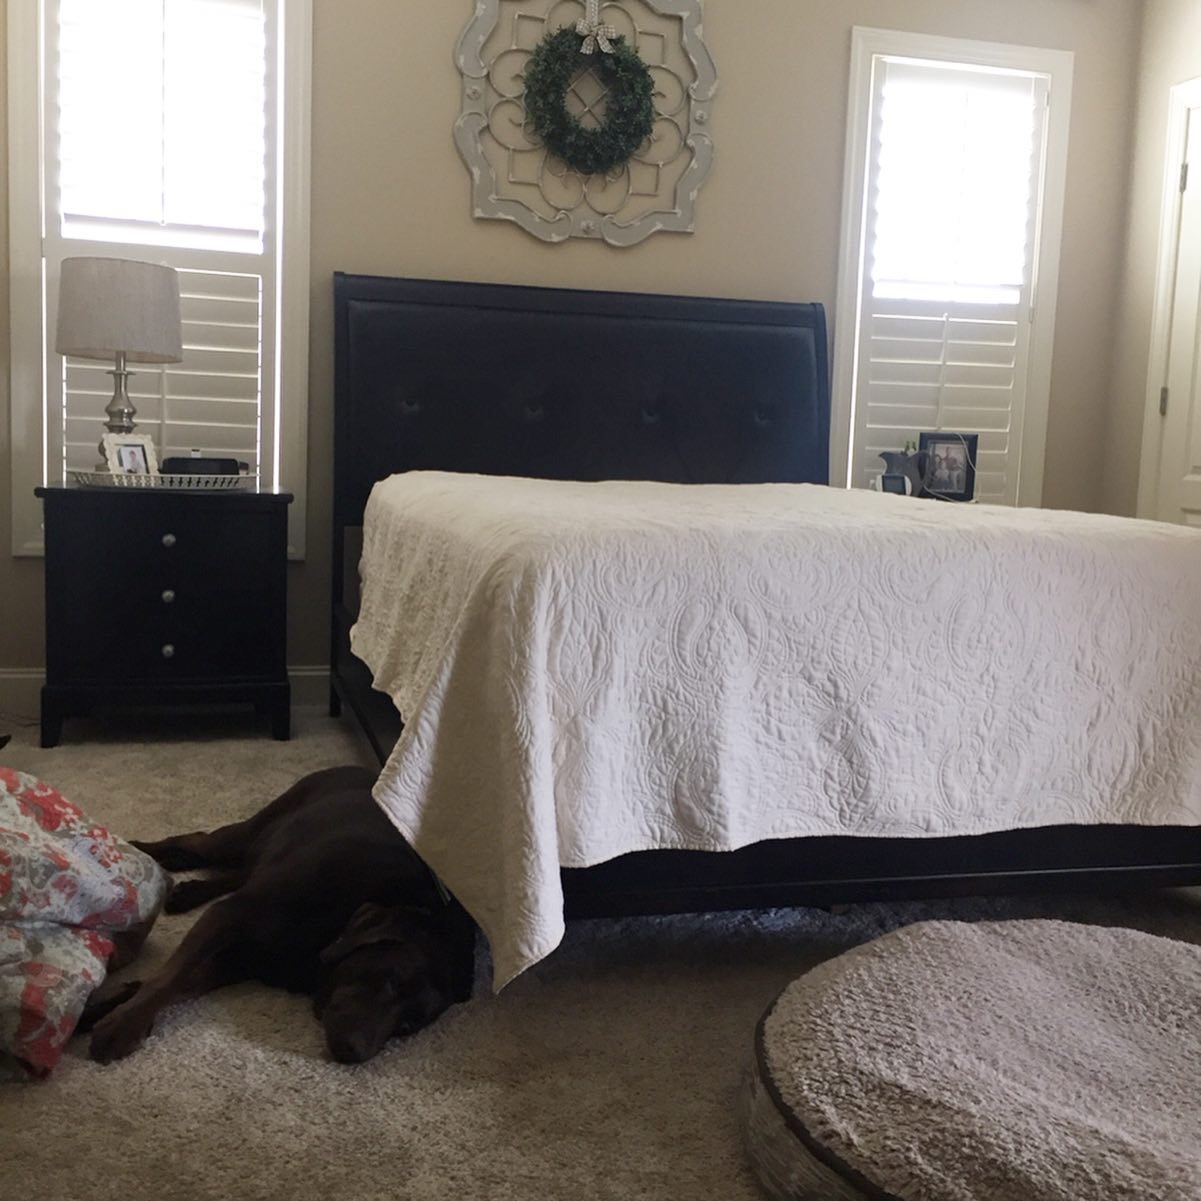
First, I started by refinishing our dark, black furniture with this chalk paint recipe and by updating the black leather headboard insert with a beautiful gray twill fabric.

You can watch my step by step for recovering the headboard insert in highlights here.

Refinishing the furniture alone was a major update to the room. We’ve never been a big fan of the tan walls, partly because our first home had so much of that color before we made the change over to agreeable gray.

The accent wall was going to be behind our bed, on the main wall. This wall also happens to be the only one in the room with windows. A couple of years ago, we updated the windows with plantation shutters which we absolutely LOVE but something about them looked unfinished on that wall. I wanted the shutters and new accent wall to blend and look like one big statement.

Adding floor to ceiling board & batten and painting it the same color as the shutters and trim became the vision for the space.

We agreed on using 1×2 primed MDF.

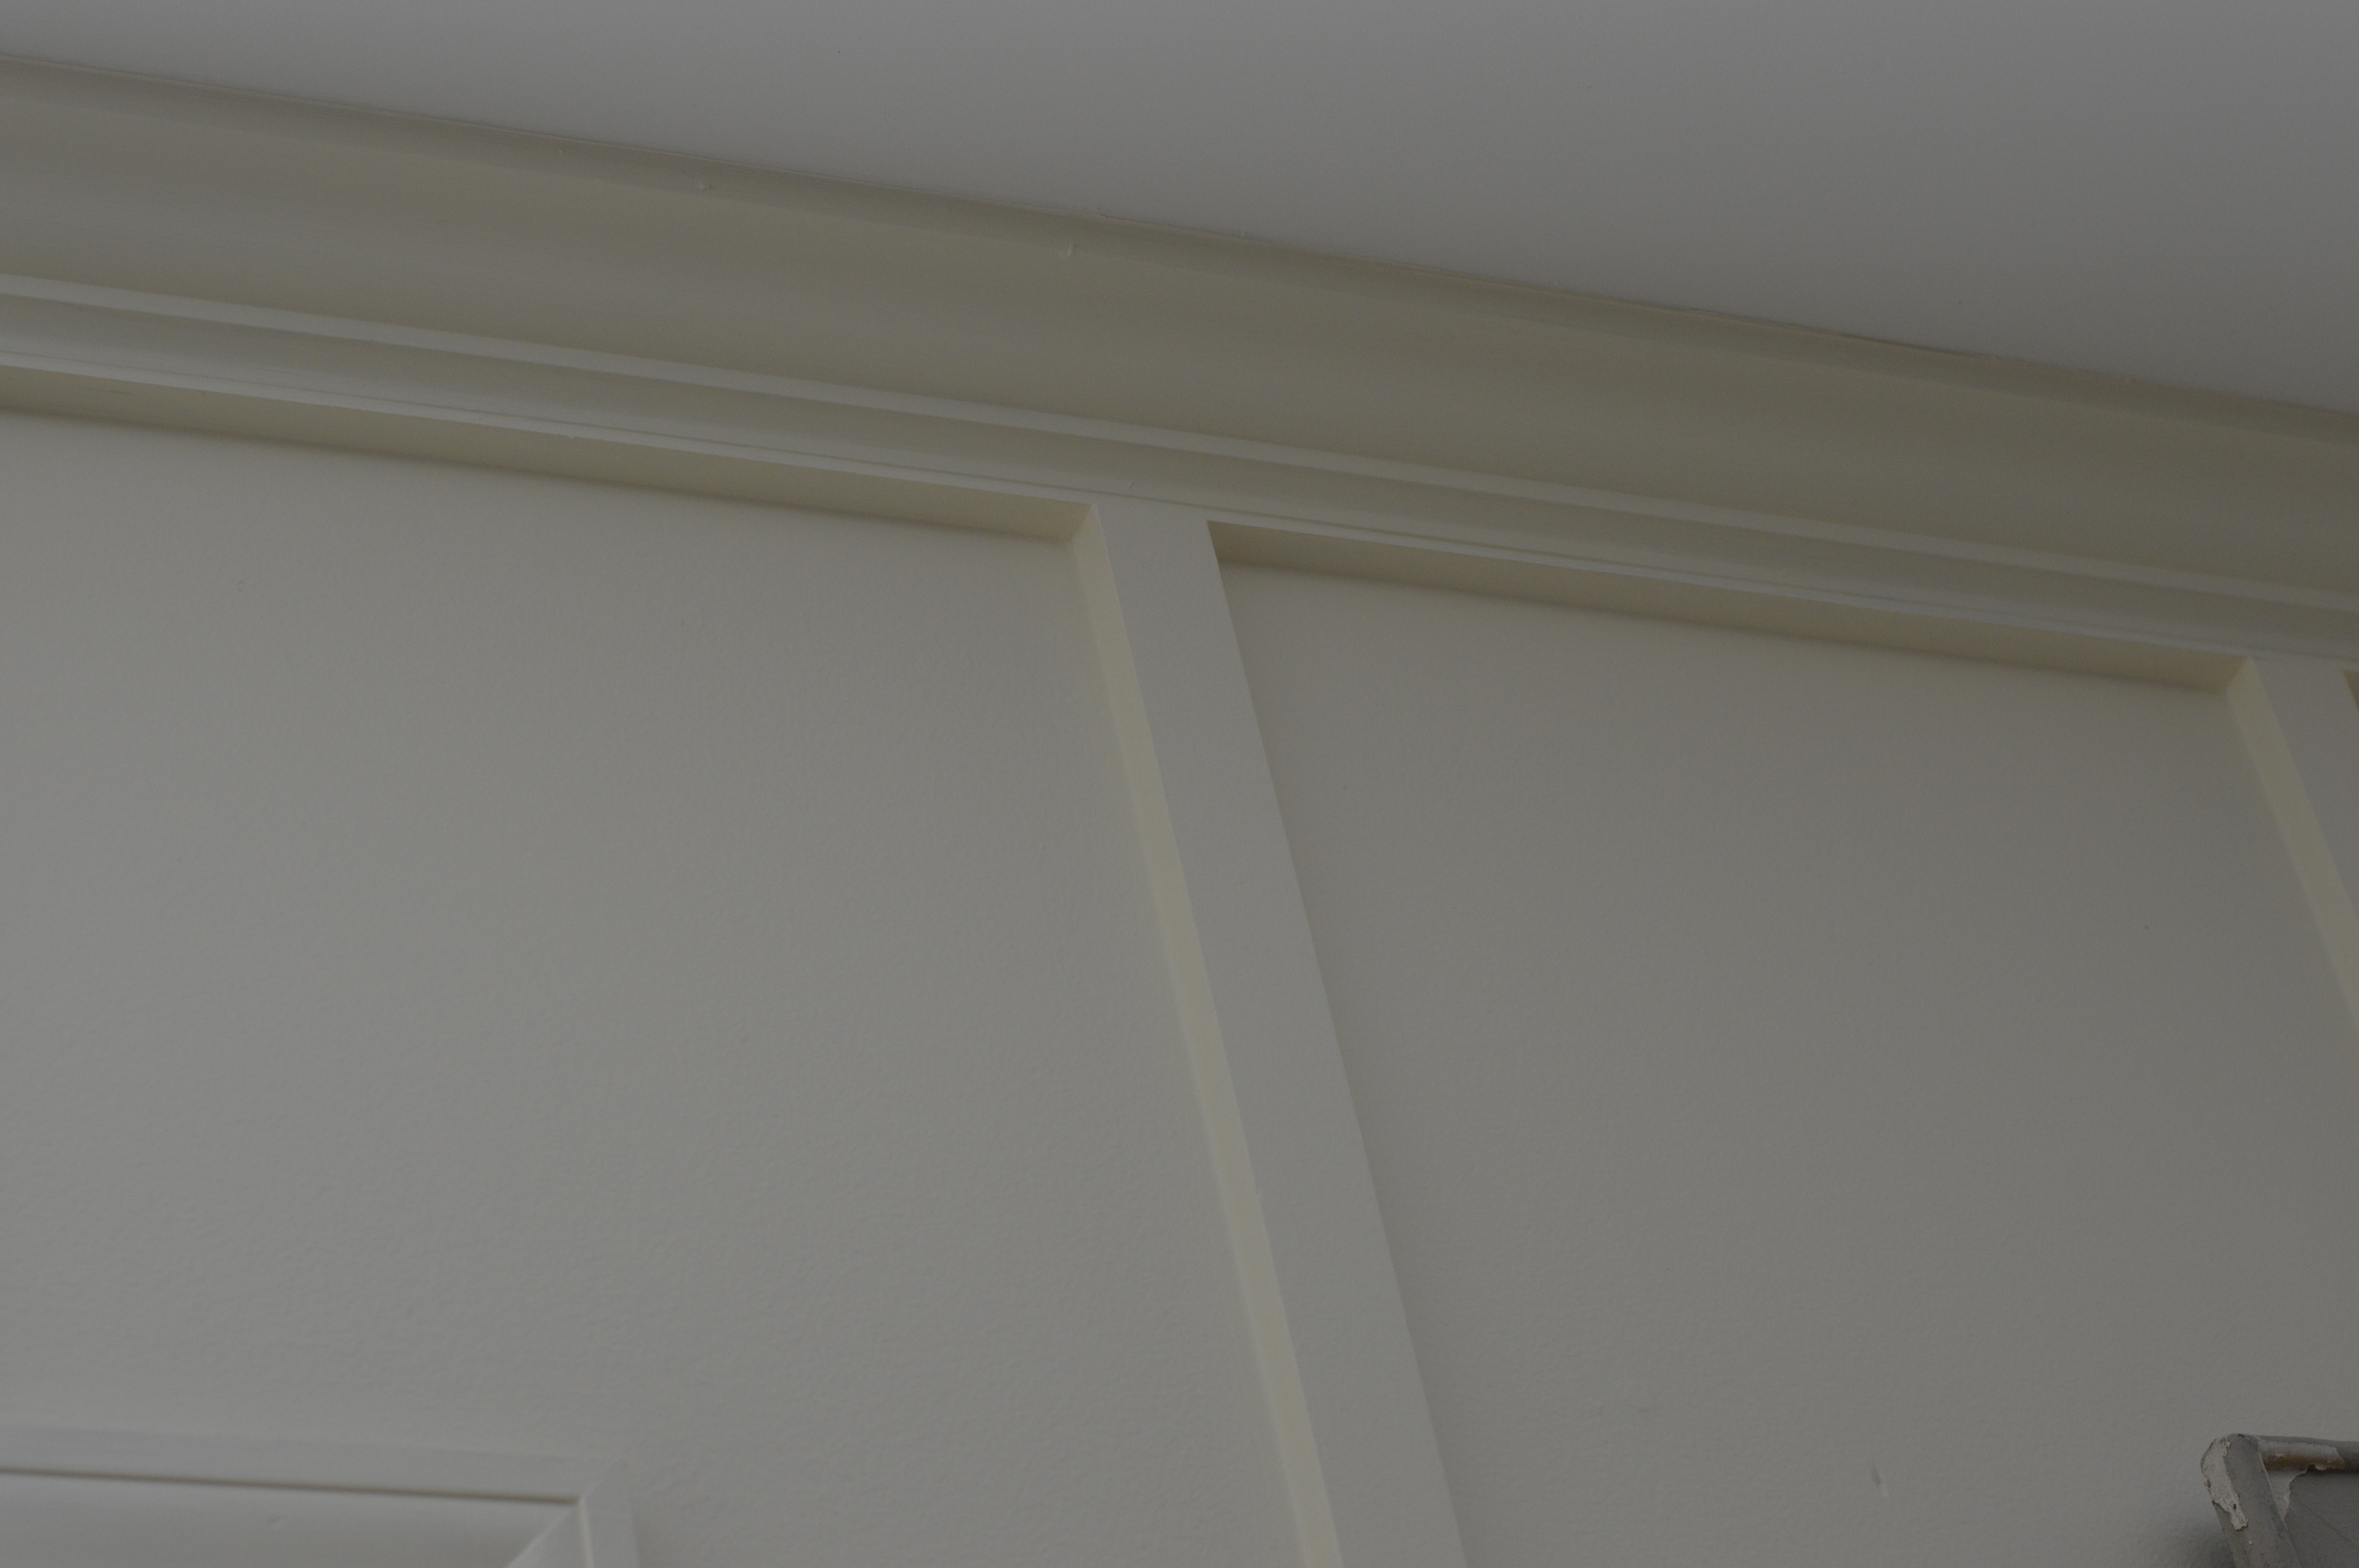
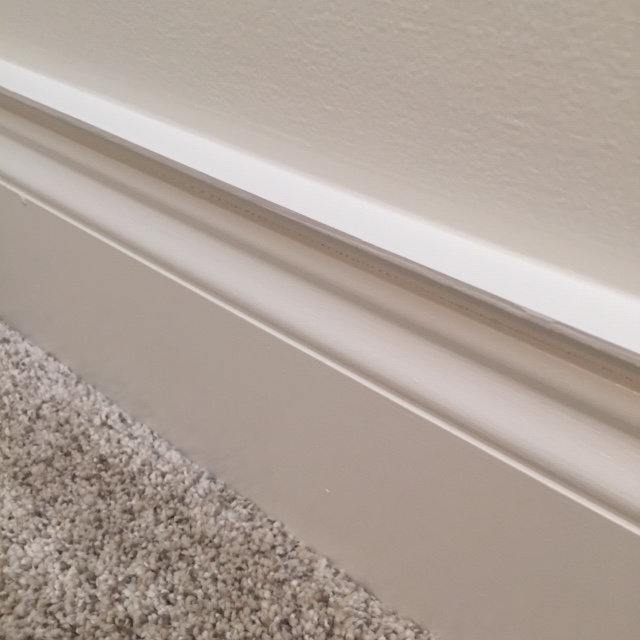
The first thing I had to do was add trim to the crown and baseboard on this wall that allowed for the MDF to bump up flush to the edge.

I used this product, cove moulding, from Home Depot.

Once it was painted to match the existing trim, it made the crown and baseboard look like a chunkier piece of trim.

See the before and after:

Notice how the after picture shows the MDF boards are flush to the added cove moulding?

After measuring the length of the wall, we determined an approximate number of 1×2 boards needed, 10 (4 of which were not full length due to the two windows) and approximately 15.5-16 inches apart.

The spacing had to be adjusted slightly because the wall length wasn’t 100% exact on either side of the windows. Thankfully, my mom was at the house when I was struggling to make these adjustments. Simple math sounded like the logical solution but then the boards weren’t centered evenly over the windows. Long story short, we finally worked out the spacing solution, adjusted when needed and overall, you don’t notice there are any differences in spacing between any of the MDF strips.

The BEST part about this project was getting to use my father-in-laws nail gun.

It’s not just any nail gun. It’s cordless, doesn’t require an air compressor and uses CO2 cartridges. (I’m going to need one for myself.) Most air compressors are loud so it was nice using this nail gun as I was DIYing this project during toddler naptime. The nail gun was fairly quiet, quiet enough to not wake said sleeping toddler.

If you’re in the market for a finish nailer. I encourage you consider this one as an option and compare as you won’t also have to buy an air compressor.

Simple Steps for adding board & batten when you have existing crown and baseboards that you don’t want to remove.

  1. Add cove moulding with a finish nailer to the length of the existing crown and baseboards.
  2. Caulk seams, putty nail holes with wood putty, let it dry then sand lightly with 220 grit block
  3. Now you can paint this newly updated trim and the wall the intended color of your accent wall. (I recommend doing this before adding the board & batten strips as it will make painting easier when they are added.)
  4. Add the first board and batten strip flush to the edge of the wall. Don’t worry about any gaps that may exist due to wall inconsistencies, you will be caulking this prior to painting once the strips are up.
  5. Measure out spacing for each strip of your board and batten.
  6. Add liquid nails to the back of the strips, then nail to the wall using your finish nailer. Liquid nails are recommended as you likely won’t be adding each strip where the studs are located.
  7. After adding each board, fill holes with wood putty, caulk all seams at the added boards and wall (you want to do this to fill any gaps that may exist), wait to dry, sand puttied holes then vacuum up all debris.
  8. Now you’re ready for paint! If you painted the wall the accent color prior to adding the B&B strips, you’ll just have to paint the seams and newly added trim.

In full transparency, it’s been a lot of work updating this room soley because of my project to repaint ALL of our bedroom furniture. It’s an easy process, just time consuming due to the coats of paint and polycrylic finish.

In the end, all of the labor is worth it. You eventually forget about how much it hurts during the process, then you do it all over again for the next project.

I want to hear if you are planning to add an accent wall. Share in comments if you’re adding a pattern or keeping it classic with a floor to ceiling board and batten addition.

Featured

Birthday Party Themes for Boys

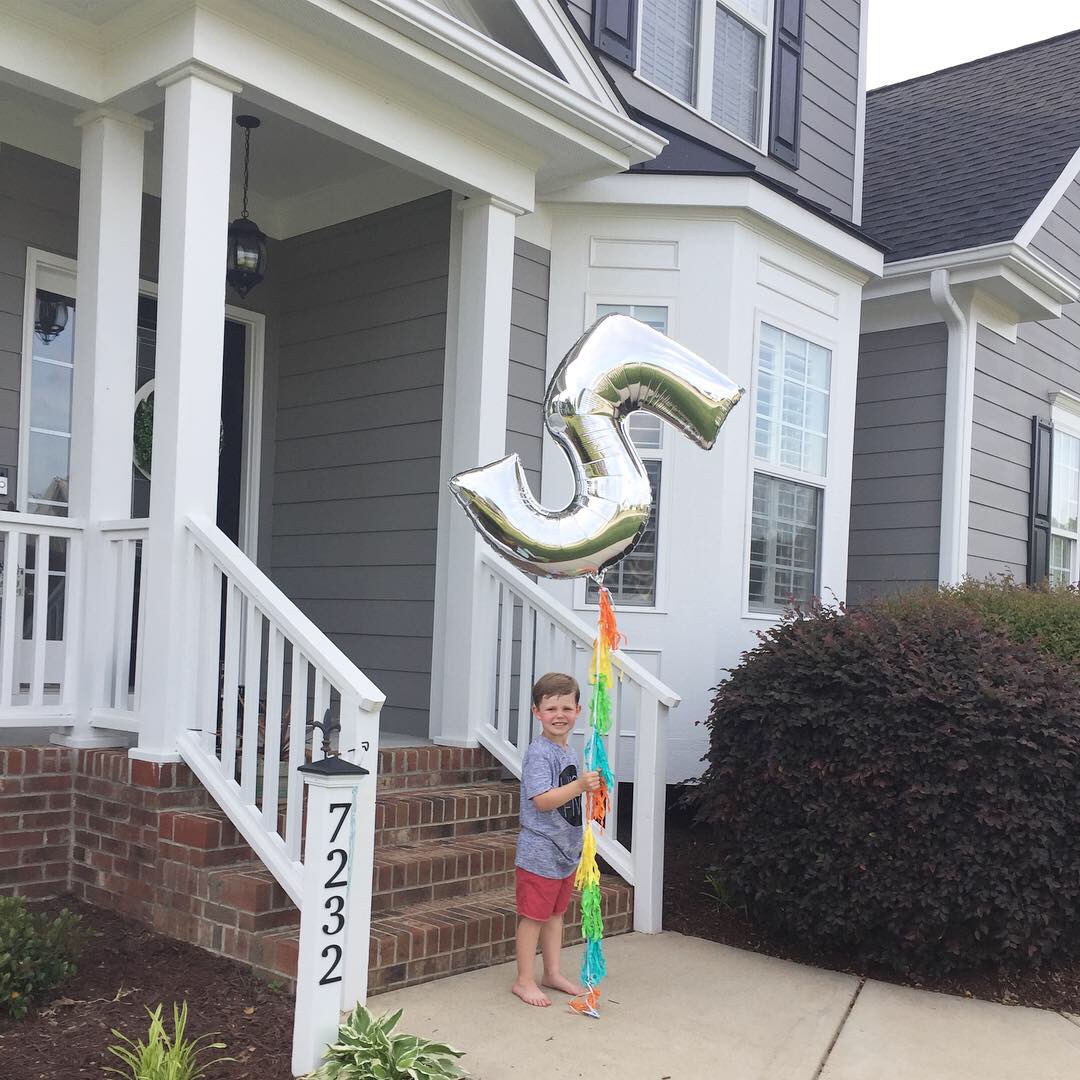
Admittedly, I was “that” mom who planned out a Pinterest worthy themed party for our first borns 1st birthday. Yes, it is something to celebrate but in hindsight, I realize he remembers nothing. My strategy for every party moving forward has been to keep things simple and family only until his 5th Birthday came around.

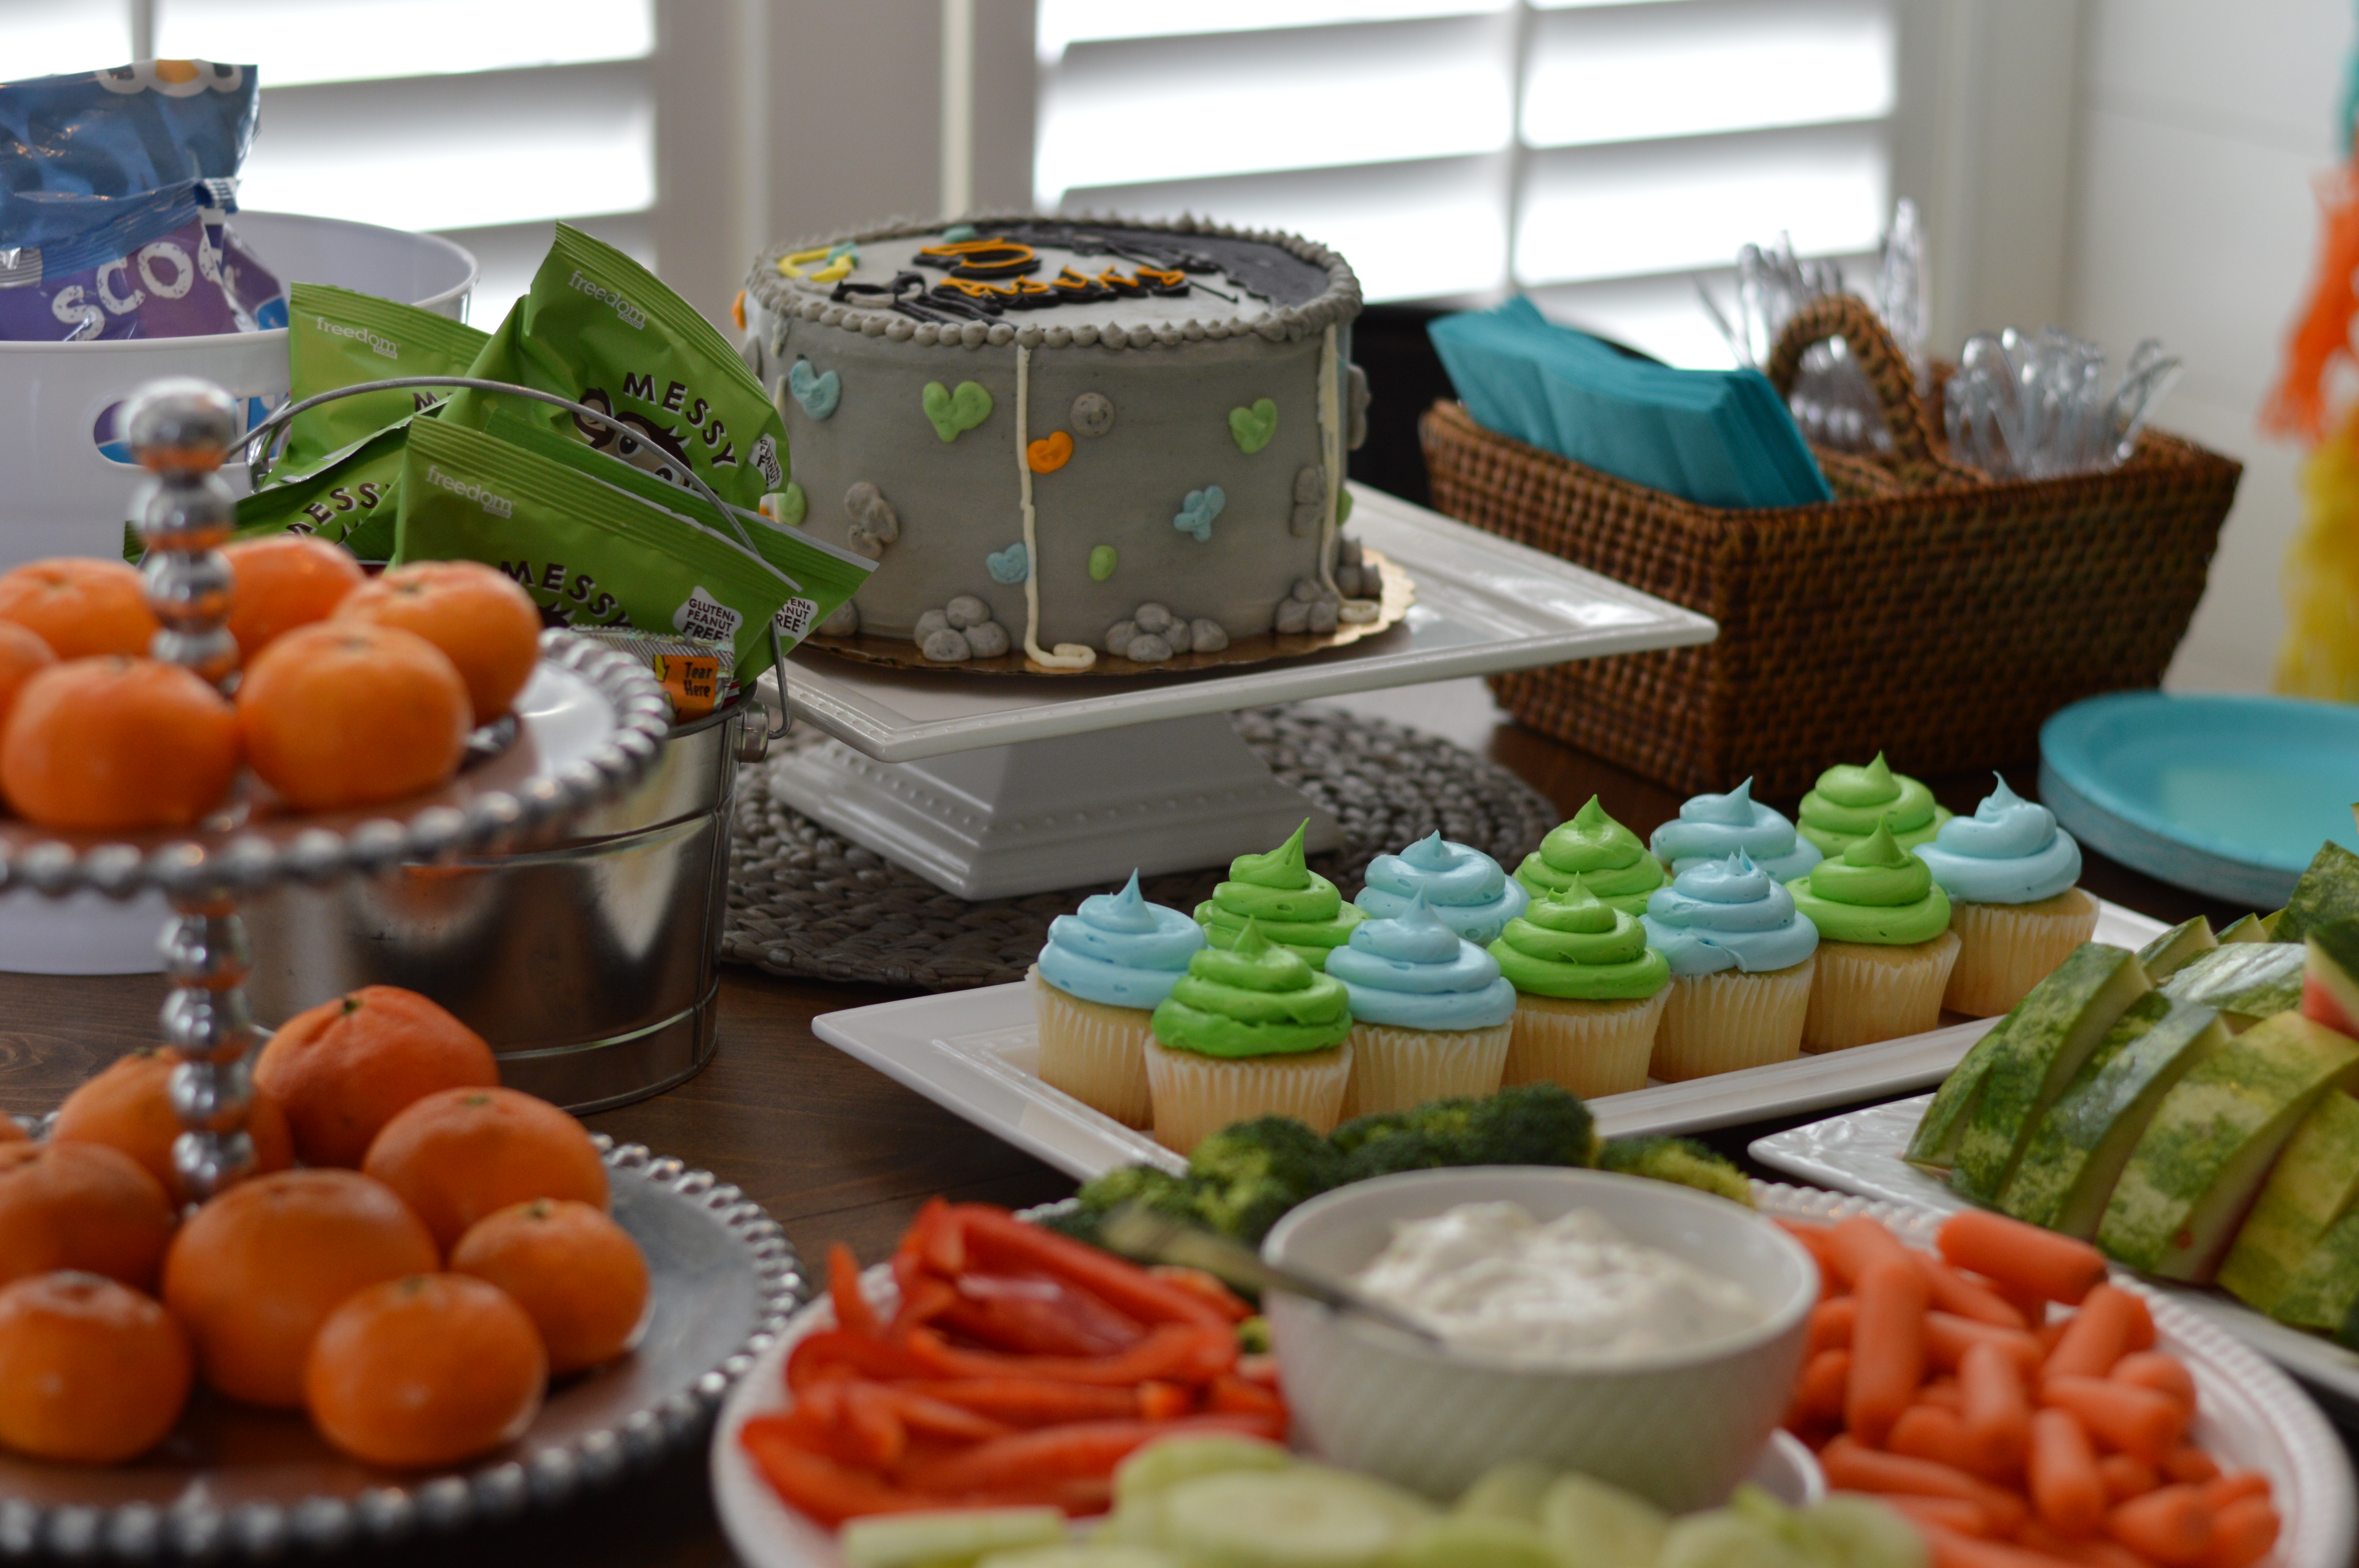
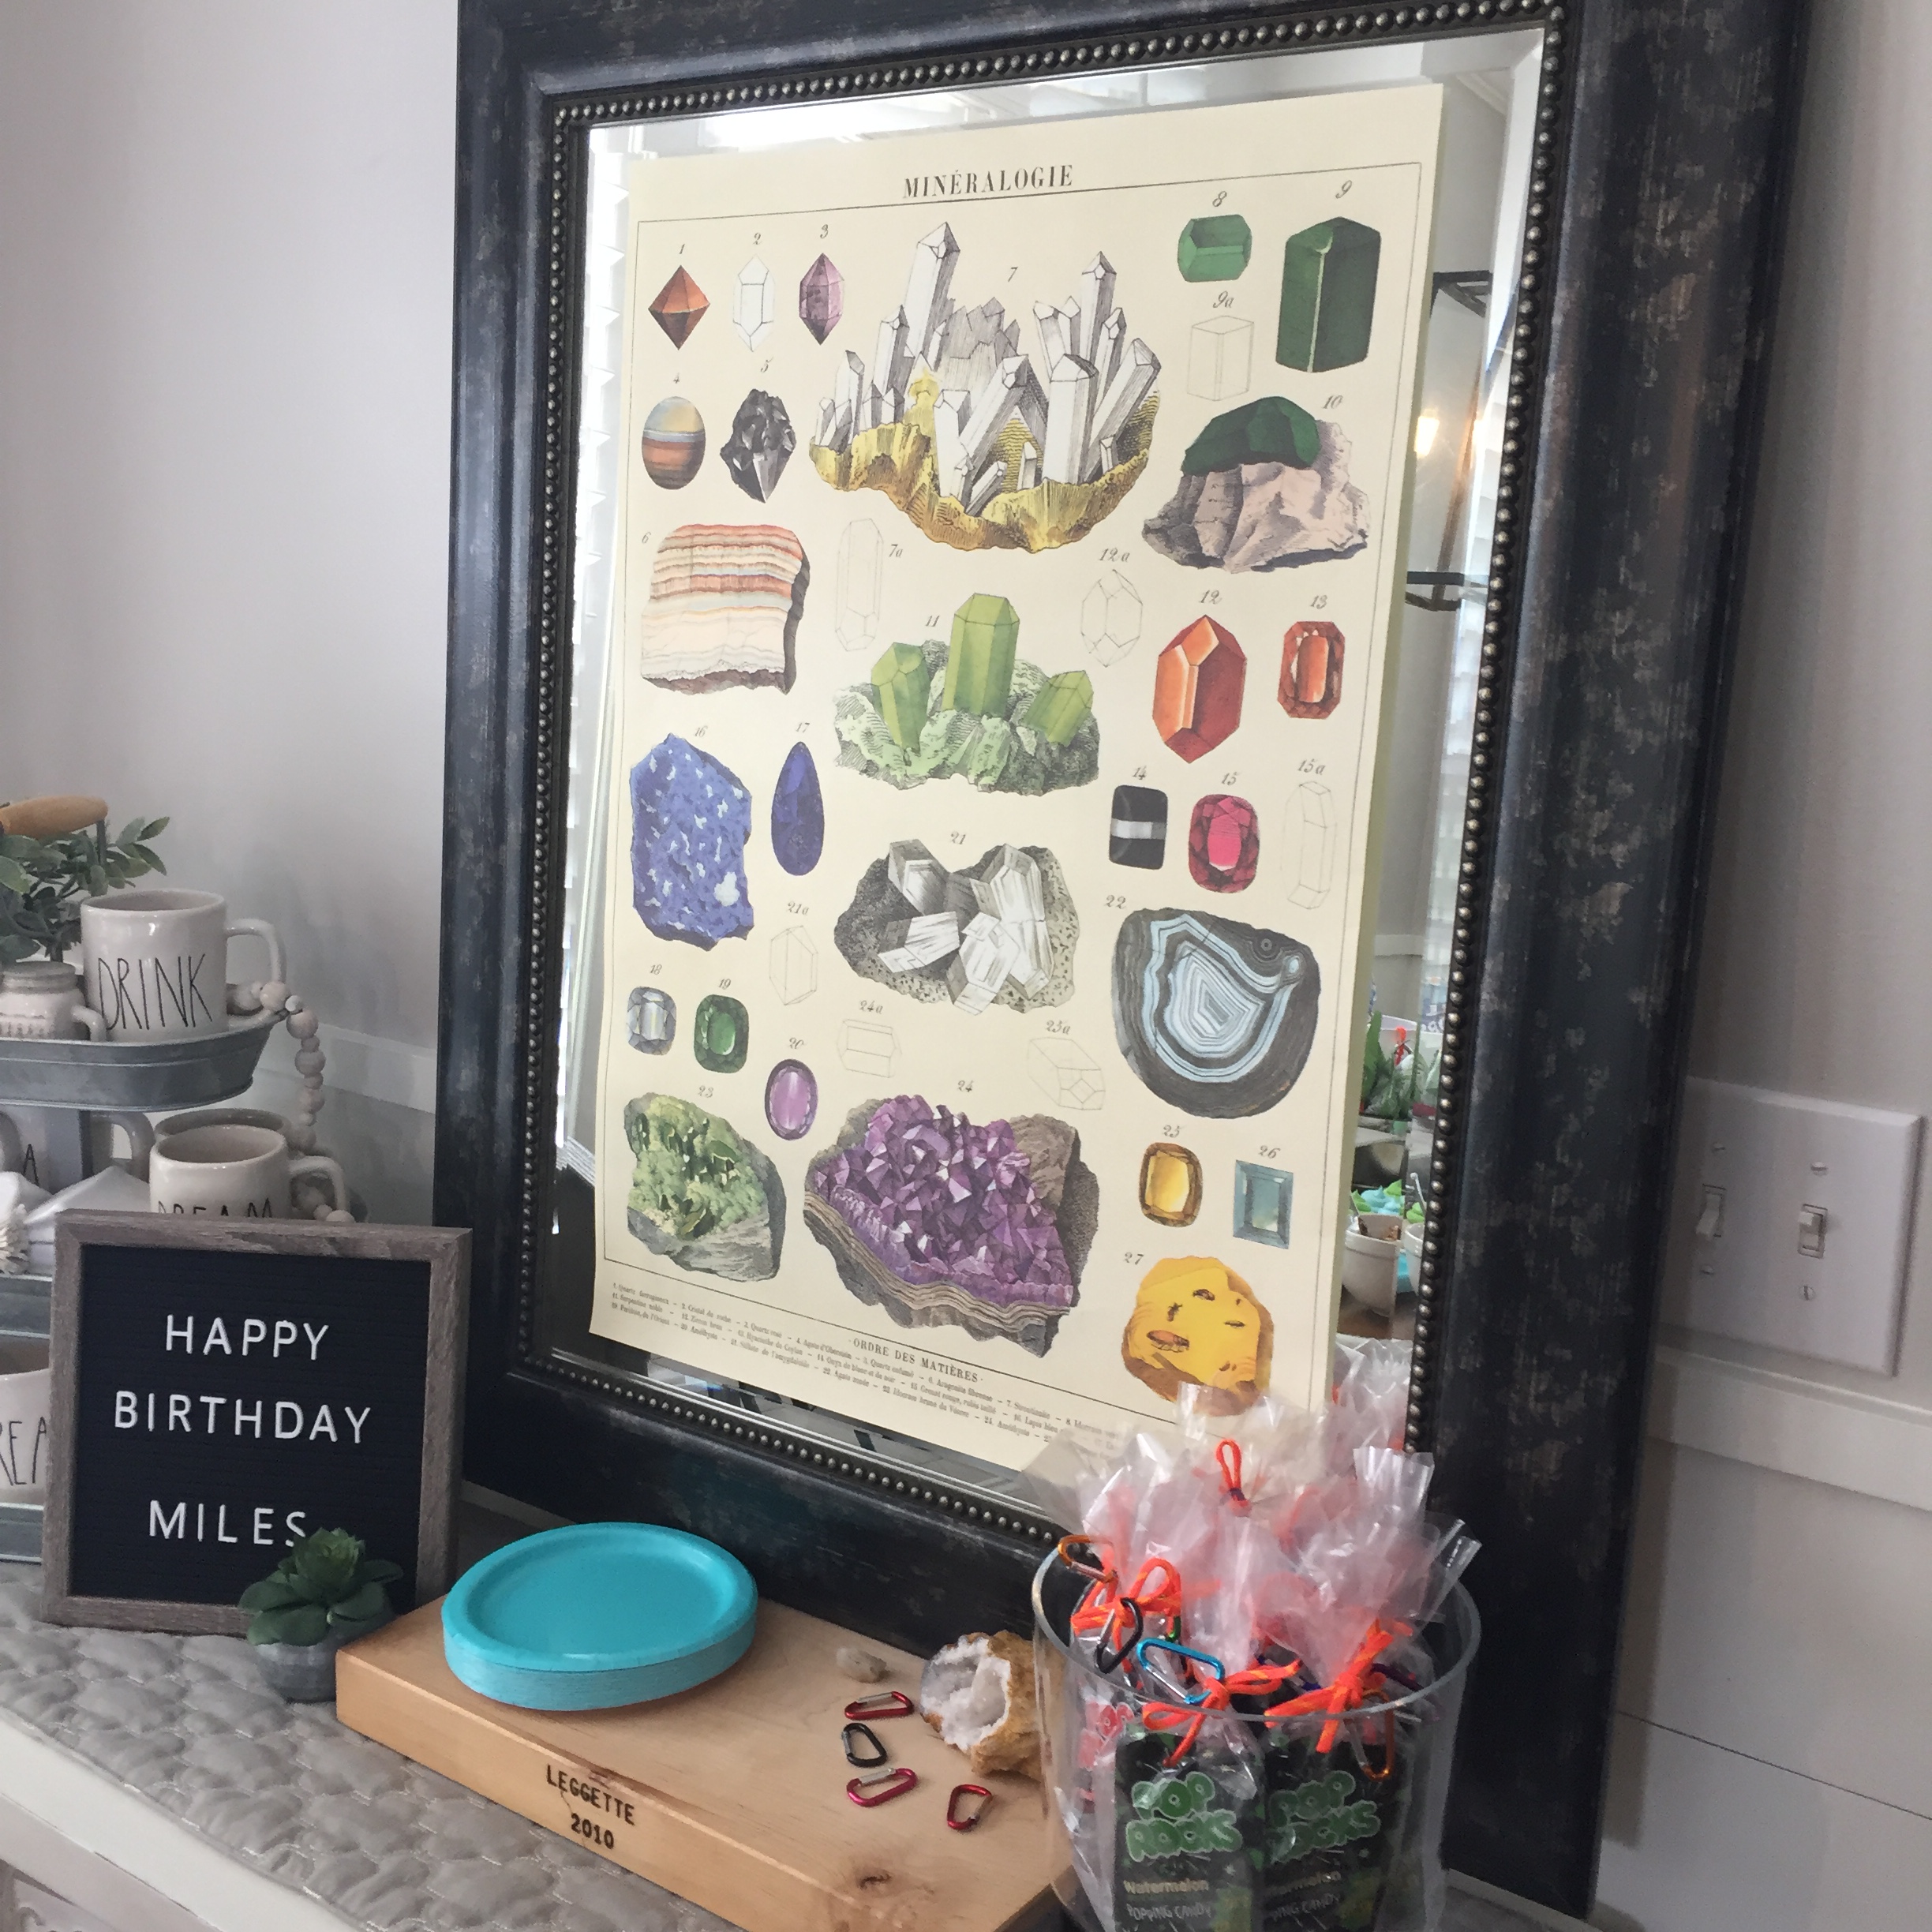
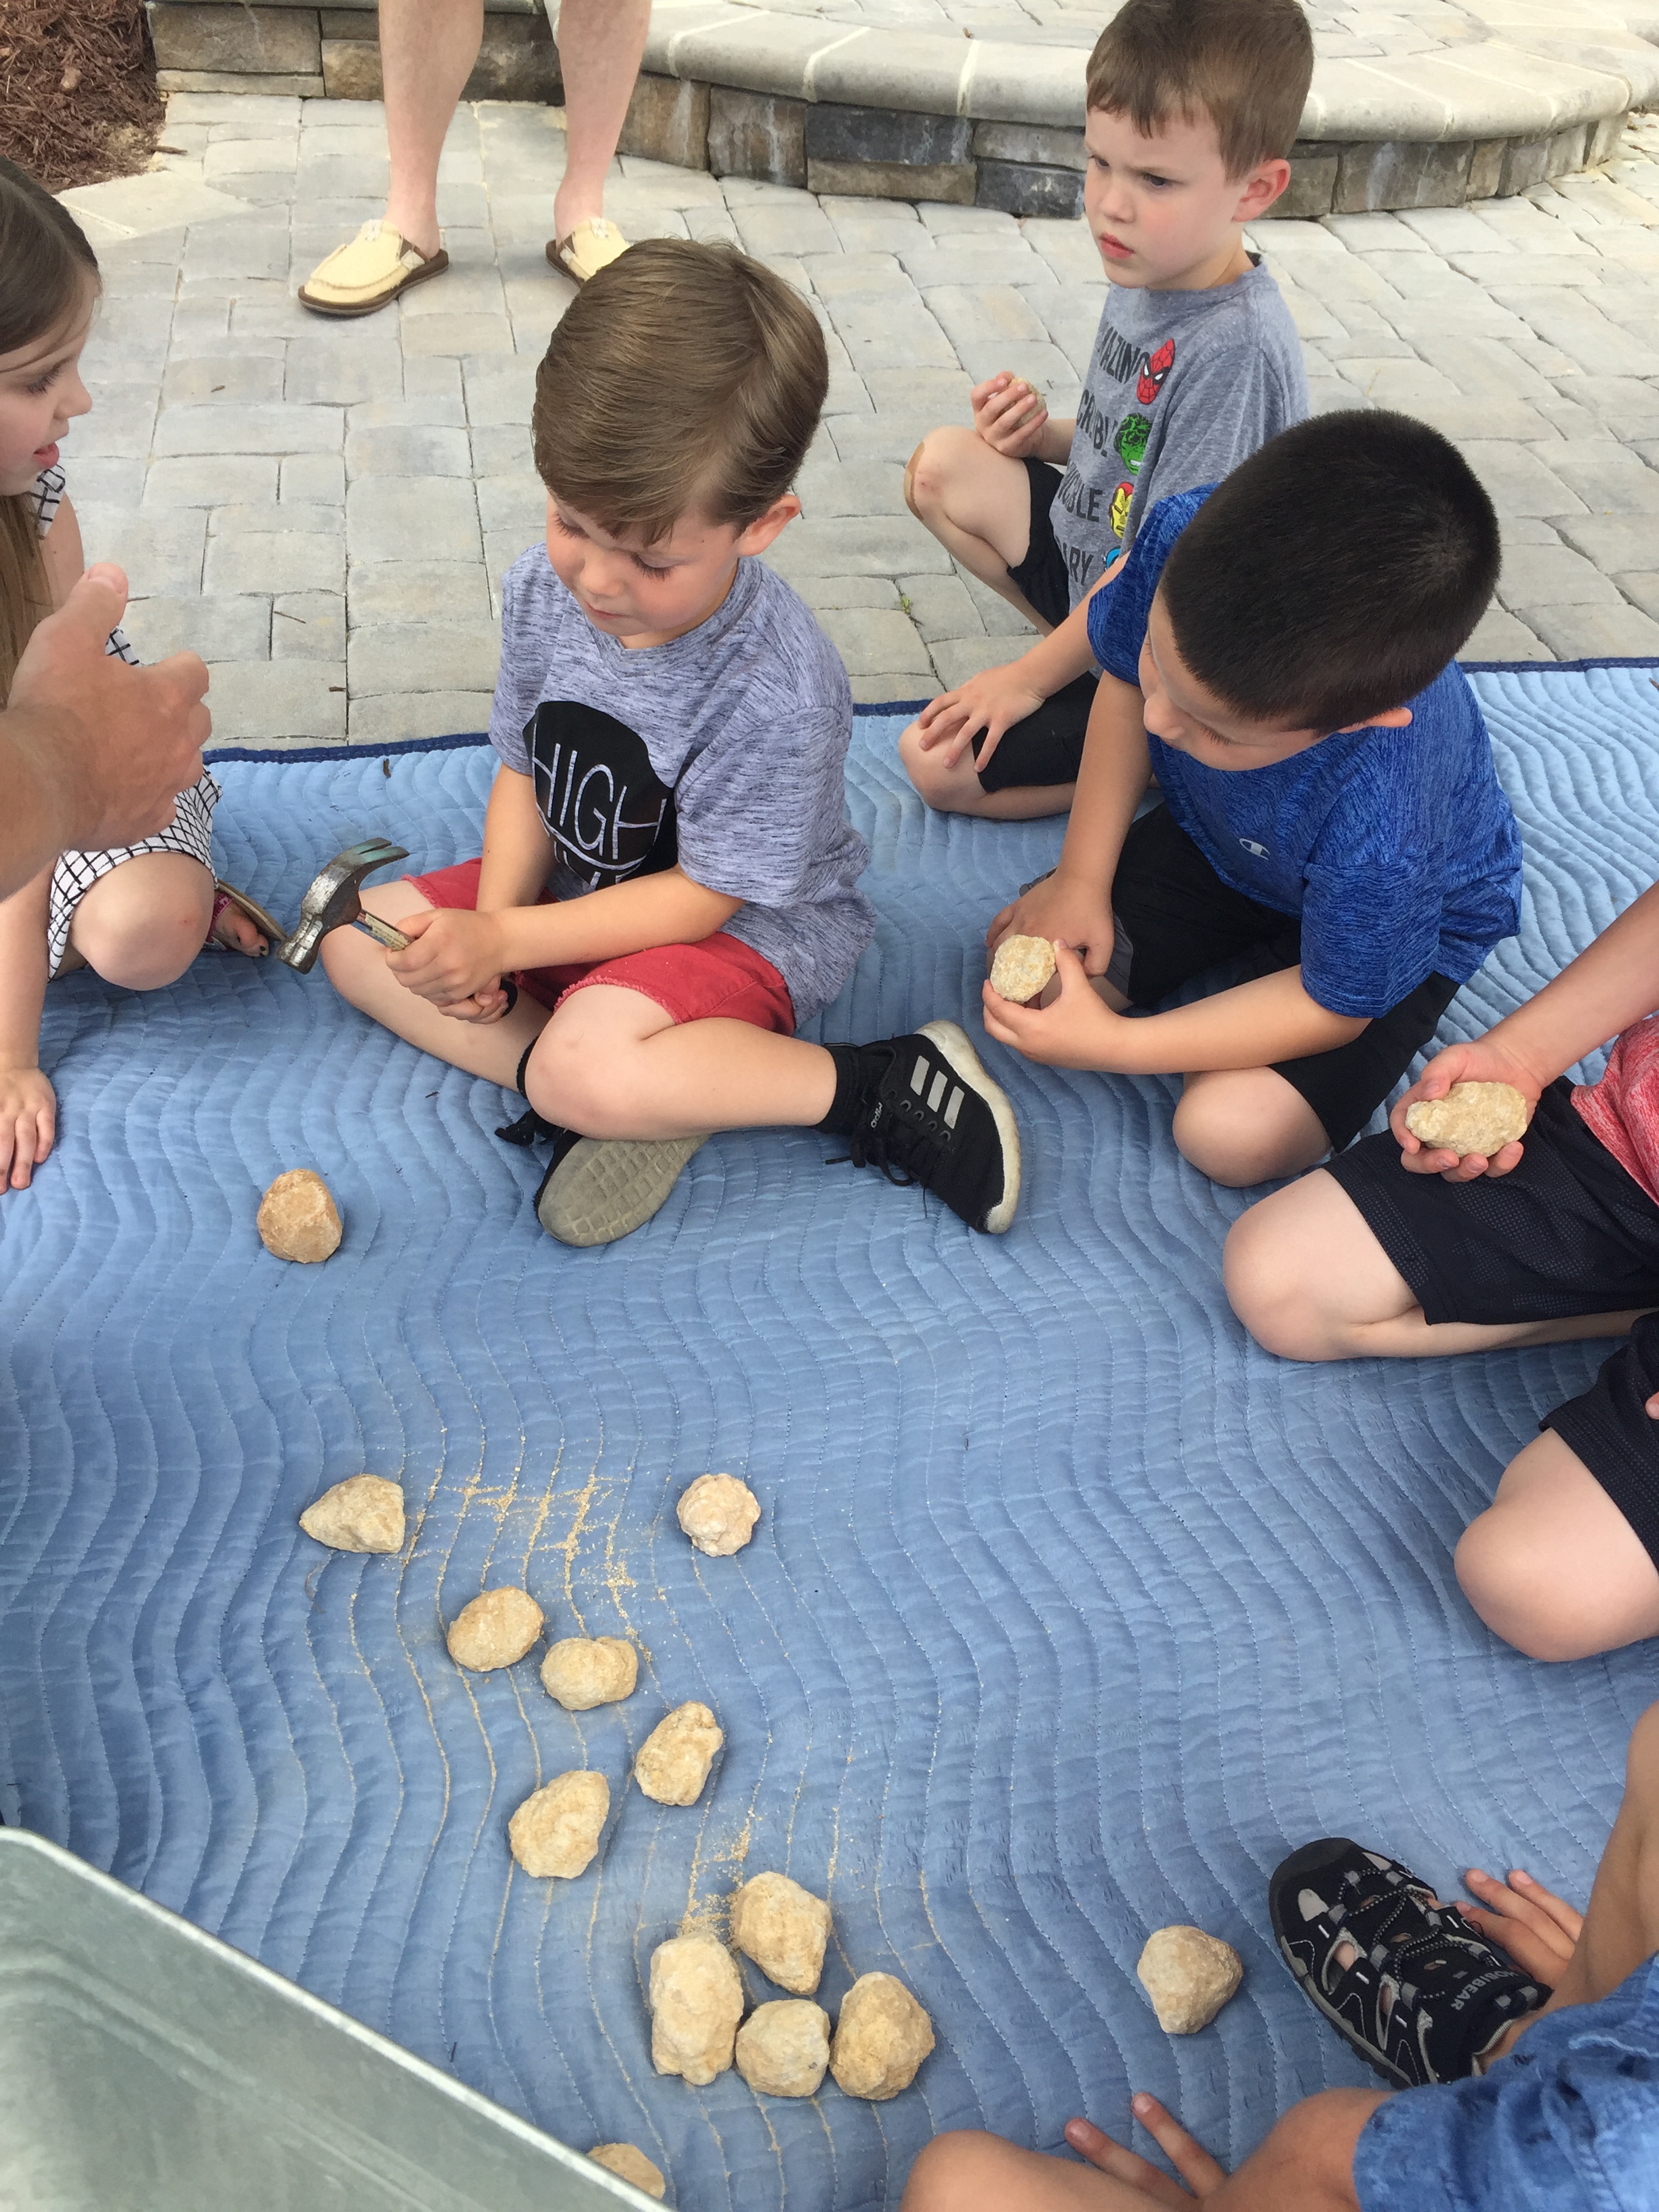
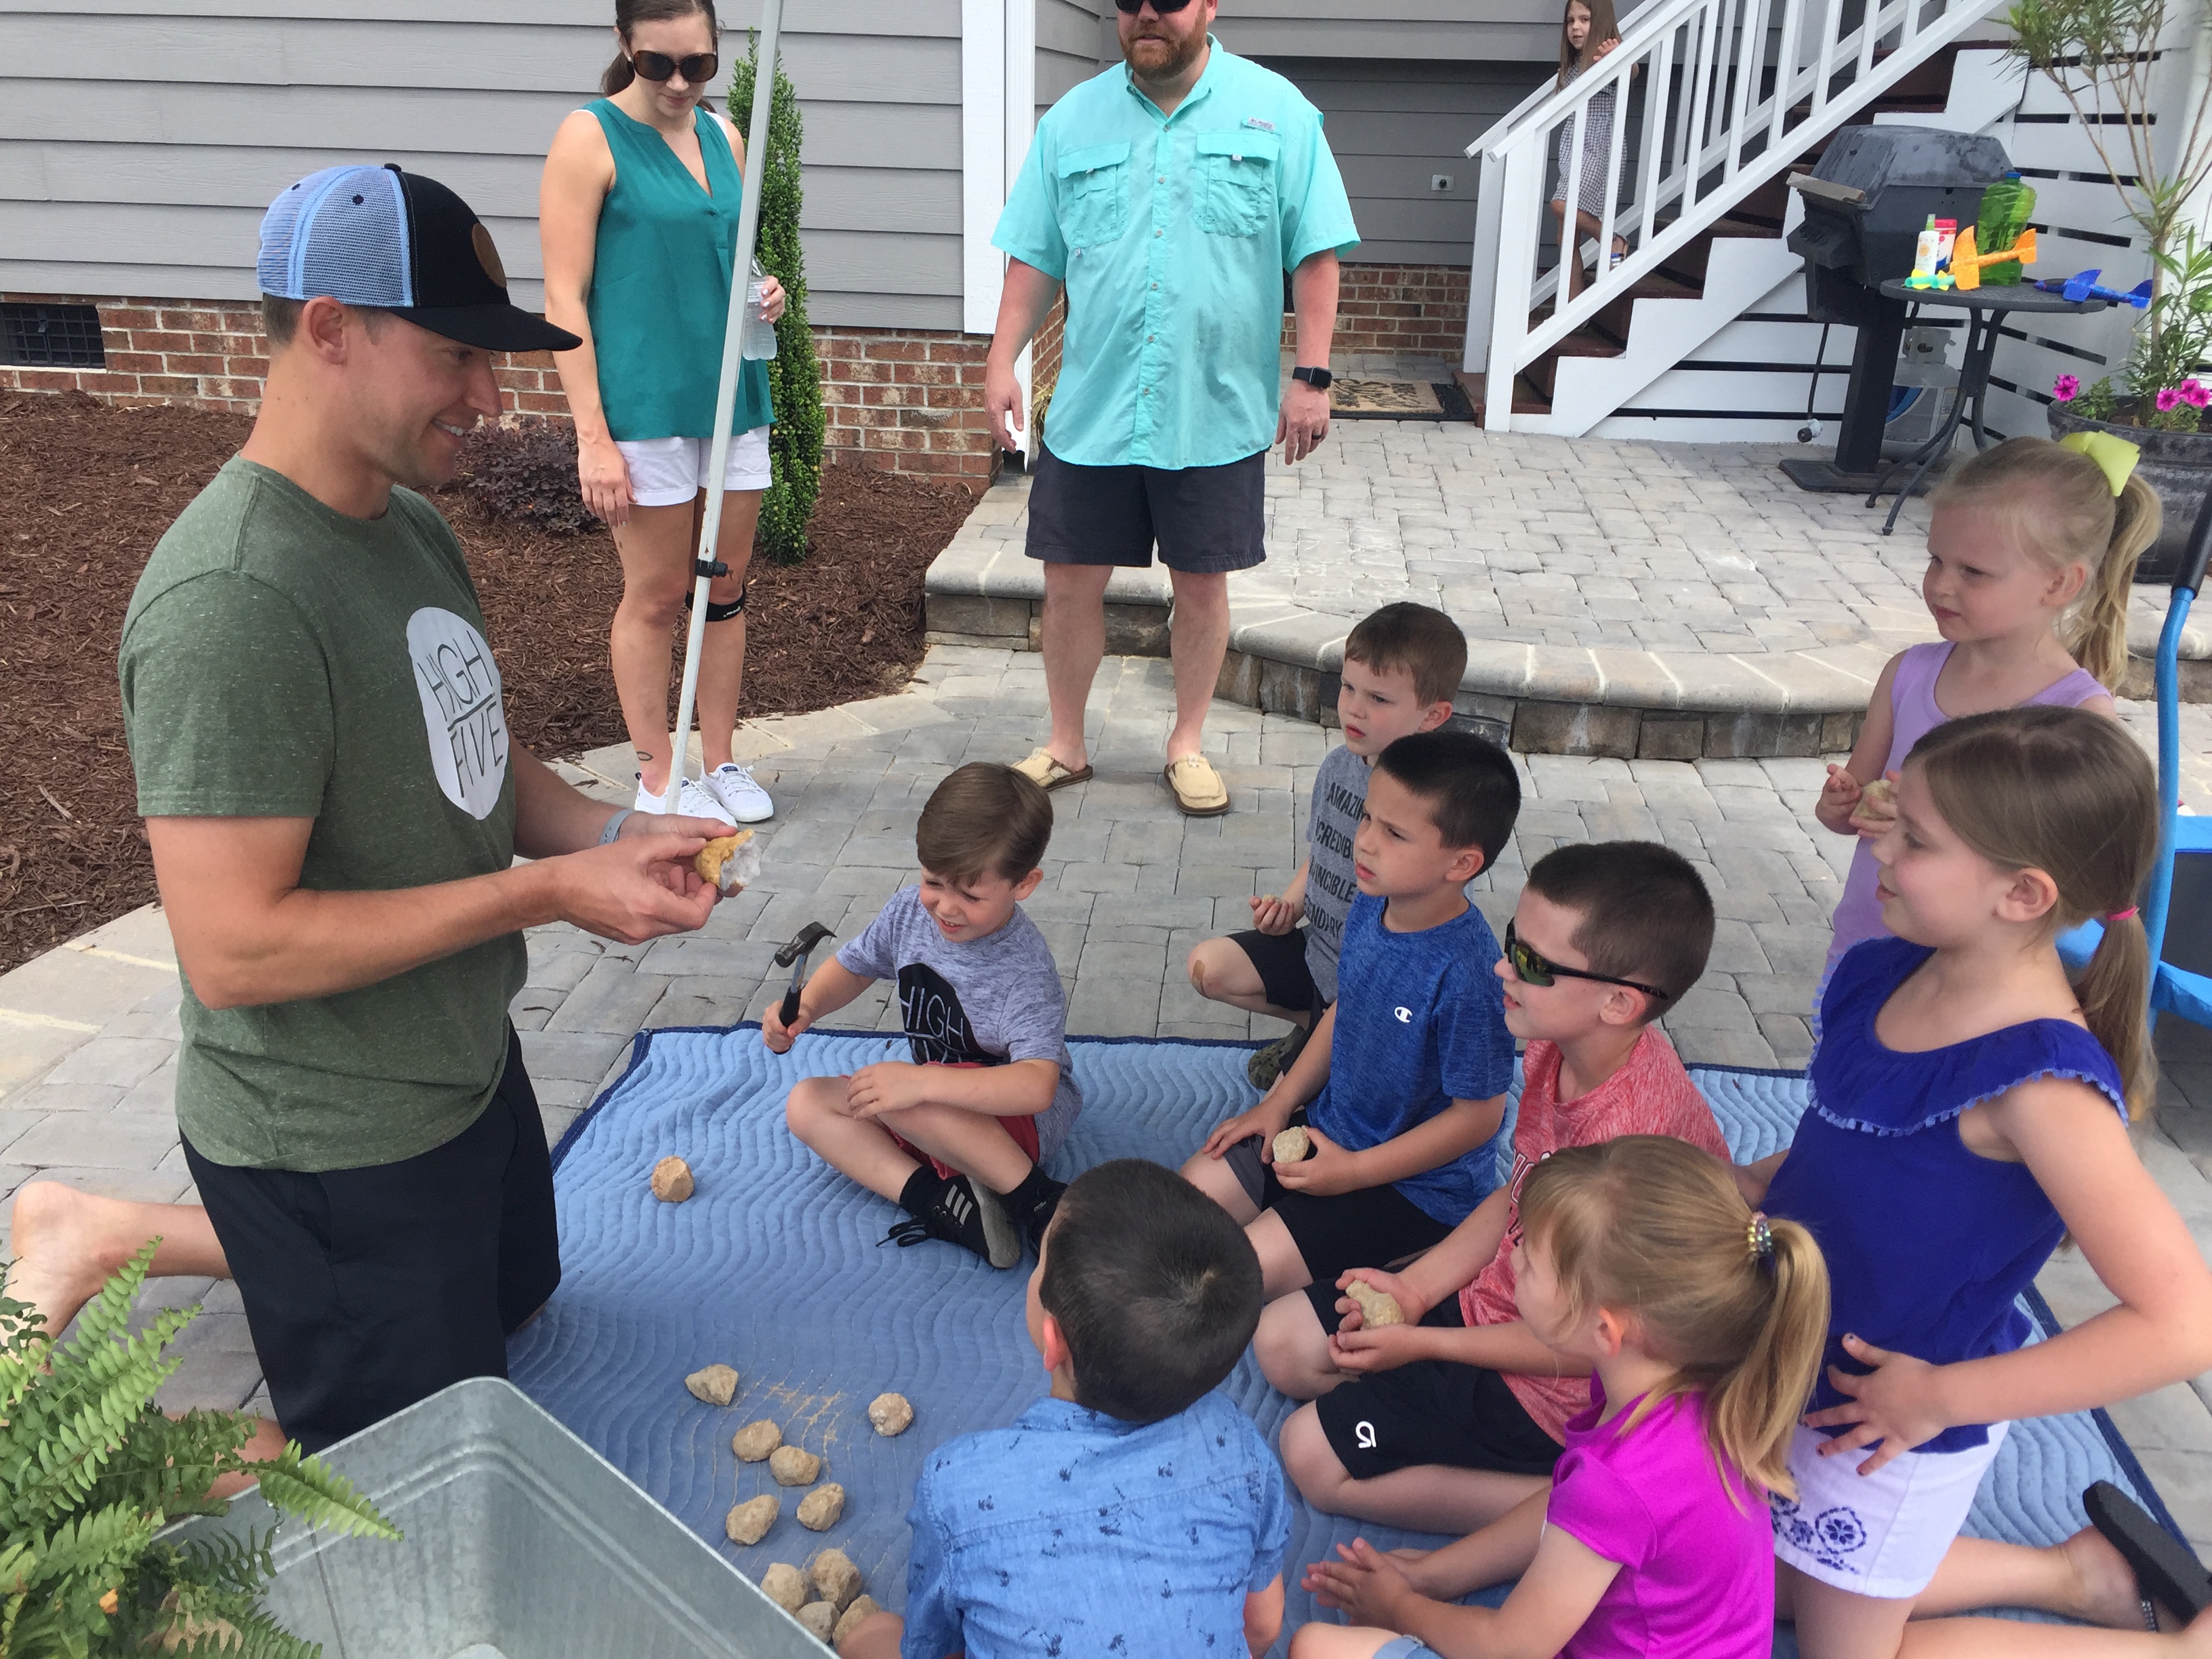
By 5, he had established a good group of friends and wanted to include them in his party (but only deciding so until the last minute). This Rock Party theme was pulled together in 1 weeks time. If you’re looking for a quick last minute party idea for a little boy, this is it.

I’m also sharing additional party themes we used in years past in hopes that you will get inspo and ideas to tailor for your kiddo.

Theme was derived from our boys LOVE of the outdoors, needing to collect every shiny & unique rock for his growing collection, and all things outdoors. A quick search on Pinterest and I knew what to do.

Materials:

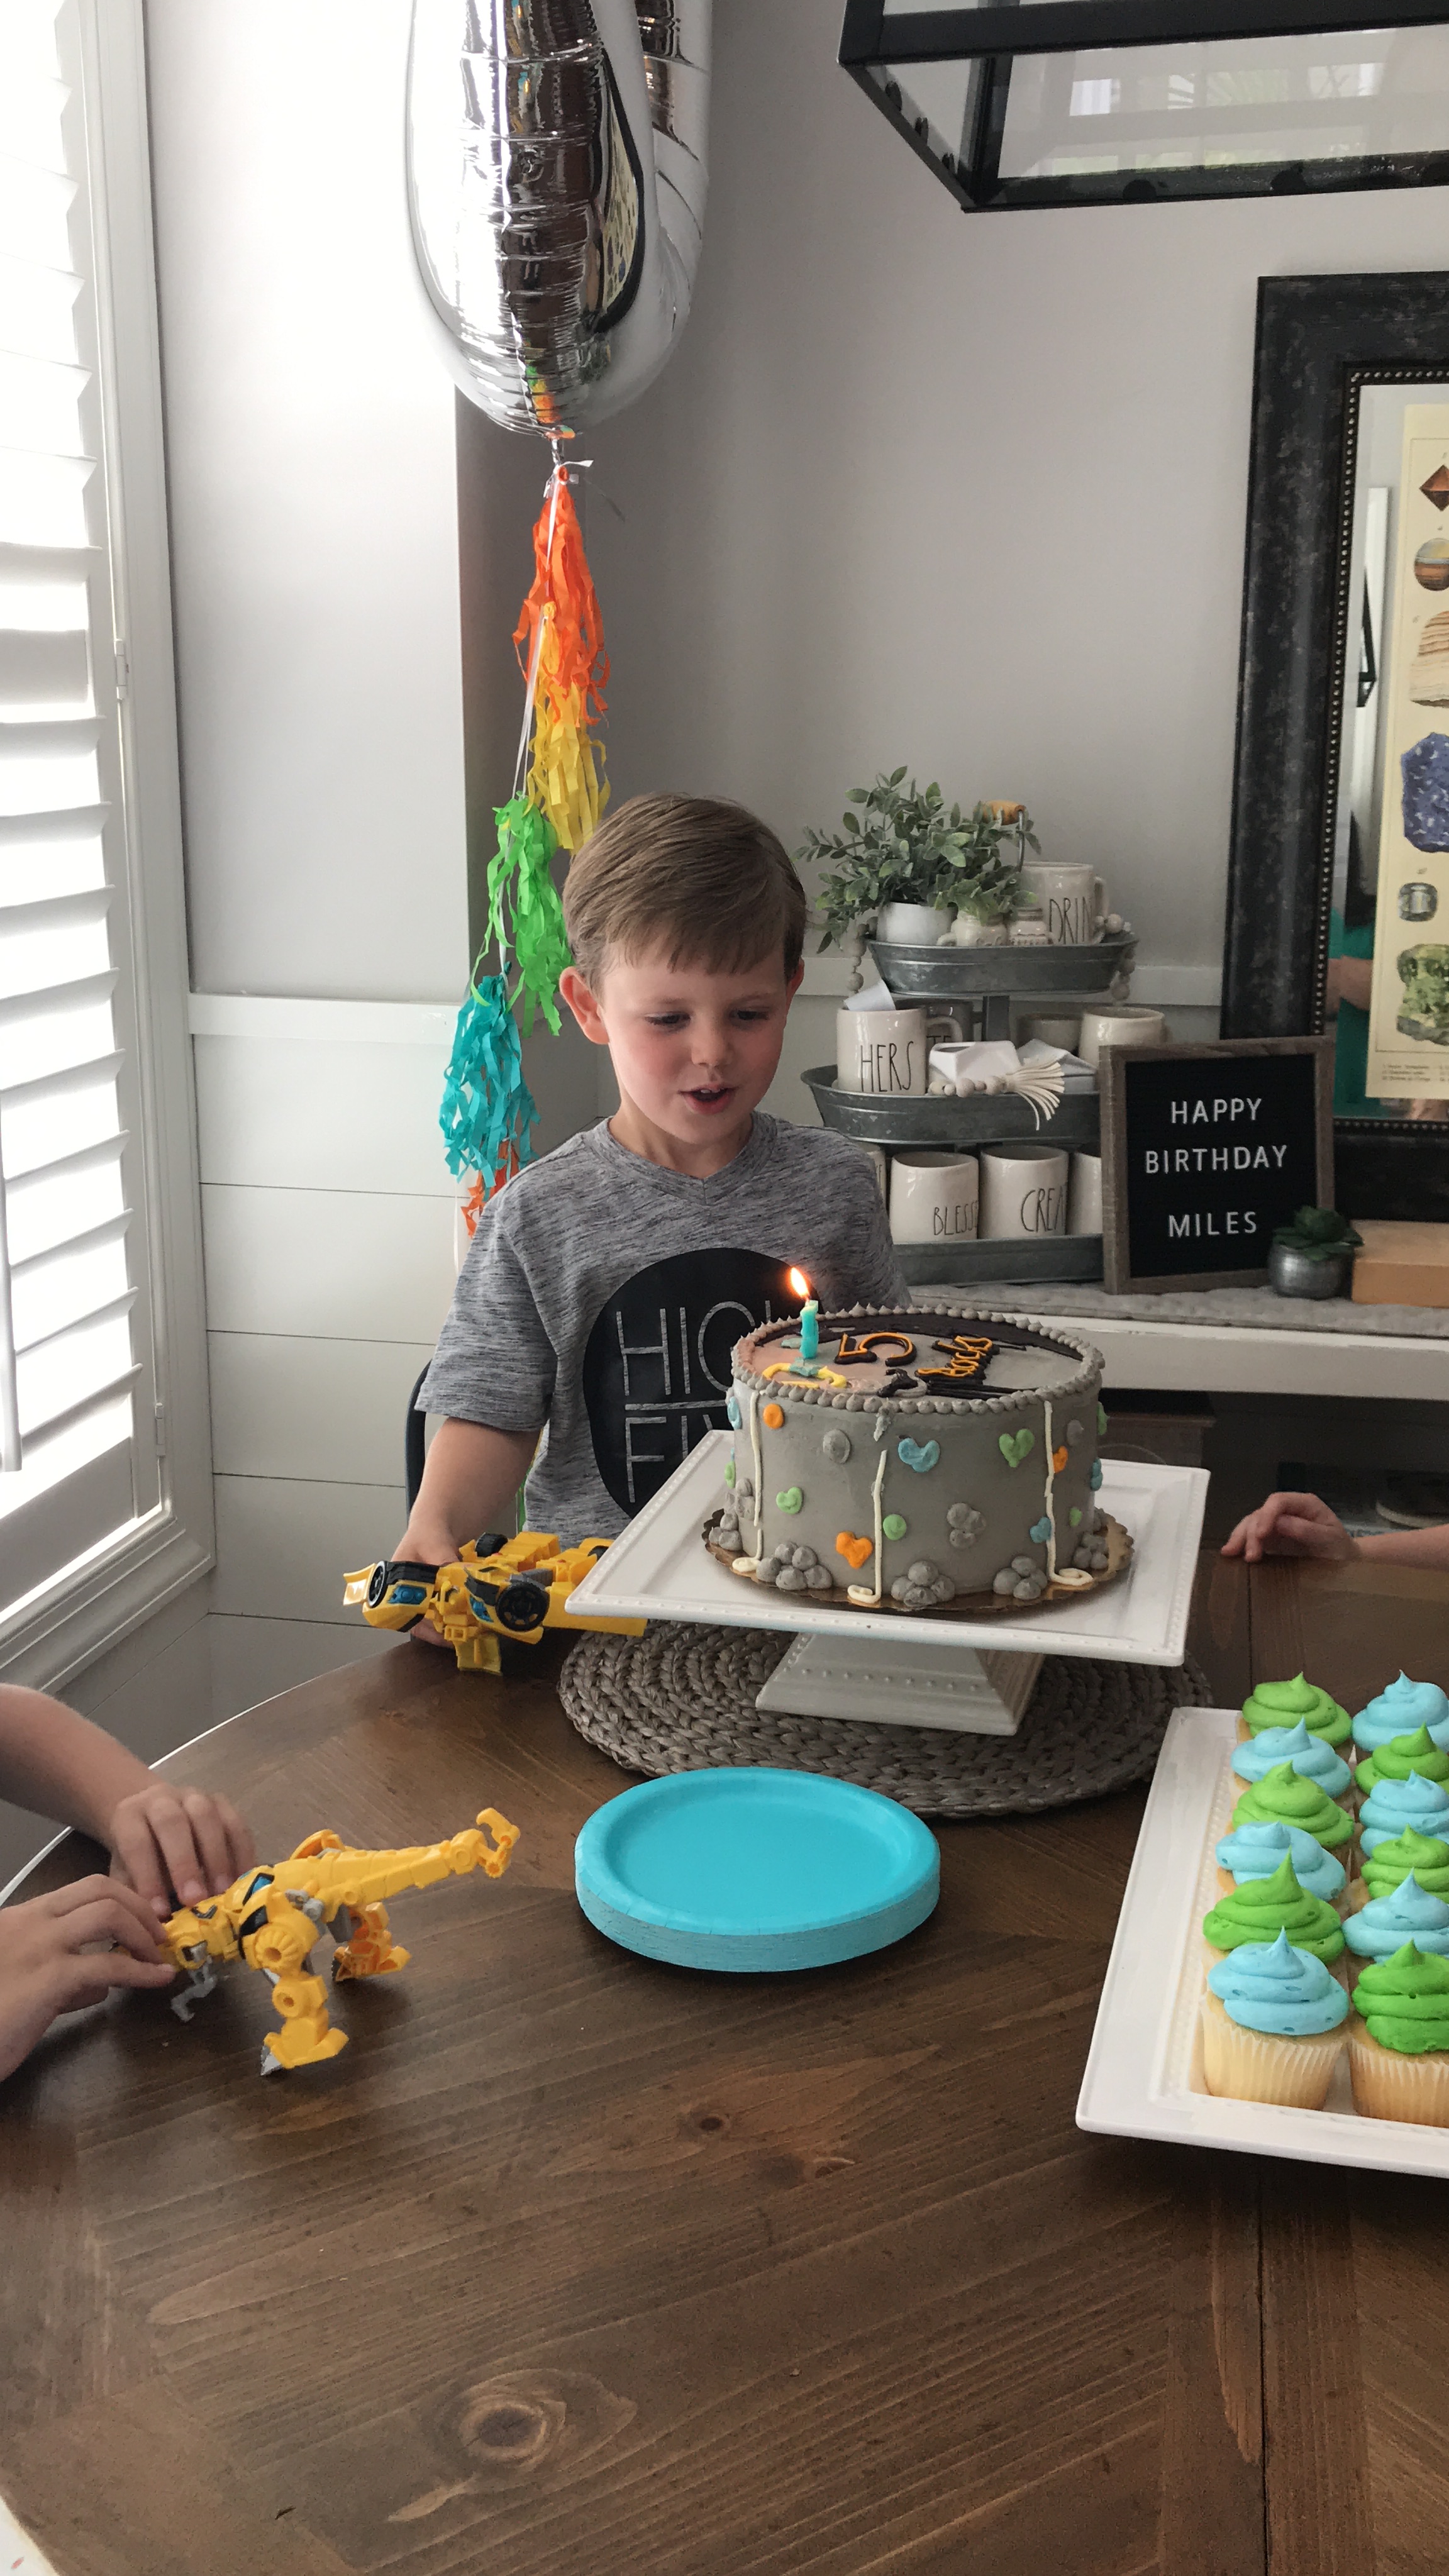
  • Rock Climbing Themed Cake (Wholefoods is where it’s at people.) We have used them for 5 years and they always deliver, and for a price that I’m willing to pay for a delicious and beautifully decorated cake. We’ve never paid more than $35.
  • Rock – Mineral Poster: Loved this one from Retro Planet. $6.99 – DONE
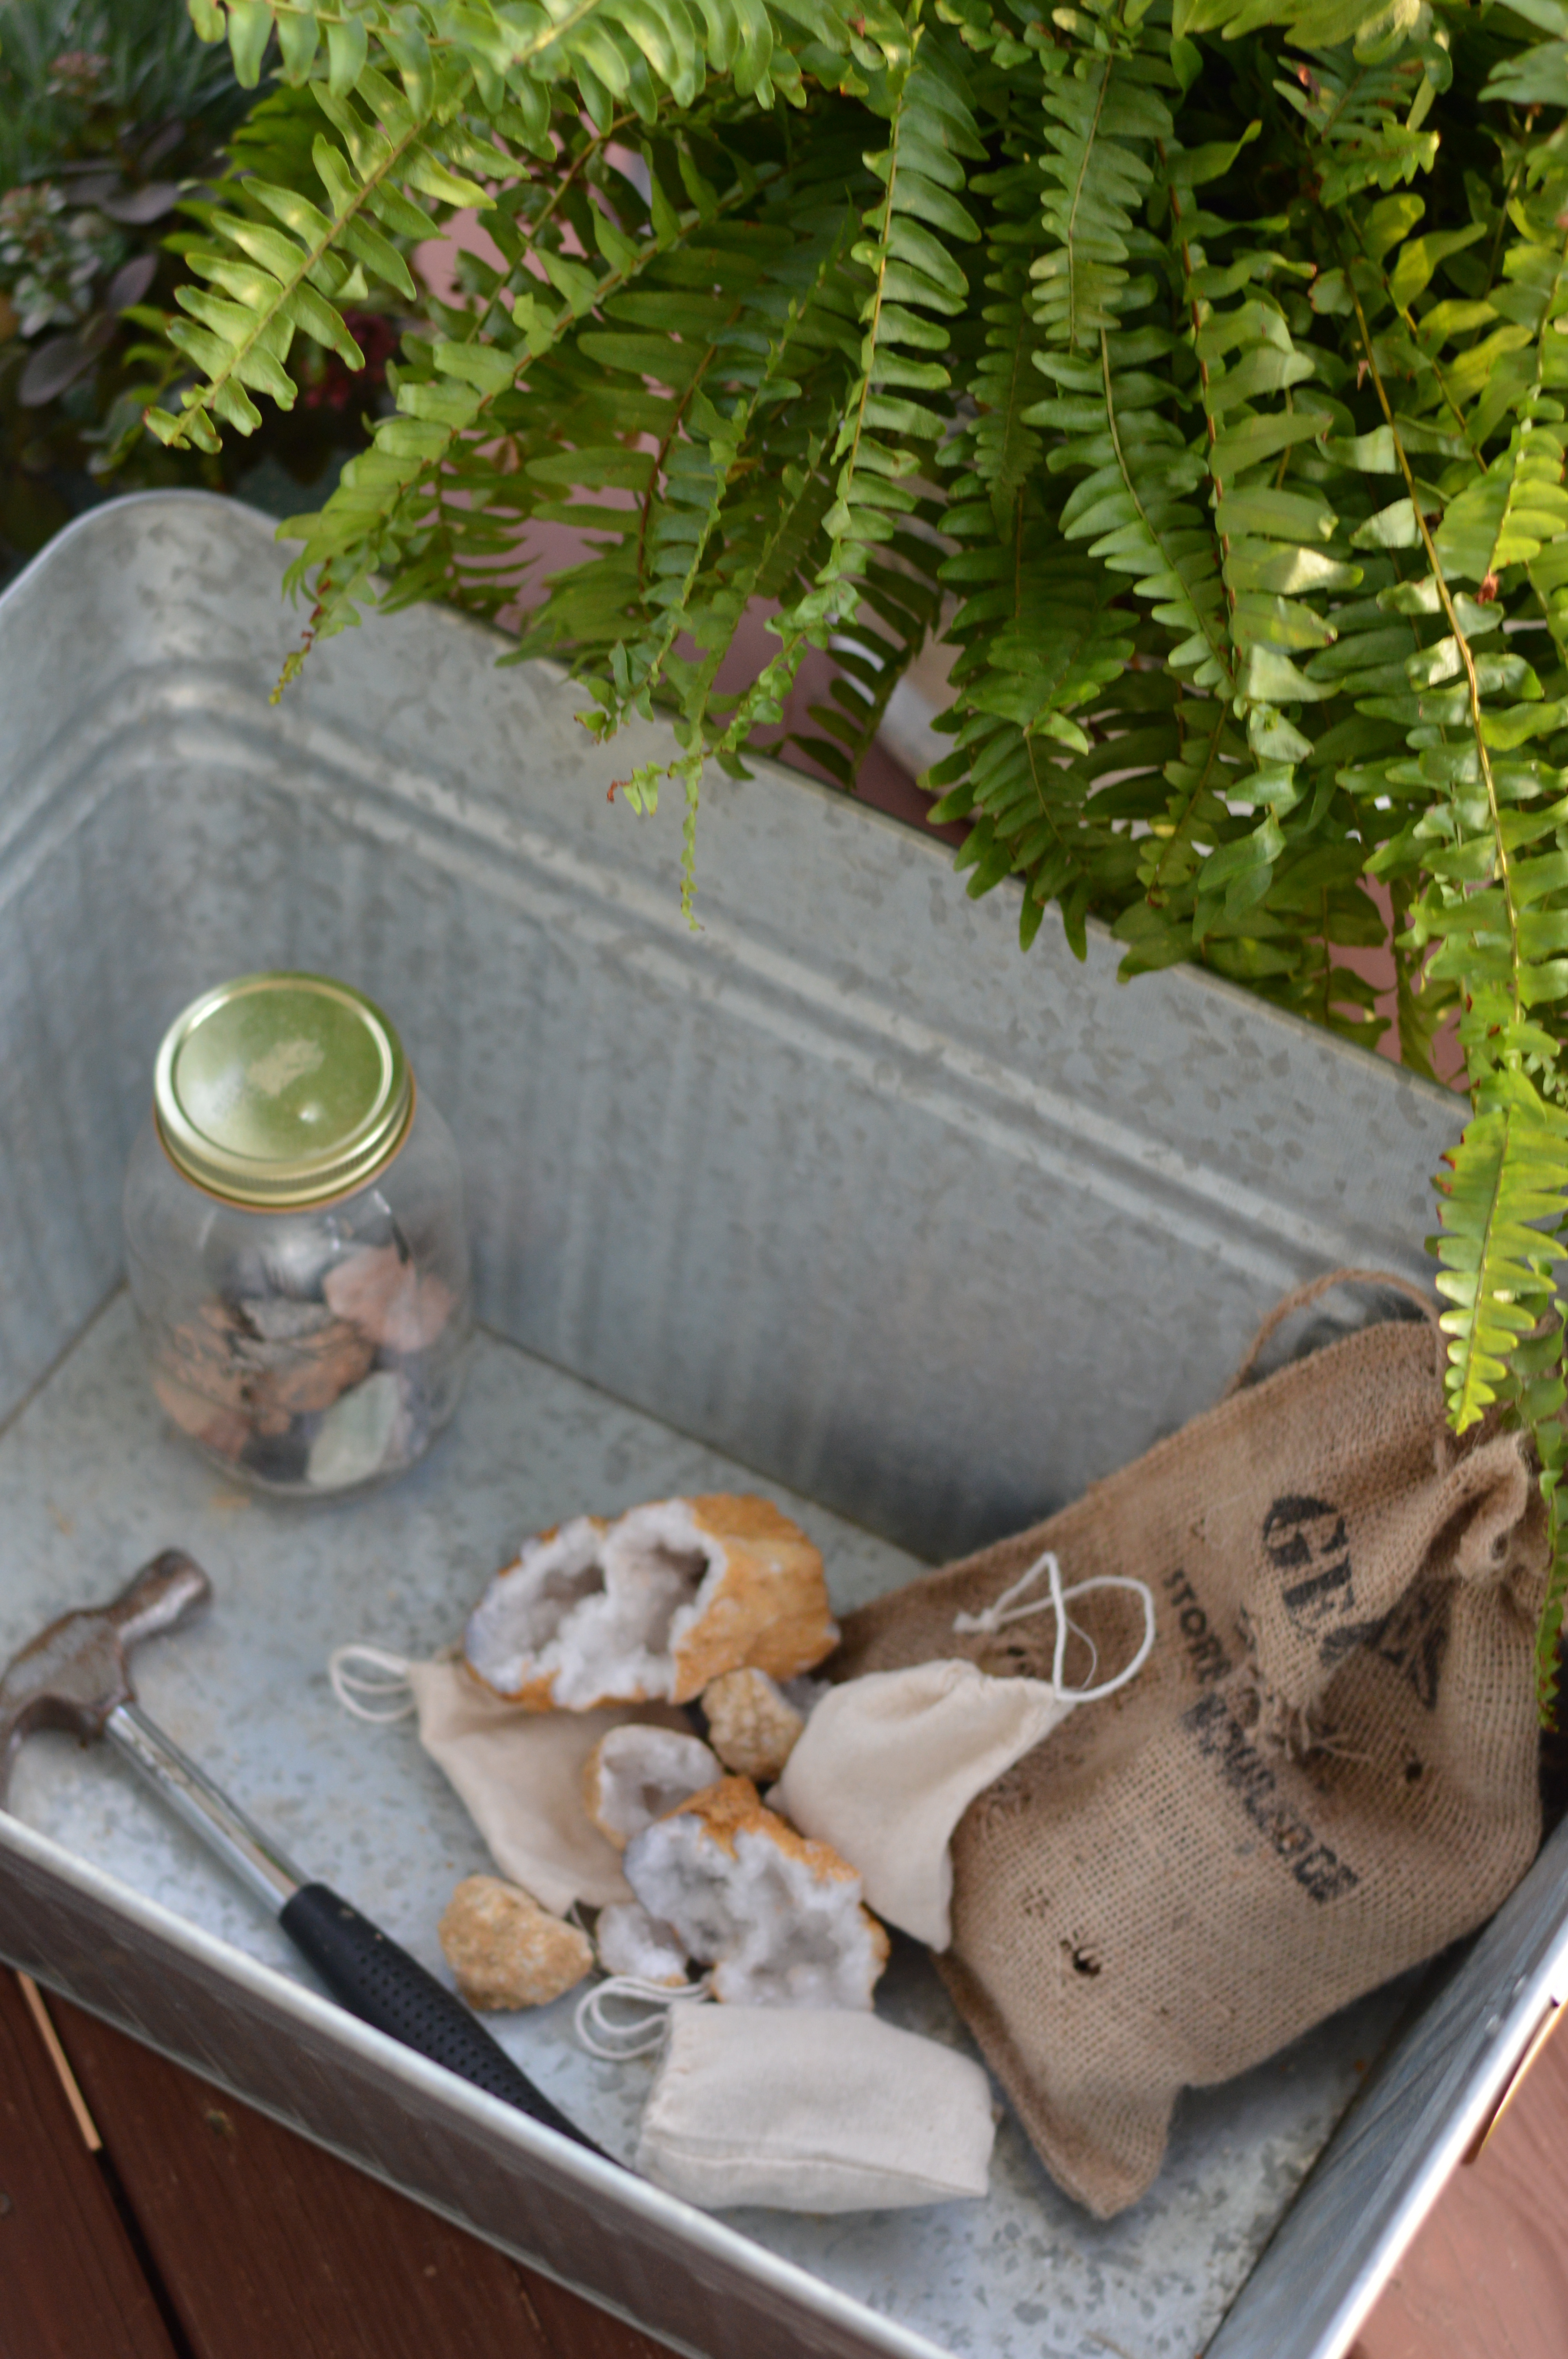
  • Geode Kit – Priced around and found this to be the best deal from Store for Knowledge.
  • Pop Rocks, Small carabiners, and thin rock climbing rope for favors with DIY Tags.
  • Party Invite done virtually per the last minute planning.
  • Favor Tags designed by me and printed at home. Click here for a FREE download.

Previous party theme ideas for boys:

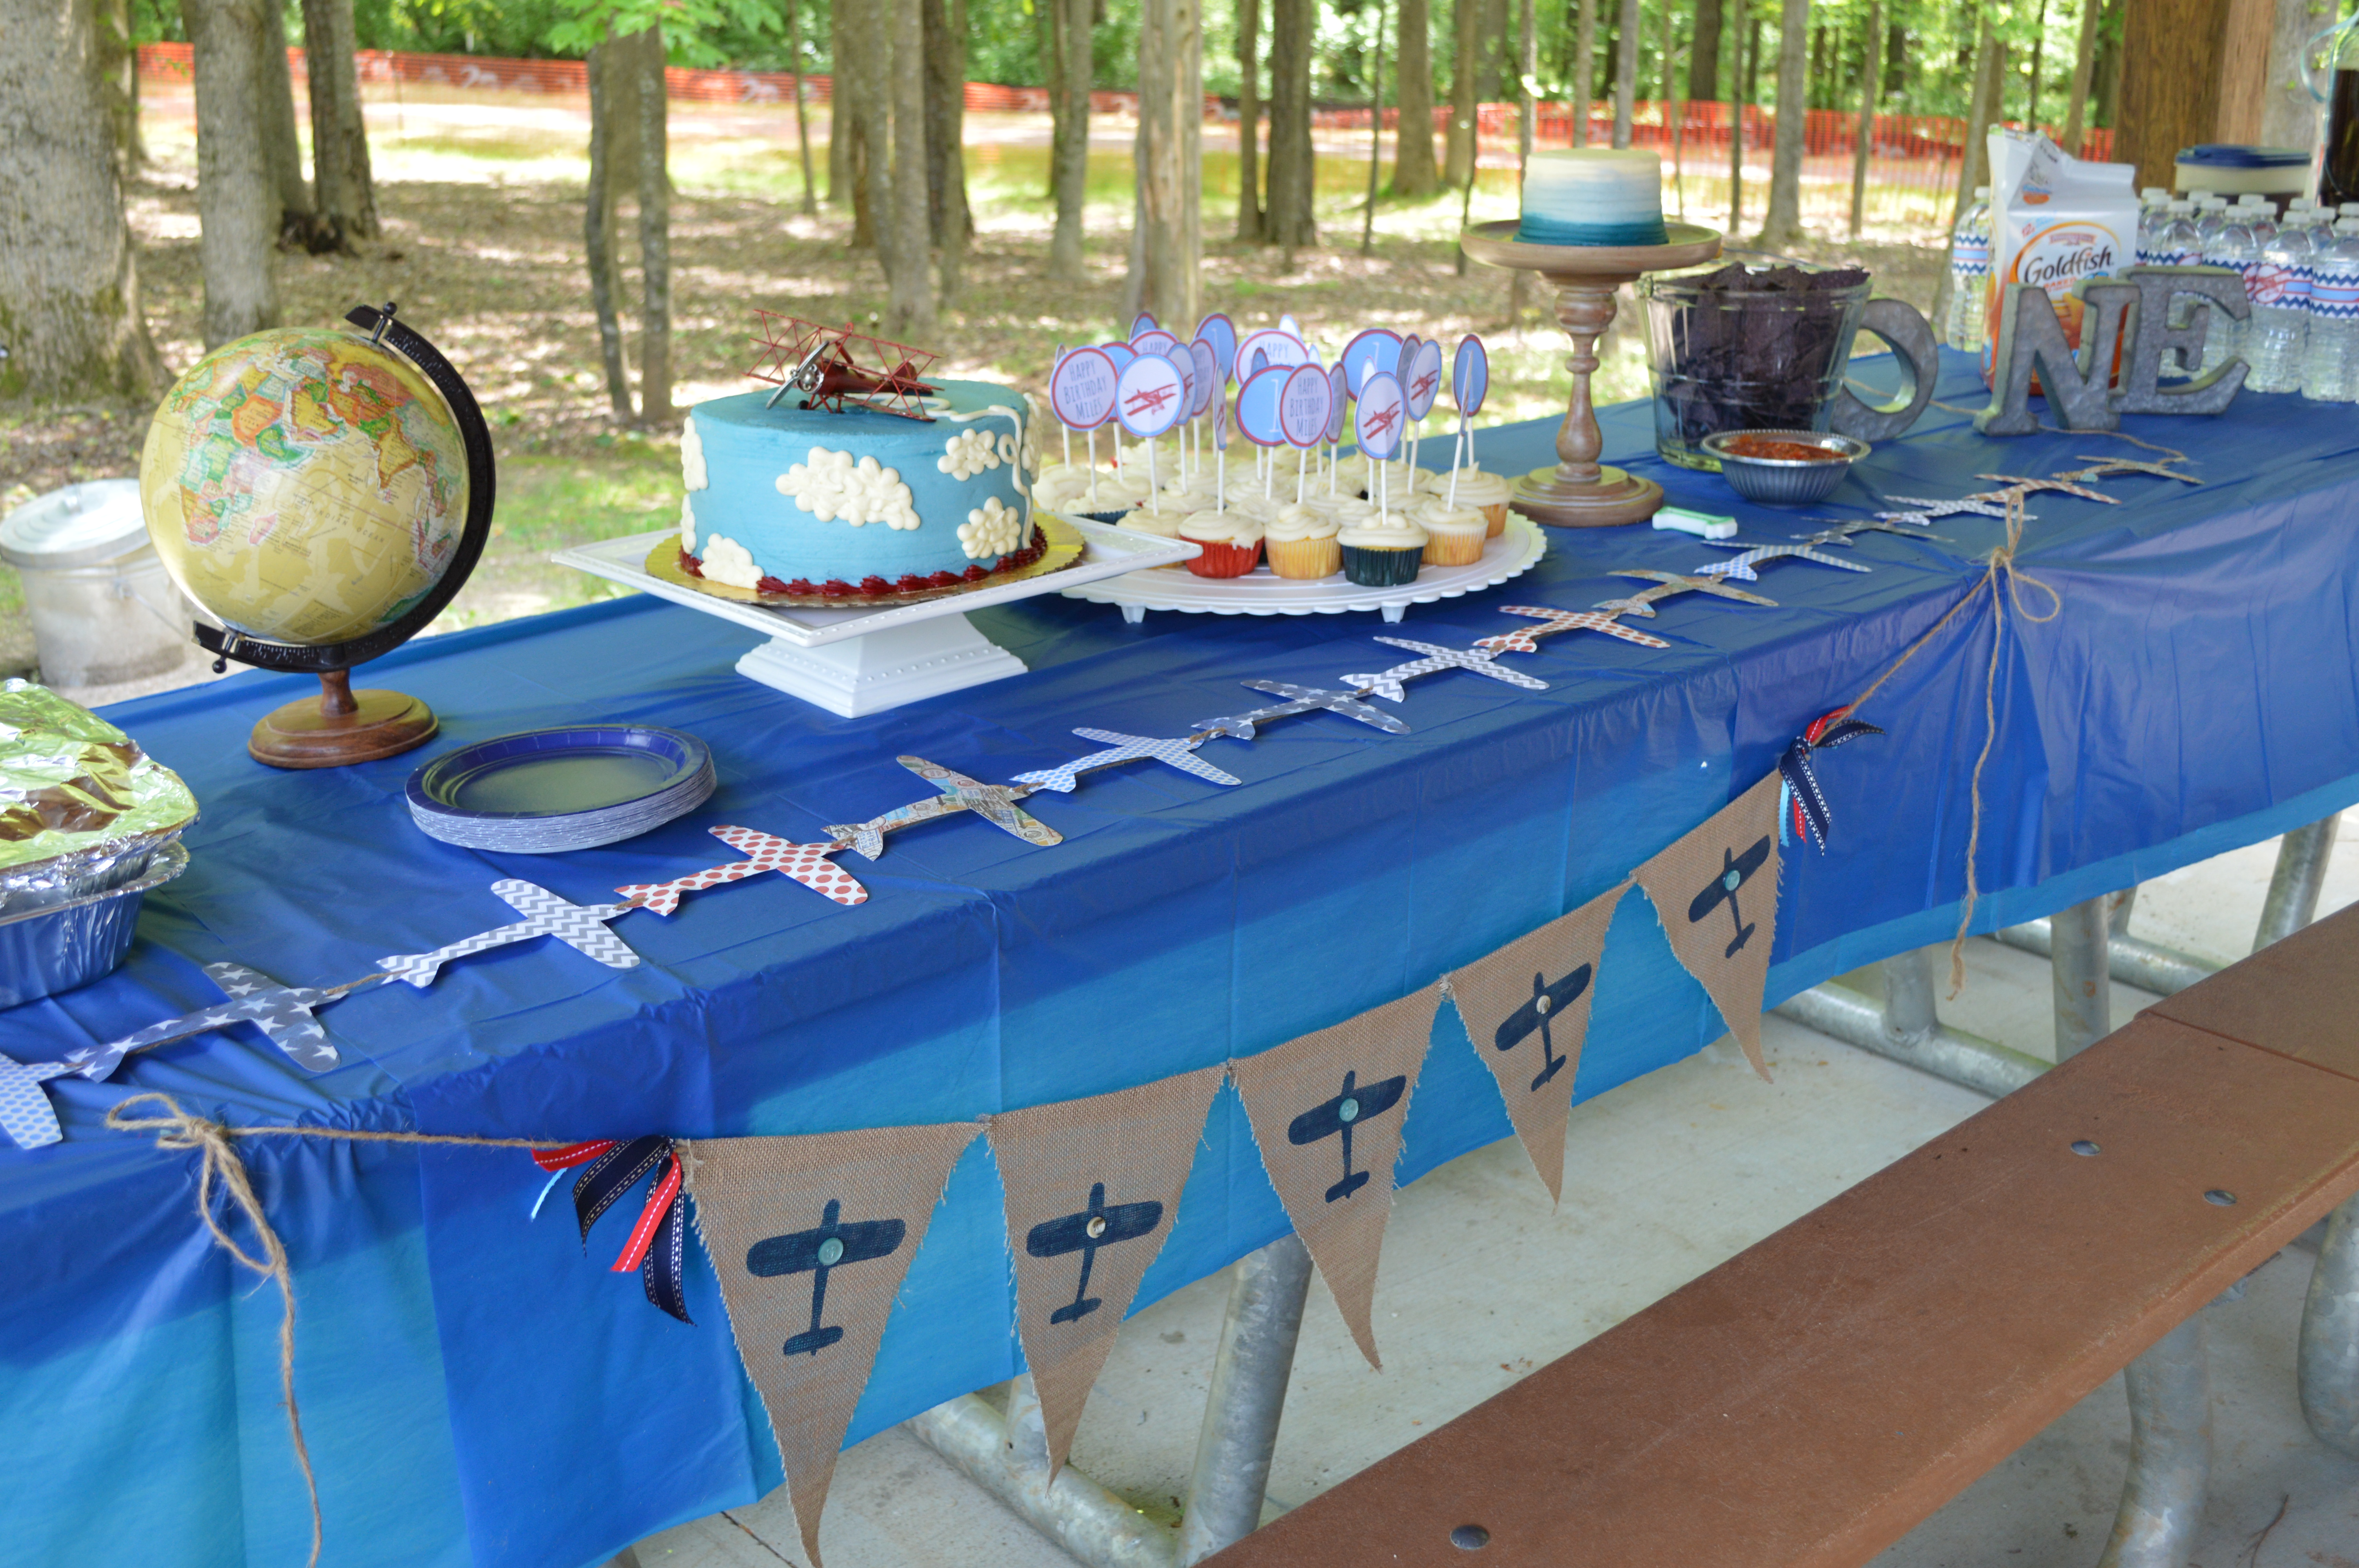
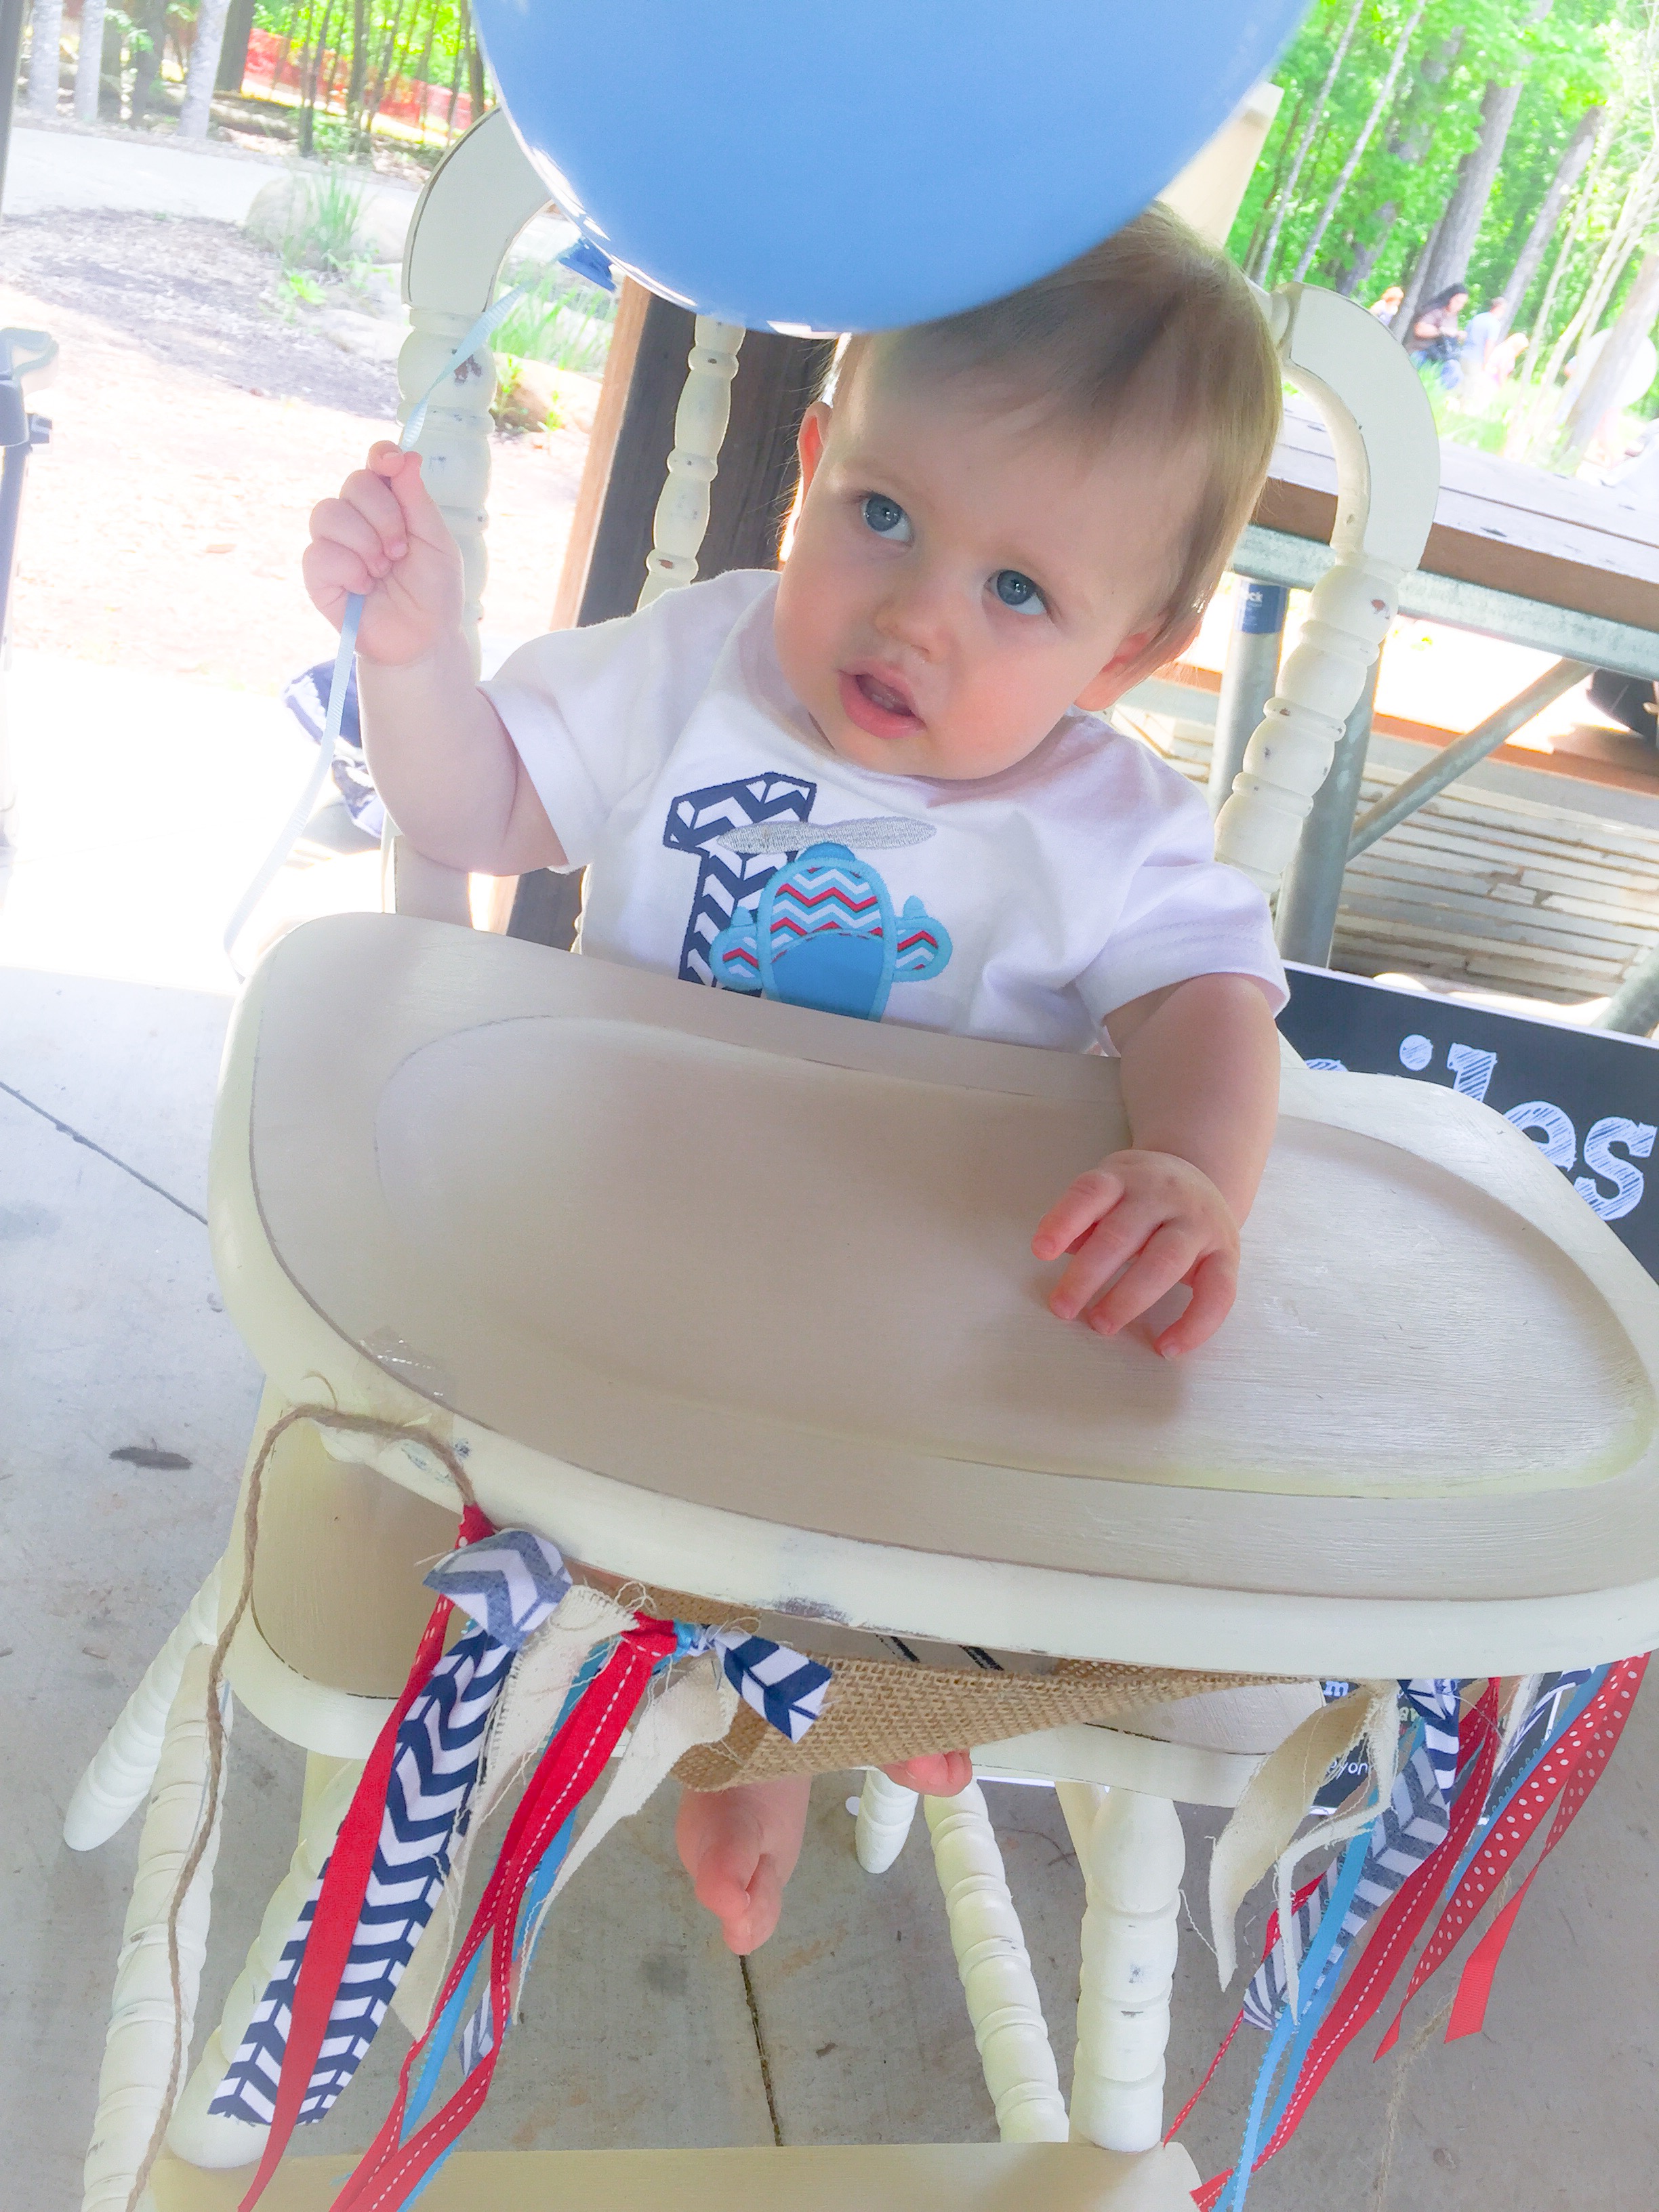
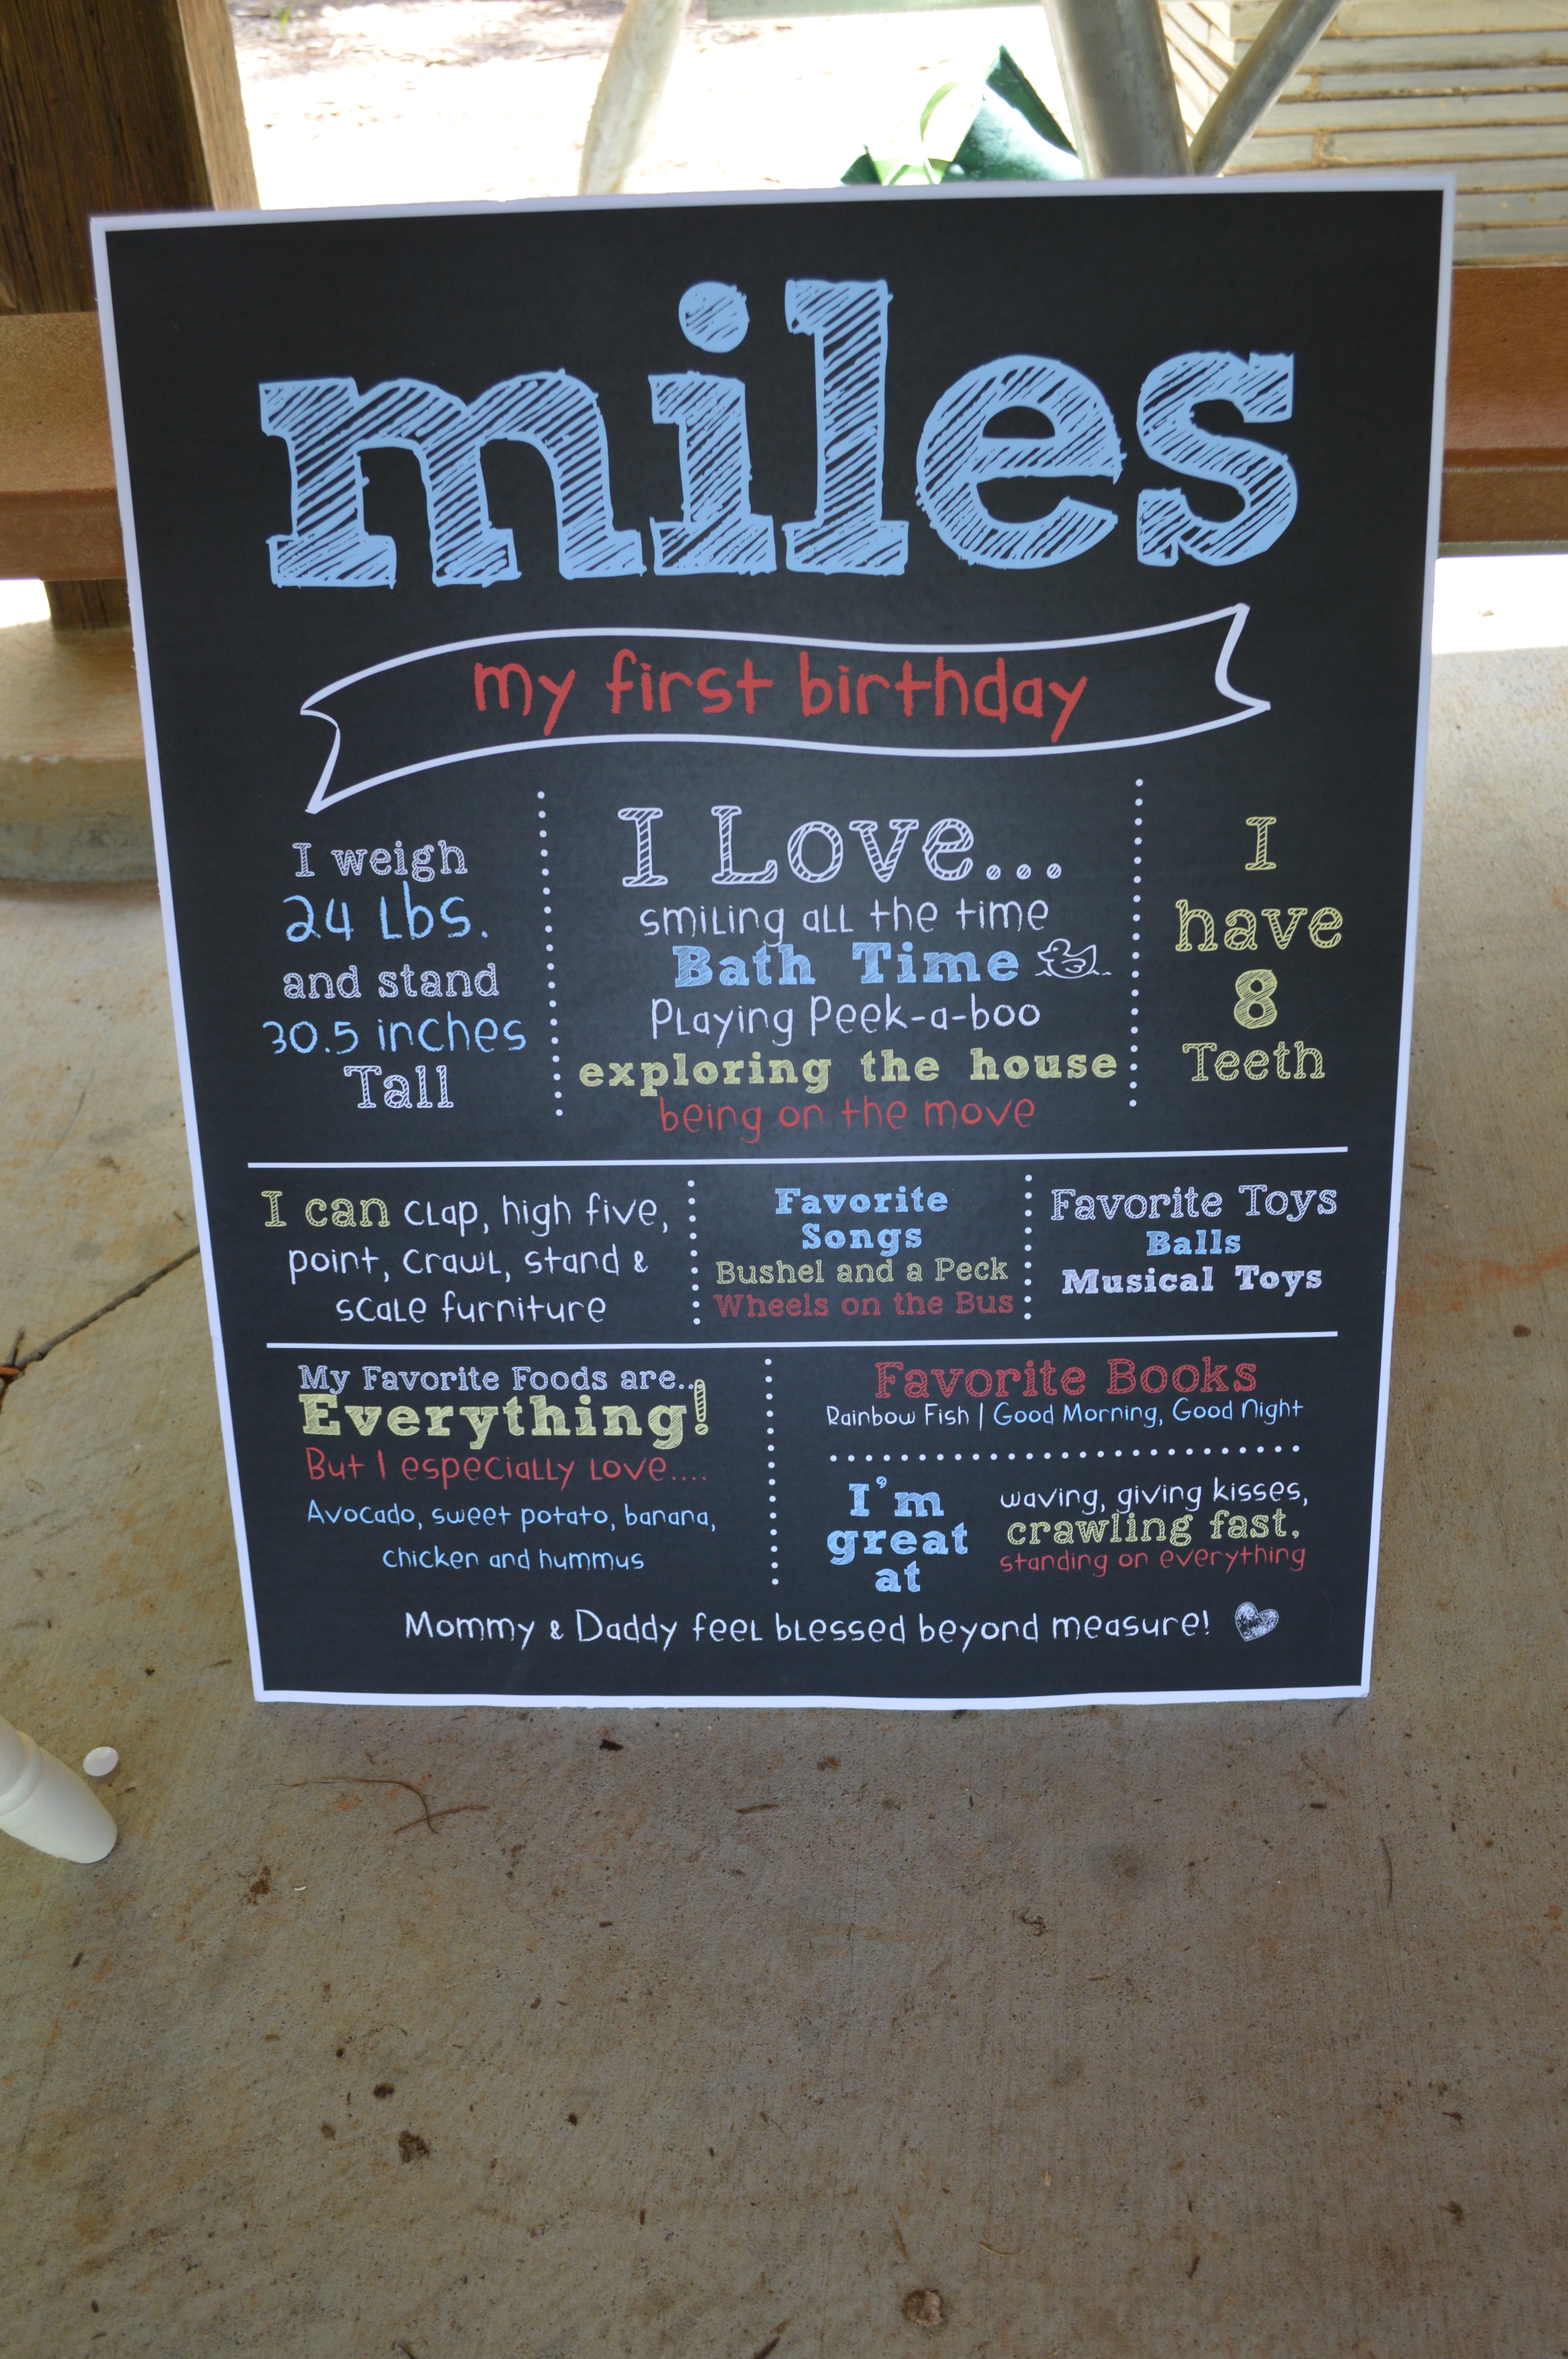
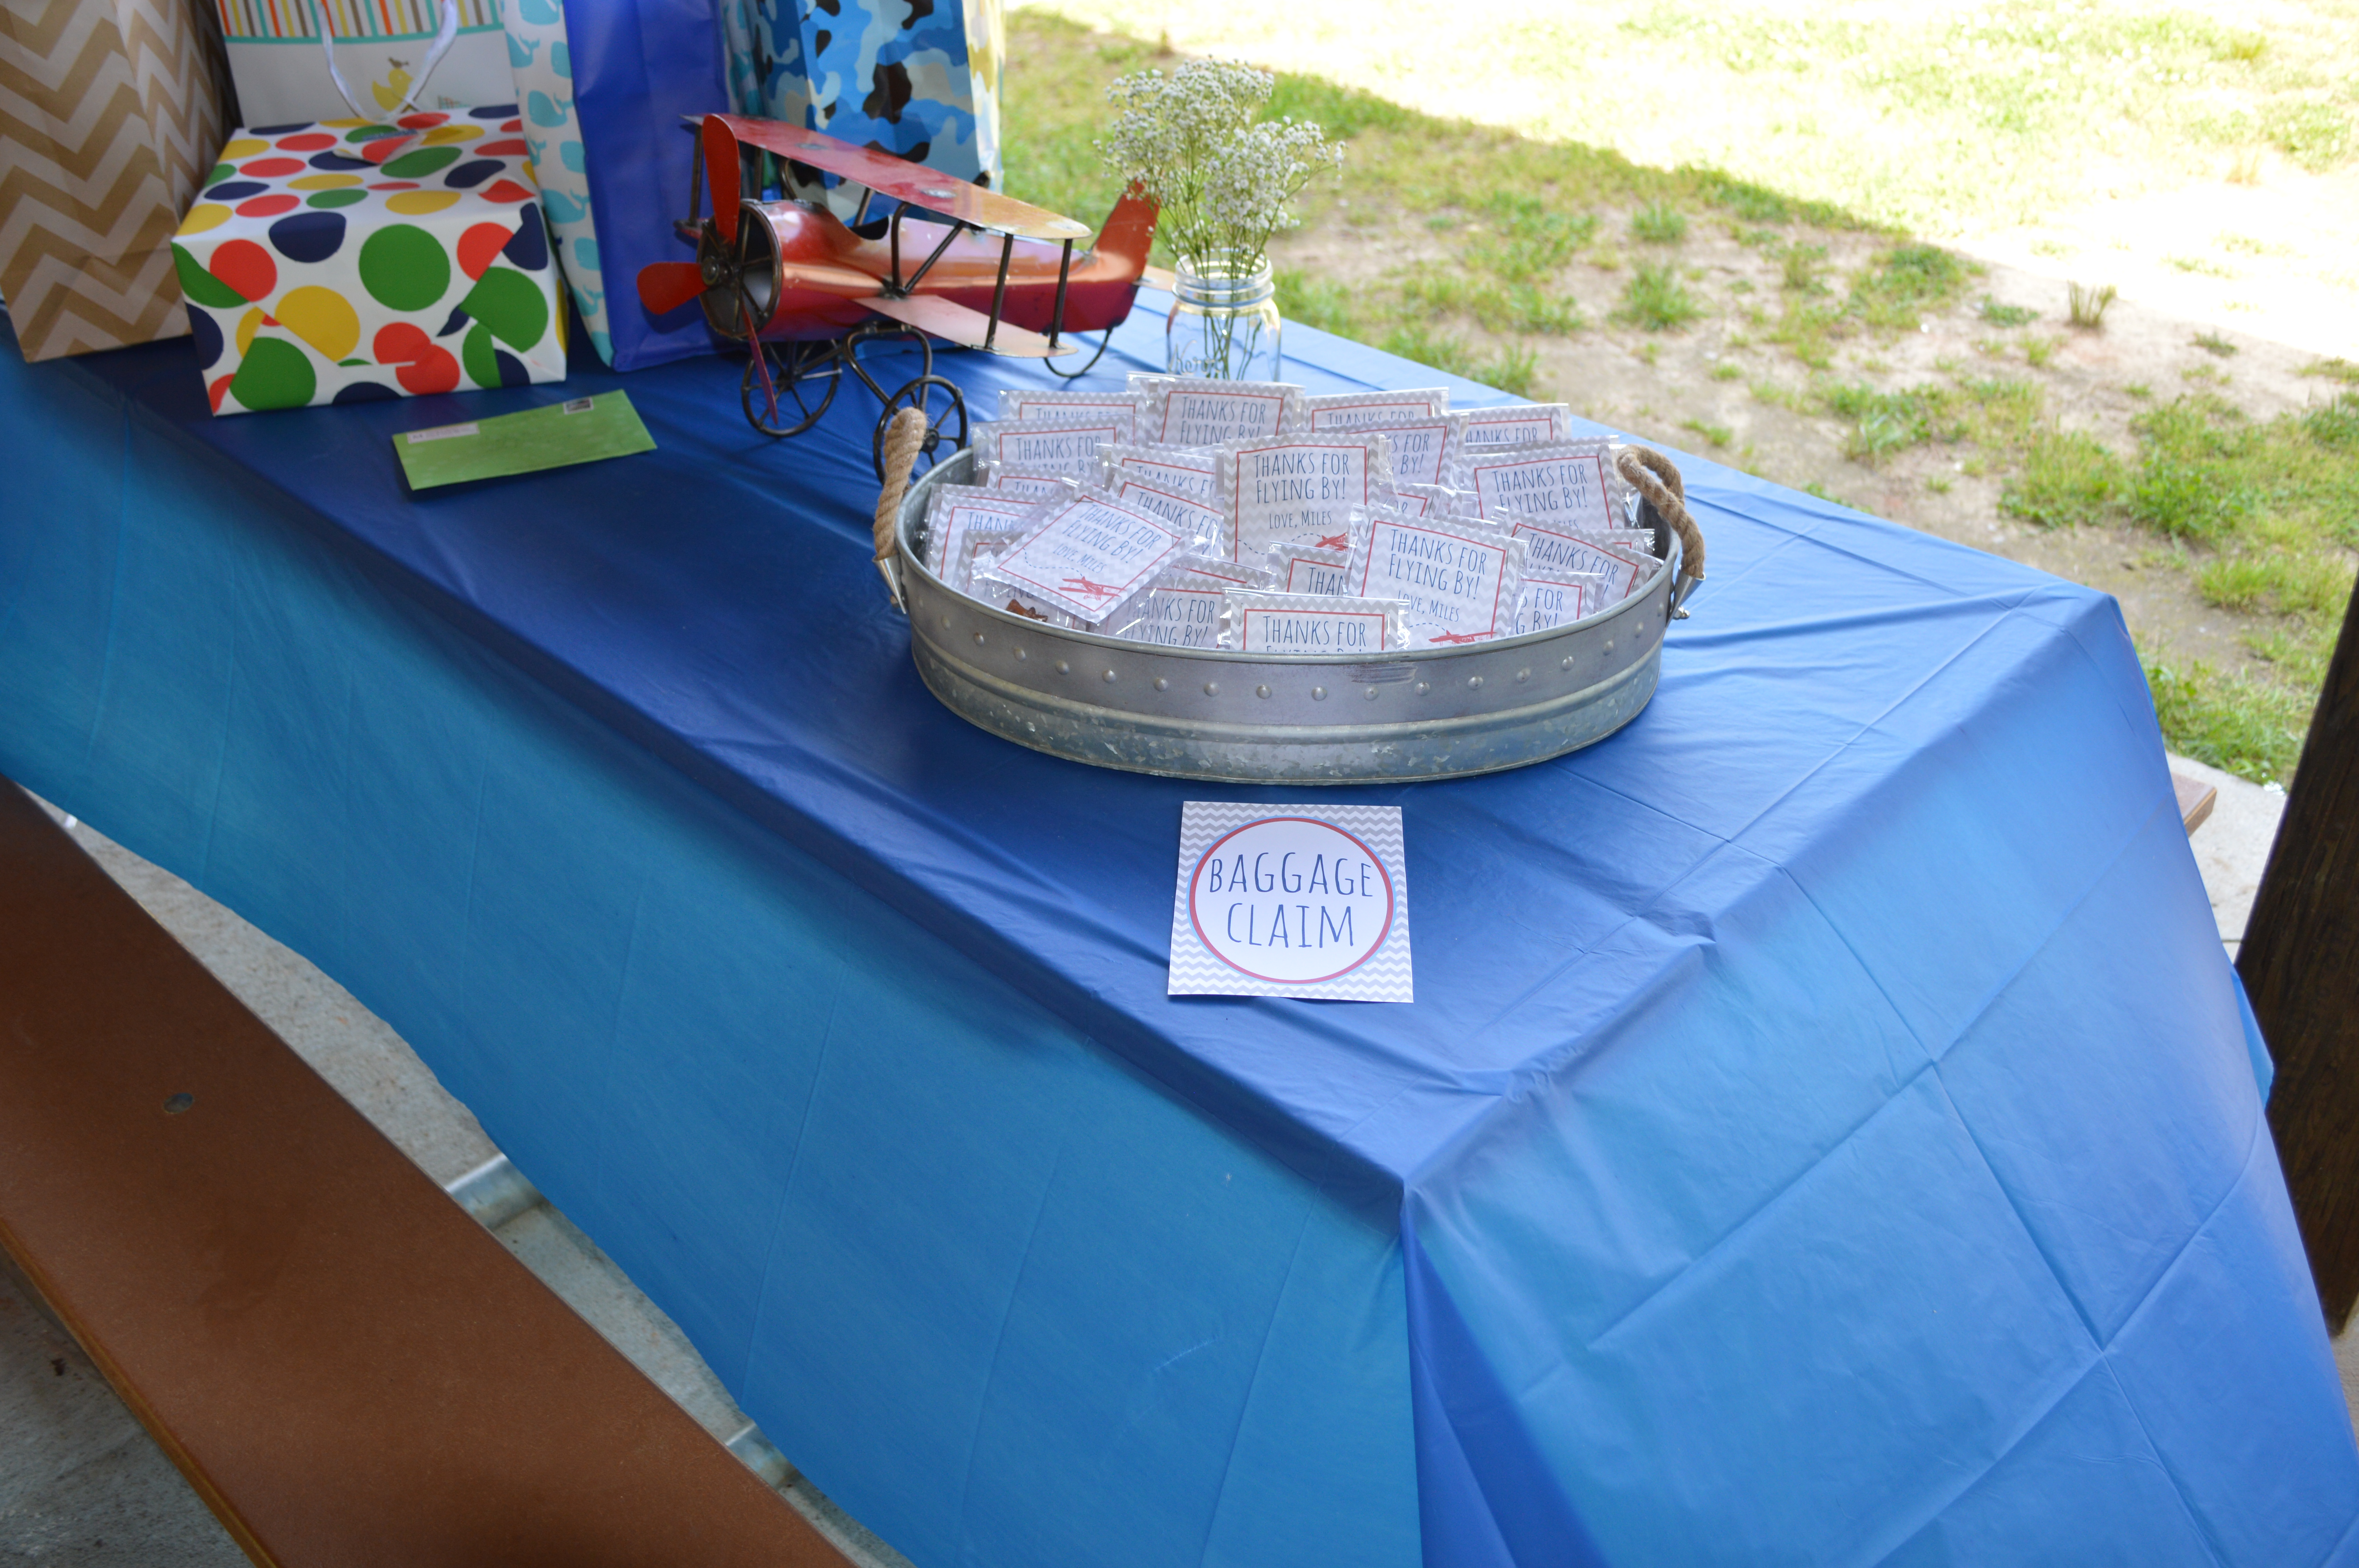
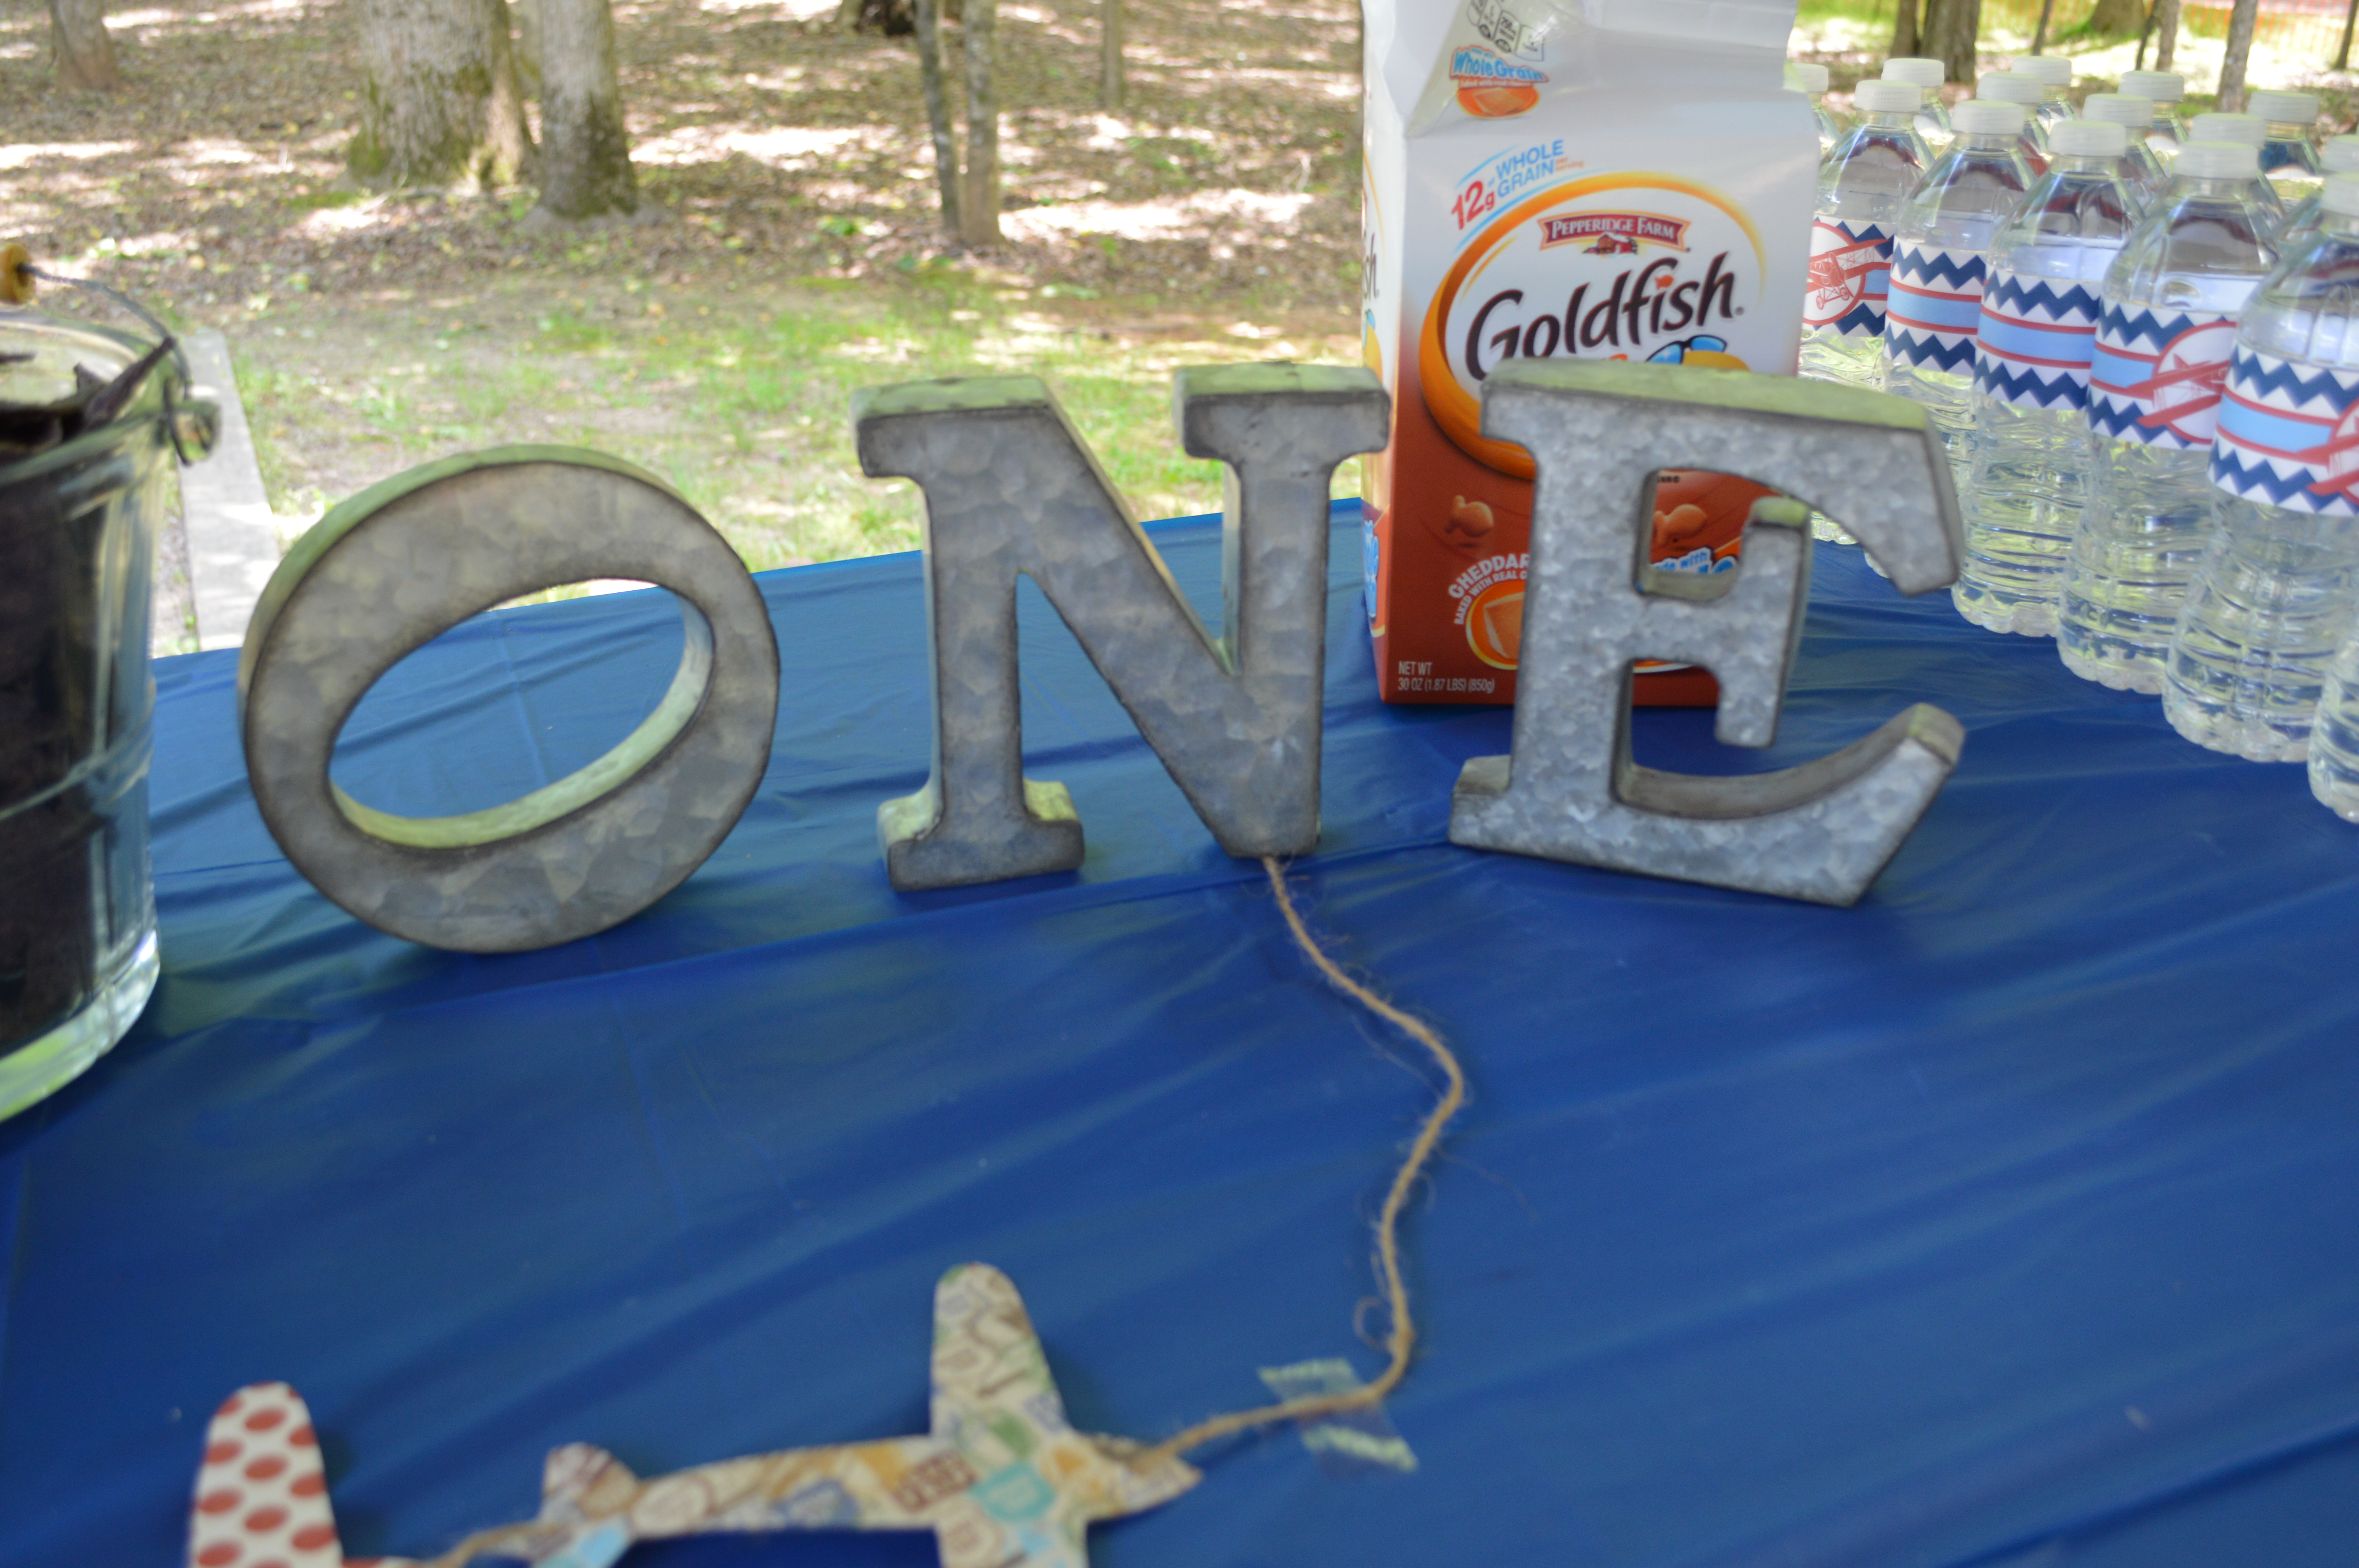
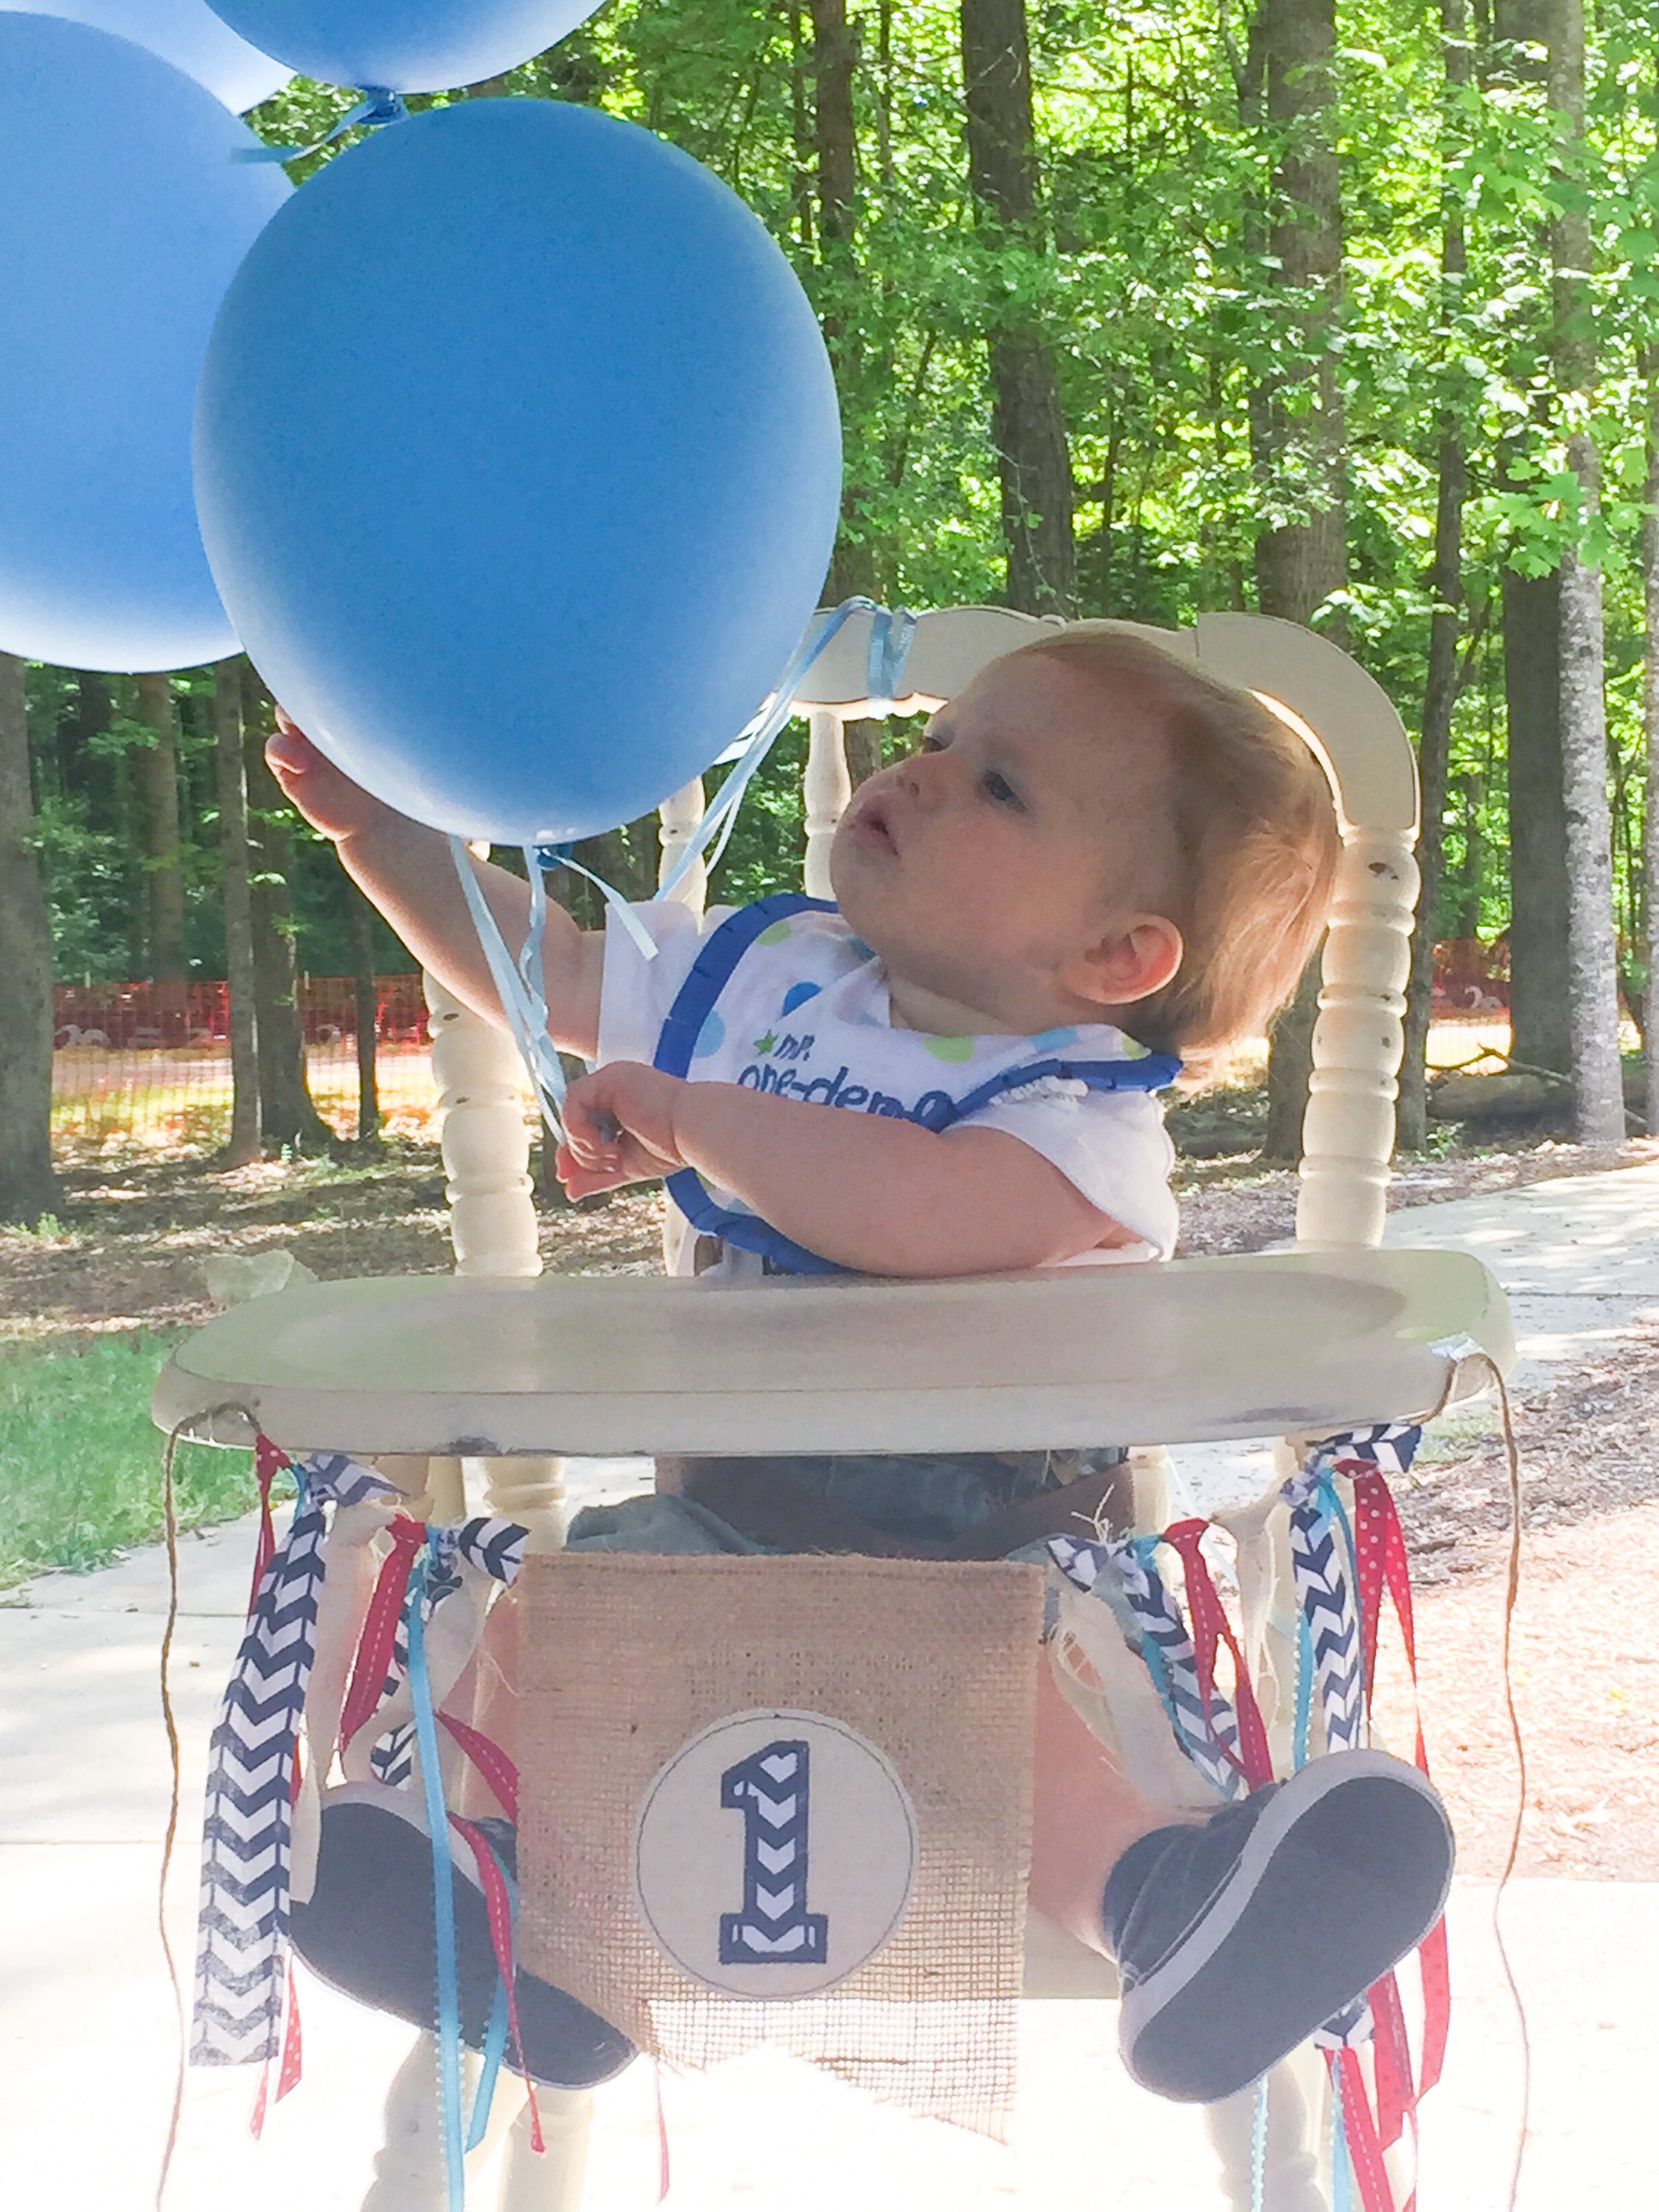
Airplane

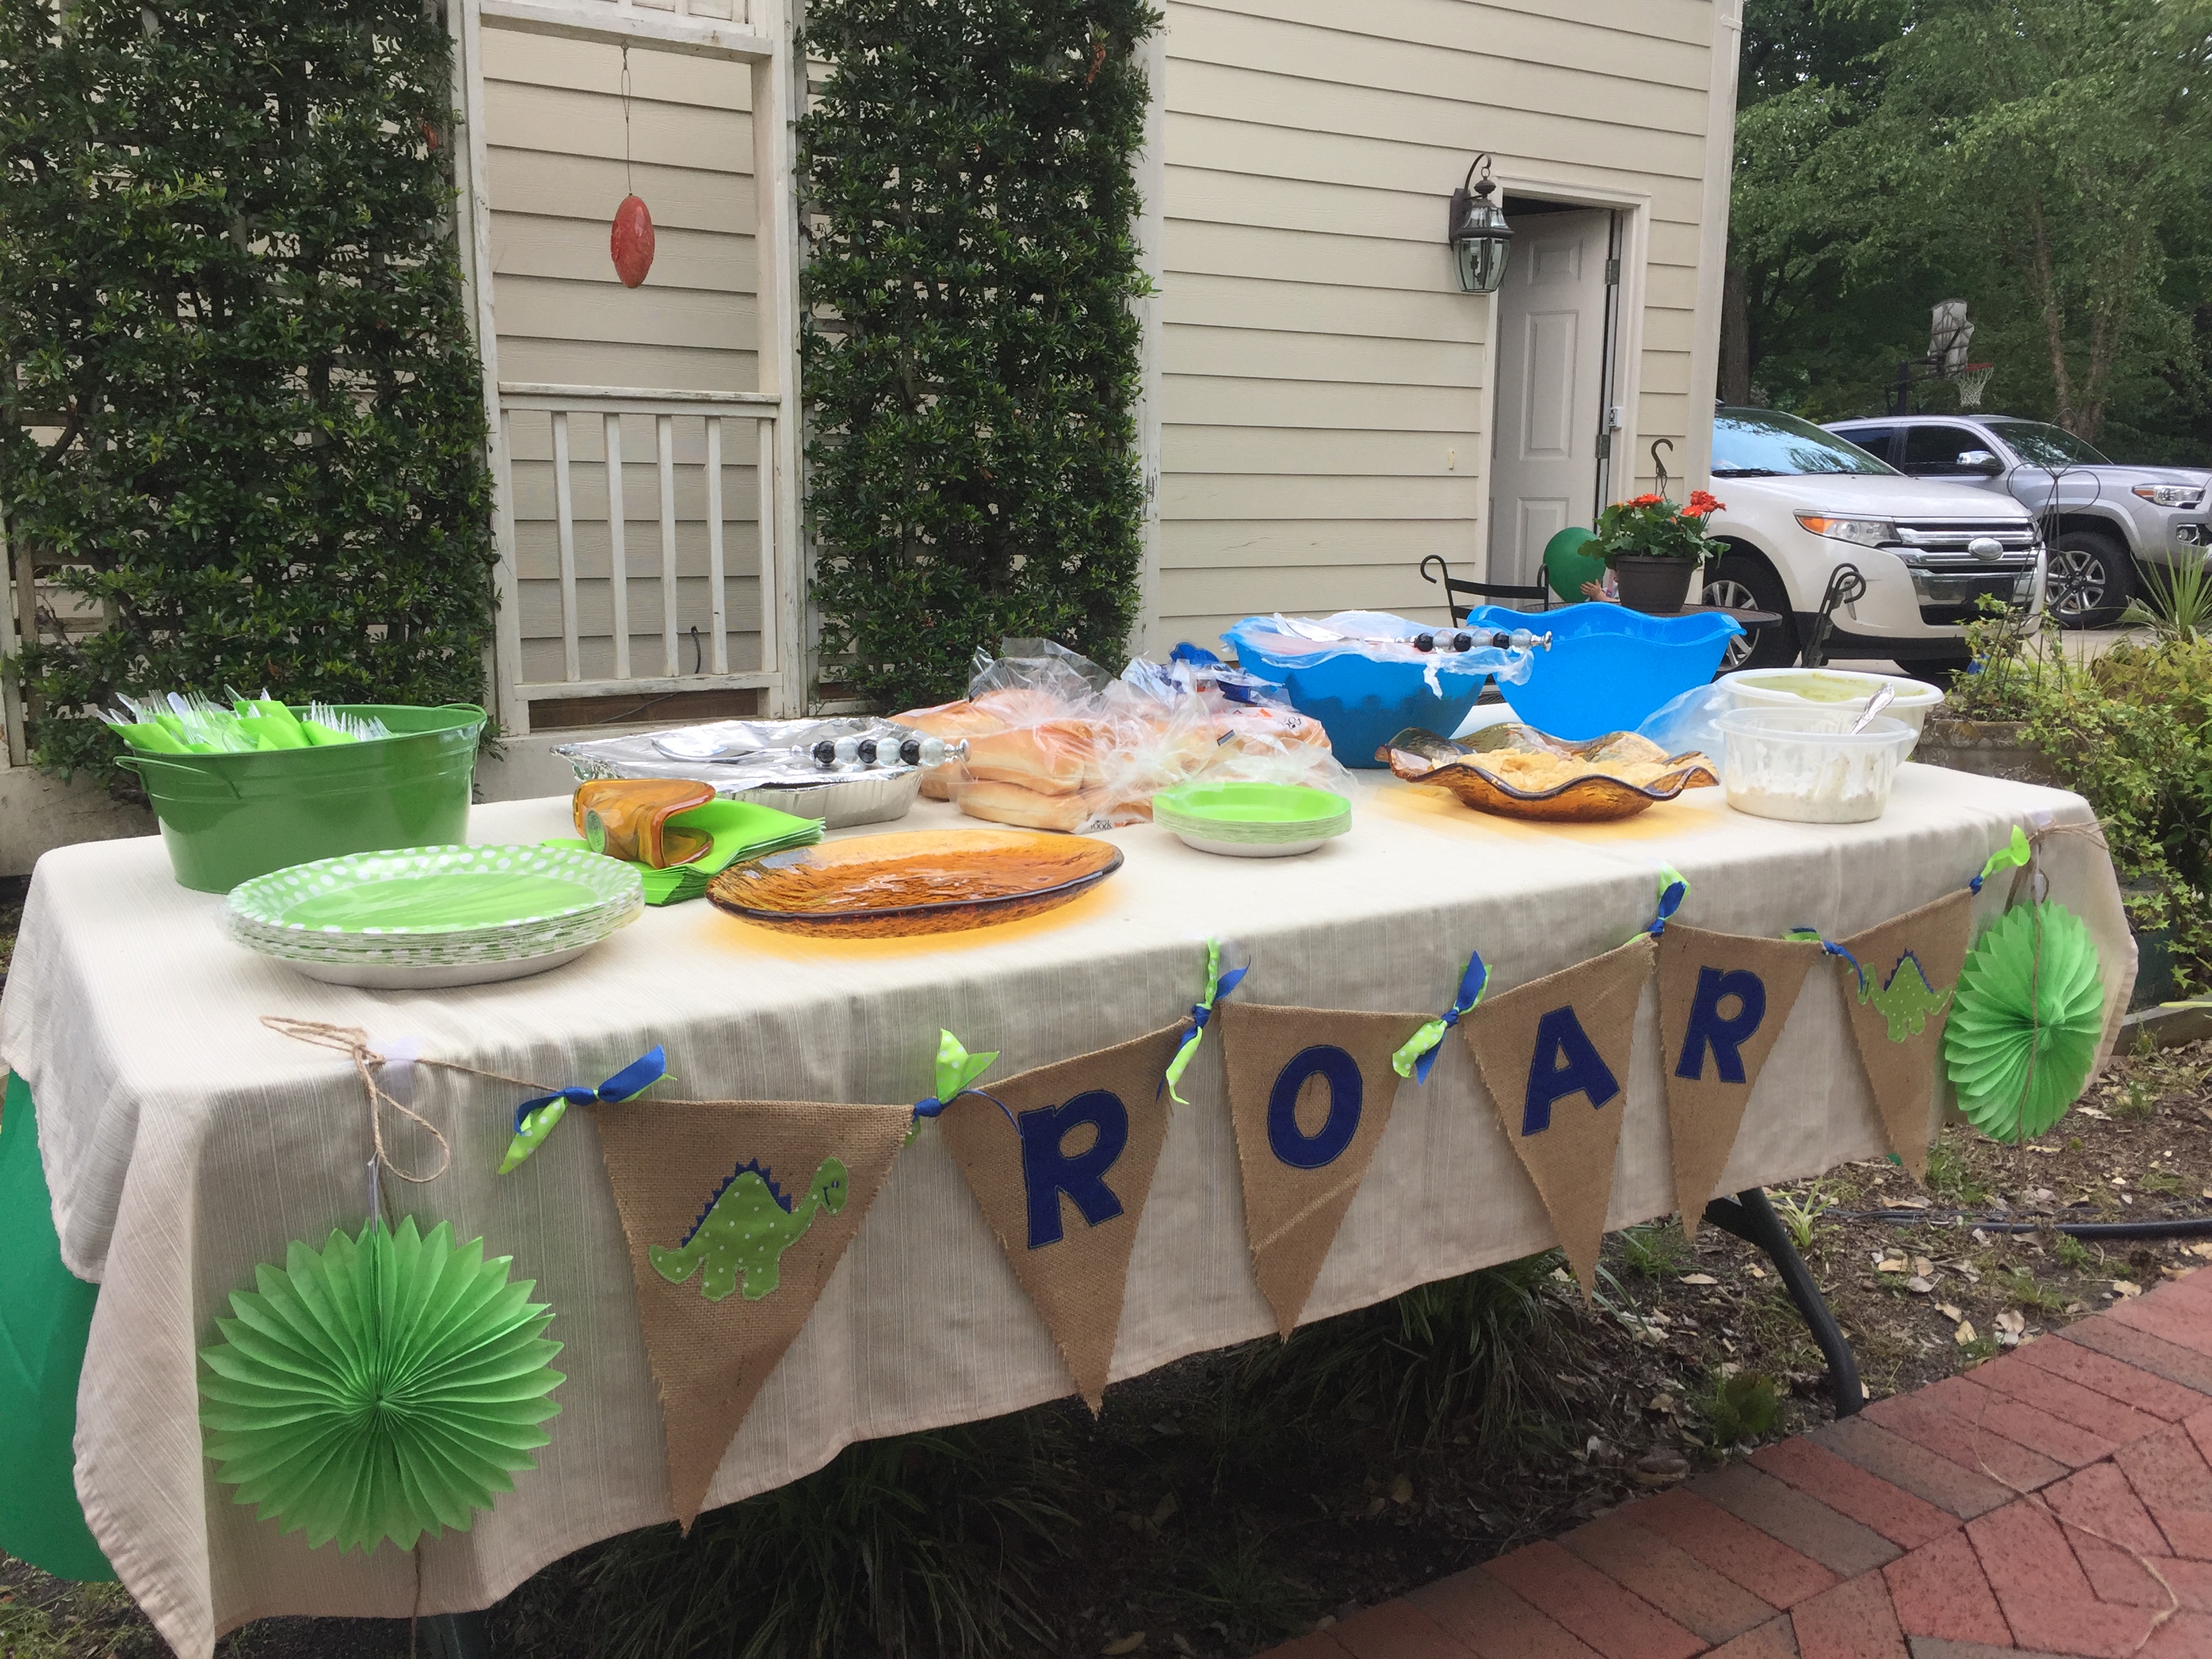
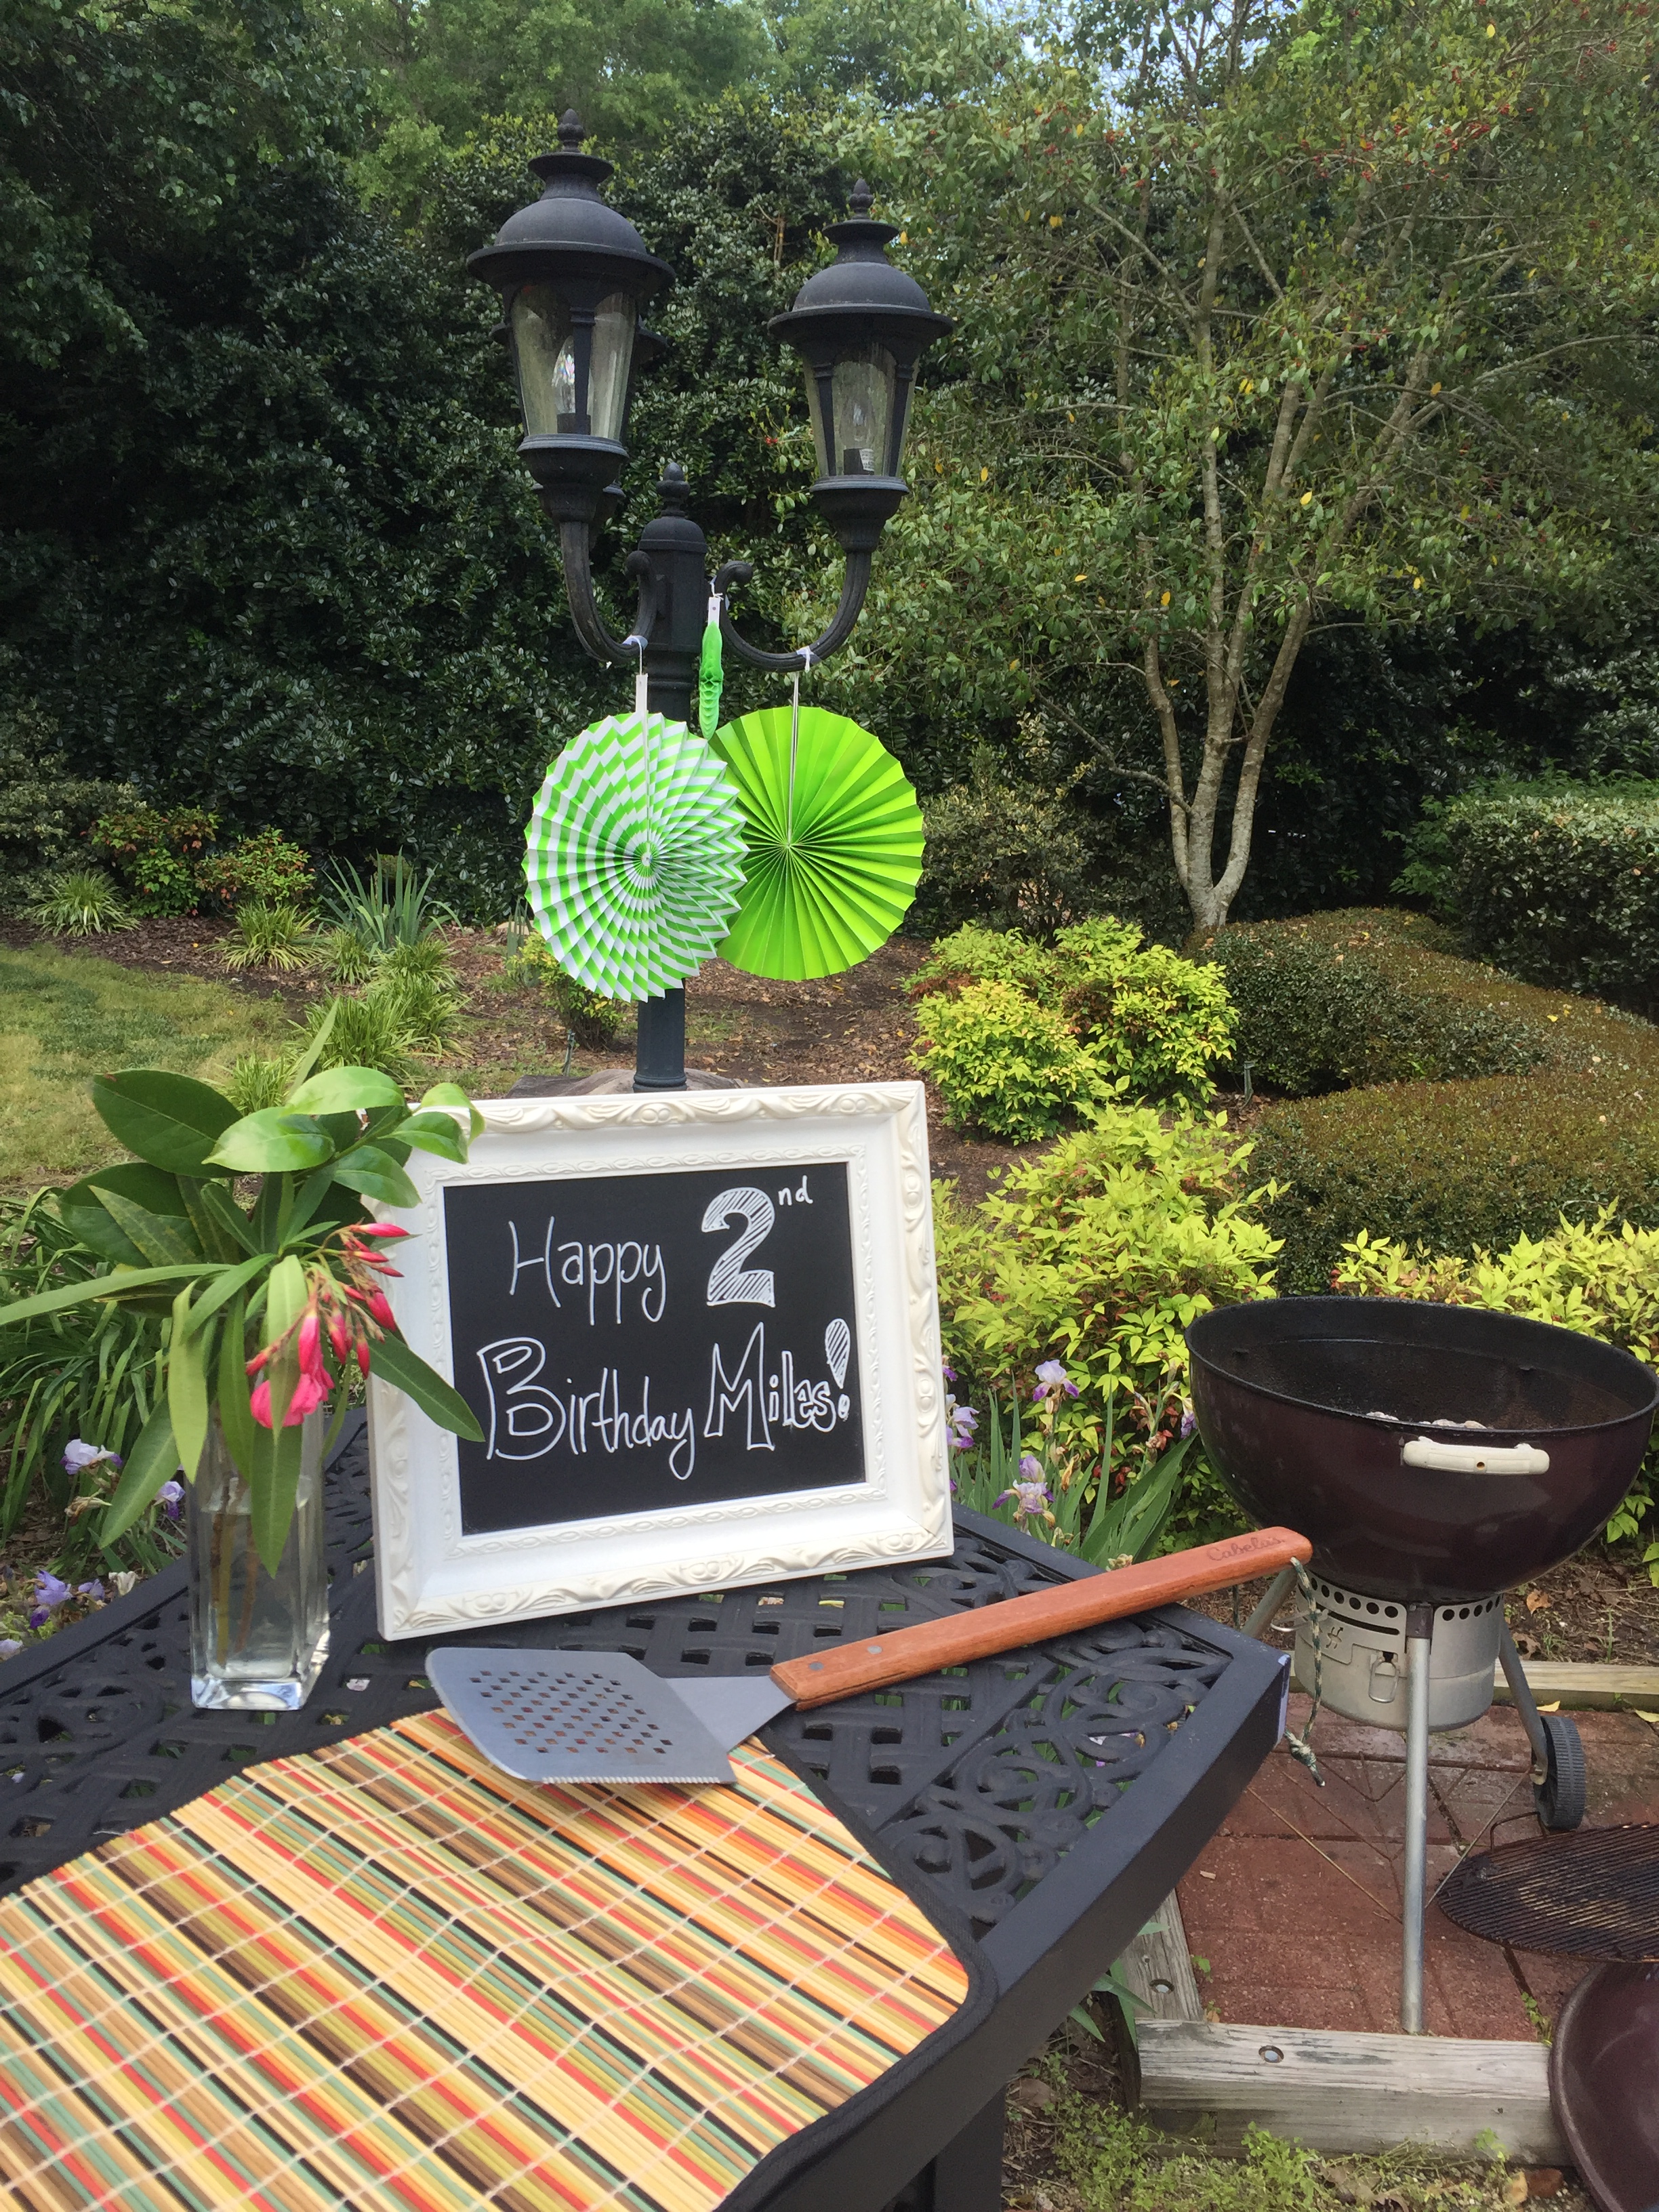
Dinosaur

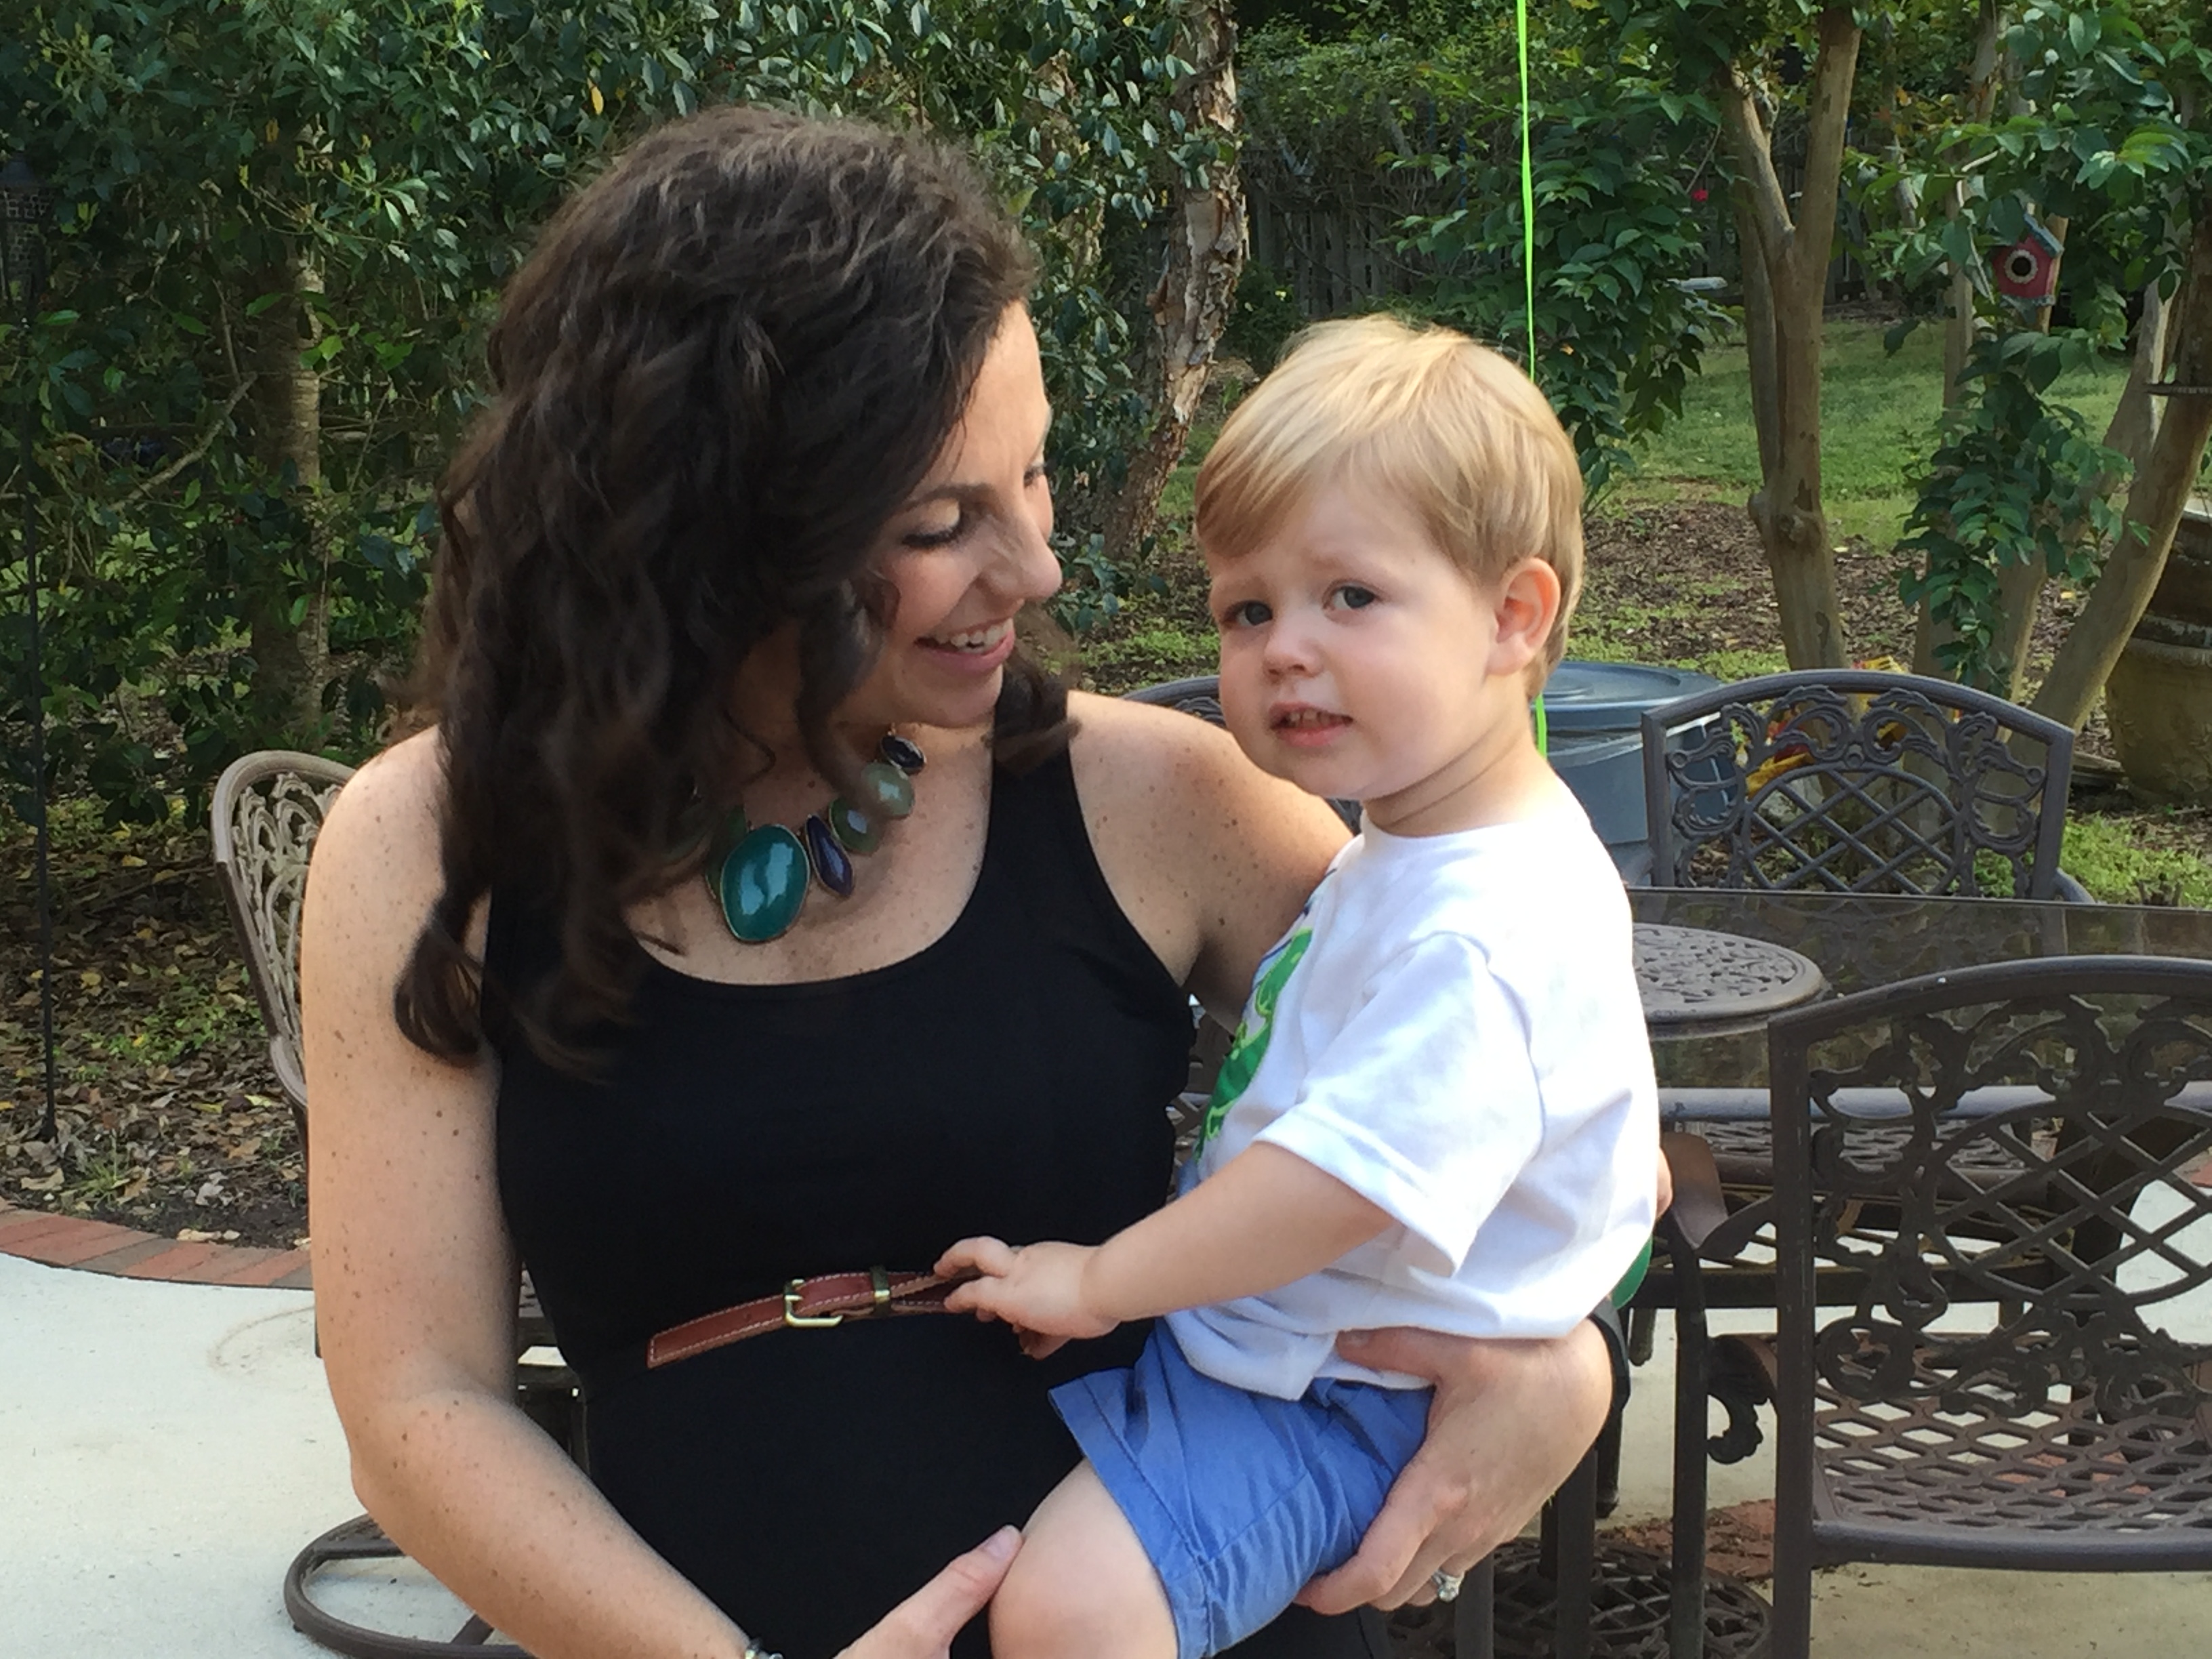
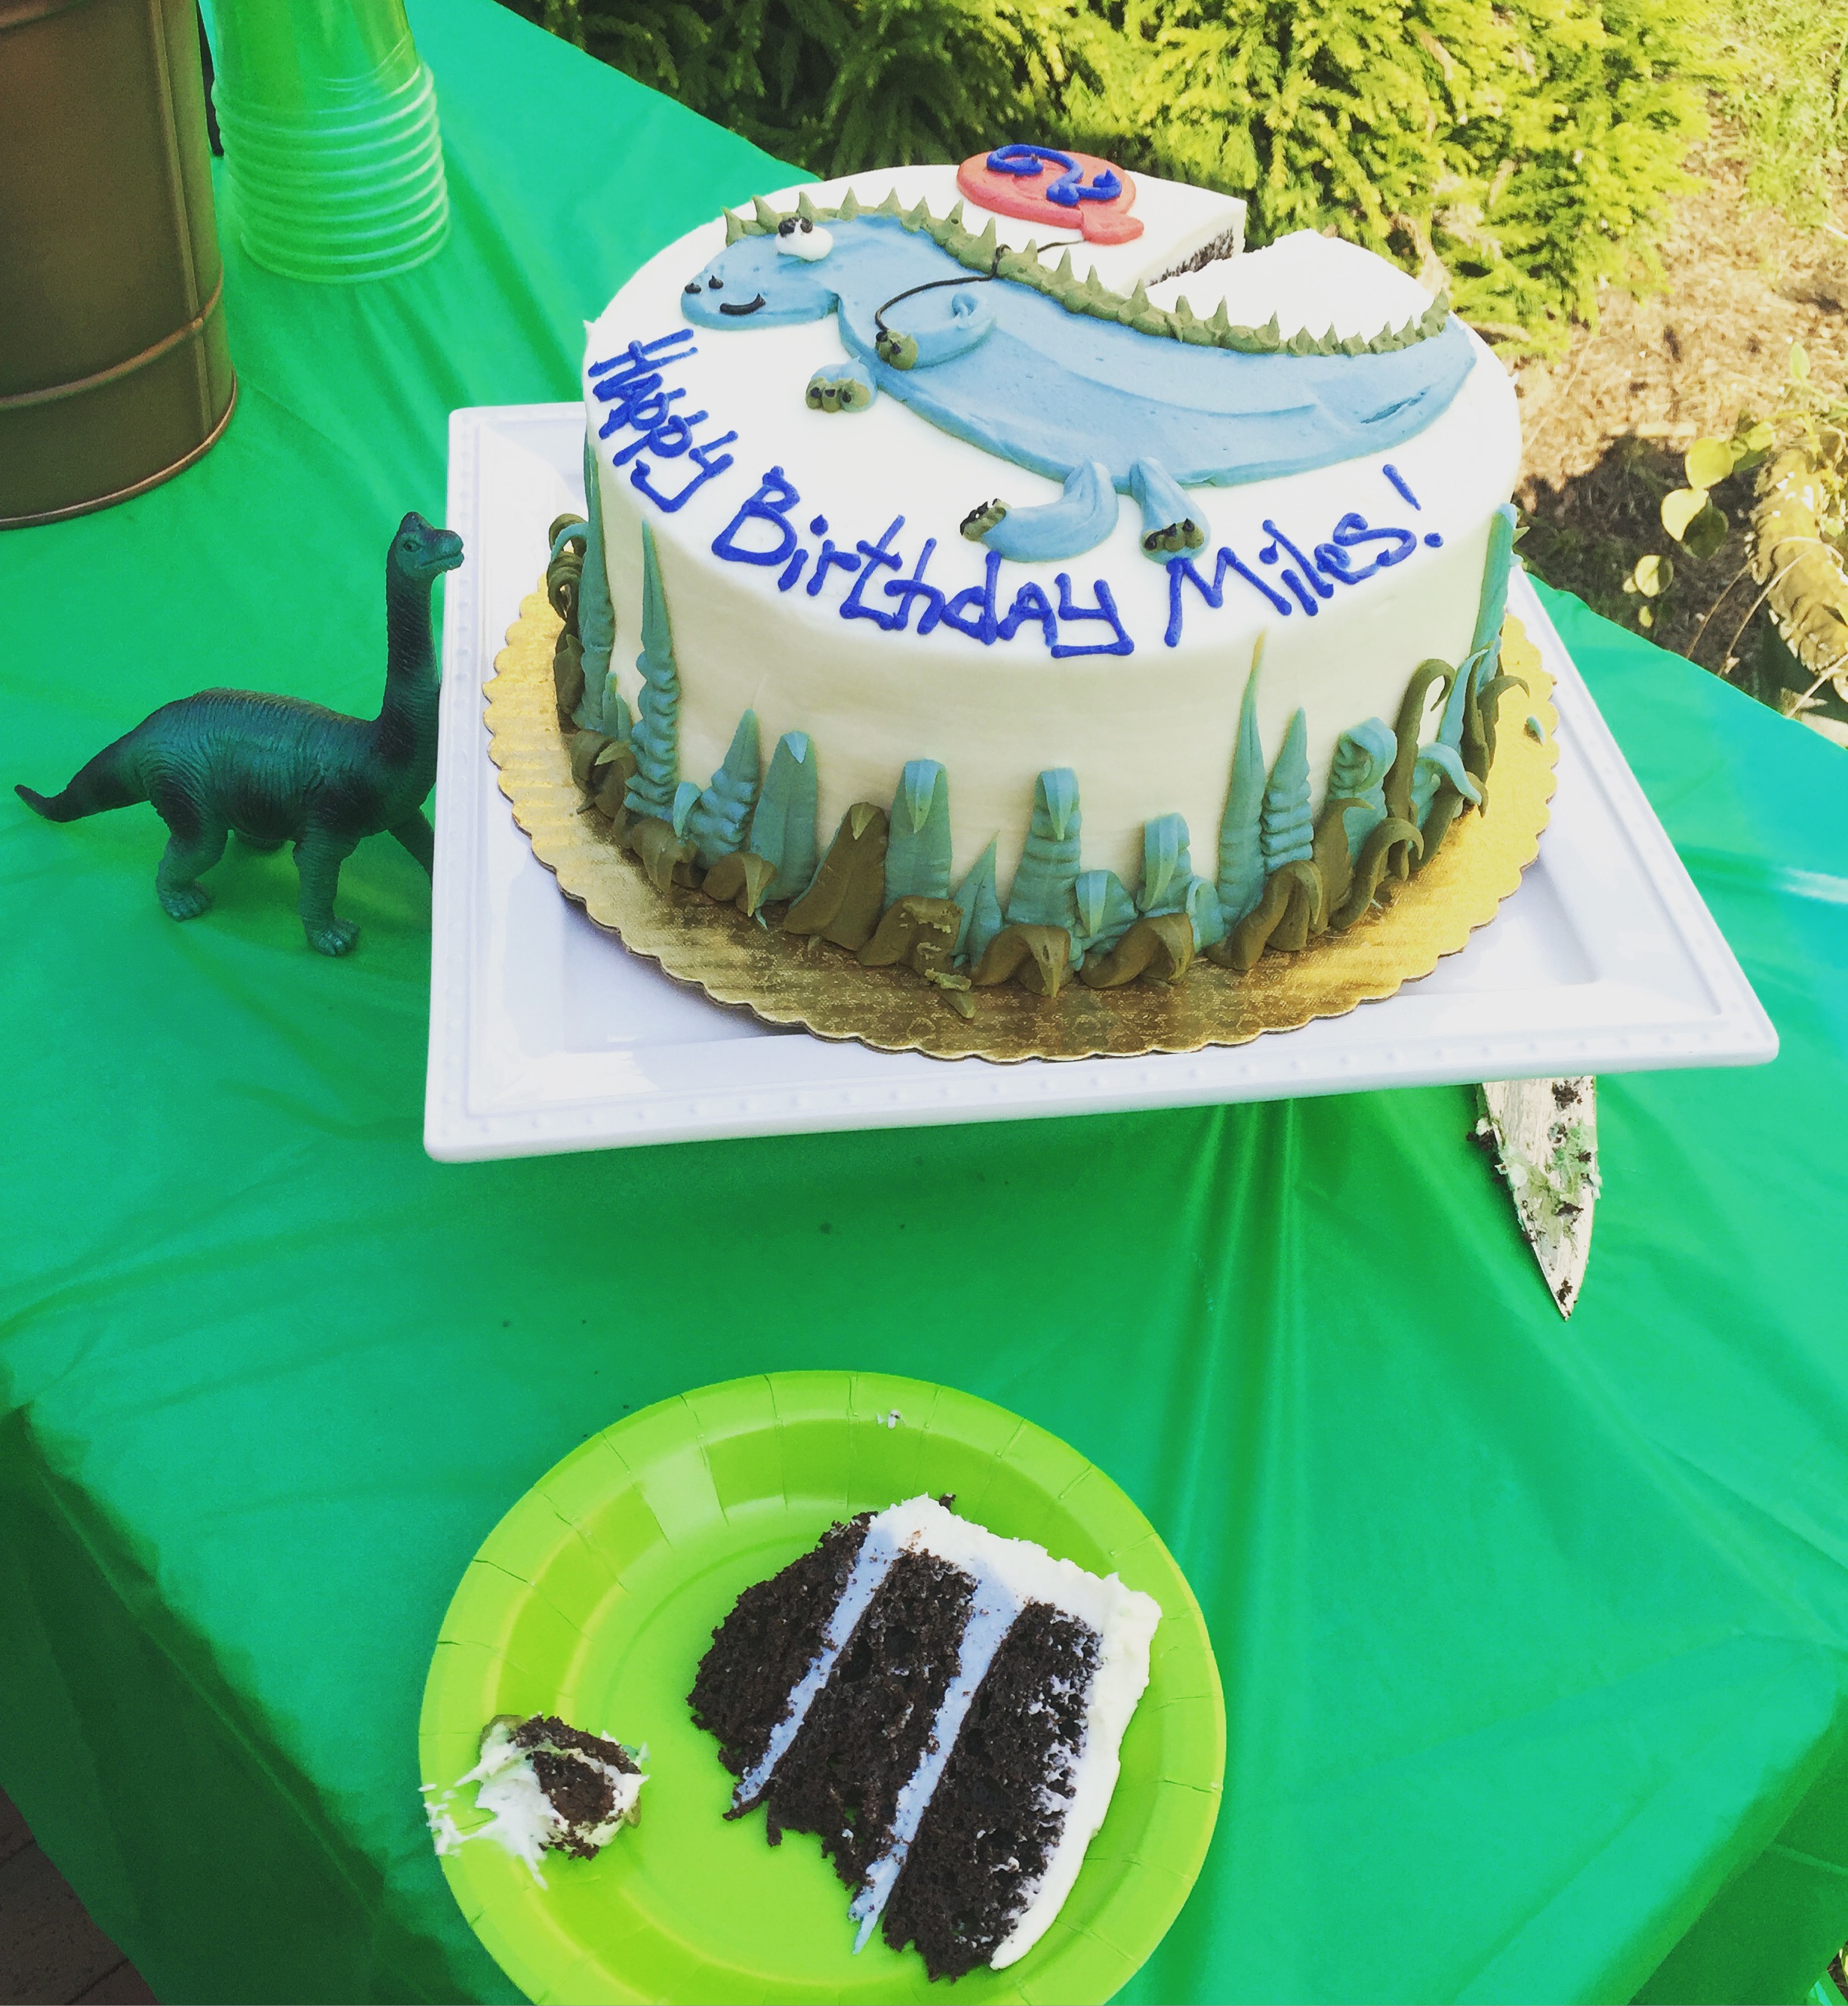
I was pregnant with our second child when we celebrated our boy’s second birthday. His dinosaur birthday cake doubled as a gender reveal. Celebrating our boy’s birthday and becoming a big brother to a baby brother was extra special.

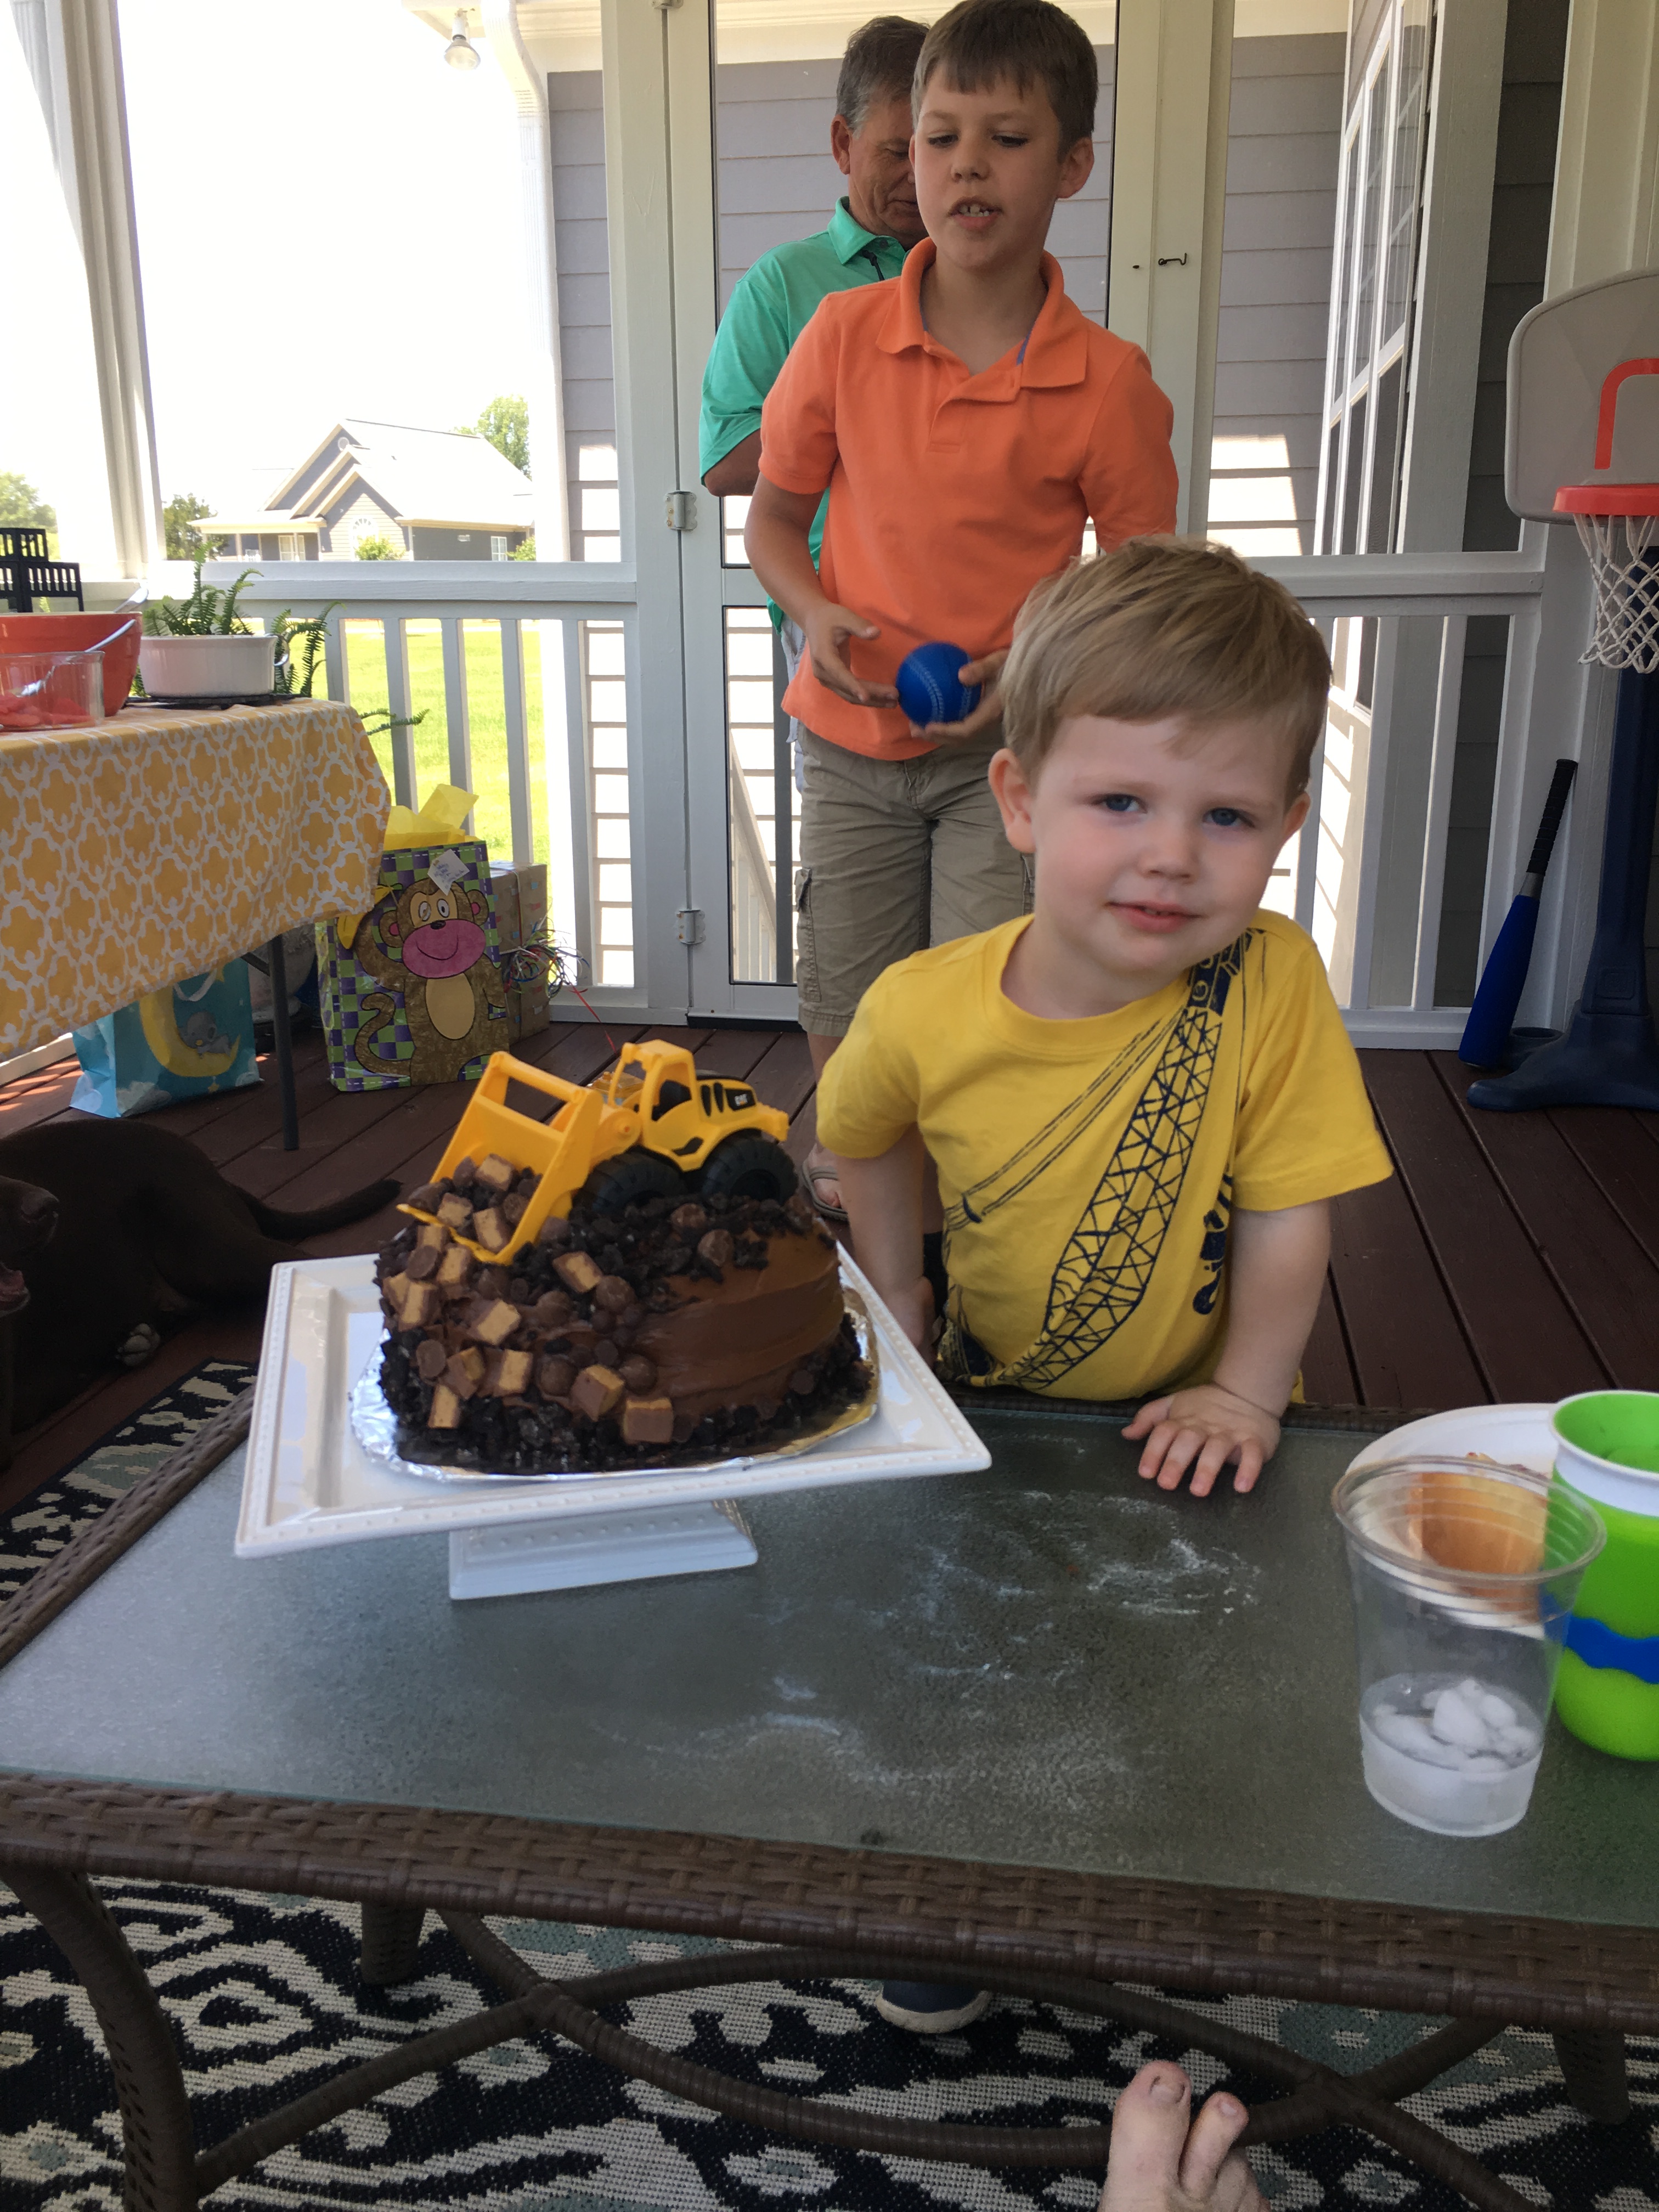
Construction

Wild Things

Sources:

All Cakes except the Construction cake – Whole Foods, Construction Cake decorated by me.

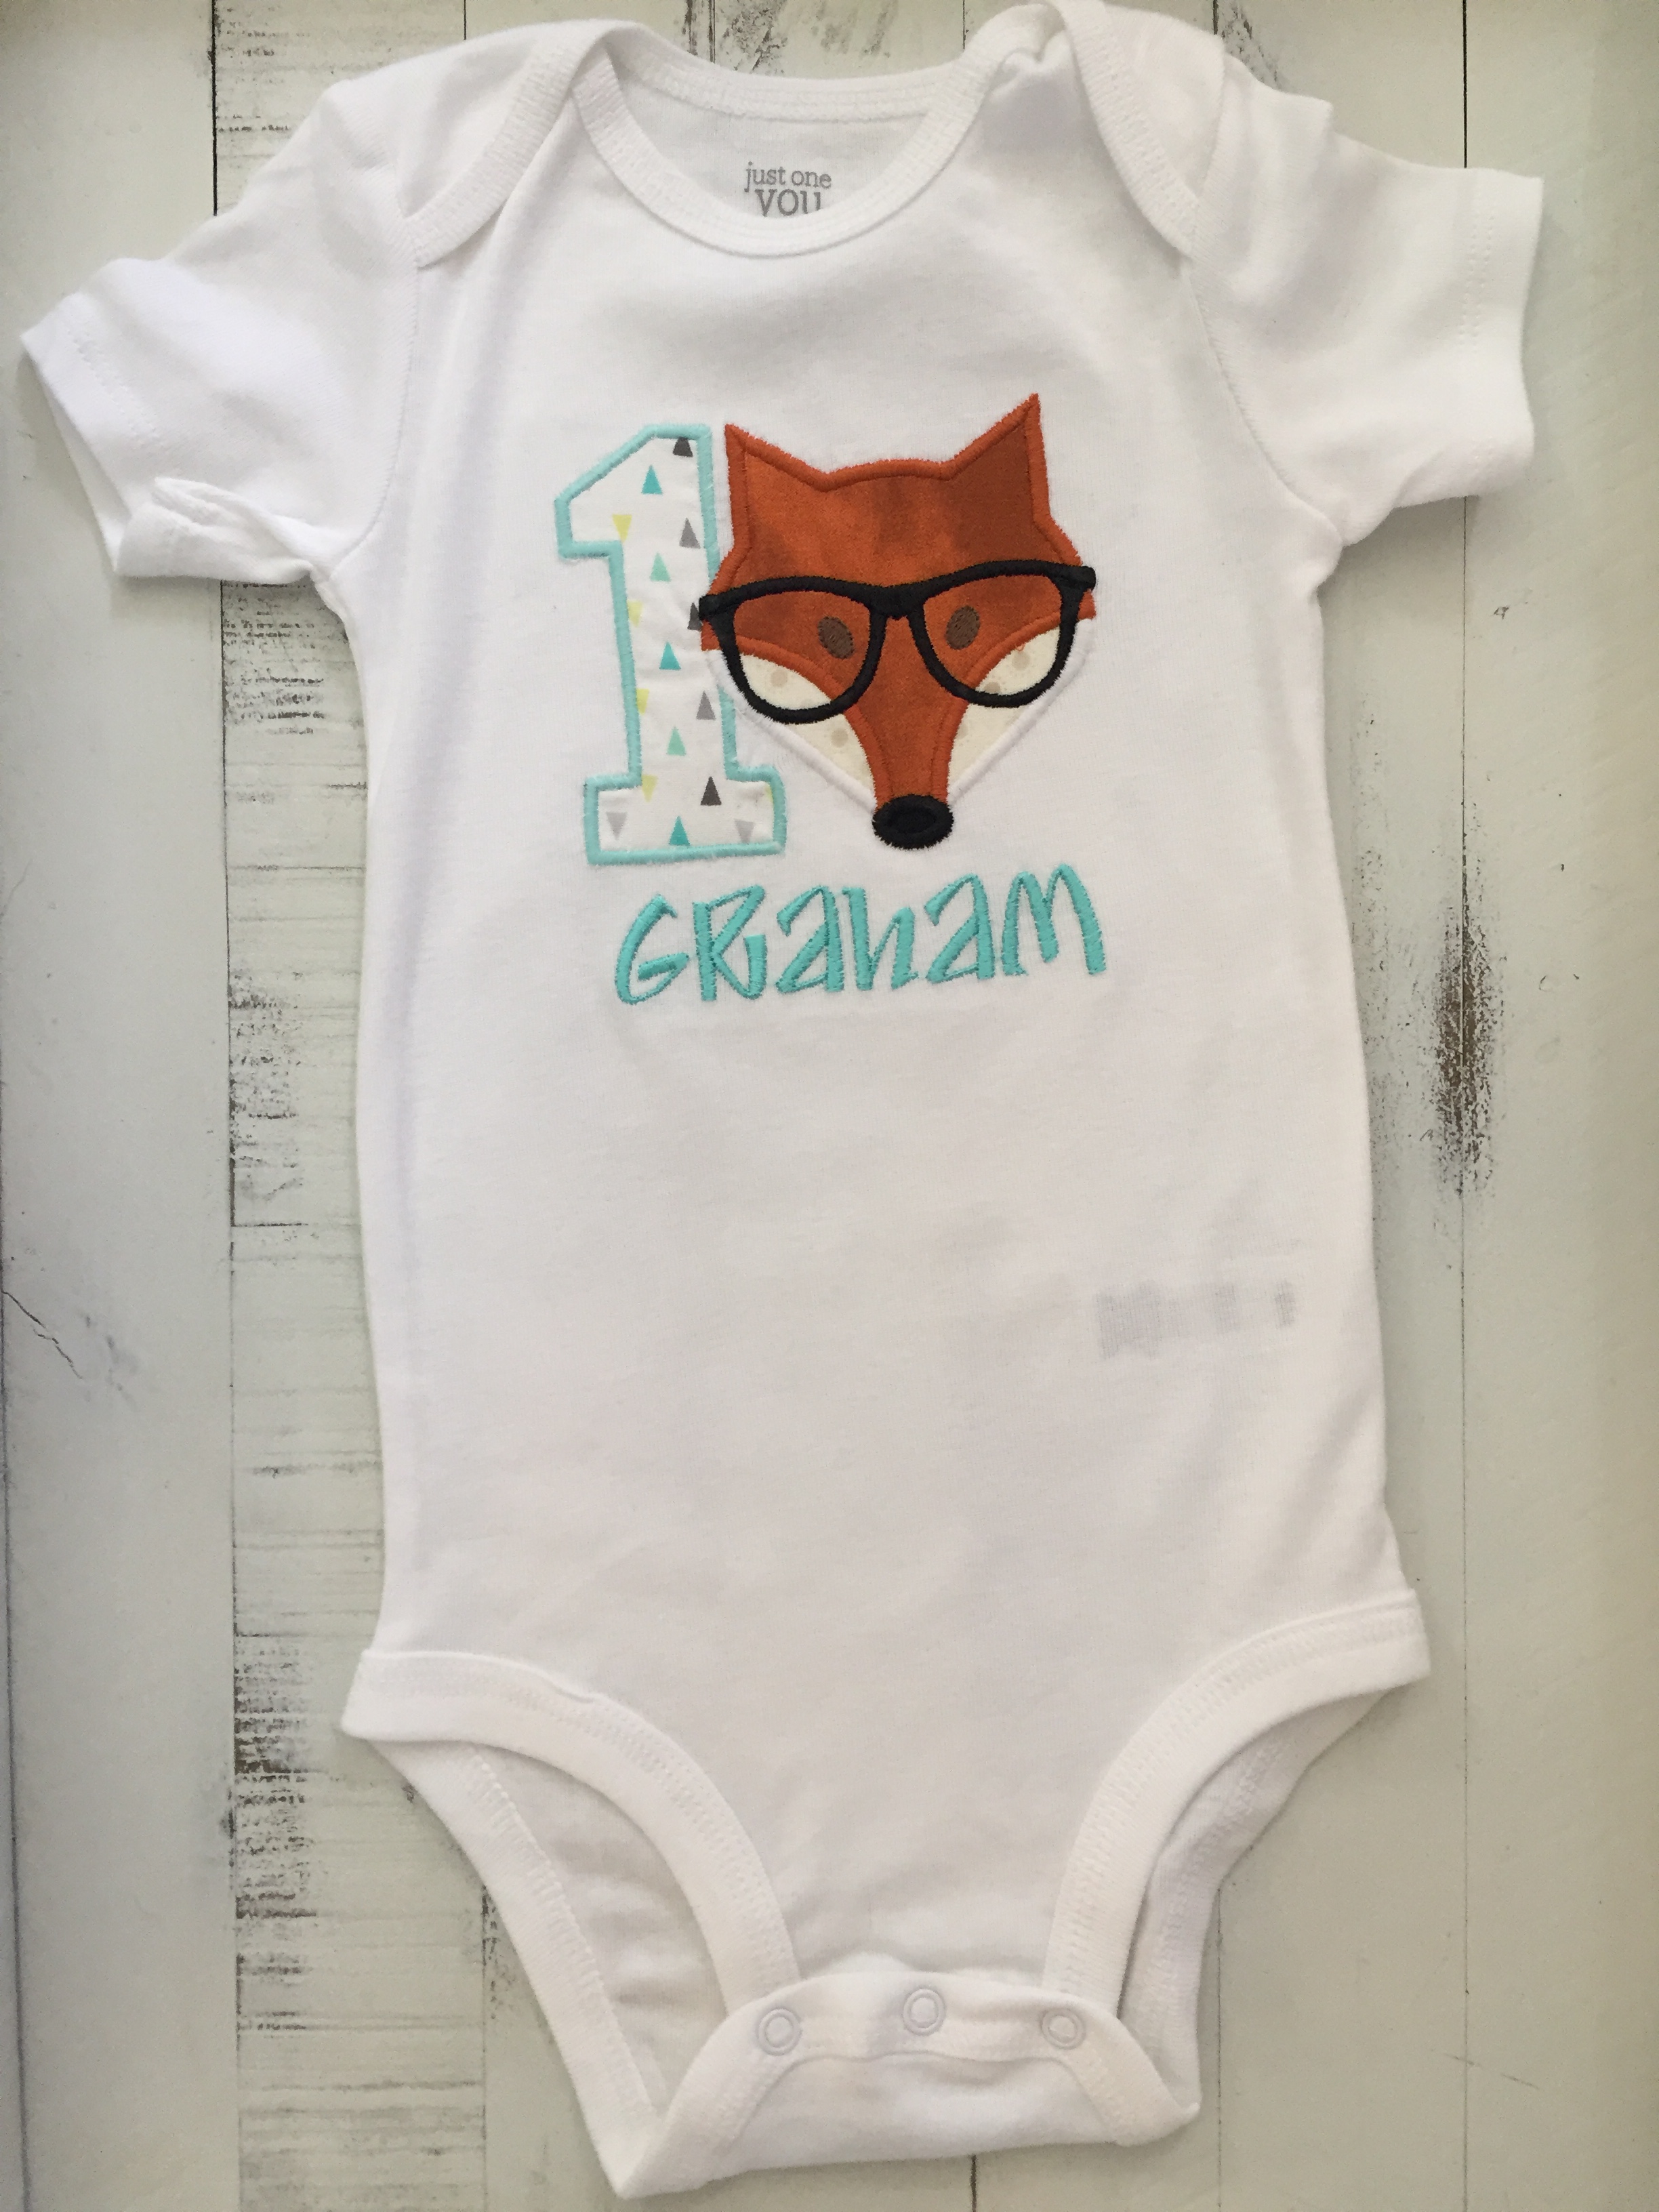
Embroidered shirts – Stitched by me

Printables – Etsy

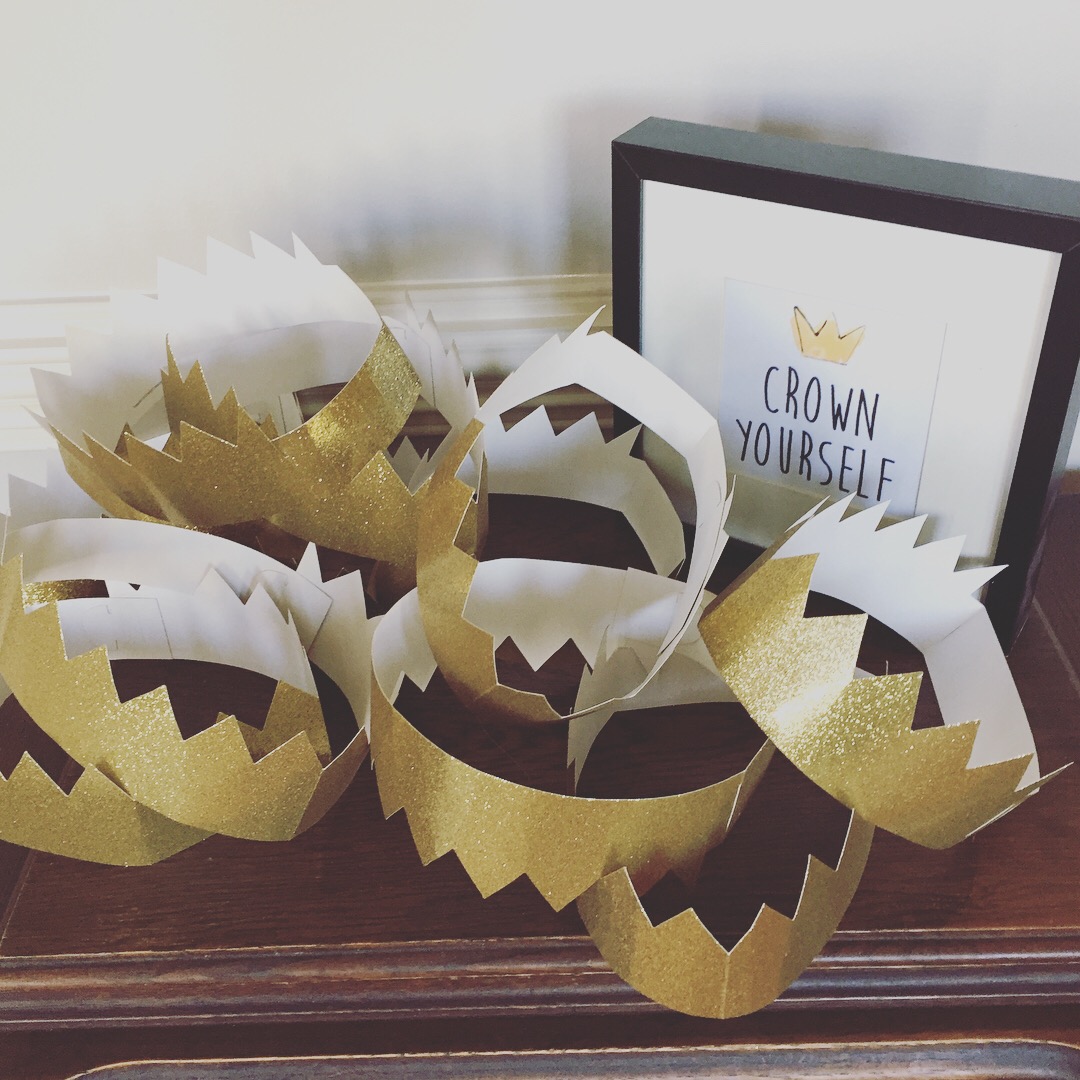
Crowns – Target in the party supply section

Sandbox – Amazon

If you have questions about specific sources, printables and homemade decor items, comment below.

Featured

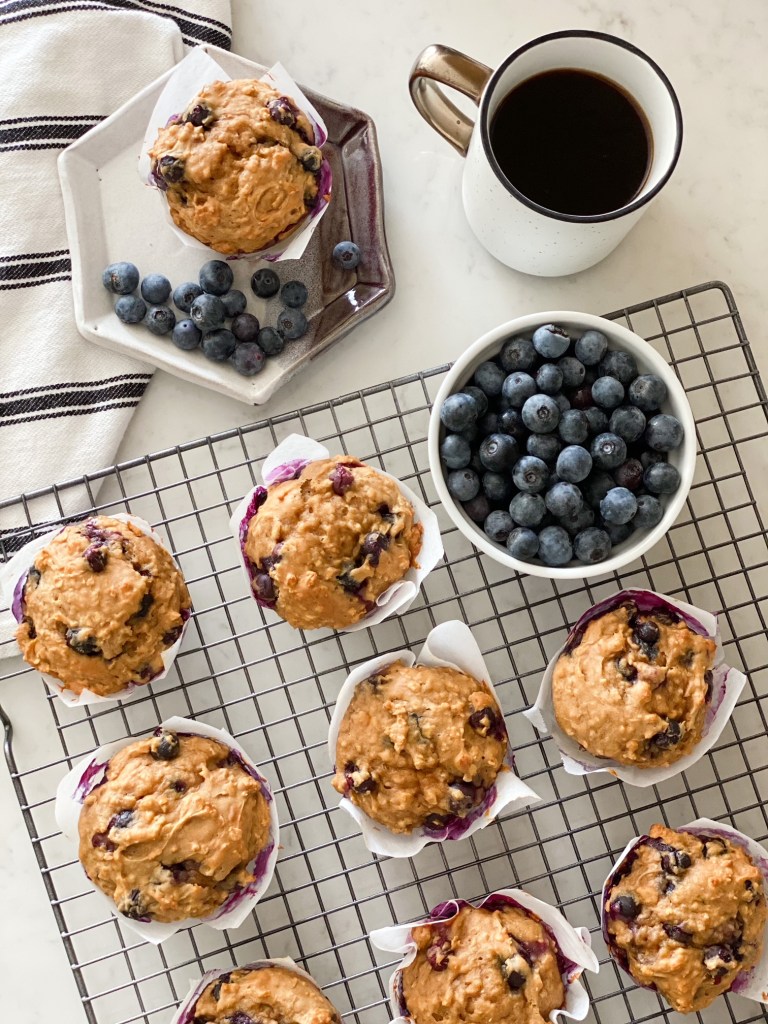
Blueberry Power Muffins

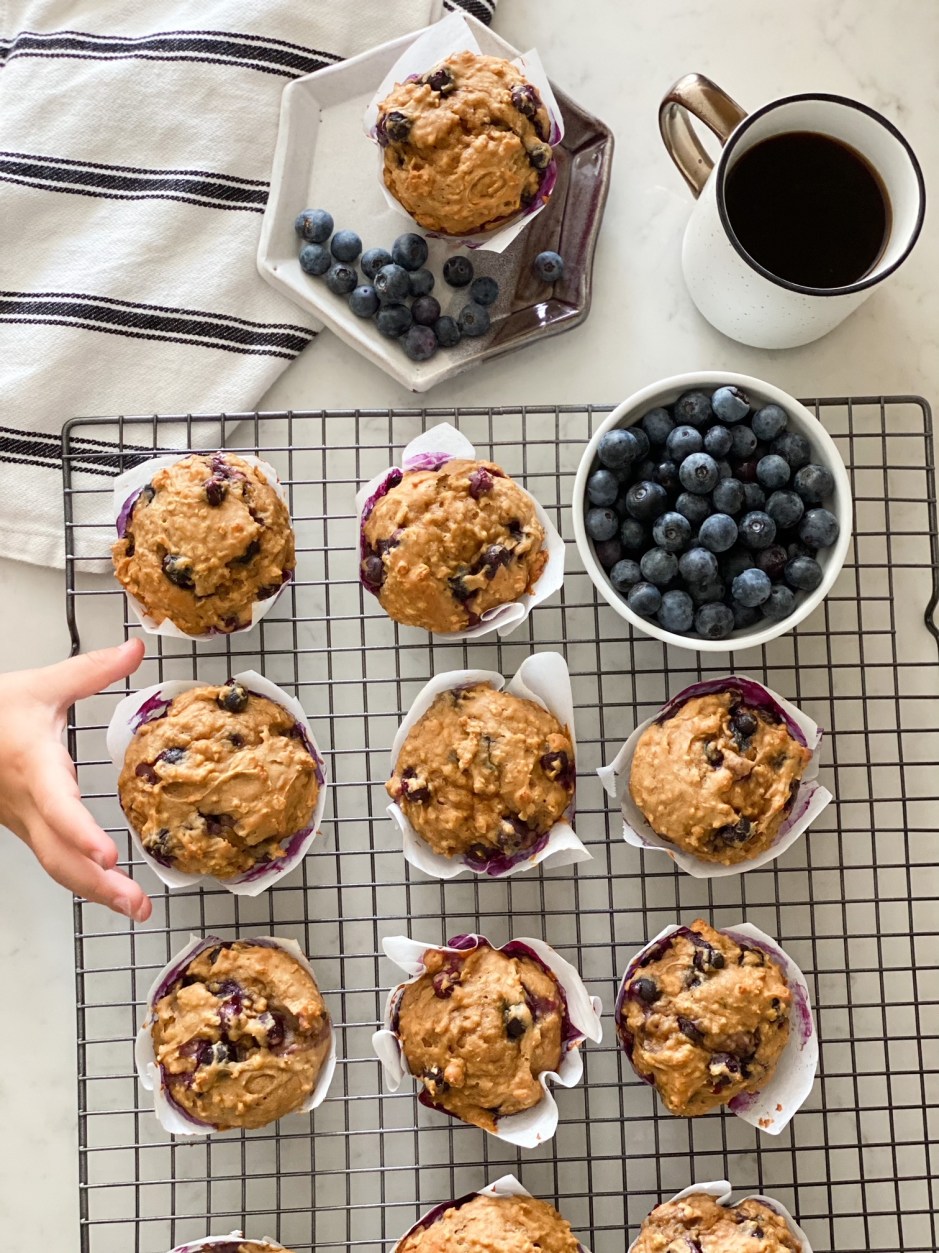
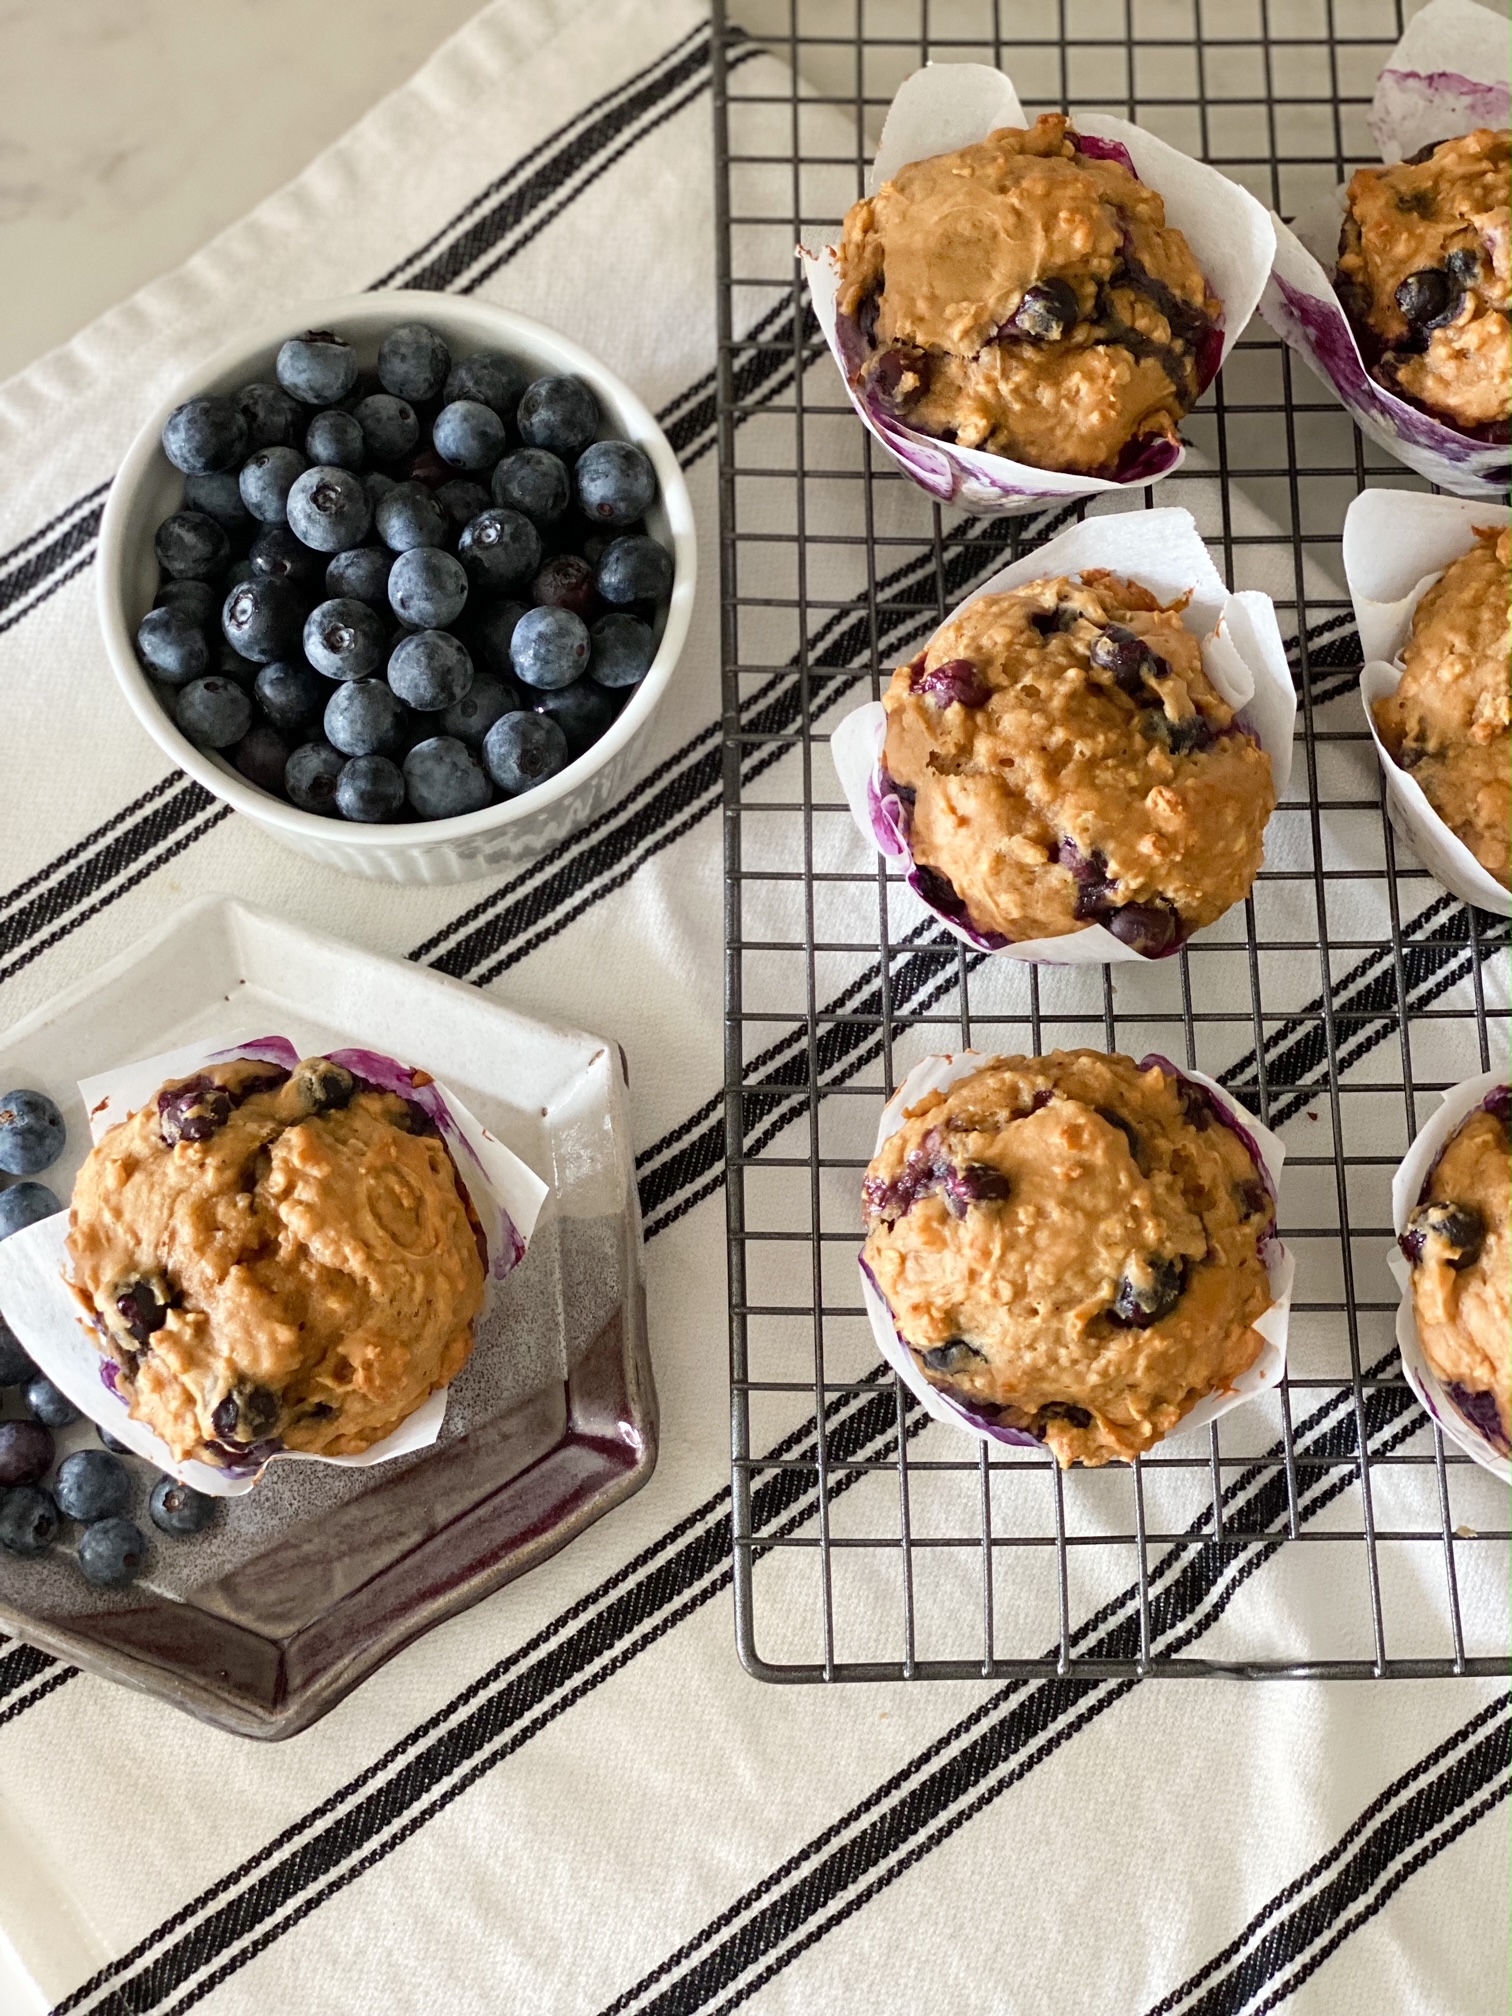
After our first born was comfortable with finger foods, I searched for easy breakfast options that would pack in the nutrition and make our morning routine simpler.  The ingredients are basic and almost always on hand in our house.

When I discovered the the author of this recipe deleted their website leaving me without the recipe, I was forced to come up with my version of the original.

These muffins are also freezer friendly. We often freeze 1/2 of the freshly baked muffins and pull them out individually as needed at a later time when a quick breakfast is needed.

Power Muffins

non-stick cooking spray

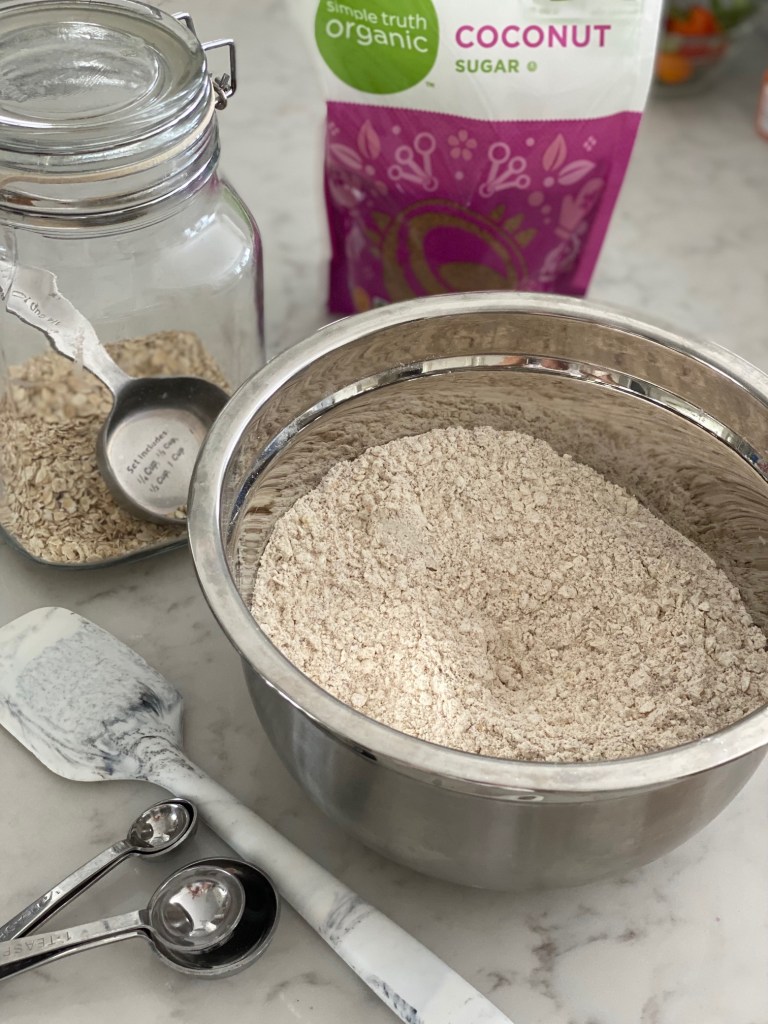
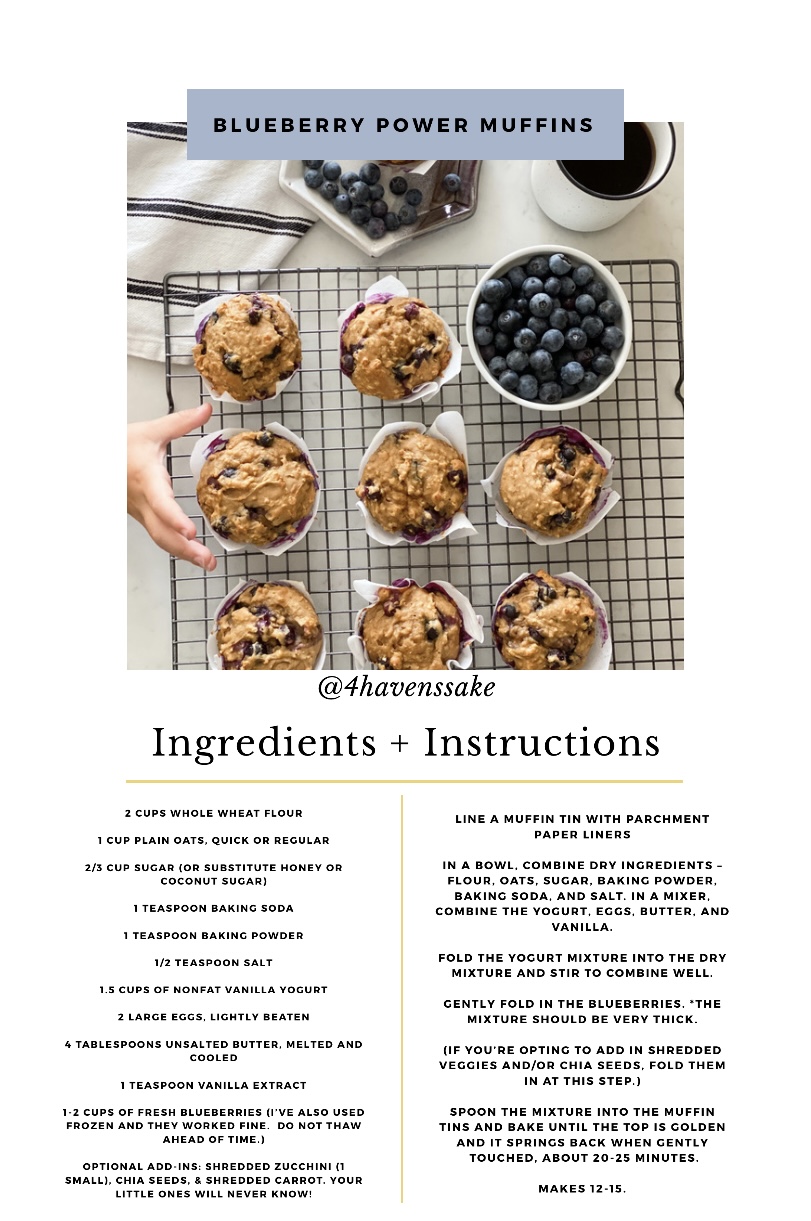
2 cups whole wheat flour (you can substitute almond flour, 1:1 ratio may work but if the batter is too wet, you may need to add more)

1 cup plain oats, quick or regular (we always have rolled oats on hand)

1/2 cup sugar (or substitute honey or coconut sugar)

1 teaspoon baking soda

1 teaspoon baking powder

1/2 teaspoon salt

1.5 cups of nonfat vanilla yogurt

2 large eggs, lightly beaten

4 tablespoons unsalted butter, melted and slightly cooled

1 teaspoon vanilla extract

1.5-2 cups of fresh blueberries (I’ve also used frozen and they worked fine.  Do not thaw ahead of time if using frozen.)

Optional add-ins: shredded zucchini (1 small), chia seeds, & shredded carrot. Your little ones will never know!

Heat oven to 350.

Line a muffin tin with liners or parchment paper squares. 

In a bowl, combine dry ingredients – flour, oats, sugar, baking powder, baking soda, and salt. In a second bowl, combine the yogurt, eggs, butter, and vanilla.

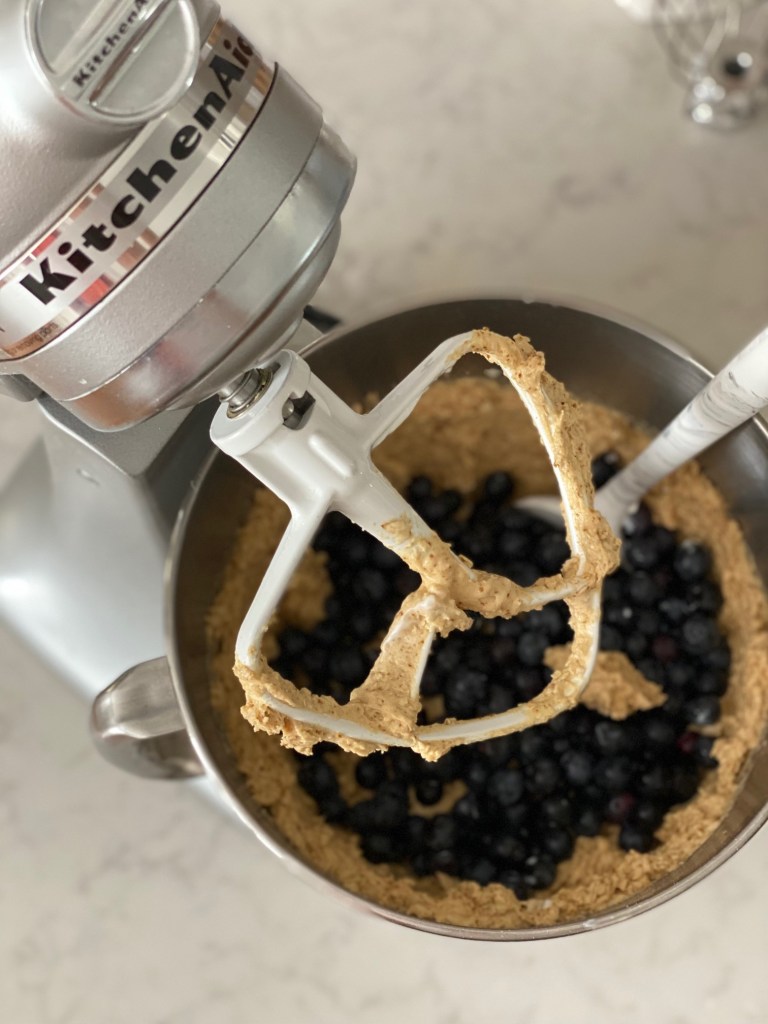
Fold the yogurt mixture into the dry mixture and stir to combine well.

Gently fold in the blueberries. *the mixture should be very thick and sticky in consistency.

(If you’re opting to add in shredded veggies and/or chia seeds, fold them in at this step.)

Spoon the mixture into the muffin tins and bake until the top is golden and it springs back when gently touched, about 20-25 minutes.

Makes 12-15 muffins depending on how you portion batter.

Note: these can be frozen to use as needed.

gluten-free-blueberry-almond-muffins-600x900

*If you are looking for another gluten free option, try this delicious version from Sally’s Baking Edition.

Happy baking friends! – Amanda

Featured

Summer Favorites

This first recipe is pretty, healthy, & festive for any Summer party you’re invited to bring an appetizer.

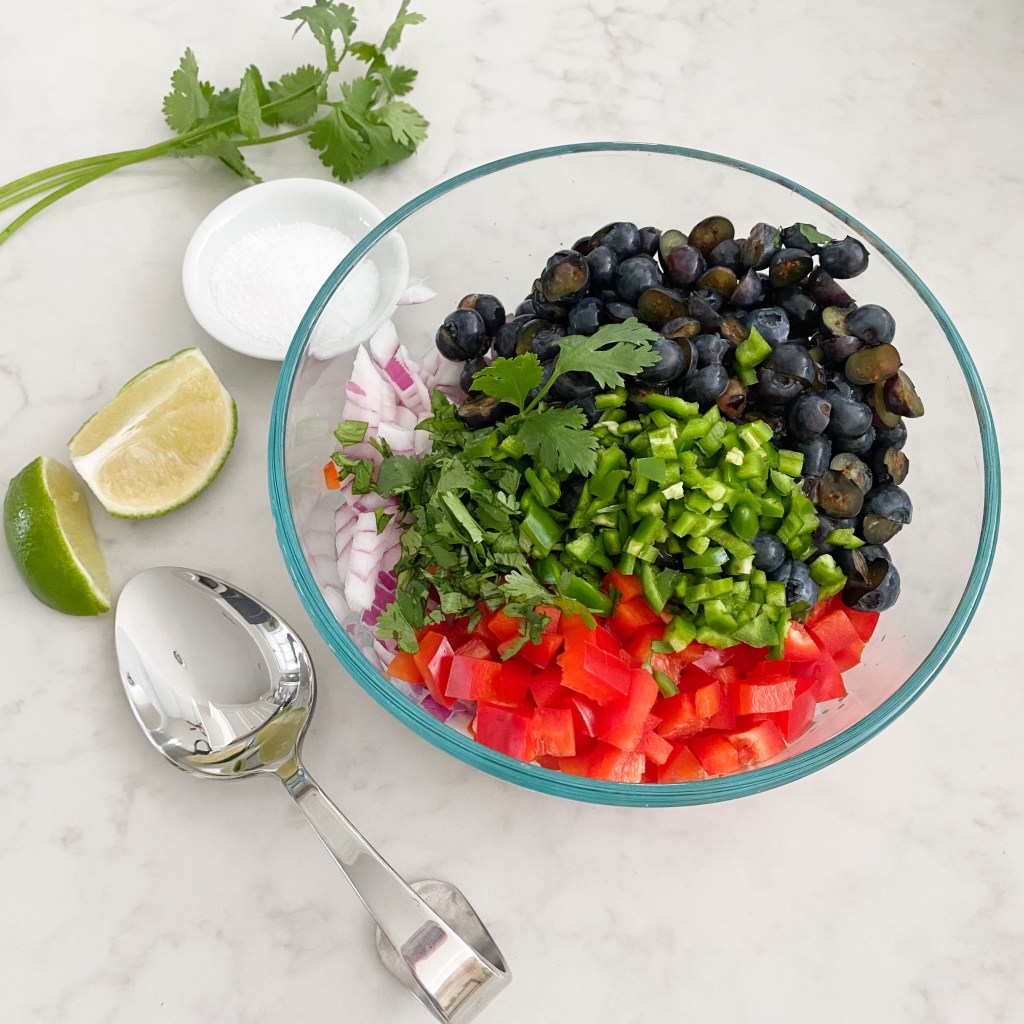
Blueberry Salsa

Ingredients

2 cups course lunch chopped fresh blueberries
1 cup whole fresh blueberries
1/4 cup of fresh lime juices
1/3 cup of chopped cilantro
2 jalapeño peppers, seeded and minced
1 diced red bell pepper
1/2 chopped red onion
Sea Salt to taste

Instructions

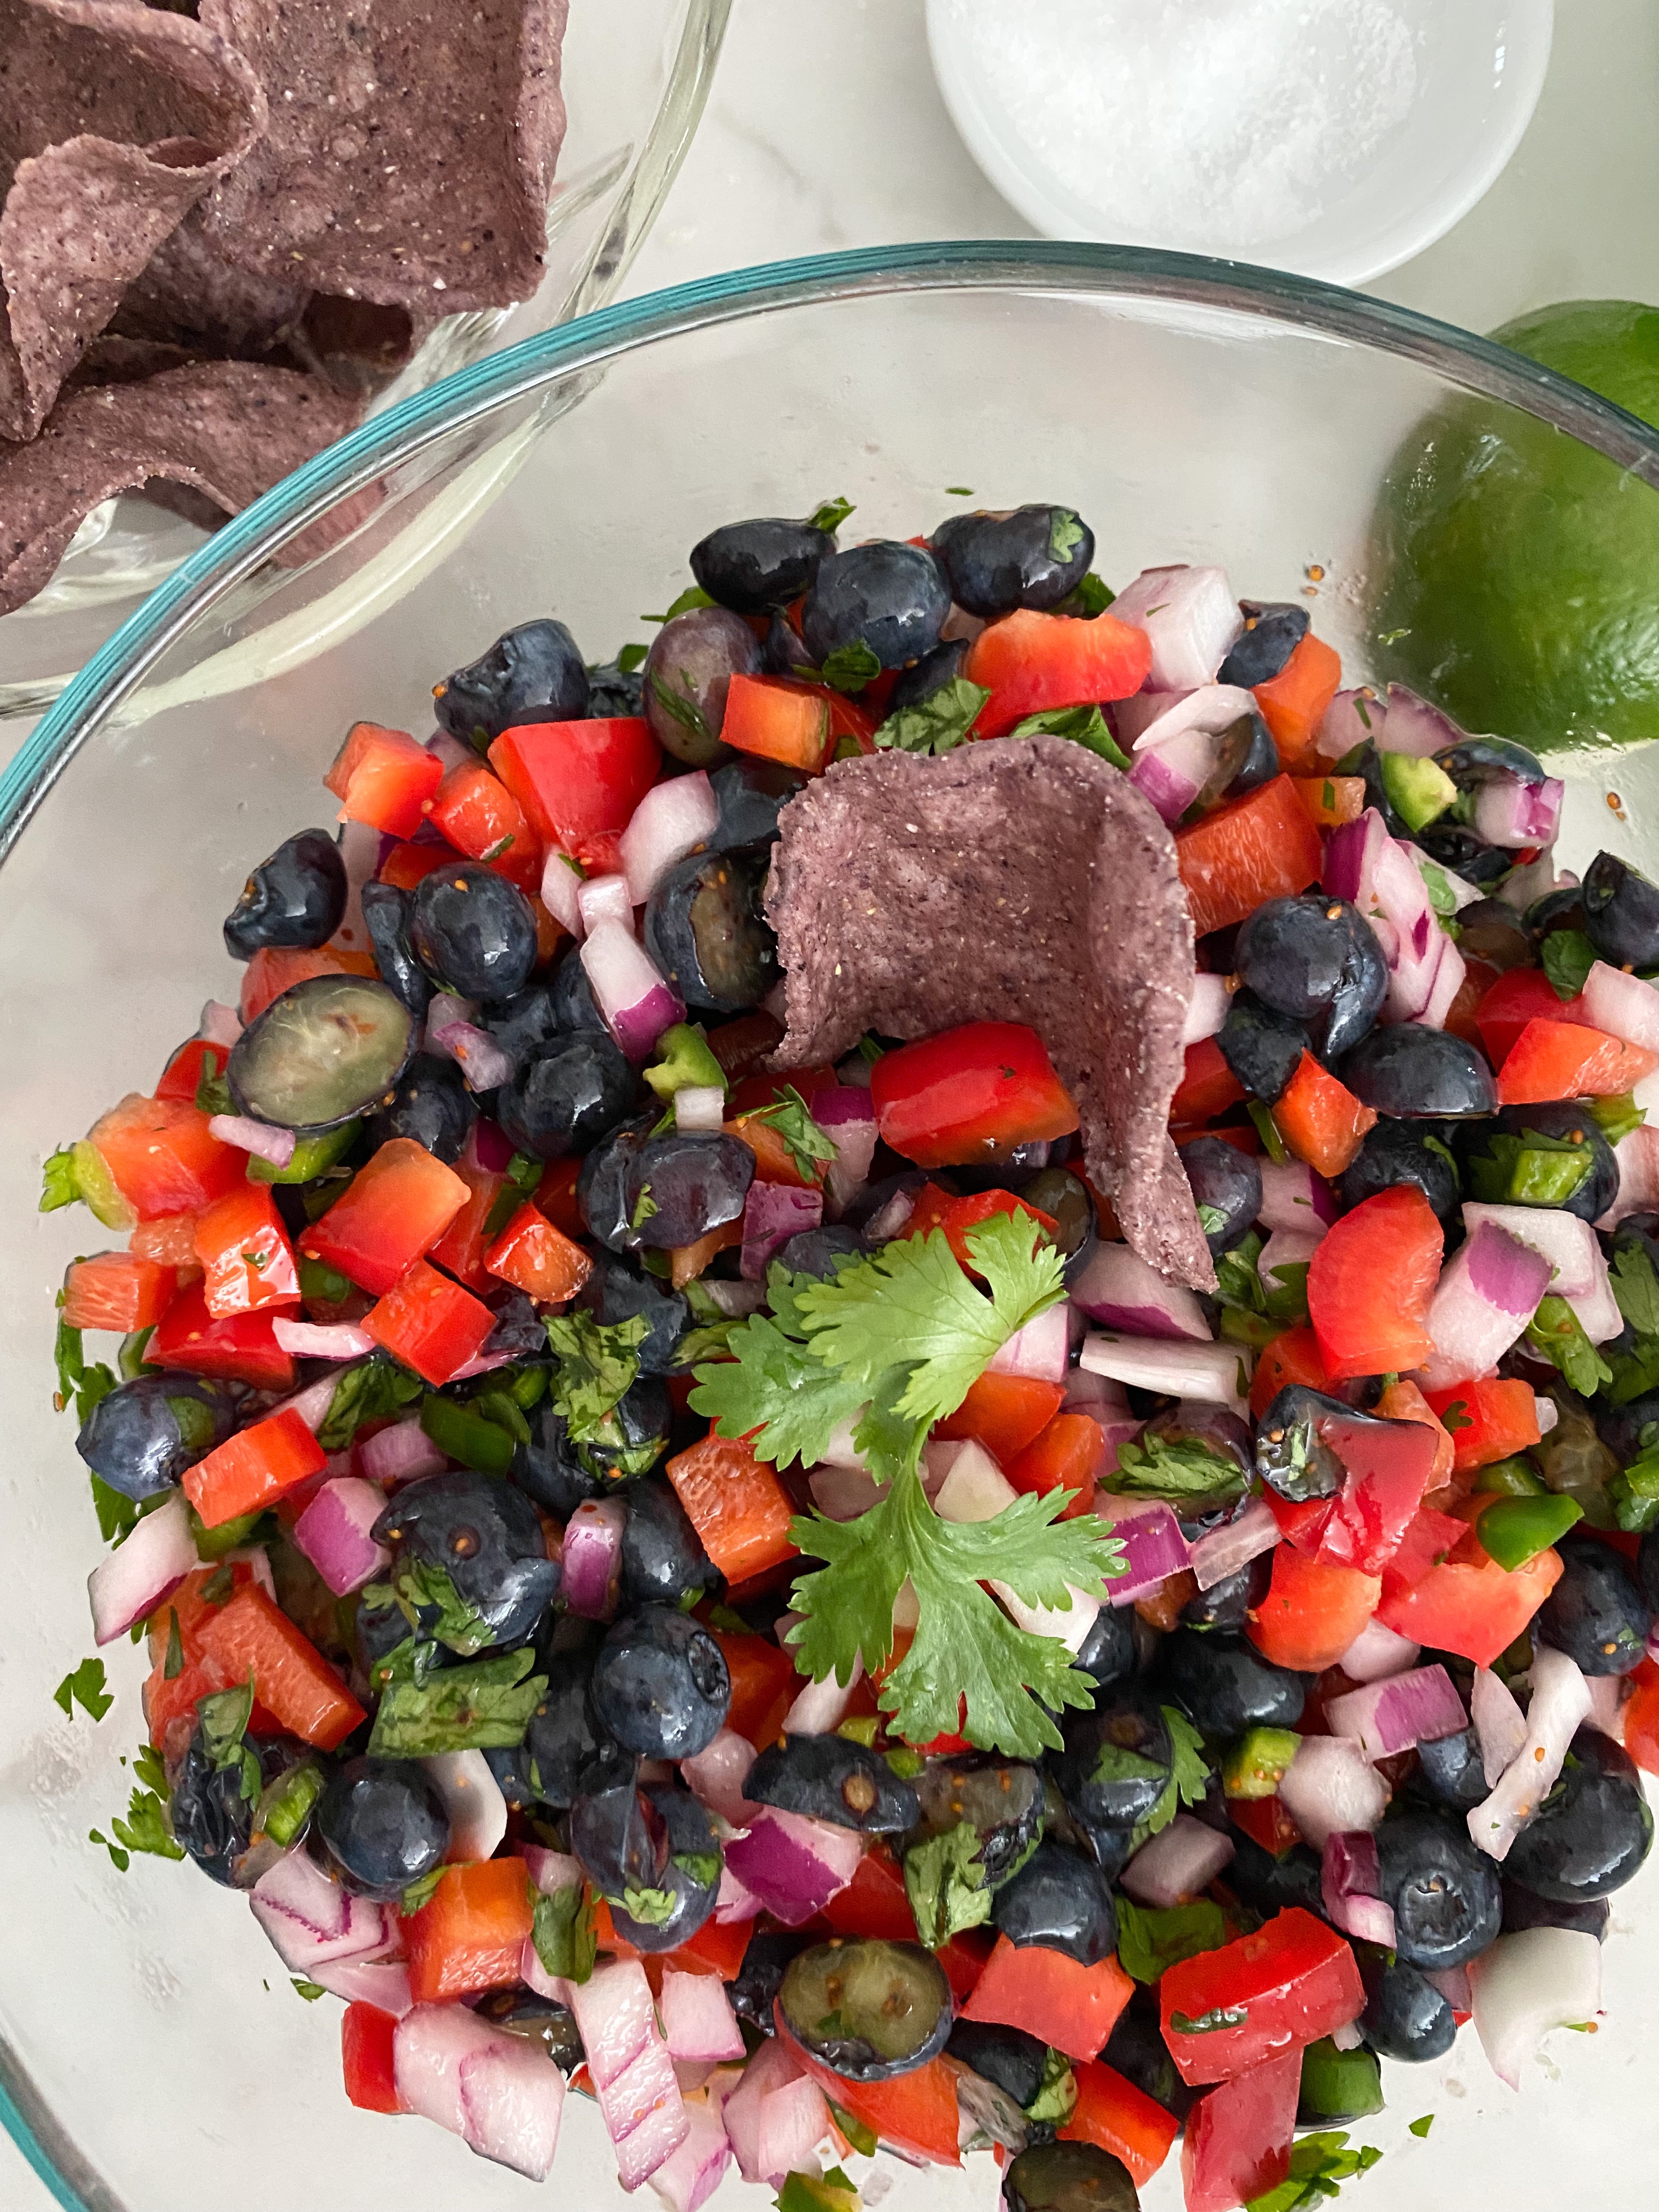
Coarsely chop 2 cups fresh blueberries. Stir together chopped fresh blueberries, 1 cup whole blueberries, fresh lime juice, chopped cilantro, 2 seeded and minced jalapeño peppers, diced red bell pepper, 1/2 chopped red onion, and 1/2 teaspoon kosher salt in a large bowl. Cover and chill until ready to serve.

Serve with a mix of blue and regular corn chips.

Any leftover salsa is great topped on grilled fish or chicken.

Corn-and-Lima Bean Salad

Prep: 15 min, Cook: 5 min, Cool: 10 min, Chill: 1hr (or serve immediately)

Also known as summer succotash, this recipe becomes a staple side item in our home, paired with BBQ chicken, grilled fish, or included in a veggie dinner. We have even used left overs on top of a southwest style salad.

Ingredients

3 cups fresh corn kernels (6 ears)
1 tablespoon olive oil
1 tablespoon fresh lemon juice
1 cup of fresh baby lima beans*
1 tablespoon fresh basil leaves, cut into thin strips
1/4 cup diced red bell pepper
1/2 teaspoon kosher salt and 1/4 teaspoon dried crushed red pepper

*1 cup frozen baby lima beans, thawed may be substituted

Instructions

Saute corn kernels in hot oil in a large skillet over medium-high heat 3 minutes or until tender; add lima beans, and cook 2 minutes. Add bell pepper and cook 2 minutes until slightly tender.

Remove from heat, and let cool 10 minutes. Toss together lima bean mixture and next 4 ingredients in a large bowl.

Cover and chill 1 hour. (You may also serve immediately.)

Given that we have an abundance of cherry tomatoes and okra in our Summer garden this year, I’ll be making this variation of succotash next.

Best – Ever Succotash Recipe Source: Southern Living

Photo: Victor Protasio; Food Styling: Tina Bell Stamos; Prop Styling: Christine Keely – SL
Featured

Shiplap + Bathroom Redesign

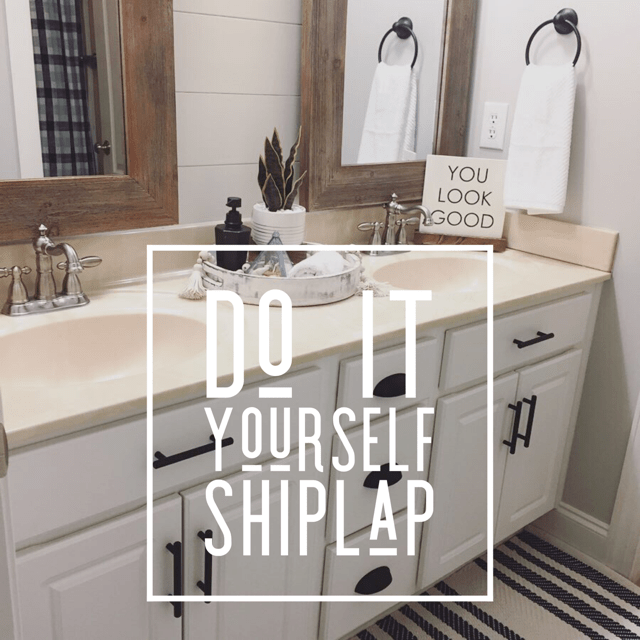
If you’re looking to add shiplap to a wall or room in your home on a budget, this post is for you.  I’m sharing how you can update a standard builder grade bathroom into a modern farmhouse design.

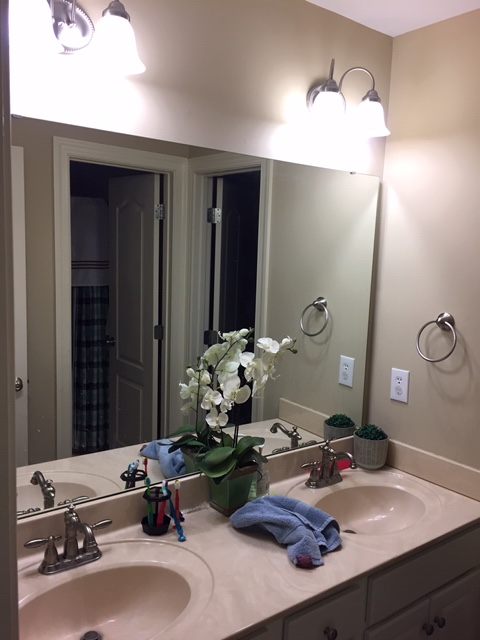
We transformed this space:

IMG_6402

Into this newly designed space for a total of $315.  The shiplap wall only cost a little over $15.

Start by measuring your walls.  In this case, we were only doing the mirrored wall which made for simple math when deciding how much 1/4 inch plywood we needed.

For ease, we had Home Depot rip down 2 sheets of 1/4 inch plywood into 6 inch planks.  (we did have some scrap that we measured out to smaller planks that we knew we could use where some boards needed to be ripped down to less than 6 inches.) We also knew we wanted to continue the shiplap in the shower/toilet room and would use the extra planks in there.

Simple steps to hang the planks:

  1. Sand down all edges of the planks with an electric sander as there will be rough areas. This goes quickly.  *Wear a ventilation mask, it’s not healthy to breath in the dust from the wood.
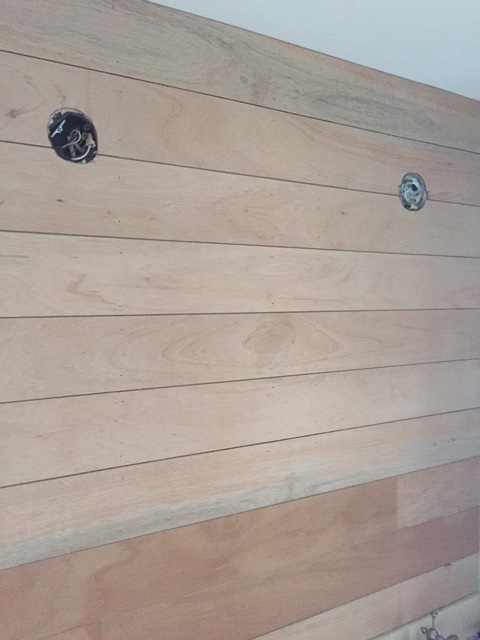
  2. Remove old light fixtures
  3. Measure the length of your wall and trim the board accordingly.  Our wall was mostly to scale so we went ahead and trimmed all needed boards to the length of wall.  Where there were slight discrepancies, I was able to use an electric sander to take off a small amount for a perfect fit.
  4. Using a stud finder, mark out the studs in the wall drawing a line all the way down.  This is where you will nail your planks.
    1. In this case, we started adding our planks at the ceiling because we wanted a full 6 inch board at the top.  When planking a full wall, it’s sometimes easier to start from the bottom and work you way up.
  5. Ensure the board is level & using a nail gun (with 1 1/4 nails), nail one end of the board.  It’s easier when you have an extra set of hands to hold the board in place but if you are doing the job solo, double check that your board stayed level and nail the opposite end to the wall.  Then nail along the board where you marked the stud locations.
  6. Use nickels for your spacers and put up the next board in place.
  7. Continue step 5 until you have to make cuts for outlets or light boxes.
  8. In this case, we had to trim the bottom of one board and the top of the next to accomodate for the lighting.  We put the boards in place and traced out where we needed to cut.
  9. Use a jigsaw to make these cuts.  You can always trim off more if your first cut isn’t perfect. (Continue nailing boards after these cuts are made).IMG_6515

  10. I recommend painting the edges of each board and the wall as you put up each one.  This makes the painting process much easier as you don’t have to squeeze a brush into the cracks.  We had to get this job done quickly with two toddlers running around so we opted to just get the boards up and I’d paint later.

  11. Paint the sides and cracks of the boards first.
  12. Roll the boards second.  I needed 3 coats total when rolling because it went on much thinner compared to the brush.
  13. Caulk the seam where the boards meet the wall and the top of the vanity.
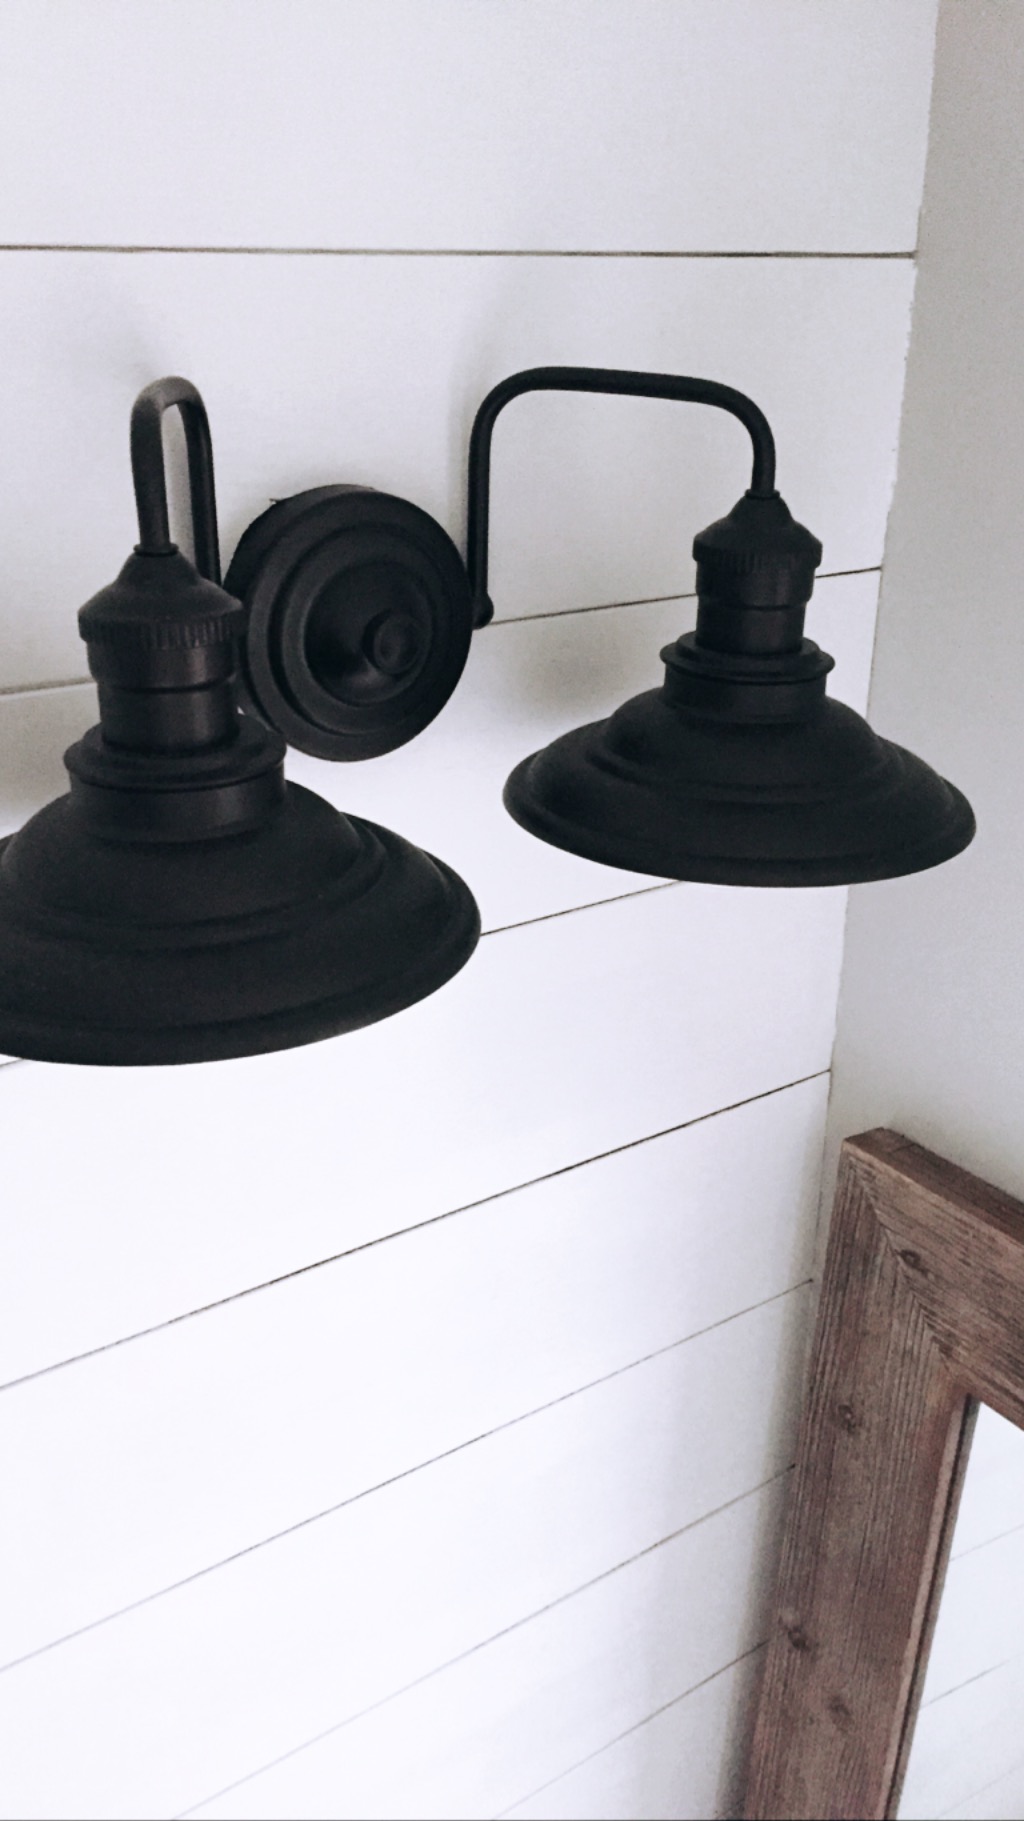
  14.  Hang new light fixtures and mirrors and you can call it a completed project!

Our new lights against the freshly painted white shiplap.

IMG_6535

I wanted to further update the space and bought these handles for our existing cabinet doors and drawers.

I also really like these handles but admittedly, I didn’t price around for hardware for the best deal like I normally do and just made a decision at Home Depot.

I also spray painted our existing towel rings to match. (This cost nothing as I already had flat black spray paint for metal.)

When deciding on mirrors, you do need to measure out what range in size you can shop for.  I knew what my maximum height and width could be above each sink and searched online first.

Hobby Lobby frequently has a 50% off sale on their mirrors.  Luckily for me, the sale was going on when I was shopping so I made a quick run to the store and snagged the last two. These mirrors had the perfect amount of coastal farmhouse vibe we were going for.

Here is a little video highlight featuring a trick for hanging hardware on cabinet doors and drawers. Click Here

A quick trip to Marshalls for accessories – rug, vanity decor, and fresh linens, I snagged YOU LOOK GOOD sign from the inventory of The Homestead Haven (my side gig with my bestie), and then shopped our home for the rest to complete this room design.

You can shop this sign and others in our Etsy shop, here.  By the way, this sign is interchangeable.  The wooden insert comes out of the base and can be changed seasonally or with other design offerings in our shop.  I’m forever changing decor in our home and love this creation of ours making it easy to do so inexpensively.

The best part about the room design, our two boys (ages 5 and almost 3) complimenting each individual new detail in the room.  They seemed to really appreciate the hard work and love that went into freshening up this space.  Mission accomplished.

Please comment with any questions you may have and follow along via Instagram for our next project.